
1.0 INTRODUCTION
The Japanese were desperate in april of 1945, with the invasion of okinawa threatening the homeland, and almost no air and no navy left to contest it. The loss of okinawa would leave Japan completely at the mercy of the americans and the inevitable bombing raids to be launched from there. nothing, other than a suicide mission, could be done. This was the plan of operation Ten-ichi-go, or in english, “operation Heaven number one.” This plan was set in motion by the emperor’s question of “What is the navy doing?” in reference to okinawa.
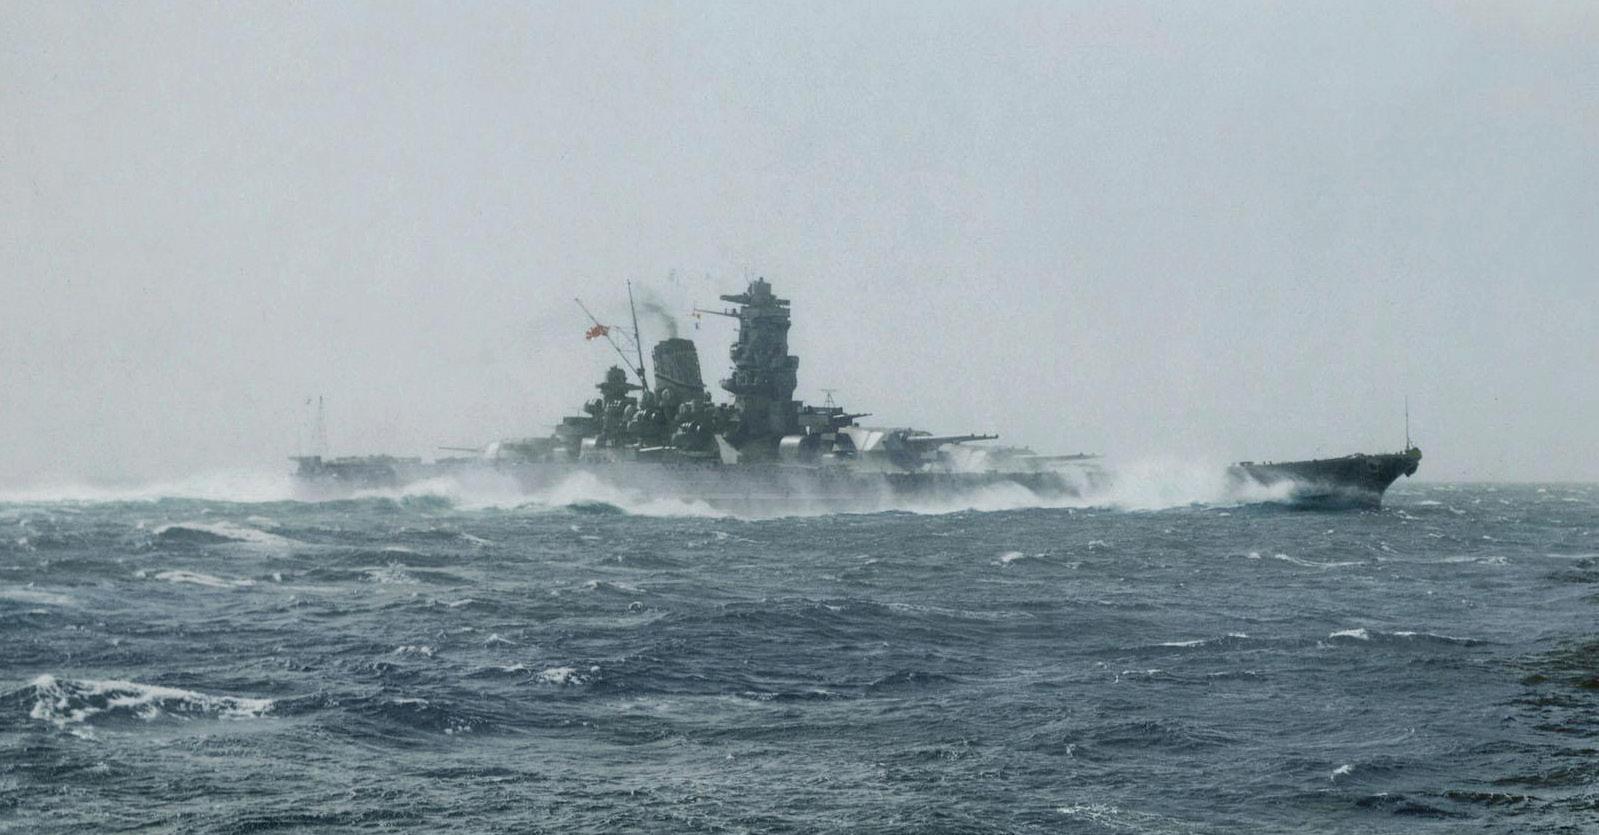
The super-battleship yamato was to sail south from Japan, reach okinawa, beach herself, and use her guns to help repel the americans. surviving crew were to go ashore and fight as infantry. With no air cover and overwhelming american air strength, it was a futile suicide mission.
Sinking Yamato is a solitaire, tactical naval game placing you in command of the largest battleship ever built. your mission is to survive as long as possible, while destroying and damaging as many u.s. aircraft as possible. you will be attacked by wave after
wave of american aircraft (roughly 390) and must make decisions on preparation for the voyage, along with deployment of your spare gun crews and damage control teams.
p layers will find it challenging to survive to the final wave of aircraft. yamato is not expected to survive, but victory is measured in the game based on how long you can last.
if you are new to or unfamiliar with historical games, D on’t PaniC! f irst look at the combat mat, and the playing pieces, then give the rules a quick read through. p lease don’t try to memorize them. follow the setup instructions for play and then read s ection 2.0 that describes the general course of play. s ection 4.0 provides the framework to help you get started. a s questions arise simply refer back to the rules. a fter a few minutes of play, you will find yourself becoming familiar with the game mechanics.
online game support is available. There are several options to choose from:
Visit us on the Web: https://compassgames.com (Compass Games home page)
Contact us by email: sales@compassgames.com
General customer service and game parts support are provided by Compass Games.
Throughout the rules you will see numerous indented sections such as this one. These sections are filled with examples, clarifications, play hints, design notes and other assorted wisdom in order to help ease you along. additionally, game charts are normally referred by letter and number to in [square brackets] in the rules to assist you in identifying them.
[2.0] How to Play the game
o bj EC t of th E G AME
The object of the game is to survive as many u s. aircraft attacks as possible. There are three waves of incoming u s. fighters, bombers, and torpedo planes, broken down into four sub-waves (a-b-c-d) for a total of 12 attacking sub-waves.
o verall victory level is determined at the end of the game based on how many sub-waves you have endured before sinking. This level of victory may be shifted once in your favor for having shot down 3 u.s. aircraft points.
[3.0] Game Equipment
[3.1] Co M b At C h A rts
The single double-sided Combat Chart provides Charts [ y1] through [ y4] on the front, which are needed to conduct antiaircraft fire and the u s. aircraft attacks of various types (bombs, torpedoes, and strafing). The back side contains Charts [B1] to [B7] which provide information on specifically where the damage from the american attacks ended up and any effects (such as fires).
[3.2] yAMAto MAP
The map contains a graphical display of yamato in two parts the deck with the gun positions, and below decks (to track where torpedoes hit and flooding). The status of the entire ship is tracked here, to include hull damage, flooding, turbine engine damage, speed, miscellaneous damage, and fires. It also contains Charts [a1] & [a2], used to determine the composition and arrival side of each sub-wave.
[3.3] h ow to rEA d th E M A rk E rs
The Sinking Yamato counter mix provides markers to track the status of your ship and for resolving engagements. These markers may include information, such as die-roll modifiers, to facilitate play. an explanation of each marker type is explained below. status markers are used to track changing game conditions, such as flooding, Max speed, and Current Wave.
[3.3.2] Game Markers
aircraft:
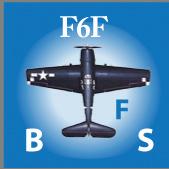
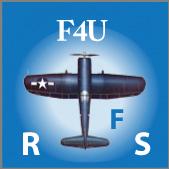
The various aircraft markers correspond to the types the americans used on april 7th, 1945. fighter fighter dive bomber torpedo
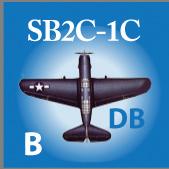
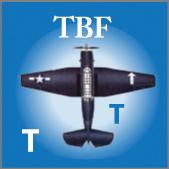
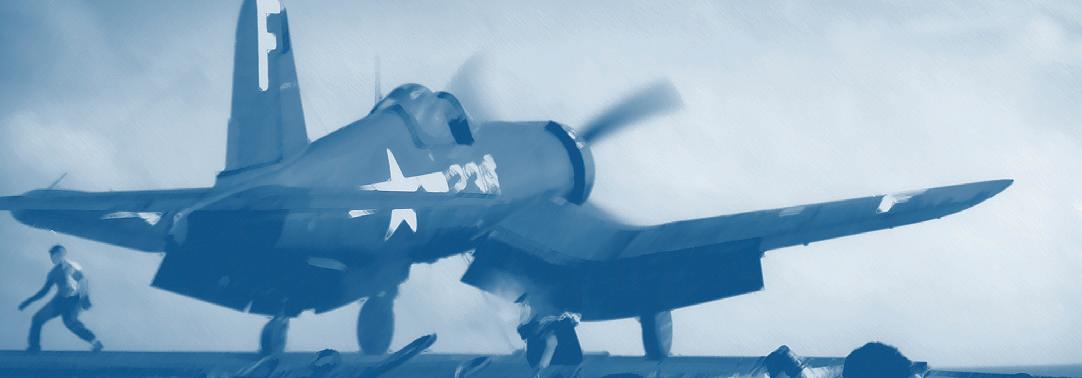
gun turrets and mounts:
The larger gun turrets (18" triple, 6" triple) have mounts that are “aimed” by facing the counter. This affects what areas can be covered by fire. facing for all other mounts is immaterial.
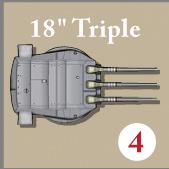
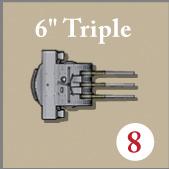
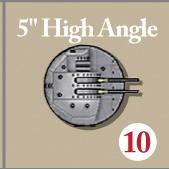
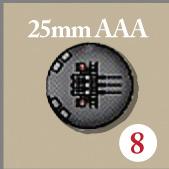
Damage and status:
damage markers are provided to track damage to various parts of the ship, and any fires that may occur.



[3.4] GAME Ch A rts
one 2-sided p layer aid Card contains the game’s attack charts for both aircraft and antiaircraft fire. The back side has detailed listings of where damage occurs on yamato when systems are hit. When a die roll is called for, each table specifies the die roll combination necessary, which in some cases may include each die representing a different place value. In such instances, use a colored die to distinguish place values. for example, on the Bomb attacks-Midships Chart [B6] for a roll of “1d6 + 1d6,” the first d6 represents the tens’ place value and the second d6 the ones’ place value. This means the result of a roll of 3 + 4 is a “34” and not a “7.”
[3.5] G AME sCA l E
each game represents roughly two hours (the historical length of the attack on yamato). each sub-wave, therefore, is roughly 1015 minutes in length. select markers represent groups of, specific gun turrets, groups of gun mounts crew members, damage status, flooding, and fires.
[3.6] PA rts Inv E ntory
a complete game of Sinking Yamato includes the following components:
one full-color counter sheet (9/16-inch counters)
one Rules Booklet with designer’s notes one p layer aid Card, 2-sided one operations Map
p layers will need to provide one twenty-sided and two sixsided dice.
If any of these parts are missing or damaged, please contact our licensed publisher:
Compass Games llC, po Box 271, Cromwell, CT 06416 usa phone: (860) 301-0477
e-Mail: support @compassgames.com
[4.0] Game Setup
G E n E r A l r ul E
p lace the following units on the map in their designated areas: 17 × 25mm Triple Mount counters (per the appropriate values), three 18" triple mount counters, two 6" triple mount counters, six 5" high angle mount counters, counter for Current Trim (l evel), Current list (l evel), Current speed (full), Max speed (f lank), two (or four) spare Crew counters, and possibly the spare damage Control Marker (if chosen.) p lace starting Wave counter on 1a.
p lace the six damage Control Teams in boxes a through f as you see fit. you may choose to stack them a maximum of two high. Note: most waves arrive from the Port side, but this is not guaranteed, and the teams can only move box per turn, either forward or aft, or to port or starboard. The gray number markers are used for tracking points of destroyed aircraft and can also be used to mark the total amount of Flooding(Aft) and Flooding (Fore) for tracking the need to counterflood [7.1.6].
[4.1] b Attl E Pr EPA r At I on: tr AI n I n G fo C us
The player chooses one of the four following options before play begins (i.e.no die roll required):
1. aa gunnery training. The player receives 3 Veteran Crews for his 25mm gun positions. Veteran crews fire with a -1 drm on Chart [ y1].
2. Large gunnery training. The player receives a Veteran Crew for a 6 inch gun position.
3. 5 inch gunnery training. The player receives one Veteran Crew for a 5 Inch gun position.
4. Damage Control training. The player gets a Veteran d amage Control Team that replaces a standard d amage Control Team. This team automatically puts out fires and automatically stops flooding.
[4.2] bAttl E Pr EPA r At I on: sPA r E r E sour CE s
The player chooses one of the two following options before play begins:
1 Extra gun Crews. The player will have four spare 25mm Triple Mount gun crews, not just two.
2. Extra Damage Control. The p layer will have a spare damage Control Team to replace the first one lost.
[5.0] How to Win the Game
G E n E r A l r ul E
a full game consists of completing american aircraft attacks through all 12 sub-waves. If you are still afloat at that point, it is
considered a Japanese victory. The game may end early if you are sunk before then.
[5.1] End I n G th E G AME
[5.1.1] The game ends upon completion of the final sub-wave (3d) as shown on the wave track.
[5.1.2] The game immediately ends, regardless of sub-wave, should you be sunk.
[5.1.3] once the game has ended, you can determine your victory level.
[5.2] dE t E r MI n I n G vIC tory
DEFEat: you are sunk on sub-wave 3B or sooner.
DRaW: you are sunk on sub-wave 3C or 3d.
ViCtoRY: you are not sunk by the end of sub-wave 3d. (within the limits of the game).
Note: Yamato’s sinking is a foregone conclusion, but this merely means you have delayed things long enough to cause the Americans some additional headaches.
[5.3] dE stroyE d A I r C r A ft vIC tory
lE v E l sh I ft.
your level of victory is adjusted one level higher should you be able to destroy at least 3 points of aircraft (of any type) during the game. Track this using the gray numbered counters in the “aircraft points destroyed” box.
[6.0] Sequence of Play
[6.1] GE n E r A l o utl I n E
Sinking Yamato adheres to a sequence of play for conducting her final voyage. The sequence revolves around waves of u.s. aircraft attacking yamato in discrete “sub-waves.” In between sub-waves, the player will be able to conduct various activities to replace 25mm gun crews, lessen or reduce damage and flooding, move damage control teams around the ship, change speed, and turn the larger turrets to prepare for the next sub-wave.
The following game play outline begins once the map has all markers placed (4.0, Game setup) and both Battle preparation choices have been made.
[6.2] G AME Pl Ay o utl I n E
The precise activities performed as outlined below are covered in the appropriate rules sections.
1. determine the inbound wave composition on Chart [a1] by choosing Historical, Historical (+) or by rolling for a random wave composition.
2a. Roll for Wave arrival side on Chart [a2] if starting a new wave. all four sub-waves will attack from this side.
2b. f lip all “aa f ired” mounts to their ready side. f lip all damage control teams face up. Remove “spare Crew” markers which have been placed and flip those guns to the “aa f ired” side. Check for f ire spread.
3. align your 18" and 6" turrets to face either port or starboard. perform this BefoRe rolling for Wave arrival side if your type 21 radar or your telephone exchange has been knocked out. (aligning your turrets automatically happens after you know which side they are arriving from on the first wave’s approach, as you have taken no damage yet.)
4. adjust your ship’s speed by one box, which cannot exceed the maximum at any given time. f lank speed applies a +1 drm to bombs, rockets and torpedoes, but does not affect strafing. However, it also applies a +1 drm to aa fire.
5. Roll 2d6 for each aircraft point in the current sub-wave. This is the area of the ship they are attacking. p lace each aircraft point in the corresponding aircraft approach box on the arrival side (port or starboard).
6. allocate all aa fire to specific plane counters from guns that can fire in the direction of the attack, then resolve in any order you desire. The implication is that once dedicated to fire at a certain plane, you cannot switch to a different target if that plane counter has been hit.
7. f ighters bomb (if f6f) [ y3] or fire rockets (if f4u) [ y4] to start their attacks in the “a” sub-wave. Both of these types of attacks are at +1 drm. Then they strafe normally [ y4]. In the “b” sub-wave, the fighters that did not suffer a loss return to strafe only (as their larger munitions are gone) [ y4]. any reduction in their attack results caused by aa fire applies to both types of attacks. f ighter counters that suffer an “aircraft” loss result (not just an R# result) do not return to strafe only (noted as “l ess de a/C” on [a1]).
8. dive bombers (sB2C-1C)[ y3] and torpedo bombers (TBf) [ y2] each only conduct a single attack.
9. at the end of each sub-wave, the player may perform the following actions:
a. They may move damage control teams one box up or down, or left or right. f lip to the “used” side.
b. They may use a damage control team to prevent one point of flooding or may use the team to put out a fire in their current location, both successful on a 1d6 roll of 1–4. In either case, flip to the “used” side.
c. They may adjust yamato’s current speed one box, either up or down, but not above maximum.
d. They may replace 25mm Triple Mount crews that have been strafed if they have spare crews remaining. notice you cannot replace crews of 25mm Triple Mounts if they were bombed (the gun position along with the crew are destroyed).
e. They may counterflood (7.1.6) to stop yamato from listing, and to even up her trim. every two boxes of unbalanced flooding cause a point of list or trim, which affects the ability to fire aa. If, after counterflooding, the ship has a Current list or Current Trim marker is still in a “Capsize” box, yamato sinks and the game is over.
10. a fter all aa fire and american attacks are done in a sub-wave, and Japanese responses per s tep #9 above are complete, advance the Current Wave marker to the next
box and return to s tep # 2b. If completing a “d” sub-wave, return to s tep #2a instead.
11. Repeat this process until all sub-waves are complete. Then, determine your level of victory (5.2).
[7.0] COMBAT
[7.1] Co M b At G E n E r A l Pro CE dur E s
Combat is resolved for each sub-wave by rolling for what attack box each aircraft is placed in. Then, aa fire is allocated from all guns that can fire at that particular location. aircraft then strafe, bomb, fire rockets, or drop torpedoes as appropriate.
[7.1.1] antiaircraft Fire.
yamato had been upgraded to over 150 25mm aa guns to complement her 12 5" high angle guns, her 6" guns, and even her 18" main guns (which had a special “beehive” incendiary round for use against aircraft). unfortunately, these systems were all fairly ineffective.
In the game, results from aa fire merely reduces the amount of hits inflicted by the aircraft counter it targeted. for example, an “R1” result means an aircraft point that inflicts three bomb hits only actually inflicts two bomb hits, or a strafing result of two crew only actually kills one crew, etc. These results stack, so that an aircraft hit twice for an R1 will reduce its damage by two points. f inally, a “+aircraft” result means the number of plane points shot down increases by “1” in the box on the map for victory purposes. an aircraft point that takes such damage still attacks during this sub-wave remember each plane point is roughly 20 aircraft.
[7.1.2] aa targeting.

Gun turrets and batteries have restrictions on who they can shoot at. large turrets (18” and 6”) only fire to the bow or stern (wherever they are located in), and only to the side they are currently facing (port or starboard). all 17 of the triple mount 25mm guns can only fire to port or starboard, with the exception that #17 can shoot either direction. additionally, 25mm triple mounts and 5" gun mounts can only shoot at aircraft attacking from the section they are located in (stern or midships) with the exception that 25mm triple mounts #1 and #2 can fire against bow targets on their side of the ship, and mounts #11 and #12 may fire at stern targets on their side of the ship.
[7.1.3] strafing Damage.

damage from strafing (or Rocket attacks, which also use the [ y4] strafing Chart) involves getting a number of crews from the [ y4] result and then rolling 1d20 for each crew result [B7], removing the counter for the numbered 25mm Triple Mount of the corresponding number to denote that its crew has been eliminated and therefore cannot fire (ex: [ y4] result of 2 Crew, roll twice on [B7]). Note: You can have a crew get strafed and replace it (7.1.9), only to have it strafed again (or bombed). C’est la guerre.
[7.1.4] Bomb Damage.
d amage from bombs is specifically located using Charts [B2], [B3], and [B6] depending on where was attacked. a fter determining exactly what was hit, put a damage marker on it. any gun turrets or mounts are destroyed along with the crews. use [B4] for gun hits and [B5] for non-gun hits to see if a fire is caused. f ires can only be put out by a damage Control Team in the appropriate section of the ship bow, stern, or midships. f ires on deck have an additional restriction in that the damage Control Team has to be on the correct side of the ship (port or starboard). Check for fires to spread in section 2b. of the sequence of play fires in the Miscellaneous Bomb damage section move to a random adjacent damage box on the display, while fires on deck spread to the closest gun mount (random if multiple options, but not 6" and 18" mounts) If fires in the Miscellaneous Bomb damage section are active in all 12 boxes, the fires are out of control and the ship is immediately abandoned, ending the game.
[7.1.5] torpedo Damage.

damage from torpedoes is specifically located using Chart [B1] on the proper side (port or starboard). each hit does one hull damage. Torpedoes also automatically create a point of flooding unless a damage Control Team is assigned to fight it. The maximum flooding that can occur to a section of hull is two, so additional torpedo hits to a section with two flooding already does no additional flooding. such hits still cause hull damage at the rate of one per hit, however. Torpedo hits in sections 11, 12, and 16 require an additional die roll to see if an engine or the rudder has been hit. each engine hit reduces maximum speed by one box, and each four points of flooding does the same. p layers should track the overall flooding on the f looding Track. If it reaches the final “sunk” box the game ends.
[7.1.6] Counterflooding.

If all flooding boxes are filled, the next flooding point moves the marker to the “sunk” box and yamato sinks. However, if you have taken a lot of damage to the bow, you may want to consider counterflooding the stern so as to even out the trim. If you have taken a lot of flooding to the port side, you should consider counterflooding the starboard side. Counterflooding means to intentionally flood your ship to “straighten” her up. This will allow you to remove drm’s that will impact on your aa fire. obviously, at a certain point, counterflooding will just get you closer to sinking, so you must be judicious in deciding when (and how much) to counterflood. each two boxes of unmatched flooding causes a point of list or trim. for example, you have taken three points of flooding on your port side. you can counterflood two boxes on your starboard side, removing the list. If you have taken five points of flooding in your stern boxes, you can counterflood four boxes to the bow, removing the trim problem. you don’t have to perfectly balance things out just get within one box of the heavier side (or end) of the ship.
[7.1.7] Hull Damage.
When a torpedo or bomb hits, it causes a point of Hull damage. Track this on the map’s Hull damage Track. When the Hull damage marker reaches the final box, you check for sinking. on a

1d6 roll of 1–2, you sink. If still afloat, put a “1” marker on the box. next point of Hull damage, roll again. sinking occurs now on a 1–3. If still afloat, change the marker on the final Hull box to a “2.” next point of Hull damage, roll again, and now you sink on a 1–4. each point of Hull damage that is survived adds “1” to the box and you roll until you sink (or it is impossible to avoid sinking). Bomb hits to midships are not Hull damage, only bomb hits to the Bow or stern.
[7.1.8] Damage Control team Losses (DC Results).
some results from strafing and torpedoes, or more commonly from Bombing, include a number and a “+dC” result. This means a damage Control Team is removed from play. If you have chosen the option of having a spare damage Control Team, this is simply ignored the first time it occurs and you remove the spare damage Control marker from the map. otherwise, roll 1d6 to randomly remove a team (1=a, 2 =B, etc.). If you roll to remove a team that is already gone, treat as no effect. If an aircraft’s damage has been reduced by aa fire, only the actual damage is reduced (you cannot choose to ignore the dC result. It will always occur, even if the aircraft is reduced to zero hits).
[7.1.9]
Replacing 25mm Crews with spares.
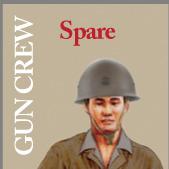
The player has two spare crews for his 25mm gun mounts (possibly four, if that option was chosen). you may replace crews when desired (unlike damage Control Teams, where the first one gone is replaced.) If you decide you want to replace a crew, put the spare Crew marker on top of the gun mount that lost the crew at the end of a sub-wave. at the start of the next sub-wave, remove the spare Crew marker and flip the gun to the “aa f ired” side. They will then be ready to fire again the next sub-wave after.
Note: replacing 25mm crews should be done judiciously. There’s not a lot of firepower at the stern, so a “4” firepower there might be better to replace than a “6” or “8” midships. On the other hand, replacing crews depends a bit on where your losses have been, and heavy crew losses in a specific sector might warrant replacements.
[7.1.10] ammunition Use.
ammunition use is not tracked in the game per se, as yamato carried large stockpiles and had just left port. The u.s. aircraft are limited to one Rocket, Bomb or Torpedo attack per aircraft counter per sub-wave.
[7.1.11] specific Damage Effects.
some boxes in the Miscellaneous Bomb damage display have specific combat effects. If the flooding Control box is hit, only 2 hull boxes may be counterflooded per sub-wave. If either the Telephone exchange or Type 21 Radar is hit, you will not have advance warning of which side (port or starboard) the next wave is coming from.
[8.0] OPTIONAL RULES
[8.1] M ult IP l AyE r
despite the fact that Sinking Yamato is designed as a solitaire game, it can be played competitively by 2 players. one player should control the yamato and the other the u.s aircraft. The u.s. p layer can then write down secretly his Inbound Wave scheme

