Studio Light Shading Device
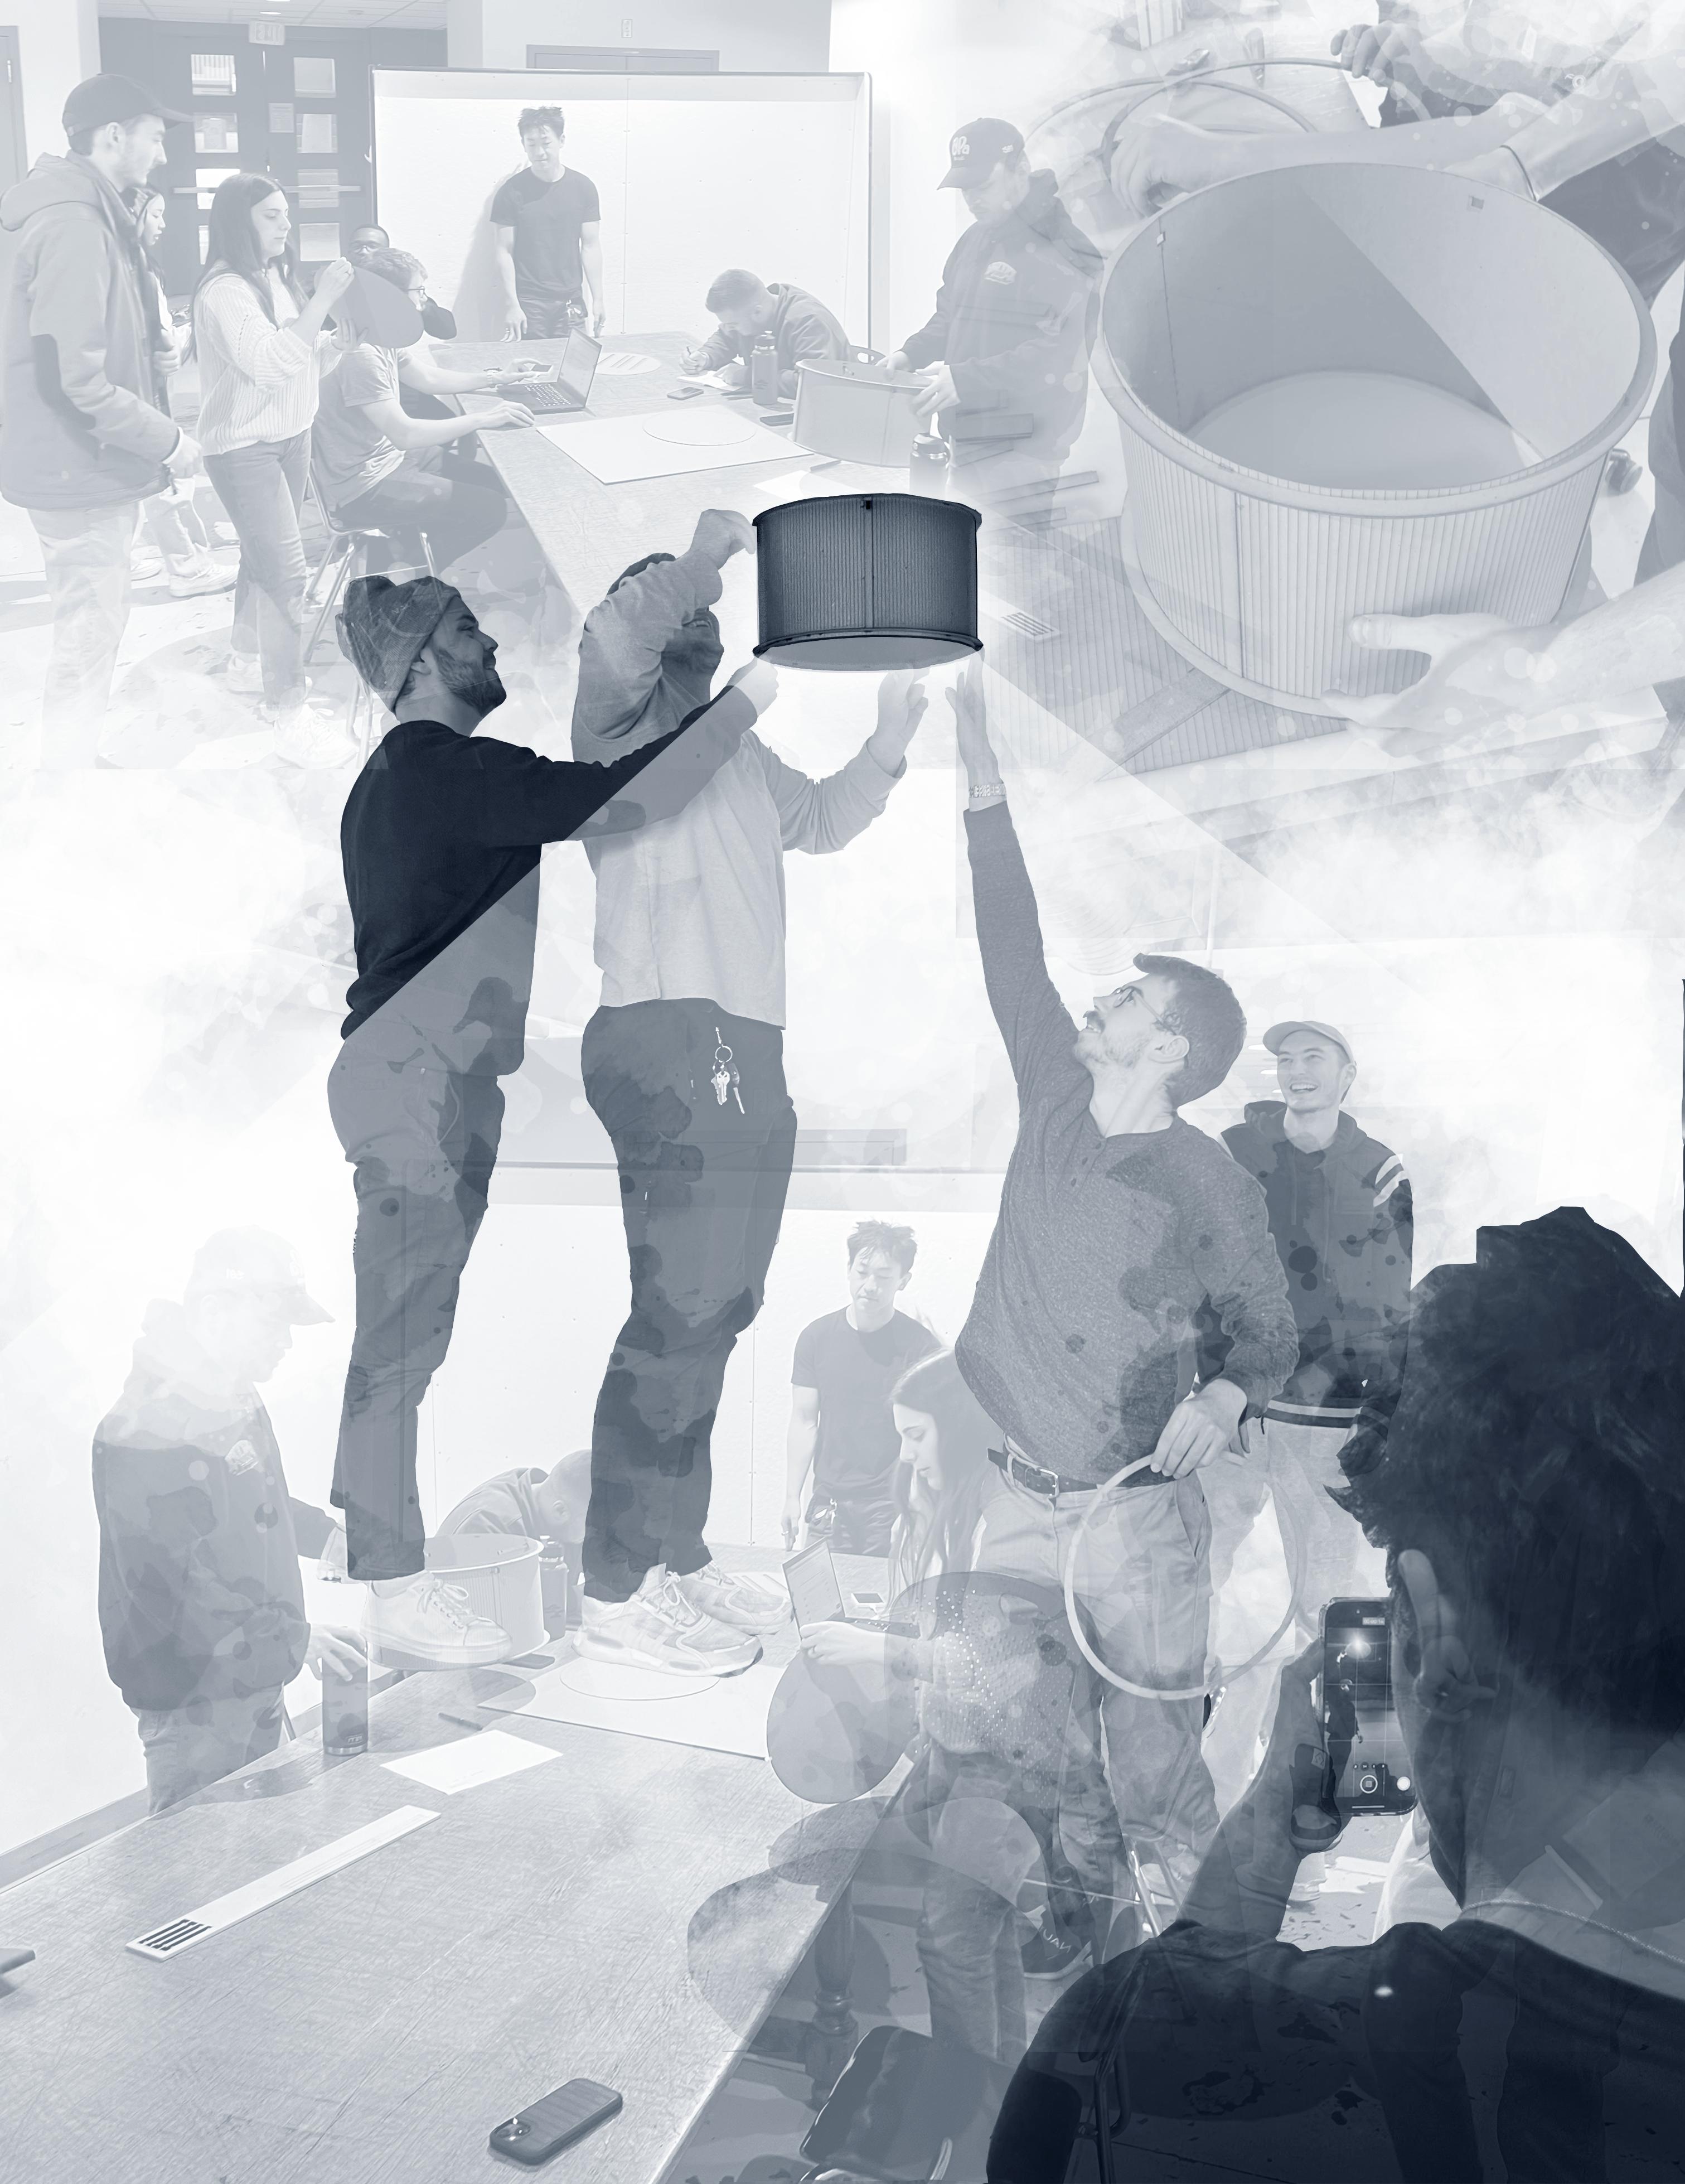
Collaborative Design Class Changing
Self-Collab Design

Studio Light Shading Device

Collaborative Design Class Changing
Self-Collab Design
Student Team:
Gabe Blake
Alex Chin
Jared Cooney
Ivan Kadurov
Robbie Gaskins
Alyssa Hill
Timeus Mulinge
Laura Pease
Charlie Perechinsky
Quincy Thomas
Amber Vuong
Mel Wilson
Studio Professor:
Ignacio Cardona
2024
List of Figures
INTRODUCTION
Preliminary Voting Existing Conditions
Resea RC h & aN alys I s
Student & Faculty Surveys Consensus & Findings
Des I g N P ROC ess
Form & Design Testing
Fabrication Design Testing
Des I g N Im P leme NT a TION
Photos from Assembly
KIT OF P a RT s ma NU al
Figure 1: Class rubriC Created by students
Figure 2: student taCtiCal intervention #1
Figure 3: student taCtiCal intervention #2
Figure 4: student taCtiCal intervention #3
Figure 5: student taCtiCal intervention #4
Figure 6: student taCtiCal intervention #5
Figure 7: student taCtiCal intervention #6
Figure 8: survey Question #2 What grade level are you?
Figure 9: survey Question #3 What about studio Would you liked to see Changed?
Figure 10: inFo-graphiC displaying perCentage oF students Who believe lighting is a CritiCal issue
Figure 11: student ansWers to survey regarding taking personal aCtion to Change the lighting Condition
Figure 12: image Carousel oF FabriCation team assembly round #1
Figure 14: image Carousel oF FabriCation team assembly round #3


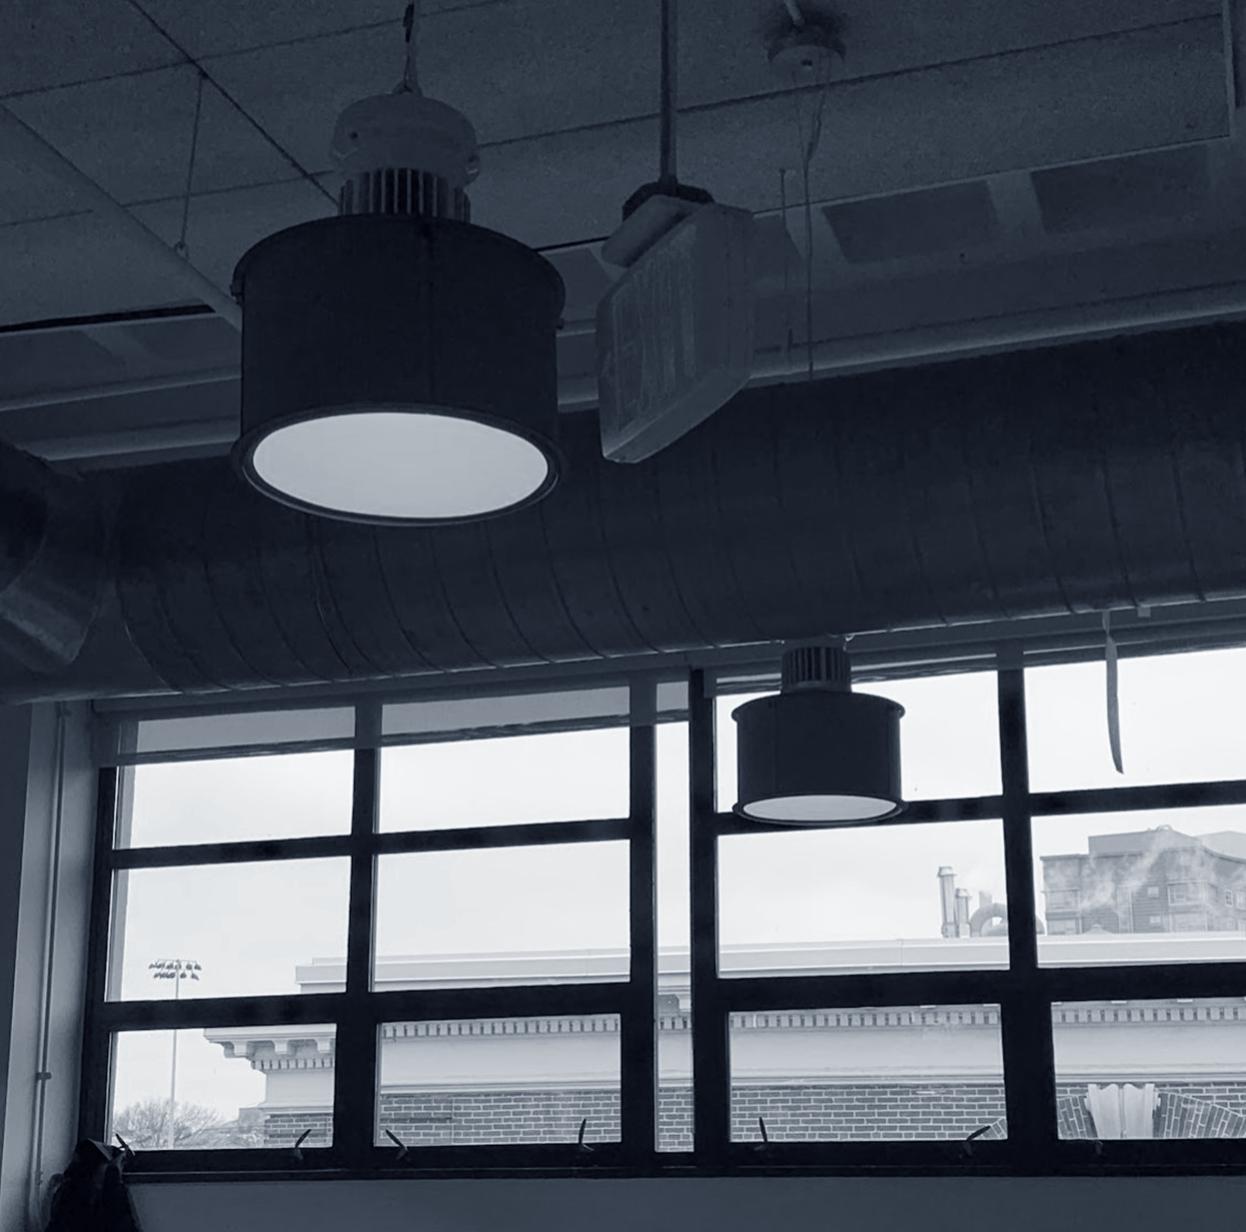
As a class, we came to the consensus to develop a light shade that mounts to the existing lighting fixtures to mitigate and disperse the harsh lighting. However, we had an extensive exploratory process where students creating a smorgasbord of ideas. Many included tactical interventions around Wentworth’s campus and expressing school identity, while others were steps into the community of Mission hill or other neighborhoods of Boston.
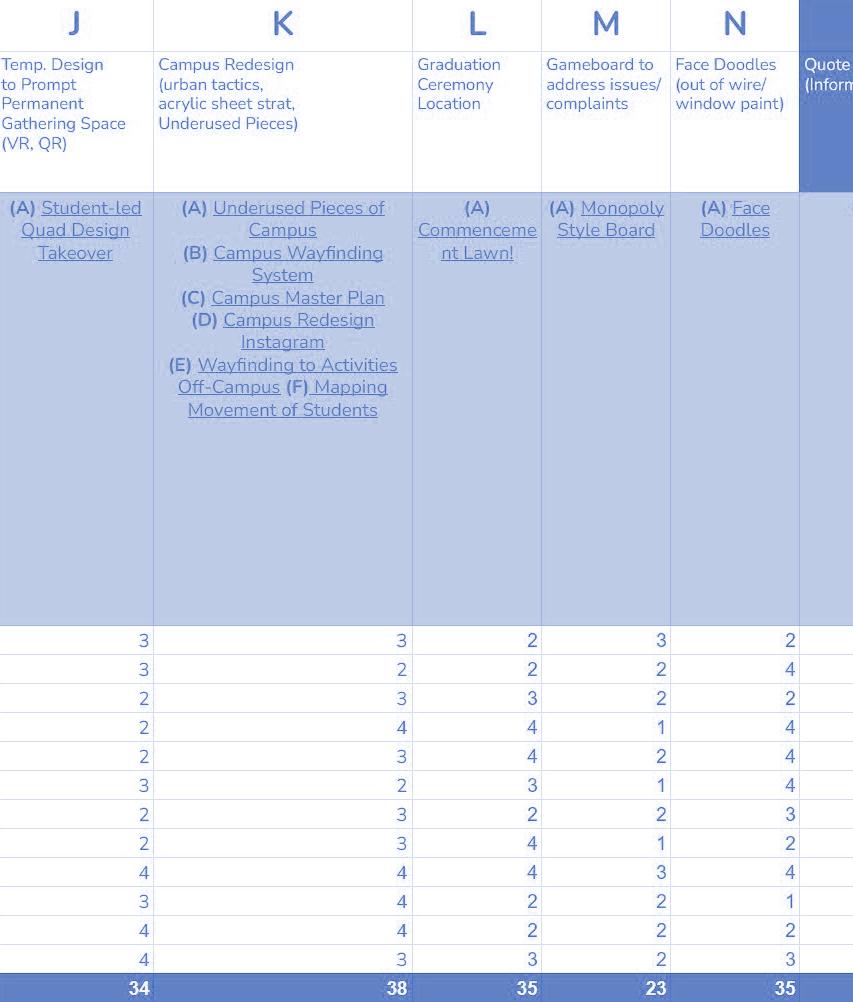
Once coming to the conclusion that we as a class would design and implement a shading device, also determined by the polls taken via Google Forum, more data for the existing conditions of studio were collected. We found that many different tactical solutions are present in studio, and we have created a catalog that identifies the most trending iterations.
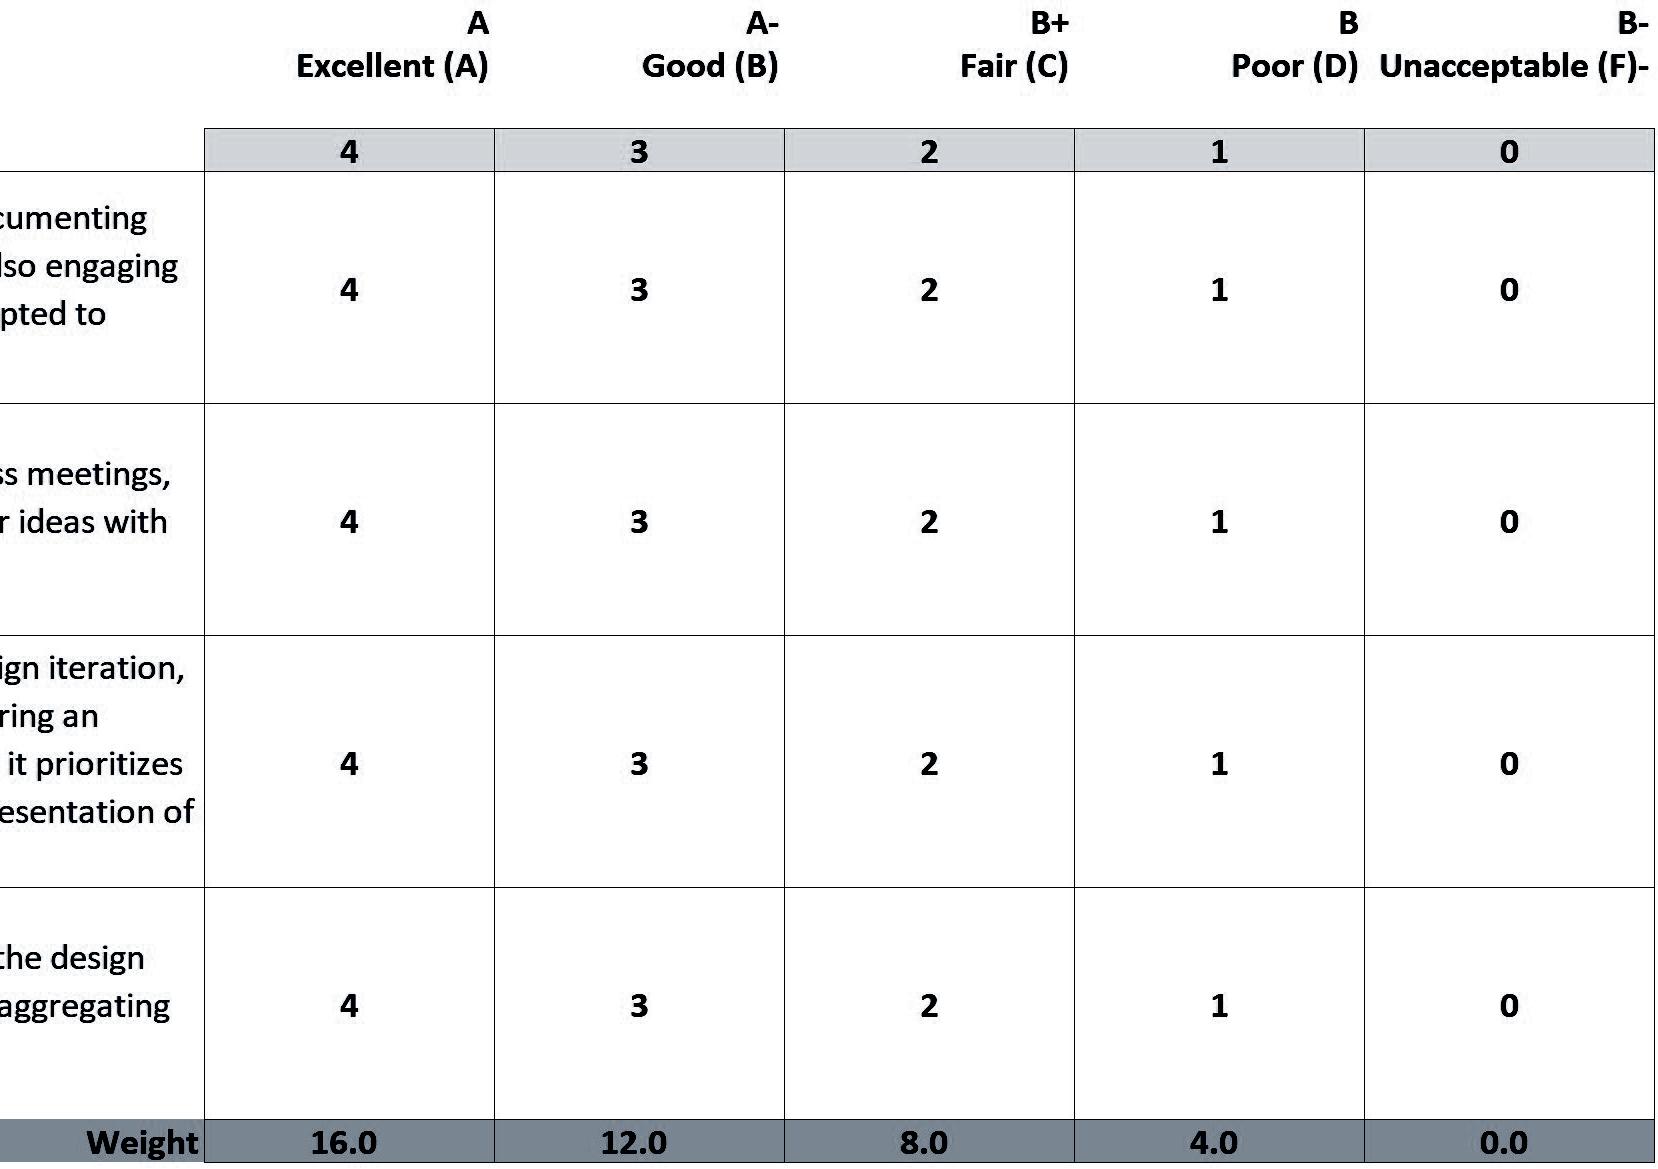
With the purpose and goal of this implementation in place, we needed to establish a baseline rubric for each of us team members to be graded upon.

Objective: In teams, students will design a modular lighting system that can be customized to meet the unique lighting challenges of different studio spaces. The system, based on a kit-of-parts, should be scalable, replicated, sustainable and adaptable, incorporating feedback from the student body and insights from weekly lectures. The project emphasizes innovation, practicality, and community engagement, aiming to enhance the studio environment and promote a sense of ownership and creativity among students.



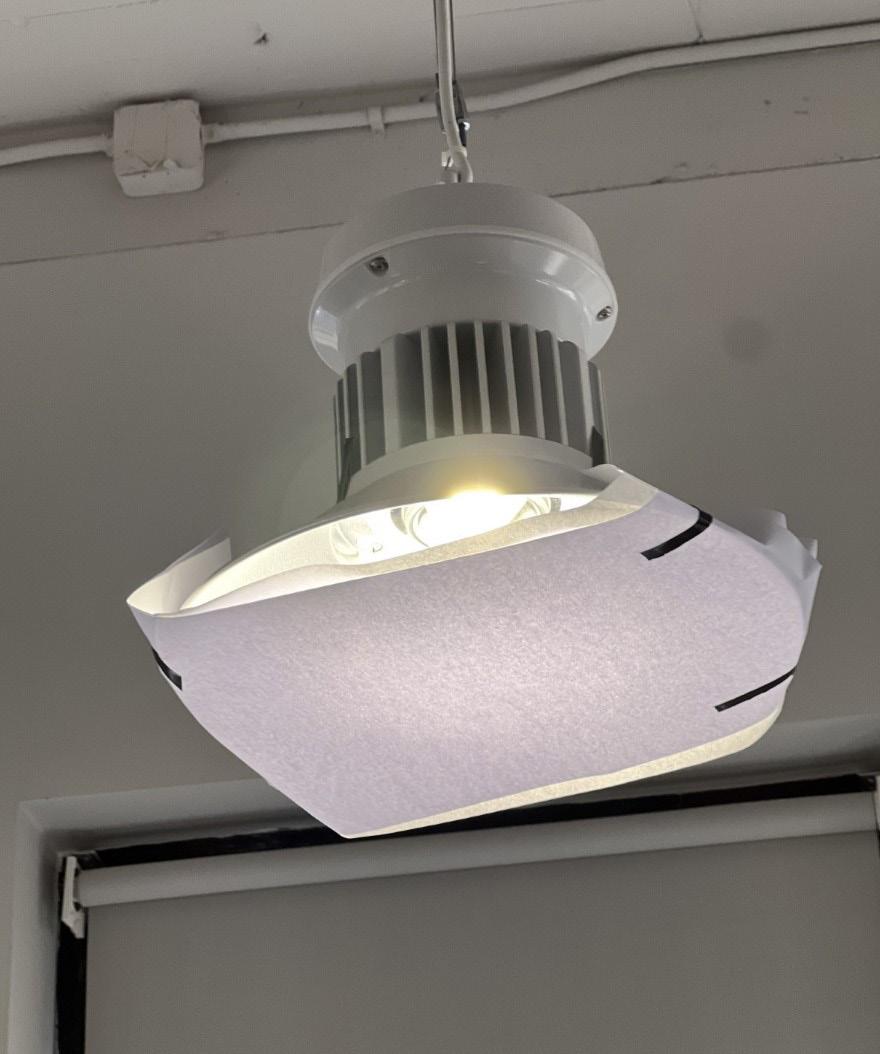
Current light fixture system implemented by students on the second floor of Annex North. Materials used are tape and trace paper. Weaknesses; severe gaps on the side. Strengths: Light is heavily filtered. A very simplistic design but accomplishes the desired goal

Student light fixture adaptation of Annex North on the second floor. Materials utilized are two pieces of trace paper and tape. Weaknesses: There are multiple gaps between the sheets of trace letting light through. Strengths: Light is filtered to a comfortable level. A unique take on trying to solve the issue, that again is effective but quite crude.

Another student intervention on a light fixture in Annex North on the second floor. The materials used were tape and a large piece of trace paper. Weaknesses: The trace paper system here is flawed, with a lack of a strong connection with the tape, it has allowed for the trace to fall off half of the fixture, letting a significant amount of direct light through. Strengths: light is still partially filtered. A rather unsuccessful attempt at solving the direct lighting problem; perhaps this can inform design, thinking about simplicity but effectiveness and beauty

A student intervention on a lighting fixture on the second floor of Annex North. The materials used are several pieces of tape and a circular sheet of paper. Weaknesses: the tape strength and integrity failed, which caused the paper to fall out of place, allowing all the light to shine through. Strengths: The design is unique and if executed correctly could be potentially highly effective.

Another student intervention of a light fixture on the second floor of Annex North. The materials that are utilized in this design are two sheets of trace paper and a few pieces of tape. Weaknesses: The design looks sloppy and not well put together. Strengths: the lighting issue is solved here by solid light filtration.

A student design intervention of an overpowering light fixture on the second floor of Annex North. The materials used are one piece of trace paper and a few pieces of tape. Weaknesses: the design issues are the lack of coverage on the side of the light fixture where the trace is not attached. Strengths: Most of the light is filtered.

The following data was gathered by the outreach team in an effort to understand the current representation in opinion of the student body. A poll was sent out through google forums asking anyone - students, professors, and guests aliketo take five minutes and evaluate the working conditions of Annex North’s top floor of studio. The questionnaire came back with an overwhelming number of responses, more dominantly by the Masters students.

What Grade Level Are You?
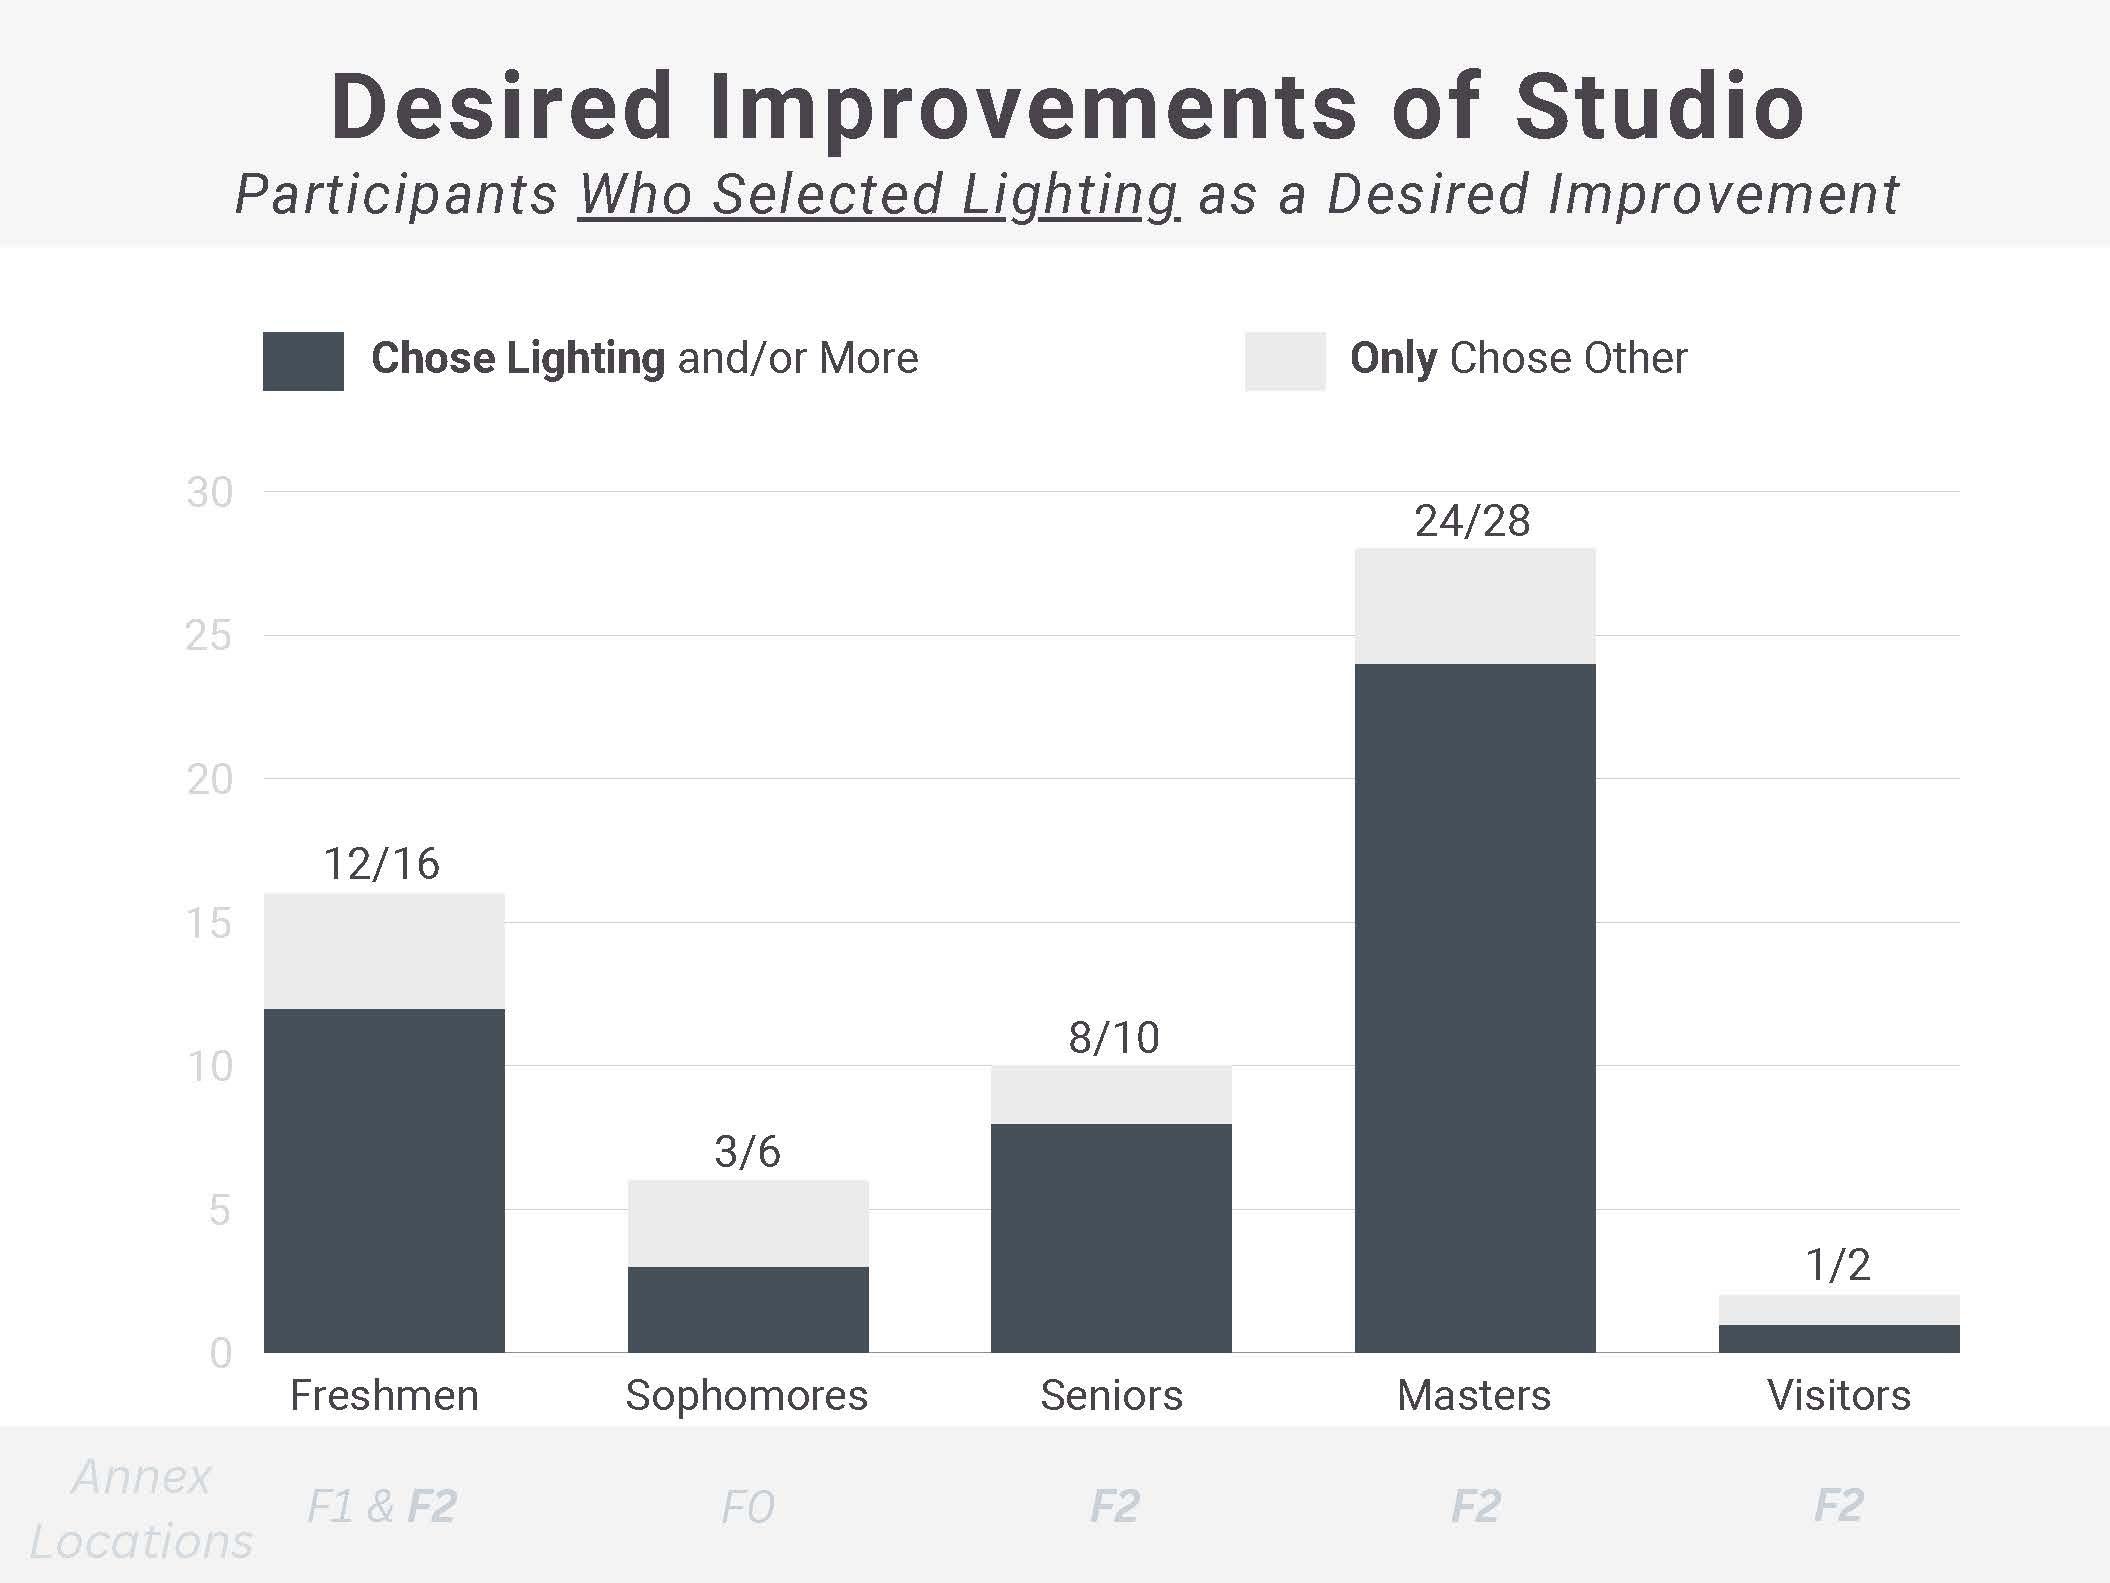
What about Studio Would You Liked to See Changed?
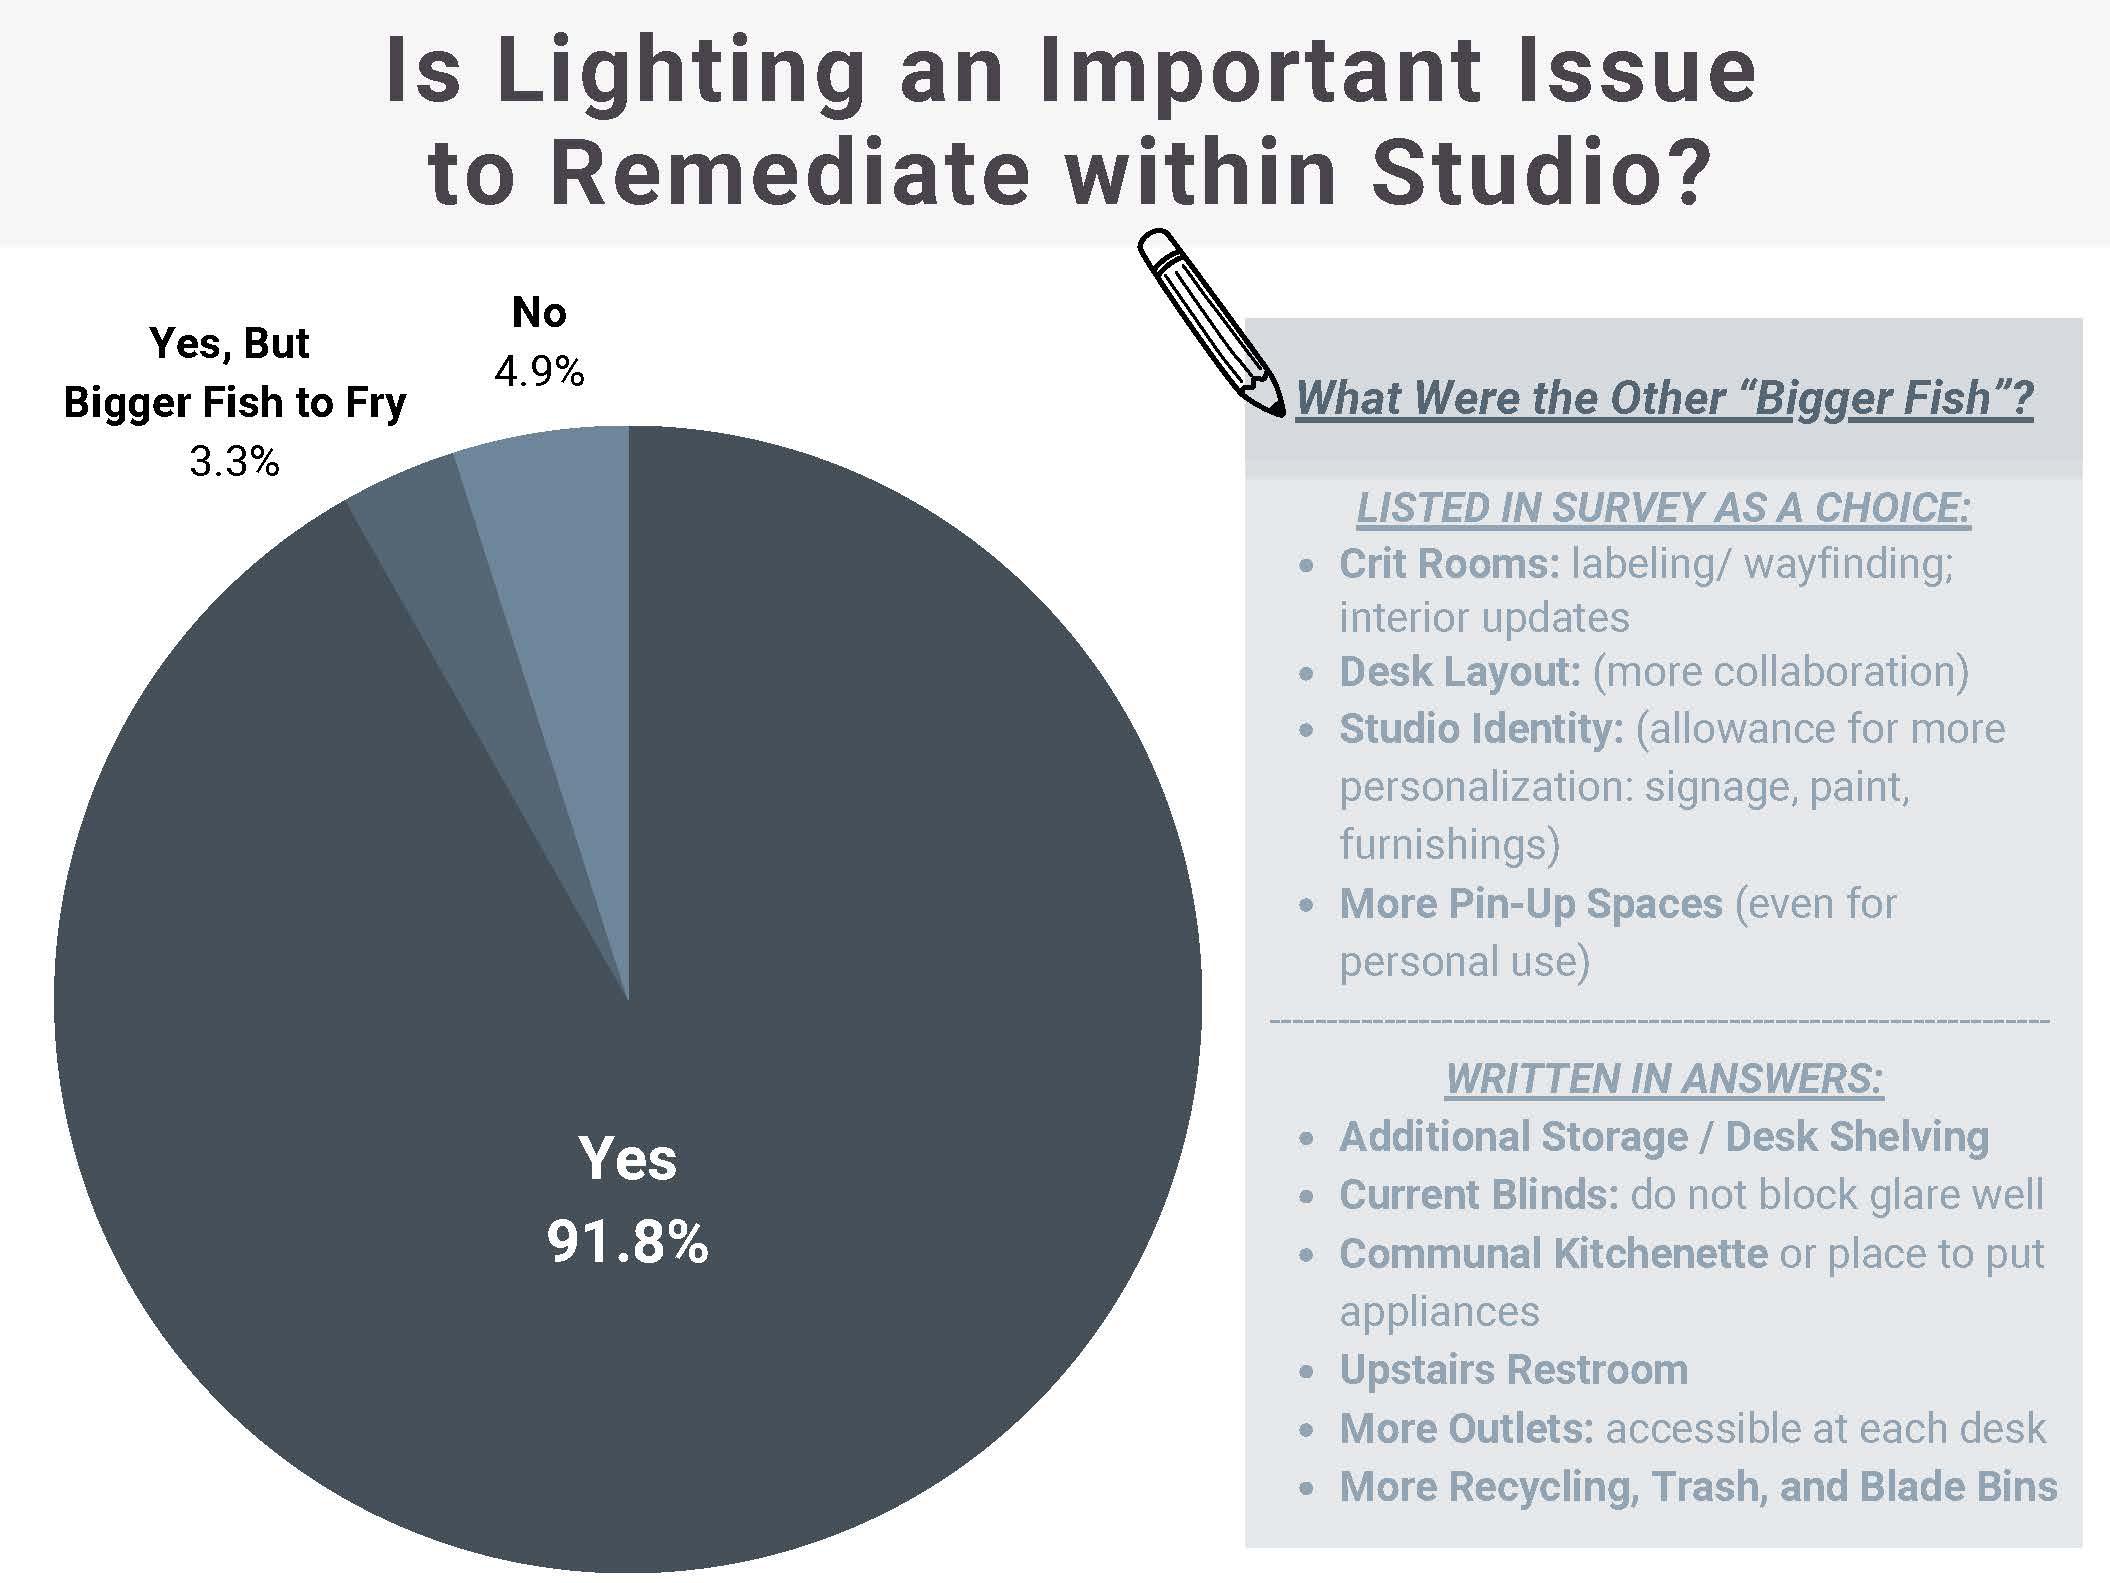


3 Fabrication Design Process
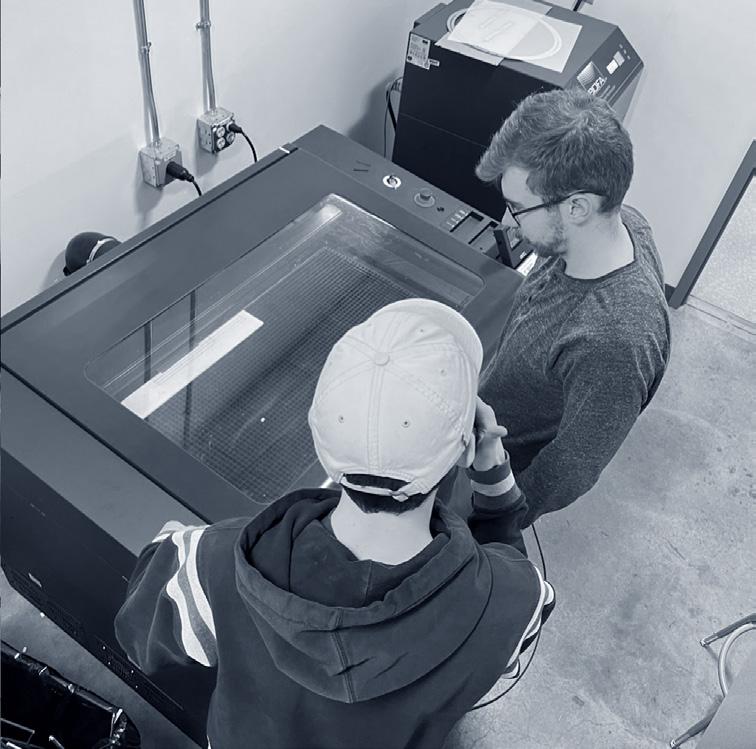
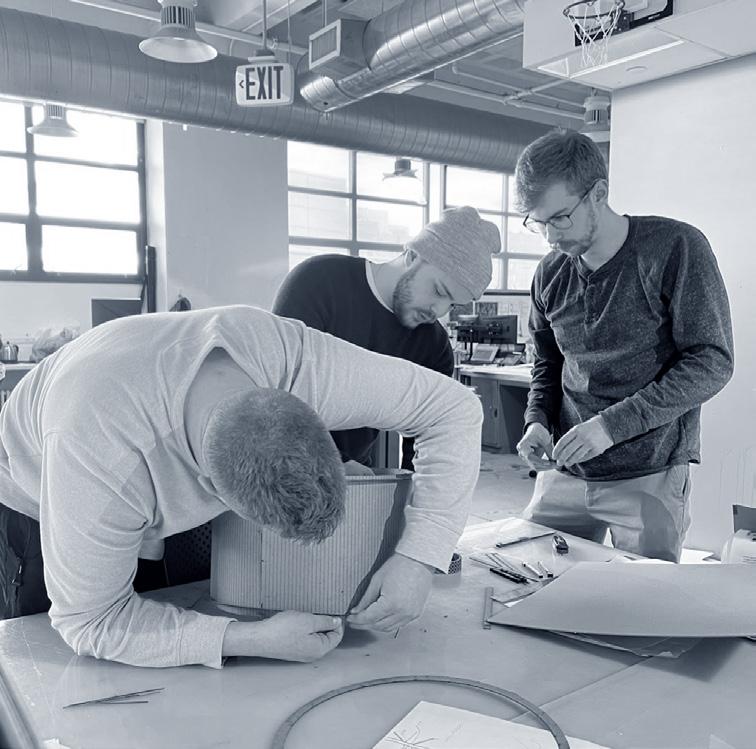
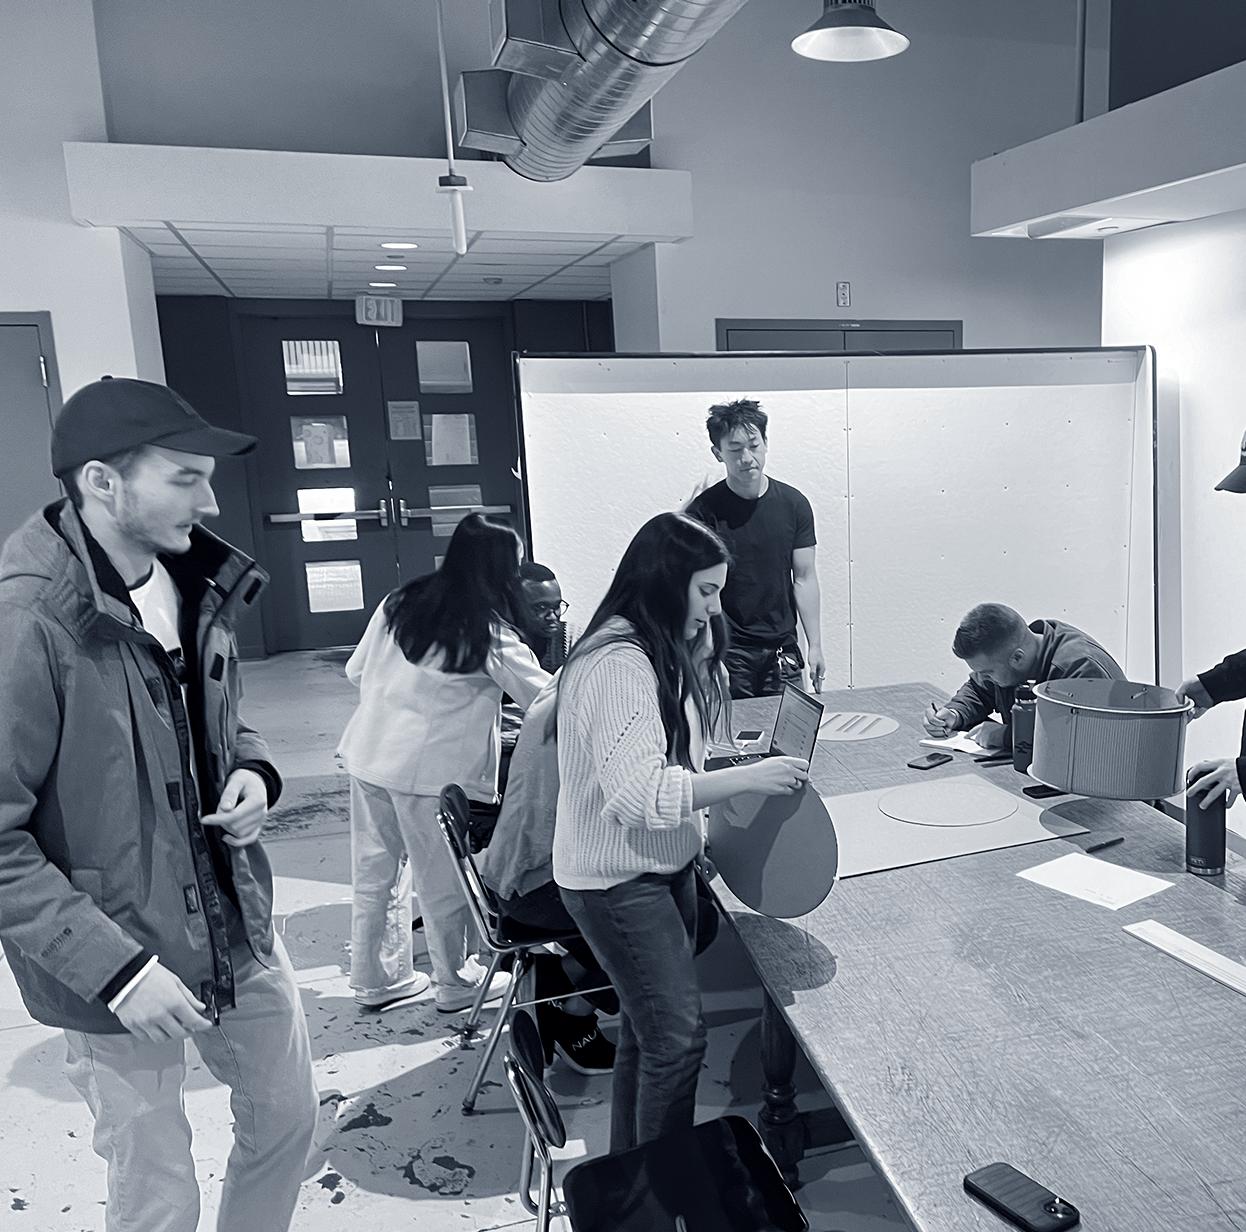
It was importance to the Fabrication team that this design could be easily replicated and fabricated for any future student to produce and assemble. This required simplicity in the final design, and a kit of parts straight forward for anyone to pick up and duplicate. The following is a montage of the three trials endeavored b the Fabrication team to achieve the perfect culmination of function and fashion.



Design Development


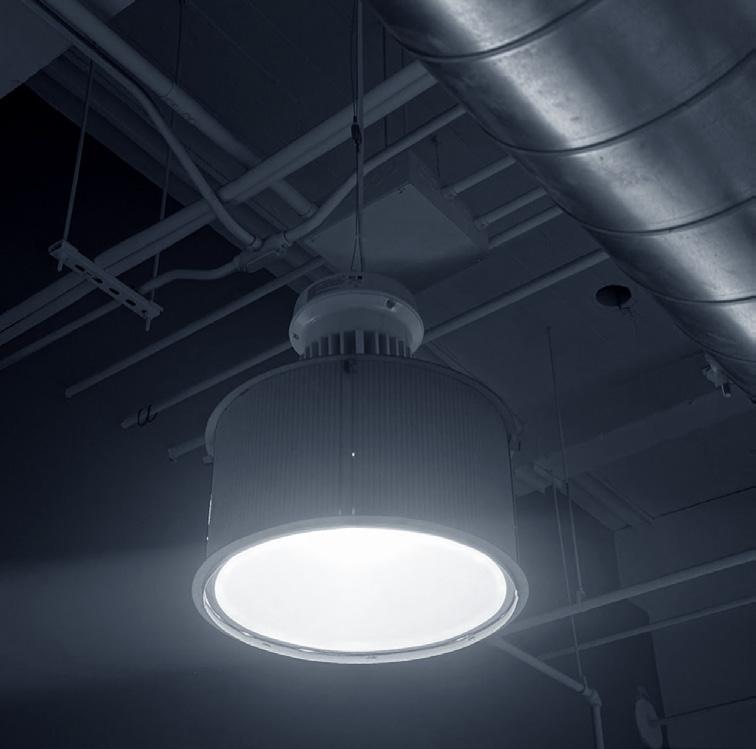

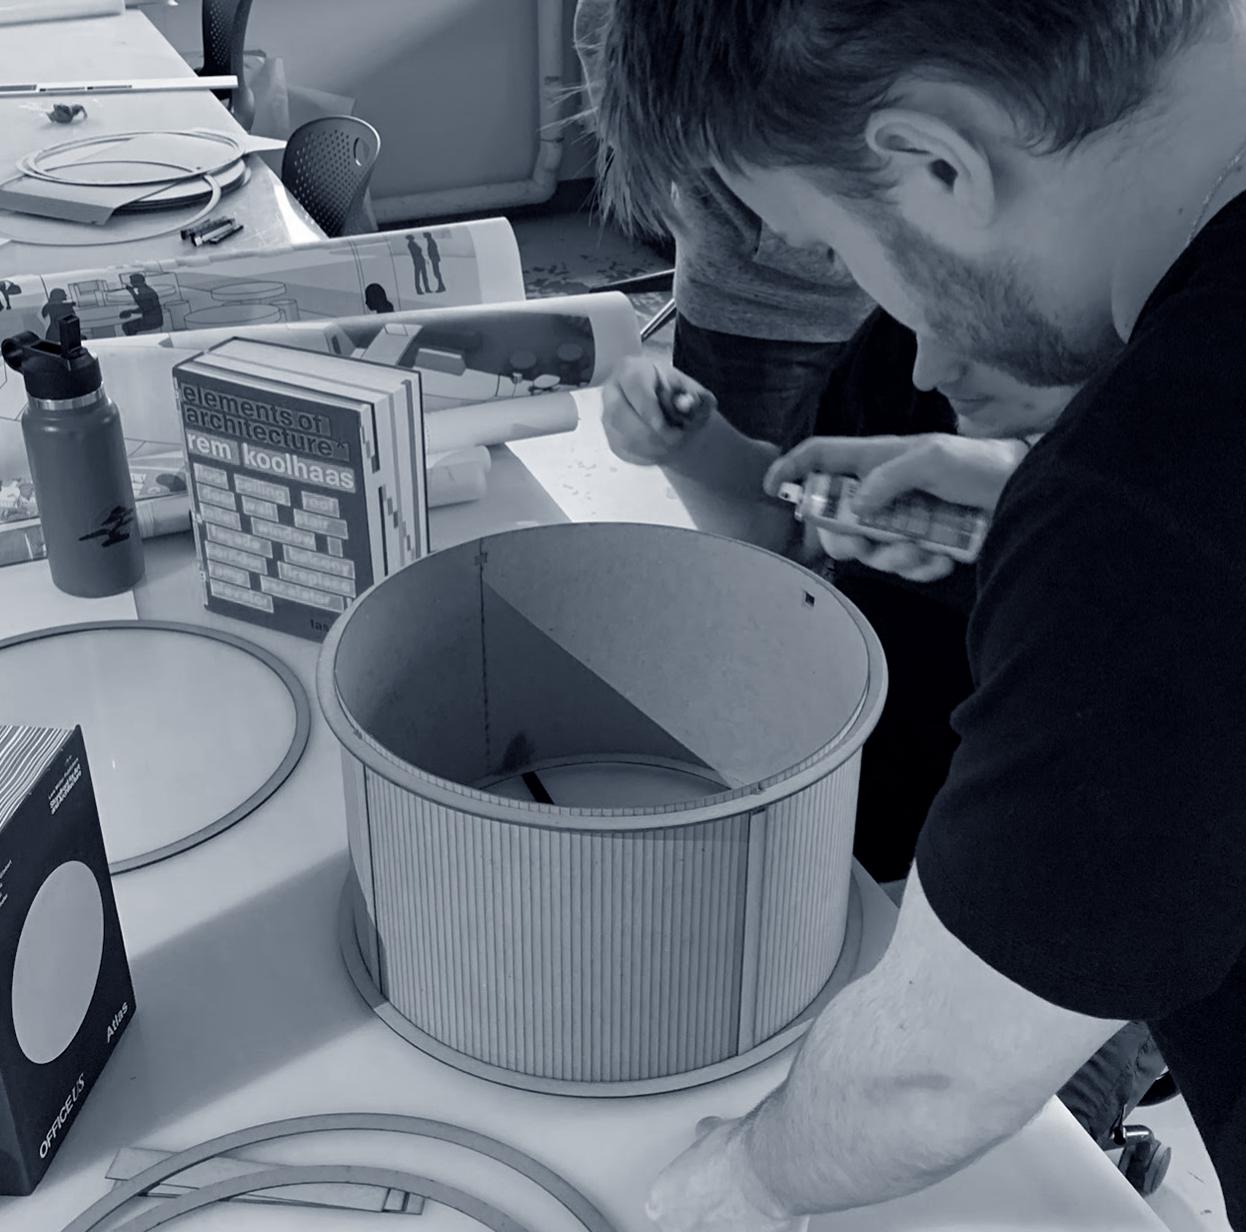


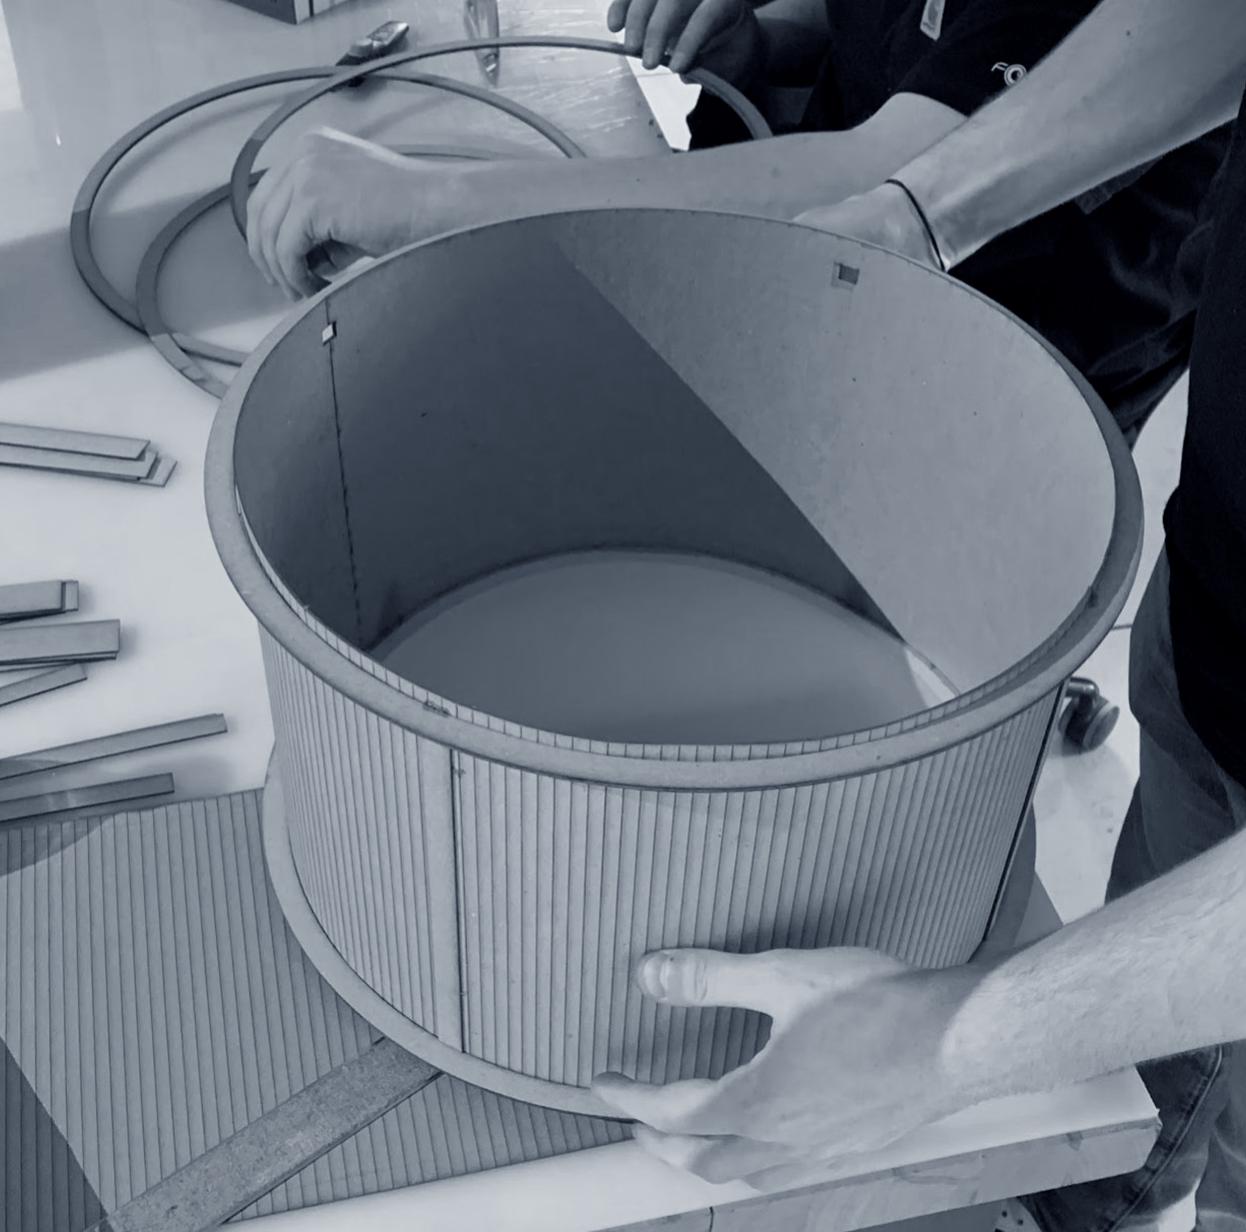
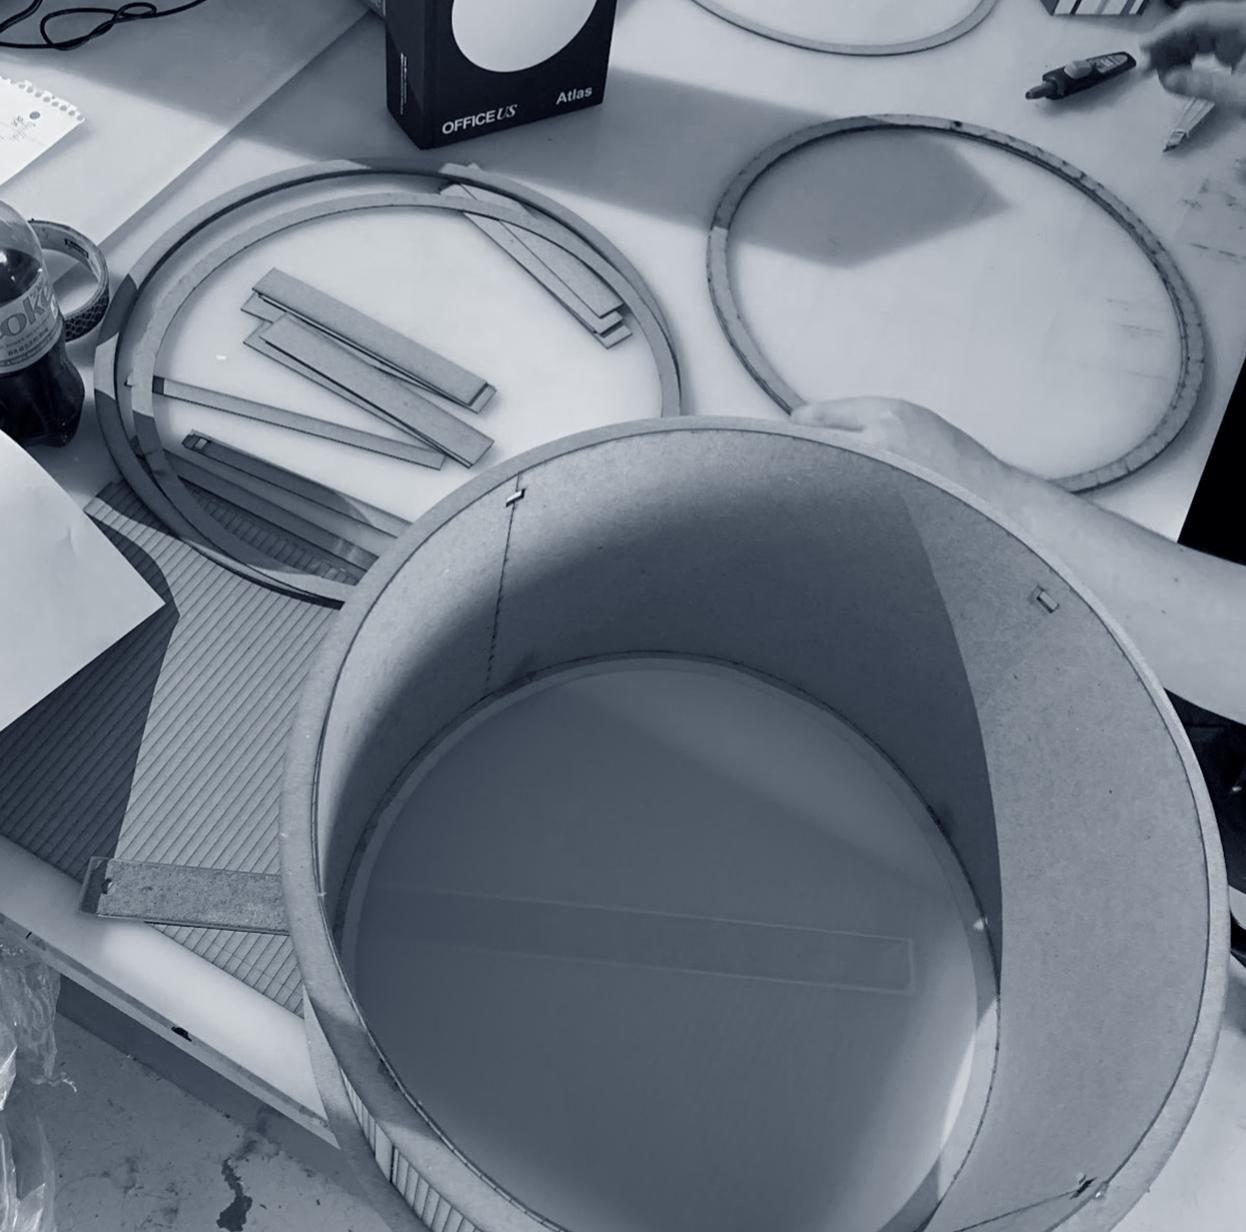


The final design was the manicured version of the provisions made during the iterative design process. The lamp shade design takes advantage of the most commonly used material in studio: chipboard. The material qualities of chip board serve its purpose as a structure for a diffusing shade device, but also permit it’s structure as a scaffolding for designs to be mounted as8 an ornament on top. The dimension of the shading device was specifically chosen as 8.5” by 11” for a student to print out an image and slot the letter sheet onto the face of the shade.
WORMSEYE AXON
8.12” = 1 : 2 : 2 PLAN | SCALE = 1 : 2
DETAIL | SCALE = 1 : 20




Kit of Parts Assembly
The following chapter is meant to act as an Assembly Manual that prescribes the kit of parts required to assemble a singular lantern. The Manuel describes the materials and fabrication steps required to properly put a lantern together.
(x3) 1/16” thick (24” x 36”) Chipboard
(x1) Plank of 1/4” thick Basswood
(x1) Matte Dura-Lar Film
1
5 2 6 3 7 4 8 LASER-CUTTING INSTRUCTIONS
Download laser cut file(s) found in the same folder
Use (x3) pieces of chipboard to laser cut:
(x4) structural rings
(x1) inner ring
(x4) structural strips
(x2) lantern body pieces
Use plank of wood to laser cut (x4) pin fasteners
Hand-cut the Dura-lar film with a diameter of 14 ¼” (or large enough for the film to lay flat on top of the inner ring)
1 5 2 6 3 4
Take (x2) of the structural rings and glue them together.
Repeat with the remaining two structural rings
Take (x2) of the lantern body pieces and gently bend them (with the scoring side facing outwards). Then glue the edges together
Align and glue each structural strip to the holes found on upper edge of the lantern body (ensure that the holes of located toward the top)
Glue the Dura-lar film on top of the inner ring
Place the inner ring + Dura-lar film inside the lantern body and glue it toward the bottom section of the lantern
Look for the horizontal lines found on the scoring side of the lantern (upper and lower)
Take one set of structural rings and align the bottom surface of the rings to the upper horizontal line. Then glue it in place
Take the other set of structural rings and align the top surface of the rings to the bottom horizontal line. Then glue it in place
Add and glue any artwork or graphic onto the scoring side of the lantern (the artwork needs to be on an 8.5” x 11” sheet of paper)
Contact the Department of Facilities (physical_plant@wit. edu) to attach the assembled light diffuser onto the existing lamps (DO NOT attempt to attach the diffuser without supervision of anyone from the department of facilities)