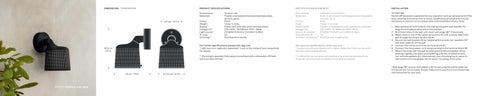
Outdoor wall spot
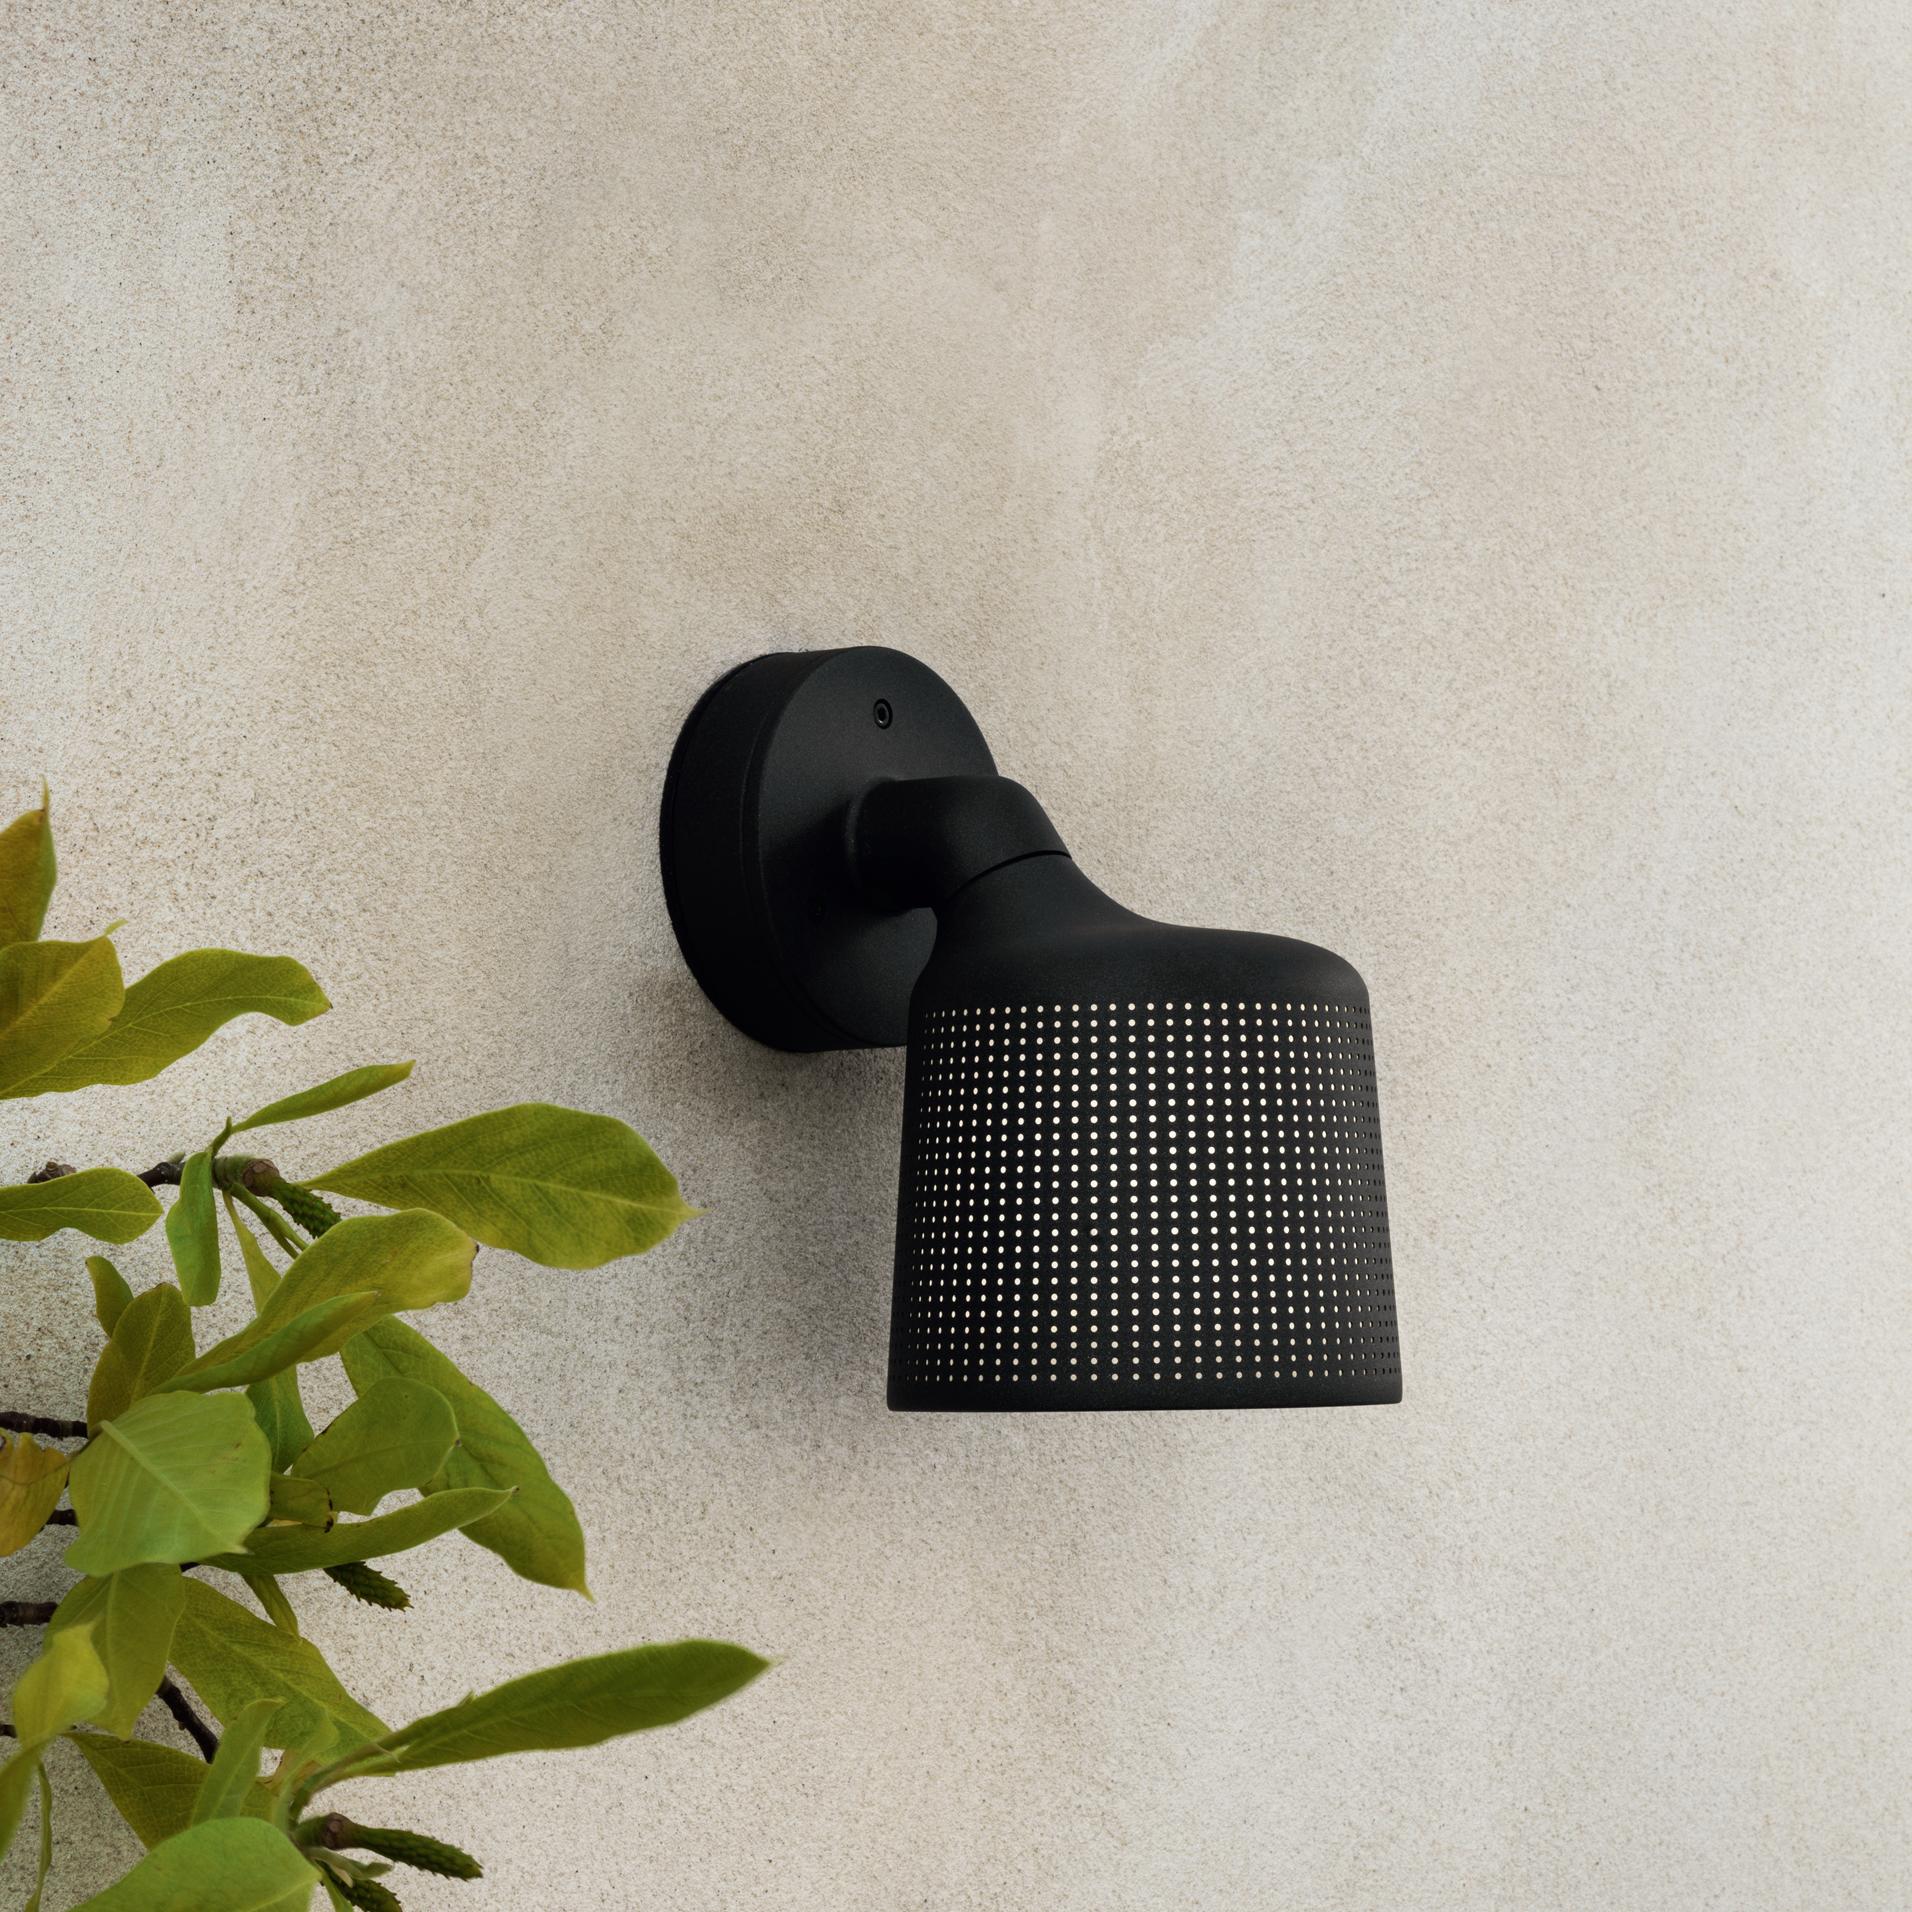
DIMENSIONS / DIMENSIONS
PRODUCT SPECIFICATIONS
Environment Outdoor use.
Materials Powder-coated aluminium and stainless steel, silicone, glass.
SPÉCIFICATIONS DU PRODUIT
Environment Utilisation en extérieur.
Matériaux Acier et aluminium thermolaqué, acier inoxydable, silicone, verre.
INSTALLATION
ATTENTION
20.5 cm / 8.1 in
19 cm / 7.5 in
13.5 cm / 5.3 in ø 11 cm / 4.3 in
Colour Black.
Weight 1.6 kg / 3.5 lbs.
Supply Power cord with tails and a terminal block.
Voltage (V)* 220-240V~ 50/60Hz or 120V~ 60Hz.
Light source* E14 MAX 15 Watt or E12 MAX 12 Watt
IP class 55.
Dimming** Possible with retrofit.
Couleur Noir.
Poids 1.6 kg / 3.5 livres.
Alimentation Cordon d’alimentation avec queues et un bornier.
Voltage (V)* 220-240V~ 50/60Hz ou 120V~ 60Hz.
Source de lumière* E14 MAX 15 Watt ou E12 MAX 12 Watt.
Classification IP 55.
Variateur d’intensité** Possible avec modification.
For further specifications, please visit vipp.com
* Light source is regionally dependent. Look on the inside of your lampshade for details.
** Dimming is possible if the lamp is retrofitted with a dimmable LED bulb and a suitable dimmer.
Pour plus de specifications, visiter vipp.com
* La source lumineuse dépend de la région. Regardez l’intérieur de votre abat-jour pour plus de détails.
** L’utilisation sur variateur est possible si la lampe est équipée d’une ampoule LED à intensité variable et d’un variateur adapté.
Switch off the power supply before any operation such as replacement of the bulb, cleaning and connection to mains. Qualified local assistance may be necessary to ensure correct preparation and installation of your lamp.
1. Mark position of drill holes on the wall by using the wall bracket (A). Align horizontally as directed on the bracket
2. Drill three holes in the wall and insert wall plugs (B)* if necessary
3. Make a hole in one of the rubber grommets (C) with a sharp object and pull through the cord from the mains
4. Secure the wall bracket (A) by fastening the screws incl. washers (D)* and foam pads (E) to the wall
5. Connect the mains cord to the terminal block (F)
6. Connect the lamp power cord and grounding to the terminal block (G)
7. Mount the lamp over the wall bracket and the silicone gasket (A) by pushing it gently into place and fastening with the included screws incl. silicone gaskets (H). Alternatively, use silicone spray or water to lubricate he silicone gasket (A) for easier mounting of the lamp
*Wall plugs (B), screws and washers (D) for securing the wall bracket (A) to the wall are not included. Please make sure to use the correct fastening method suited for your wall.
INSTALLATION
ATTENTION
Coupez l’alimentation avant toute intervention telle que le remplacement de l’ampoule, le nettoyage et le raccordement sur le réseau. Une assistance locale qualifiée peut être nécessaire pour garantir la bonne préparation et installation de votre lampe.
1. Marquez la position sur le mur des trous de forage en utilisant un support mural (A). Alignez horizontalement selon l’orientation du support
2. Percez trois trous dans le mur et insérez des consoles murales (B)* si nécessaire
3. Faites un trou avec un objet pointu dans l’un des œillets en caoutchouc (C) et faites passer à travers le cordon d’alimentation secteur
4. Fixez la console murale (A) en serrant les vis et les rondelles (D)* et les coussins en mousse (E) sur le mur
5. Raccordez le cordon d’alimentation secteur au bornier (F)
6. Raccordez le cordon d’alimentation de la lampe et la terre au bornier (G)
7. Montez la lampe sur le support mural et le joint en silicone (A) en la poussant délicatement en place, puis fixez-la avec les vis fournies, y compris les joints en silicone (H). Vous pouvez également utiliser un spray au silicone ou un peu d’eau pour lubrifier le joint en silicone (A)
afin de faciliter le montage de la lampe
*Les consoles murales (B), vis et rondelles (D) pour fixer le support mural (A) au mur ne sont pas incluses. Veuillez veiller à utiliser la méthode de fixation
correcte adaptée à votre mur.
LIGHT BULB CHANGE
ATTENTION
Switch off the power supply before any operation such as replacement of the bulb, cleaning, connection to mains etc.
1. Loosen the finger screw (A) on the back of the lamp shade while holding
a palm underneath the glass diffuser
2. Pull out the glass diffuser (B) on the screw side and change the bulb.
Use a dull object between the glass and lamp to wiggle the glass out in case it is stuck
3. Remount the glass diffuser (B) by clicking it into place on the front side of the lamp before pushing it all the way up on the screw side
4. Tighten the finger screw (A) to secure the glass diffuser
CHANGEMENT D’AMPOULE
ATTENTION
Mettez la lampe hors tension avant toute opération telle que le remplacement de l’ampoule, le nettoyage, la connexion au secteur, etc.
1. Desserrez la vis à main à l’arrière de l’abat-jour tout en tenant le diffuseur en verre par dessous
2. Tirez sur le diffuseur en verre (B) pour l’enlever sur le côté de la vis, et changez l’ampoule. Utilisez un objet obtus entre le verre et la lampe pour extraire le verre du boîtier s’il est coincé
3. Montez à nouveau le diffuseur en verre (B) en l’installant en place avec un déclic sur le côté avant de la lampe, avant de le pousser à fond vers le haut sur le côté de la vis
4. Serrez la vis à main (A) pour fixer le diffuseur en verre