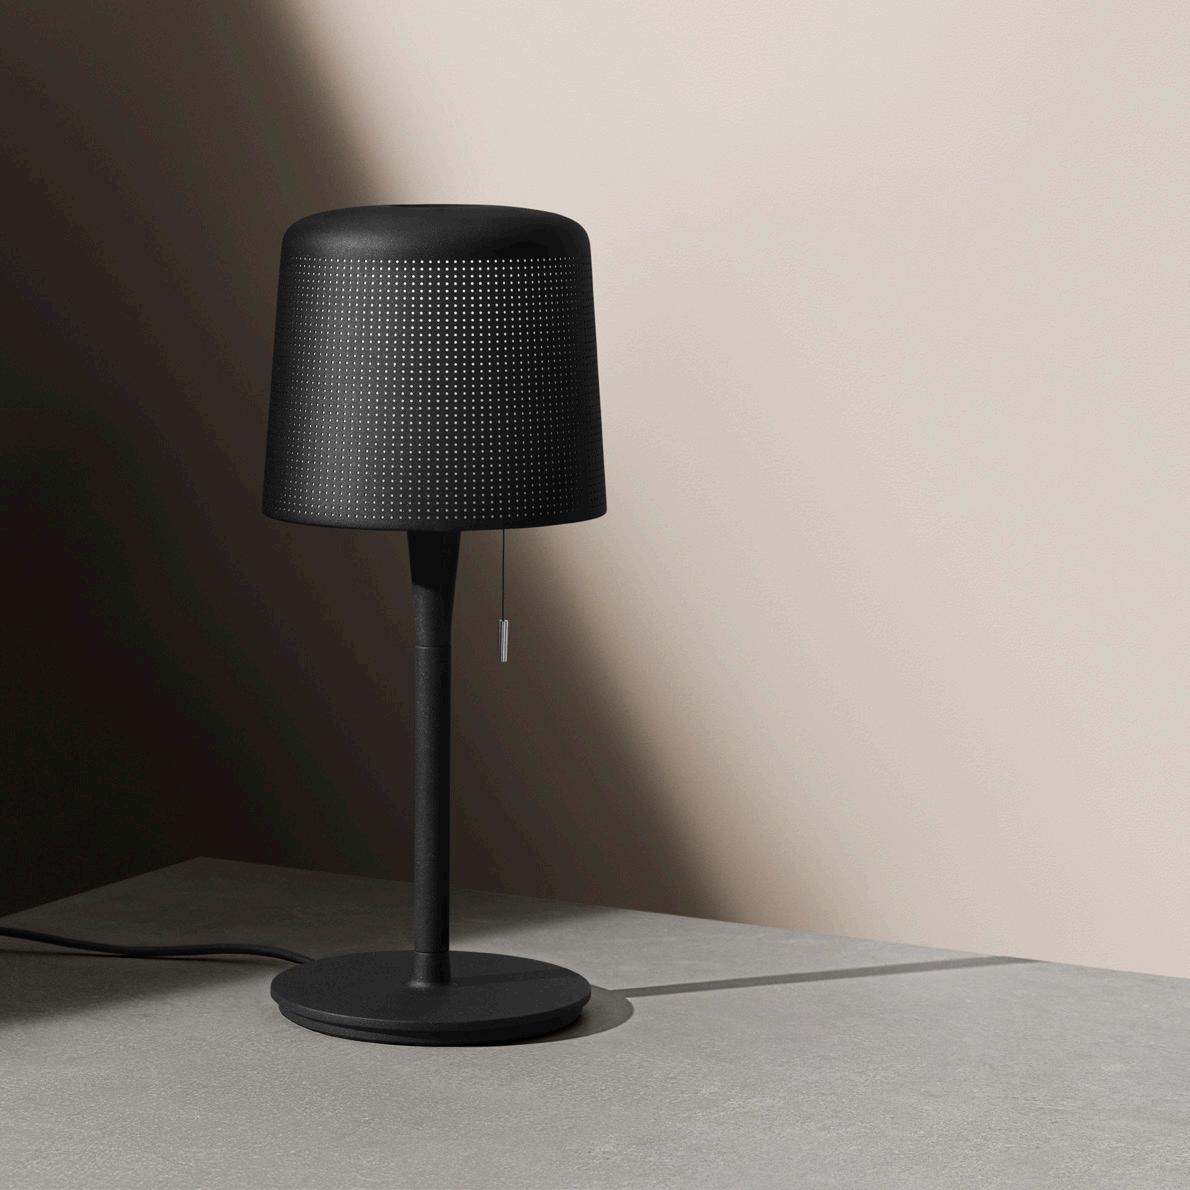
PRODUCT SPECIFICATIONS
Environment Indoor use only.
Materials Powder-coated aluminium, stainless steel, silicone, glass.
Colour Black, dark blue, burgundy, light grey and off-white
Weight 2.3 kg / 5 lbs.
Supply Fabric-covered cord with a plug.
Cord length 2 m / 78.7 in.
Voltage (V)* 220-240V~ 50/60Hz or 120V~ 60Hz.
Light source* E14 MAX 15 Watt or E12 MAX 22 Watt.
IP class 20 / dry locations only.
Dimming** Possible with retrofit.
SPÉCIFICATIONS DU PRODUIT
Environment Uniquement pour utilisation en intérieur.
Matéraux Aluminium et acier à revêtement par poudre, acier inoxydable, silicone, verre.
Couleur Noir, bleu foncé, bordeaux, gris clair et beige.
Poids 2.3 kg / 5 livres.
Alimentation Cordon textile avec fiche.
Longeuer du cable 2 m / 78.7 pouces.
Voltage (V)* 220-240V~ 50/60Hz ou 120V~ 60Hz.
Source de lumière* E14 MAX 15 Watt ou E12 MAX 22 Watt.
Classification IP 20 / emplacement secs uniquement.
Variateur d´intensité** Possible avec modification.
For further specifications, please visit vipp.com
* Light source is regionally dependent. Look on the inside of your lampshade for details.
** Please note that the lamp is not dimmable from the factory. Dimming is possible if the lamp is retrofitted with a dimmable LED bulb and a suitable dimmer.
Pour plus de specifications, visiter vipp.com
* La source lumineuse dépend de la région. Regardez l’intérieur de votre a bat-jour pour plus de détails.
** Veuillez noter qu’à la sortie de l’usine, la lampe n’est pas utilisable sur variateur. L’utilisation sur variateur est possible si la lampe est équipée d’une ampoule LED à intensité variable et d’un variateur adapté.
A: FIG. 1 ASSEMBLY AND USE
A: FIG. 1 ASSEMBLAGE ET UTILISATION
INSTRUCTIONS FOR ASSEMBLY AND USE
ATTENTION Switch off the power supply before any operation such as replacement of the bulb, cleaning, connection to mains etc. (see fig. 1).
1. Remove the lamp from the packaging, and make sure all protective plastic film has been removed.
2. Install a light bulb (not included) in the lamp holder. Remember to use a suited light bulb, as specified on the lamp.
3. Make sure the finger screw is loose. Do not remove it from the lamp shade.
4. Tilt the lamp shade to make it fit in the predefined recess in the glass. Start with the end opposite the finger screw.
5. When the lamp shade is in place on one side, tilt it all the way down on the other side so the lamp shade rests on the glass.
6. Tighten the finger screw to secure the lamp shade to the glass.
7. Turn the lamp ON/OFF by slightly pulling the string.
INSTRUCTIONS D’ASSEMBLAGE ET D’UTILISATION
ATTENTION Coupez l’alimentation avant toute opération telle que le remplacement de l’ampoule, le nettoyage, la connexion au secteur, etc. (voir fig. 1).
1. Retirez la lampe de son emballage et assurez-vous que l’ensemble du film protecteur en plastique a été retiré.
2. Installez une ampoule (non incluse) dans la douille. N’oubliez pas d’utiliser une ampoule adaptée, comme spécifié sur la lampe.
3. Assurez-vous que la vis de serrage est desserrée. Ne l’enlevez pas de l’abat-jour.
4. Inclinez l’abat-jour afin de l’adapter à l’évidement prédéfini dans le verre. Commencez avec l’extrémité opposée à la vis de serrage.
5. Lorsque l’abat-jour est en place d’un côté, inclinez-le complètement de l’autre côté afin que l’abat-jour repose sur le verre.
6. Serrez la vis de serrage afin de fixer l’abat-jour au verre.
7. Allumez / éteignez la lampe en tirant légèrement sur le cordon.
