





Everything begins with creation. We all started as something small, and grew to become the people we are today –people who create and celebrate many different things. Life wouldn’t be nearly as fun if we didn’t get creative from time to time.
Some people will swear they don’t have a single creative bone in their body, but I think that’s untrue. We all have our own ways of being creative, it might be expressed through art, drawing, writing, or music. Or it might be other things like dancing, baking, gardening, or thinking outside the box to solve problems creatively. Whatever it is, I promise you’re more capable of being creative than you think.
Thank you for joining us for this creative edition, we hope it helps you find your next creative pursuit!
Happy creating,


We would like to acknowledge and pay respect to past,present and future Traditional Custodians and Elders of the land on which Universal Magazine has been created, the Bunurong peoples of the Kulin nation. We also acknowledge the continuation of cultural, spiritual and educational practices of Aboriginal or Torres Strait Islander peoples.

Sovereignty was never ceded. This land was, is and always will be, traditional Aboriginal land. We encourage our readers to do some research and understand more about the land on which they live, work and socialise.
Interested in joining the team?
Or looking to submit some work?
Please contact Kingston Youth Services on P: 1300 369 436
E: youth.services@kingston.vic.gov.au
Read previous editions: Available for your reading pleasure at any time!

Read online at issuu.com/universal_kingston
Send Youth Services an email for more info at youth.services@kingston.vic.edu.au

The views and opinions expressed in these articles are those of the authors and do not necessarily reflect or represent the views, values and official position of the City of Kingston or any of its officials, representatives or employees
Kingston Youth Services and the Universal team acknowledge the support of the Victorian Government

4 Creation of Universal: Creation
Words and design by Naketra Mendes
8 Colour Collage Design by Anne Liu and Naketra Mendes
12 Origami Ornament
Words and design by Naketra Mendes
9
Apple Crumble Recipe
Words and design by Harley Lorenzo Wood
27 Universal: Join The Team! Kingston Youth Services
31 Colour Me In llustration by Isobel Dymond
6 What I Learnt Over Lockdown
Words by Megan Odgers Design by Naketra Mendes
10 Word Search
Words and design by Harley Lorenzo Wood
28
How to Make a Youtube Video
Words by Eric Luk Design by Harley Lorenzo Wood
32 Make a Terrarium at Home
Words and design by Harley Lorenzo Wood


Like every edition of Universal, it all begins with an idea, a theme. Decided at our monthly meetings, we discuss the previous edition and bring up ideas for the new one to come.

Once the theme is decided, we discuss potential article ideas. We delegate tasks such as editor and compiler. Once we have voted for the colour theme for the edition, each person creates their own article, whether they decide to write it, design or illustrate.


As I have compiled this edition, I will be taking you through this process as well as how I design the front cover and articles.
First let's start with the front cover. I usually start with gathering inspiration, by looking at images to do with the theme. Sometimes I may sketch out some ideas on paper or just start playing around designing different concepts on the computer. Once I have a vague idea of what I want I start with the designing. With this edition I had to draw up each item individually before putting it together on the cover. Figuring out how to draw the objects was the most difficult thing as some objects require additional shading/detailing. It is difficult to judge how much to add without making it too detailed in comparison to the other objects. We have a template which is followed for every edition to keep with the consistency. Before putting the cover together, I first laid out the logos and titles. I then went ahead and assembled the cover. I create a few different versions of the cover just to compare and often ask the Universal team to decide on their favourite.
Designing articles has the same process as the cover. First I look for inspiration, then layout the title and the article contents, then I design the illustrations to add in.


Layout of the article contents


End Result
The compiling process is a little different, as I first need the articles before I begin. As the articles come in, I start ordering the articles. There is no particular order or reasoning for the order, just what may make sense in my mind. I try to make sure no two articles with the same background are after each other, purely out of preference. As this process is taking place I am also assembling the content page. As the order is constantly changing, I try to put together the contents page towards the end once the order is finalised.
And that is how it is done. The process is a bit long, but is a gratifying experience as you never really know how the edition turns out until the end. I hope you enjoy reading this edition as much as I have enjoyed creating it.
Words and design by Naketra Mendes
by
Megan Odgers | Design by Naketra MendesI considered myself a creative and arty person when I was a kid, but as I went through high school, I definitely lost this part of myself. Being able to reconnect with my creative side was the best thing that came out of lockdown. Some of my favourite lockdown hobbies included knitting, crochet, and painting. I’ve continued all of these hobbies now in a post lockdown world and I am currently knitting my own me-made winter wardrobe.
Like everyone living through Melbourne’s extended lockdowns, I impressed myself with the amount of television and film I consumed. A few personal favourites of mine included rewatching Gossip Girl and Modern Family for the millionth time.
Lockdown was the first time many of us had to spend an extended amount of time alone. I, like many of my friends, was not used to it. During the first lockdown, there were many Zoom group calls and online movie nights to keep connected. However, by the later lockdowns, everybody was over the novelty. This meant we were definitely isolating ourselves more.
As someone who lives in a household of two, I rarely ever spent time alone in my room for fear of looking anti-social. Lockdown gave me the chance to do it, and I surprised myself by how much I was able to enjoy my own company. There is something peaceful about being content with your own thoughts, reading a book, or knitting a jumper by yourself. What I learnt from this time is that I am perfectly content with my own company, and this has meant I’ve booked a solo Europe trip for later in the year. And no, I am not worried about getting sick of my own company.
It's important to learn how to be alone. At some point in life, you may find yourself completely alone. It’s important to know how to manage this. Another great thing about being able to enjoy your own company is that you don’t have to accept friendships or relationships that are no longer serving you, just because you have a fear of being alone.
I won’t lie, in some lockdowns I was much more active than in others. I found that I felt much better when I did exercise. The highs and lows of my mental health definitely mirrored the highs and lows of my Apple Watch step count! On days I got out of bed and did a quick 5km walk, I was definitely set up for a more productive day than on days I didn’t. It can be hard to find time to exercise now that life is back to normal, but it is really important to try.
I challenge anyone reading this to go for a short walk after you finish reading this edition of Universal!
One of the highlights of lockdown was definitely the extra down time that we got. In a post lockdown world, I am definitely trying to give more time to myself to relax. I have found it is a really good way to reset, and has made the transition back to a busy post-lockdown world slightly more manageable!








I believe baking is the perfect creative outlet. You get to de-stress and eat something yummy in the end too.
It’s my favourite thing to do when I’m feeling down or stressed, and more often than not I’m baking Apple Crumble.
This classic dessert will always make me feel better, it’s super easy to make and absolutely delicious.
One slice is honestly never enough!
APPLE FILLING
• 1 kg Granny Smith apples
• 1 tbsp plain flour
• ½ cup white sugar
• 2 tbsp lemon juice (or water)
• ½ tsp ground cinnamon
CRUMBLE TOPPING
• 1 cup rolled oats
• 1 cup plain flour
• 1 cup brown sugar (loosely packed)
• ½ tsp baking powder
• 1 tsp ground cinnamon
• 125g unsalted butter (melted)
• Pinch of salt
1. Preheat oven to 180°C.
2. Apples - Peel then cut into cubes.
3. Apple filling - Place apples in a bowl. Sprinkle flour, sugar and cinnamon before adding lemon juice. Toss until apples are coated. Spread evenly in a 1.5 litre baking dish.
4. Crumble Topping - Place crumble topping ingredients in a bowl. Mix until clumps form like wet sand. Spread over the apple layer, crumbling with fingers for texture.
5. Bake 30 to 40 minutes or until the topping is golden brown. Remove, cover loosely with foil to keep warm and let stand for 10 minutes before serving.
6. Serve warm! Yields approx. 6 servings.
Recipe originally published by Nagi on recipetineats.com/apple-crumble
WORDS AND DESIGN BY HARLEY LORENZO WOOD
With Christmas just around the corner, here’s an origami ornament that you can make to add to your Christmas tree or use to decorate around the house. Need paper? No need to fear, the next few pages can be used to create this project and much more. Happy folding!
To make into a hanging add a string through one of the module pieces before assembly.
x6 1. 2. 3. 4. 5. 6. 7. 8. Assembly
The thought of shooting a video and posting it online can be super overwhelming and scary. But, it can also be super fun and rewarding once you build the courage to get started.
To ease your worries, this article will give you a step-by-step guide on how to make a quality video to post on YouTube.
Words by Eric Luk | Design by Harley Lorenzo Wood
You could think of original ideas, or take inspiration from other creators online. Any time you’re watching a YouTube video, take some notes for your own brainstorming.
If you already know what your channel will be about, think about what people want to watch and what people are searching for. A good way to think about this is to ask yourself “what would I want to watch?”, then make a video about that.
If you have no idea what to make, consider filming a ‘day-in-the-life’ vlog. Making a vlog is relatively easy, just film your daily activities as they happen.
When writing a script, the most important thing is to keep it simple.
Instead of writing everything down, word for word, it might be better to start with bullet points on the topics you want to talk about.
If you decide to shoot a video without this plan, you might miss a few topics and end up having to retake every time you remember something to add.
Starting a new YouTube channel can be really daunting. Adding on a whole new hobby of shooting videos, taking photos and graphic design, can get extremely overwhelming.
That’s why there’s no reason to worry about the camera equipment just yet. Everyone starts somewhere. If you have an iPad or a smartphone - don’t be afraid to use it. And If you have a camera lying around too, it might be a great idea to learn how it works.
When you press record, you should already have your idea and script, so you know what you need to talk about.
At first you’re going to mess up and fumble your words, but don’t worry, that’s only natural.
It might take a few tries, but you’ll get there in the end.
When you’re recording yourself, it’s only natural to want to see what you look like on the screen. However, this results in videos where you look like you’re not directly talking to the audience. YouTube is all about talking to and connecting with your audience, and looking directly at your camera lens will help with that.
You might be wondering, “what’s B roll?”. Well, B roll is alternative footage that you can use to fill the screen while someone is talking. Doing this will make your YouTube videos so much more interesting. It is definitely worth shooting some B roll and adding it later in the editing process. For instance, if you were making a video about interesting food, you would record audio of you talking about it, then record footage of the food to play while you talk.
Almost all modern devices can be used for video editing, with editing apps available for computers, laptops, tablets and smartphones.
When it comes down to editing, there are endless possibilities for adding text, sound effects, graphics and transitions.
Make sure to keep it simple while also having fun and enjoying the process. Adding music and a few sound effects can be a really great way to spice up your edit.
If you’re unsure of what apps to use or how to edit, there are many great online tutorials and resources that will point you in the right direction.
A video thumbnail is just as essential as the front cover of a book.
It should look sharp, nice and stand out. There are many great and free online tools that let you create cool thumbnails. These include Canva.com or even inside the YouTube studio itself.
A tip to make your thumbnail process faster is to look into the lens and smile for a couple seconds when filming your video footage. This way you don’t have to worry about taking photos on top of everything else.
If you’re unsure of how your thumbnail should look, take a look at other YouTube videos for inspiration.
Uploading your video is simple, and can be done through YouTube’s studio tool.
Once you’ve done that, that’s it! You’ve successfully created and uploaded your YouTube video.
When you upload, be sure to share it to Facebook, Instagram or other social media to increase your chances of being viewed.
Replying to comments on YouTube is also important, as interacting with the people watching your videos is essential for building community.
Hopefully, with the help of this article, you might try making a YouTube video and have some fun while doing it too!
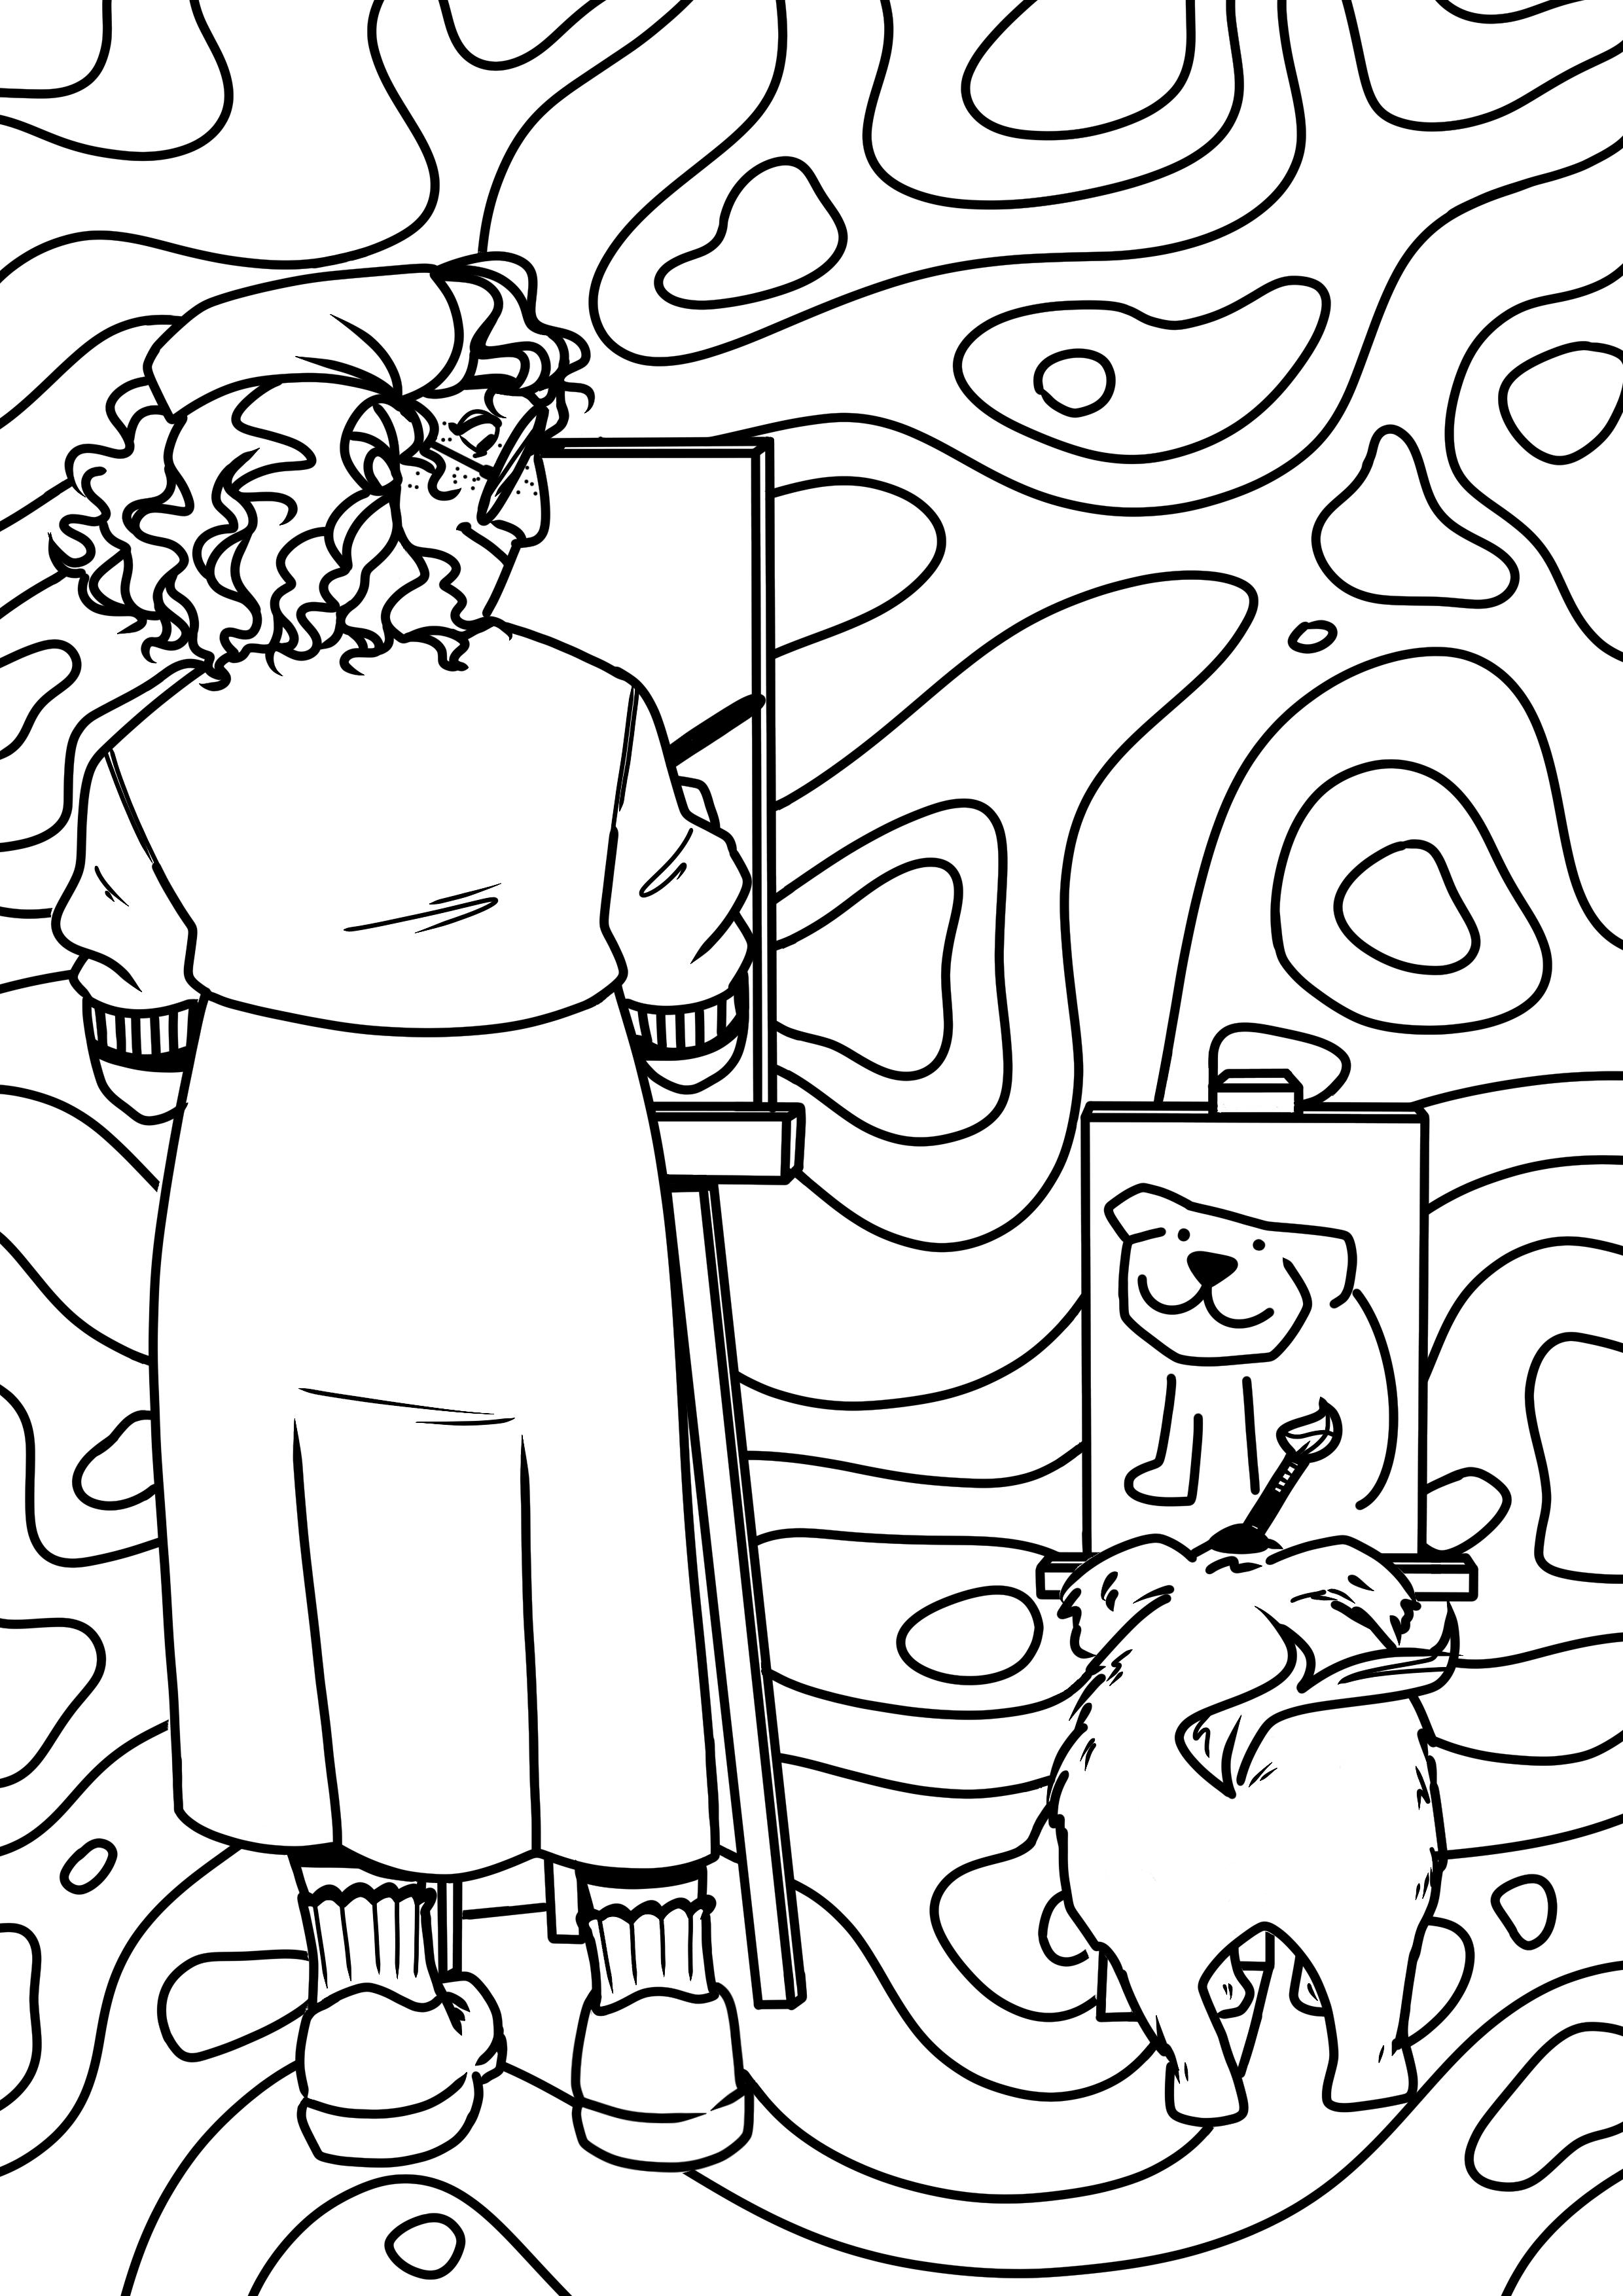
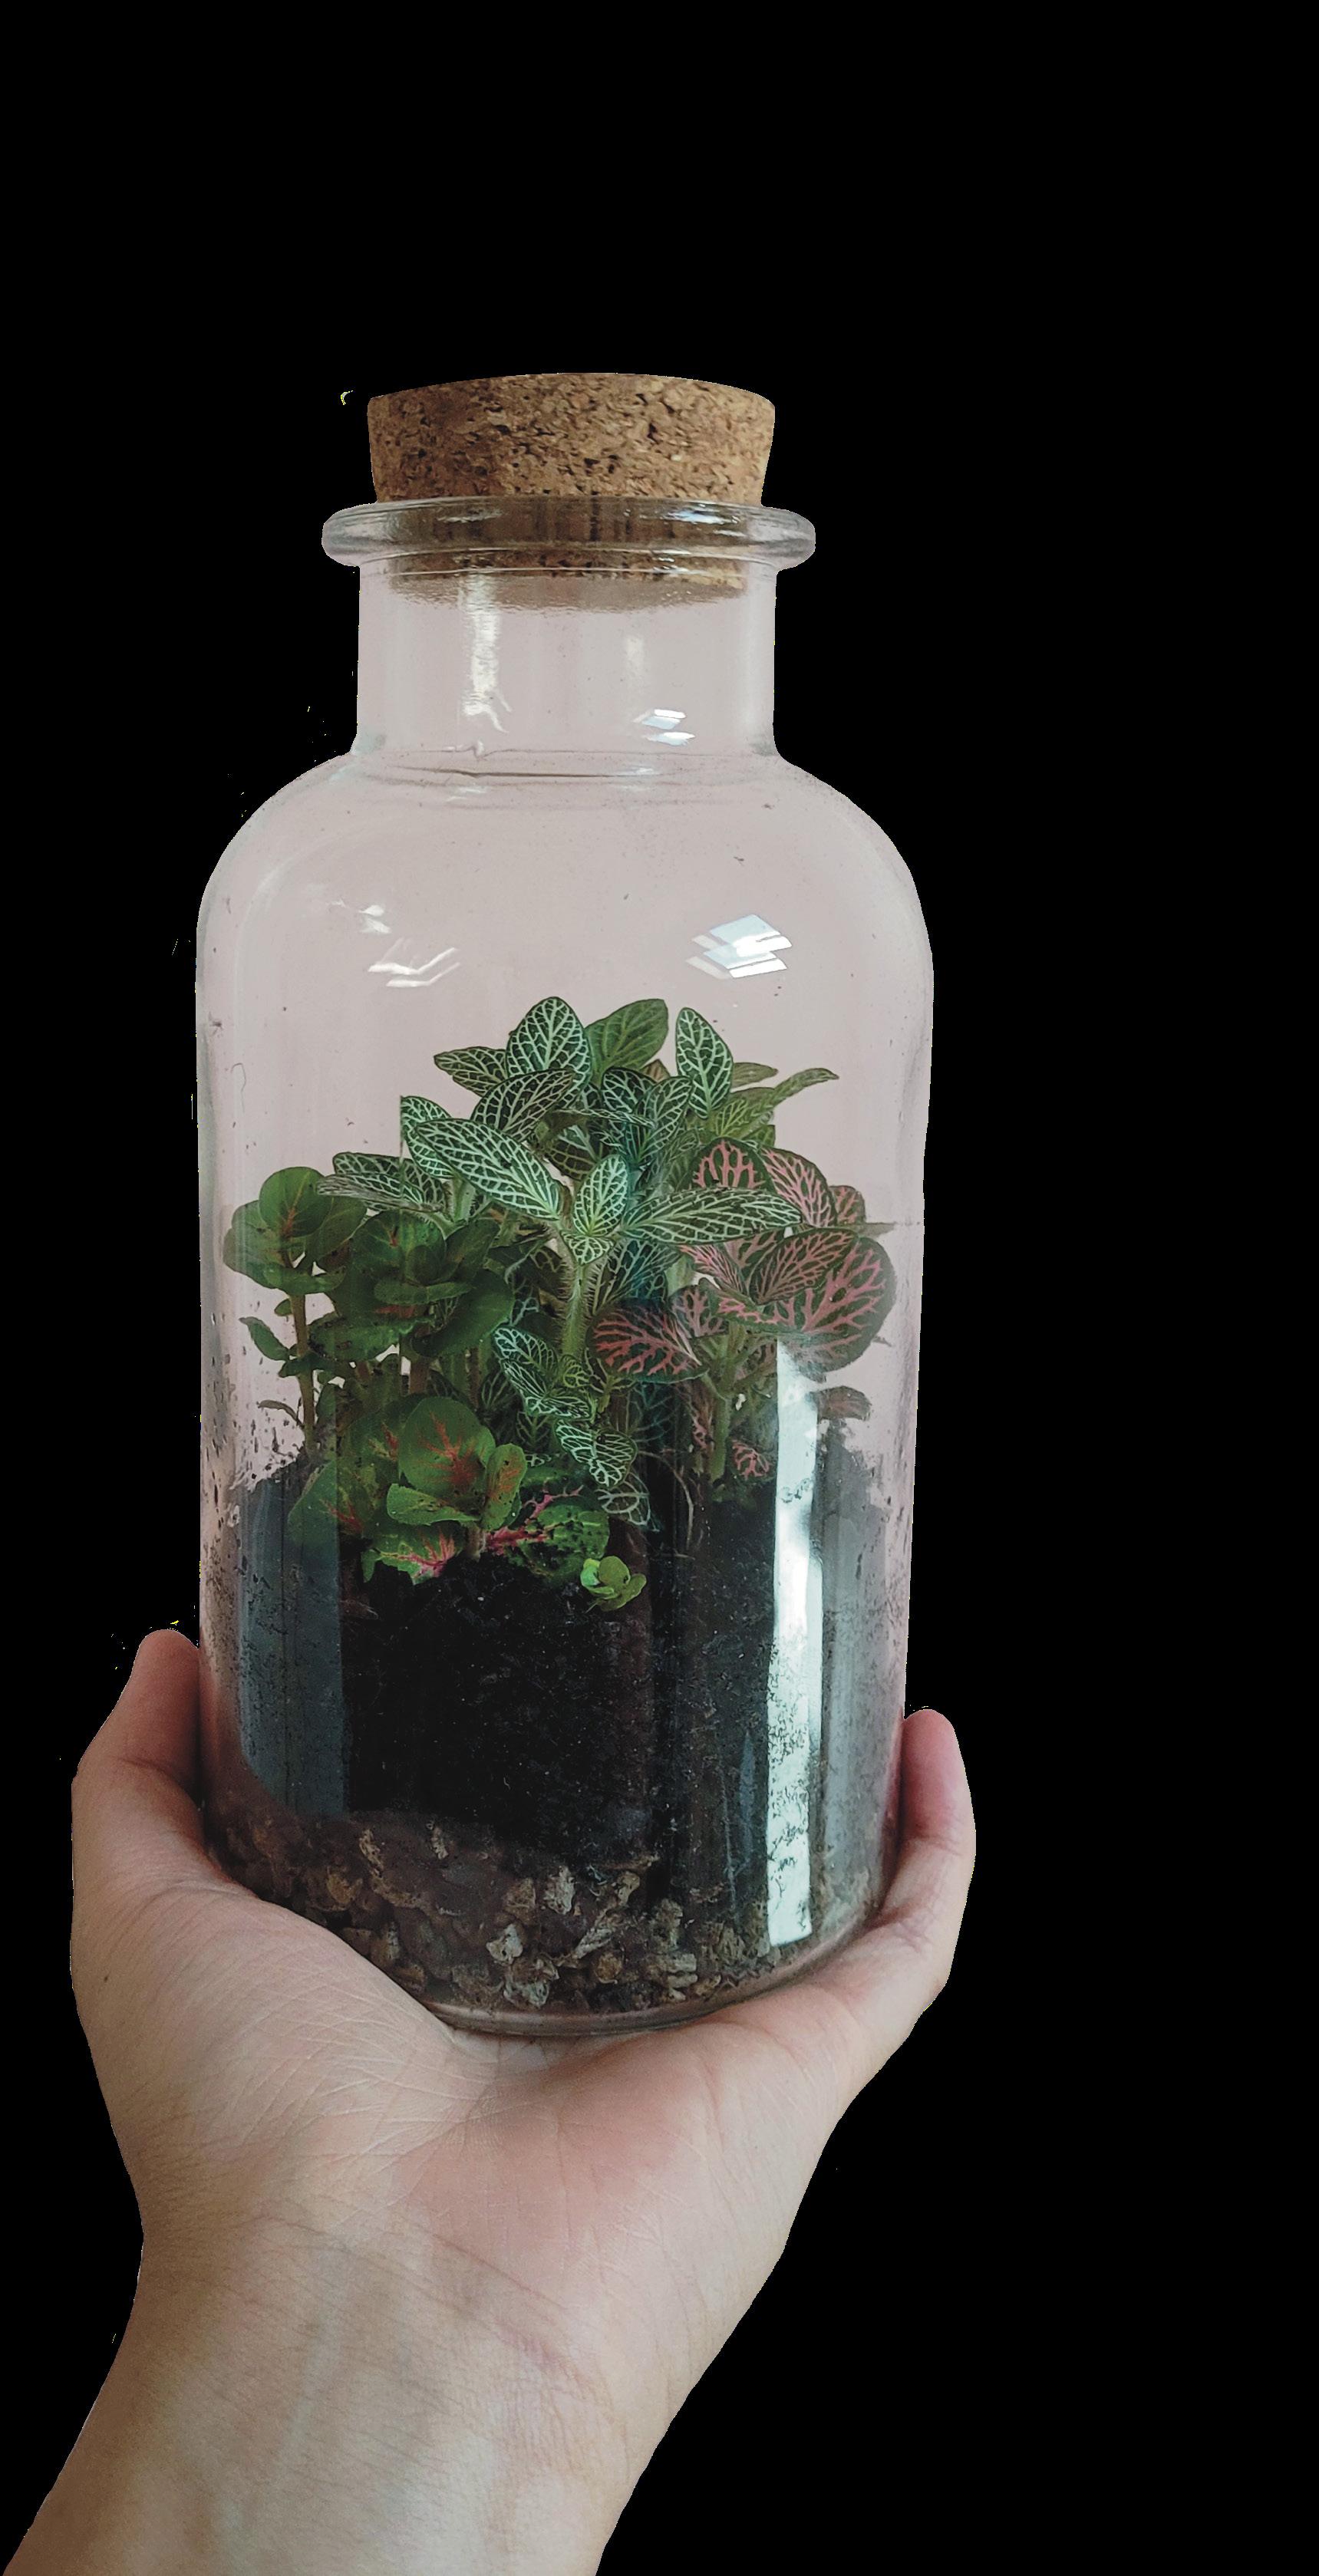
Terrariums are cute little worlds contained within beautiful glass vessels. They range in size from tiny bottles filled with moss, to massive, repurposed fish tanks full of vining plants and other fantastic greenery.

They’re easy to look after, look gorgeous on shelves, and make amazing gift ideas. However, their retail prices can sometimes be a bit off-putting.
Luckily enough, terrariums are easy and inexpensive to make at home. There’s probably an old sauce jar somewhere that could use new life anyway!

• A glass vessel - This could be anything from a candle jar to a cereal container, as long as it’s clean and the opening is wide enough to fit plants through. I recommend browsing the glassware section of your local op-shop.
• Small pebbles or gravel - These will go at the base of your terrarium. They’ll act as a drainage layer so your plants don’t get wet feet.
• Activated charcoal - Also called horticultural charcoal, this can be found at your local gardening store. It will help keep your terrarium fresh and stop bacterial growth.
• Potting soil - We want fresh soil to make your plants happy. Generally I would avoid mixes with lots of fertilizer, as we don’t want the plants to outgrow the vessel too quickly.
• Plants - Select smaller plants for your terrarium, they will eventually grow to fill out your vessel. Plants that like humid environments will do well in closed terrariums. See the next pages for plants I recommend.
• Decorative stones (optional) - While not essential, some nice pebbles or other decorative items – like clay mushrooms – can help make your terrarium look like a tiny world.
• Gardening tools - A small trowel or old spoon for adding gravel and soil to your vessel, a pair of long tweezers, forceps, or chopsticks for placing plants inside, and a spray


Step 1: Fill the bottom with small pebbles. Take your glass vessel and fill the bottom with small pebbles, completely covering the base. Aim to make this layer at least 2 cm, but the depth can vary depending on the height of your vessel.
Step 2: Add a layer of activated charcoal. Cover your pebbles with a thin layer of activated charcoal. This layer should contain just enough to cover the pebbles – a little goes a long way.

Step 3: Add potting soil. Add your layer of soil. This should be just enough for your plants to be able to root, while leaving enough space for their leaves to grow without touching the lid. I would recommend about 3–5 cm. Adjust accordingly depending on the size of your jar and plants.
Step 4: Add your plants. Picture how you want your plants to sit. If you have a feature plant, start by planting that one first and work down to smaller ones.
• Make a small hole where you want the plant to be.

• Remove plant from its nursery pot
• Massage roots to remove excess soil and trim longer roots.
• Place in hole and cover roots with soil.
• Repeat for all plants.
• Trimming roots before planting will restrict plant growth, which is great for making sure they don’t outgrow your terrarium too quickly.
Step 5: Add some decoration (optional). You can decorate your terrarium in any way you’d like. This could be pretty stones or even tiny garden gnomes. You could also leave the terrarium as it is, and let the plants speak for themselves.
Step 6: Water your terrarium. Use a spray bottle to spray water into your terrarium. Only a few sprays should be necessary – just enough to make the soil look darker, but not super soaked.
Step 7: Close it up and finish. Place the lid on your terrarium and admire your beautiful handiwork! You may choose to leave your terrarium open, just note that open terrariums require watering more often. The condensation that forms inside a closed terrarium allows the soil to last longer between waters.
• Display in a spot that receives bright, indirect sunlight. This could be on a shelf 1–2 metres away from a north-facing window that gets sunshine during the day.
• Water with a spray bottle every 3–4 weeks, or when the soil is dry.
• Remove yellowing foliage as needed and trim plants to a smaller size if they’re beginning to outgrow their container.
Tip: You can check if your terrarium needs watering by sticking a chopstick into the soil. If soil sticks to the chopstick after removing, the soil is still moist and doesn’t need watering. If the chopstick has little to no dirt after removal, then the soil is dry and needs watering.
You can put almost any plant in a terrarium, but some are definitely easier than others. Here are some beginner friendly terrarium plants that have worked great in my experience.
Fittonias
Also known as nerve plants, they have lovely foliage and come in many colours including pink, green, red and white. I’ve used them in almost all the terrariums I’ve made.
Pothos
Also known as Devil’s Ivy, this plant does amazingly in the humid environment terrariums provide. Make sure to prune it regularly as it can grow and grow and grow.
Mini Monstera
Properly known as Rhaphidophora tetrasperma. Just like the pothos, this plant grows well in humidity, but might require regular pruning to keep it from vining its way out of your terrarium.
Rabbit’s Foot Ferns


These ferns are gorgeous and are relatively slow growing, but will last in your terrarium for years to come.
Baby’s Tears
These are a great ground cover, with cute little leaves. They will vine out to cover whatever soil they can reach.


