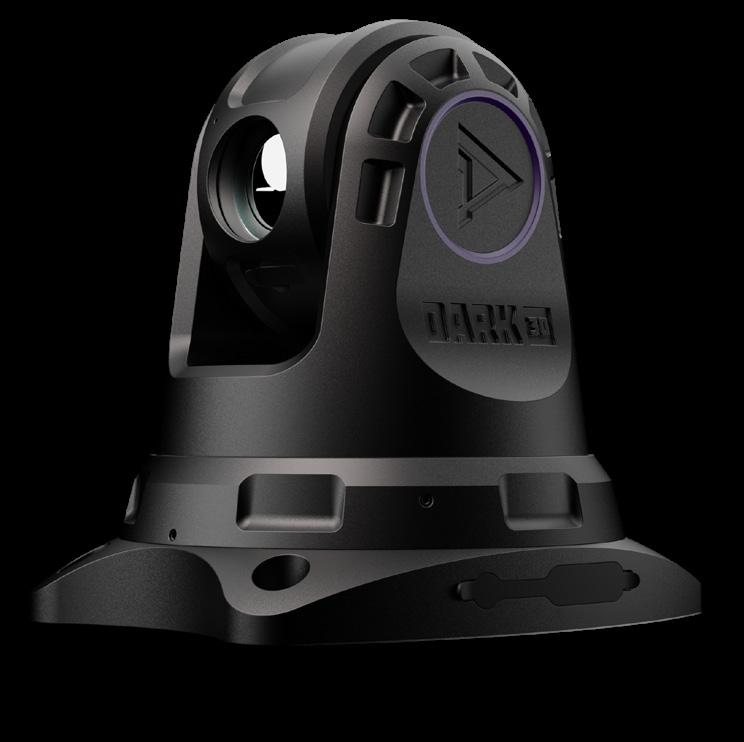


Type of sensor
Thermal sensor
Sensor resolution, pixels 640x480
Display type HDMI or app to external display
Lens diameter, mm 32
Display resolution Various
Digital video recording 640x480 @60fps
Maximum memory card 4 to 512 (Class10 rec)
Pixel size(μm) 17x17
Spectral range 8 - 14μm
Detector NEDT (30Hz, 300K, F/1) (mK) <30
WIFI Yes
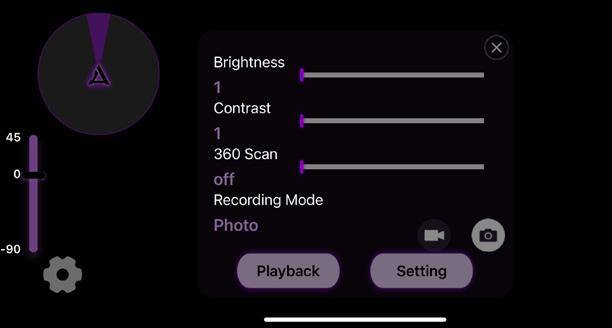
Color palettes
Lens material Germanium
External power supply Car cigarette power, 12VDC Ports 1 TF card slot, 2 HDMI ports, 2 DC ports
Water resistance IP66
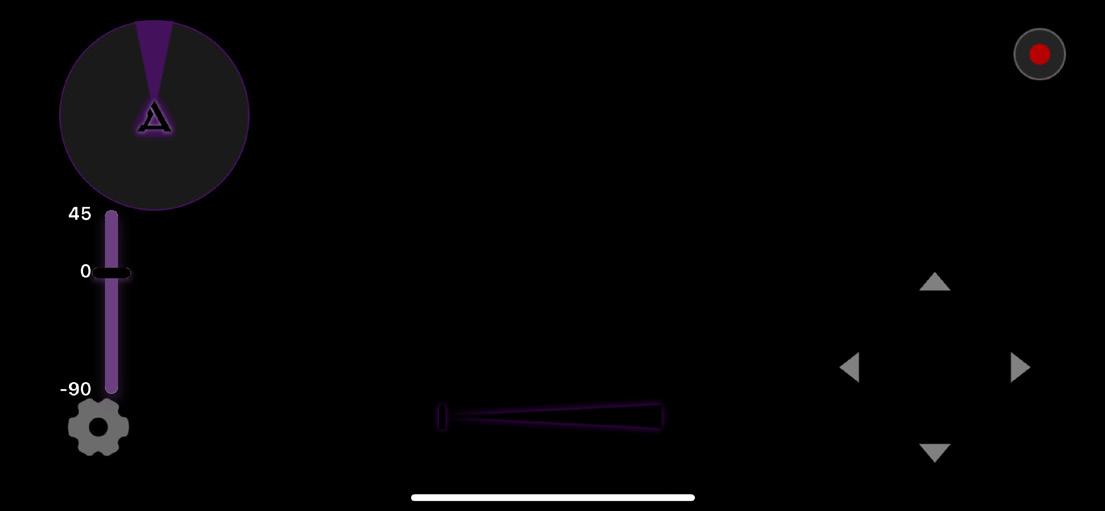
Pan angle Continuous 360 Tilt angle Straight downward to 45 degrees above horizontal Detection range (yd/m) 1,258 / 1150
Field of View (degrees, Horizontal, Vertical and Diagnoal) 20 / 15 / 25
Power
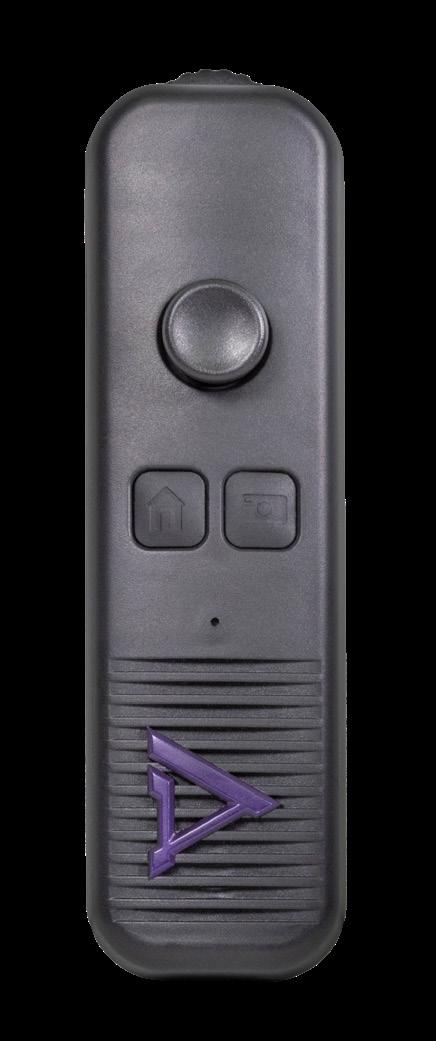
Battery type N/A for unit 2x AAA for Remote
Prop 65 / ROHS / CE / WEE, HDMI, FCC Yes - TBD specific / Yes / Yes / Yes
Field of View (degrees, Horizontal) 20
Field of View (degrees, Vertical) 15
Field of View (degrees, Diagonal) 25



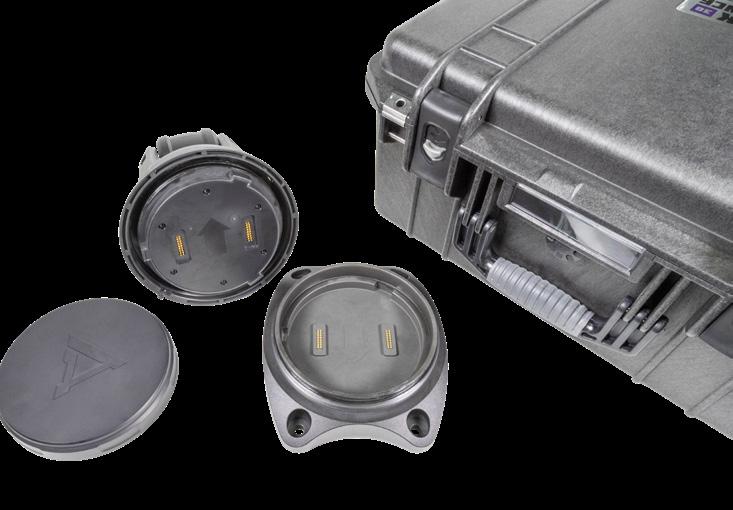

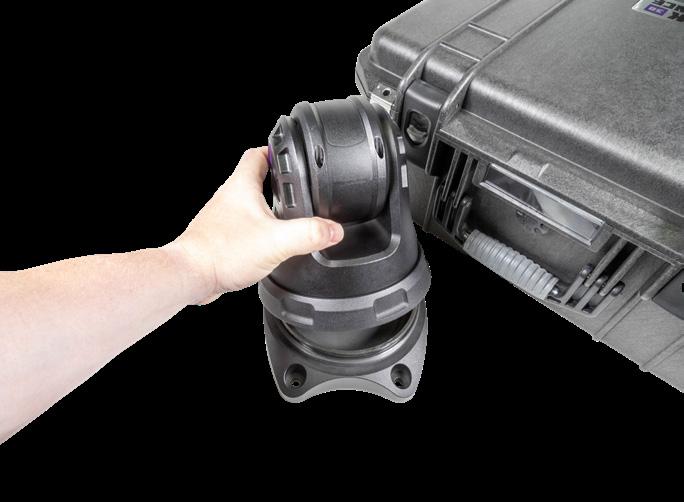

The camera can be removedfromthe base bytwistingthe lock ring counterclockwise until it is free and liftingthe camera awayfromthe base. The camera mayrequire someforceto remove duetothewatersealing rings. Toreattach, make surethe arrows onthe bottom ofthe camera and base are aligned and slidethe camera straight down until it isfullyseated. Twistthe lockingring counterclockwise until it clicks pastthefirstthreadandthenturn itclockwiseuntilfullyseated. Ifyouwouldlike someadditionalsecuritythelockingscrew Ifyouwould like someadditionalsecurity. the locking screw can betightened.


Identify the front of the camera. If this is your first time using the camera. the lens should already be facing towards the front. Otherwise. the HDMI port (T) should be on the camera's left (The front is also indicated on the surfaces inside the base and on the bottom of the camera if you remove it from the base). Place it on top of the vehicle or at your desired location.
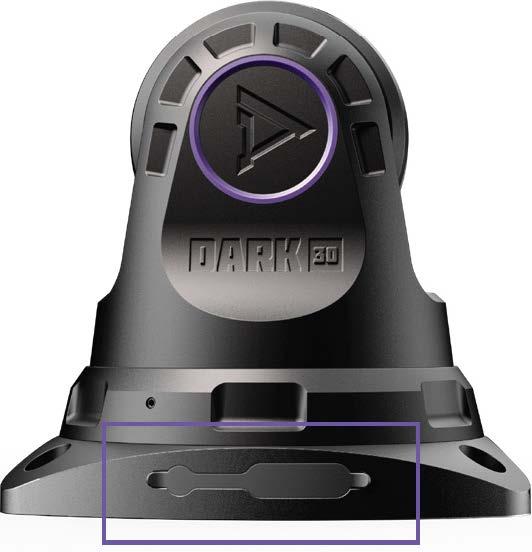


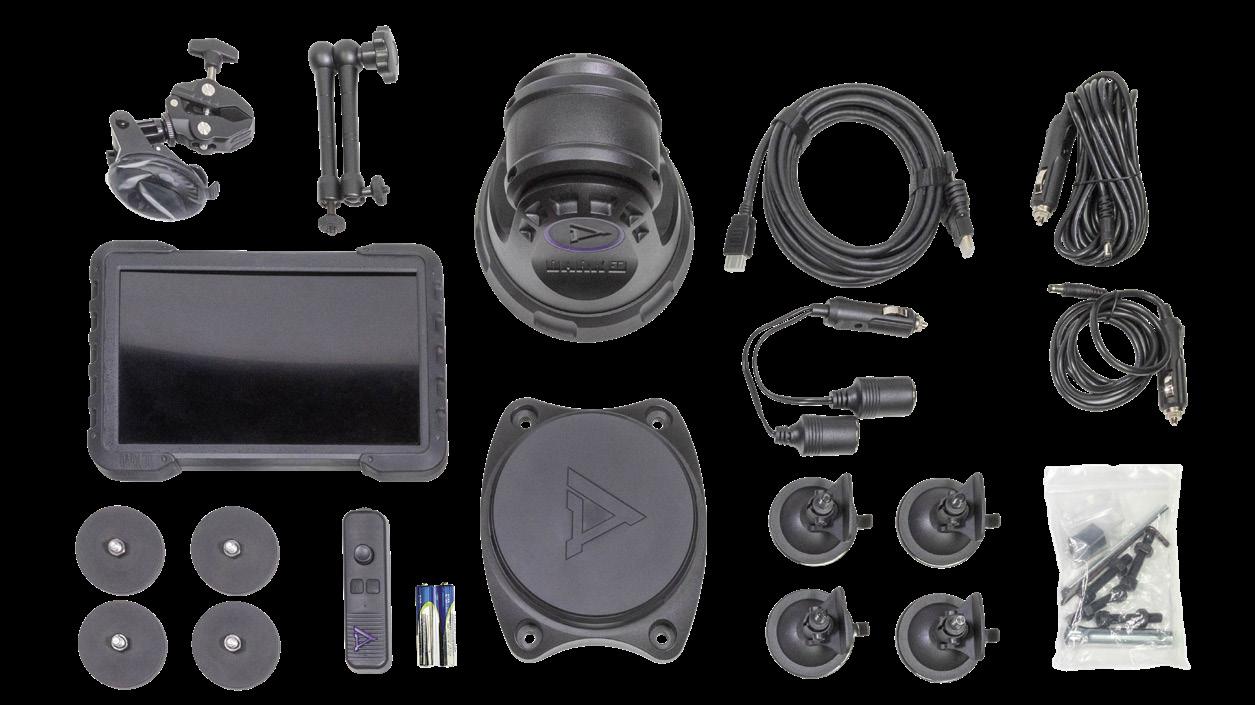
Connect the camera power cable. the longer of the 12v barrel connector cables (D) to the 12v Power Port (S). then connect the HDMI cable (C) to the side HDMI port (T) using the connector with the two screws. Be sure these are fully screwed into the base to guarantee consistent connectivity. Route these cables into the vehicle to the location where the display will be placed. Secure the cables using cable ties or other attachments to prevent them from being pulled out or disconnected. If you are permanently mounting the camera base. consider using the bottom ports and routing the cables through a sealed hole in the vehicle (sealing materials not included).

Connect the corresponding ports on the back ofthe camera.


Attach your preferred mounting hardware to the display. You will find both a bar clamp [M) and a suction cup mount [L) included for your convenience. The display also has a 1/4-20 threaded adapter on the back. allowing you to use other standard mounting hardware.

Plug both power cables into thevehicle's 12-volt power port. You will find a 12v power splitter(O)for situations whereyou may only have one 12v port. If yourvehicle does not have a 12-volt power port. you may need an adapter or a different power source. The unit should power on and automatically calibrate its home position. Please note that the display maytake a few seconds to show an image from the camera.
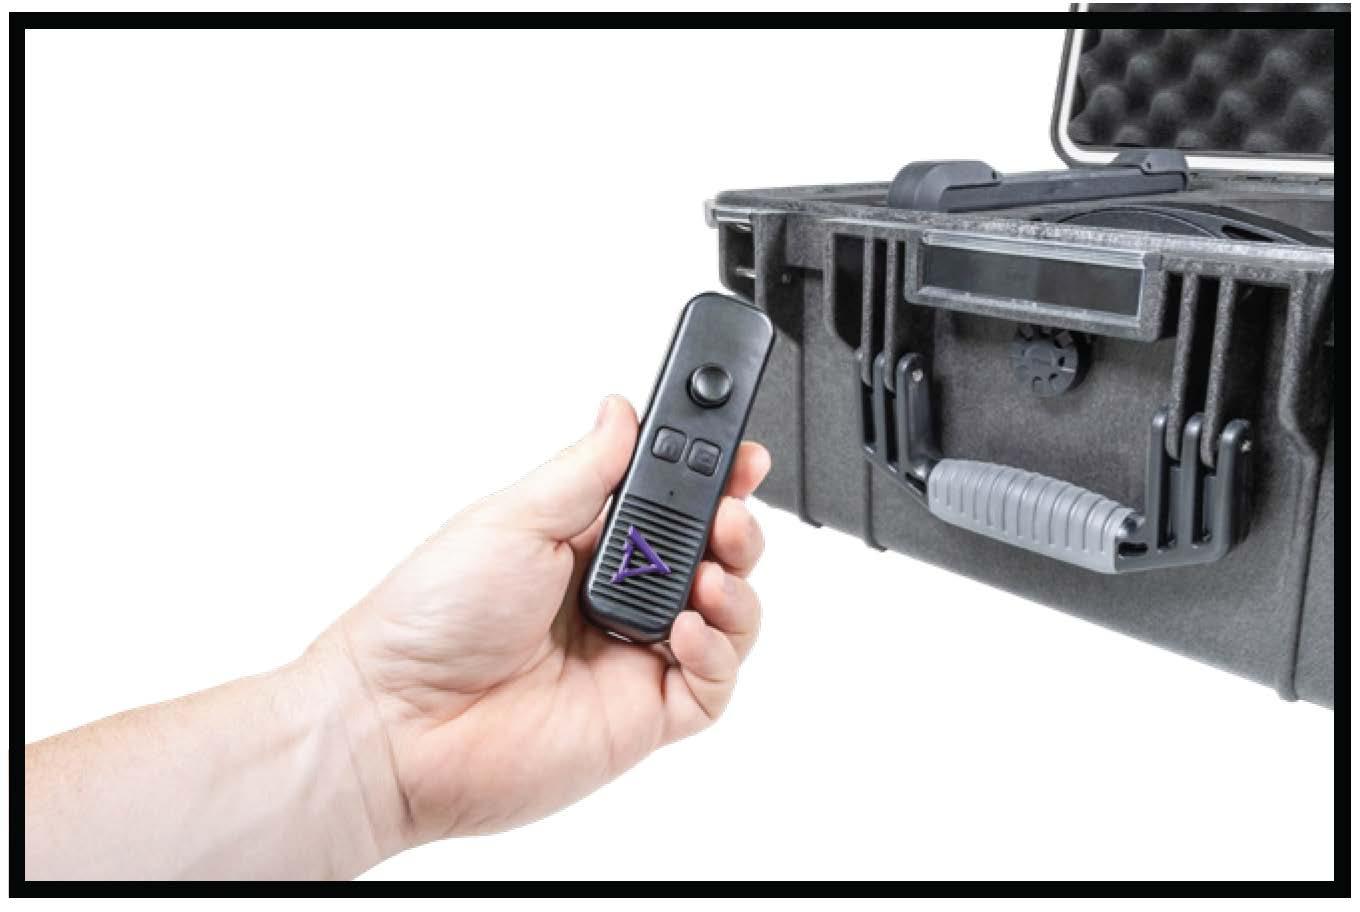
Pressthe home button on the remote (F)to wake it up (The red light should blink when it is connecting and become steady once connected). Ifthe remote does not respond. make sure the two AAA batteries are installed correctly. Use thejoystick to controlthe camera's position orthe wheel atthe topto zoom in or out.

