
The Digital Portfolio is a very important part of your application to study at the Glasgow School of Art. It is a collection of images of your art or design work which are laid out clearly and demonstrate your ideas, skills and suitability for the course you are applying to.
Admissions staff assess your UCAS Statement, Digital Portfolio, and Portfolio Statement together. If successful, you will be invited to attend an interview*.
Your Digital Portfolio should show recent work in progress including sketchbook pages, development work, evidence of your exploration of different materials, as well as more resolved pieces.

*With the exception of architecture applicants. Always check the most up to date guidance on the GSA website first.

Your Digital Portfolio will be marked against specific assessment criteria set by the course that you are applying to. It is important to know what this assessment criteria is, and you should try to respond to this criteria when creating your Digital Portfolio.
Please read the guidelines for the course you are applying on the GSA website before submitting your Digital Portfolio.
You need to submit a Digital Portfolio for each of the degree programmes you apply to at GSA. For example, if you are applying to Interior Design as well as Fine Art Photography, you will need to submit a separate Digital Portfolio for each of these applications. Both Digital Portfolios can contain some of the same images of work but should be made following the assessment criteria for the respective courses.
1. Digital Portfolio and 500 word Portfolio Statement are uploaded to GSA Upload Site.*
*Your UCAS Statement will already have been submitted and is also viewed by GSA Admissions Staff.


2. Admissions Staff score your application by marking it out of 7 for each of the Assessment Criteria.
3. Each course sets its own threshold, this is the score that your application needs to reach in order to be invited for an interview.*
4. Your score is totalled up and if it equals or exceeds the threshold you will be sent an email inviting you to attend an interview. Interview

*With the exception of architecture applicants. Always check the most up to date guidance on the GSA website.


All School of Fine Art Courses

All School of Design Courses
School of Architecture Course
*School of Innovation and Technology
Product Design Games & VR, 3D Modelling
Each page of your Digital Portfolio PDF can contain multiple images. For example, although School of Fine Art courses require 15 pages, admissions staff would like to see more than 15 pieces of work. Applicants should include as much work as possible in order to give staff a good indication of current skills and readiness for degree level study.
*If applying to the Sound for the Moving Image course, you must submit links to 5 pieces of work, please see GSA website for more info.
maximum size for of your Digital Portfolio PDF is 50MB.
To check your size on an Apple computer go to ‘Finder’ and locate your PDF.
To check your size on a Windows computer, right click and select ‘Properties’.


Documenting your work is one of the most important parts of creating a Digital Portfolio. You have spent a long time making your work and it deserves to be documented properly.
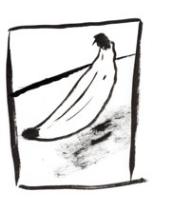
Make sure to photograph or scan every single piece of work that you have made. This includes every page of your sketchbooks, work you’ve done at school and work you’ve done outside of school, such as work created at any portfolio courses or workshops you have attended.

It is good practice to photograph your work throughout the process of making it and at the end when you feel it is finished. It can be helpful for admissions staff to see how you made a particular piece of work, especially if you were exploring a way of making work that is relevant to the course, for example, screen printing, building a free-standing sculpture or weaving.


There are 3 ways of documenting your work that we would recommend.
Regardless of the method(s) you choose to use, make sure the images are clear, in focus and do the work justice.
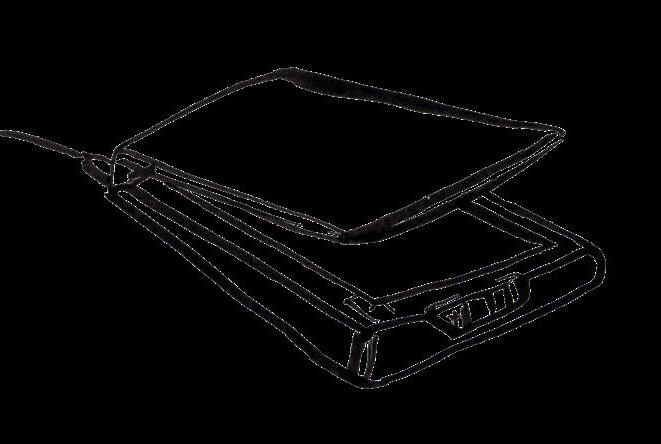
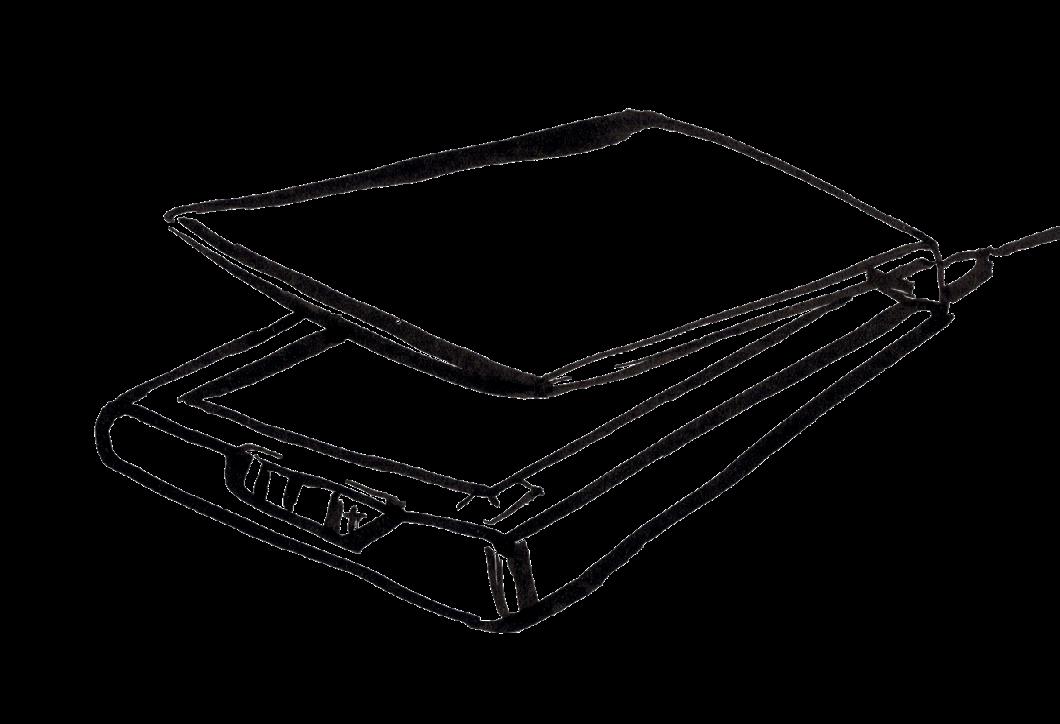
Connect the scanner to a computer.
Create a folder on the computer for your scans, or on a USB stick if you are not using your own computer.*
Check the scanner bed is clean before placing your work on it. You should clean the scanner bed each time you use it.
Open the scanner app on the computer.
Check the settings on the scanner and make sure any filters or colour enhancers are switched off, often the default settings work best.
Scan your work at 300dpi as a .jpeg file to the folder you created. Check the scan to make sure you’re happy with it.
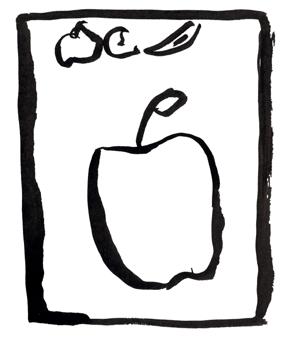
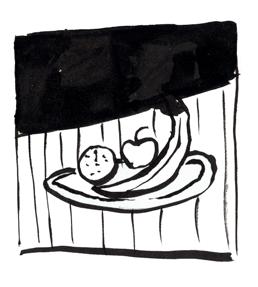
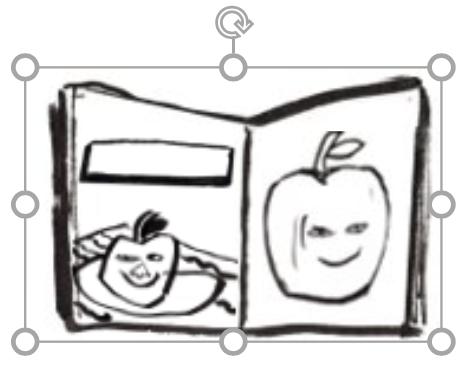
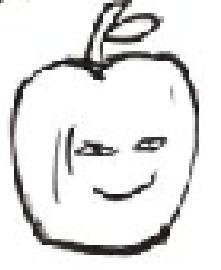
Title each scan something relevant, e.g. ‘ApplePainting_DATE’
*It’s always a good idea to back up your files on a USB stick.

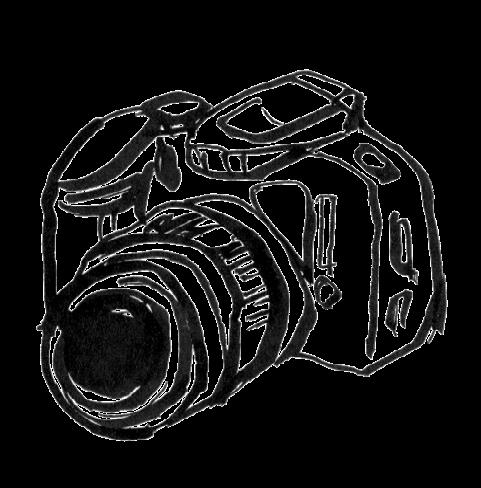
Your photographs should be clear, in focus and taken in good light.*
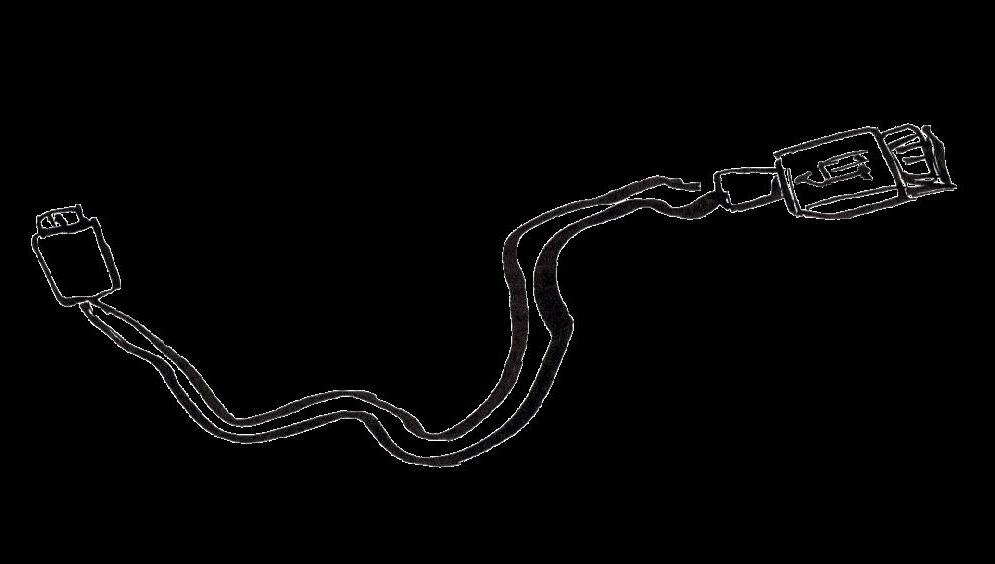
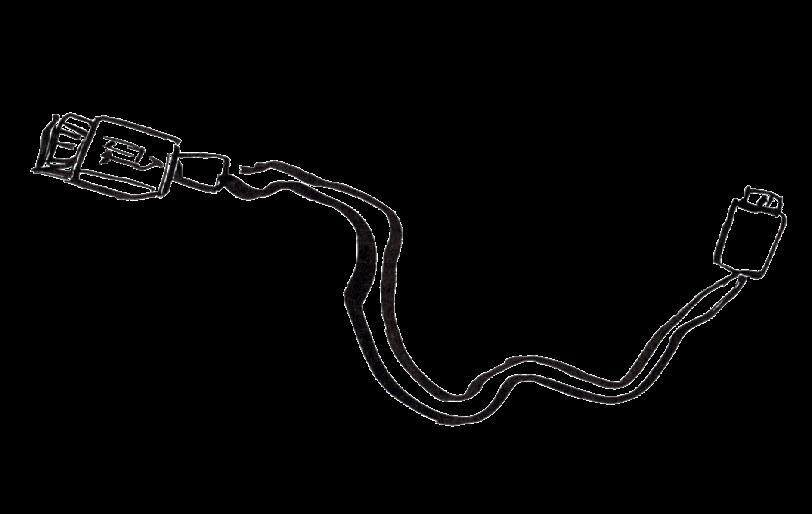
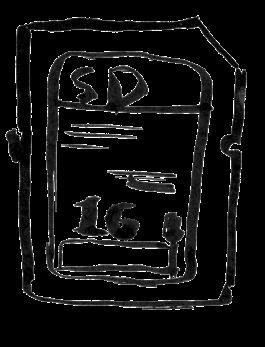
Once you have taken the photos, take the SD card out from the camera and insert it into the SD card reader, or use the camera cable to connect it to the computer.
Create a folder on the computer for your photos, or on a USB stick if you are not using your own computer.
Go through the photos and copy the best ones of each piece of work into the folder.
Make sure to copy the .jpeg files and not the RAW files if your camera has that setting turned on.
Rename your photos to something relevant, e.g. ‘ApplePainting_DATE’


*Please use our guide on how to photograph work

Your photographs should be clear, in focus and taken in good light.*
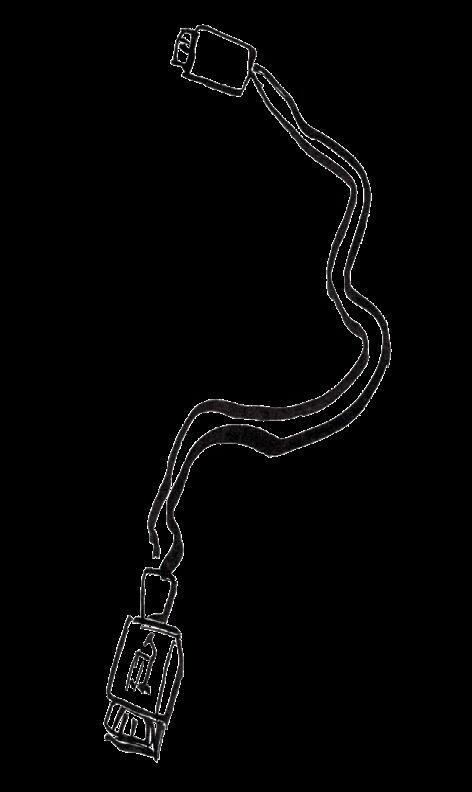
Once you have taken the photos, connect your phone to a computer using the phone cable.
Create a folder on the computer for your photos, or on a USB stick if you are not using your own computer.
Go through the photos and copy the best ones of each piece of work into the folder.
Rename your photos to something relevant, e.g. ‘ApplePainting_DATE’
*Please use our guide on how to photograph work
Once you have documented your work and transferred it to a folder on a computer or USB stick, it is a good idea to spend some time organising your files. Within the folder you have created, create sub-folders to group together different projects and types of work. This will make laying out your Digital Portfolio a lot easier and lessens any chances of missing out some work.


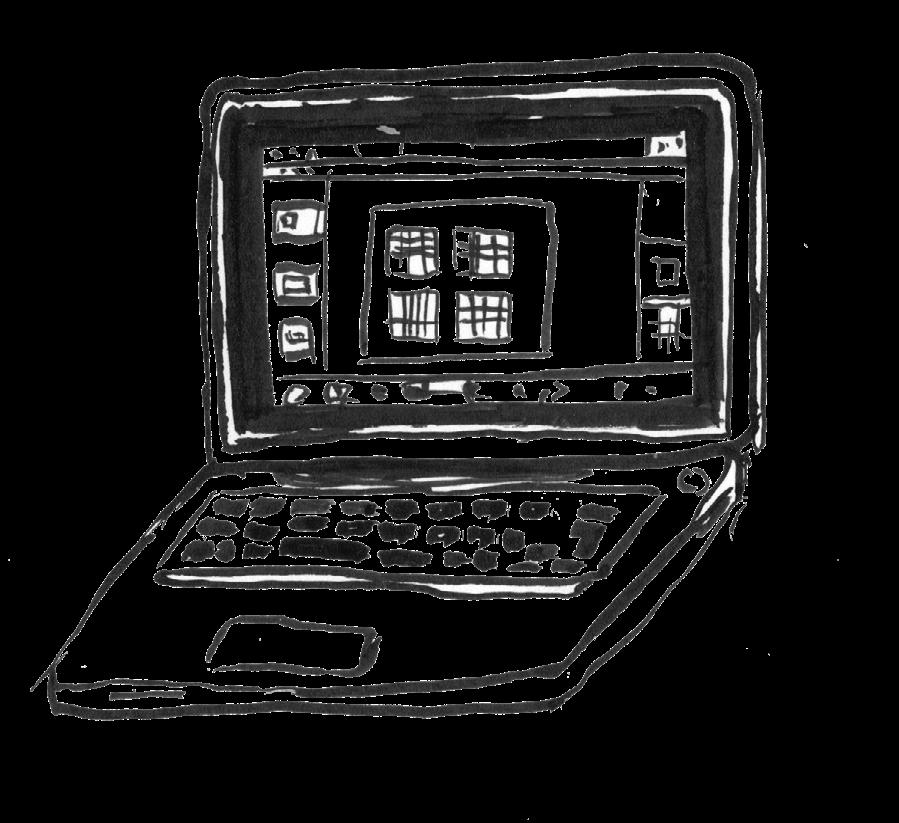
We would strongly recommend that you use Microsoft Power Point to create your Digital Portfolio.
Using Power Point allows you to consider the running order of your work and has functions to crop, rotate, edit and layout your images very easily.
It is also very easy to export your slides as a .PDF File when using Microsoft Power Point.

Open up Microsoft Power Point and make a new presentation.

Insert as many slides as is required for the course you are applying to (e.g. 10 or 15)
Click on ‘Design’ in the top bar


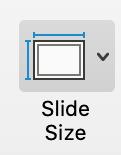

Go to ‘Slide Size’ and click on the small drop down arrow.

Then select ‘Page Setup..’ Select the drop down menu for ‘Slide sized for’ Paper’ and then ‘OK’


Click on an image and use the little circles on the box around it to make it bigger or smaller. Use the round arrow icon above the image to rotate it.


Drag and Drop your images, or use the ‘insert’ function to add them to your Power Point.


Use the arrows and red guidelines that Power Point creates when you move an image to line it up in the centre, or equidistantly to other images.

You can centre an image by going to Format, Align, Align Middle. Then repeat this process and select Align Centre.

To evenly space and centre images together select all the images at once, click on Format and select Group.


Now click on Align and select Distribute Horizontally.


To crop, select an image, go to Format and select Crop to crop out any parts of an image that you don’t want to be visible.


Cropping can be handy not just for cropping out an unwanted background, but also for focussing in on detailed parts of your work that look good close up.

Be careful to make sure that you aren’t losing too much image quality when cropping. All of your images should be sharp and not pixelated or blurry.

Power Point also allows you to edit your images but this should only be done if absolutely necessary, for example if the photo quality makes it difficult to see the work properly.
Remember that the work in your Digital Portfolio will be viewed in person during the interview so you don’t want to edit the images so much that they become unrecognisable from the original artworks.

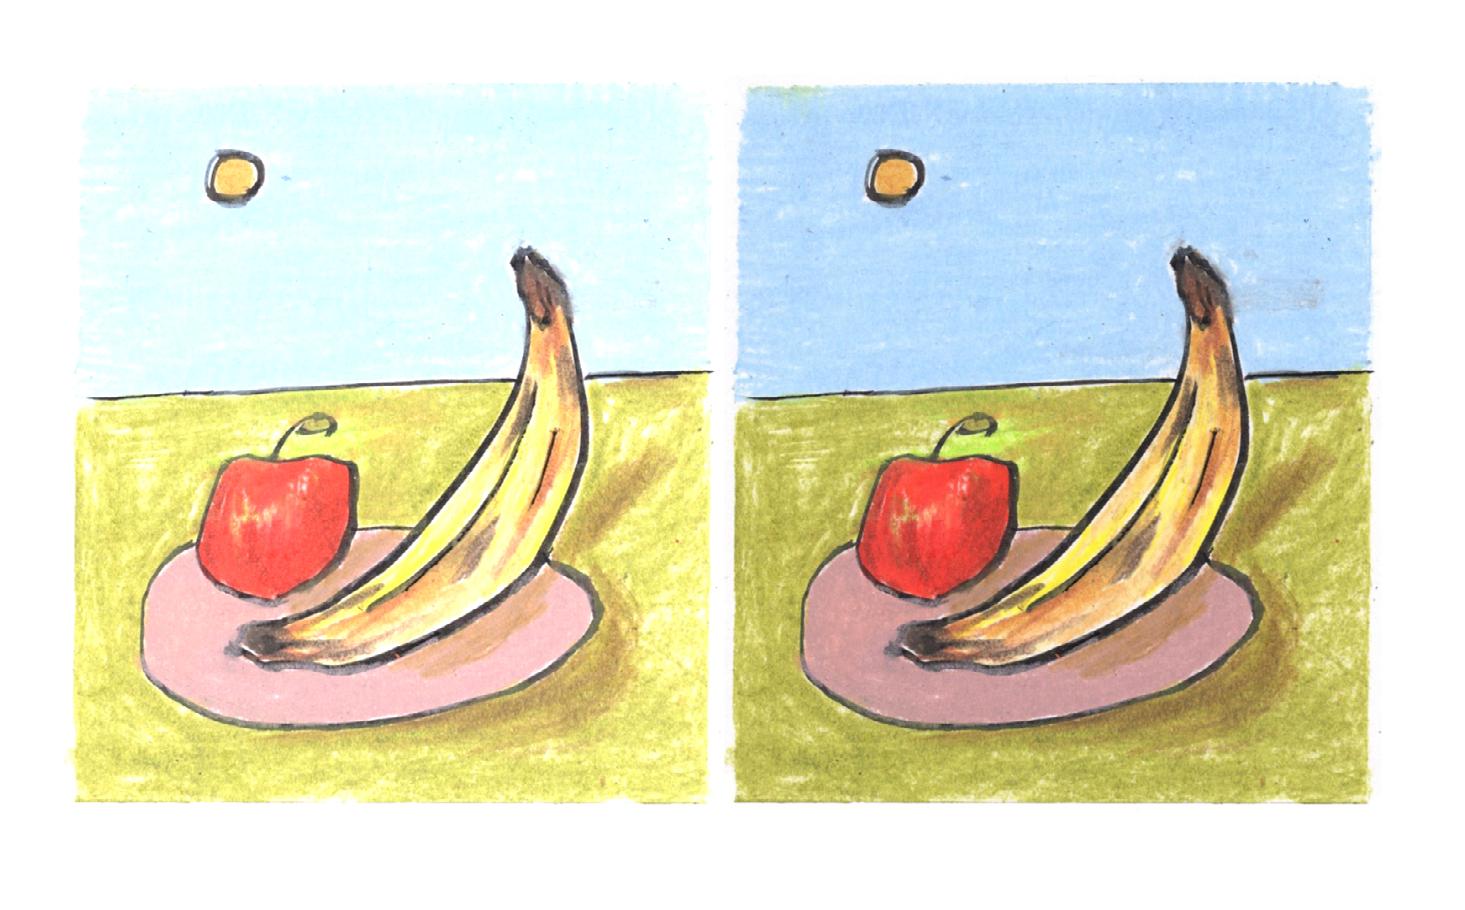
Click Corrections to adjust the Brightness/Contrast and be careful to not over edit, aim to have the image look on your screen close to how it looks in real life.


In most cases you want to keep the layout of your work neat and simple so that the images are not overlapping. You want your work be visible and clear to see.


The aim for your Digital Portfolio is to showcase your work as best as you can. Include as much of your work as possible by making use of the space on each slide, whilst still making sure that each image is clear to see.


It is a good idea to have a few slides of your Portfolio that are less crowded. For example, if you have a final piece for a project, finished prints, photos of a sculpture etc., then you could dedicate a page to just one or two images of these.

Remember, your Digital Portfolio isn’t just for finished work. Include all work that shows your creative process, e.g. Sketchbook pages, development work, colour studies etc.


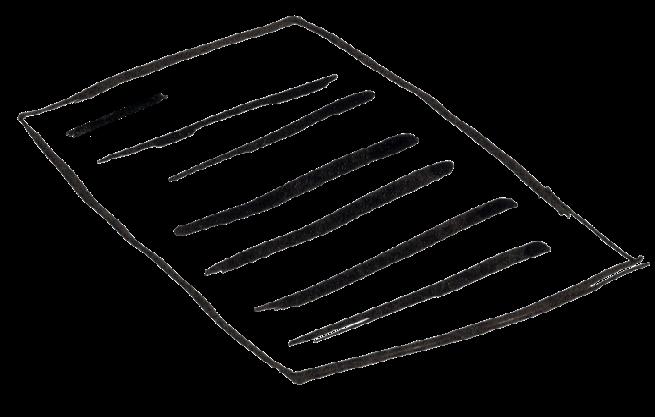
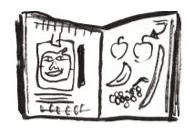
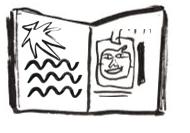
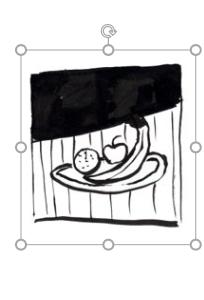
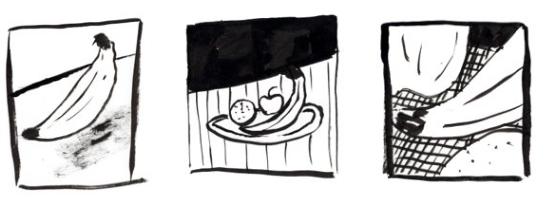
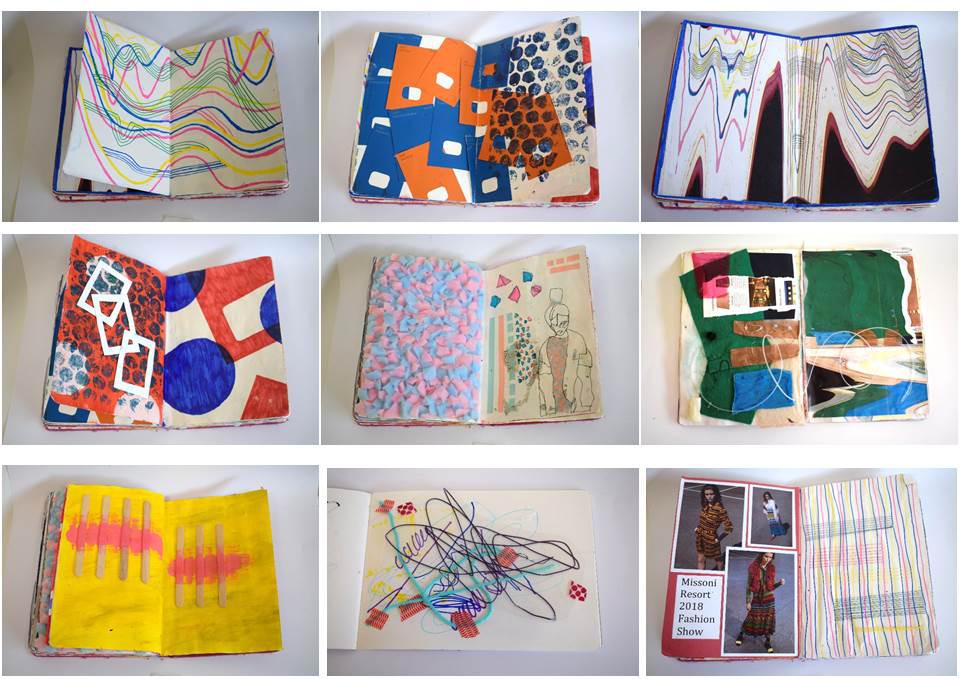
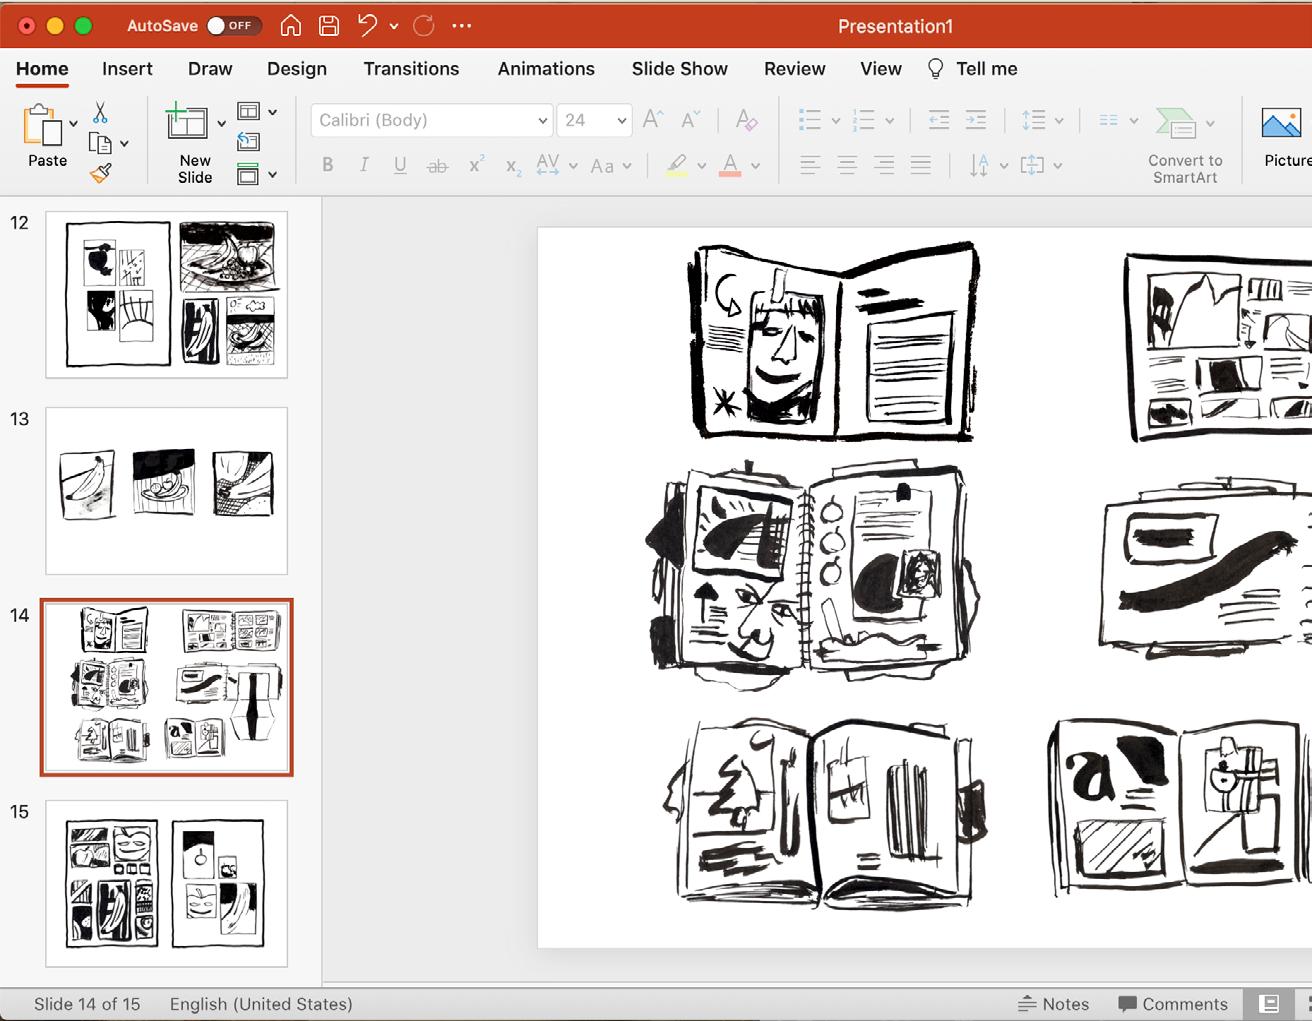
Here are some successful ways of laying out images of sketchbook pages. Having a lot of images together on a slide can show multiple ideas being explored at once.


It’s important that your Digital Portfolio shows an interest in the specialist area you have applied to, for example these applicants included cyanotypes for Fine Art Photography, 3D models for 3D modelling, paintings for Painting & Printmaking, weave samples for Textiles,


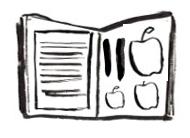
Having white space around your images is good and makes your Digital Portfolio look crisp and clean. Try having a mixture of pages like this, as well as busier pages.

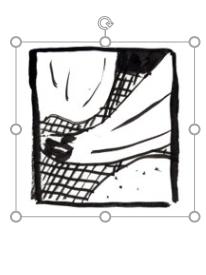
Laying your slides out well makes it easier for admissions staff to see your work and assess it. These slides show all the different results an applicant produced from experimenting with various etching techniques. This demonstrates an ability to explore a particular material, method or process for making work in depth.

Sketchbook work showing initial sketches and research.
and the running order ‘tells the story’ of how the project
Development.
This can help admissions staff to see the way that you work and understand


Once you are happy with your Digital Portfolio and you are ready to export it, go to: File > Export, make sure ‘PDF’ is selected at ‘File Format’ and click ‘Export’


Remember to name your PDF

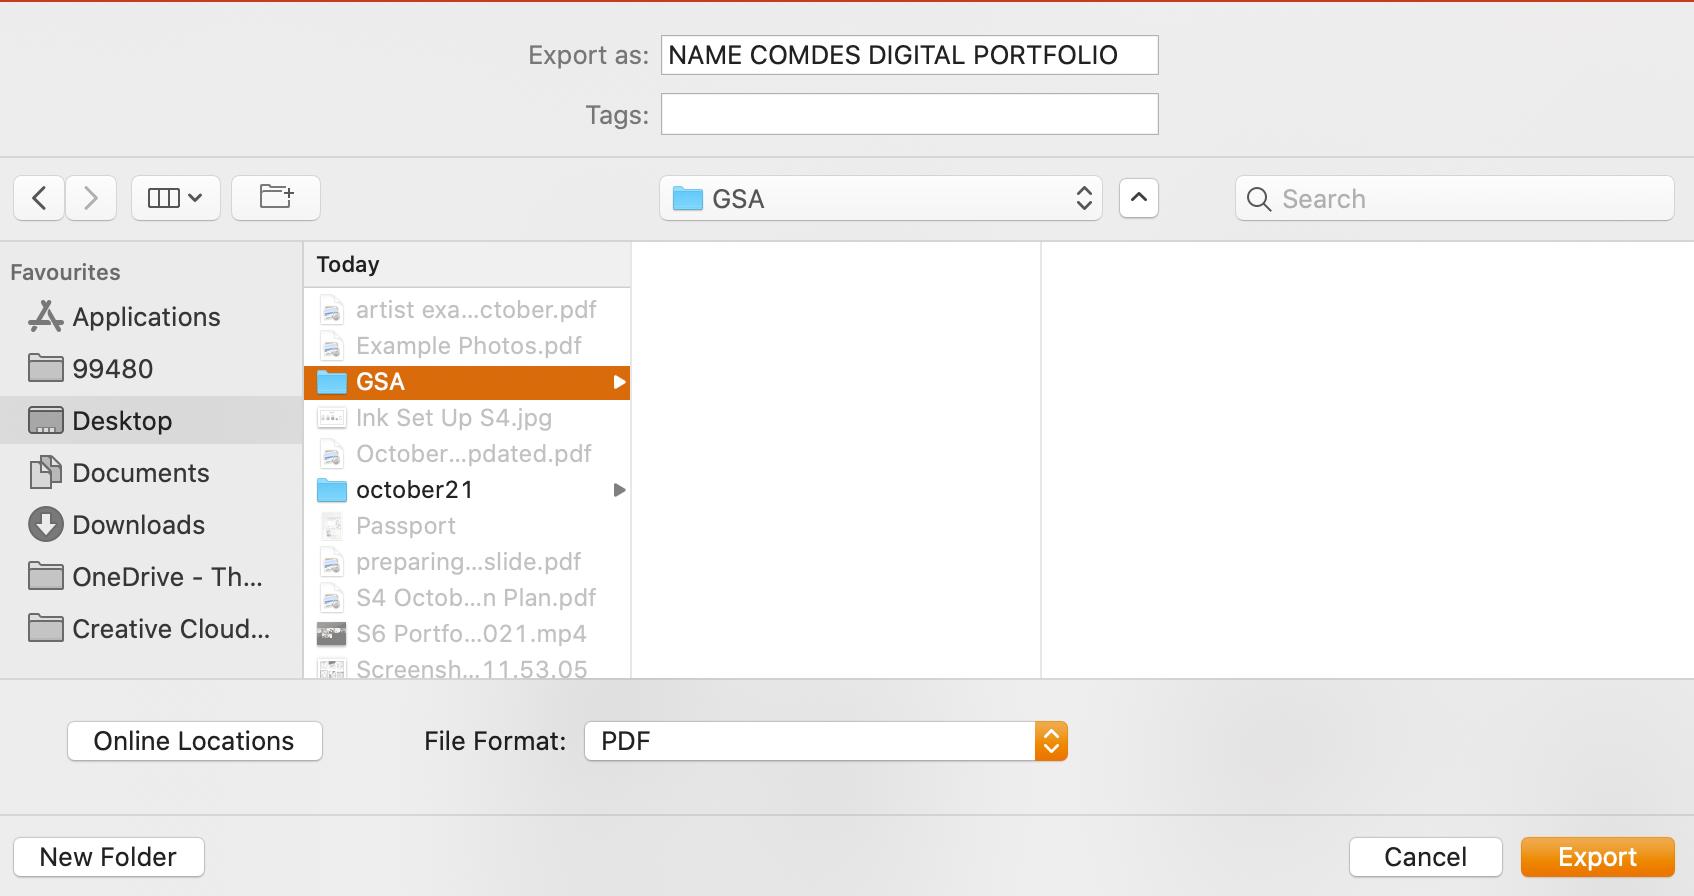


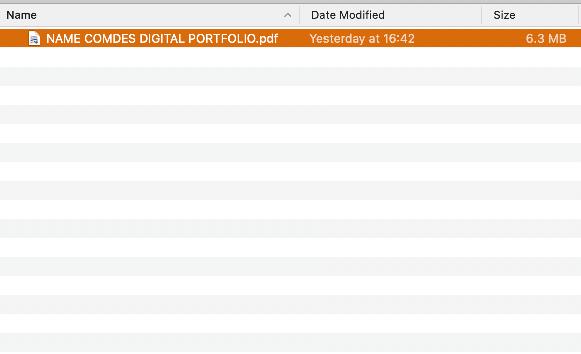
Save your PDF to a memorable location on your device, such as a titled folder on your desktop.


After submitting your UCAS Application you will receive an email from GSA with a link to the Digital Portfolio Upload Site and you will be prompted to create a user-name and password.

This is where you will then upload your Digital Portfolio PDF. Make sure and look over your Digital Portfolio PDF before you upload to make sure it is exactly how you want it to be!


Next you will upload your 500 word Portfolio Statement. Have this typed up in a word document first so that you can copy and paste it.
The Portfolio Statement should not be the same as your UCAS Personal Statement.
The Portfolio Statement is your opportunity to speak specifically about the course you are applying to and to talk about the work you have submitted.
It must be no more than
There is a full guide on how to write your Portfolio Statement HERE