1 minute read
Window Capture

from OBS Guide

Sources
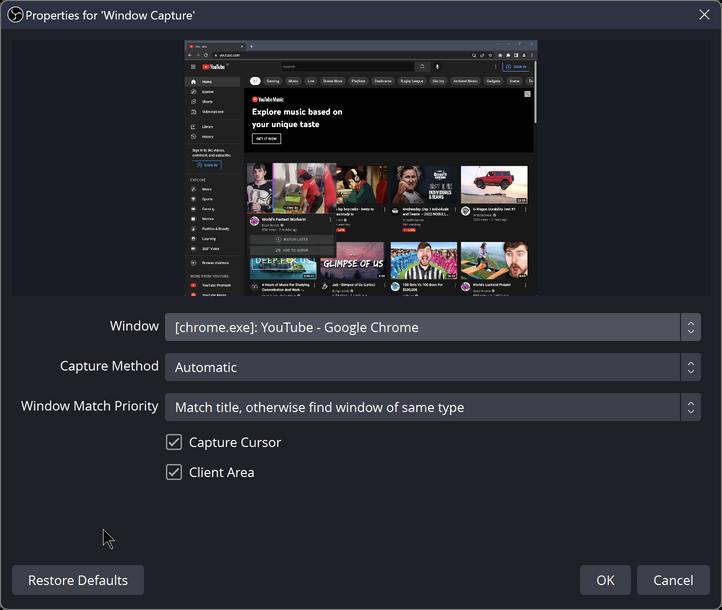
Here you can see the window capture screen. In the top drop down menu, you are able to select between windows.
Advertisement
The next drop down selects of it is Automatic or manual, leaving it as manual works best on most occasions
The third drop down menu, lets you select whether the window being captured should match the title. This is always a good option to use. In your sources section you an rename windows, sources etc and often you will be prompted to, for example;
If you name your window capture source as Rocket League and then set the third drop down box as match title, it will look for a window with the name Rocket League in it. If the game is running at that point it will load the game up and display this. If you were to close the software OBS down after this and load it up, it will have these settings saved and load the same game up as long as the scene is selected.
NOTE: when playing a game and using just 1 screen use the settings in the game and change it from Fullscreen to window mode this will allow you to see the game in live view on OBS and get a better understanding of what your audience will see
Now you have the window capture selected, you can begin to add other elements like images (recommended format being PNG), videos, music, cameras and audio devices
Just use the add button in the sources section and choose the source you would like to add, just remember to be on the correct scene.


