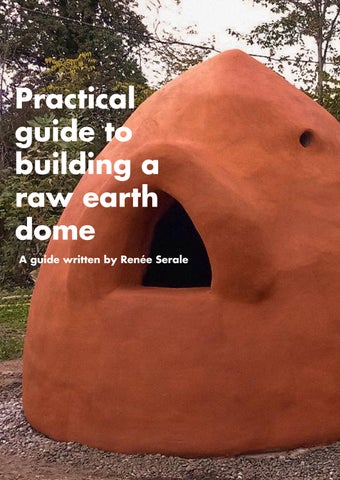
RAW EARTH AS A BUILDING MATERIAL 1 HOW TO BUILD A EARTH DOME 2 TO BUILD THE FOUNDATIONS 3 THE STRUCTURE OF THE DOME 4 Contents THE OPENINGS 5 VENTILATION AND DRAINAGE 6 EXTERNAL PLASTER 7 DOME WATERPROOFING 8
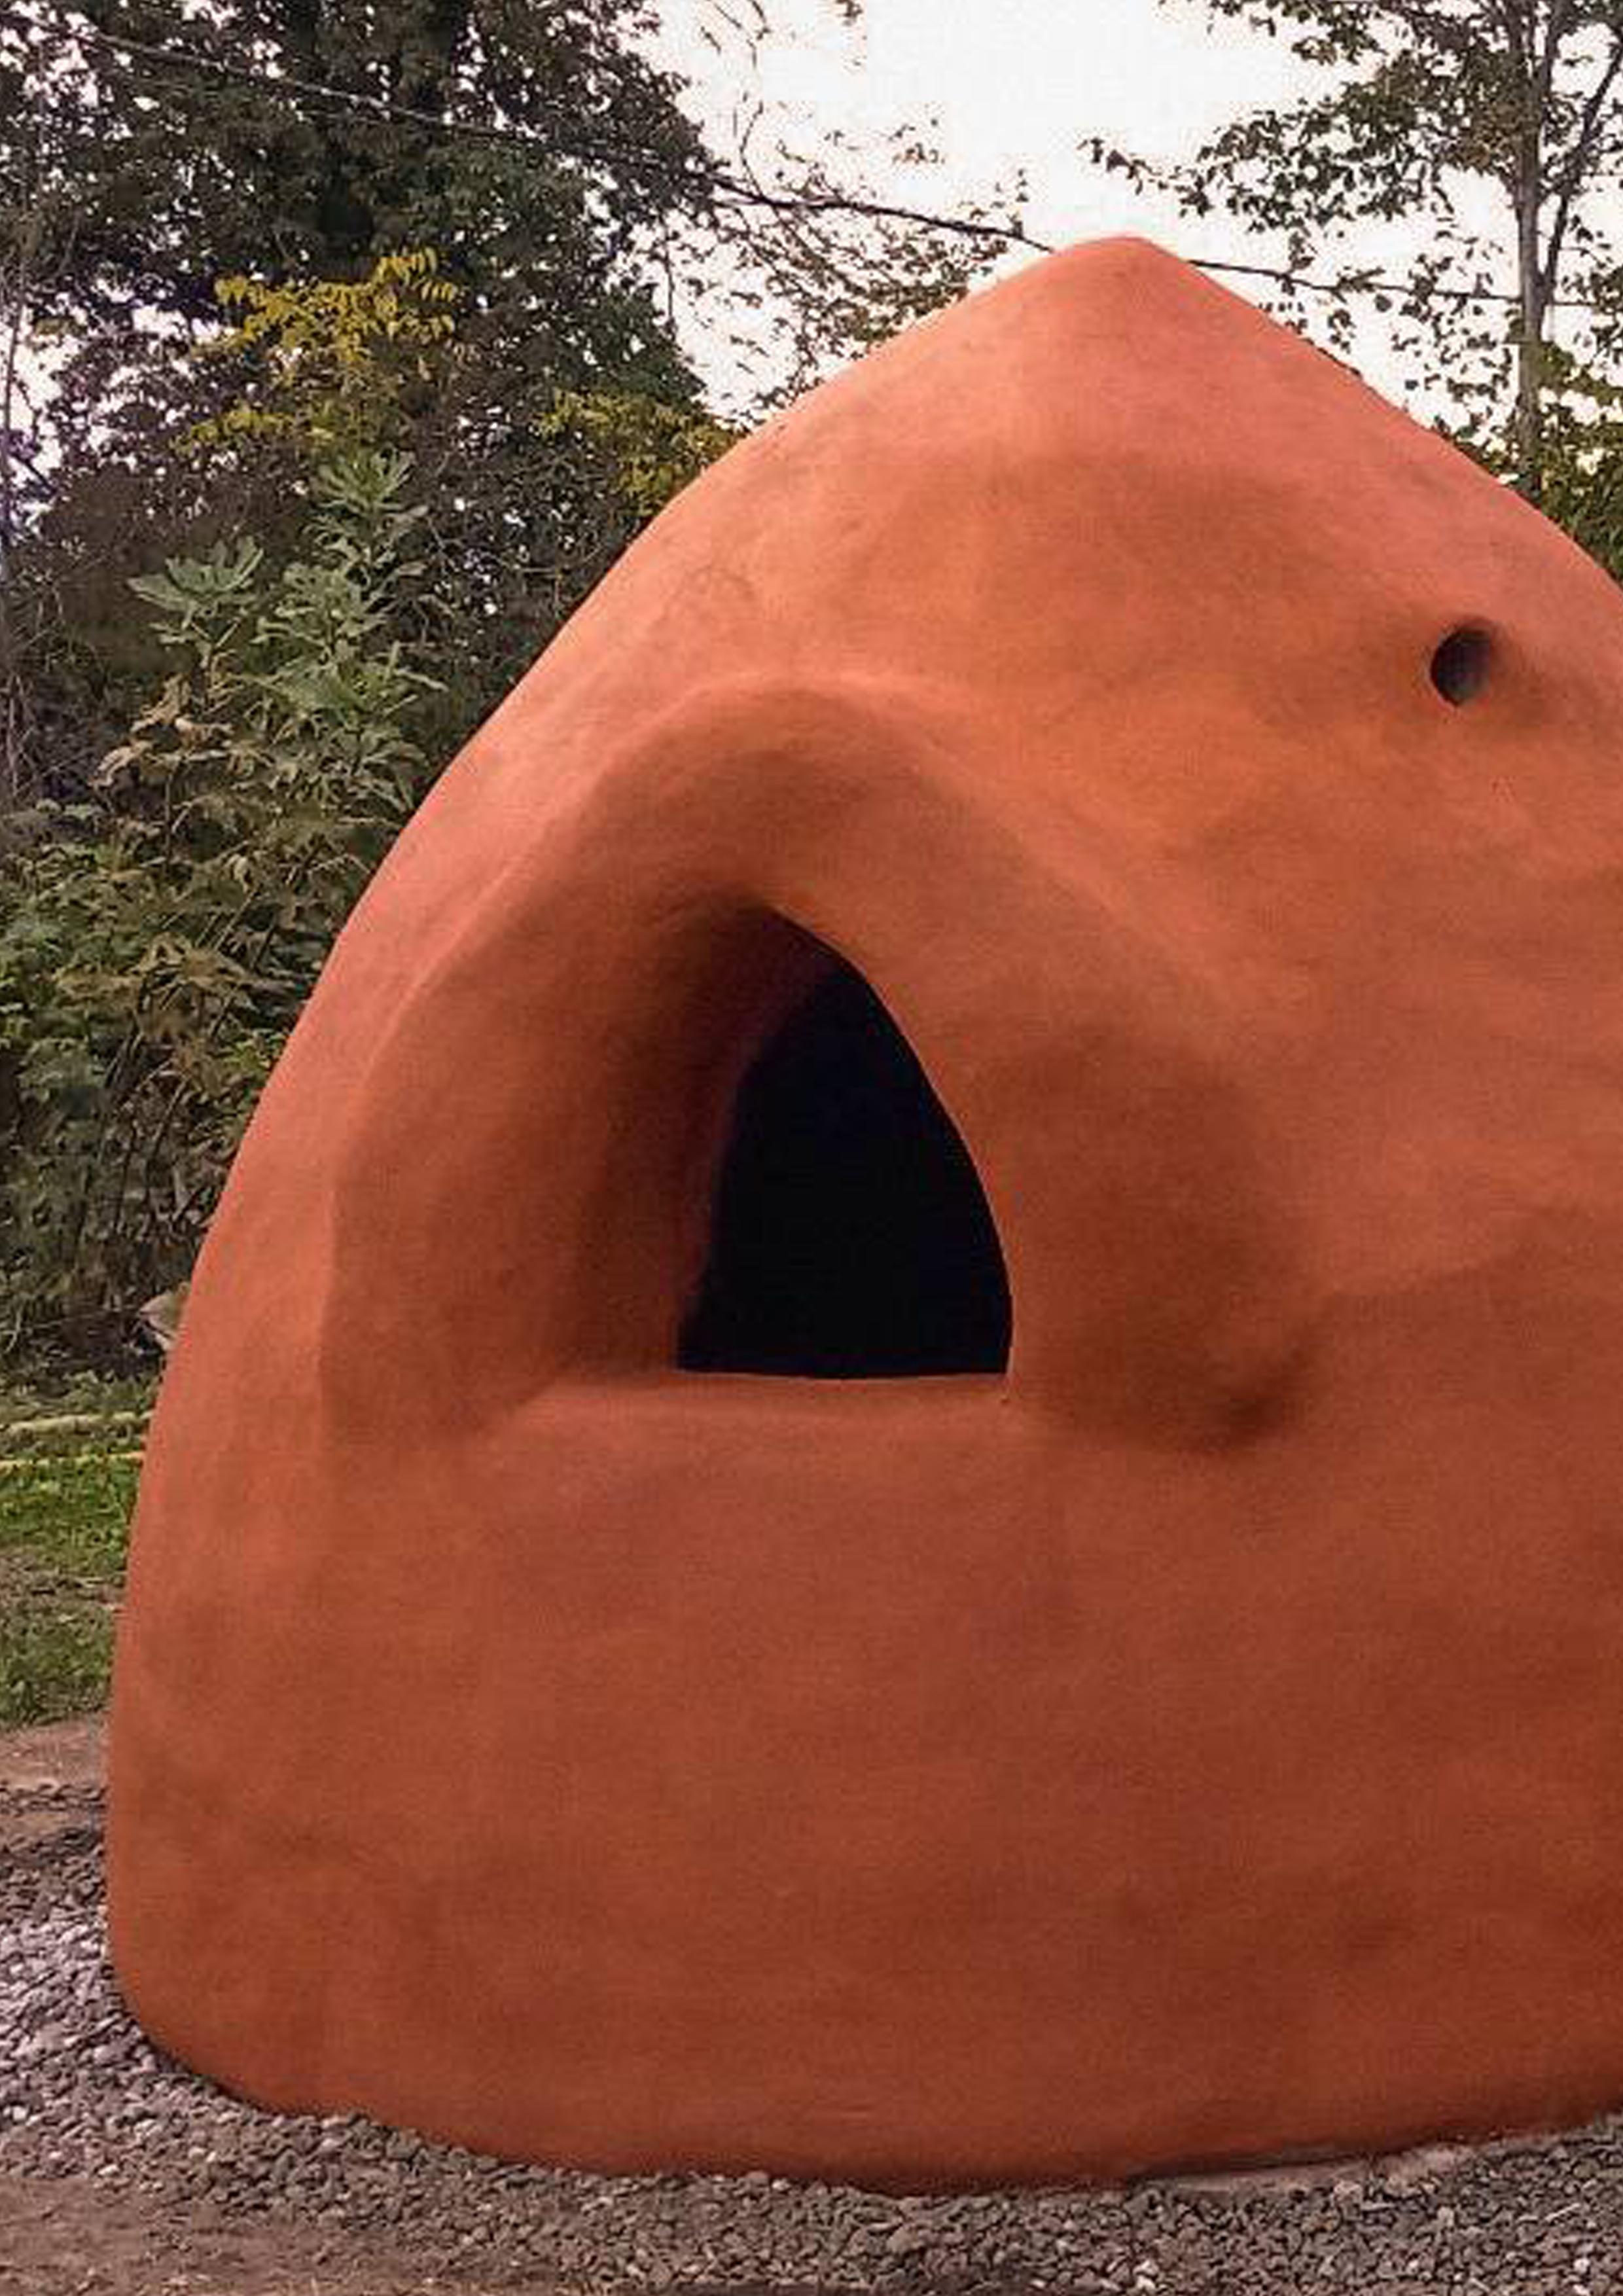
In 2023, I had the opportunity to build a rammed earth dome during a workshop held in Turin, Italy, in collabora tion with the California Earth Institute and Vide Terra
Over the course of a week, a dome with a height of 2.30 meters and a diameter of 2.40 meters was built using the Superadobe construction technique.
This guide aims to illustrate the step-by-step process of buil ding a rammed earth dome. The goal is to provide detailed instructions for the autonomous construction of a structure using this material, given the scarcity of illustrated manuals on the subject.

Why build with raw earth?
Raw earth has been used as a building material since ancient times. Currently, around 35% of the world’s population lives in earth-based architectures. The countries with the highest concentration of structures made with these materials are sub-Saharan Africa, the Middle East, Latin America, China, and India.
Why build with this material? Because raw earth is eco-friendly, abundant, easily accessible, and has many beneficial properties for ensuring indoor comfort
Earth acts as a thermal regulator due to its good thermal inertia, which allows it to retain heat and release it slowly into the environment. It also regulates indoor humidity, absorbs odors thanks to its colloidal properties, and has excellent soundproofing properties.
Before delving into the details of building a dome using the Superadobe technique, it is important to illustrate the various techniques applicable to the construction of raw earth structures.
Below is a brief list of the main construction techniques:
Superadobe
The Superadobe technique was first applied by Iranian architect Nader Khalili. This construction technique involves filling long bags with earth, which are then stacked and compacted with a hammer to create load-bearing structures and domes.
Adobe
This construction technique involves creating a mixture of earth, water, and vegetable fibers that is poured into a wooden mold and left to dry in the sun to obtain bricks (figure A).
In this technique, also known as pisé, the mixture of earth and water is placed inside a formwork, usually made of wood or metal, and compacted (figure B).
Cob
The Cob technique, also known as bauge, involves a mixture of water, vegetable fibers, and earth that is applied by hand through a layering of the mixture (no formwork is used).
Torchis
A bamboo or wooden grid is created and then covered with a mixture of water, earth, straw, and sand. The mixture is left to rest for 6 hours to 2 weeks. The slip is applied to the grid to allow the mixture to adhere better (figure C).
Compressed earth blocks are similar to adobe bricks, but the mixture is poured into a “press” machine that allows for the production of high-density bricks (figure D).


A dome is a type of self-supporting structure that works in compression. In the case of a dome built using the superadobe technique, it is necessary to stack the compressed layers formed by the earth-filled bags in succession. This manual will explain the various construction phases, starting from the necessary elements and materials, then explaining how to build the foundations, the subsequent layers including the wall-door joints, the windows, the ventilation and drainage system, and finally the external finish.
The following lists all the elements needed for the construction of a dome with a diameter of 2.40 meters and a height of 2.30 meters.
Main materials:


Earth is the main element used to build the structure. But what type of soil should be used for this operation?
First of all, the soil must not be organic, which is why it is necessary to collect soil from below the first 30 cm of topsoil, called humus. The subsoil has a series of sediments that are distinguished by their different granulometries: gravel, sand, silt and clay. The optimal proportions are:
• Clay: between 10 and 20%
• Silt: less than 25%
• Sand: between 70 and 80%
• Gravel: maximum 10%
The construction of a dome of this size required 9 cubic meters of earth.
There are also a number of precautions related to the soil that are good to have on site:
• It is important that the quarry from which the soil is obtained is close to the site so that it can be easily transported;
• The soil must be protected with a plastic sheet to protect it from rain and moisture at night (it is best to work with dry soil otherwise the soil becomes muddy and therefore cannot be worked);
• If the climate is too dry, it is a good idea to create small holes and fill them with water so that it is distributed over the soil.


The earth is inserted into long bags. To build a dome of this size, approximately 350 meters of bags with a width of 35 centimeters are needed, ideal for the thickness of the dome wall. The price of a meter of polypropylene bag is around 0.40 to 0.50 cents.
A much debated issue is the type of bag to use for this type of structure. Usually, superadobe structures are made mainly with polypropylene bags interwoven with UV protection. UV protection is very important because otherwise the structure can lose its mechanical properties in just four weeks.
In addition to plastic bags, which can be an unsustainable choice, there are alternatives such as bags made from plant fibers, such as jute. Jute has the advantage of being very strong and natural, but it cannot be used in contact with the ground otherwise it will rot. Jute bags are also produced with larger widths than polypropylene bags and are more expensive.
It is a good idea to insert barbed wire between each layer of earth-filled bags. The dome is a structure that works in compression, and by inserting barbed wire it also works in tension, allowing friction between the bags that make up the various layers. As a result, the dome will be more stable in the event of seismic stress.
What type of barbed wire should be chosen?
For Superadobe structures, it is a good idea to use barbed wire with four points, two of which will be inserted into the lower layer and two into the upper layer. Domes with a diameter greater than 3.60 meters must have two layers of barbed wire.
In some parts of the structure, it will be necessary to add lime to the earth mixture to create a stabilized mix. All parts in contact with the ground, i.e. the layers that make up the foundation, must be stabilized as they are subject to rising damp. In addition to the foundations, the joints between the wall and the openings must also be made of stabilized earth.
How much should the mixture be stabilized? For a dome of the size mentioned above, it is necessary to stabilize 10% of the mixture, so it will be composed of 9 parts earth and 1 part lime.
•Bags • Barbed wire

Two mixers Buckets
to prepare the mixture to transport the mixture


Gravel Level
to fill the foundation to level accurately


Wheelbarrow Gloves
to facilitate transportation for inserting the barbed wire

Straw
for the external finishing layer

Electric mixer


Two compasses A tamp
to raise the dome to compress the bag layers


Formwork Non-woven fabric
to create the openings

Pipes
to protect the foundation for the foundation for ventilation and drainage


Waterproof sheet

Shovel A water source
for the wall plaster to dig to make the mixes
To build the foundations of a Superadobe dome, the first step is to dig a trench. The minimum depth is 30 centimeters, but it can vary depending on the type of soil. In general, a depth of 50-80 centimeters is recommended for greater stability.
The width of the trench should be equal to the width of a bag of earth (30 centimeters) plus 10 centimeters of space on each side, so 10 centimeters more than the radius of the circumference is calculated (figure A). When digging, it is important to level the trench with a level to obtain a flat surface. To avoid water accumulation, it is advisable to create a small sloping drainage channel inside the trench.
The excavated soil can be reused to fill the bags that will make up the structure.
After completing the excavation, the compass is placed in the center and it is checked that the radius is equal at all points. The non-woven fabric is then laid along the perimeter of the trench to promote drainage and block the passage of the finest soil particles (figure B). The non-woven fabric is blocked with heavy stones or bricks to keep it in place, before backfilling the trench.
Instead of using the larger stones, the foundation trench was filled entirely with gravel (figure C). However, the trench is usually filled with larger stones at the base and gravel at the top.
The level of gravel in the trench is checked again with a level and adjusted if necessary. Finally, a plastic sheet is placed over the gravel to protect the bags from rising damp, thus forming a waterproof layer.


 non-woven
plastic sheet
Figure A
Figure B
non-woven
plastic sheet
Figure A
Figure B
After completing the foundation trench, it is time to create the first two layers. These layers are made of stabilized earth, which provide a solid and stable base for the dome. At least two layers of bags are needed to create a strong foundation.
First, you need to calculate the length of the bag. To do this, count the steps along the outer perimeter of the dome, adding three extra feet (about 90 cm) for the ends of the bag, which will be used to close it (figure D).
In a concrete mixer, prepare the stabilized earth mix. Start the concrete mixer and pour in 9 parts soil and 1 part lime. Gradually add water until a moist and homogeneous mixture is obtained. The mixture is ready when, after taking it in your hand and compacting it slightly, a compact ball forms that does not crumble and leaves a little dirty soil on your hands (figure E).
Place the empty bag on the waterproof layer of the trench and hold it in place at the end with one foot. After pouring the mixture into a wheelbarrow, use buckets to fill the bags (figure F). Fill the bag completely, taking care to distribute the mixture evenly.
Once the bag is filled, close it by twisting the excess end and placing it under the bag. Repeat the steps for filling and closing all the bags needed to complete the first two layers.
After filling the first bag with the stabilized mixture, it is necessary to tamp the entire layer to obtain a smooth and compact surface. One person is enough to do this: the tamper is lifted with force and then released, dropping it vertically onto the bag (figure G). The force of gravity and the impact of the shovel compact the earth, eliminating air pockets and increasing the density of the material. The process of lifting, releasing and tamping is repeated until the bag is completely full and the earth is well compacted.


 Figure D
Figure E
Figure D
Figure E
To obtain uniform pressure and a compact surface, it is essential to release the tamper in a controlled manner, dropping it perpendicular to the bag and finally checking the surface with a level.
As mentioned before, barbed wire is a fundamental element in the Superadobe technique, as it gives the structure the ability to resist tensile forces, as well as compressive forces.
The first step is to measure how much barbed wire we need: we step on the central part of the flattened bag to measure its length and cut the barbed wire to a length equal to the previous measurement, plus a little margin for the ends. We find the center of the barbed wire and position it in the center of the superadobe ring, pushing the two ends inside the bag to secure it. Two people do this operation wearing work gloves: one person holds the barbed wire to the left, the other to the right. It is very important that the barbed wire is taut along the entire circumference (figure H).
After inserting the barbed wire, we proceed with the construction of the second layer of bags that makes up the foundation. It is important that the second layer starts at a different point than the first layer. In addition to the first two foundation layers, it is also necessary to create the layers that will act as the base for the door. To do this, two bags 60 cm long and 30 cm wide are used. The two bags are placed parallel to each other, spaced 75 cm apart to obtain the width of the door (figure I).
Once the foundation layers are complete, they are wrapped in plastic sheeting to make them waterproof.


 Figure G
This paragraph explains the fundamental steps for erecting the dome structure. In addition to how to raise the structure, it will be explained how to build the buttresses.
The compass rule
After wrapping the first two layers of foundation bags with a plastic waterproof sheet, an additional layer is laid that will not be wrapped with the waterproof sheet. First, a detailed explanation is given of how the compass rule works, which consists of two distinct elements: the compass for the circumference of the dome and the compass for determining the curvature in height. Considering the horizontal nature of the bags, which tend to narrow the circumference as you go higher, you get a dome with the characteristic ogival shape
The compass for determining the curvature in height of the dome (vertical axis) is positioned on the extrados of the third level, near the door (A), at the spring line. It is obtained by fixing a pickaxe near the center of the door.
The compass for defining the circumference (horizontal axis) is instead positioned at the center of the dome (B).
A sample bag (a small bag filled with earth) is prepared to help us simulate what will then be the layer of bag forming part of the wall.

Compass rule for the vertical axis:
The compass used to define the height of the dome is positioned so that it crosses the center of the circumference and reaches the intrados of the third sack layer. After this operation, the length of the compass will remain constant during the elevation of the dome.
Compass rule for the horizontal axis:
The compass positioned at the center of the dome will undergo a change in length as the subsequent layers are raised. This modification is necessary to adjust to the length of the compass used to define the height. The rings of the two compasses must therefore coincide at each layer (figure C).
Consequently, for each layer of sack, only the compass that determines the horizontal axis needs to be adjusted. This is done by removing the ring from the end of the chain and placing it in the rings behind.
When positioning the sack, it is essential to leave two fingers of space between the ring and the intrados for each layer. This allows for the recovery of the length lost during the tamping of the sack.


Buttresses are vertical structural elements that project from the wall of a building, used to increase its stability and resistance against lateral forces, such as those of wind or earthquakes. For structures such as superadobe domes, there are different types of buttresses, which are distinguished according to the type of door chosen (arched or trilithic system) and according to the diameter of the dome.
• Arched openings
For domes with a small diameter, the length of the buttress is around 60 centimeters. For larger diameters, 90 centimeters is recommended (figure A).

• Trilithic door openings
Rectangular openings require the installation of a lintel. The buttresses must be at least 30 centimeters thick, and the height must be at least two-thirds of the door height (figure B).
The lintel is necessary to distribute the load of the structure above the opening and can be anchored to the supporting structure using various solutions, including barbed wire, wooden supports and screws, or a bag with rebar inserted inside.


• Buttresses around the perimeter
Domes with a diameter greater than three meters or with a springing line that exceeds three layers of bag above the ground level require a perimeter buttress.
Barbed wire, arranged in a zigzag pattern, acts as a connection between the wall of the structure and the buttress itself (figure C).

To create openings, it is necessary to build formwork, which are structural supports that act as guides for laying bags. The formwork can be made of wood and must be stable to ensure the correct execution of the work. Their robustness is ensured by using nails and planks.
To create the openings, it is essential to use formwork of the appropriate length. The circumference of the dome tends to narrow as it rises, so the formwork must be long enough to perform its function without interrupting the course of the dome and to be able to be extracted at the end of the work.
The formwork for the window is placed on the layers of the wall already built, while for the door it is raised in height with a wooden structure. The latter must also have a small slot to allow the passage of the compass of elevation even in the last layers at the top of the dome (figure A).
The correct positioning of the formwork is essential for the success of the construction. To this end, it is necessary to carry out checks with the compasses.
The compass for the vertical axis indicates the highest point of the formwork and the trajectory of the rising bag. The compass for the circumference checks that the two angles at the base of the formwork are the same distance from the compass ring (figure B).
To create the layers of the window, small bags filled with stabilized earth are used, stacked to follow the curve of the formwork. It is essential that the bags are well pressed and free of folds to ensure good adhesion of the plaster that will be applied in the subsequent phases.
In some cases, the bags can be arranged in an arch (figure C), but this technique is more complex and less safe than the overlapping of straight bags (figure D).


 Figure D
Figure C
Figure A
Figure D
Figure C
Figure A
Every three layers, the joint between the wall and the door must be made by inserting a longer bag between the rings of the wall (figure E). This solution gives the building greater flexibility, reducing rigidity in the event of an earthquake.
Finally, it is essential to stabilize the first and last 30 cm of the layers of the rings that make up the wall (figure F) to guarantee their stability.

When designing openings, it is necessary to follow some specific rules. The distance between a window and a door, or between two windows, must always be at least 90 centimeters (figure G).
As for the distance between two doors, it is necessary to maintain a 90° angle between the two openings (figure H). This arrangement is essential to ensure the stability of the structure and the safety of users.
The size of the windows is generally limited to a maximum of 90 centimeters by 90 centimeters. The height of the door, on the other hand, should be two-thirds of the height of the dome.


 Figure E
Figure F
Figure G
Figure H
Figure E
Figure F
Figure G
Figure H
A ventilation system is of primary importance, as it ensures air exchange inside the dome and promotes an optimal microclimate. It is made using PVC pipes, which can also act as a conduit for other systems.
The pipes can be inserted into any layer of the dome, but the complexity of the operation increases with height. In this specific case, a PVC pipe was installed after the fifth layer of bags and at the twentieth level (figure A).
To prevent water infiltration, the pipes can be equipped with PVC caps or protective grilles. Alternatively, it is possible to opt for plugging with earth.


Water accumulation around the foundation can compromise the stability and longevity of a structure. For this reason, it is essential to create an effective drainage system.
The drainage system consists of a perforated pipe, also called a drain channel, positioned along the perimeter of the foundation trench (figure B). The perforated surface of the pipe allows water to penetrate and be conveyed to the outside.
The drain channel is positioned on the corner of the trench, above the non-woven fabric, and must run along the entire perimeter of the foundation until it exits (figure C).
In the case of sloping ground, it is necessary to create another trench at least one meter before the foundation to favor the water flow. The trench must be 25 - 50 cm deep and must be filled with gravel to ensure adequate drainage.
perforated pipe

perforated pipe
 Figure A
Figure B
Figure C
Figure A
Figure B
Figure C
The external plastering of the dome was created using a stratigraphy of different earth mixtures. As is known, plastering protects the load-bearing structure and is created by overlapping multiple layers.
Before proceeding with the plastering, it is essential that the wall surface is clean and free of holes
The first layer, called scratch coat, consists of a very liquid mixture of water and earth, called barbottina. Applied with a brush on the surface, this mixture promotes the adhesion of the next layer (figure A).
The second layer, called primer, is composed of a denser mixture of water and earth to which straw is added. Both mixtures are made using a mixer, a machine that guarantees their amalgamation. The straw is used to fill the gaps between the bags that make up the wall, and the mixture is applied manually (figure B).
After the coat has dried, the finish coat is applied. The mixture, composed of earth, water, straw and lime, is trodden with the feet until a very dense consistency is obtained (figure C). The surface of the dome is wetted with a brush to promote the adhesion of the skim coat, which is then applied and spread manually (figure D).
The finish, including the waterproofing layer, was made of cocciopesto. The final coloring, on the other hand, was obtained by applying a red earth using the fresco technique.


The finishing layer must be protected from snow and rain. Water, in particular, represents a threat to the stability and durability of the structure if it penetrates the bags filled with unstabilized earth, causing permanent deformation. The shape of the dome naturally promotes the flow of rainwater. However, the application of a waterproofing layer is always necessary to ensure complete watertightness and protection against the elements.
In the past, waterproofing was done by immersing polypropylene sheets in bitumen, then gluing them to the surface and covering them with sand and stones. Today, advanced technologies offer more efficient and durable solutions, such as elastomeric paints. Characterized by high impermeability and flexibility, these paints adapt to substrate deformations without cracking, guaranteeing long-lasting protection over time.
In addition to elastomeric paints, there are natural alternatives such as boiled linseed oil, wax and cocciopesto.
Although more ecological, these options require more frequent maintenance due to their lower resistance. Boiled linseed oil, for example, must be applied at least once a year and requires the use of vegetable fibers or fiberglass mesh to prevent cracking.
Cocciopesto, a mixture of Roman origin used for aqueducts, is composed of sand, lime, water and crushed bricks.
One of the critical points is the base of the dome, where the geometrical configuration favors the accumulation of water. For this reason, it is advisable to create a protective membrane at the joint using lime or cement mortar. This solution allows water to flow towards the gravel present in the foundation trench (figure A).


The dome was built using the superadobe technique, employing a total of 28 layers of earth-filled and compressed bags.
As the layers increase, the circumference gradually decreases until the last layer, which consists of a single bag compressed in the same way. The structure has the possibility of integrating circular skylights by inserting glass.
An illustrative video of the salient construction steps is accessible via the following QR code.
