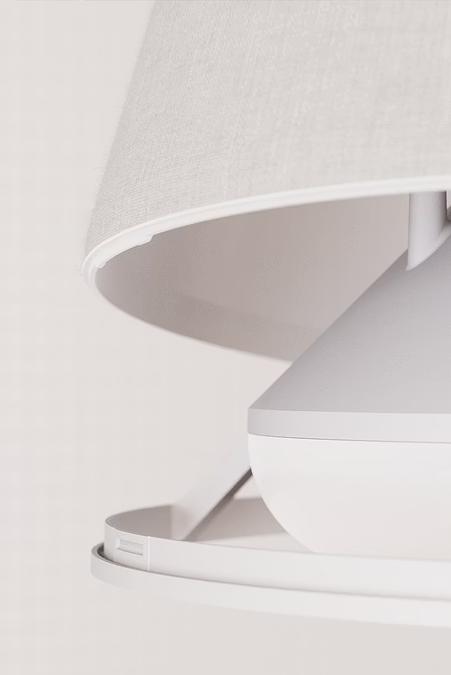
From Everyday Light to Life-Saving
Smart Light Configuration Training


Step by step, you will learn how to configure Nobi's smart AI lights, completely tailored to your care institution and its residents.
This is how we prepare together for the next phase: training your team to use Nobi in their day-to-day work.

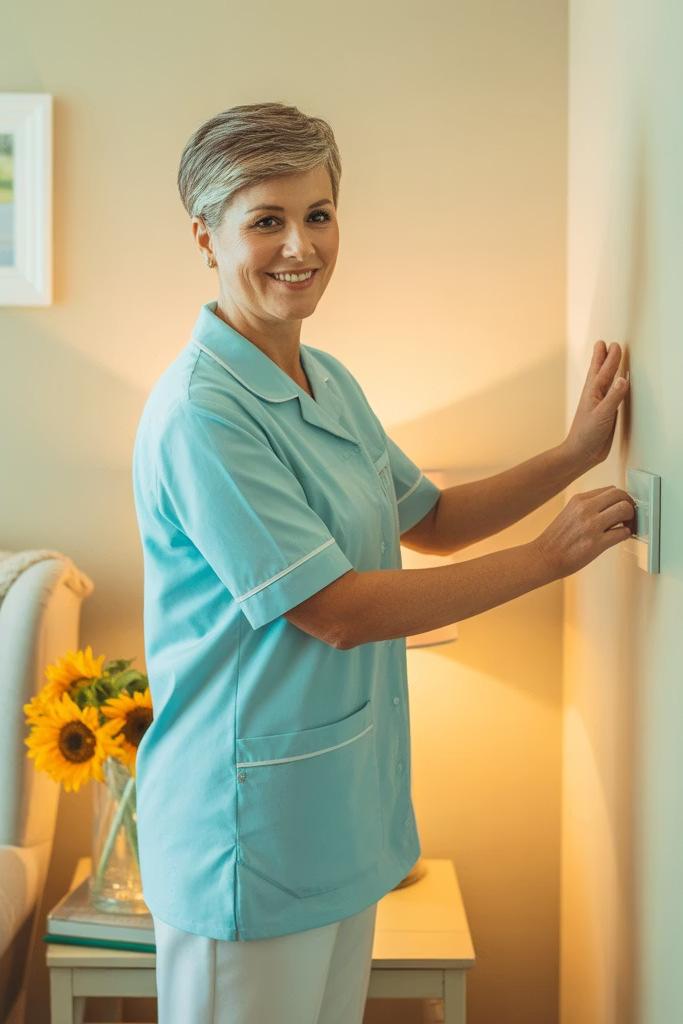
In the Nobi dashboard, managers and caregivers have an overview of Nobi activity among residents. In the dashboard, you also activate and configure the Nobi lights to suit your residents' needs.
Logging in for the first time?
Open the email from Nobi1.
Click the URL to the Nobi dashboard2.
Choose and confirm your password3.
Read and agree to the terms4.
You're now a Nobi dashboard user!5.
Go to the application
we start
Care Facility
2nd floor Closed Ward
Housing unit 1
Bedroom, bathroom,& (same as a light)

You will need a user profile to access the application, these are the 3 possible roles to use:
User
Day to day tasks:
Receive/ close escalations
Review images of escalations
Contact support
Create a new user
Manager
All functionalities of a user
Can create users
Add & edit Data
Contact Support
Technician View technical alerts
Receive Warnings
Install/ Reset lights
Contact Support
Before Creating a resident in the application, make sure you have done these two things:
1. Signed informed consent
Make sure the residents informed consent is signed before adding them to the application
Adding a new Resident Archiving a resident
Translate information from informed consent to settings in the app

Congratulations, you just created your first resident!
Step 3

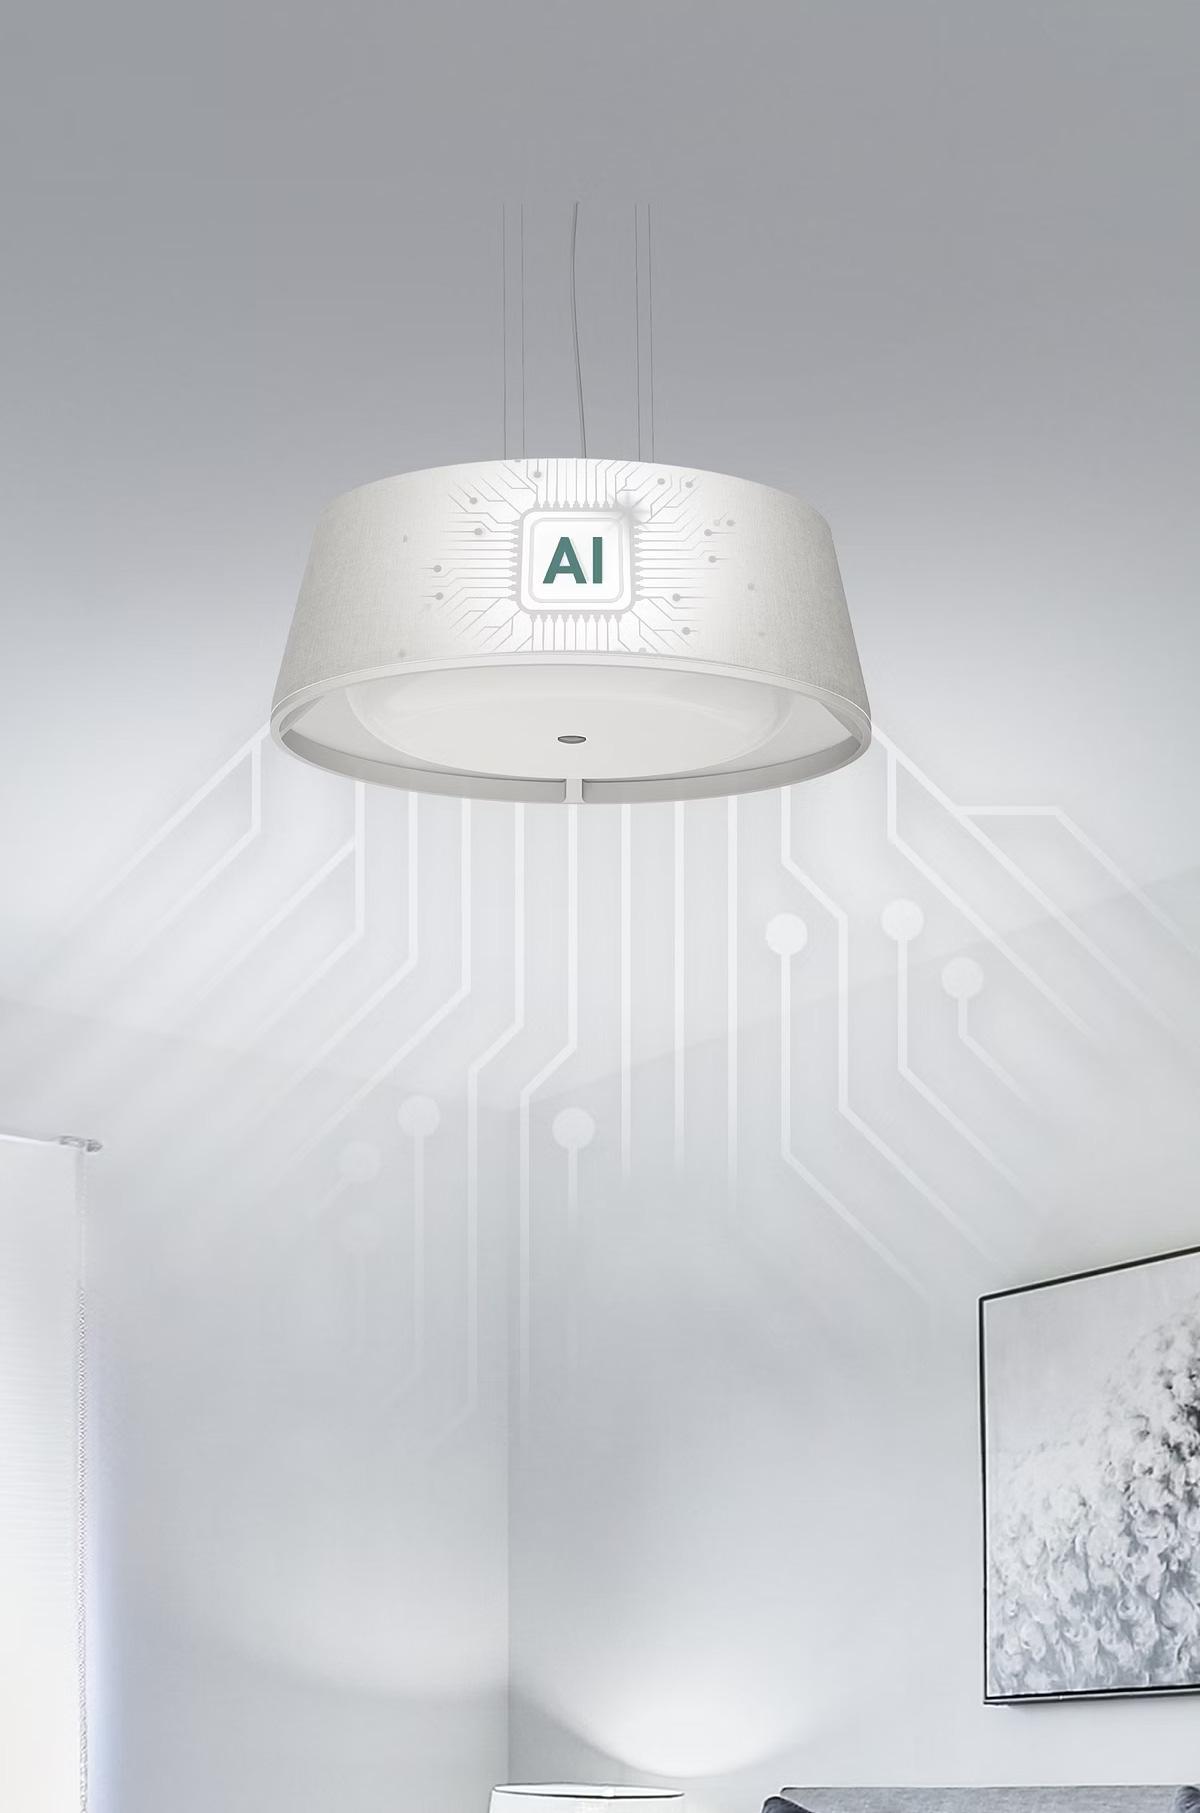
Here you will learn how to set up Nobi's lighting applications.
When entering a room the light automatically turns on.
When leaving a room, the light automatically turns off after a few seconds.
Light settings
Set light intensity and 'colour' (hot/cold) of the lights.
Changing these settings will affect the circadian rhythm of the lights

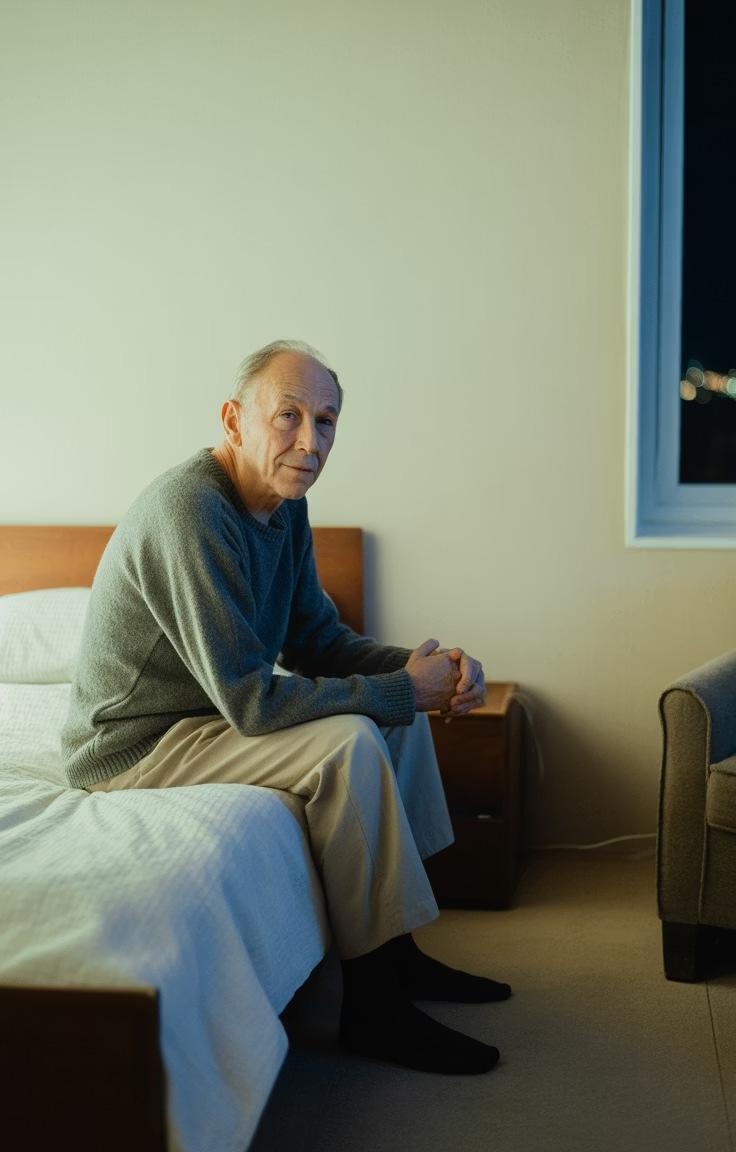
Voice after fall
In the event of a fall, Nobi's voice will ask the resident to confirm the fall.
This feature is not recommended for residents with cognitive impairments.
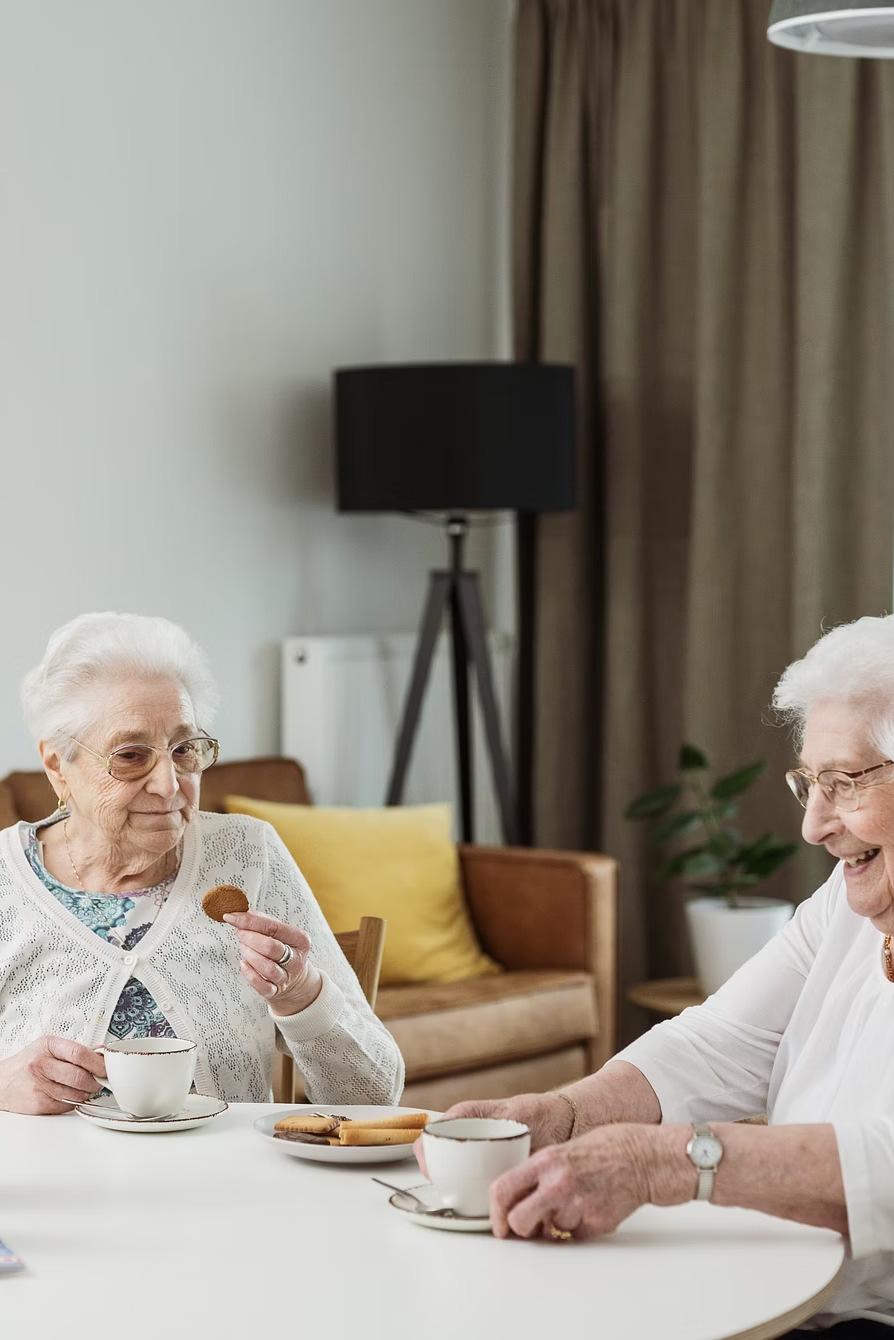
Greeting
A morning overview (date, temperature, etc.) provides daily structure and makes residents familiar with Nobi's voice.
This feature is not recommended for residents with cognitive impairments.
Voice After fall Morning Greeting Speaker Volume
Speaker Volume
Set the volume of Nobi's light
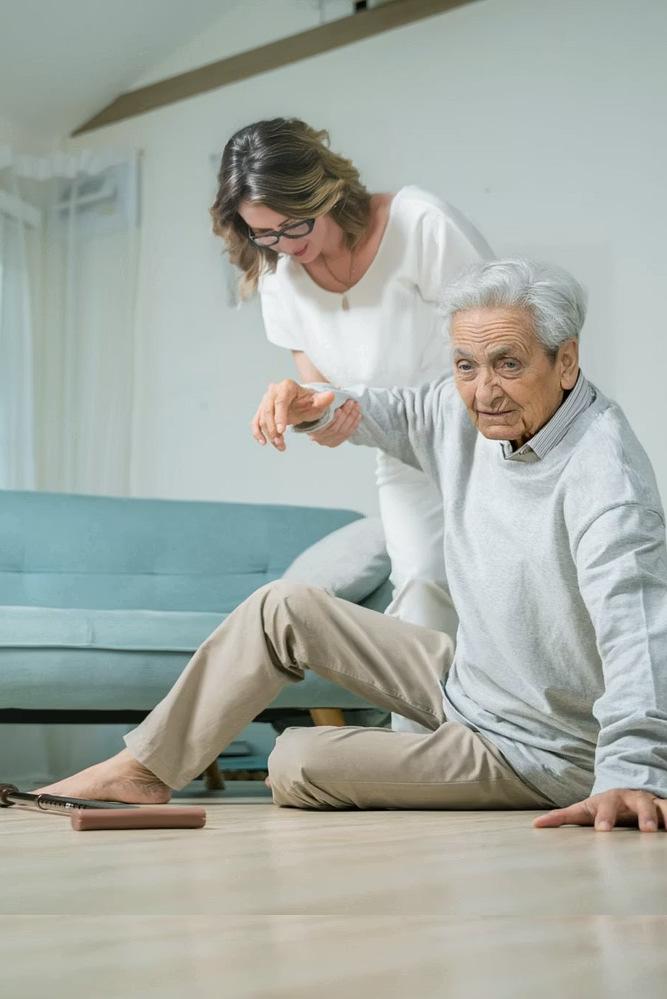
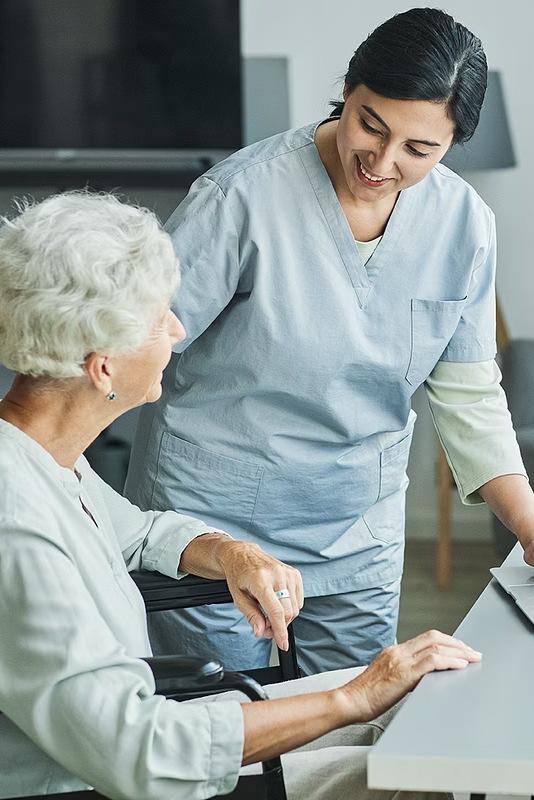
When Nobi detects a fall or when the resident presses the panic button, Nobi activates the escalation procedure. Nobi then alerts care staff so they can provide immediate help.
Nobi detects a fall
Nobi alerts caregivers
Help is provided
Caregiver closes the escalation
The caregiver shares the cause of the fall
Care homes can choose the channels through which Nobi should alert caregivers after a fall or when the panic button is pressed. In addition to notification on the Nobi Dashboard, the following options are available:
Nobi calls given numbers in a cascade
Notifications are sent simultaneously to all contacts
Nurse call system
The way a fall is reported depends on the respective nurse call system. E-mail
Emails are sent simultaneously to all contacts
Set Escalation Procedure
After assisting a resident, it's important to immediately close the escalation. This lets Nobi and your team know the emergency is over and no new falls will be detected.
An escalation can be closed in 4 ways:
Presence button
How?
Push the 'Presence Button' in the resident's housing unit.1.
This immediately closes the escalation, and Nobi will be snoozed for 15 minutes. 2.
How?
Close the fall via the known nurse call system
How?
Go to the Nobi dashboard and click on the open fall. Then click on 'Close escalation'
When an escalation has been confirmed, Nobi can close the escalation automatically if Nobi doesn't detect a fall anymore
After helping the resident and closing the escalation, the care worker can enter the cause of the fall for future reporting. This can be done via the dashboard of the Nobi app.
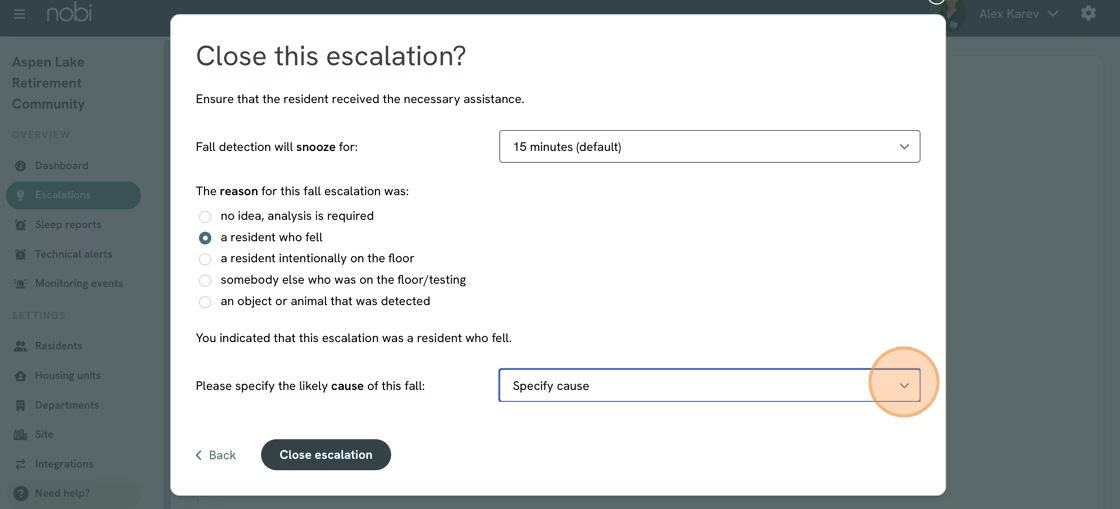
Escalation Cause
1. Nobi can monitor individual risky events such as:
Resident on the edge of the bed
Resident in bathroom
Resident out of bed No Resident Detected
2. Afterwards, Nobi can:
Build a report
Report of what happened when
Alert you as it happens
Mobile notification / Dashboard
These can be heavily customised depending on the residents needs
Action Required: Please verify that notifications are enabled on all staff mobile devices to receive these important alerts.
Step 5
Add peripherals
Unlock the full potential of Nobi by seamlessly pairing peripherals with the Nobi(ta) lights.
See all Peripherals How to pair Peripherals
Step 6


Get instant updates on technical issues of the device. Simply set up warnings to receive email notifications whenever there's a hiccup, keeping you informed and in control.
As soon as something goes wrong technically, Nobi makes sure its users are informed.
Set Warnings Overview of technical alerts

Don't hesitate to reach out - our support team is here to ensure you have everything needed to provide excellent resident care!
Need Help Button
Quick access to assistance directly within the app interface
Help Articles
Browse comprehensive guides and troubleshooting resources after signing in
Support Requests
Submit detailed questions or issues for assistance (support@nobi.life)
My Requests Tracking
Monitor the status of previous support tickets and responses
Want to stay up to date?
In-App Messages
Receive messages about new features and system improvements directly through the application interface.

To ensure the onboarding process with our customers goes as smoothly as possible, Nobi gathers all training modules, useful reference documents, and supporting tools in a central customer portal.
Want to download this presentation or previous presentations for a colleague or reread it yourself?
Go to the Client Portal
Nobi tests camera, signal, and internet
Nobi is trained to accurately detect falls
Activate learning period
Happens automatically when you pair a resident with a housing unit and have activated smart monitoring
Fall Detection Training
Training for staff with a fall simulation at the end
Nobi goes live
When everyone is informed we agree on a date to go live. From then on, the escalation procedure is active and you will be alerted of falls.