• Preparing the shaft: Ensure the shaft is clean and free from burrs. If burrs are present, remove them and chamfer the shaft end with an emery cloth or fine file, then wipe the shaft clean.
• Lubrication for bearings: Apply a solid lubricating paste to the inside of the inner ring within the bearing before installation. This reduces the risk of fretting corrosion. Learn more about fretting on page 12.
• Unit support surface: Clean the support surface and ensure it meets the IT7 tolerance grade for flatness.
• Reinstallation after removal: If the unit is reused, ensure that the bearing bore, shaft, and contact areas between the machine and bearing are thoroughly clean.
• Torque recommendations: Follow the torque specifications for bolts and nuts as listed in our product catalog for each model.
• Packaging and contaminant protection: Keep bearing units in their original packaging until just before installation to protect them from contaminants, especially in harsh environments.
SSB Stainless steel bearing

with two grub screws:
Size: 47, 52, 62 mm = 4 Nm
Size: 72, 80 mm = 12 Nm

SSA Stainless steel bearing
with eccentric locking collar:
Size: 47, 52 mm = 4 Nm
Size: 62, 72 mm = 6 Nm
Size: 80 mm = 12 Nm
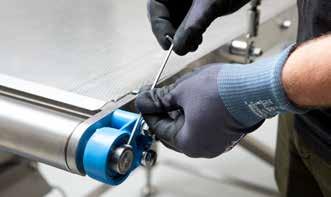
• An appropriately sized allen key is included with each shipment, enabling optimal tightening of the bearing.
• Use it to securely tighten the set screws located on either the inner ring or the locking collar.
• Ensure the allen key is fully engaged while tightening.
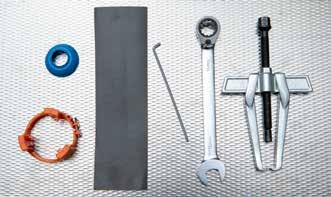
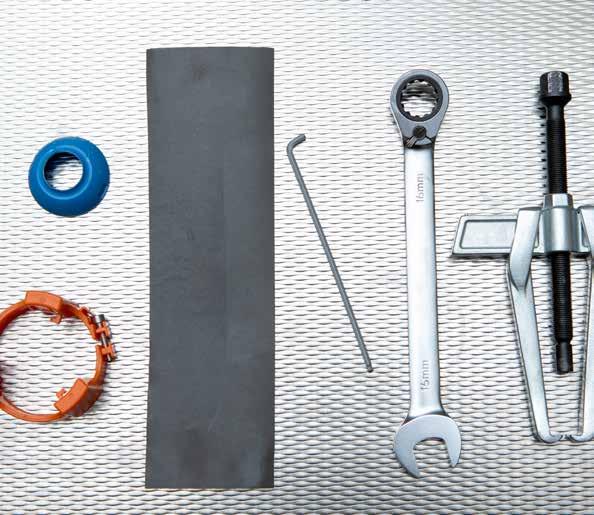
Additional tools and supplies needed:
• Torque wrench or hex key: For securely tightening any attachment screws, bolts, or nuts.
• Bearing puller: May be necessary if the bearing is difficult to remove from the shaft.
• Assembly paste: An anti-fretting paste to protect against fretting corrosion. Learn more about fretting on page 12.
• Bearing cover tool: A hand tool included in all shipments of bearing housings. It simplifies the installation of covers and spherical seals.
• Materials: The complete hygienic bearing housings are non-toxic, non-absorbent, and migration-free. All materials meet food-grade standards and comply with stringent requirements set by the FDA, 3-A, USDA, European Food Contact regulations, and EHEDG.
• Retightening: We recommend retightening the set screws after the first 24 hours of operation.
• Seal inspection: Assess seal effectiveness after one week, then on a monthly basis following installation, as well as during routine service and replacement.
• Allen key use: The enclosed allen key ensures proper locking of the bearing on the shaft. Make sure it is fully engaged when tightening the screws. Loose set screws can lead to fretting.
• Wear parts: There are two wear parts in an NGI bearing housing: the bearing and the spherical seal. Both are relatively easy to replace; however, since replacements are needed less frequently than with standard housings, you may opt to replace the entire housing.
• Seal and part replacement: If seals are damaged, the affected product must be replaced. Always use original NGI spare parts for hygienic bolts, nuts, seals, and other replacements.
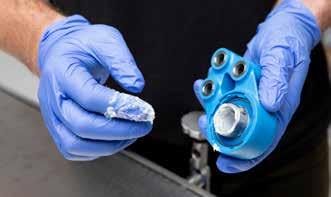
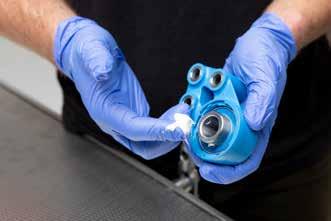
Lubricate the inner ring: Apply lubrication to the inside of the bearing’s inner ring.
Recommended lubricant: Any standard lubricant can be used; however, we recommend SKF Anti-Fretting Agent LGAF 3E. This agent is specifically designed to prevent fretting corrosion caused by minor oscillations and vibrations.
Risk of fretting: You should always use lubrication. Mounting the bearing and shaft without lubrication increases the risk of fretting.
Potential damage: Fretting can produce dust, which may damage both the spherical seal and the bearing seal, ultimately leading to bearing failure. To avoid this, ensure proper lubrication during installation. Read more on page 12.
Preparation: Ensure all preparatory steps are completed before beginning the installation as stated on page 3.
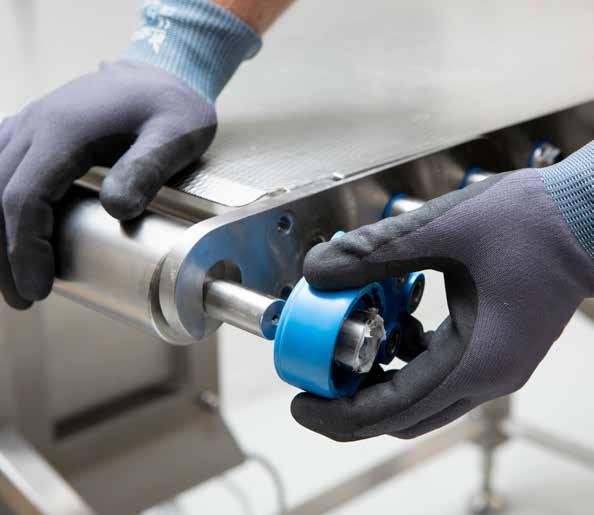
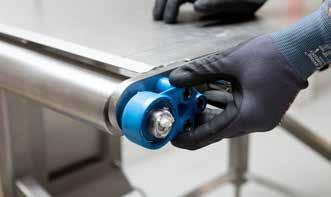
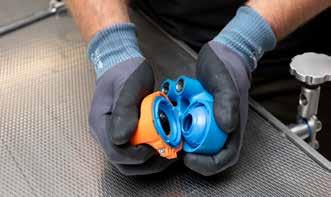
Mounting the bearing house: Gently place the bearing house onto the shaft at an angled position to prevent damage to the spherical seal.

Securing the bearing house:
Tightening: Use a torque wrench or hex key to tighten the attachment screws, bolts, or nuts onto the conveyor or equipment.
Please note!
Apply assembly paste to the inner ring of the bearing before mounting. Remember to re-tighten the set screws after 24 hours
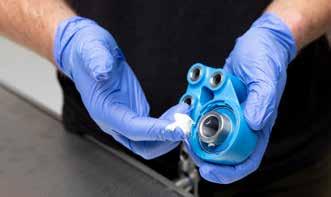
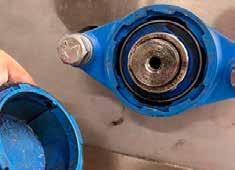
Cleaning the bearing:
Grease Removal: Use a cloth or wiper to remove any large lumps of grease from the bearing.

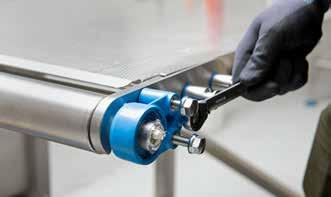
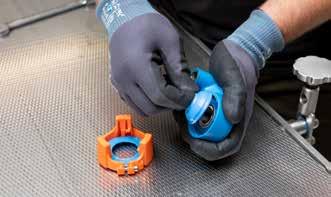
Model SSB: Mount the bearing housing by tightening the two screws.
Model SSA: Lock the collar and bearing on the shaft by turning the locking collar on the inner ring extension in the direction of rotation.
Secure the collar further by tightening the single grub screw onto the shaft.
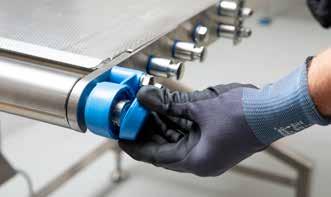
Final Alignment and Securing:
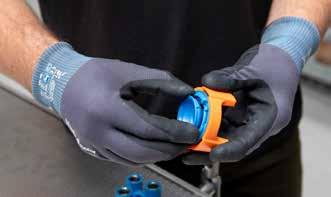
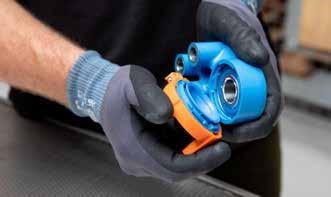
Align the Pin: Position the rotation stop pin with the bearing house.
Secure the cover: Rotate the cover clockwise until it clicks, indicating that installation is complete.
• Initial rinse: Rinse all surfaces with water (maximum temperature ~40°C for protein residues).
• Foaming detergent application: Apply a foaming alkaline detergent, covering all surfaces thoroughly. Allow it to sit for at least 10 minutes. Use standard industryapproved products, following supplier recommendations for temperature and concentration (up to a maximum of 100°C; concentration varies based on the foaming product).
• Hot water rinse: Rinse with hot water (maximum 100°C) using low-to-medium pressure (approximately 8-12 bar) until surfaces are visibly clean. When cleaning the foot assembly, including sealings and domed nuts, direct a spray nozzle downwards at a 45° angle. For heavily soiled areas, a more directly oriented nozzle may be necessary.
• Note: When using high-pressure cleaning, avoid damaging seals by maintaining a minimum distance of 200-300 mm from the nozzle.
• Mechanical cleaning: If manual cleaning is required for stubborn dirt, use a soft brush or plastic scraper, along with a more directly aimed spray nozzle.
• Important: Do not use metal scrapers, steel brushes, or any sharp metallic tools, as these can damage rubber seals and scratch steel surfaces.
• Fretting and lubrication for stainless bearings: Fretting can occur between the shaft and the inner ring in stainless bearings, especially when installed without lubrication.
• A high-viscosity lubricating paste is essential to reduce fretting risk. Factors that increase fretting risk include loose fitting, improperly tightened set screws, misaligned bearings, and forces caused by poor installation.
• Lubrication Recommendations: Mounting the bearing and shaft without lubrication increases the risk of fretting, leading to dust that can damage the spherical and bearing seals, ultimately causing bearing failure.
• Although any lubrication can be used, we recommend SKF Anti-Fretting Agent LGAF 3E, a specialized agent that helps prevent fretting corrosion from slight oscillations and vibrations. Its mineral and synthetic base oil formula makes bearings easier to disassemble and assists in the removal of other components such as nuts, bolts, flanges, and studs.
Fretting corrosion occurs due to small movements between two metal surfaces. This movement causes metal particles to wear off and oxidize instantly.
These oxidized iron particles can damage the shape tolerances of the shaft or housing, potentially leading to significant bearing damage.
To optimize the bearing assembly and prevent fretting corrosion, we recommend:
• Thoroughly cleaning the shaft before assembly.
• Keeping dirt away from the bearing.
• Applying an assembly paste between the shaft and bearing during installation.
Bearing house removal: Carefully uninstall the bearing house from the shaft.
If the bearing is stuck on the shaft, a bearing puller may be required.

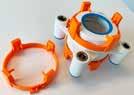
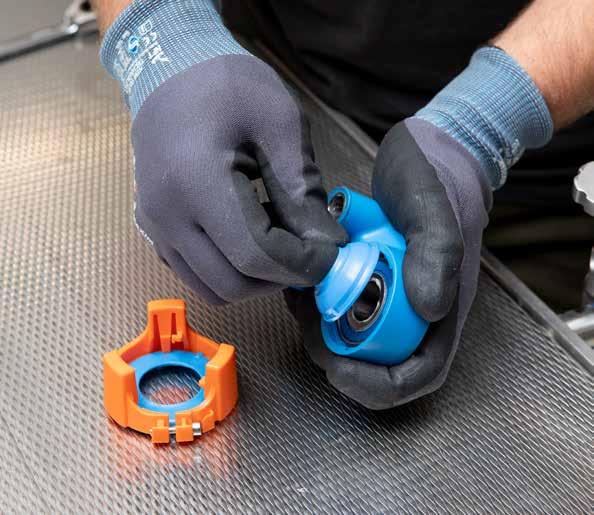
Mount the provided tool (included in the spare parts kit) onto the small cover. Ensure the arrow on the tool is correctly aligned with the tab on the cover.
Tighten the screw on the tool, then rotate the tool and cover counterclockwise to loosen and remove the cover.
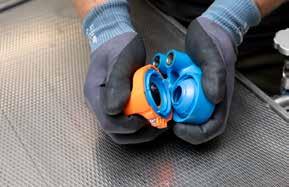
When the cover is loose remove it from the house together with the spherical seal.
Replace the spherical seal and a new small cover, if neccessary.
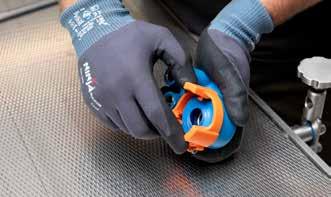
Mount the small spherical seal and small cover with the tool and make sure that they stay in the right position when mounting them on the house.
Rotate clockwise until the cover clicks. When mounted, loosen the screw from the tool and remove it from the cover.
Follow instructions on page 3 - 10 for reinstalling the bearing house.

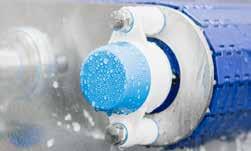
• Spherical Seals: The spherical seal should be replaced as needed, depending on local conditions and specific applications. Our patented, unique spherical seal is designed to follow the shaft and bearing, maintaining a seal even when misaligned up to 3 degrees.
• While our spherical seals have a longer lifespan than similar products, they are wear parts and will eventually require replacement. Please note that these seals are lubrication-free.
• We offer two types of spherical seals in various sizes:
• Small seal: Used for small open covers.
• Medium Seal: Used for open medium covers.
Choosing a triple certified hygienic component ensures that the foundation of your production equipment complies with the strictest demands for hygiene, environmental impact and durability.