Myanimalfriends


In autumn, some animals prepare for winter. The cold is coming soon, and food will become scarcer. It’s time to create spaces and set up habitats and feeders. Here, we will focus on the squirrel, right after introducing two games that will help familiarize the children with the animal world.
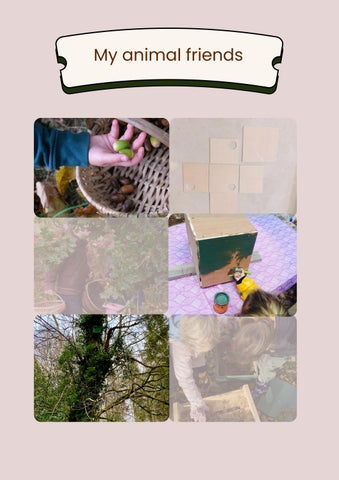
Here is a card game featuring animals on one side and habitats on the other. The goal is to match each animal to its habitat. The game shown in the photos comes from a Montessori activity book. You can also find similar ones online or even create your own with your own drawings or photos. This game serves as a good introduction to the various habitats of animals, their needs, and how to preserve a rich and diverse biodiversity. For example, creating stone piles for toads, setting up a beehive for bees, or placing birdhouses for birds.
Show the “animal” cards one by one and ask the children to name the animal. Arrange the cards in a column. Then show the “habitat” cards, which the children will need to place next to the animals.
You can also photocopy the cards so that the children can glue them into a notebook dedicated to nature activities. They love taking their notebook home to show their parents everything they have learned and experienced about nature. And the parents love it too!


Based on the same concept as the “Who Lives Where?” game, here are cards featuring animals that need to be matched with their footprints.

Since squirrels do not store fat for the winter, it is essential for them to find enough food. They mainly eat acorns, beechnuts, walnuts, hazelnuts, seeds from pine cones, and other fruits. They eat them, but they also store them in hidden spots to feed on during winter.
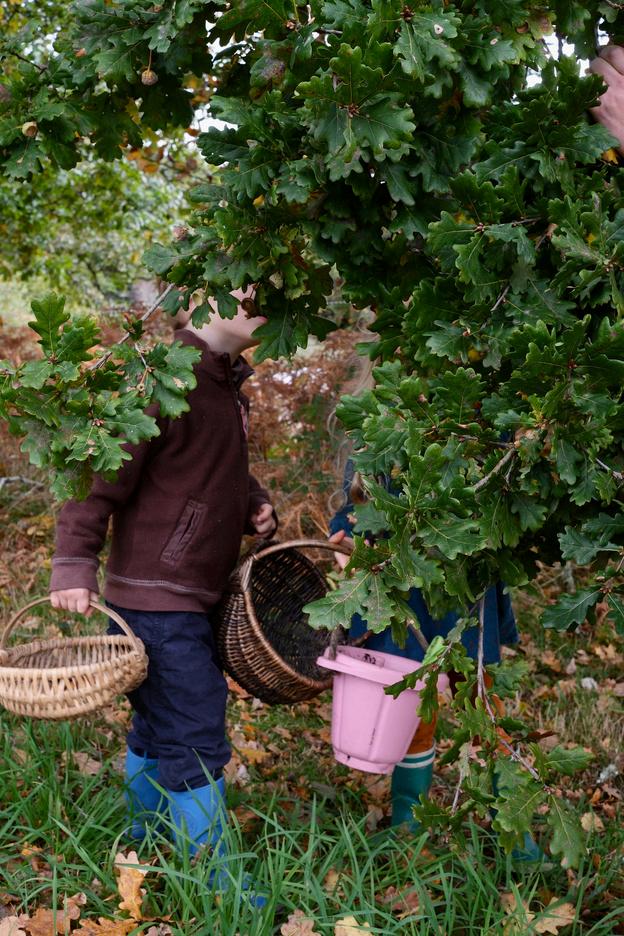
The acorn game takes place in 3 steps: collect acorns, hide them, and then find them again. In fact, squirrels don’t always remember where they’ve hidden their food! The idea of this game is to help children understand what it’s like to be a squirrel.
Provide baskets and collect acorns.
1. Invite the children to find one or more hiding spots: crevices between tree roots, holes in the ground, or cavities in trees. Place a stash of acorns there. 2.
Depending on the children’s age, wait for 1 hour, half a day, or even until the next day, and challenge them to find the acorns again! The acorns they find will delight the squirrels, and the ones that are lost might grow into new oak trees… 3.
This game is really fun and excites the children. It’s funny to think that the squirrel forgets many of its hiding spots, and this helps children understand, on one hand, that wild animals are fully dependent on the seasons and climate, and on the other hand, that we, humans, can help them…


Now, let’s get to work with creating a squirrel shelter! This process takes place in 4 stages:
1. Sawing the wood and assembling the shelter: This step can be done in advance, as young children won’t be able to participate much.
2. Painting the nest
3. Filling with moss
4. Installing it in a tree
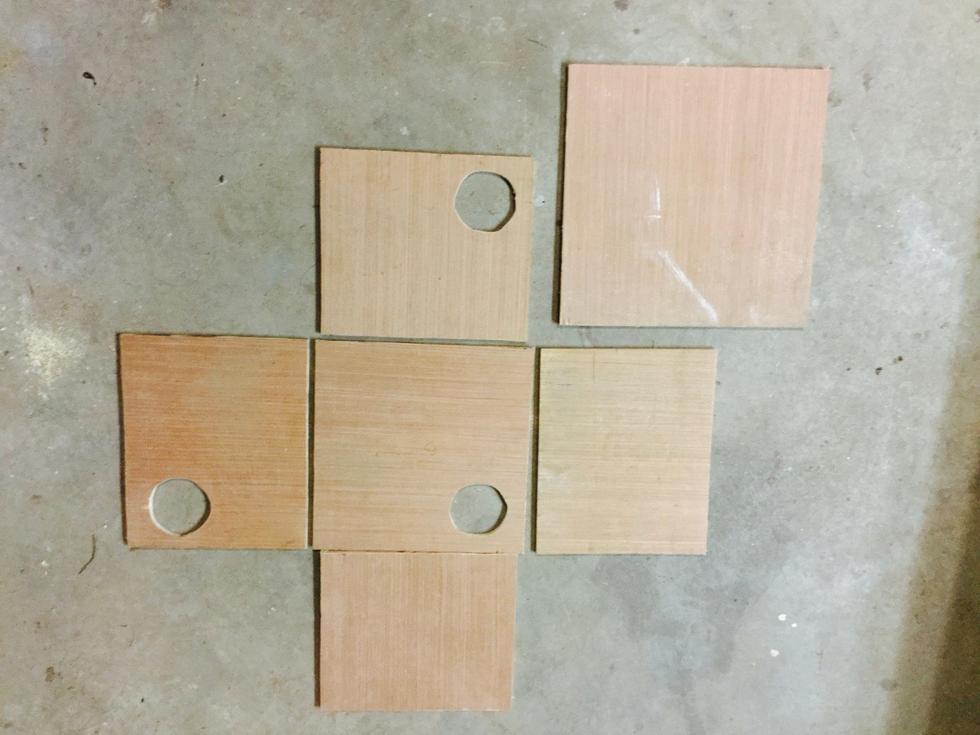
6 plywood pieces, each 30cm x 30cm
4 battens, about 25cm each
4 battens, about 10cm each
1 piece of board, 50cm, for tree installation
Appropriate wood screws
Jigsaw, circular saw, or hand saw
Hole saw, about 8cm in diameter (a plump squirrel or a mother carrying her young in her mouth should be able to pass through…)
Drill and screwdriver
Saw the plywood faces. Ideally, the shelter should be 30 cm wide and 25 cm high and deep. Make the top (roof) piece slightly wider. 1. Drill 3 holes, approximately 8 cm in diameter, for the entrance and exit: one near the trunk, opening downward, and the other two on the sides.
2. Cut the battens to the desired height, then assemble the 4 sides.
3. Insert smaller battens for assembling the roof and floor.
5.
4. Create a notch in the roof where the board for attaching it to the tree will go.


Paint
Paintbrushes
Protective smocks
Paint all the outer faces of the nest with an ecofriendly paint (here, we used Opaca/Color rare wood paint with linseed oil). Apply two coats. Allow enough drying time between the two coats (depending on the humidity level and drying location).

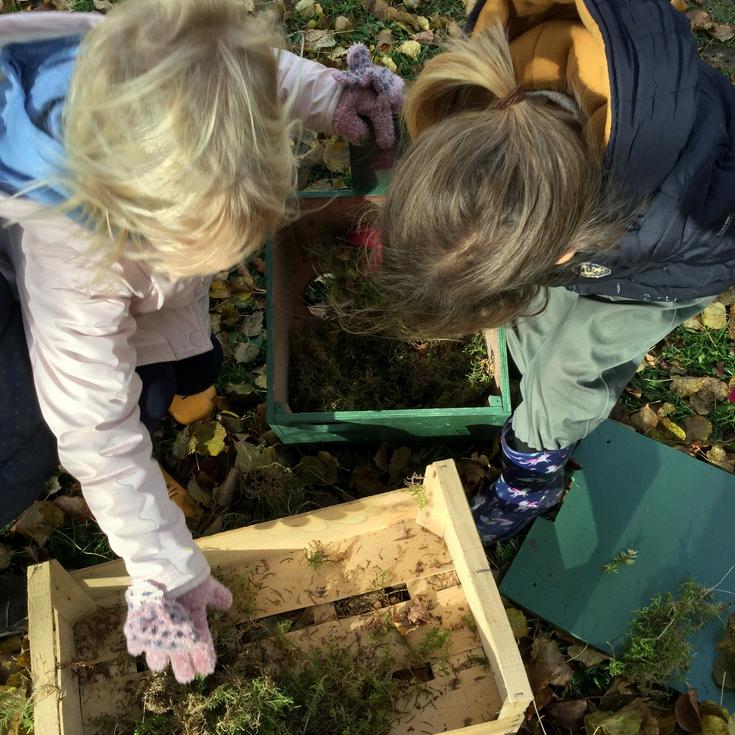
Collect the moss and let it dry thoroughly (for example, lay it flat in a crate). Then, place it at the bottom for a super cozy nest. Once this step is complete, screw on the lid. A child can easily do this with a screwdriver with your help.

Rope or large screw
And a good climber! (Or a long ladder)
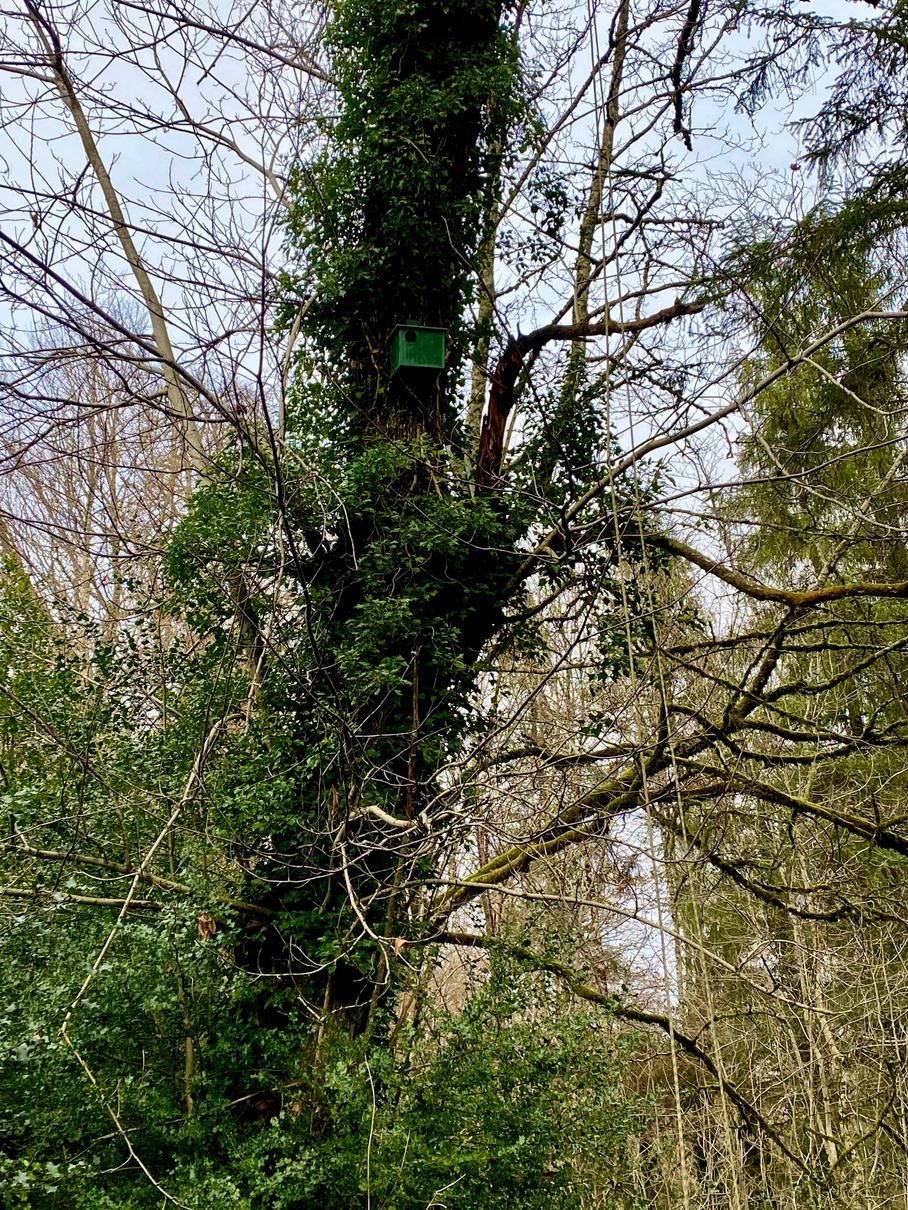
Install the shelter at a minimum height of 4 meters.

