


KONICA MINOLTA ACADEMY USER GUIDE
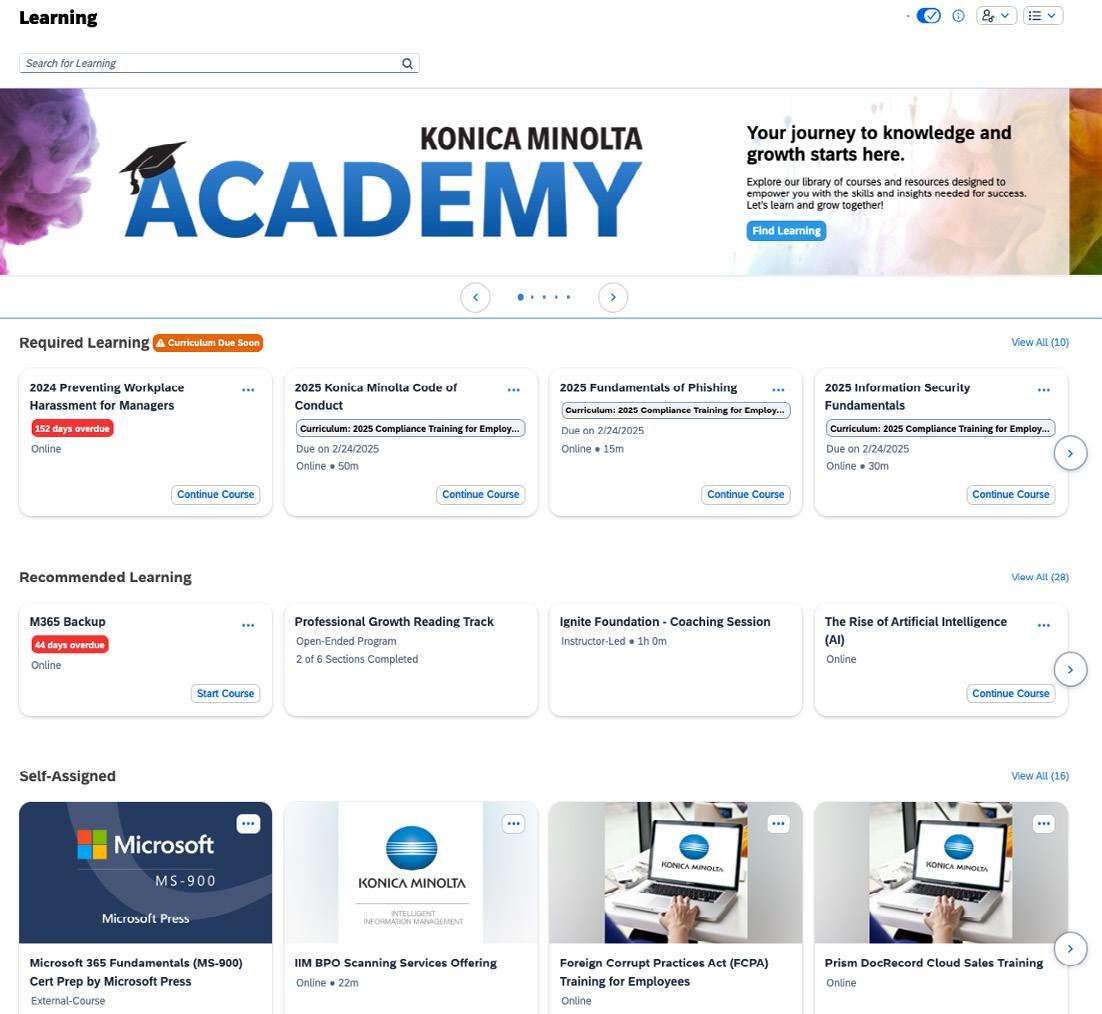
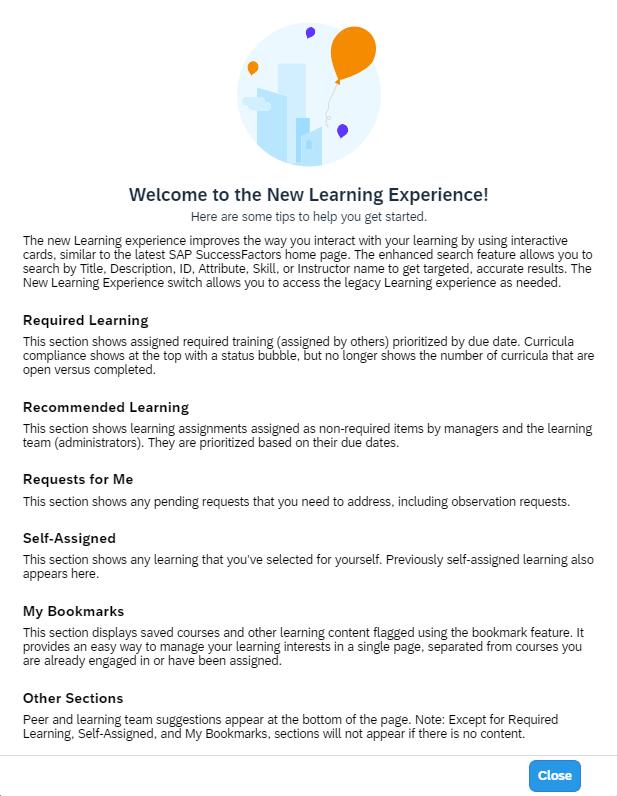
Konica Minolta Academy offers a wide variety of learning opportunities, whether it is online, virtual or instructor led training. Here you can access your assigned learning, find new learning opportunities, view your learning transcript or revisit content from completed courses. Use this guide to help you navigate throughout the different sections of Konica Minolta Academy and get the most out of your learning experience!


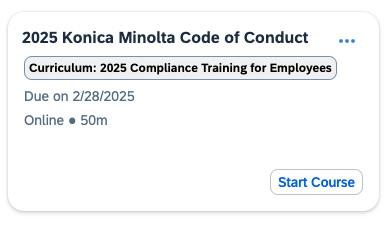
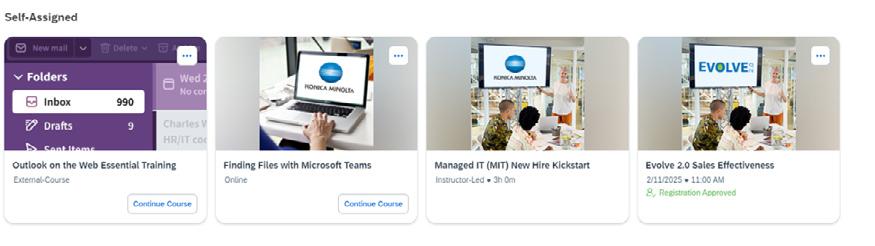
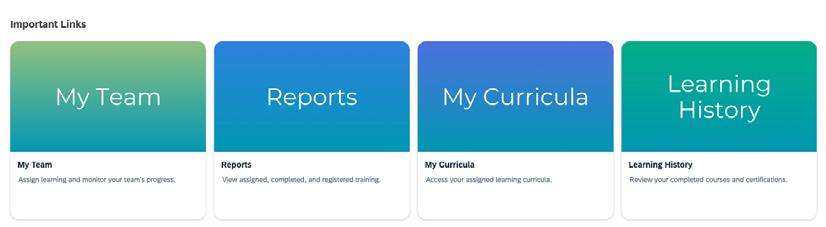
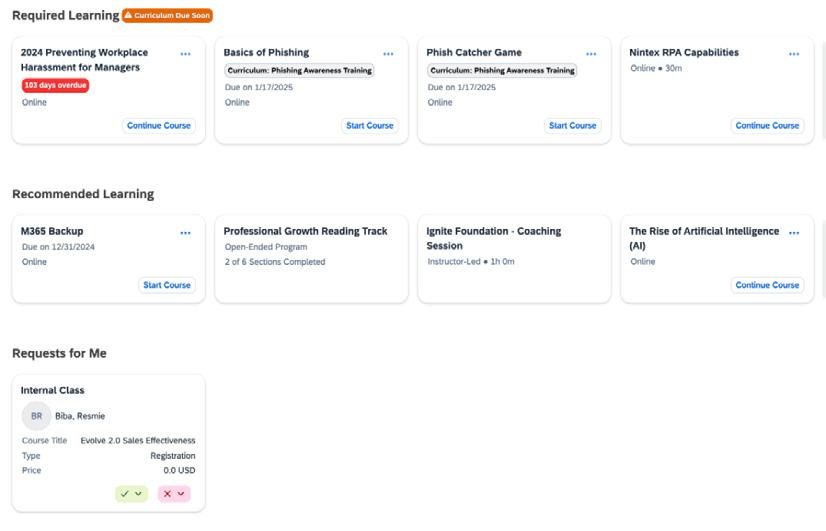
Any training that is assigned to you will appear in one of these three sections:
Interactive Key: Roll over the numbered bullets for more information.

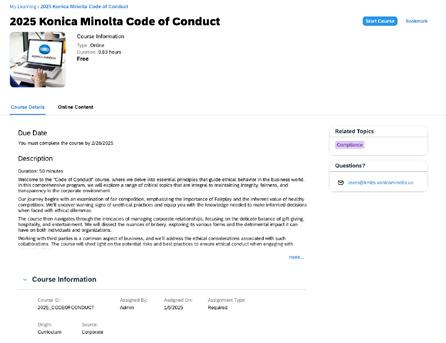
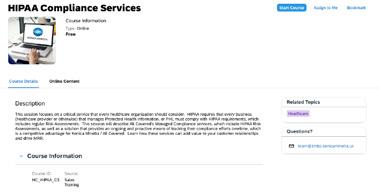
1. Course Information:
a. Type: Online, Instructor-Led (ILT), Virtual Instructor-Led (VILT)
b. Duration: Approximate length of time required to complete the training (in hours)
c. Target Audience: Who the intended audience of the training is (if applicable)
d. Cost of Training (if applicable; most training is free of charge)
2. Start Course to take the course immediately* or Assign to Me to add the course to your Self-Assigned training to take the course at another time. Managers will also have the option to Assign to Others.
3. Online Content: Outline of the course content, listing each module/ content section and a description of each (if applicable)
4. Course Description: Information describing what the training is and goals/objectives of the training (if any).
5. Related Topics: Categories or subjects that the course is applicable to.
6. Course Information:
a. Course ID: Unique ID of the course
b. Source: Learning content owner/developer (i.e., Corporate, Sales, Service, GSC, All Covered, etc.)
c. Assigned By: Self-Assigned or assigned by your manager or learning administrator
d. Assigned On: The date it was assigned to you
7. Questions?: Who to contact should you have any questions or need any assistance regarding the training.
*If you select Start Course and you have previously completed the training, you will be alerted with the following message. If you wish to take the course again, you may click on the Launch button.

*Curricula: Groups of courses that are part of specific learning programs.
1. Locate the Search bar at the top of the homepage. Begin your search by entering a keyword in the search bar. Then, click on the magnifying class to view the search results.

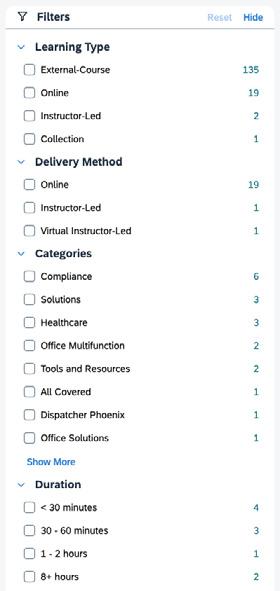
2. Refine your search by using the filters along the left side of the page.
3. Once you’ve located a course from the search results, select the course and choose one of the following action items:
a. Click Start Course to launch online courses directly from the search results. Note: Launching the course will automatically assign the course to you.
b. Click Assign to Me to add the course to your learning assignments to take it at a later time. Managers will also have the option to Assign to Others.
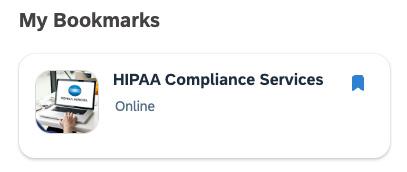
c. Click Bookmark to pin this course to your Bookmarks section to save for a later time. You can locate My Bookmarks towards the bottom of the Konica Minolta Academy Homepage as shown below.
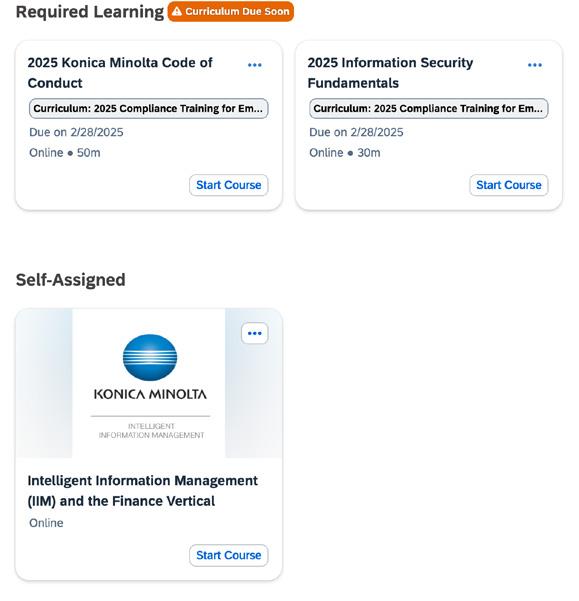
1. Navigate to the Required Learning, Recommended Learning or Self-Assigned section. You may select “View all” to view additional course assignments.
2. Select Start (or Continue) Course next to the course you wish to launch.
If applicable, a course may also be accessed directly from the curriculum Online courses will launch within the same browser window, as shown below.
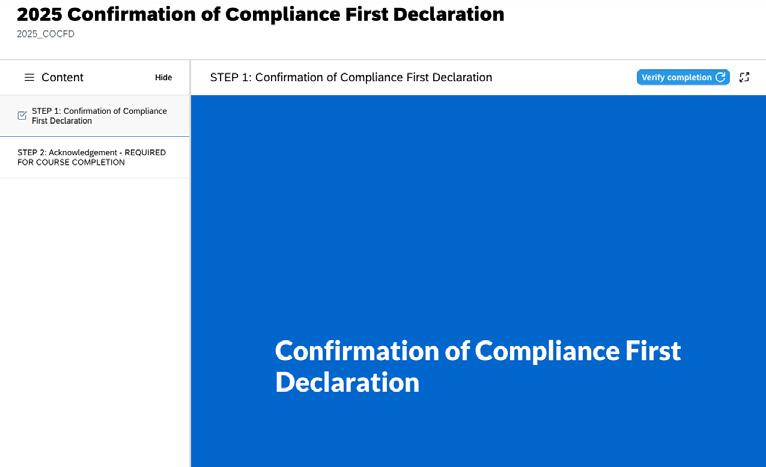
1. If “Start Course” is not displayed, there may be prerequisites or pending approval requests.
2a/2b. Full Screen Button: Click here to expand your course to full screen. Tip! You may also click on the Hide button in the content navigation to expand the course to the full width of the page.
3. Course Content List: Use this left panel navigation to select different content sections within the course. If you are required to complete the content in sequence, you must complete the first content before advancing to the next, etc.
4. Verify Completion Button: After you have completed content within the course, you may click here to verify if the completion criteria for that content has been met. A check mark next to the content in the Content list will indicate successful completion. If you click this button and you have met the completion criteria for the course, you will receive a confirmation completion message (see below).

If you click on the button, once course completion criteria has been met (completing all contents or passing exam), the pop-up will display confirming your course completion.
Note: It is always best to check your Learning History to confirm your completion.
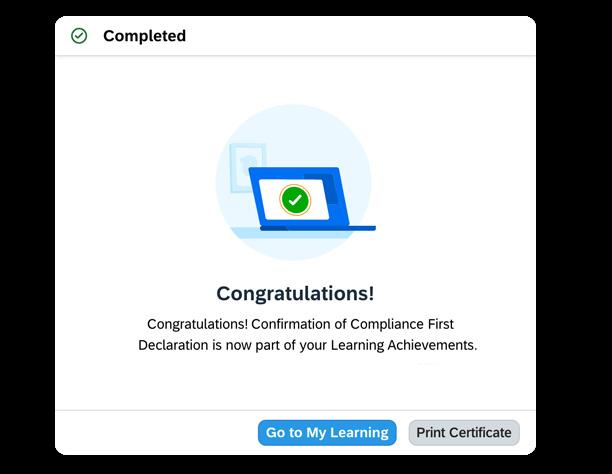
1. Go to My Learning: Click on this button to be redirected to the homepage of Konica Minolta Academy.
2. Print Certificate: Click on this button to generate your Certificate of Completion for this course. You may also print your Certificate of Completion from your Learning History tile.

1. Navigate to the Self-Assigned section of the Konica Minolta Academy homepage.
2. Click on the course you wish to remove from your assignments.
3. Click Remove (top right corner).
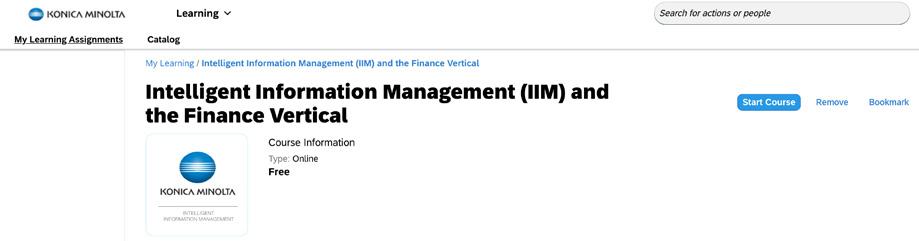
NOTE: Courses assigned by an administrator or by your manager cannot be removed or withdrawn
1. Use the Search bar at the top of the Konica Minolta Academy homepage to search for your Instructor Led Training.
2. You may refine your search results to exclusively Instructor Led or Virtual Instructor Led Training by using the search filters on the left.
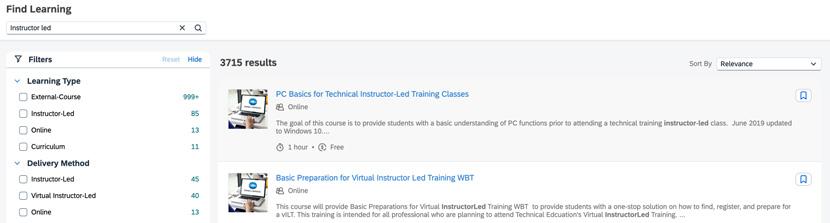

3. Click on a course title within the search results to open the course details page.
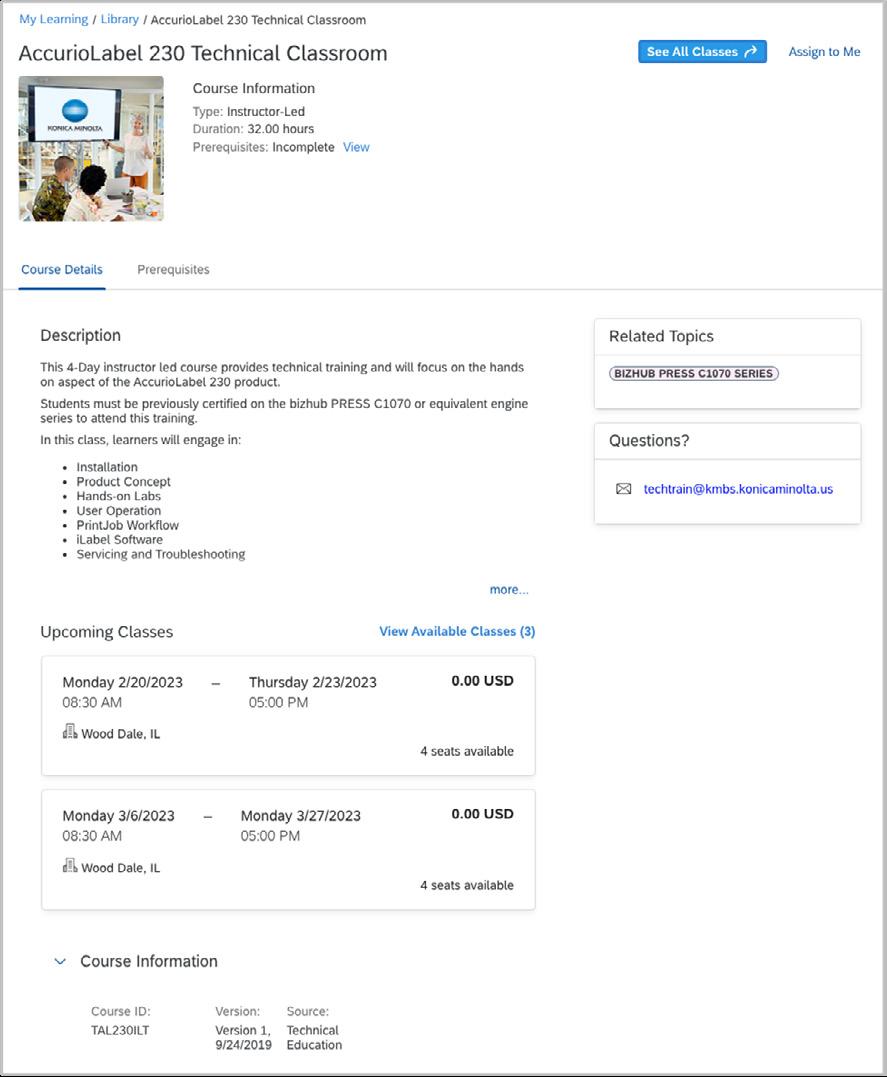
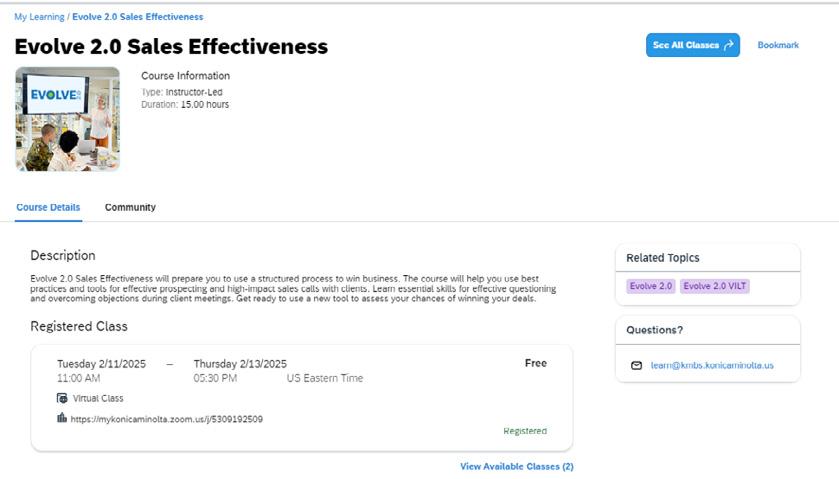
1. Click here to view all available classes. Here you will have the opportunity to register.
2. Note: Assigning the training will not enroll or register you in a class.
3. Registration will not be available until all prerequisites are met. (If applicable)
4.Whom to contact should you have any questions or need any assistance regarding the training.
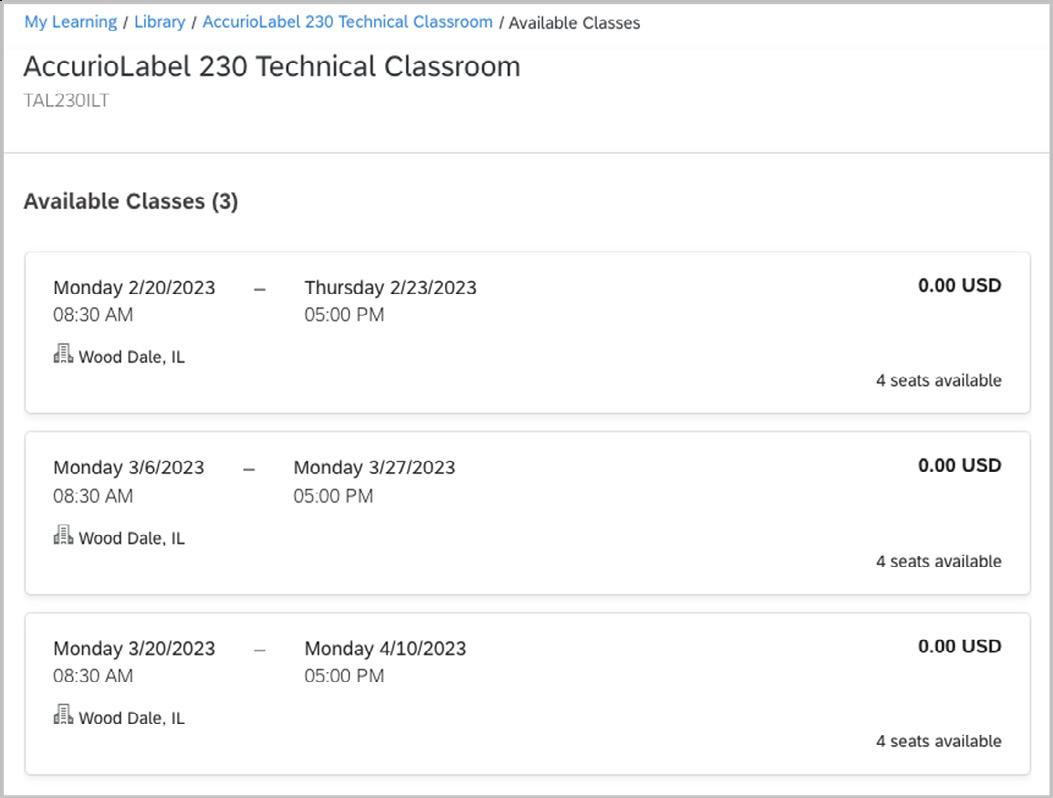
1. Date and time of the session: For Instructor Led Training (ILT), the time of the session will reflect the time zone of the physical location of the training. For Virtual Instructor Led Training (vILT), the time of the session will reflect the local time zone of the learner.
2. Location of the training: Physical location of the training for Instructor Led Training (ILT). If the training is virtual, this will be indicated.
3. Cost of the training (if applicable)
4. Number of remaining seats for each session. If there are no more seats available, you will not be able to register for that session.

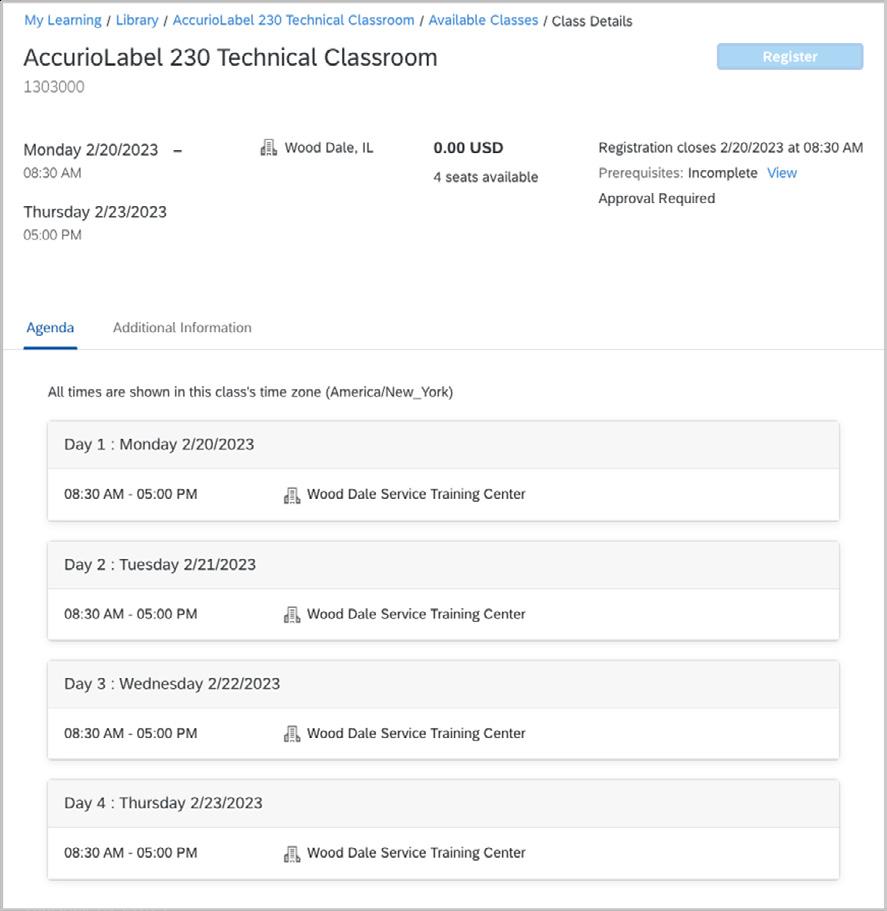
1. Click Register and follow the instructions on screen to complete the registration process. This button will appear greyed out until all prerequisites have been met.
2. Click here to view required prerequisites (if applicable). If prerequisites have been met, a blue Register button will appear.
3. If the training requires approval, upon registering you will be notified that your registration request is pending approval.
NOTE: If an approval is required for registration, you will be registered with a pending status. You will be notified if your request is approved or denied via email.
Below is a list of common registration statuses along with their description:
• Enrolled – The user has been successfully registered for the scheduled offering.
• Waitlisted – The course/scheduled offering the user was attempting to register for is full and admittance depends on a seat becoming available.
• Pending Approval – Manager or administrative approval is required. Registration has not been completed.
• You have unmet prerequisites – The user has not yet completed the required prerequisite courses. To view unmet rerequisites, click “you have unmet prerequisites” and a list of what is needed will be displayed.
• Withdrawn/Cancelled – The user has been removed from the course/scheduled offering.
NOTE: An Enrolled status will include the date and location of the registered training.

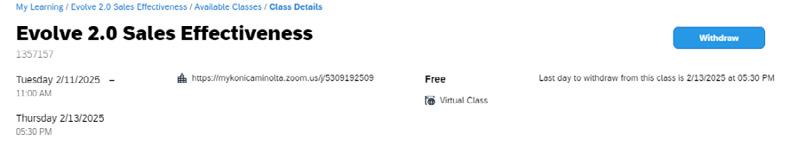
1. Select the Course you wish to remove from your Self-Assigned section.
2. Click on your Registered class.
3. Click on Withdraw in the top
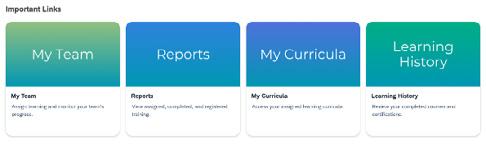
1. Select the My Curricula tile from the Important Links section or from the corner drop down menu. OR
2. This will bring you to a full list of Curricula you are currently assigned to. Click on a Curriculum Title to start or continue courses within the curriculum.
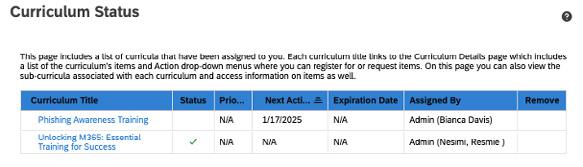
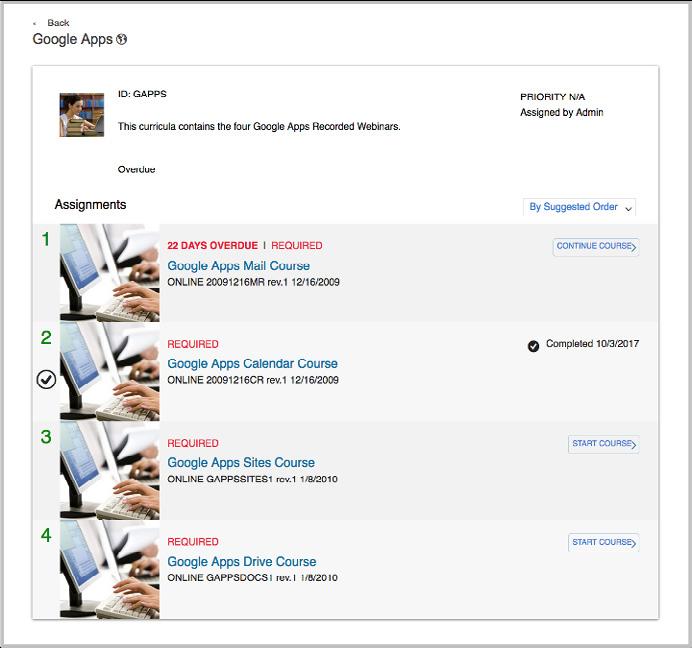
Courses within the selected curriculum will display, as shown below:
A check mark indicates that the user has completed all courses within the curriculum
1. Curriculum Description
2. Indicates how the curriculum was assigned to you.
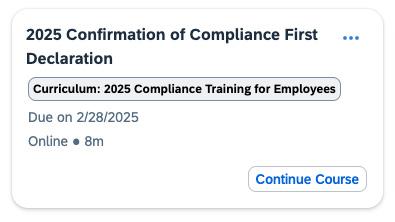
3. Assignment type and due date/days overdue. (if applicable)
4. Start courses or continue to pick up where you left off.
5. A completion will be indicated by a check mark as well as a date of completion.
1. Click on the My Curricula tile. To remove a Curriculum from your assignments, click the icon.
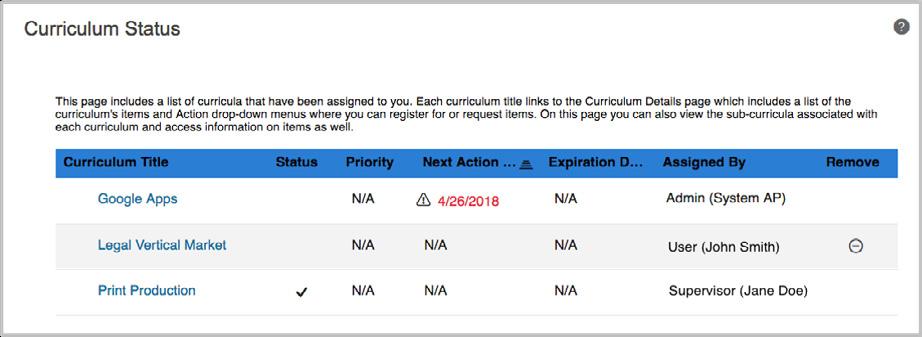
NOTE: A user can only remove self-assigned curricula. Curricula assigned by management or administration cannot be removed by a user without assistance.

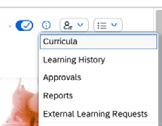
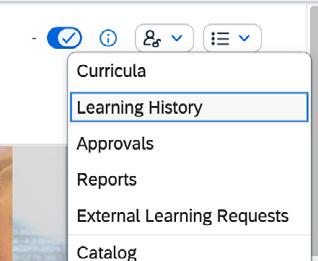
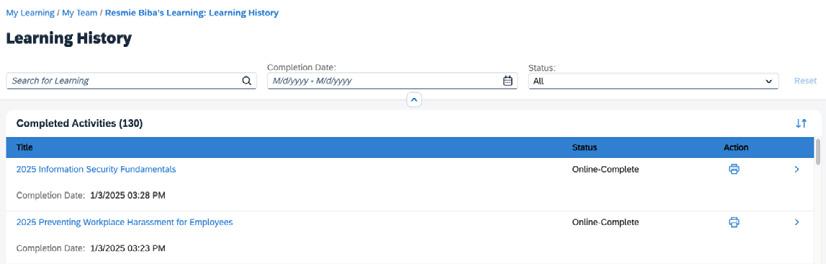
1. Select the Learning History tile or select Learning History from the corner drop-down menu.
By default, courses are listed by completion date with the most recent course completions
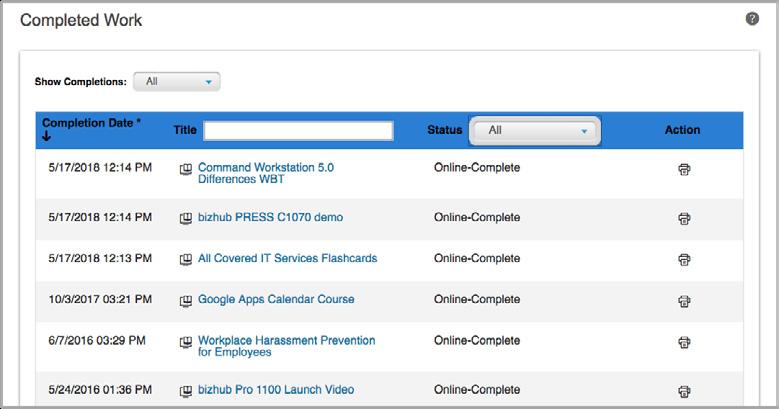
1a./1b./1c. Completions can be filtered by date, course title and/or delivery method.
1. Go to your Learning History (See previous page).
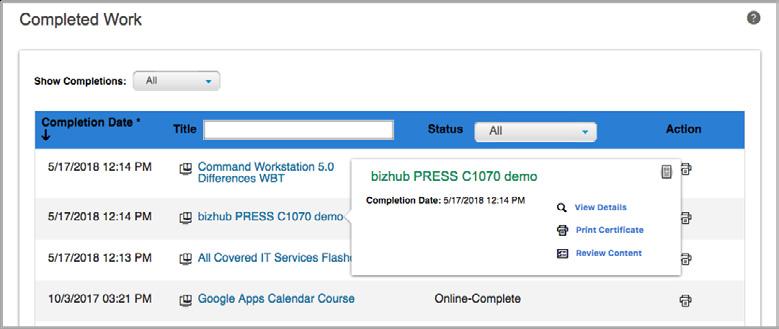
2. Click on the title of the course.
3. Click Review Content from the pop-up bubble. This will launch the course in a new window.
1. Go to your Learning History (See previous page).
2. Click on the title of the course for the certificate you would like to print.
3. Click Print Certificate from the pop-up bubble. Your certificate will display in a new window from which you can print.
1. You may also obtain your certificate by clicking on this icon.

Managers will be notified via email when an employee requests training that requires approval.
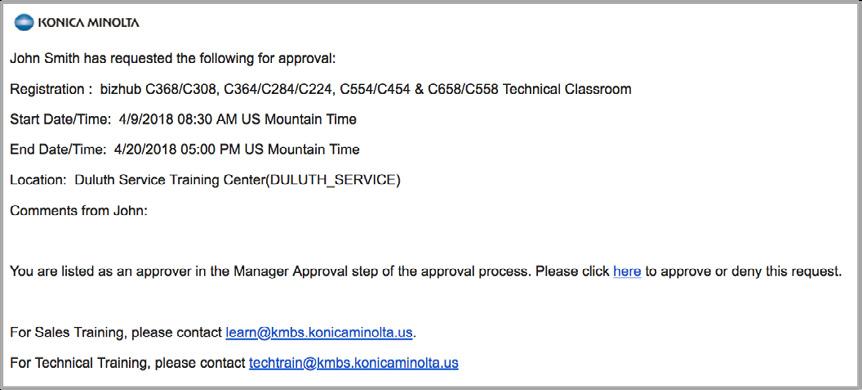
1
1. This link will bring managers directly to their Approvals in Konica Minolta Learning.
Alternatively, a Manager may access Approvals directly in Konica Minolta Academy via the Requests for Me section or from the Approvals link located in the corner drop down menu, as shown below.


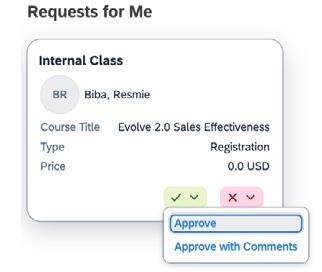
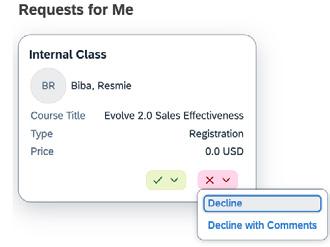

1. The Pending Approvals view shows the manager’s pending approval re quests. Select Approve, Deny, or Skip for all employees listed and click Next

2. Click Next.
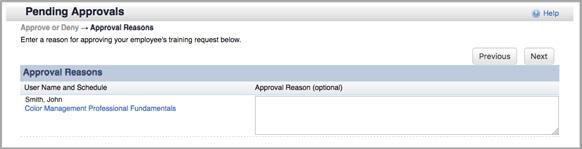
3. Confirm Pending Approvals by clicking Confirm

Upon successful completion, email notifications are sent to all involved users.
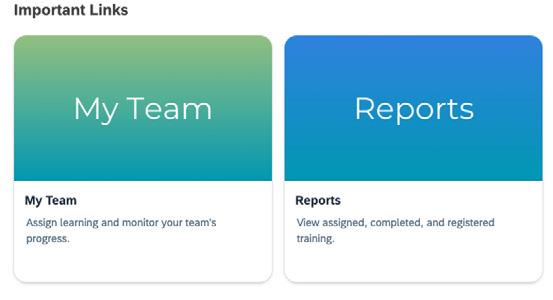
The My Team tile allows managers to oversee their team’s learning progress. Easily track training completions, assign courses and more
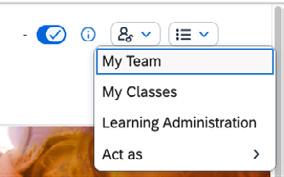
Click on the My Team tile or select My Team from the corner drop-down menu.
All of your direct reports will be listed on the left. Click on a member of your team to view their learning on the right. 1
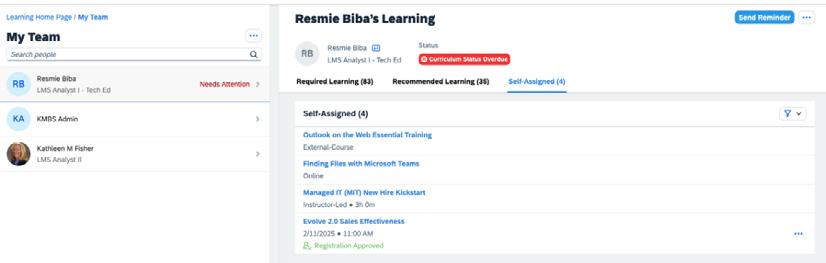
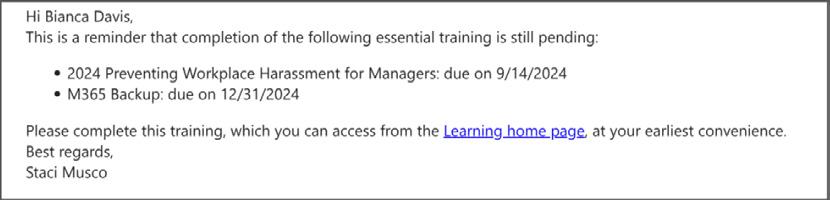
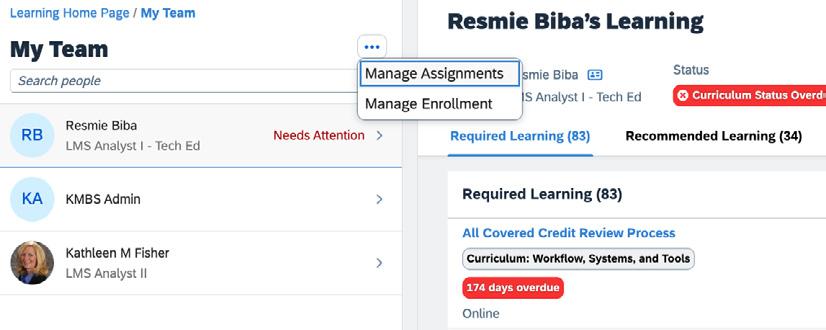
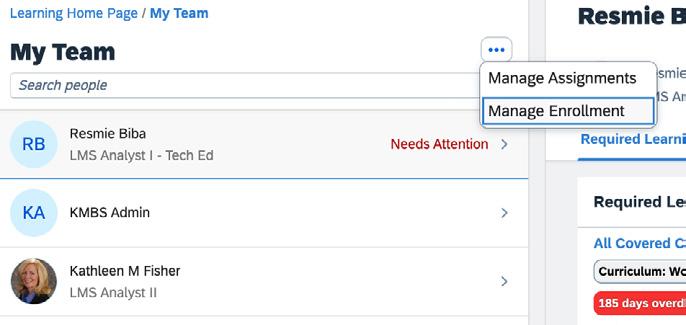
1. If an employee has a “Needs attention” status, this indicates that they have training that is overdue. You may click on the “Send Reminder” button to trigger a reminder email notification. See sample email below.
To view your employee’s learning completions, click on the three dots in the upper right corner and select View History
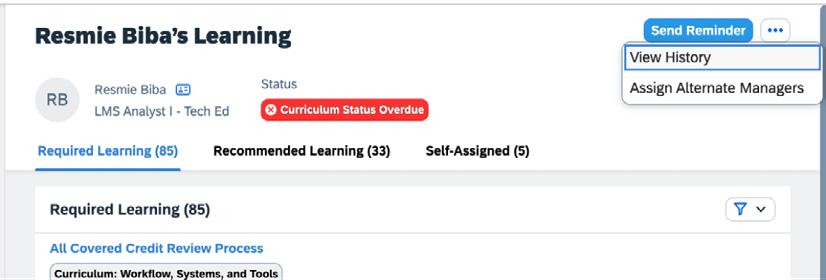

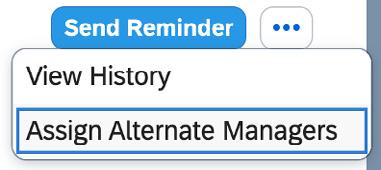
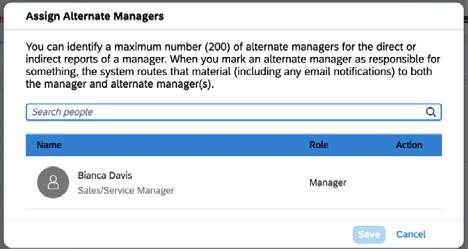
From the same drop down menu, you may also Assign Alternate Managers. When you assign an alternate manager to an employee, responsibility for the employee’s training is shared between the alternate and primary managers.
Alternate managers are often used in matrix or dotted line relationships, such as when employees temporarily report to a project manager while remaining under their primary manager. For example, Larry, who manages the R&D group, assigns two employees to Jane’s project team. Larry remains their primary manager, but Jane, as the alternate manager, may assign learning tasks or approve requests during the project.

From the My Team view, Managers can make bulk assignments or registrations using the Manage Assignments or Manage Enrollment options. Click on the three dots above the Search People bar to display these options.
My Team > Manage Assignments > Assign/Remove Learning allows you to Add/Remove courses and curricula to/from a user’s learning assignments.
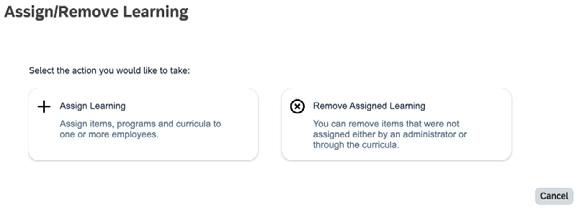
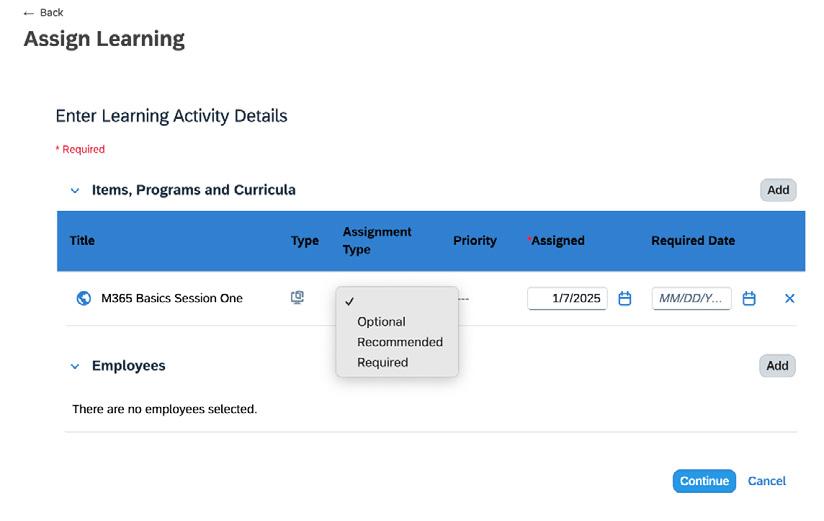
Upon clicking Assign Learning, you will be displayed the following screen.
1. Click Add next to Items, Programs and Curricula to select desired courses from library.
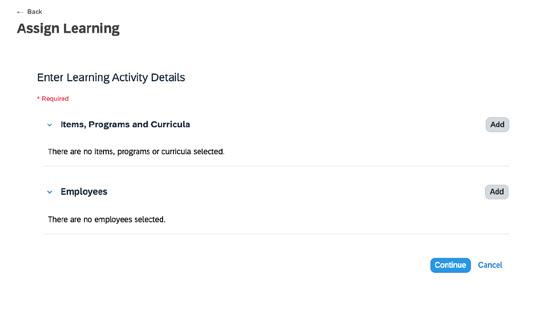
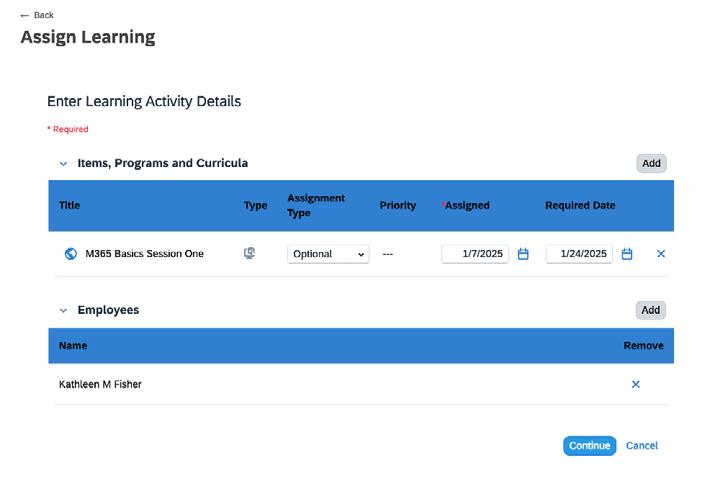
2. Once you have selected the course(s), you must select an Assignment Type. You may also select a required date (due date), if applicable. Next, click Add in the Employees section to select the employee(s) for the assignment.
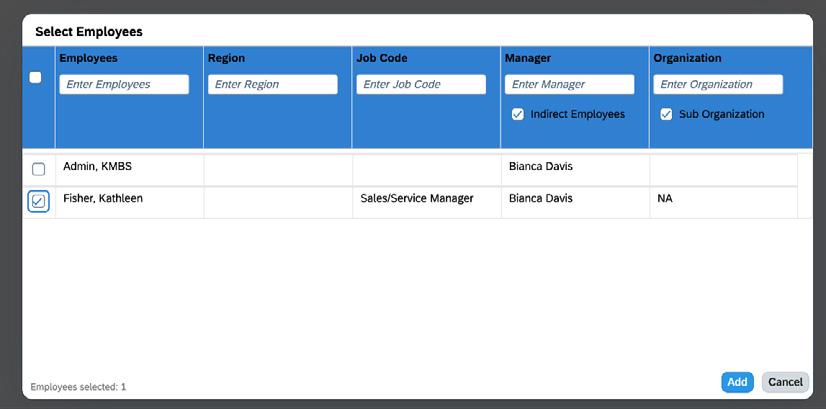
3. Use the check boxes to indicate which employees you would like to assign the learning to and select Add when you are finished.
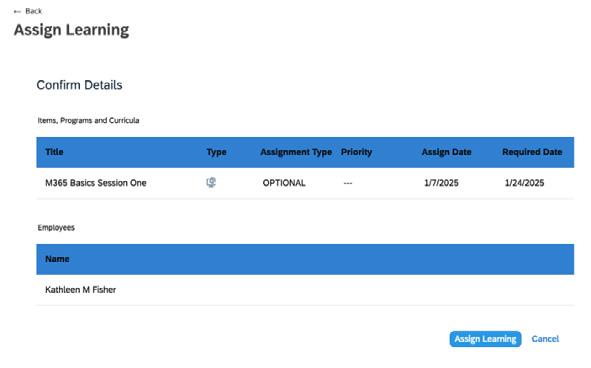
4. Click Continue > Assign Learning to complete the assignment.

My Team > Manage Enrollment allows you to register or withdraw your employees from Instructor Led Training.

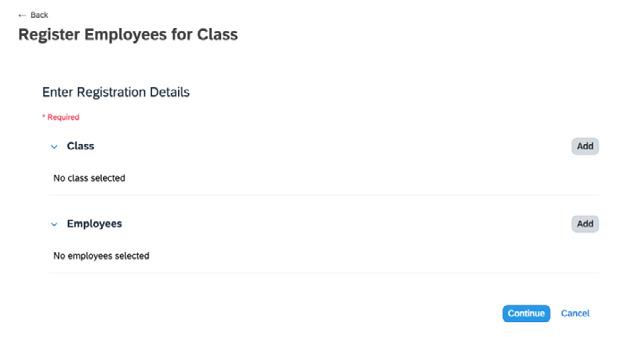
Follow the prompts on-screen to complete the registration.


1. Click on the My Team tile or select My Team from the corner drop-down menu.
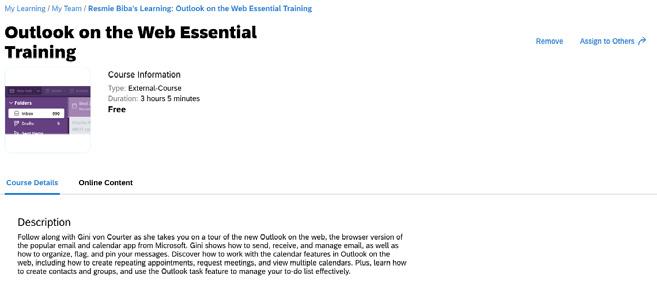
2. Select the employee from the left.
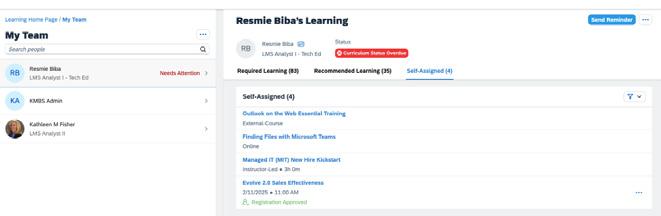
3. Click on the course you wish to remove and select Remove.
Konica Minolta Academy provides access to the following reports:
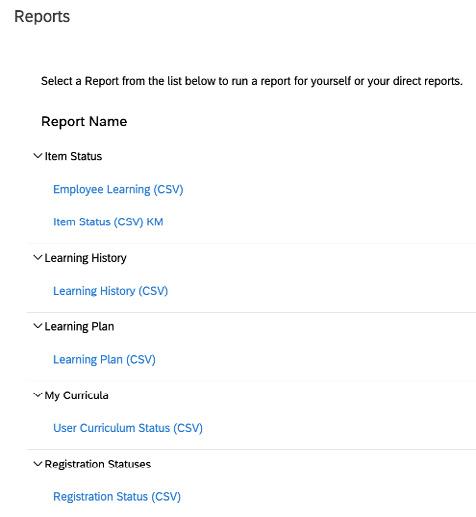

Employee Learning - This report provides details on all courses that a user has completed as well as any courses that have been assigned, but not yet completed.
Item Status – This report provides details on specific courses that users have completed within a specific date range. This is the report to run to identify “certifications” for users.
Learning History- This report provides details on all courses that a user has completed, such as the user’s name, course type (online/ILT), course title, course completion date and grade.
Learning Plan– This report provides details on the current status of all courses on the user’s learning plan, such as the user’s name, course type (online/ILT), course title, curriculum ID (if assigned to a curriculum), and the course completion date.
User Curriculum Status –This report provides details on the curriculum and the courses within the curriculum that a user has registered for or been assigned, such as the user’s name, the curriculum title, completion status, date assigned, type (online/ILT), and completion date.
Registration Status- This report provides details on a user’s current enrollments, such as the user’s name, registration status, start date, end date and location of the training.
To run these reports:
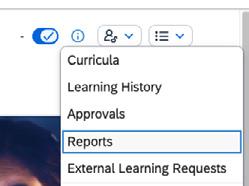
1. Click on the corner drop down menu and select the Reports link. Managers may also select the Reports tile from their Important Links section.
2. Select the desired report and follow the on-screen instructions.
Note: Managers can run reports for the following audiences: Self, Direct Subordinates, All Subordinates and All.
Manager rights within Konica Minolta Learning are granted based on each organization’s (branch or dealership) hierarchy within the system. This ensures only those within a user’s supervisor hierarchy can manage their training. However, delegation can be used to “share” those rights with other individuals within their organization. Below are a couple of examples in which this can be useful:
Example 1 – A manager going on vacation may choose to assign a delegate to approve training requests submitted by his employees during his or her absence.
Example 2 – A dealer principal could delegate his or her reporting rights to an individual responsible for monitoring the training of their organization.
To assign delegation, a manager would:
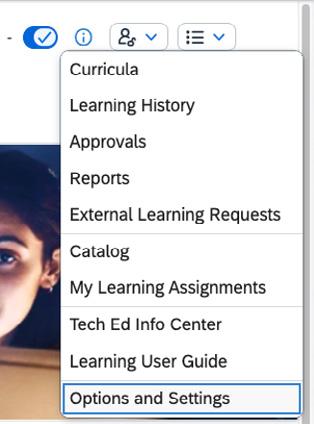
1. Click on the corner drop-down menu.
2. Click on the Options and Settings link.
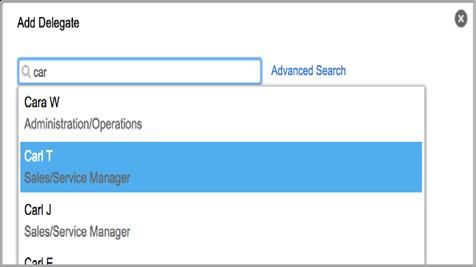
3. Click the Add button.
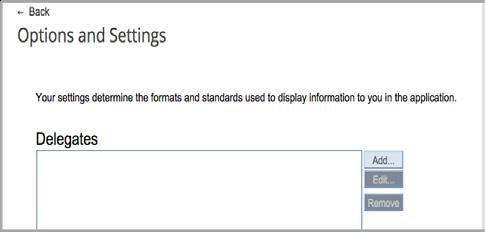
4. Search for and select a user to delegate permissions to and click Save
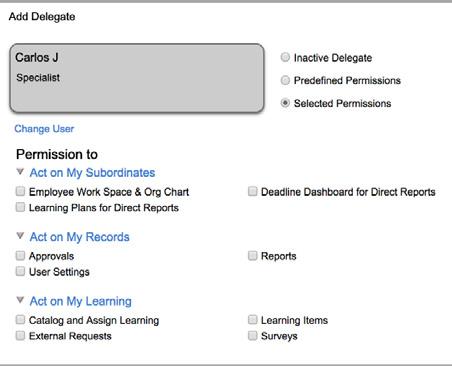
5. Select either Predefined Permissions or Selected Permissions and click Save
a) Predefined Permissions – used to allow the delegate to perform all available permissions.
b) Selected Permissions – used to grant specific permissions to the delegate.
Note: A dealership’s hierarchy is established using the Manager Selection Process. See the following “Manager Selection Process (Dealers Only)” section for details.
Once an individual has been selected as a delegate, he or she will have to access the delegate mode to act on the manager’s behalf.
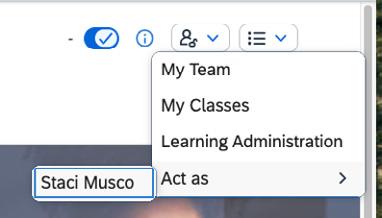
1. Click on the Roles drop-down menu from the top right corner of the homepage.
2. Select Act as
3. Select the employee you wish to act on behalf of.
4. To exit Delegate Mode, simply close the Delegate Window.
Note: A new window will appear. The yellow bar will indicate that you are in Delegate
Delegates can assign learning to users who report to them and approve or deny pending requests on behalf of the delegator. They can also run reports for the delegator. However, delegates cannot remove learning; they must contact the delegator or an administrator for assistance. For detailed instructions on assigning learning, viewing approval requests, and running reports, refer to the manager section on pages ___. For administrator contact details, see the Contact Information page.


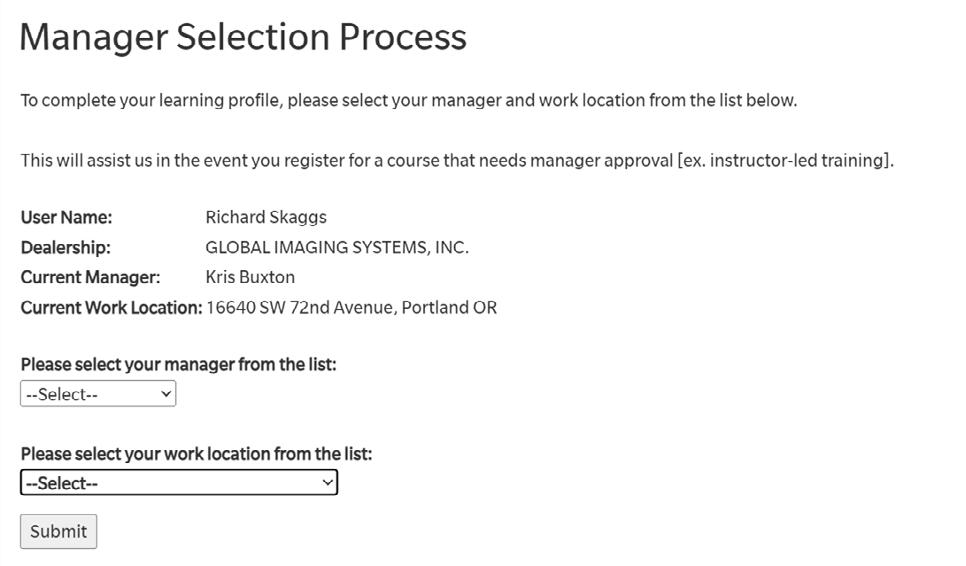
The manager selection process allows users to identify their managers within MyKonicaMinolta.com. This gives managers access to assign training and run reports on those that have selected them as their manager. It also enables system notifications to be targeted to each user’s appropriate manager.
To do so:
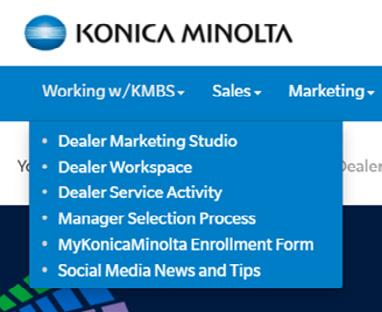
1. Log into MyKonicaMinolta.com.
2. Click the Working w/ KMBS tab.
3. Select Manager Selection Process
4. Select your Manager from the list AND your work location. Then click

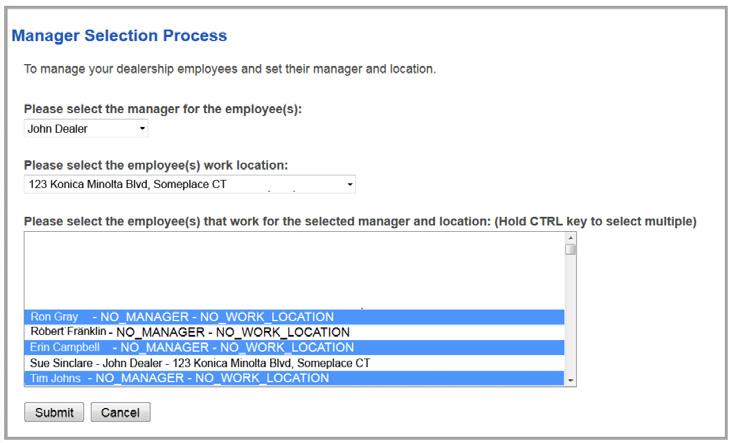
The manager selection process also allows managers to both identify their employees via a multi-select process and further verify existing employee/manager assignments.
To do so:
1. Log into MyKonicaMinolta.com.
2. Click the Working w/ KMBS tab.
3. Select Manager Selection Process
4. Select your Manager from the list AND your work location. Then click Submit.
Managers will see the following options under the standard manager selection online form (shown on the previous page):
Please Note:
To manage your dealership employees and set their manager and location, click here
To see individuals that have selected you as their Manager, click here
If you would like an active user list for your dealership, please email our Passwords Team at passwords@mkbs.konicaminolta.us
Please be sure to include that you are requesting an active user list, your user ID and the company name.

Selecting Option 1. displays the following form in which one or more individuals can be selected to associate with a specific
Selecting Option 2 displays a list of individuals currently assigned to the acting manager’s account.


The Technical Education Information Center contains a lot of useful information pertinent to service training, including information on technical training centers, travel info, classroom schedules, and other useful information that is available to both managers and their employees.
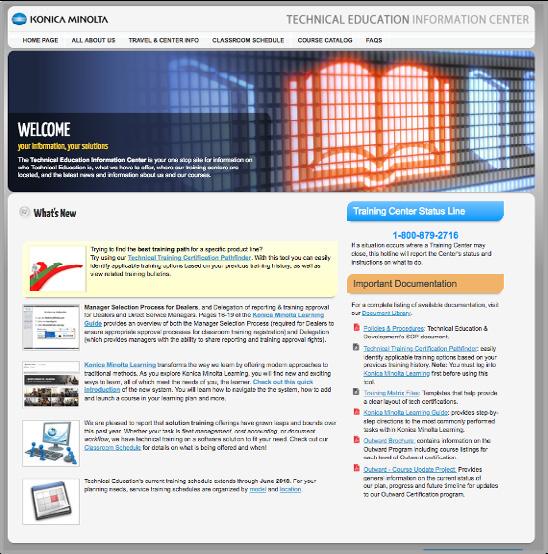
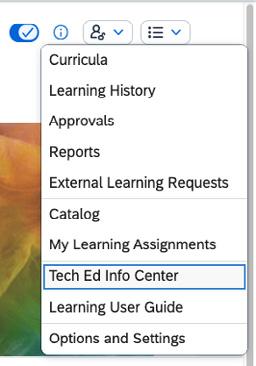
Access from within Konica Minolta Academy:
1. Go to the Konica Minolta Academy homepage
2. Click the Tech Ed Info Center link located in the corner drop down menu
Access from within MyKonicaMinolta.com:
1. Log into MyKonicaMinolta.com
2. Click the Service tab and select Service Workspace from the dropdown menu.
3. Click on the Learning & Development tab and select Tech Ed Info Center.

Sales Training

learn@kmbs.konicaminolta.us
Technical Training
techtrain@kmbs.konicaminolta.us