The Mupas Portal Buddy Instruction Manual


Your Mupas Portal Buddy lets you access key features of the Mupas system from your smartphone. It provides insights into events in your environment and helps you understand the anomalies you encounter
To install Mupas Portal Buddy on your smartphone, you will first log into your Mupas Portal.
https://www.mupas-studies.com/portal
In the Portal’s configuration menu, shown below, select the Setup Portal Buddy option to display the Mupas Portal Buddy setup window.

Click Setup Portal Buddy to open a window displaying QR codes. Scan the appropriate QR code with your smartphone’s camera to access the installation page

Choose the QR code that corresponds to your smartphone type. Alternatively, you can enter the following URL directly into your smartphone’s browser: www.mupas-studies.com/portalbuddy
On your smartphone, you will now be directed to a window that looks like this.

Click on MUPAS Portal Buddy Latest Version (highlighted in blue). This will start the download of the smartphone application.
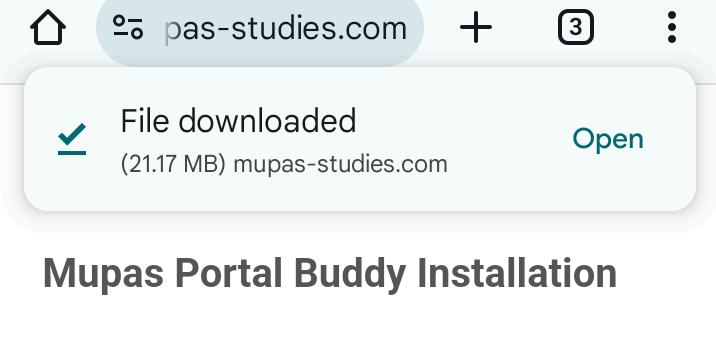
You may receive a warning message like the one shown below; click Download Anyway to continue. The next step happens quickly, so watch your screen for the word Open

After clicking the Download Anyway the following window will appear. Press Open.
Now, you will application on your smartphone.

Here, click Install to proceed. Once installed, the following window will ask if you would like to open

Click Open to open the application. From here, you will need to provide the Mupas Portal Buddy with several permissions that are needed for proper operation.
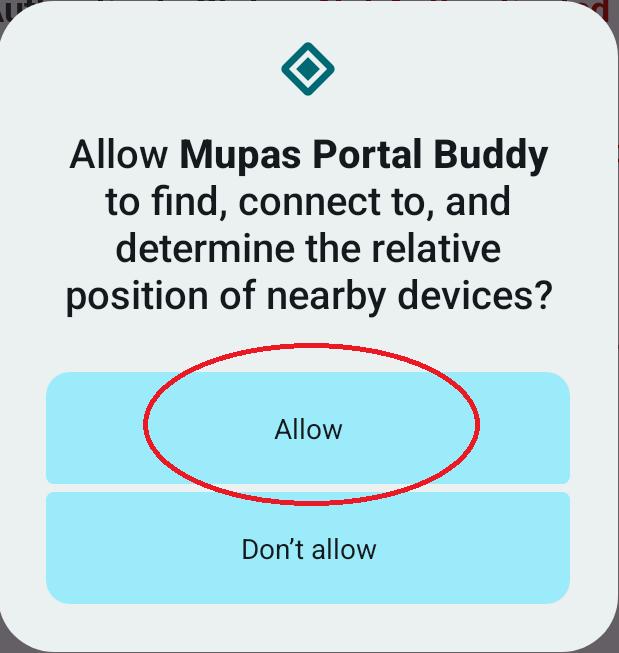


As each permission window is presented to you, press the indicated option as shown above.
You are now ready to configure your Mupas Portal Buddy for proper operation.

First, you will notice at the top of the window a message that indicates you are not authenticated into the MUPAS system yet:
Authenticate Status: Not Authenticated
To remedy this click the AUTHENTICATE TO MUPAS button below the message. You will then be presented with a window allowing you to enter your MUPAS Member ID and password.

Enter the same MUPAS Member ID and password that you use to log into the web-based Mupas Portal.
When successful, the status message will change to indicate a successful login.
Authenticate Status: Authenticated
That's all there is to it. You should see the following window.

In the following sections, we will cover adding incident reports and also connecting a MupasBiometric watch to your Mupas Portal Buddy.
An incident is a type of event associated with an experience. For example, when you see an anomalous object or have a vision. The Mupas AI Engine uses these events and your device readings to learn your patterns.
Incident reports are recorded in the Mupas System by date, time, and a narrative you provide describing your experience. You can optionally add specific information about the event, such as photos and images from your smartphone.
When you press the ENTER AN INCIDENT REPORT button, the following window will appear.

Either type or speak your narrative of your experience into the space provided, as the above example demonstrates. Be as detailed as you can in describing your experience. The date and time displayed on the screen is the current smartphone time which can be changed if you are entering a prior report.
You can optionally change either the date or time to correspond to when the event took place by clicking the SELECT DATE or SELECT TIME buttons. You will be presented with windows to make your selection.


Optionally, you can attach a photo or an image from your smartphone to the incident report. To capture a photo using your smartphone camera, click the TAKE PHOTOS button. This will present a viewing screen that allows you to capture as many photos as you need to document the event.


Clicking records the image currently being shown on the viewing screen. As you add more pictures, the OK button will indicate how many photos you have taken already. When you are all set and have taken all the photos needed, you can press the OK button to return to the Incident Report window.

When you return to the Incident Report window the number of photos taken will be indicated in the button TAKE PHOTOS (2).
To include images from your smartphone file system, click the INCLUDE PHOTOS button. This will present a selection screen of the images currently stored on your smartphone. When you return to the Incident Report window the number of images included will be indicated in the button INCLUDE PHOTOS (2).
When you are all done entering your incident report information, click the SUBMIT INCIDENT button. This will send the report to the MUPAS syste,m where it can be viewed from your Mupas Portal.
Your Mupas Portal Buddy supports connection to multiple Mupas Biometric watches

To link a Mupas Biometric Watch, you will need to enable Bluetooth on your smartphone. If there is a message on the application's main screen informing you that Bluetooth is disabled, enable it before continuing.

Once Bluetooth is enabled, you can click the LINK A BIOWATCH button to continue to link a Mupas Biometric Watch.

From this next window, you will be able to link a Mupas Biometric watch to the MUPAS system.

Linking a Biowatch device means associating the Mupas Biometric Device ID with the actual device that was shipped to you. In this window, you will see three lists: current linked devices, available Mupas Biometric Devices, and available Biowatches.
Current Linked Devices List
This is a list of the devices that have already been linked. If there are none at this time, there will soon be after we finish the next section.
Mupas Biometric Devices List
This is a list of Mupas Biometric devices that you were authorized by MUPAS for when you placed your order. If there are no items in the list please contact us for help.
Biowatch List
This is a list of the actual Biowatch devices discovered on the Bluetooth network. If there are no devices on the list please ensure your Bluetooth is enabled and your Biowatch is turned on.
Now, select one entry from the Mupas Biometric Devices List and one entry from the Biowatch List, then click the LINK THESE DEVICES button.

Your new link will now appear in the Current Linked Devices List. You will also notice that when you select a Biowatch device, there is an indication of its status just under the list. When the status reads Biowatch is up to date you are all set and can start getting biometric data from the watch.
You can link several Biowatchs using this method. To remove a link, select one of the entries and then click the REMOVE SELECTED LINK button.
When you have everything all set and all your devices linked, you will be able to monitor the status of your links on the main page.
