2 minute read
Starting Using Auxiliary Batteries


WARNING!
Explosion hazard. Batteries contain and give off an explosivegaswhichishighlyflammableandexplosive. A short circuit, open flame or spark could cause a violent explosion. Ventilate well.
WARNING!
Never confuse the positive and negative poles on the batteries. Risk of arcing and explosion.
1Check that the auxiliary battery has the same voltage as the engine system voltage.
2Connect the red positive cable to the plus (+) terminalonthedischargedbatteryandthentotheplus terminal on the auxiliary battery.
3Connect the black start cable to the minus (–) terminal on the auxiliary battery and to a place a little distance away from the discharged battery, e.g. the start motor's negative terminal.
WARNING!
Under no circumstances may the black jumper cabel (–) come in contact with the positive connection on the starter motor.
4 Start the engine and let it run at fast idle for approximately 10 minutes to charge the batteries. Make sure there is no extra equipment connected to the electrical system.
WARNING!
Working with or going close to a running engine is a safety risk. Watch out for rotating components and hot surfaces.
WARNING!
Do not touch the connections during the start attempt: Risk of arcing.
Do not bend over any of the batteries either.
5 Turn off the engine. Remove the start cables in the exact opposite order to their connection.
Emergency Shifting
If a fault occurs that prevents engaging gears with the control lever (shifting), it is possible to engage them manually.
Reverse gear
This description describes electronically shifted reverse gear.
Manual shifting of gears
1Stop the engine and remove the ignition key from the ignition lock.
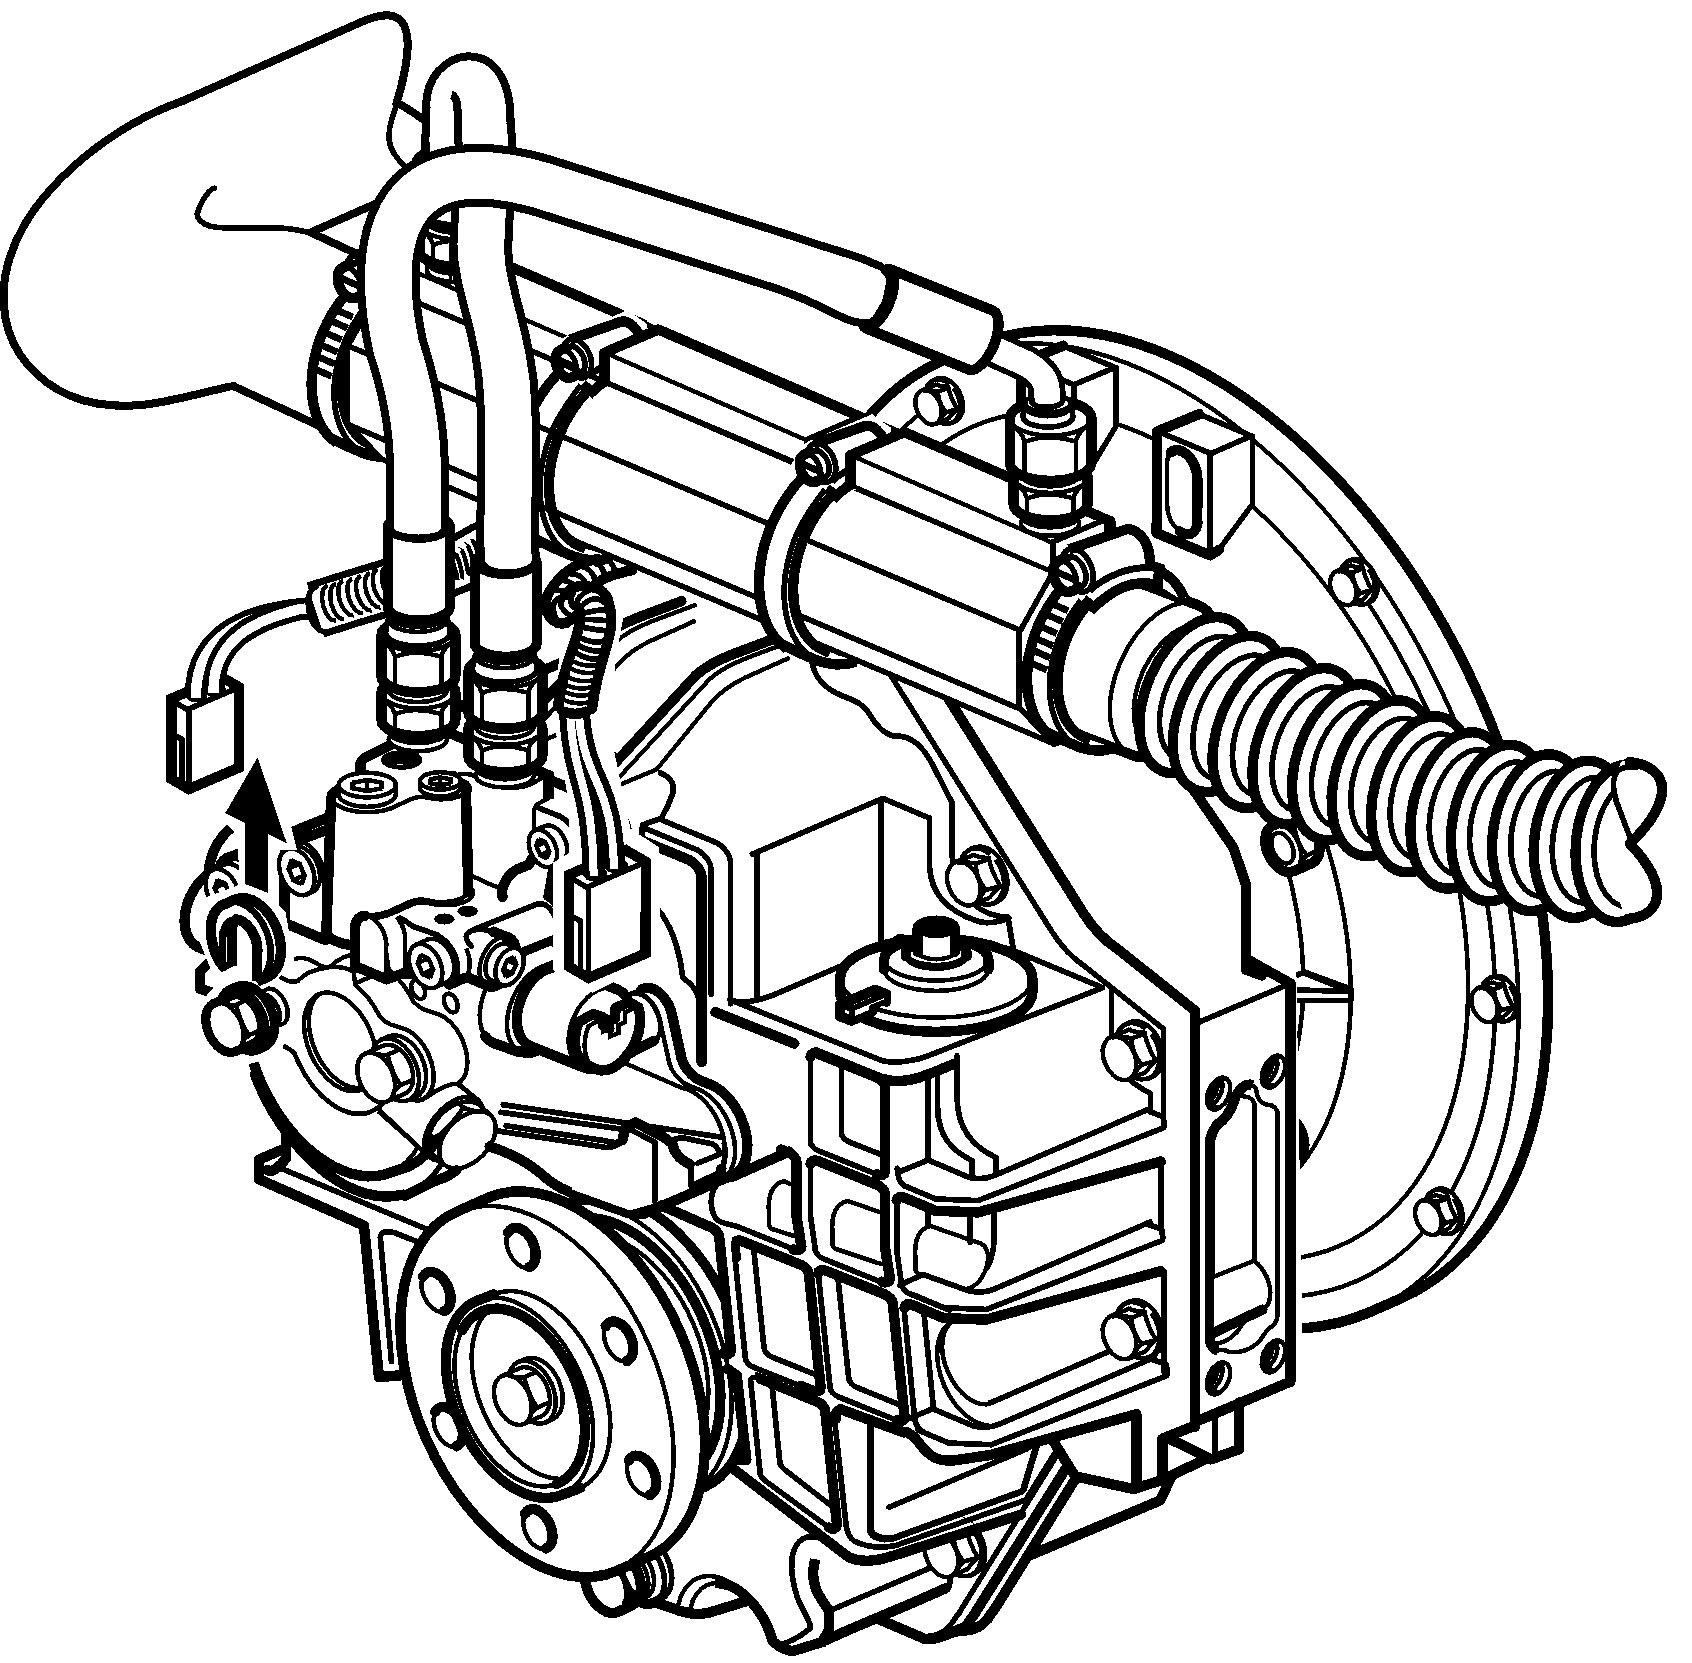
2 Unscrew the screw (1) on the side where the cable harness marked A is connected.
3Remove the washer (2) and tighten the screw.
4Disconnect the wiring A and B from the solenoid valve connections.
The gears are now engaged for forward drive and cannot be disengaged by the control lever.
Emergency Shifting, Drive
If a fault occurs which prevents the drive from being operated (shifted) with the control lever, it is possible to shift manually, using the description below.
WARNING!
In emergency shifting, the unit is locked in forwards operation. Please note that the drive can not then be disengaged with the control lever. Forward motion can only be cut off by stopping the engine with the ignition key or stop button..
Manual drive engagement
1Stop the engine and take the starter key out of the starter switch.
2 Pull out the split pin (1) and lift the adapter (2) from the pin (3).
3Place a screwdriver or similar tool in the adapter (2) hole and move the control wire horizontally.
Emergency Trimming
If a situation occurs that needs the drive to be trimmed over the trim limit, the drive can be emergency trimmed.
IMPORTANT!
When emergency trimming is performed, the automatic stop will not work. The drive can be trimmed outside the trim ranges, this can damage the boat and drive.
1Press the trim button on the control or power trim panelinthedirectionthedriveneedstobetrimmed. Release the button when the trim limit is reached.
2Press the button again and hold it depressed for more than 5 seconds.The drive starts trimming.
Start after crash-stop
If the engine crash-stops, the following routine must be performed before the engine can be started again.
1Move control lever(s) to neutral.
2Acknowledge any alarms and turn the ignition off.
3Wait until the system is completely shut down and all lamps are out.
4Turn the ignitionon but do not start the engine.
5Acknowledge any alarms. Start the engine.


