
6 minute read
Calibration and Settings


Settings Menu
Settings and calibrations are managed in the Settings menu.
1Navigate to the Settings menu.
2 Press to open the settings menu.
3Navigate backwards and forwards in the settings menu by pressing
Settings
Return to the previous menu by pressing the button. Hold the button down for more than 3 seconds to get to the main menu.
My View
In formation shown in the main menu can be adapted to suit personal preferences in My View
1 Navigate from the settings menu to My View. Press to get to the submenu.
2 Navigate through the menu using to see available operating information.
3 Press to add or remove information for display in the main menu.
Neutral Beep
Theneutralbeepisanaudiblesignalthatsoundswhen the control is in the neutral position. The setting must be entered at each helm station.
1Navigate to Neutral Beep in the settings menu.
2 Press to switch the audible signal On or Off.
Information Beep
InfoBeep is an audible signal that sounds when there is a message from the system.
1Navigate to Information Beep in the settings menu.
2 Press to switch the audible signal on or off. If there is a tachometer (accessory) installed, the volume can be adjusted with the aid of Press to confirm the selection. The setting is confirmed by an audible signal at the set level.
The screen will return automatically to the settings menu.
Trip Reset
1Navigate to Trip Reset in the settings menu.
2 Press twice to zero the trip information.
Depth Alarm
Setting the level for the depth alarm on Volvo Penta echo sounders. The setting need only be made at one helm station.
1Navigate to Depth Alarm in the settings menu. Press to proceed to the submenu.
2 Depth Alarm Off/On (A). Press to switch the alarm on or off.
3 Proceed to Set Level (B) and press . Use to set the limit where the alarm must begin sounding. Press to confirm the setting. The depth alarm is dependent on depth compensation; refer to the next section.
Set Offset
1 Go from the settings menu to Set Offset and press to reach the setting.
2 Use to set the depth compensation value so that it corresponds to the boat's lowest point or the waterline. The echo-sounder can be placed anywhere between these two points. Set the echo-sounder/waterline or echo-sounder/ lowest point distance to the depth to be displayed. The distance between the echo-sounder (B) and the water line (A) has a positive (+) value. The distance between the echo-sounder (B) and the boat's lowest point (C) has a negative (–) number.
Press to confirm the setting.
Set Offset
AWaterline
BEcho-sounder
CLowest point
Depth Alarm
When the depth is less than the alarm setting a message will be shown on the display, followed by an audible signal.
The message will be displayed every 30 seconds until the depth exceeds the alarm level. Confirm the alarm by pressing
Depth Alarm
P0005855
Depth Alarm / Signal Loss
Signal fault
If the signal from the depth alarm is lost, e.g. if the sensor is not working, a message is displayed stating that the signal has been lost.
Units
Display Contrast
Adjust the screen contrast. The adjustment will affect all screens.
Backlighting
Contrast
1 Navigate to Display Contrast in the settings menu and press to open the submenu.
2Use + and – to increase or reduce the contrast or backlighting.
The screen will return automatically to the settings menu.
Side Selection
Set from which engine information is to be show in display.
Units
Setting the units information will be shown in.
1Navigate to Units in the settings menu. Press to open the settings menu.
2 Open US or Metric, press and select American or metric units.
3 Navigate to Distance, press and then select kilometers, nautical miles or miles.
4 Press to confirm the selection.
Language Components
Language
Setting the language the information of the screen will be shown in. There are 10 languages to choose from. On boats with several helm stations and several screens it is enough to select a language in one station for it to be displayed at all of them.
1 Navigate to Language in the settings menu. Press to open the language menu.
2 Navigate to the desired language and press to confirm the selection. The screen will return automatically to the settings menu.
EVC Info
Information regarding accessories, components and the type of software installed in the boat is displayed here.
1Navigate to EVC Info in the settings menu and press to open the submenu.
2 Features shows the accessories that are installed. Press to open the submenu.
3 Components shows what hardware components areinstalled.Press toopenthesettingsmenu.
4 Software shows what software is installed. Press to open the submenu.
PTA Calibration
PTA (Power Trim Assistant) automatically adjusts the trim angle to boat speed. The system has a basic setting, but it is possible to set five different angles for five different speeds.
On boats with more than one station and with several displays it is enough to do the calibration on one displayforittobeshownatallstationsandonalldisplays. For installations with several engines the calibration needs to be made for each engine
1Navigate from the settings menu to PTA Calibration. Press to get to the submenu.
2 Use to set the trim angle for idle, PTA Pos 1. Press to confirm the setting.
3Proceed to PTA Pos 2 Use to set the rpm. Press to confirm the setting.
4 Use to set the trim angle. Press to confirm the setting.
5Repeat steps 4 to 5 for Pos 3, Pos 4 and Pos 5.
6To return to basic settings, select Defaults and press to confirm return to basic settings.
ATrim position being set
BEngine rpm
CTrim angle P0001232
Defaults
Fuel Tank
There are two alternative methods for calibrating the level sensor in the fuel tank.
Fuel Multipoint Calibration provides more precise results while Full Fuel Tank Calibration is an approximate method
Multipoint calibration is a prerequisite if the trip computer is to show fully accurate information.
Fuel Multipoint Calibration
In order for multipoint calibration to be carried out, the fuel tank may not be filled to more than 20% of its total capacity.
1Turn to Fuel Tankin the settings menu and press to access the calibration menu.
2 Turn to Multi Point Calibration and press
3Calibration is carried out in 5 steps. Fill the tank with the quantity shown in the display, POS).
Wait 10 seconds.
Press to confirm that the tank has been filled to the indicated level.
Fuel Multipoint Calibration
Full Fuel Tank Calibration
4Fill the tank with the quantity shown in the display, POS 2. Wait 10 seconds. Press to confirm that the tank has been filled to the indicated level.
5 Repeat the procedure for POS 3 , POS 4 and POS 5. Confirm by pressing the wheel at each position.
Full Fuel Tank Calibration
For this method the tank must be full and calibration of the fuel level sensor takes place in one step. This means that the fuel level value will be approximate, andthereforealltripdatabasedonremainingfuelmust be seen as approximate values.
1 Turn to Fuel Tank and press to reach the submenu.
2Select Full Fuel Tank Calibration and press
3 Fill the fuel tank. Confirm that the fuel tank is full by pressing .
IMPORTANT!
Settings for Fuel Tank Volume, Empty Tank Calibration and Fuel Alarm Level should only be carried out by an authorized Volvo Penta workshop.
Calibration
Speed Factor
The speed factor must be set while the boat is under way. Compare the displayed boat speed value with GPSdata(oranotherboat)andadjustthespeedfactor until the values agree. The setting just needs to be done on one display for it to be shown at all stations and on all displays
1Go from the settings menu to Speed Factor and press to reach adjustment.
2 Use to set the value
Press to confirm the setting.
Speed Factor
Joystick
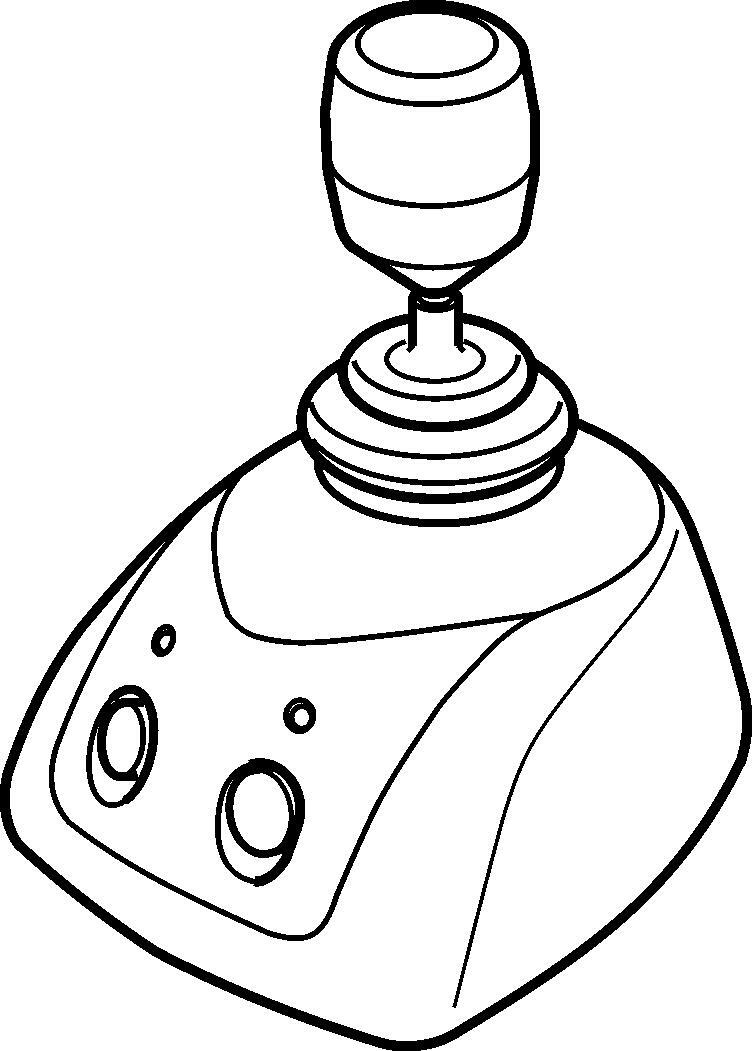
Joystick calibration need only be carried out if boat movements do not correspond to joystick movements.
When calibrating the joystick the boat must be driven on open waters in safe conditions. Avoid calibrating in high winds or currents that can influence the result of the calibration.
Allow the boat to run for a fairly long distance during the calibration. Hold the joystick firmly in position.
Calibration can only be carried out at a helm station that is equipped with both a joystick and a control panel.
Calibration and Settings
1Turn the ignition on and move the control levers to neutral.
2Start the engines. Activate calibration mode by depressing the docking button for 5 seconds.
An audible signal confirms that docking mode is activated and both lamps on the joystick lights up.
3 Move the joystick sideways as far as it will go in one direction.
Correct boat movements by moving the joystick up and down, and by turning it.
4When the boat is moving straight abeam, depress the docking button once again.
5 An audible signal will sound and both lamps on the joystick will flash to confirm that calibration is complete and stored. The system is now in docking mode.
When the joystick returns to the central position the lamps will stop flashing and will instead show continuously.
Resetting the calibration
1Turn the ignition on and move the control levers to neutral. Start the engines.
2Activate calibration mode by depressing the docking button for 5 seconds. An audible signal will confirm that docking mode is activated and the docking button lamp will light up.
3Press the docking button. Calibration is now reset, which is confirmed by an audible signal. The system is now in docking mode


