Changing Attachments To prevent unexpected attachment release from the attachment bracket, be sure to properly secure the latch pins by rotating the latch levers to a horizontal position.
WARNING
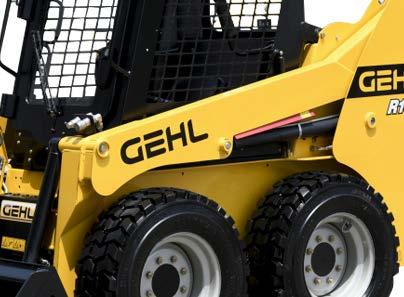
The skid-steer loader features a All-Tach™ attaching mechanism for mounting a bucket or other attachment. Two latch levers secure the attachment.
Connecting an Attachment 1. Rotate the latch levers to a vertical position to fully retract the latch pins. 1 1 2. Start the loader engine and make sure the lift arm is lowered and in contact with the loader frame. 2 2 3. Align the loader squarely with the back of the attachment. 4. Tilt the attachment bracket forward Figure 15 Hitch – disengaged until the top edge of the bracket is 1. Latch Levers below the flange on the back side of 2. Latch Pins the attachment and centered between the vertical plates. 5. Slowly drive the loader forward and, at the same time, tilt the attachment bracket back to engage the flange on the back side of the attachment. 6. Stop forward travel when the flange is engaged, but continue to tilt the attachment bracket back to lift the attachment off the ground. 7. Exercise the MANDATORY SAFETY SHUTDOWN PROCEDURE (page 6). 8. With the loader engine OFF, leave the operator’s compartment and rotate the latch levers to a horizontal position to fully engage the latch pins. Important: To check that the attachment is properly installed, apply down pressure to the attachment prior to operating.
Connecting Auxiliary Hydraulic Couplings Note: With the engine OFF, key in the ON position and the restraint bar down, the auxiliary hydraulic control can be moved to relieve any pressure in the hydraulic system. The hydraulic couplers are located on the left lift arm. “A” port is pressure, “B” port is return when the auxiliary control is in the detent position.
34