3 minute read
3.6 Lubrication and maintenance operations


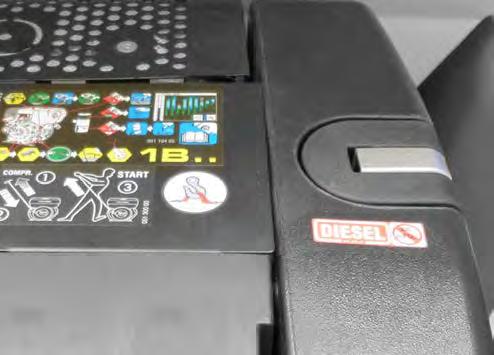
Battery charging procedure:
• Open the left material hopper side cover (1).
• Clean the battery surface.
• Remove the battery from the machine.
• When disconnecting the battery, first disconnect the cable of the (-) pole.
• Charge the battery.
• Mount the battery on the machine.
• Check the condition of the (+) pole, (-) pole and clamps.
• Clean the (+) pole, the (-) pole and the clamps.
• Apply a thin layer of grease on the clamps.
• When connecting the battery, first connect the (+) pole.
• Close the left material hopper side cover (1).
Note
Perform battery charging as needed according to instructions of the battery manufacturer.
Perform battery check when the machine is parked on a flat and solid surface with the engine and battery disconnecter off.
When checking the battery, use the prescribed protective equipment.
Perform battery charging as needed according to instructions of the battery manufacturer.
Do not eat, drink and smoke and do not use a naked flame while working. Danger of fire!
Keep the battery dry and clean. Charge the battery if it is low.
Perform battery charging outside the machine. First disconnect the minus pole cable (-) when disconnecting the battery. First connect the plus pole cable (+) when connecting the battery.
Do not disconnect the battery when the engine is running.
Disconnect the battery when repairing the machine wiring.
Disconnect the battery when welding on the machine. Caution! Never make direct conductive connection between both poles of the battery to avoid a short circuit and a hazard of explosion of the battery.
Do not check live wires by touching the machine frame.
In case of electrolyte spillage, wash the affected area with water and neutralize with lime.
Hand over the old inoperative battery for disposal according to the national regulations.
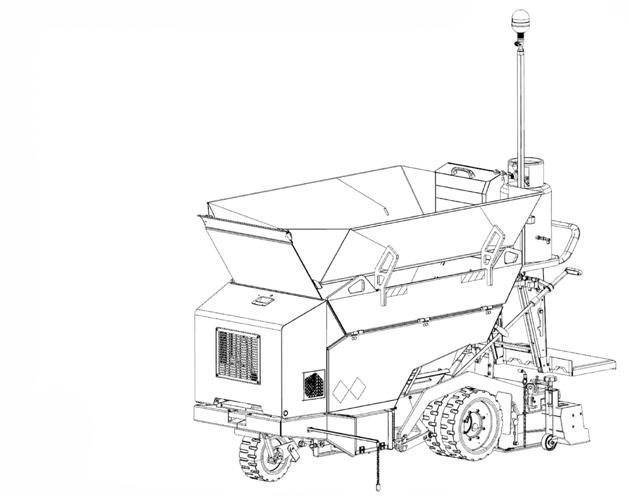
3.6.24 Checking the conveyor drive chain tension
Make sure the battery disconnecter is switched off before checking the chain on the machine.
Use a suitable tool to check the chain tension.
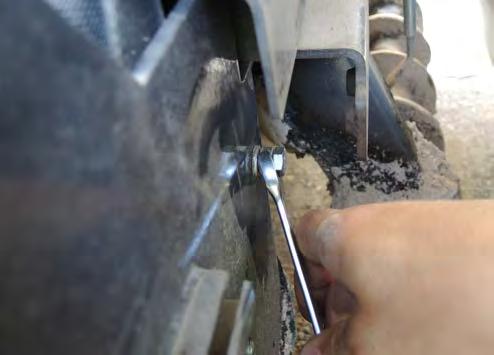
The chain sag should correspond to approximately two grooves on the scale of the cover plate.
Tension the chain if necessary.
Chain tensioning procedure
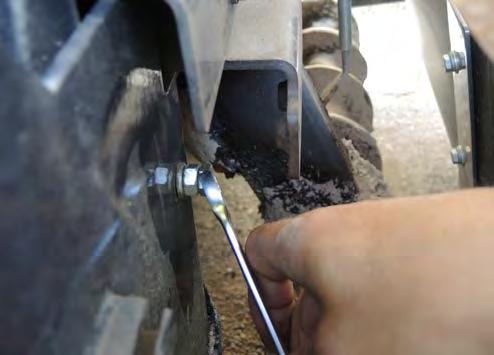
Loosen the nut (1).
Adjust the chain tension using the screw (2). Check the correct chain tension and tighten the nut (1).
3.6 Lubrication and maintenance operations
Every 500 hours of operation, but at least once a year
3.6.25 Replacement of fuel filters
Perform the fuel filter replacement when the machine is parked on a flat and solid surface with the engine and battery disconnecter off.
Fuel filter replacement procedure:
• Open the left material hopper side cover (1).
• Open the engine bonnet (2).
• Place a transparent drain container resistant to engine fuel under the water separator (3).
• Hold the water separator (3) with a spanner by the nut (4).
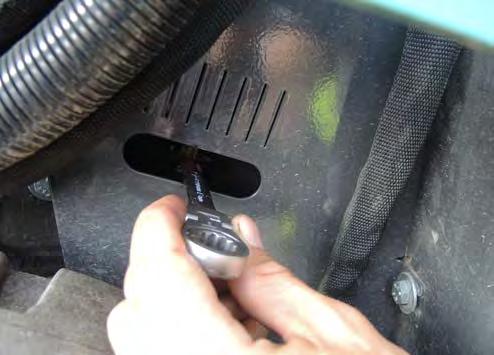
• Loosen the water separator drain screw (5) with a screwdriver (about 3 – 4 turns) until the liquid starts to flow out.
• Check if there is a dividing line in the drain container between the condensed water (bottom) and engine fuel (top).
• When clean engine fuel flows out, firmly hold the water separator (3) by the nut (4) with a spanner and tighten the water separator drain screw (5).
• Unlock the lever (7) of the fuel tank cap (8) on the fuel tank (6) to speed up draining of the fuel.
• Remove the fuel filter (9) from the holder.
• Dismount the fuel filter (9) from the hose (11) and drain the remaining fuel.
• Dismount the fuel filter (9) from the hose (12).
• Mount the fuel filter (9) on the hose (12).
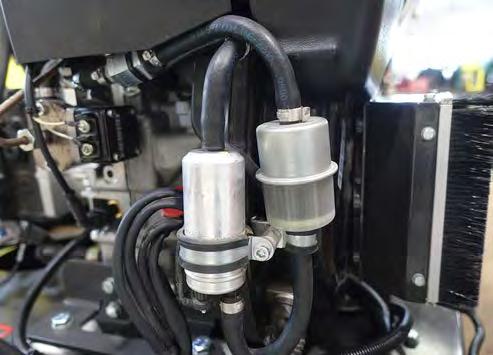
• Connect the hose (11) to the fuel filter (9).
• Mount the fuel filter (9) on the holder.
• Fill the tank with fuel.
• Start the engine and let it run briefly.
• Stop the engine.
• Check the tightness of the fuel filter (9).
• Close the engine bonnet (2).
• Close the left material hopper side cover (1).
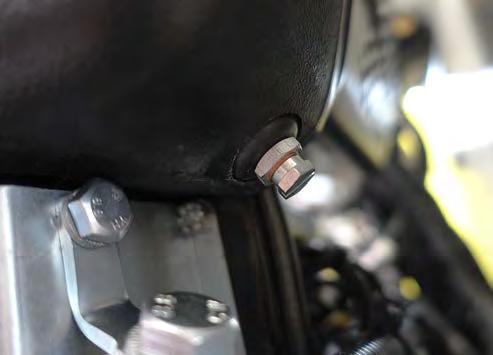
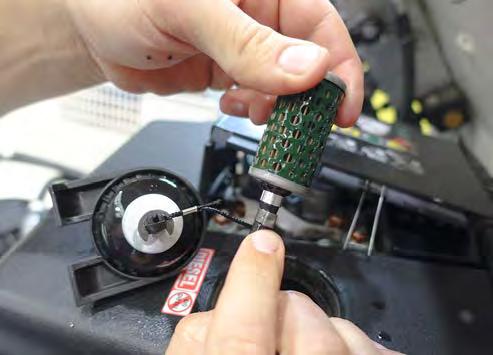
Replacement of the intake fuel filter:
• Remove the intake fuel filter (1) from the fuel tank.
• Remove the clamp (2).
• Remove the filter (1).
• Install a new filter.
• Mount the clamp (2).
Replace the fuel filter when the machine is parked on a flat and solid surface, the engine and the battery disconnector are off and the gas bottle is closed.
Do not smoke and do not use a naked flame while working. Danger of fire!
Avoid inhaling vapours and avoid skin contact with diesel fuel.
Use personal protective equipment.
Caution! There is a risk of burns from the hot parts of the machine.
Do not refuel when the engine is running; the machine must be parked on a flat and solid surface, the engine and the battery disconnector must be off and the gas bottle closed.
Caution! When draining the condensate, fuel can come in contact with hot parts of the engine and catch fire. There is a risk of burns from the hot parts of the engine.
Refill the same fuel grade; see Chapter 3.2.2. Check the fuel tank and the fuel circuit for leaks. In case of detecting water condensation in the fuel tank, drain the condensate according to Chapter 3.6.14. When loosening the drain screw, firmly hold the water separator using a spanner. There is a risk of damage by the water separator.
Catch the drained fuel and do not let it soak into the ground.
Stop the fluid soaking into the ground.