multifunction armrest – Coat the screws with Loctite (243).
1
– Tighten the 3 screws at a torque of 0,6 daN.m. – Connect the “x4” and “x2” connectors. – To affix the protection, refer to 'gluing the protection' in this group.
Removing online controls of the “R76” solenoid valves
2
R76
– Removing the “MFA A100” electronic module.
2
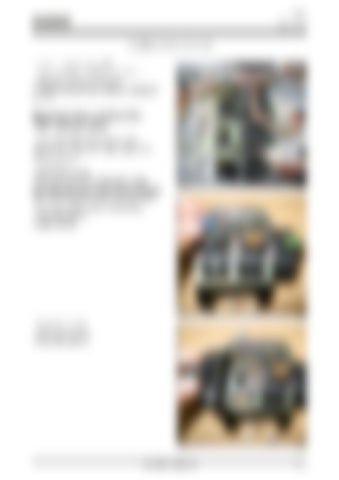
– Disconnect the connectors of online controls of the “R76” solenoid valves. – Cut the strap (1). – Remove the screws (2). – Remove all online controls of the solenoid valves. Note: Before removing an online control of a solenoid valve, mark its position and the connector number.
601msm0h
Fig. 35
– To remove an online control of a solenoid valve:
1
– Remove the panel (1). – Loosen screw (2).
2 3
Fig. 36
601msm0i
– Remove the panel (3).
4
– Remove the screws (4). – Remove the control (5).
5 3
4 601msm0j
Axion 850-810 – 06.2009 – GB
Fig. 37
G1.15

