6 minute read
Monthly.........................................................................5


BI016912-04 (EN-US)
Advertisement
CLA head pot assembly
CLA head transfer case Monthly
Change the oil in both CLA head pot assemblies (Fig. 124).
Level the miner, raise the gathering head pan, and secure in place.
Clean dirt and debris from around the drain plug located under the gear case.
Remove the drain plug and allow oil to completely drain from the gear case.
Clean and reinstall drain plug.
Clean dirt and debris from around the check plug and remove the plug.
Clean dirt and debris from around the fill plug and remove the plug.
Slowly add oil through the fill plug until oil begins to flow from the check plug hole. Allow sufficient time for the oil to ravel through the gear case when filling.
Clean and reinstall the check and fill plugs.
Change the oil in both CLA head transfer cases (Fig. 124).
Level the miner, raise the gathering head pan, and secure in place.
Clean dirt and debris from around the drain plug located under the gear case.
Remove the drain plug and allow oil to completely drain from the gear case.
Clean and reinstall drain plug.
Clean dirt and debris from around the check plug and remove the plug.
Clean dirt and debris from around the fill plug and remove the plug.
Slowly add oil through the fill plug until oil begins to flow from the check plug hole. Allow sufficient time for the oil to ravel through the gear case when filling.
Clean and reinstall the check and fill plugs.
NOTICE! If the gear case is scheduled for oil drain and refill, obtain the oil sample prior to the oil change.
IMPORTANT! Always collect oil samples using a siphon pump. Do not remove the drain plug and collect oil by allowing it to run out into the bottle.
Maintenance
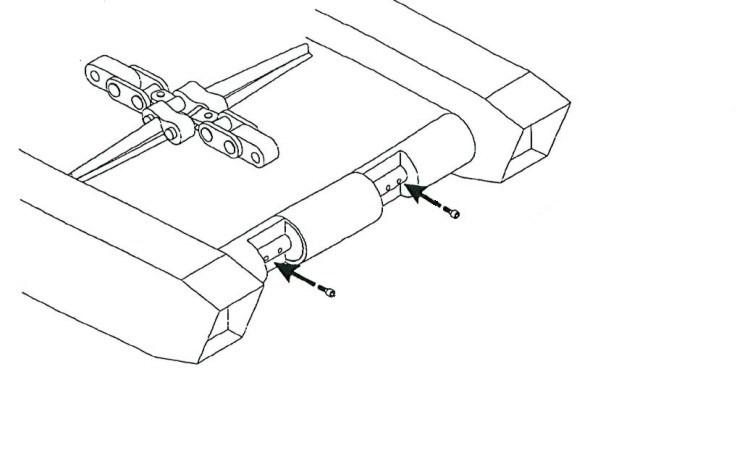
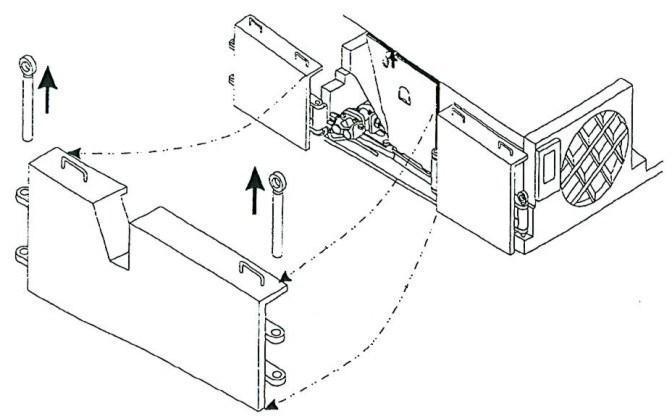
Fig. 124: CLA pot assembly and transfer case
CLA head transfer case drain plug CLA head pot drain plug
Oil fill, transfer case Oil fill, pot assembly Oil check (breather), transfer case Oil check (breather), pot assembly
BI016912-04 (EN-US)
input cutter head gear case
Change the oil in both input cutter head gear cases (Fig.125).
Position the cutter head horizontally (flat back in a vertical position).
Clean dirt and debris from around the drain plug located under the gear case.
Remove the drain plug and allow oil to completely drain from the gear case.
Clean and reinstall the drain plug.
Clean dirt and debris from around the check plug and remove the plug.
Clean dirt and debris from around the fill plug and remove the plug.
Slowly add oil through the fill plug until oil begins to flow from the check plug hole. Allow sufficient time for the oil to travel throughout the gear case when filling.
Clean and reinstall the check and fill plugs.
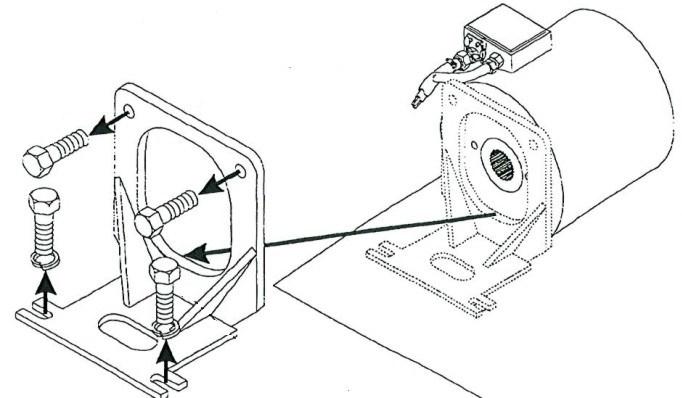
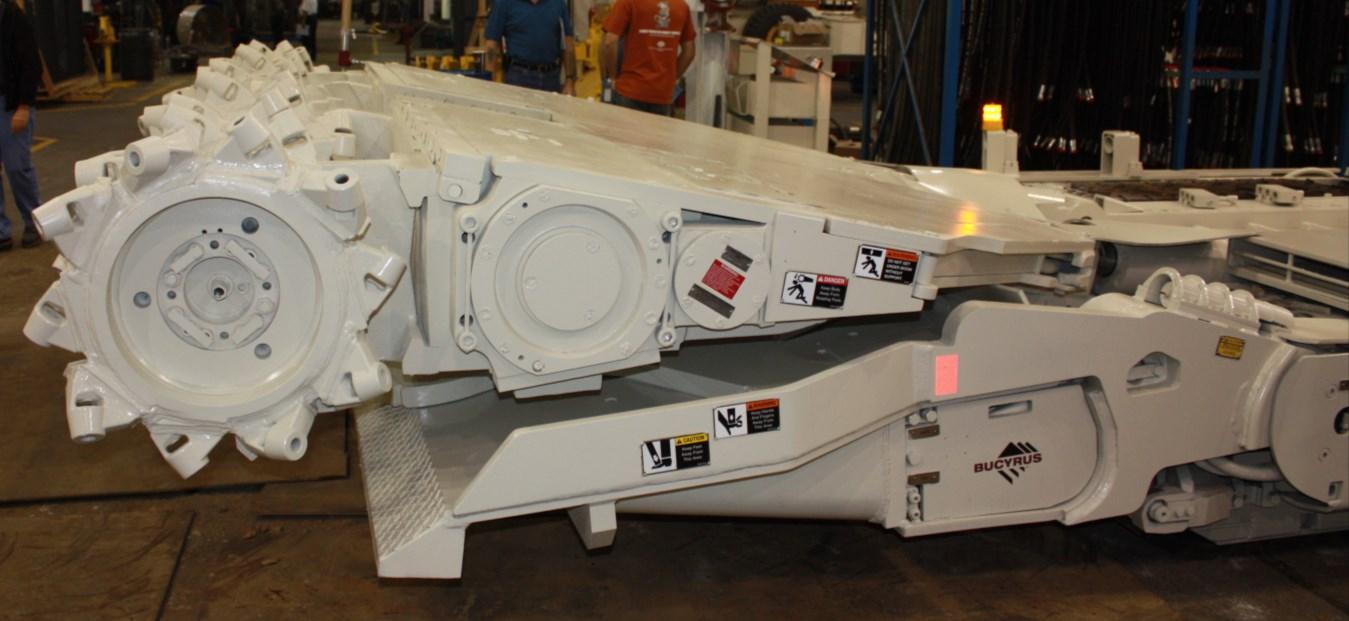
Fig. 125: Input cutter head gear case
Oil fill plug (one per side) Oil check plug (one per side)

Drain plug (one per side)
NOTICE! If the gear case is scheduled for oil drain and refill, obtain the oil sample prior to the oil change.
IMPORTANT! Always collect oil samples using a siphon pump. Do not remove the drain plug and collect oil by allowing it to run out into the bottle.
Maintenance
main cutter head gear case
Oil check plug (one per side)
CLAs Fig. 126: Main cutter head gear case
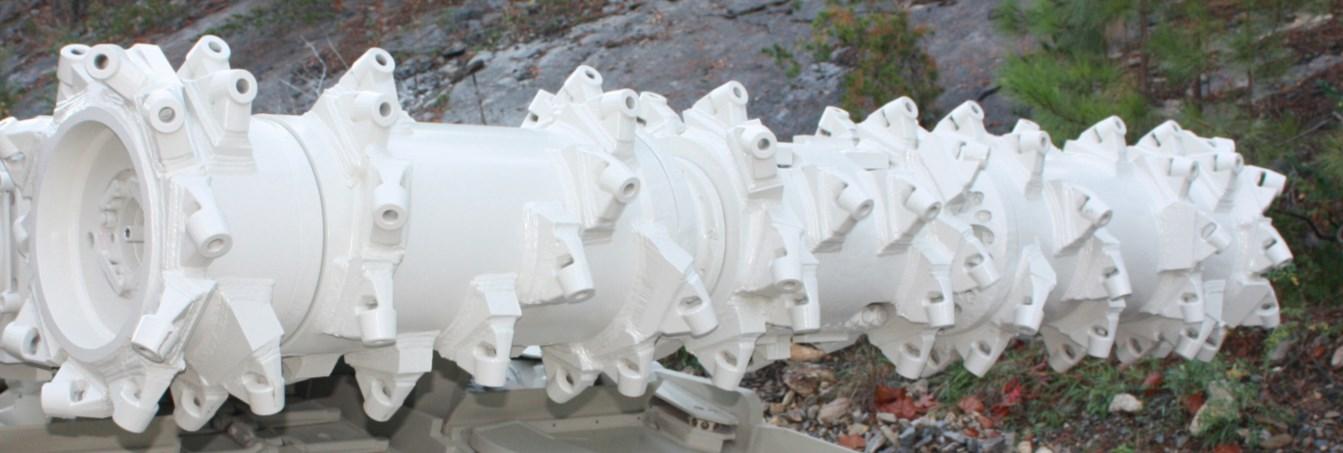
Oil fill plug (one per side)
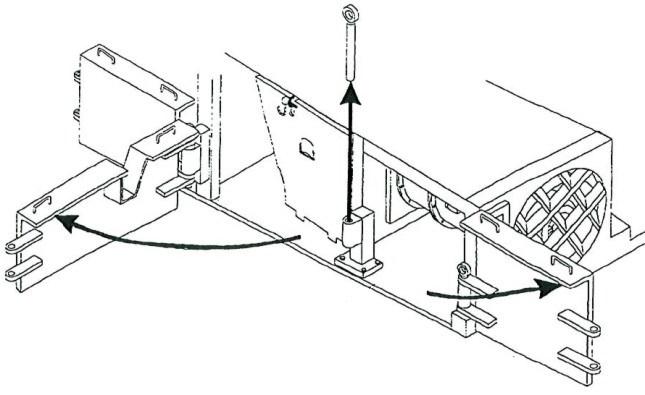
Inspect the CLAs (Fig. 127) for damage and CLA bolts for torque by moving with a slate bar. If a CLA needs replaced, see CLA removal and installation procedure in this chapter.
Fig. 127: CLAs

CLA CLA
Change the oil in both main cutter head gear cases (Fig. 126).
Lower the cutter head completely to the ground. Clean dirt and debris from around the drain plug, located under the gear case.
Remove the drain plug and allow oil to completely drain from the gear case.
Clean and reinstall the drain plug.
Clean dirt and debris from around the check plug and remove the plug.
Clean dirt and debris from around the fill plug and remove the plug.
Slowly add oil through the fill plug until oil begins to flow from the check plug hole. Allow sufficient time fro the oil to travel throughout the gear case when filling.
Clean and reinstall the check and fill plugs.
BI016912-04 (EN-US)
Oil sampling plan
This plan contains specific instructions to be followed in order to correctly collect gear case lubricant samples, and preparation of the samples for laboratory analysis. Adherence to these instructions will insure that all oil sample analysis reports give an accurate picture of the oils condition as well as wear trends of gears, bearings, etc. Accurate reporting and analysis of oil samples will prove extremely beneficial providing a tool to allow planning of scheduled down-time and prevention of costly equipment breakdown.
Preparation prior to sample collection
For each machine to be sampled, you will need a supply of sample collection bottles and identification labels (Fig.128) sufficient to sample each identified gear case (every sixty shifts).
One sample bottle and collection hose is required for each gear case to be sampled. Label each container with the identifying name of the gear case (crawler gear case, left or cutter head gear case, right front, etc.).
Collection of oil samples
NOTICE! If the gear case is scheduled for oil drain and refill, obtain the oil sample prior to the oil change.
Each oil sample should be taken while the oil is at normal operating temperature. If the machine has not been operating just prior to sampling, run the machine until oil temperature reaches approximate normal operating temperature. Shutdown the machine and allow 2 - 3 minutes for the oil to drain back and stabilize it’s level.
IMPORTANT! Always collect oil samples using a siphon pump. Do not remove the drain plug and collect oil by allowing it to run out into the bottle.
IMPORTANT! Always use the collection hose provided with each bottle. Always discard hose immediately following collection of the oil and do not use it for the next sample. To do so will contaminate the next sample with oil from the previous sample.
After taking sample, check and refill gear case back to proper fill level.
Following collection of all oil samples, record the specific brand and product name of the lubricant that has been installed in each gear case.
Recommended gear cases to be sampled:
■ Input cutter head gear case (left and right)
■ Main cutter head gear case (left and right)
Maintenance
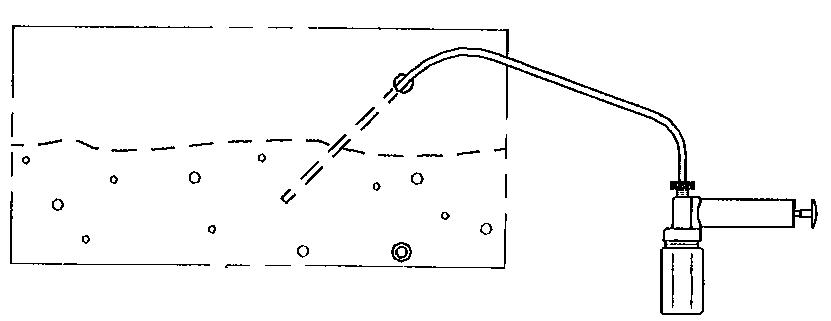
Fig. 128: Oil sampling procedure
Oil level Oil fill plug
Typical siphon pump and bottle
Place end of siphon tube approximately half way into sump Note: Hold sample pump and bottle below oil level
■ Input gathering head gear case (left and right)
■ Main gathering head gear case (left and right)
■ Tram gear case (left and right)
■ Main hydraulic oil tank