2 minute read
User Report

Posterior restoration with a universal adhesive and nano-hybrid composite
Tomislav Skrinjaric1
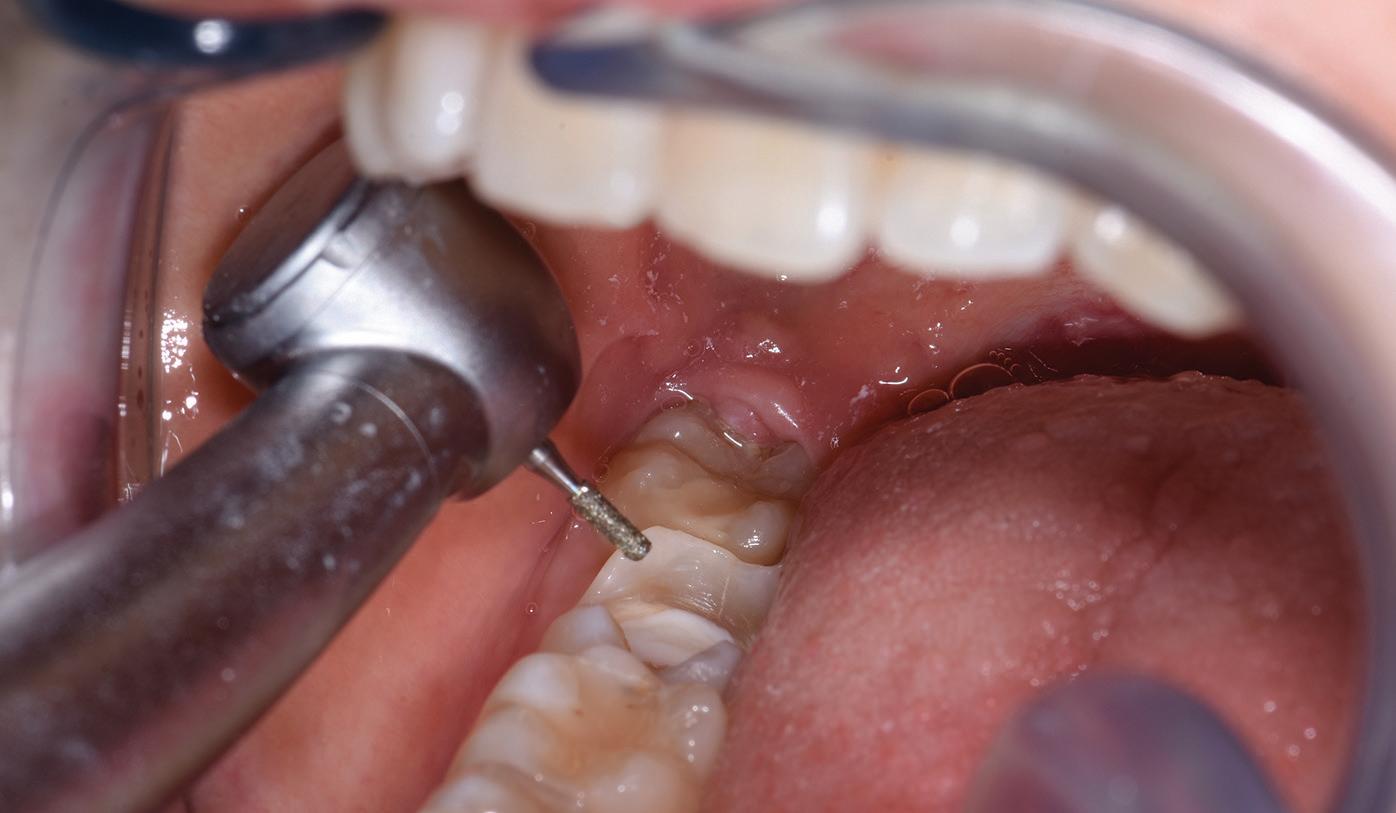
Figure 1: Initial situation: Insufficient composite filling, tooth 47. Figure 2: Removal of the defective composite filling.
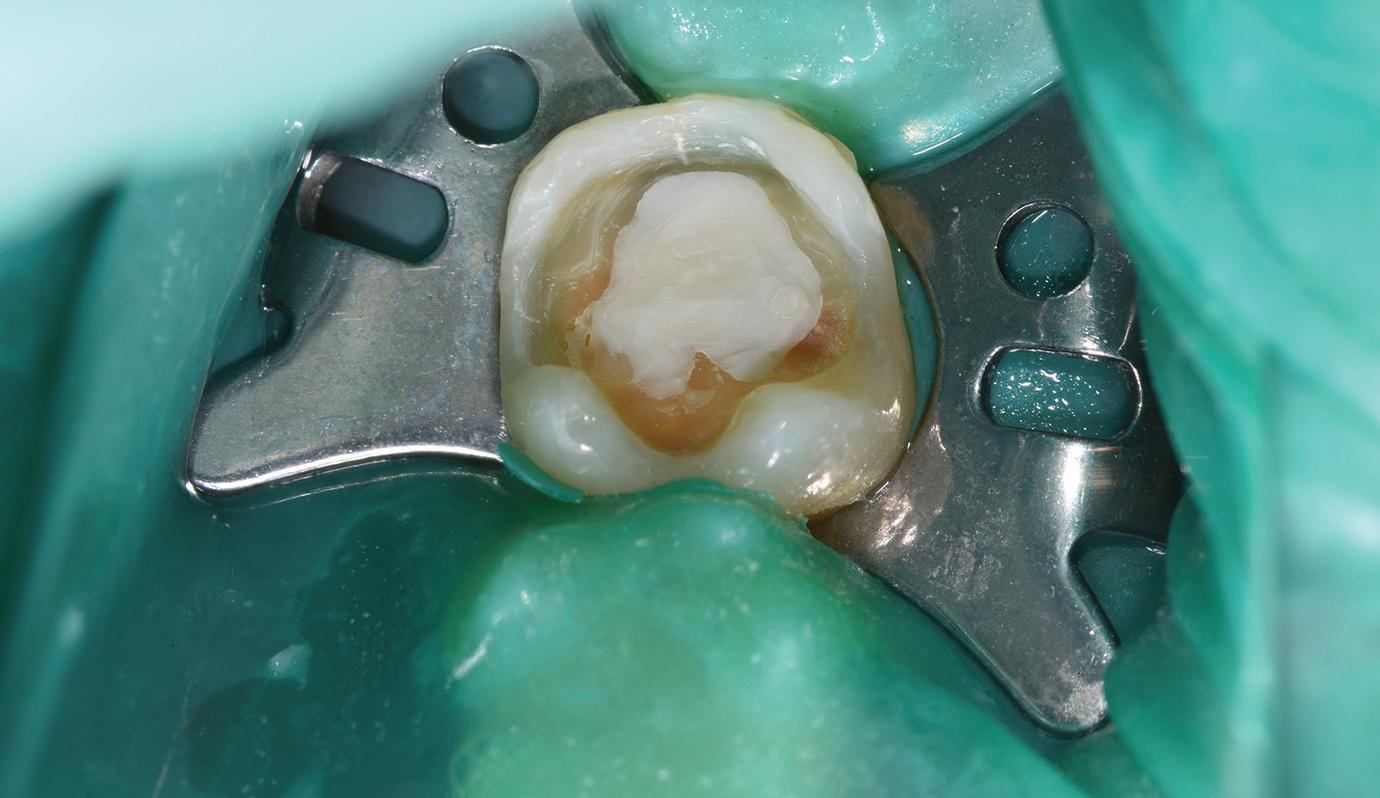
Figure 3: Cavity lining for pulp protection with Calcimol LC and Ionoseal (VOCO). For creating a dry working field is recommended the use of a rubber dam.

Figure 5: Put the enclosed Single Tim applicator in the centre of the coloured circle in order to pierce through the film of the mixing and dispensing chamber. By stirring thoroughly with the applicator, create a homogeneous, streak-free mixture of the two liquids. Figure 4: Hold the SingleDose blister between thumb and forefinger and, by pressing on the area marked “press here”, so that the liquid contained in the blister flows into the mixing and dispensing chamber.
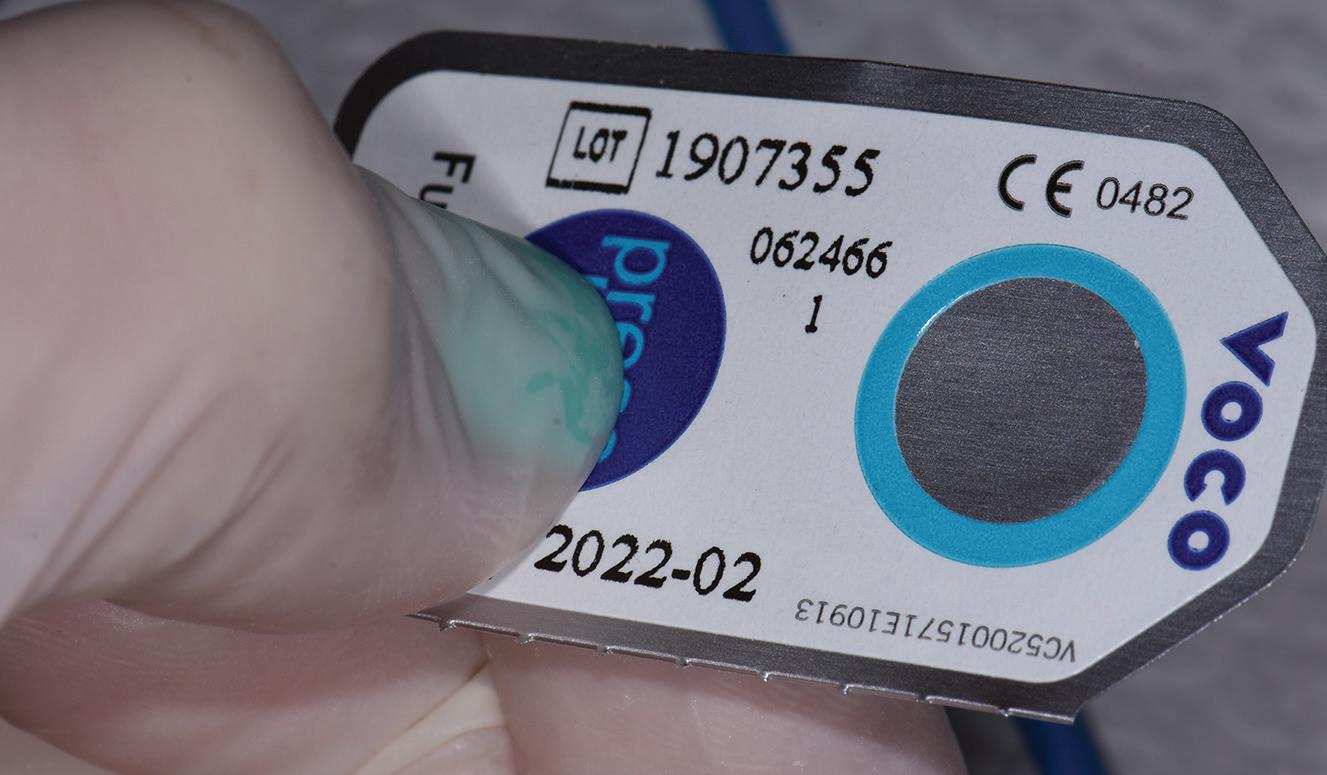
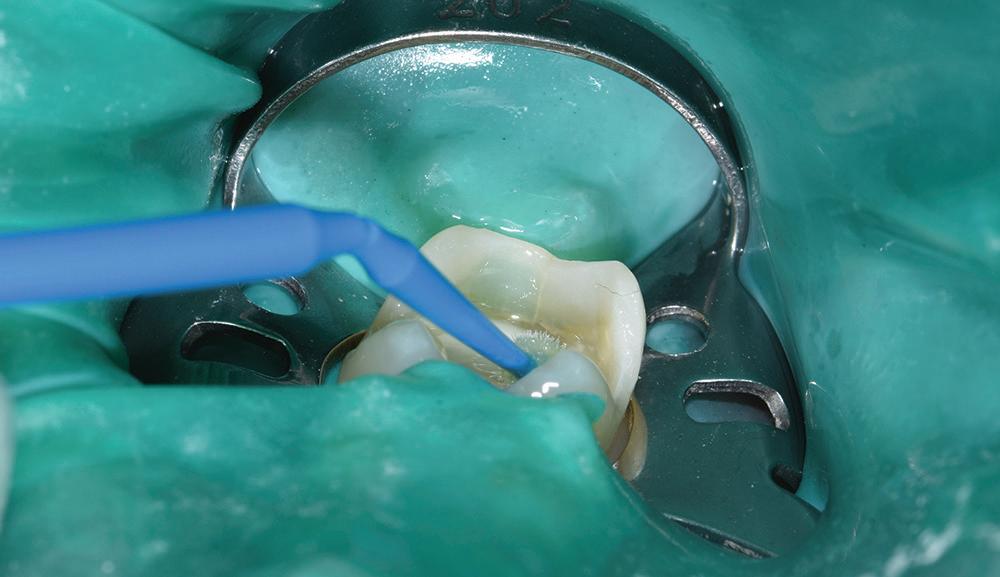
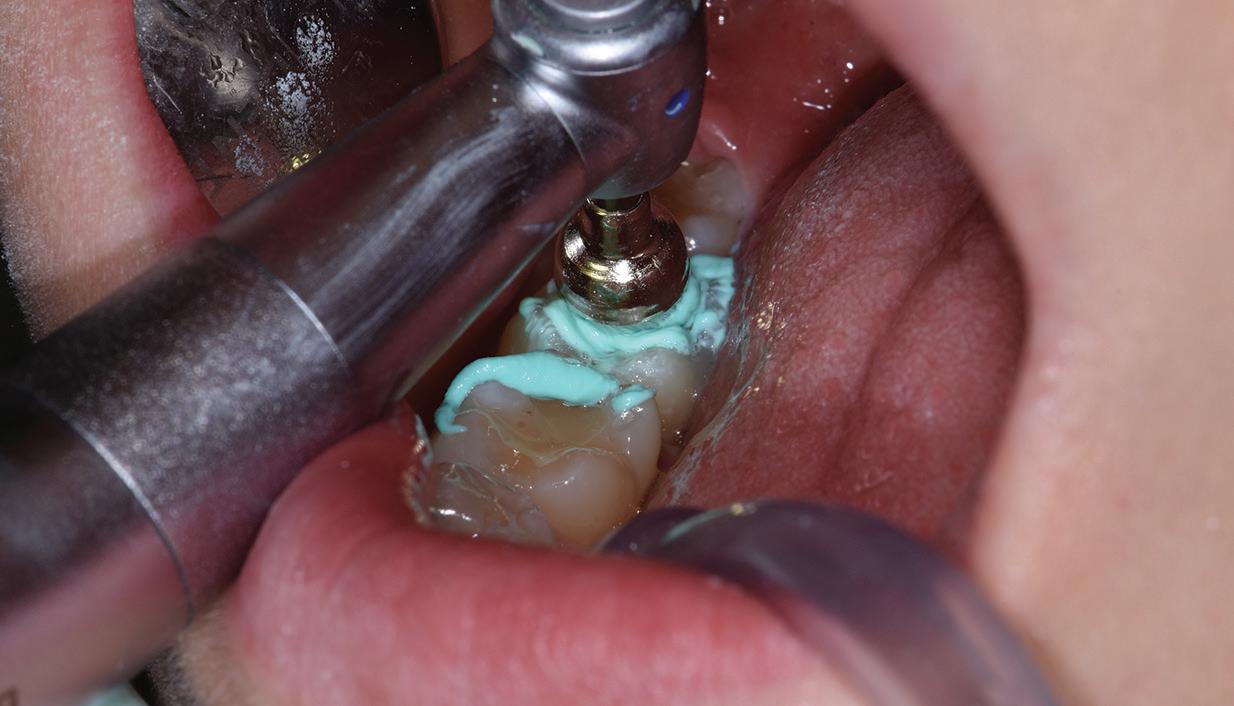
Figure 6: Apply the adhesive homogeneously to all cavity surfaces and rub in for 20 seconds using the SingleTim.
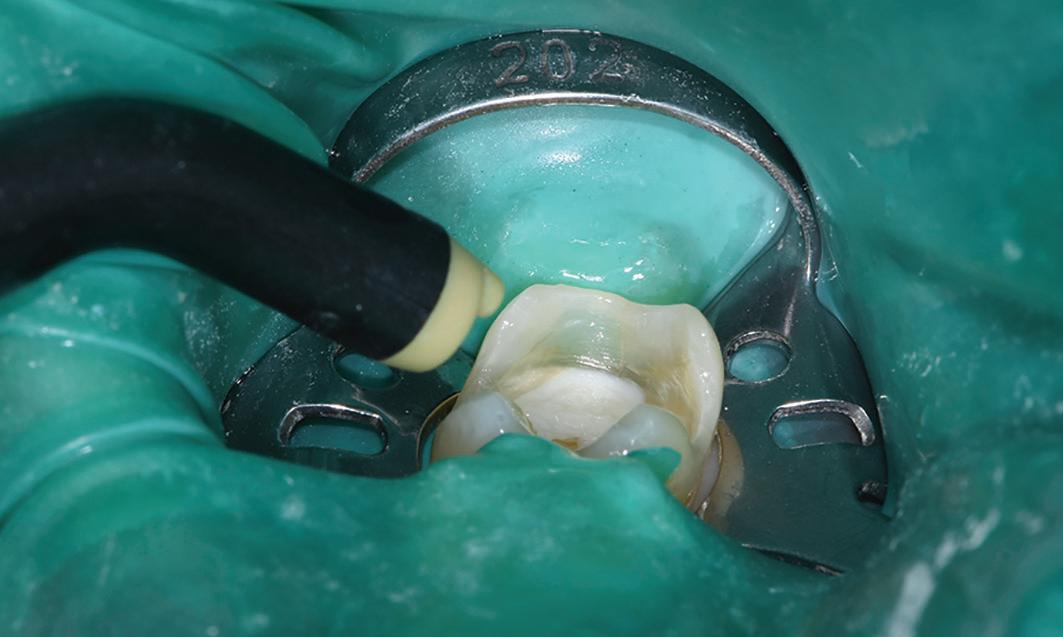
Figure 7: Dry off the adhesive layer with dry, oil-free air for at least 5 s in order to remove any solvents.
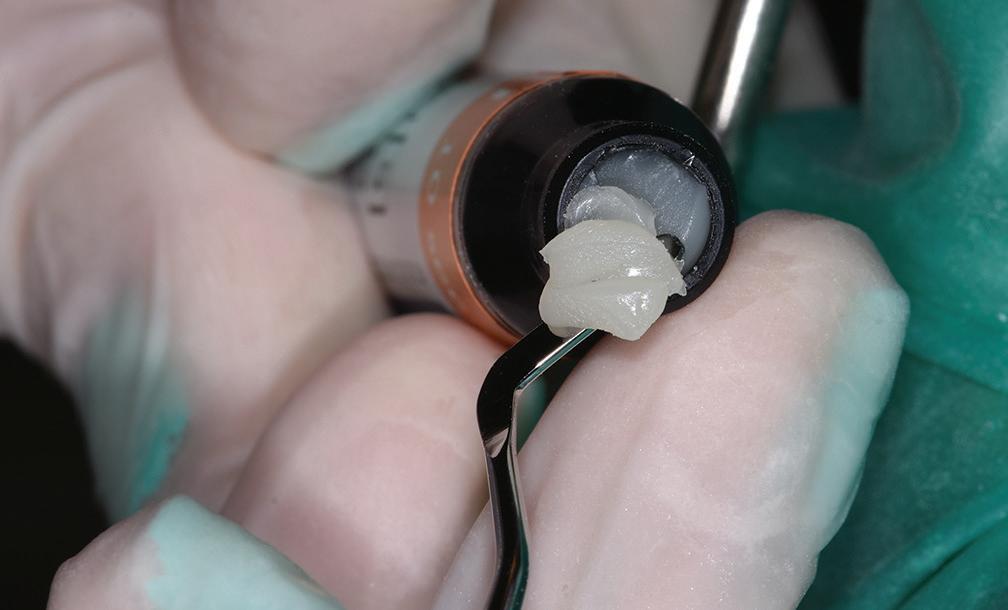
Figure 9: Taking the light-curing material for the posterior bulk filling (4mm) off the rotary syringe.
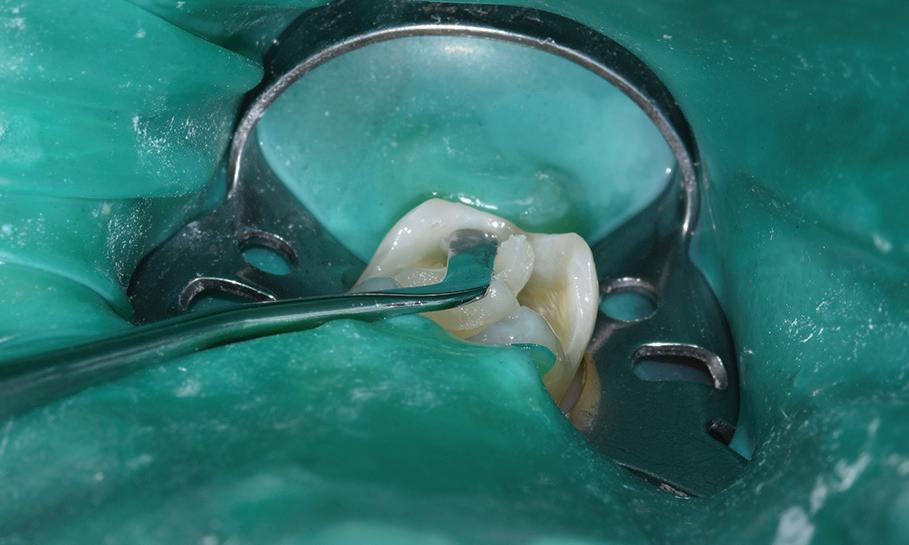
Figure 11: The cavity will be filled with x-tra fil (universal colour) by using the incremental technique. Figure 08: Cure the adhesive layer for 10 s using a commercially available polymerisation device (LED or halogen light with an output of > 500 mW/ cm²).
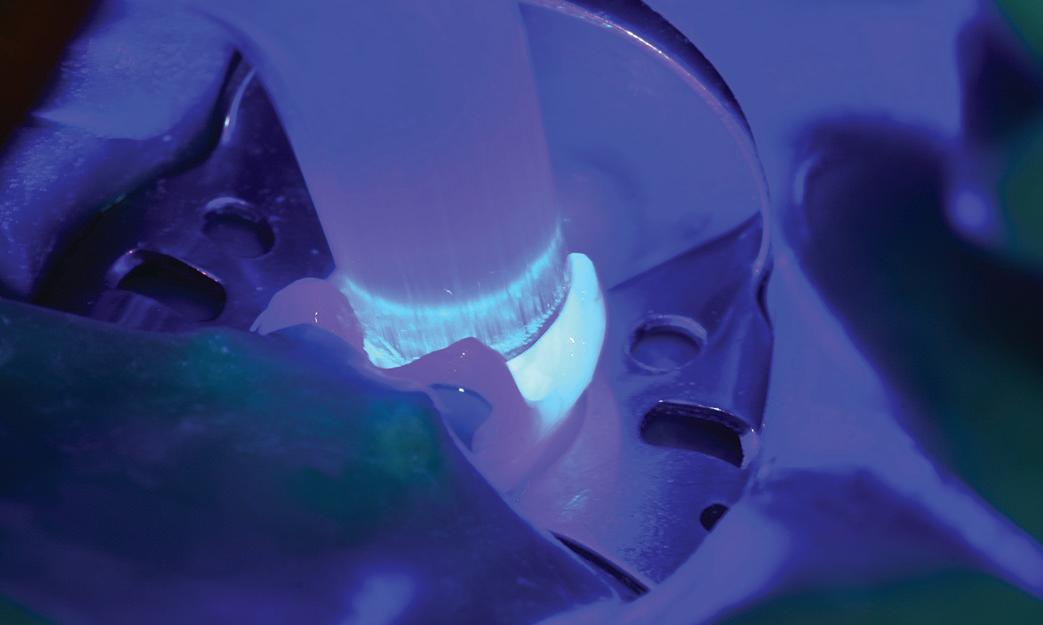
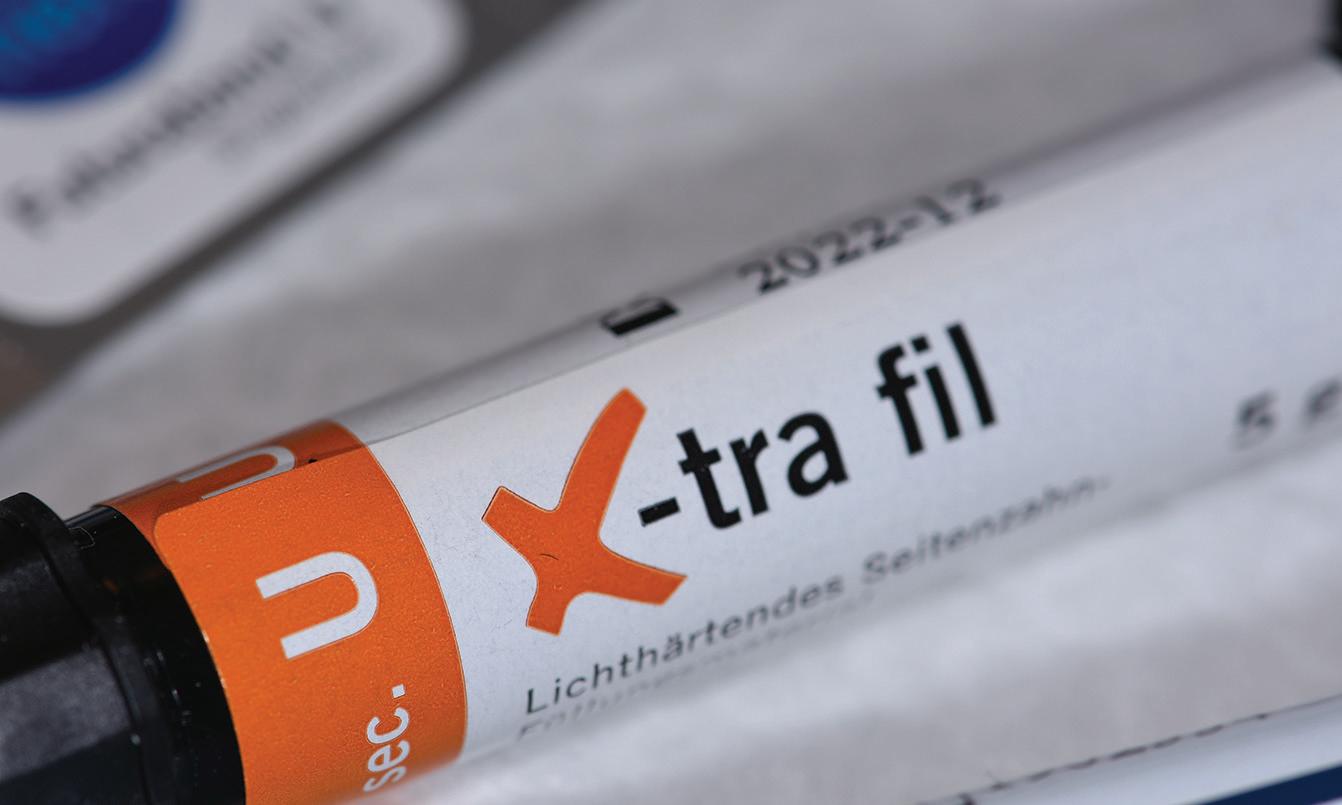
Figure 10: The light-curing posterior bulk-fill material (4mm) x-tra fil.
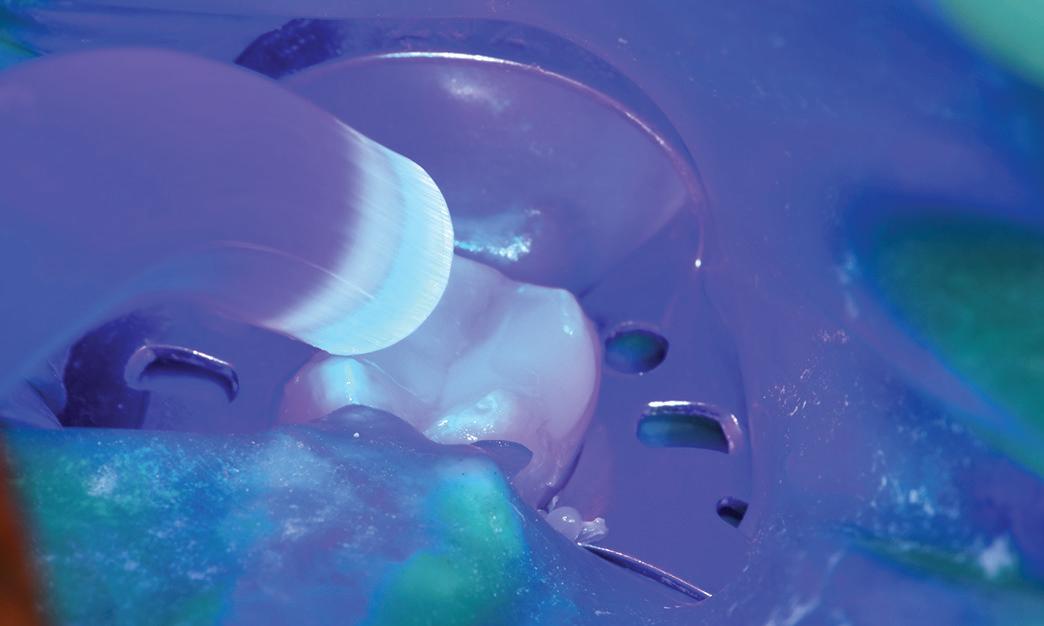
Figure 12: Polymerise each increment for 10 seconds.
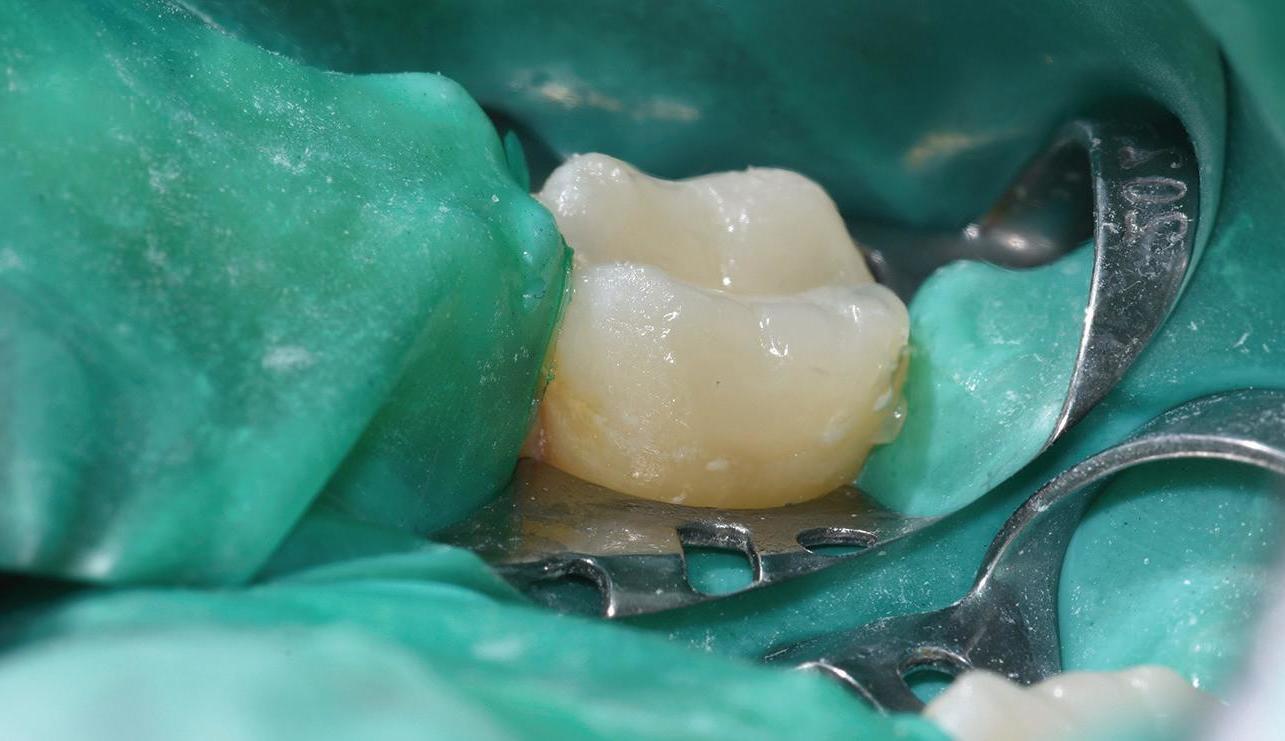
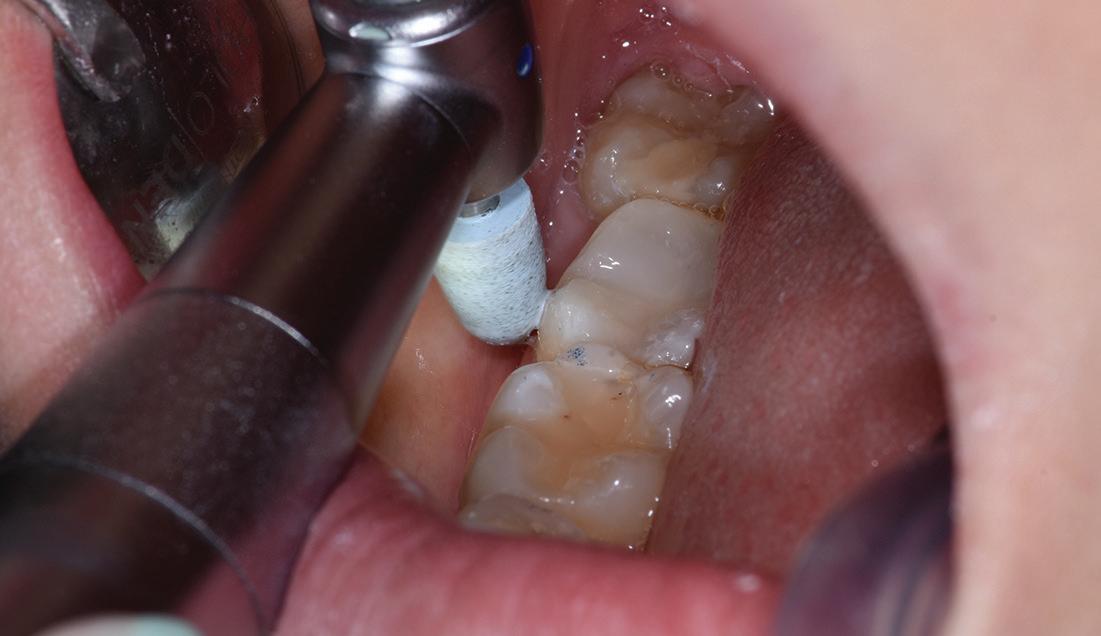
Figure 13: Filled cavity with x-tra fil before preparation. Figure 14: Finishing and polishing of the composite filling.
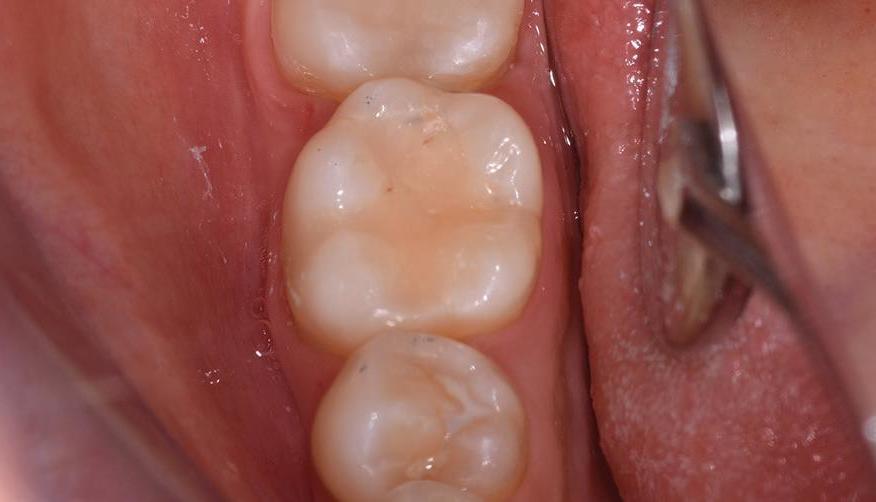
Figure 15: Finishing and polishing of the composite filling. Figure 16: Final result: Finished restoration with x-tra fil, tooth 47.