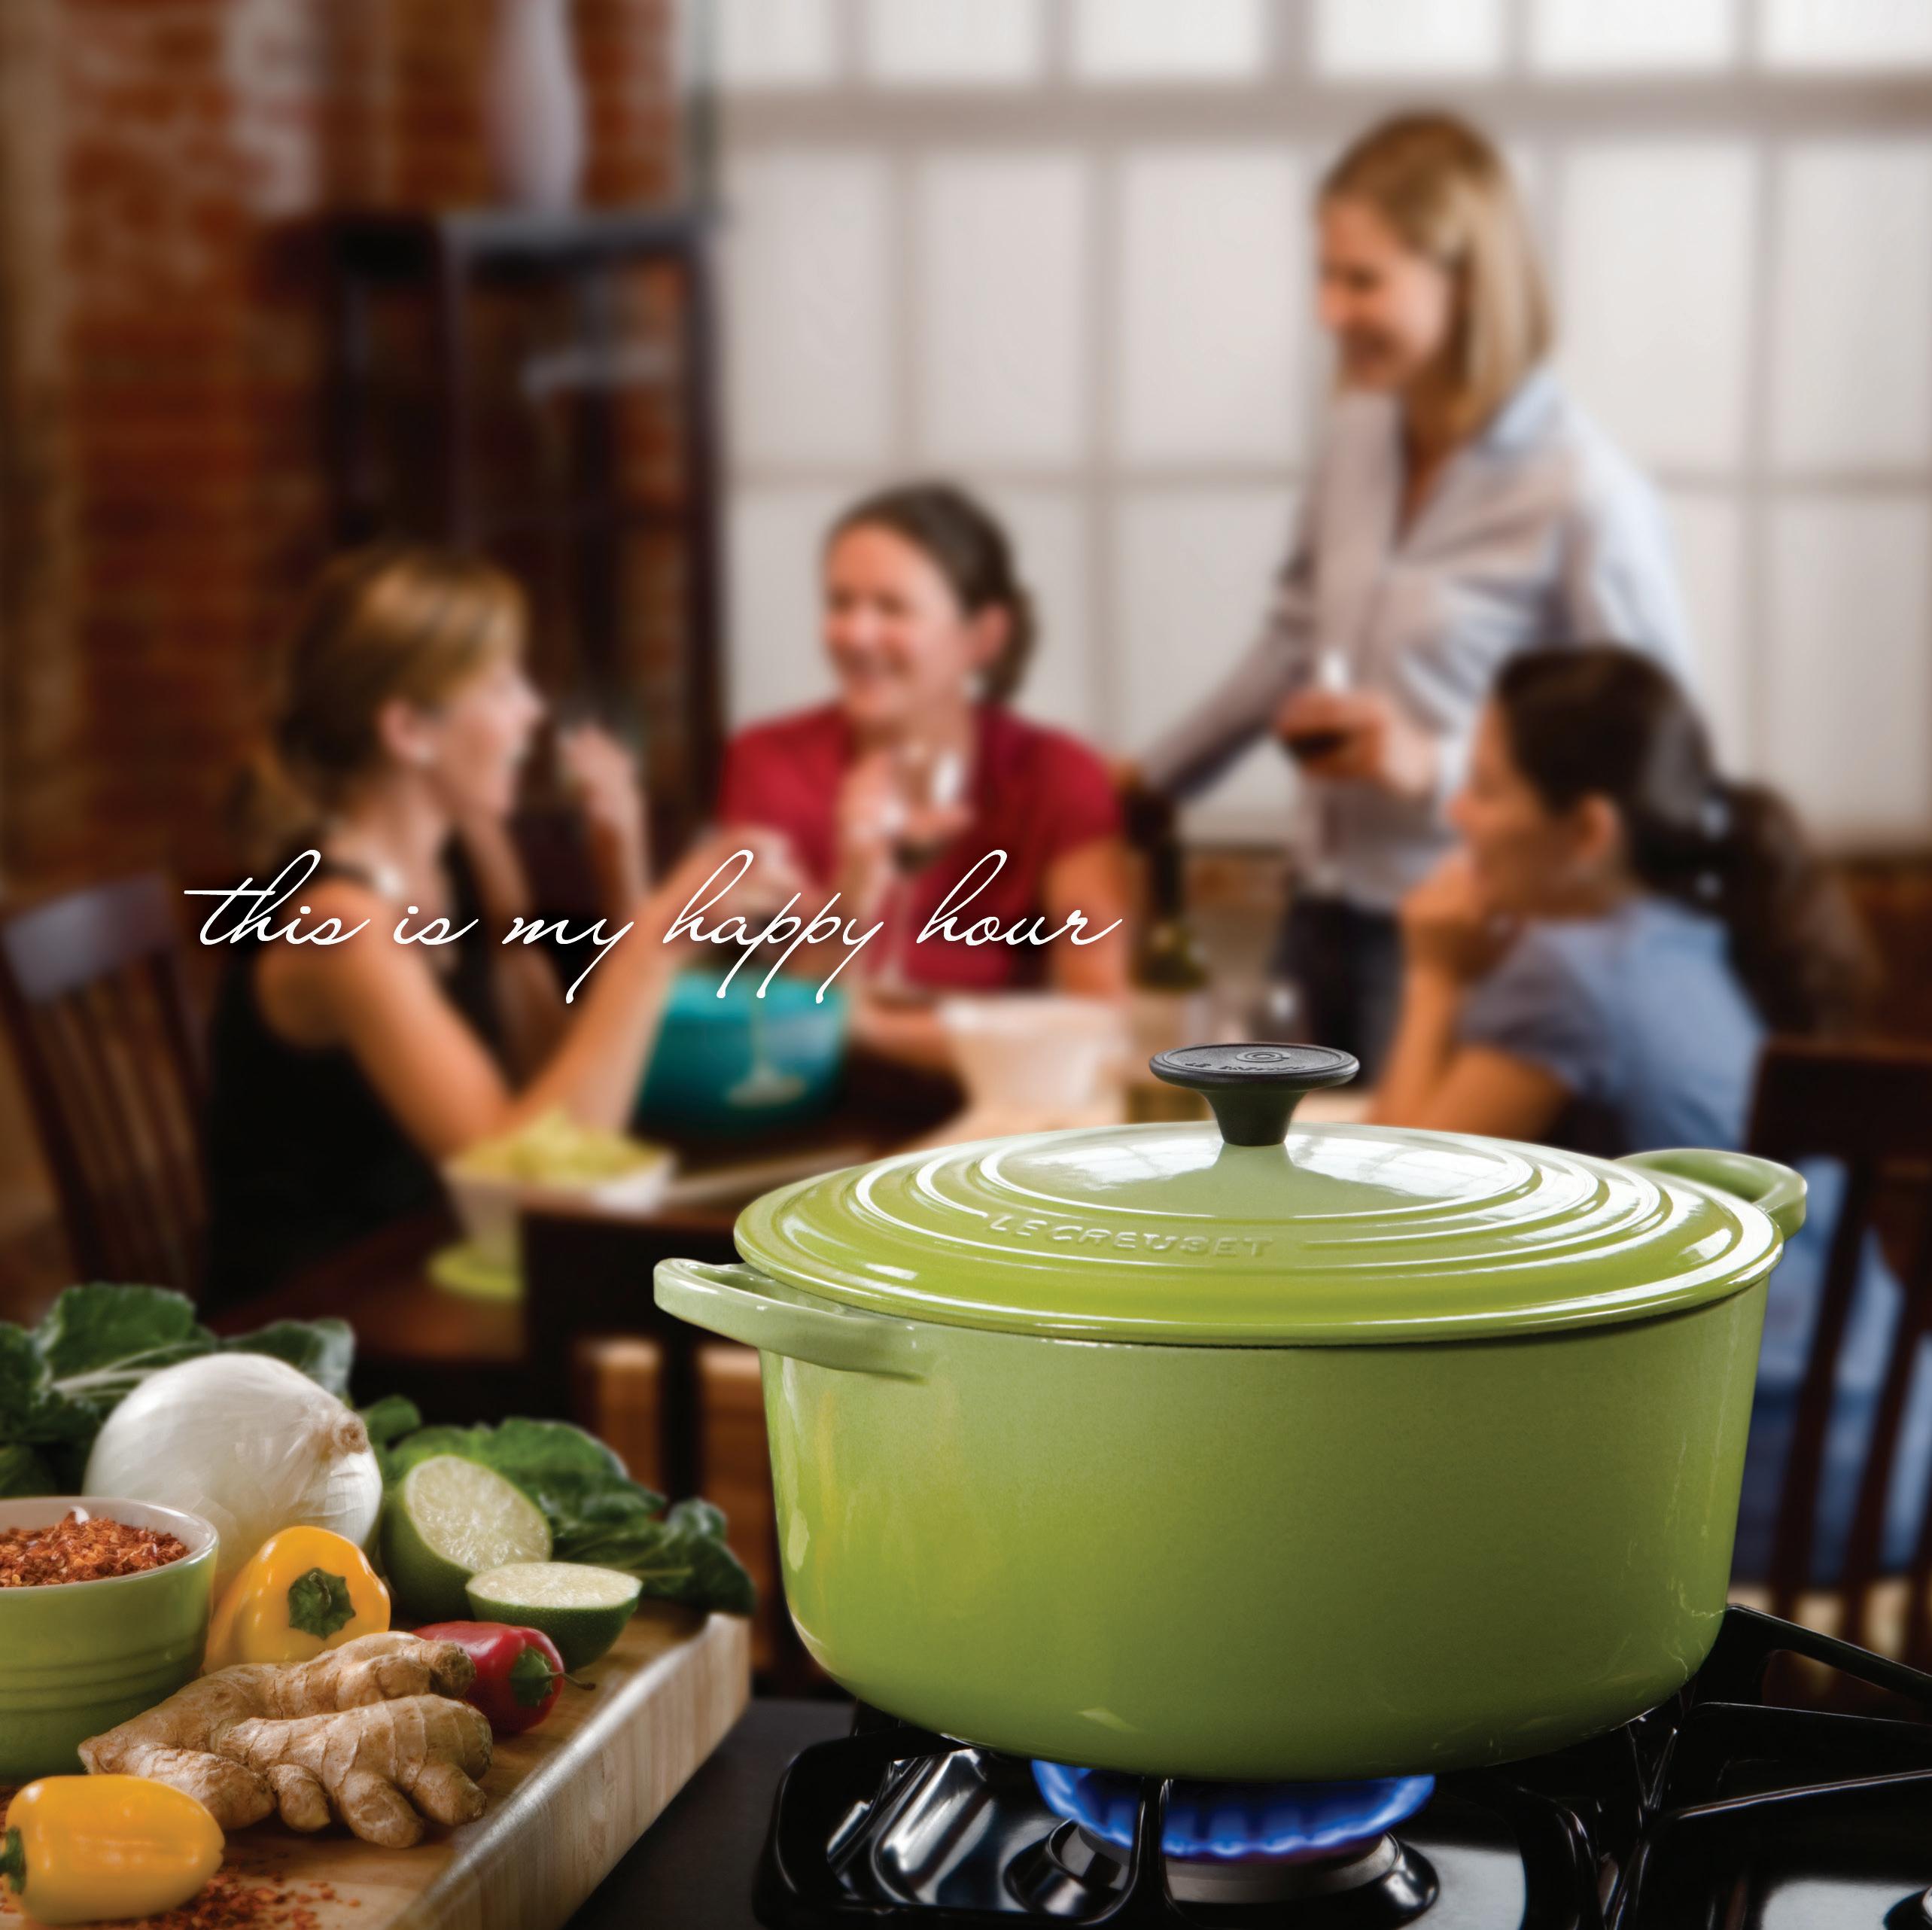
Those who love to cook make more than food in the kitchen. They make the most of every moment together—sharing stories, creating delicious flavors and simply enjoying the company of close friends. For more than 80 years, Le Creuset has been a part of these special times, and a colorful companion to all who savor food—and life—to the fullest. To learn more about Le Creuset’s classic French quality, and the joys of cooking with premium enameled cast iron, visit www.lecreuset.com.
Search for the Seal
DELIGHT IN THE FRAGRANCE, FLAVORS, AND VIBES
SUMMER
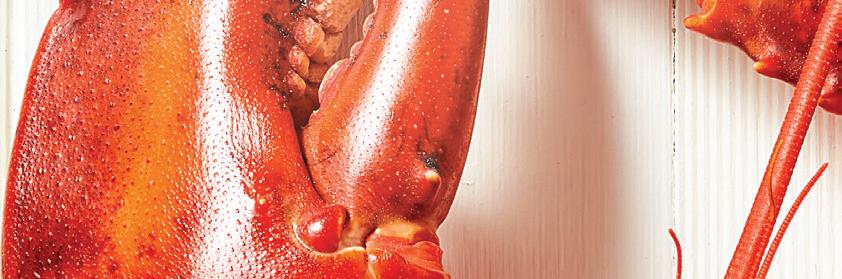
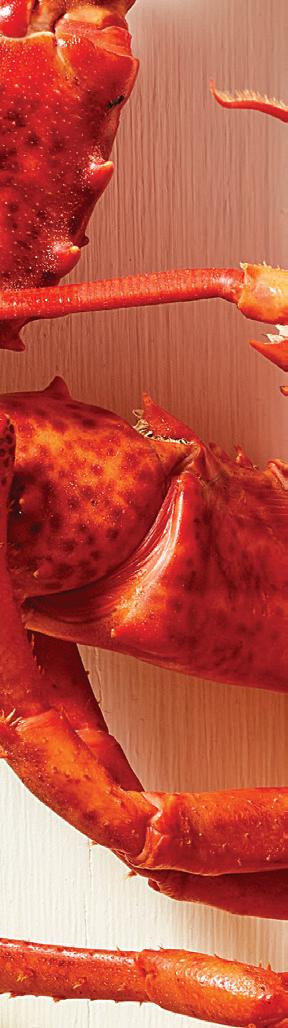
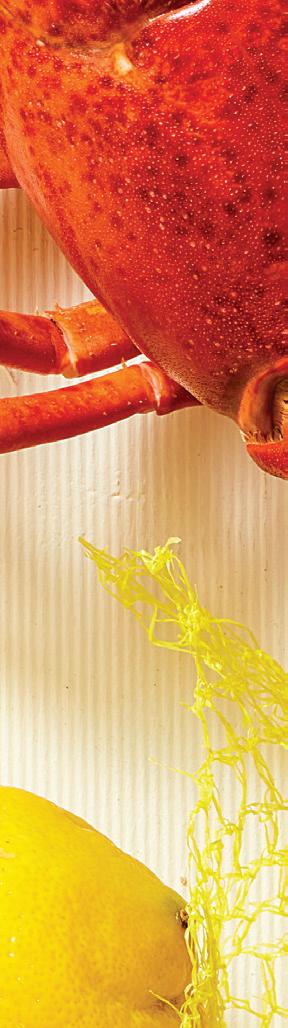
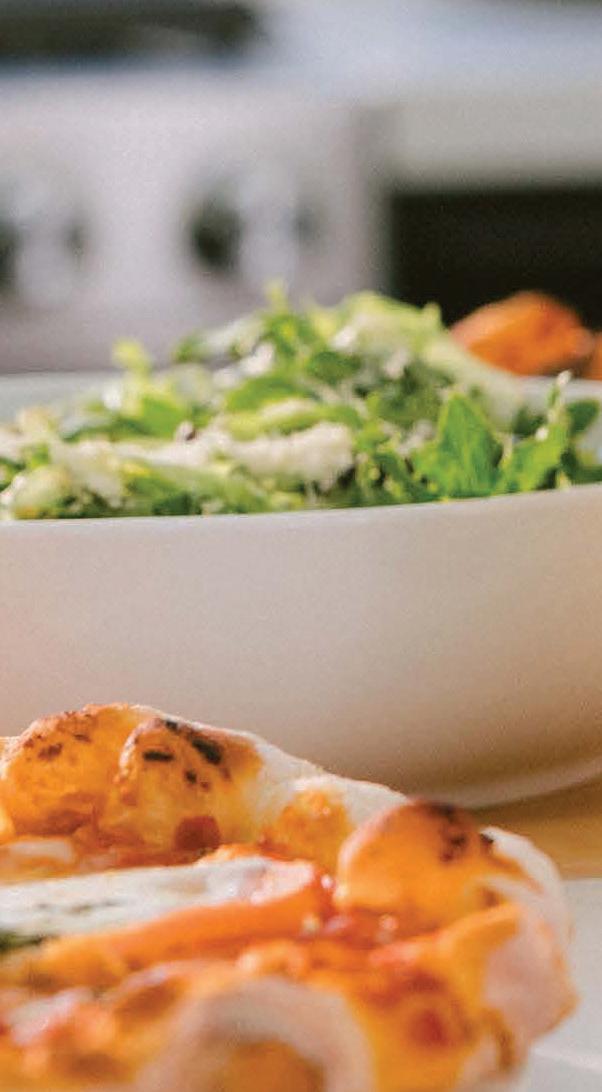
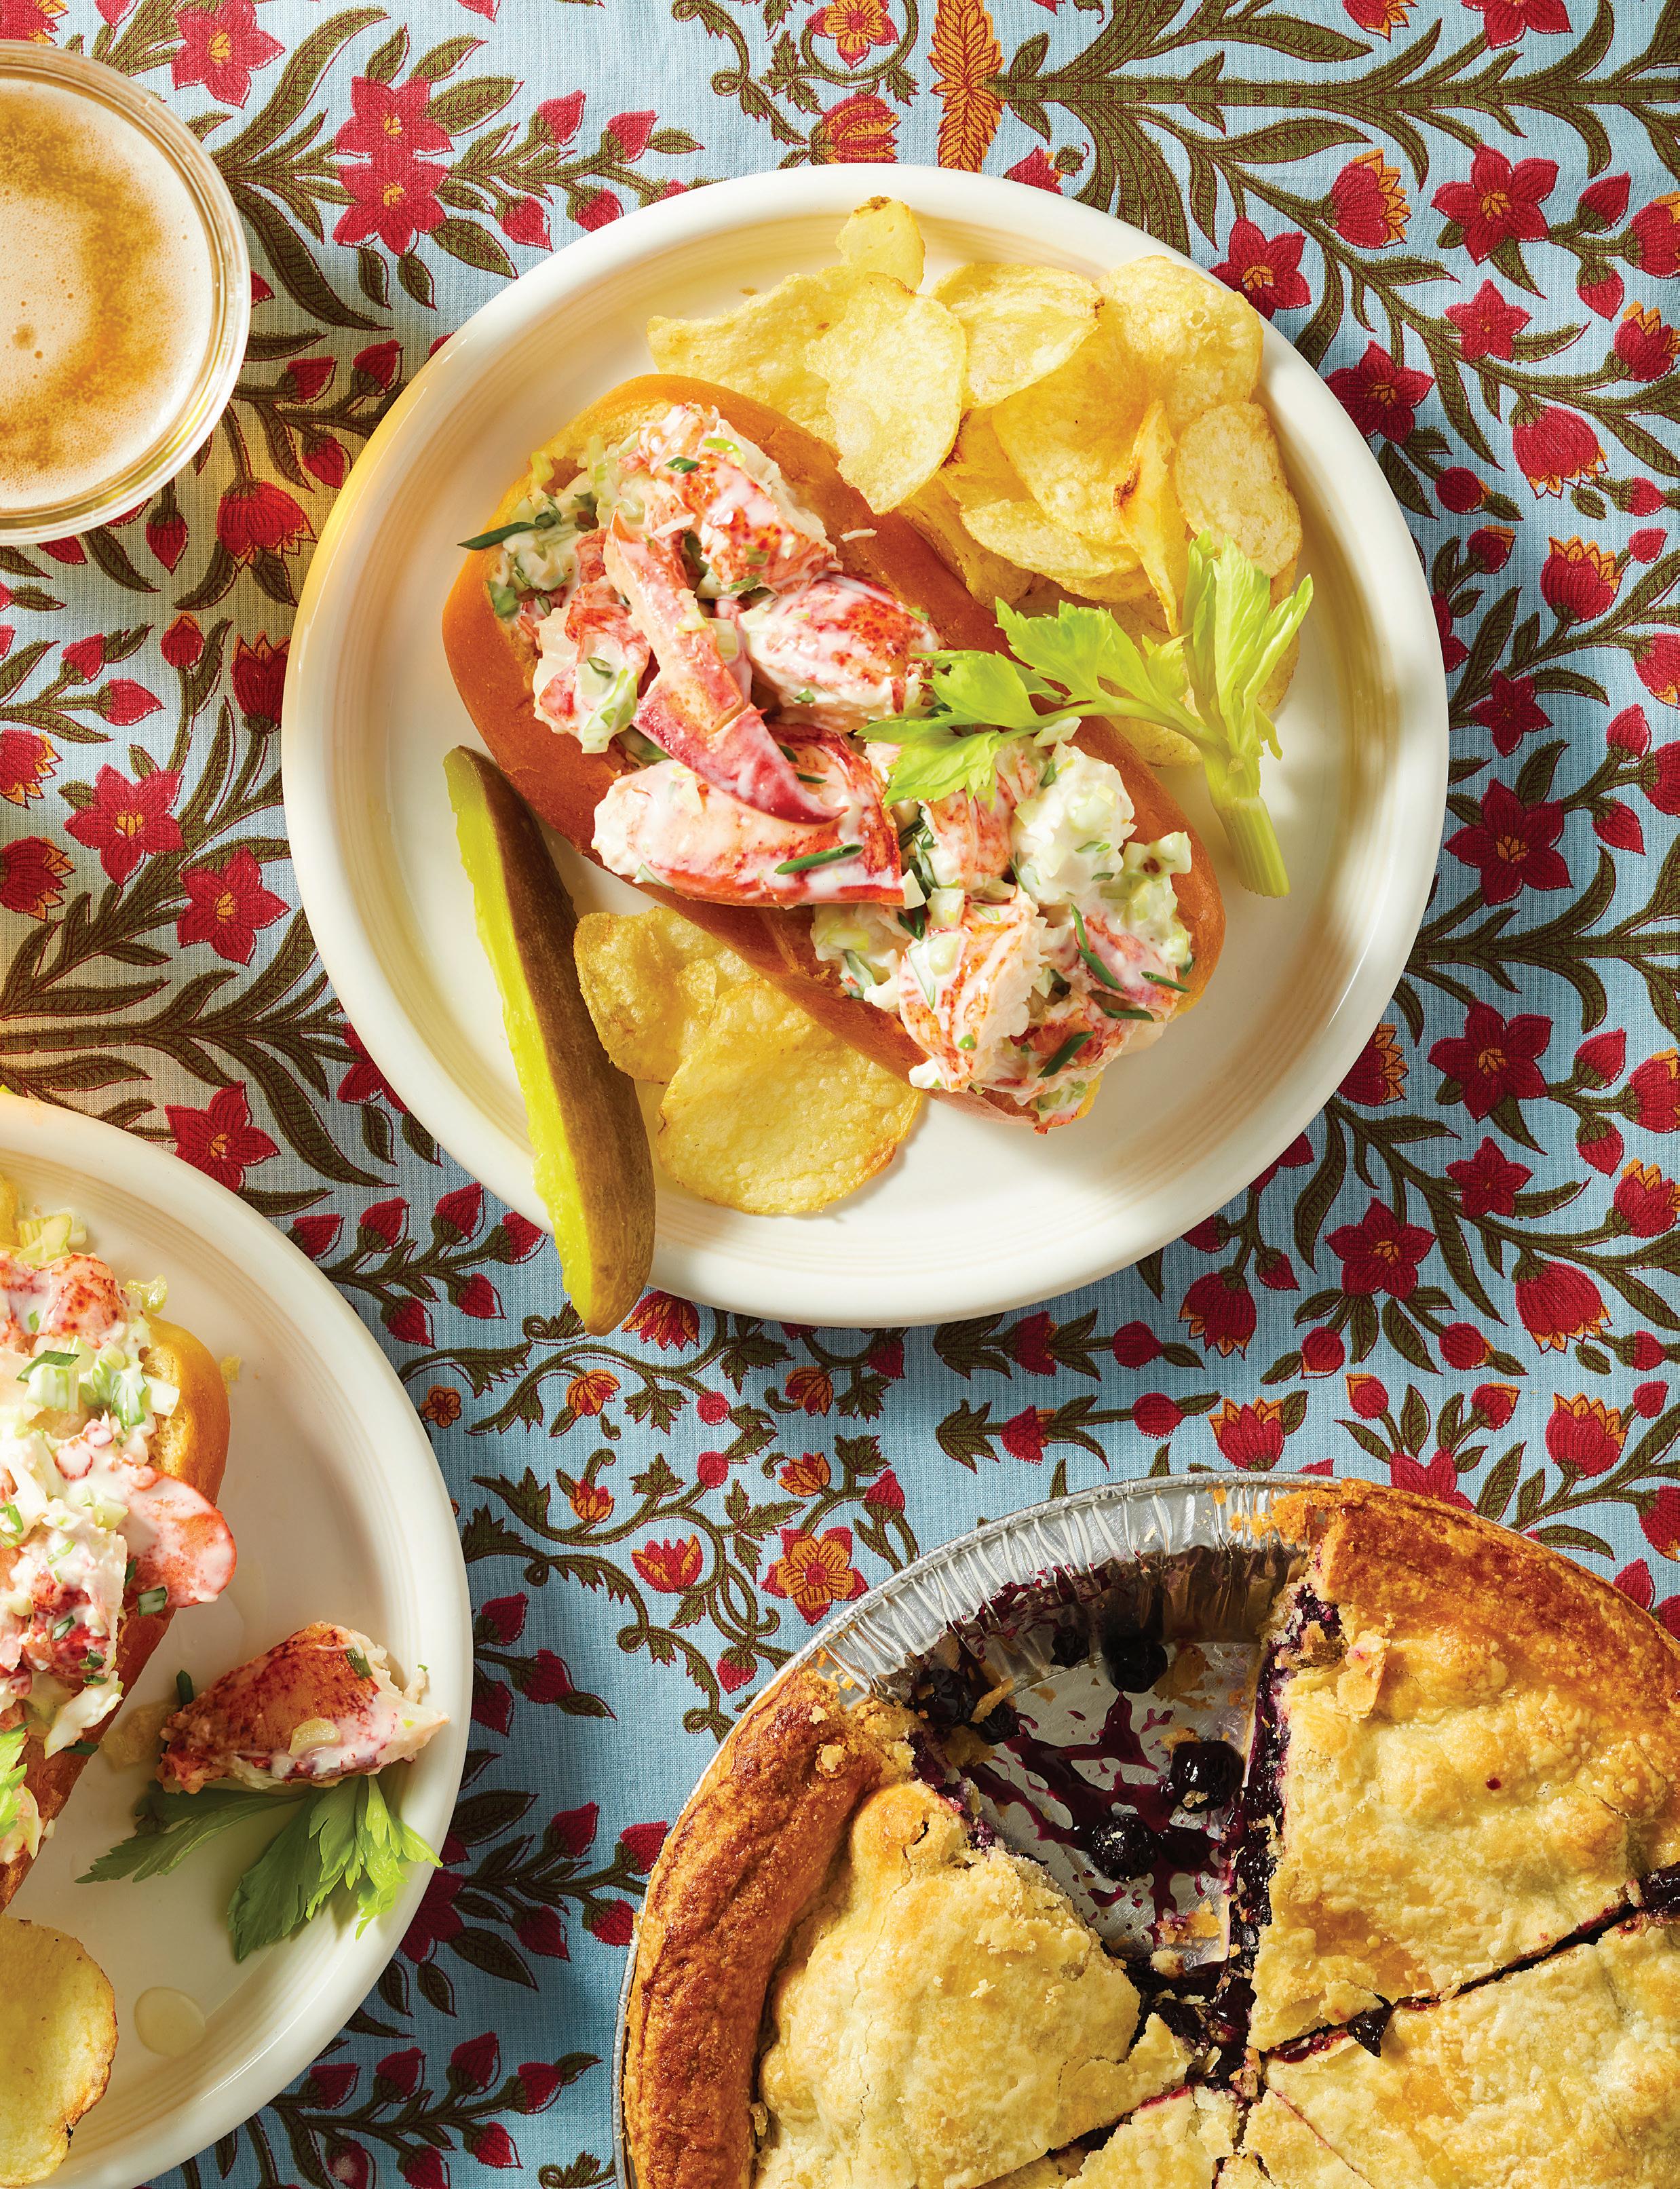
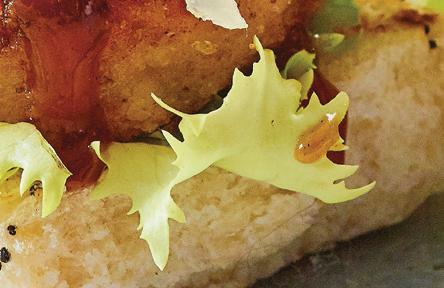
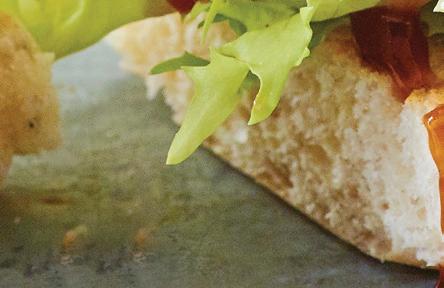
Sold in seafood shacks and ne-dining establishments up and down the Maine coast, the classic lobster roll is both humble and elegant(page 22).
PHOTOGRAPHER
“Summer
has a avor like no other. Always esh and simmered in sunshine.”
– OPRAH WINFREY
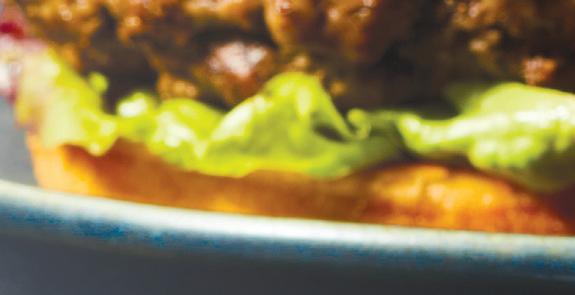
38 Elevate Your Burgers
Whip up next-level meaty or meatless burgers packed with creativity and avor
RECIPES BY RYLAND PETERS & SMALL
Enhance
Cherry season is short, but oh so sweet—make the most of it
SUBIALKA
Turn your picnic or cookout into a breeze with these simple essentials
ALESHA TAYLOR
20 Culinary Road Tripping
Take a delicious journey to explore regional U.S. specialties
BY MOLLY STEVENS
52 Breaking the Rules
Trailblazing Chef Roy Choi is on a mission to prove that eating healthy doesn’t have to be boring
BY MACY HARDER
ON THE COVER
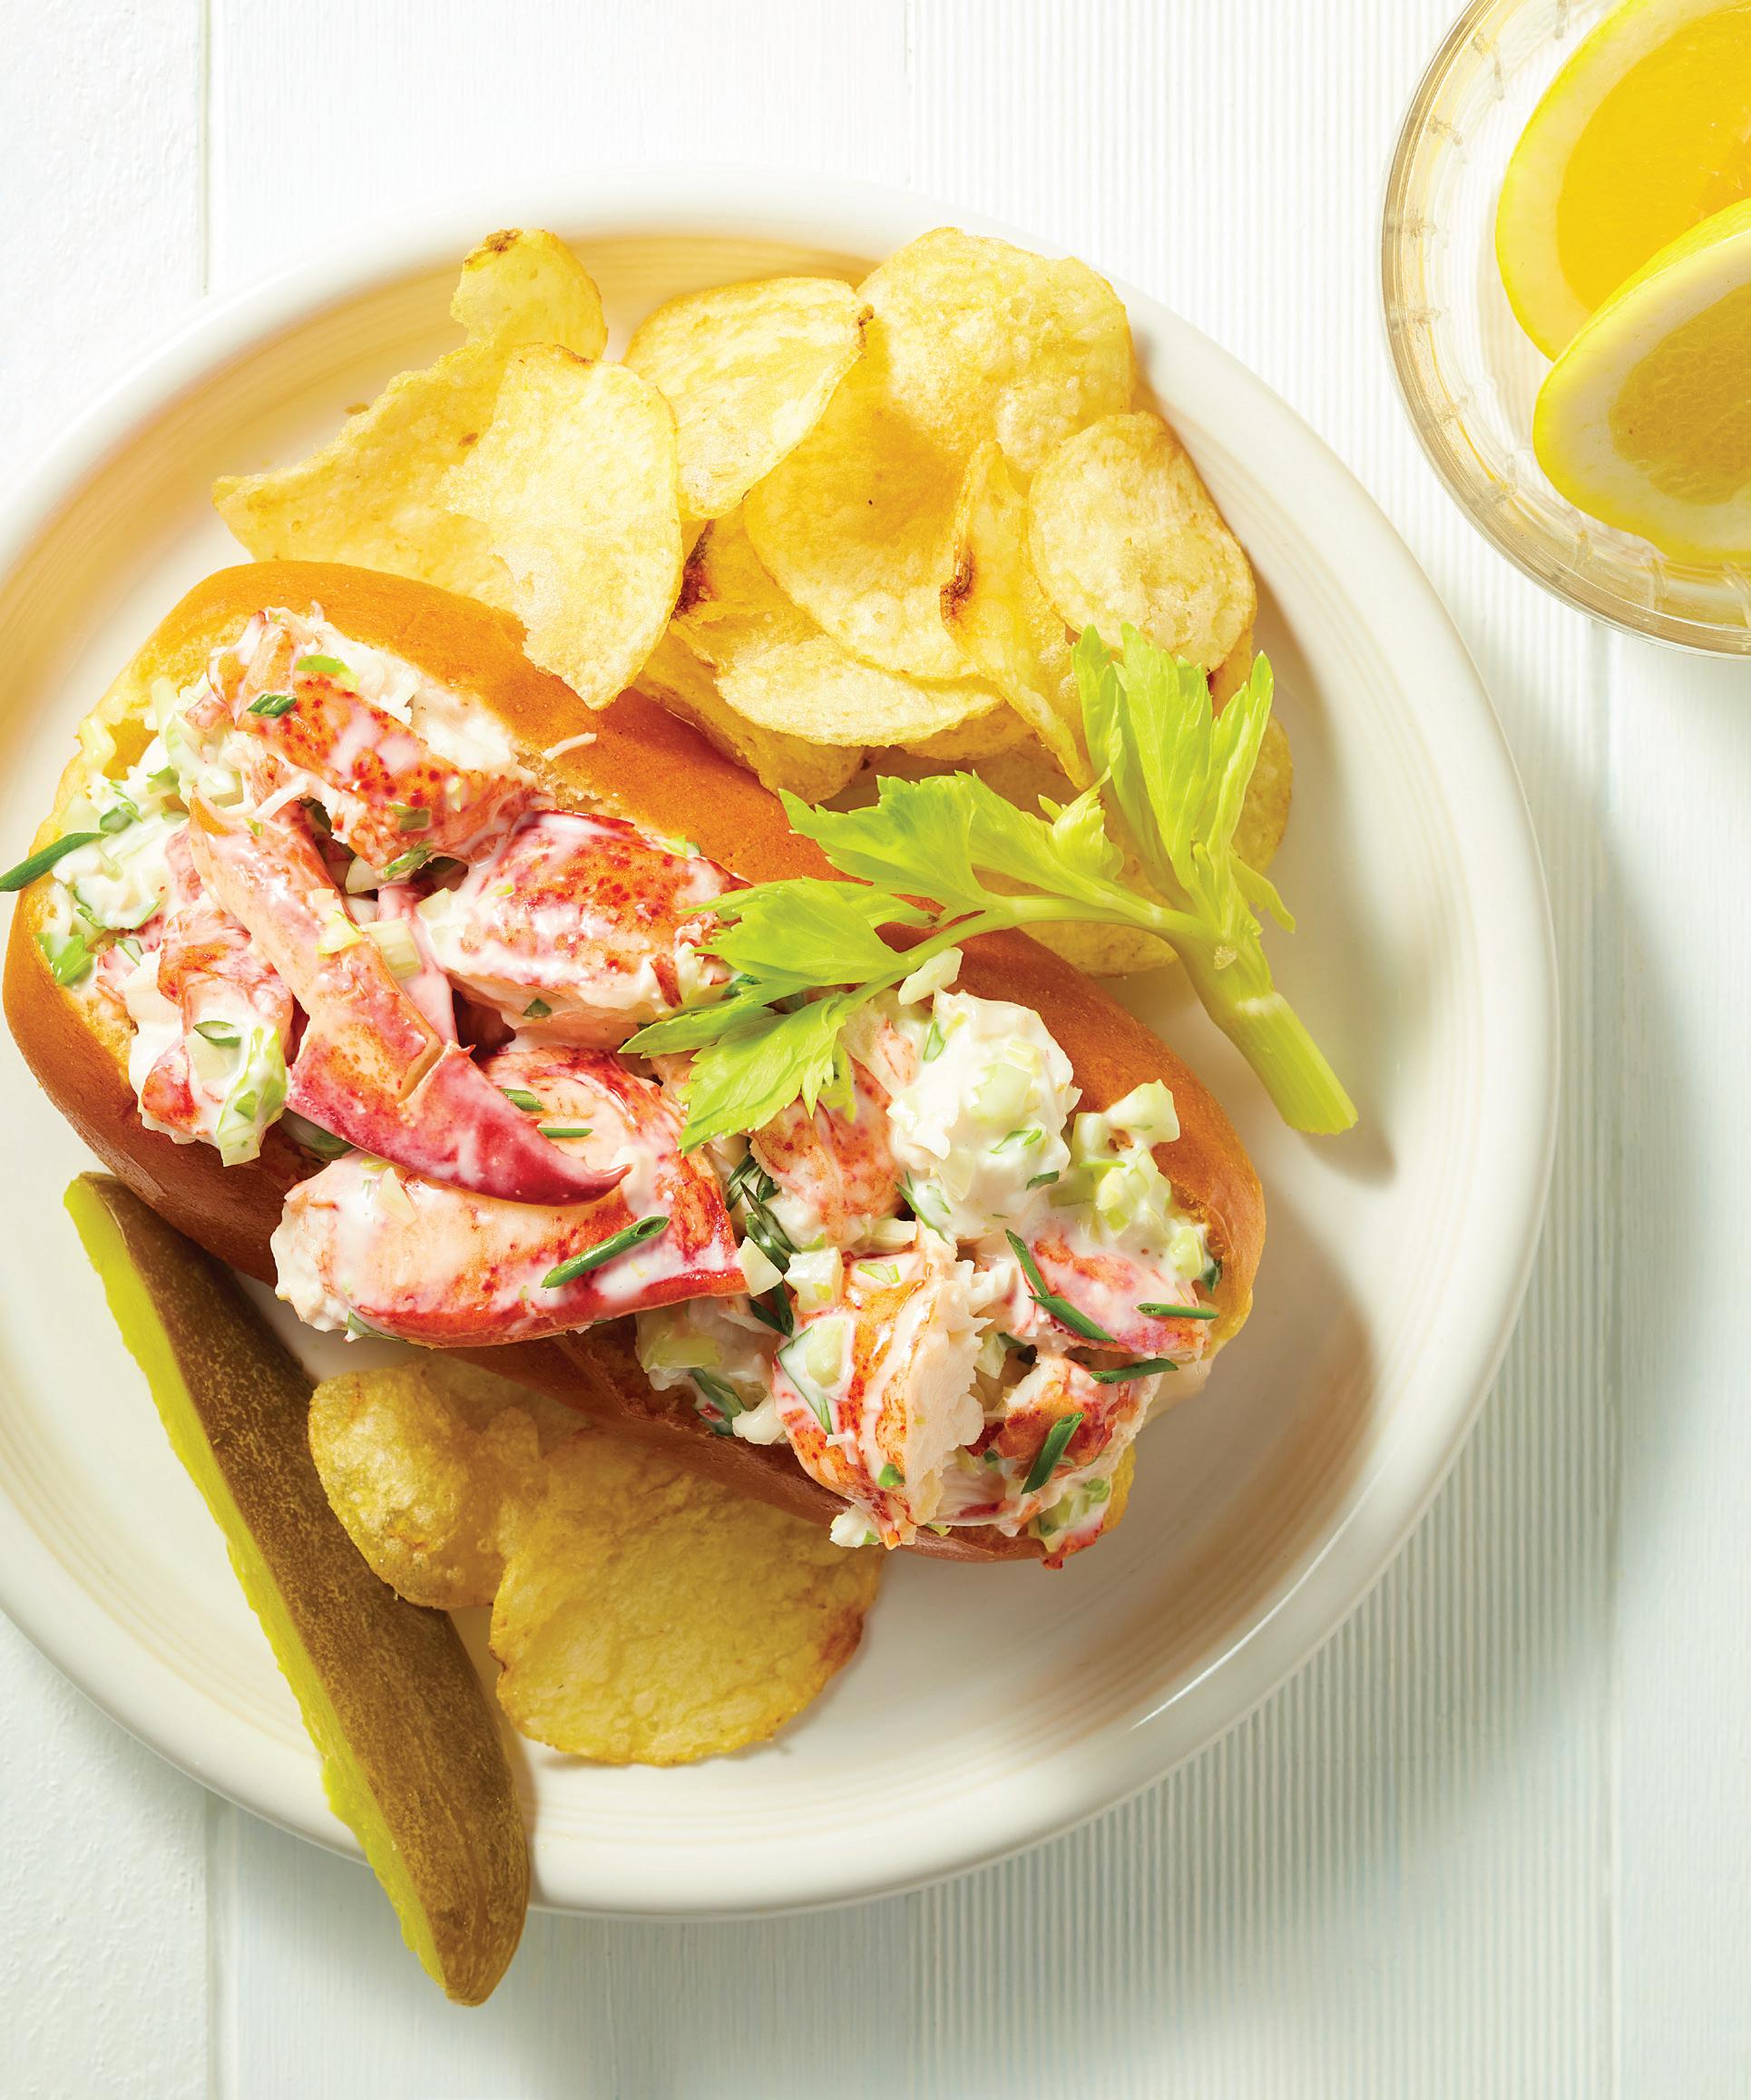
Maine Lobster Roll, page 22
PHOTOGRAPHER
Terry Brennan
FOOD STYLIST
Lara Miklasevics
PUBLISHER
Tammy Galvin
GROUP EDITOR, CUSTOM PUBLICATIONS
Alesha Taylor
CONTENT DIRECTOR
Mary Subialka
CONTRIBUTING EDITORS
Emma Enebak
Macy Harder
CREATIVE DIRECTOR
Ted Rossiter
ART DIRECTOR
Olivia Curti
PRODUCTION DIRECTOR
Deidra Anderson
ADVERTISING COORDINATOR
Sydney Kell
Registered dietitian Kylie Sakaida o ers easy tips for living a balanced lifestyle BY EMMA
ENEBAK
Get taste buds
tingling with a creative selection of chicken wings
RECIPES
THIS LITTLE FRUIT COMES WITH BIG HEALTH BENEFITS. See page 6
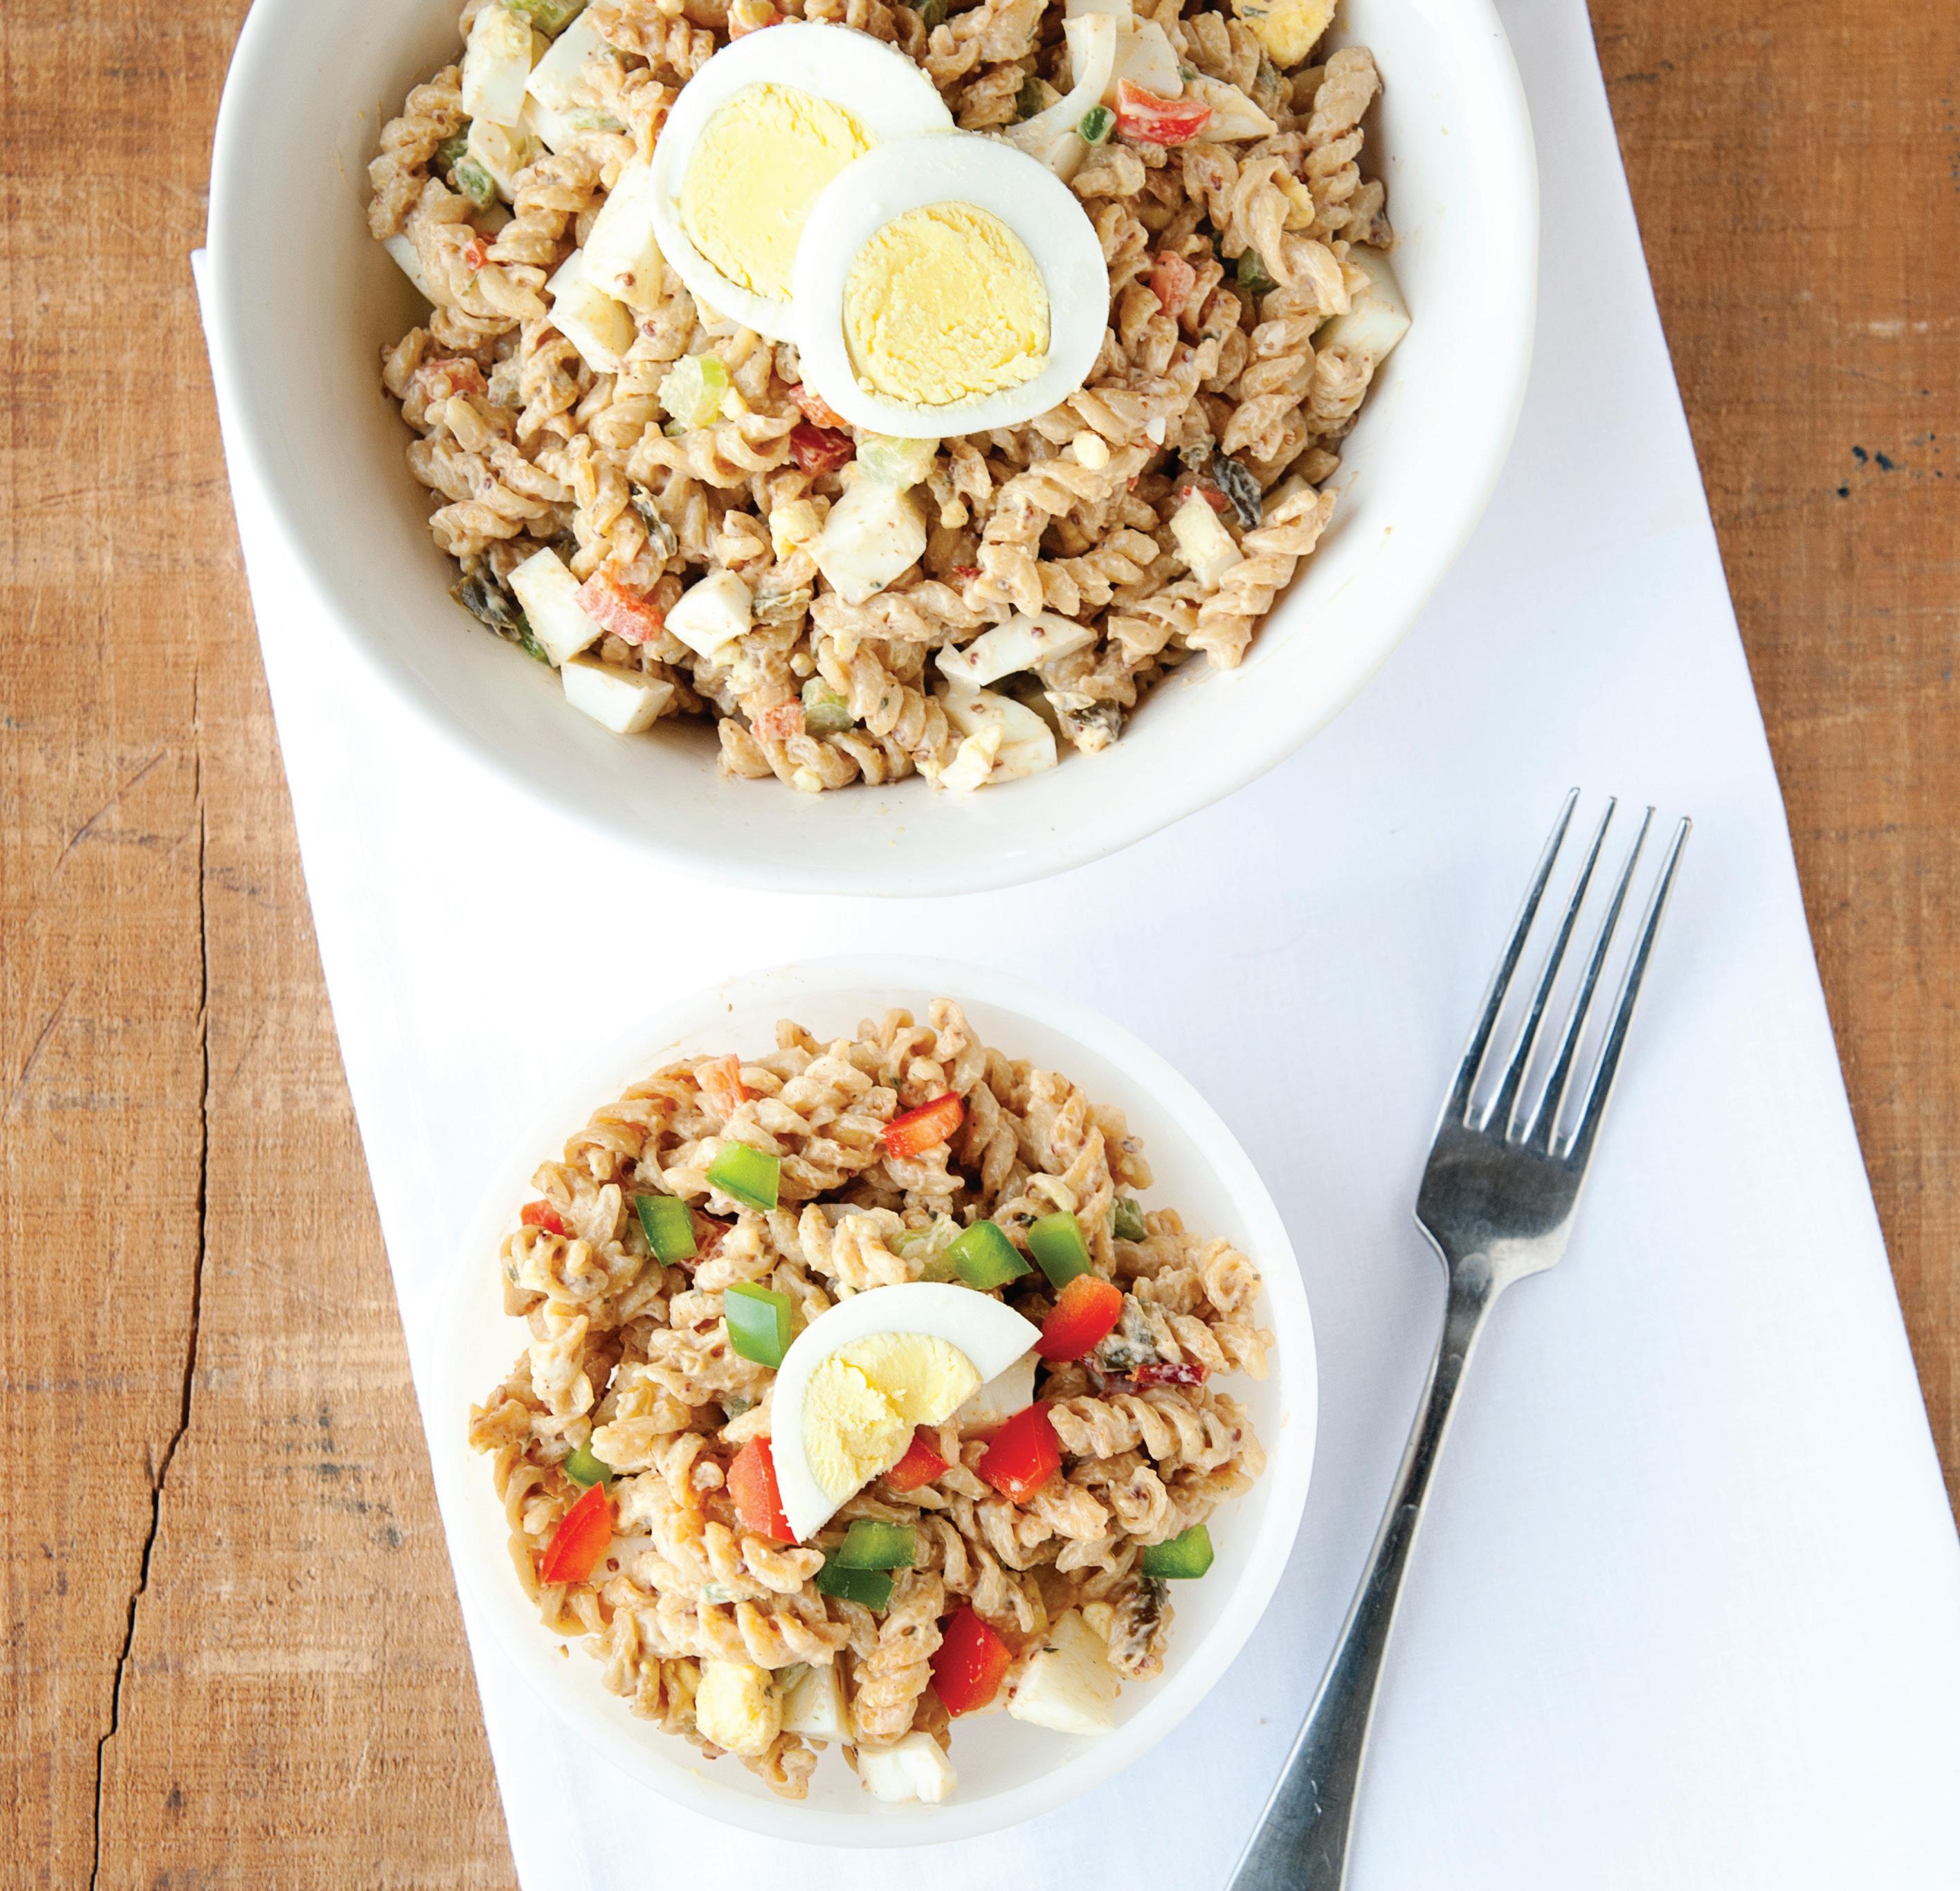
Treat your picnic plate to delicious twists this summer
Uncork go-to wine mates for burgers and avorful toppings
MARY SUBIALKA
SALES & MARKETING SPECIALIST
Tausha Martinson-Bright
VOLUME 21 , NUMBER 2
Real Food magazine is published quarterly by Greenspring Media, LLC, 9401 James Ave. S., Suite 152, Bloomington, MN 55431, 612.371.5800, Fax 612.371.5801. All rights reserved. No part of this publication may be reprinted or otherwise reproduced without written permission from the publisher. Real Food is exclusively operated and owned by Greenspring Media, LLC. Printed in the USA. realfoodmag.com
The pages between the covers of this magazine (except for any inserted material) are printed on paper made from wood fiber that was procured from forests that are sustainably managed to remain healthy, productive and biologically diverse.
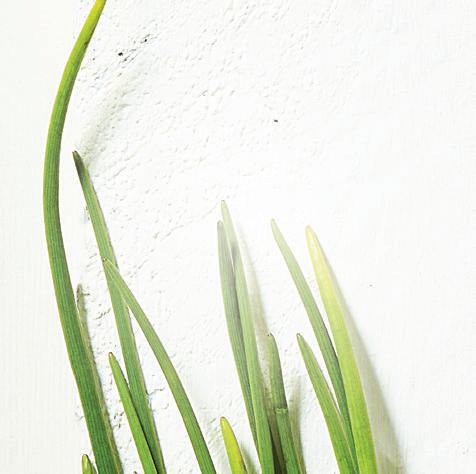
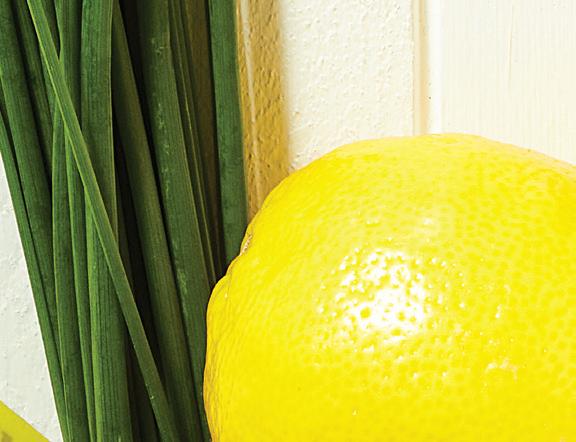
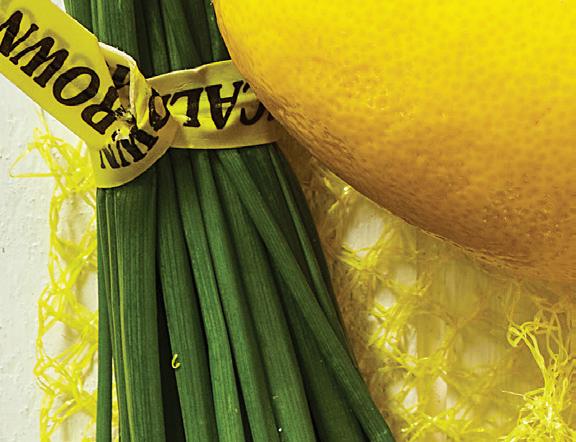
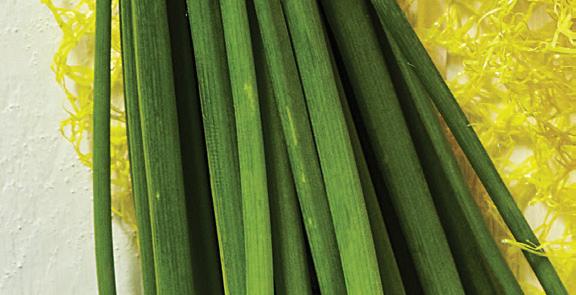
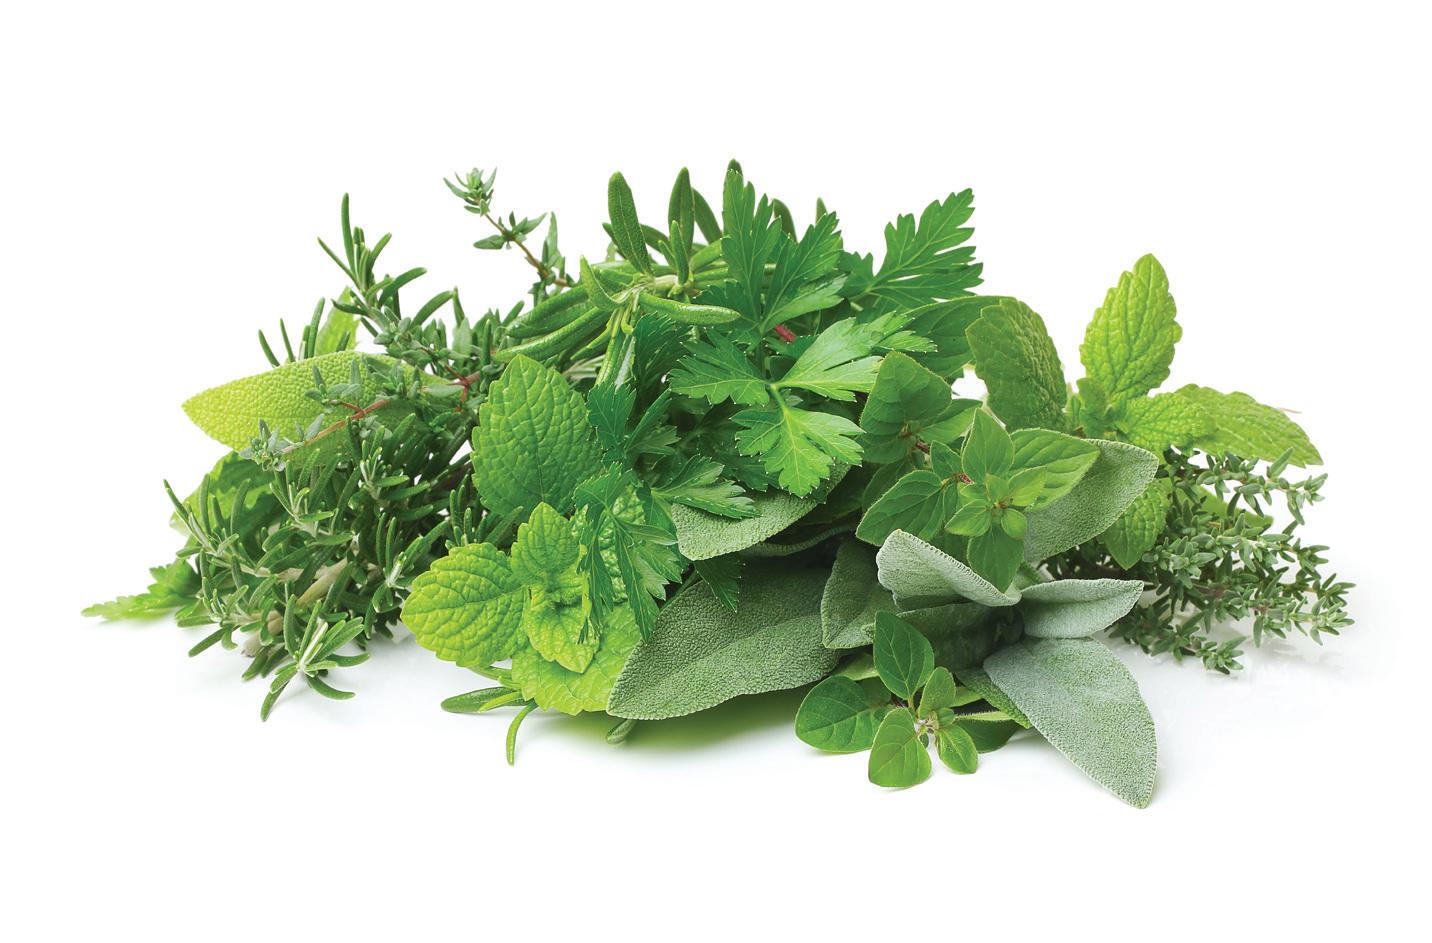
Herbology
Enhance your everyday cooking with these quintessential fresh herbs
by emma enebak
The boldest, freshest, and most complex flavors at a chef’s disposal come from Mother Nature herself—herbs. From cilantro to thyme, herbs are the backbone of many of your favorite dishes (what would a Margherita pizza be without basil?) and enhance everyday meals. With little to no prep, herbs can add flavor, texture, nutritional value, and vibrance to just about any dish. From their signature tastes and traditional pairings to new realms of flavor possibility, unlock a heightened level of culinary (and nutritional) excellence with this quick fresh herbs crash course.
Why Fresh?
Most essential cooking herbs can be purchased dried and stocked in your spice rack for safe keeping. So why buy them fresh? In their vibrant, leafy state, fresh herbs yield a brighter, more delicate flavor profile, and can add a gratifying texture and aesthetic to dishes when used properly. The key is making sure you don’t overcook them. Most fresh herbs tend to lose some of their natural flavor and freshness when cooked too long and are best incorporated raw. Consequently, their uses will look a bit different than dried herbs, which can be thrown in a hot stew and boiled for hours. But the fresh, zingy taste and intense aroma is well worth a little extra effort.
Storing Herbs
Fresh herbs are only good for about five to 10 days, but this number can be extended when stored carefully. A proven method for storing soft herbs (like dill, cilantro, parsley, and mint) is to trim their stems and store them in a jar of water like you might a bouquet of flowers. Cover the leaves fully with plastic wrap and secure loosely at the base of the jar before storing in the refrigerator. For hardy herbs (like rosemary, sage, and thyme), it is best to wrap the leaves in a damp paper towel and store in a sealed zip-top bag in the refrigerator. The telltale sign of herbs gone bad is often texture—if they appear wilted, clumpy, or discolored, they have likely run their course. Most fresh herbs also freeze well (with the exception of basil and mint) and retain much of their flavor after thawed. Just keep in mind that the appearance will be rather wilted, so freezing is not recommended if planning to use as garnish.
many Italian, Mediterranean, and Asian cuisines from pesto and caprese salad to Thai basil chicken. Bearing a sweet-yetsavory flavor profile with hints of mint, anise, and pepper, basil is packed with nutrients—including vitamins A and K, zinc, calcium, and iron—and is known for its rich antioxidant content and antibacterial properties that may help boost metabolism, prevent inflammation, and lower blood sugar. Timing is key when cooking with fresh basil, as it can lose flavor quickly when exposed to heat. The herb shines brightest as a garnish or topping— try sprinkling on top of homemade pizzas or bruschetta bites—or blend into rich,
flavor-packed sauces or soups like pesto, chimichurri, and tomato soup.
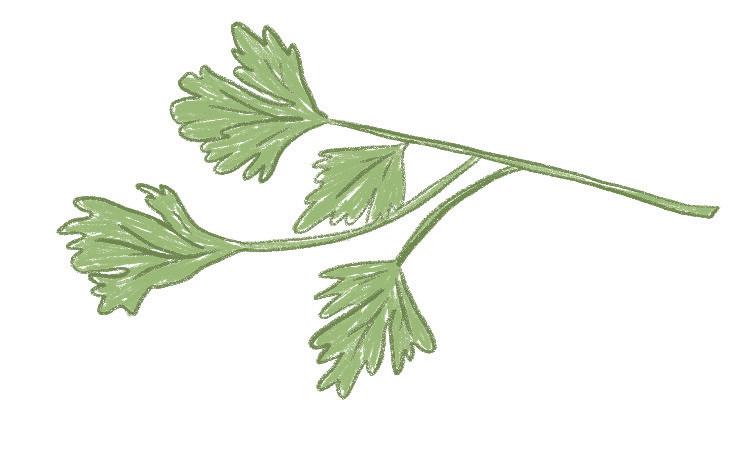
Also known as coriander, cilantro is a punchy, versatile herb that shines in Mexican dishes including guacamole, pico de gallo, and cilantro-lime rice. It’s often referred to as “Mexican parsley,” due to its similar appearance and texture. However, its flavor is quite di erent—zesty, bright, pungent, and slightly peppery. It brings a bold, complex flavor to dishes, and is known to be rather divisive. Some people revere it as an essential ingredient, others think it tastes like “soap,” due to a proven genetic variation that makes them sensitive to certain chemical properties. But, there is no denying its versatility in kitchens worldwide. Avoid exposing the herb to high heat. Rather, incorporate whole leaves as a garnish (on tacos and enchiladas), or chop and use in sauces, dressings, marinades, and rice or grain dishes.
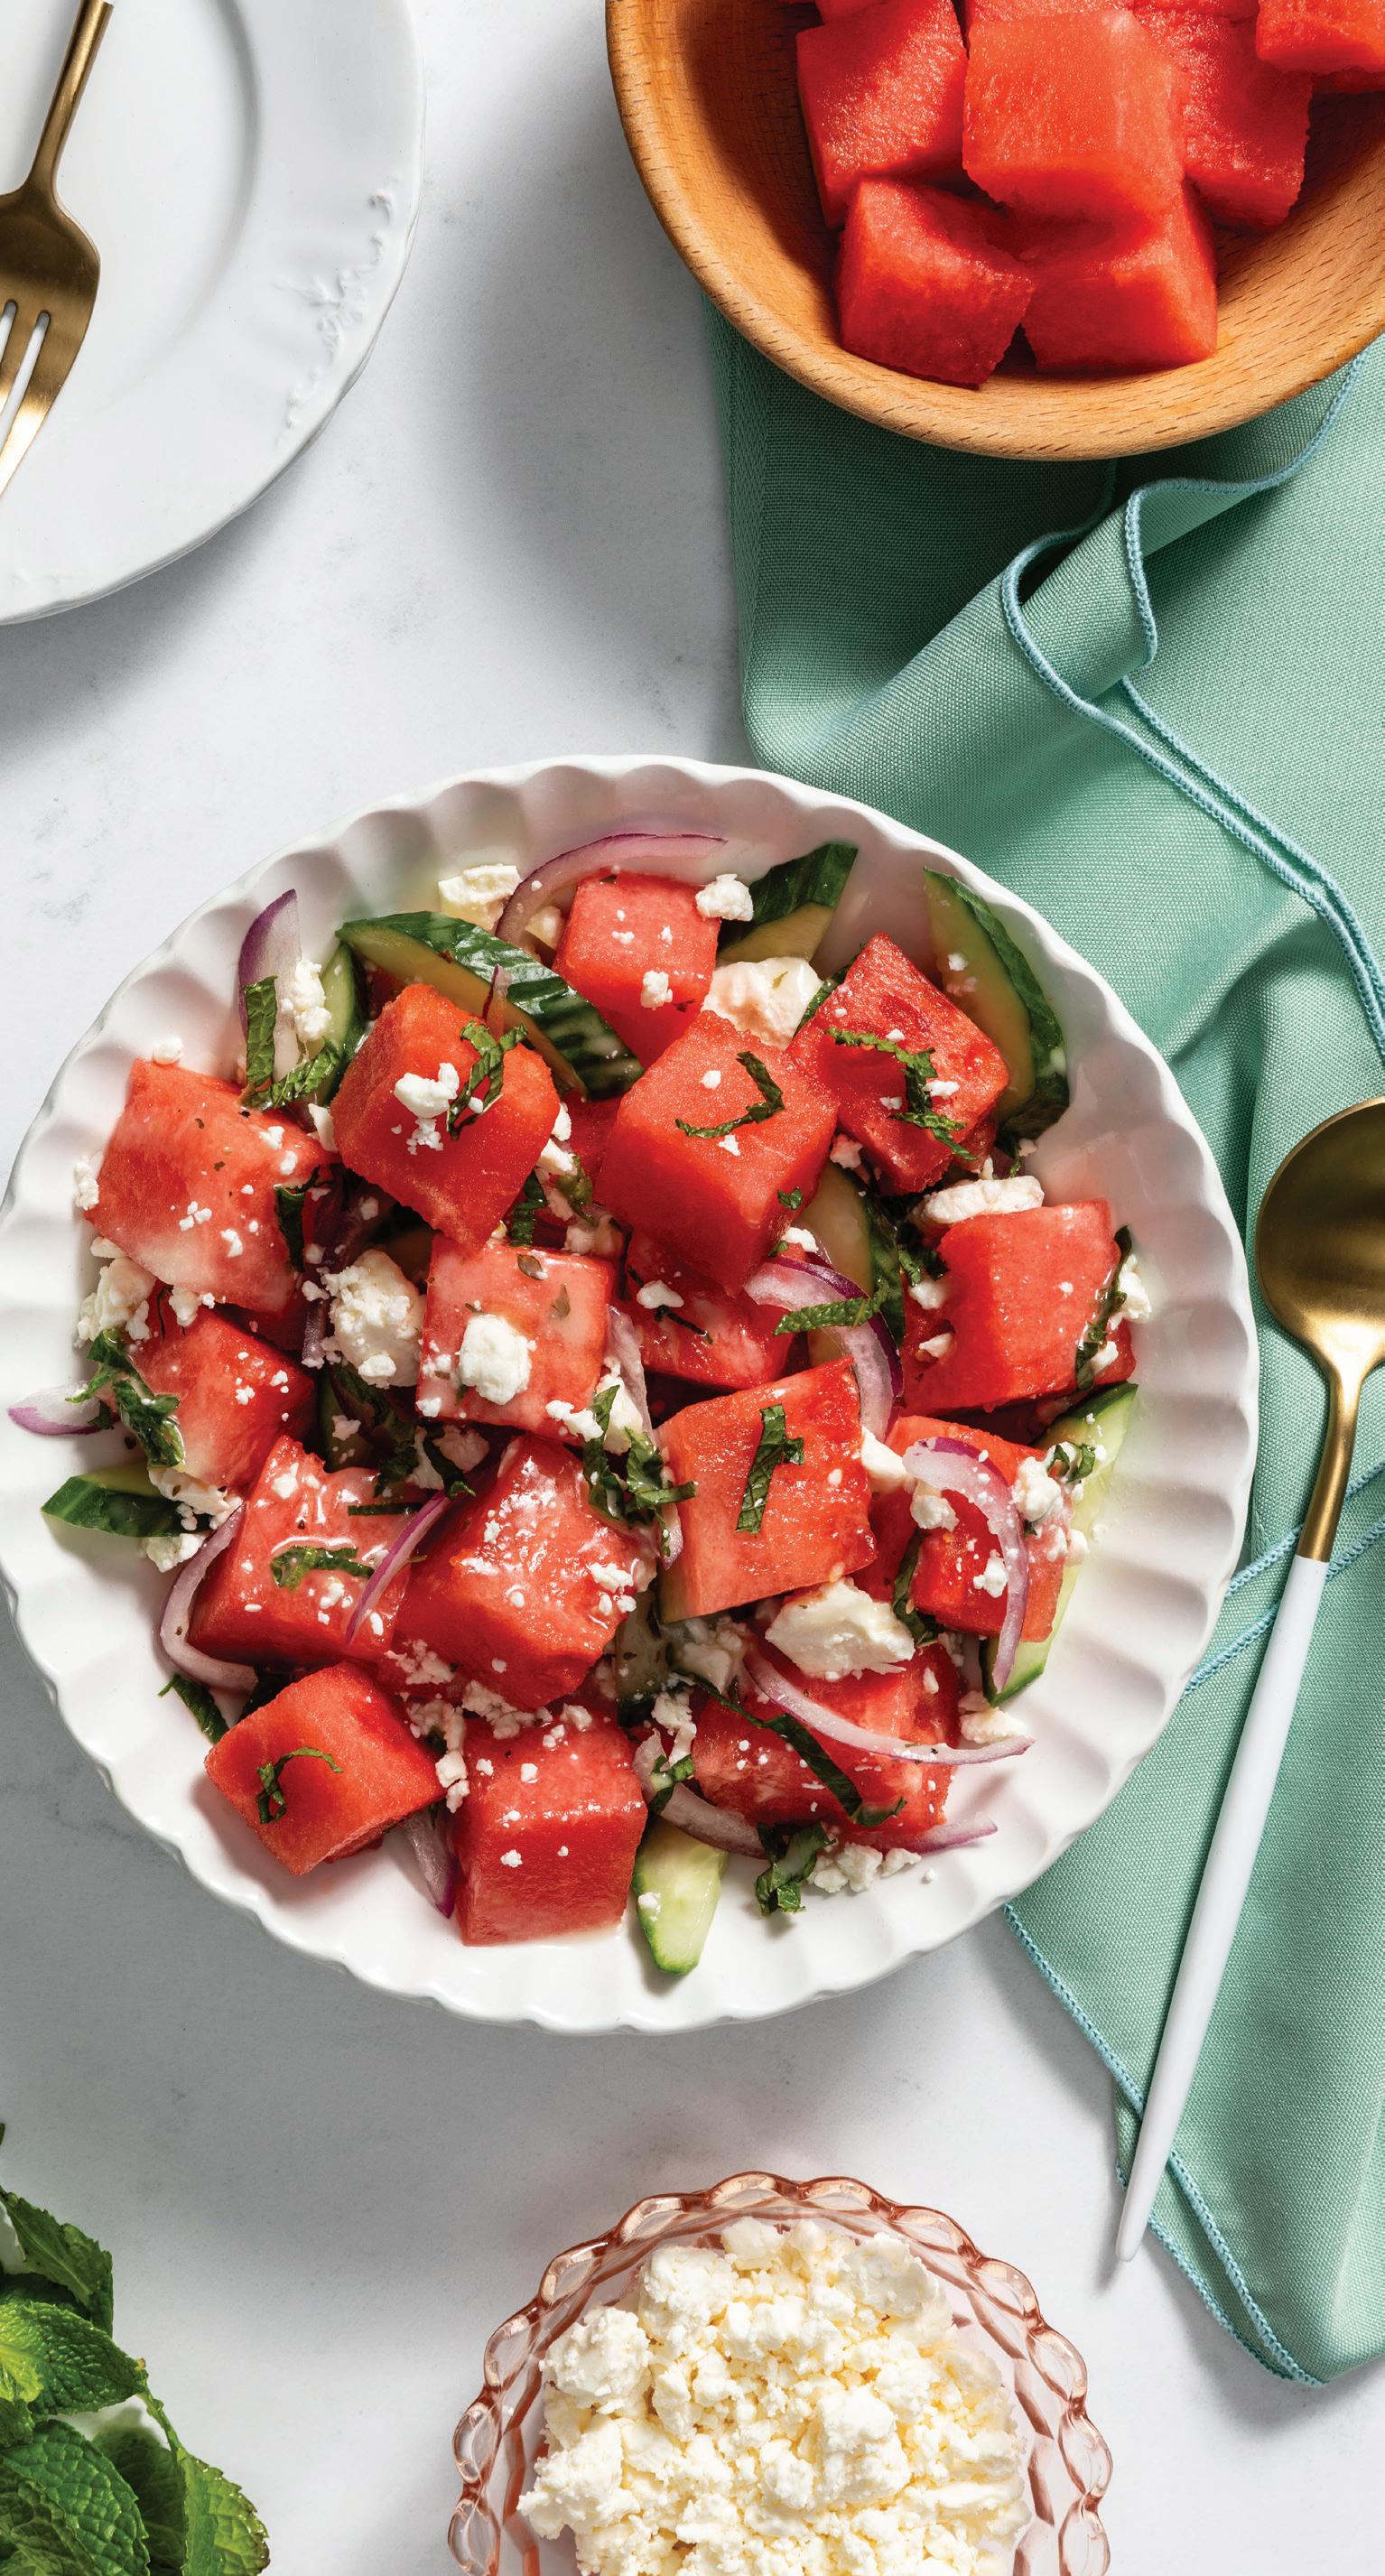
From toothpaste and chewing gum to ice cream, mint has been used in such diverse ways that it's easy to forget it comes from an herb. But mint, or mentha, is nutrientpacked and belongs to the Lamiaceae family, revered for its rich antioxidant content and medicinal properties, known to boost digestive and respiratory health. Mint can add zest and pairs well with a variety of flavors. A natural complement to fruit, mint is a star ingredient in both sweet and savory watermelon feta salad, arugula and cantaloupe salad, and grilled peach salad. Mint also adds a gratifying spice to bold, saucy dishes like curry and pad thai. Generally, it’s best as a garnish atop hot dishes, or incorporated into cold dishes like pasta salads, gazpachos, desserts, and, benefits of being high in vitamin K, iron, and antioxidants. cocktails. Add to ice water for a delicious, refreshing way to hydrate.
Fresh, clean, and lemony, parsley is the quintessential summer herb, often paired with classic backyard dishes like potato salads, seafood, and grilled meats. While it looks very similar to cilantro, parsley is brighter in color and carries a cleaner, more mellow flavor profile that will be a welcome garnish to nearly any savory dish. But apart from its top-tier garnishing abilities, the herb also forms the base of a variety of sauces and spreads, including gremolata, persillade, chimichurri, pesto, and garlic butter. Similar to a fresh squeeze of lemon juice or pinch of vinegar, parsley is sure to add a fresh, brightening kick to heavier dishes, and carries the added
Tarragon
This flavor-packed herb revered for its woodsy, earthy taste and diverse culinary uses is also known for its health benefits. Rich in antioxidants and antimicrobial compounds, research has shown it might improve digestive health, promote weight loss, fight bacterial and viral infections, and help prevent some cancers. It’s high in manganese, iron, and vitamins A, C, and E. A staple in Italian and Greek dishes, it pairs well with tomato-based sauces, Parmesan cheese, garlic bread, and vinegar-based dressings. To best leverage its intense earthy, peppery, and slightly sweet taste, try brushing on pizza crust, mixing into chimichurri, incorporating into oil-based chicken marinade, or sprinkling into Greek salad. It’s best used as a garnish or added later in the cooking process, especially in soups, breads, and pasta sauces.
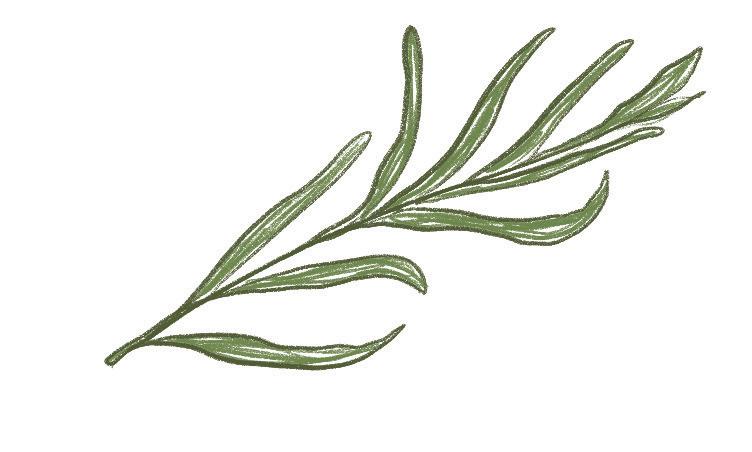
Much like its name, rosemary carries a romantic aroma and flavor that pairs well with date-night dishes such as lamb, poultry, and potatoes. It's no coincidence, as Greek mythology depicts Aphrodite, the goddess of love, wearing rosemary around her neck while rising from the sea. Its fragrant needle-like leaves are reminiscent of evergreen in aesthetic and taste— piney, woodsy, and slightly peppery. It’s packed with vitamins A, B, and C, as well as antioxidants like rosmarinic acid and carsonic acid. Rinse fresh rosemary under cold water before removing the delicate sprigs from its wood-like stems. Whole sprigs can be added to soups and stews, while minced rosemary makes a superb meat rub or seasoning. Rosemary butter and rosemary-infused olive oil are also popular ways to allow this herb to shine.
A starring ingredient in French cuisine, tarragon is a soft herb that carries a bittersweet, anise-like flavor profile, sometimes compared to licorice or fennel. Commonly used for culinary, medicinal, and aromatherapy, it’s rich in folate, iron, and potassium and might help improve insulin sensitivity, regulate sleep patterns, and relieve pain. When cooking with fresh tarragon, less is more, as its intense flavor can overpower a dish. It is best to start with a small amount, add near the end of cooking, and adjust to taste. Tarragon is traditionally paired with chicken, shellfish, steak, eggs, and vegetables, especially asparagus and green beans. It is also a key ingredient in bearnaise sauce. Try adding it to deviled eggs as a garnish or toward the end of cooking scrambled, poached, or a frittata.
medicine as an antiseptic and preservative throughout the Mediterranean. Today, it’s still used for medicinal purposes (to treat respiratory issues and skin conditions) but is more commonly found in the kitchen to enhance a variety of traditional comfort foods like meat roasts, stu ngs, pot pies, roasted veggies, and baked goods. Cooking with fresh thyme is a bit unique to the other herbs on this list, as its grassy, floral flavor grows stronger the longer it is cooked, so add it earlier in the cooking process, whether sprinkling over veggies before roasting, or folding into biscuit dough before baking. Use whole simmered in soup or stew or atop veggies or bacon before roasting; discard stems before eating. It’s rich in vitamins A, C, K, and B6, and magnesium, iron, and calcium.
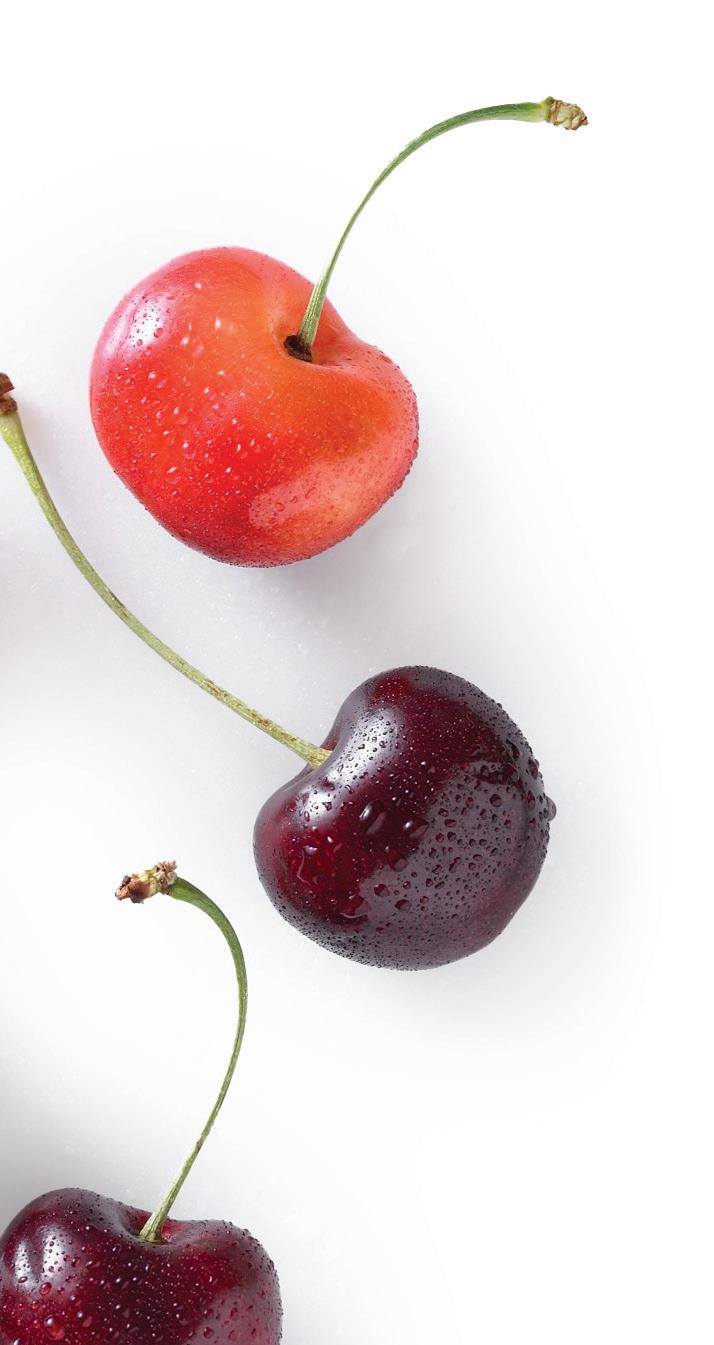
Cherry Jubilee
Make the most of cherry season this summer—it’s short, but oh so sweet
by mary subialka
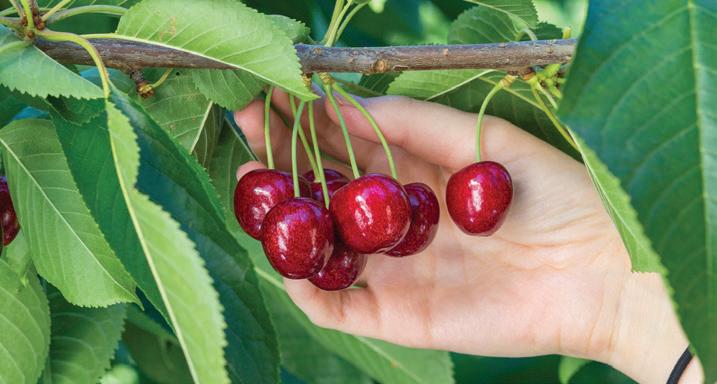
It’s sweet, sweet summertime, which means fresh cherries are in season, so enjoy some soon as they will be gone before you know it. Distant cousins of plums, there are two main types of cherries—sweet and sour. Sweet cherries, the larger of the two, are firm, somewhat heart shaped, and the variety you’ll see fresh in the produce aisle. Sour or tart cherries are smaller, softer, and more rounded. They are not usually eaten out of hand but used to make jelly and juice, dried, and frozen or processed to enjoy year-round. The majority are grown in Michigan—with Montmorency variety—and the state’s first commercial tart cherry orchards were planted in 1893
% the
Most sweet cherries are grown in the Pacific Northwest, especially Washington, as well as Oregon, Montana, Idaho, Utah, and California. There are more than 1 , 000 varieties of cherries in the United States, but fewer than 10 are produced commercially. You’re probably most familiar with Bing, the leading sweet cherry in North America, which is a deep mahogany red color. It originated in Milwaukee, Oregon, in 1847, and is available mid-June to mid-August. Another popular sweet cherry is the golden yellow-red blushed Rainier, which is named after Mt. Rainer in Washington where it was developed in 1952 . It’s available mid-June to the end of July. The Chelan is an early ripening variety available mid-June to mid-July.
These li le fruits come with big bene ts. A 5-ounce serving, which is 1 cup or about 21 sweet cherries, has only 90 calories, and contains a healthy dose of potassium, vitamin C, and ber (about 3 grams, or about 12% of the daily value) while containing no fat, sodium, nor cholesterol. Cherries are thought to reduce in ammation, prevent muscle damage, and ght cardiovascular disease. Plus, cherries are one of the few food sources known to contain melatonin, an antioxidant that helps regulate biorhythm and natural sleep pa erns. Sweet dreams indeed.
In addition to enjoying on their own, cherries are naturally great in fruit salad, plus delicious sliced and added to savory green salads and pasta salads. Satisfy your sweet tooth with cherry crisp or cool it down with frozen cherry yogurt bark—plus, try atop a savory sweet pizza in the following easy recipes from Northwest Cherries. of
CHERRY FUN FACTS
■ On average, there are 65 sweet cherries in 1 pound.
■ It’s thought that sweet cherries originated in the region between the Black and Caspian Seas. And today, Turkey remains the largest cherry producing region in the world.
■ The Bing cherry is named after Oregon orchard pioneer Seth Lewelling’s foreman and friend, Bing, who was over 7 feet tall.
■ Broadway in New York City shifts west at East 10th Street because a cherry tree once stood there.
■ It takes about 6 to 8 pounds of fresh tart cherries to make 1 pound of dried cherries.
■ About 250 tart cherries go into making a cherry pie, so each tree potentially could produce enough cherries for 28 pies.
■ There are about 100 tart cherries in an 8-ounce glass of cherry juice.
Sources: Northwest Cherries and USA Cherries
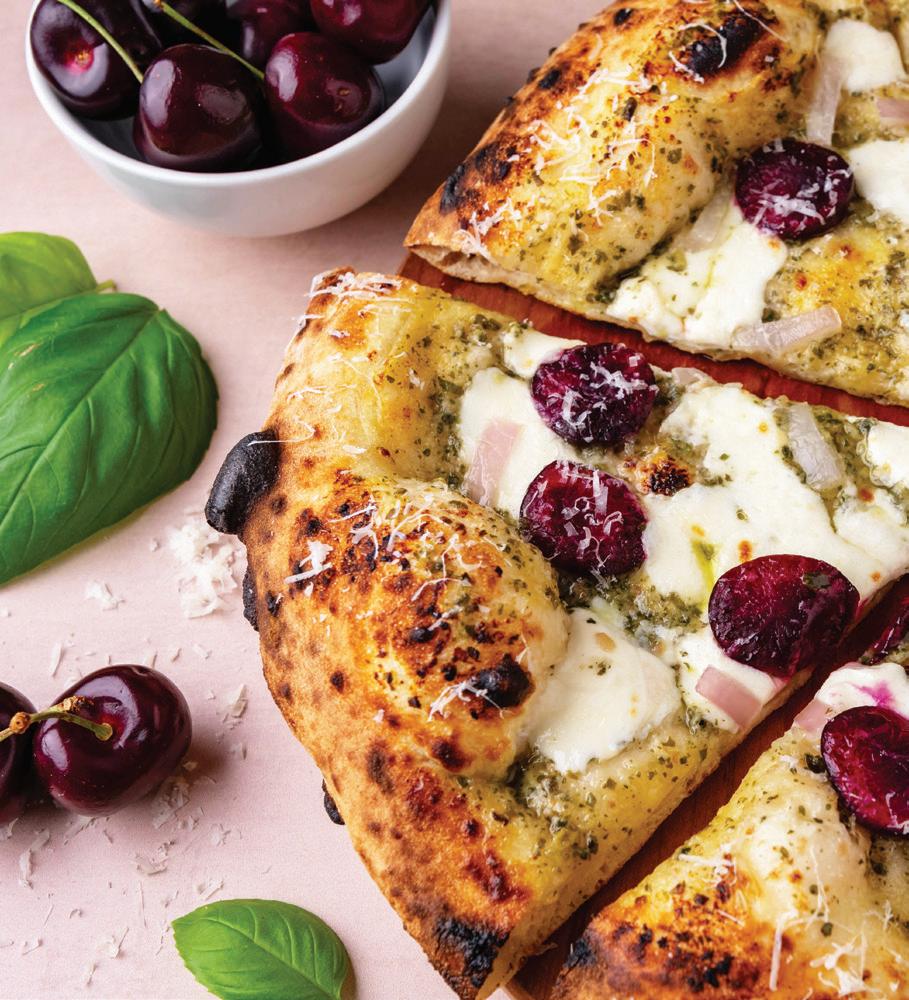
Fresh Cherry Pizza
While cherries might not be a pizza topping that comes to mind, they certainly add a pop of sweetness and pair perfectly with pesto, mozzarella cheese, and slices of shallot or red onion. This is delicious on its own, or you could add sausage or prosciutto.
✁
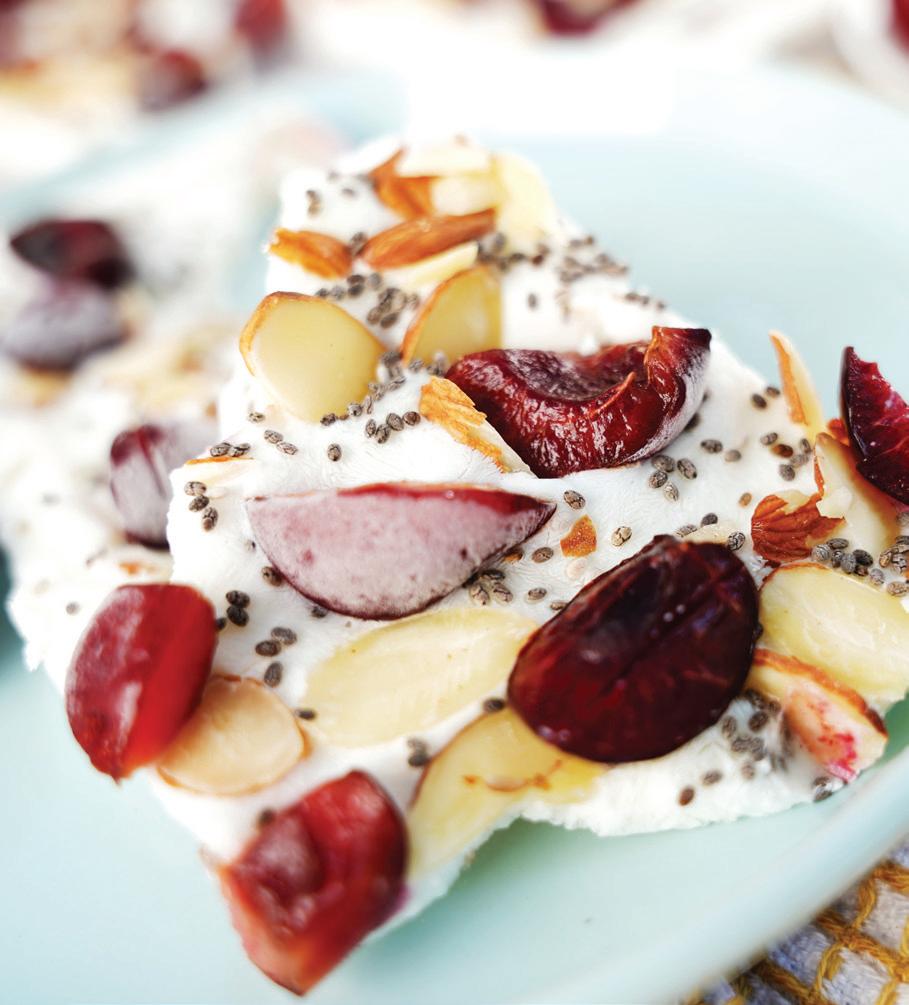
Cherry Yogurt Bark
This protein-packed treat is perfect for a midday snack or dessert to help you stay cool this summer. This easy recipe requires just a handful of ingredients and only 5 minutes of preparation before freezing it to perfection.
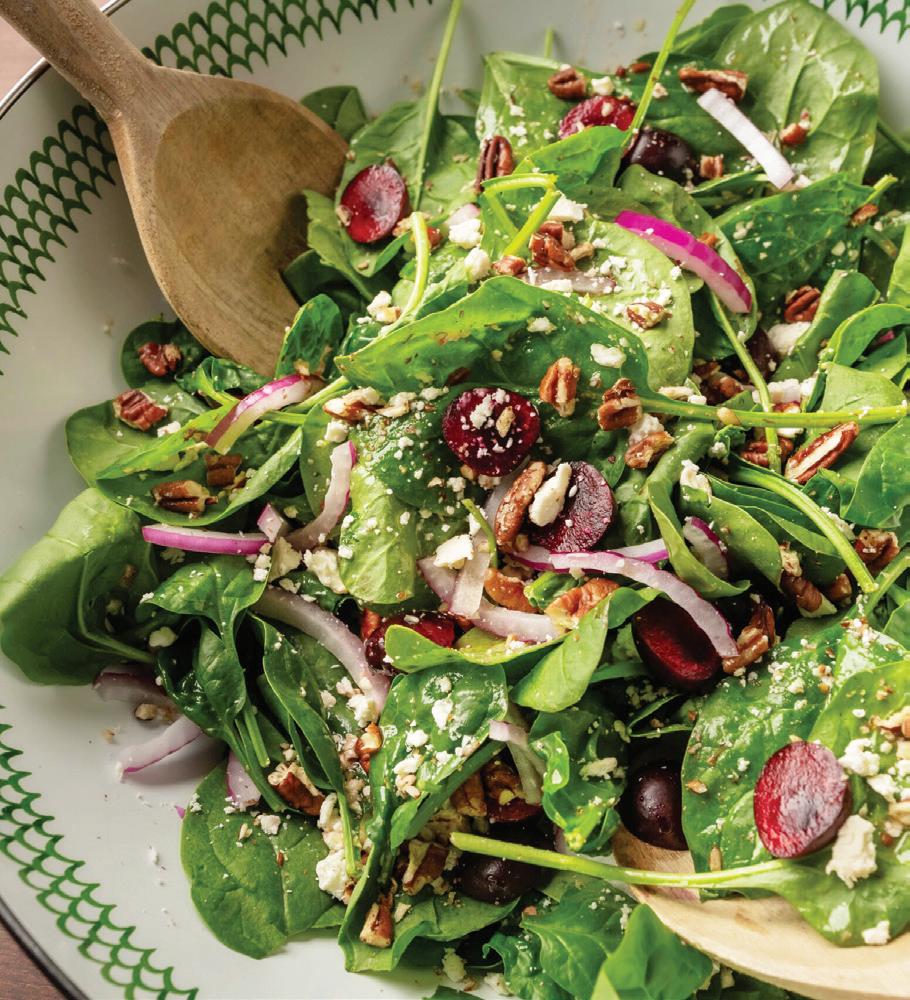
Fresh Cherry and Spinach Summer Salad
Mix a hearty, fresh, and light salad in just a few minutes. Embrace a combination of fruit and nuts with the addition of fresh cherries and pecans, with spinach as the ideal base. You can choose to use other greens such as arugula, butter lettuce, or mixed greens.
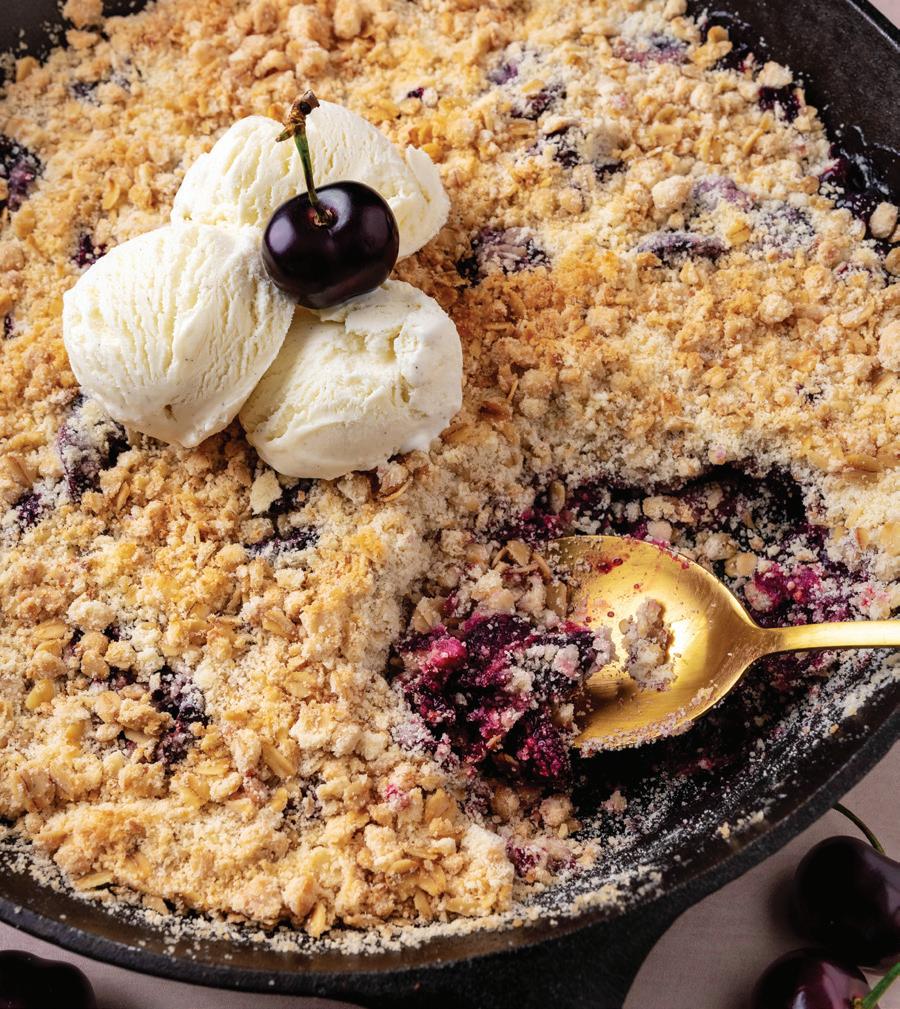
Fresh Cherry Crisp
In summer, let fruit be the star of the show with a quick and easy fruit crisp. Fresh cherries make an ideal base to dress up with a crisp topping for a perfect combination of flavors and textures. Serve with vanilla ice cream for the ultimate treat.
Cut these out and use the recipes on the reverse side to make creative dishes with cherries.
Fresh Cherry and Spinach Summer Salad
MAKES 4 SERVINGS
6 cups fresh spinach
1 cup fresh cherries, pitted and sliced in half
¼ red onion, sliced
3 tablespoons olive oil
3 tablespoons red wine vinegar
½ tablespoon maple syrup
Salt and pepper, to taste
¼ cup crumbled feta cheese
1 cup pecans, chopped
1. In a large bowl, combine the spinach, cherries, and red onion.
2. In a small bowl or jar, add the olive oil, red wine vinegar, maple syrup, and salt and pepper to taste. Mix to combine. Pour the dressing over the spinach mixture and toss well to combine.
3. Top the salad with crumbled feta cheese, chopped pecans, and additional sliced cherries, if desired.
Fresh Cherry Pizza
MAKES 4 SERVINGS
1 ball (12-16 ounces) pizza dough (see Cook’s Note)
2 tablespoons prepared pesto
12 fresh cherries, pitted and sliced in half
Fresh mozzarella cheese
Shallot or red onion, sliced Parmesan cheese, for topping
1. Stretch and shape the pizza dough.
2. Brush the pesto over the stretched pizza dough.
3. Top the pizza dough with mozzarella cheese.
4. Top with sliced cherries and sliced shallot.
5. Cook the pizza in the oven according to crust dough instructions or in an outdoor pizza oven.
6. Once cooked, remove the pizza from the oven and finish it with finely grated Parmesan cheese.
Cook’s Note: Use refrigerated prepared pizza dough or thawed frozen dough and prep/cook according to package instructions.
Fresh Cherry Crisp
MAKES 8 SERVINGS
for the cherry layer
2½ pounds fresh cherries, pitted and halved
¼ cup granulated sugar
3 tablespoons all-purpose flour
Juice of half of a lemon
for the crisp topping
1½ cups all-purpose flour
1 cup oats
½ cup granulated sugar
1 teaspoon baking powder
1 teaspoon salt
8 tablespoons (1 stick) unsalted butter, melted
1. Heat the oven to 350°F.
2. In a medium bowl, add the cherries, sugar, flour, and lemon juice. Stir until combined. Transfer to a greased cast iron skillet or a 9x13-inch cake pan.
3. In a mixing bowl, whisk together the flour, oats, sugar, baking powder, and salt until well combined. Pour the melted butter into the dry ingredients mixture. Use a fork to mix until combined.
4. Pour the cherry mixture into the prepared pan to create an even base layer. Cover evenly with the crisp topping.
5. Bake the cherry crisp for 1 hour until the cherries are bubbly and the top is golden. Serve warm with a scoop of vanilla ice cream or gelato, if desired.
Cherry Yogurt Bark
MAKES 24 SERVINGS
1 (32-ounce) container plain Greek Yogurt
2 teaspoons honey
1 cup pitted Northwest Cherries Dark Sweet Cherries, quartered
½ cup sliced almonds
¼ cup chia seeds
1. Add the yogurt and honey to a medium size bowl and mix until combined. Line a medium size sheet pan with parchment paper and evenly spread the yogurt on top.
2. Sprinkle the quartered cherries, almonds, and chia seeds in an even layer. Then, place the sheet pan in the freezer until set, at least 2 hours.
3. Once it is set, remove the yogurt bark from the freezer and break it into small pieces. Enjoy immediately.
McCa rey’s brings you the freshest variety of foods—frequently from our own backyard! Look for our locally grown seasonal produce. You’ll love its superior freshness.
CHEF’S KITCHEN
Shopping for dinner at McCa rey’s is like having a personal chef. Find just the right meal for you and your family in our Prepared Foods Department, including our Gourmet To Go family meals.
GOURMET CATERING
McCa rey’s is your best choice for elegant, in-home dining and entertaining. Using only the highest quality, freshest ingredients, our professional catering sta guarantees delicious and elegant food you can serve with absolute confidence.
If you would like to discuss your catering needs or meet with us personally, we are available Monday to Friday 9 a.m. to 5 p.m., Saturday 9 a.m. to noon and by appointment. Please call our Catering Planners at 1-800-717-7174.
mccaffreys.com
SPF
Summertime. Back to the annual debate on SPF. Are higher numbers actually better? How often should you reapply? Chemical versus mineral? UVA versus UVB? What do the letters even stand for?! At McCaffrey’s, SPF stands for Simply Prepare Food ! And this issue will help our customers do just that!
Here’s how to Simply Prepare Food with Real Food and McCa rey’s all summer long:
■ Culinary Road Trip —Travel to the North Atlantic Coast of the U.S. (aka Maine) by trying our recipe for Classic Lobster Rolls on page 22 and pick up a Petite Lobster Tail & Shrimp Combo Platter from McCa rey’s.
■ Burgers Try our recipe for Teriyaki Burgers on page 39 and pick up some of our fresh ground beef and marinate in your favorite McCa rey’s-Own Sauce—from Sweet Bourbon and Horseradish BBQ to Ginger Thai and Habanero Honey BBQ.
■ Wonderful Wings —Try our recipe for General Tso’s Slow-Cooker Wings on page 35 and pick up some more Bone-In Chicken Wings (your choice of Bu alo, BBQ, Dry-rub, Teriyaki, or Garlic Parmesan) from McCa rey’s!
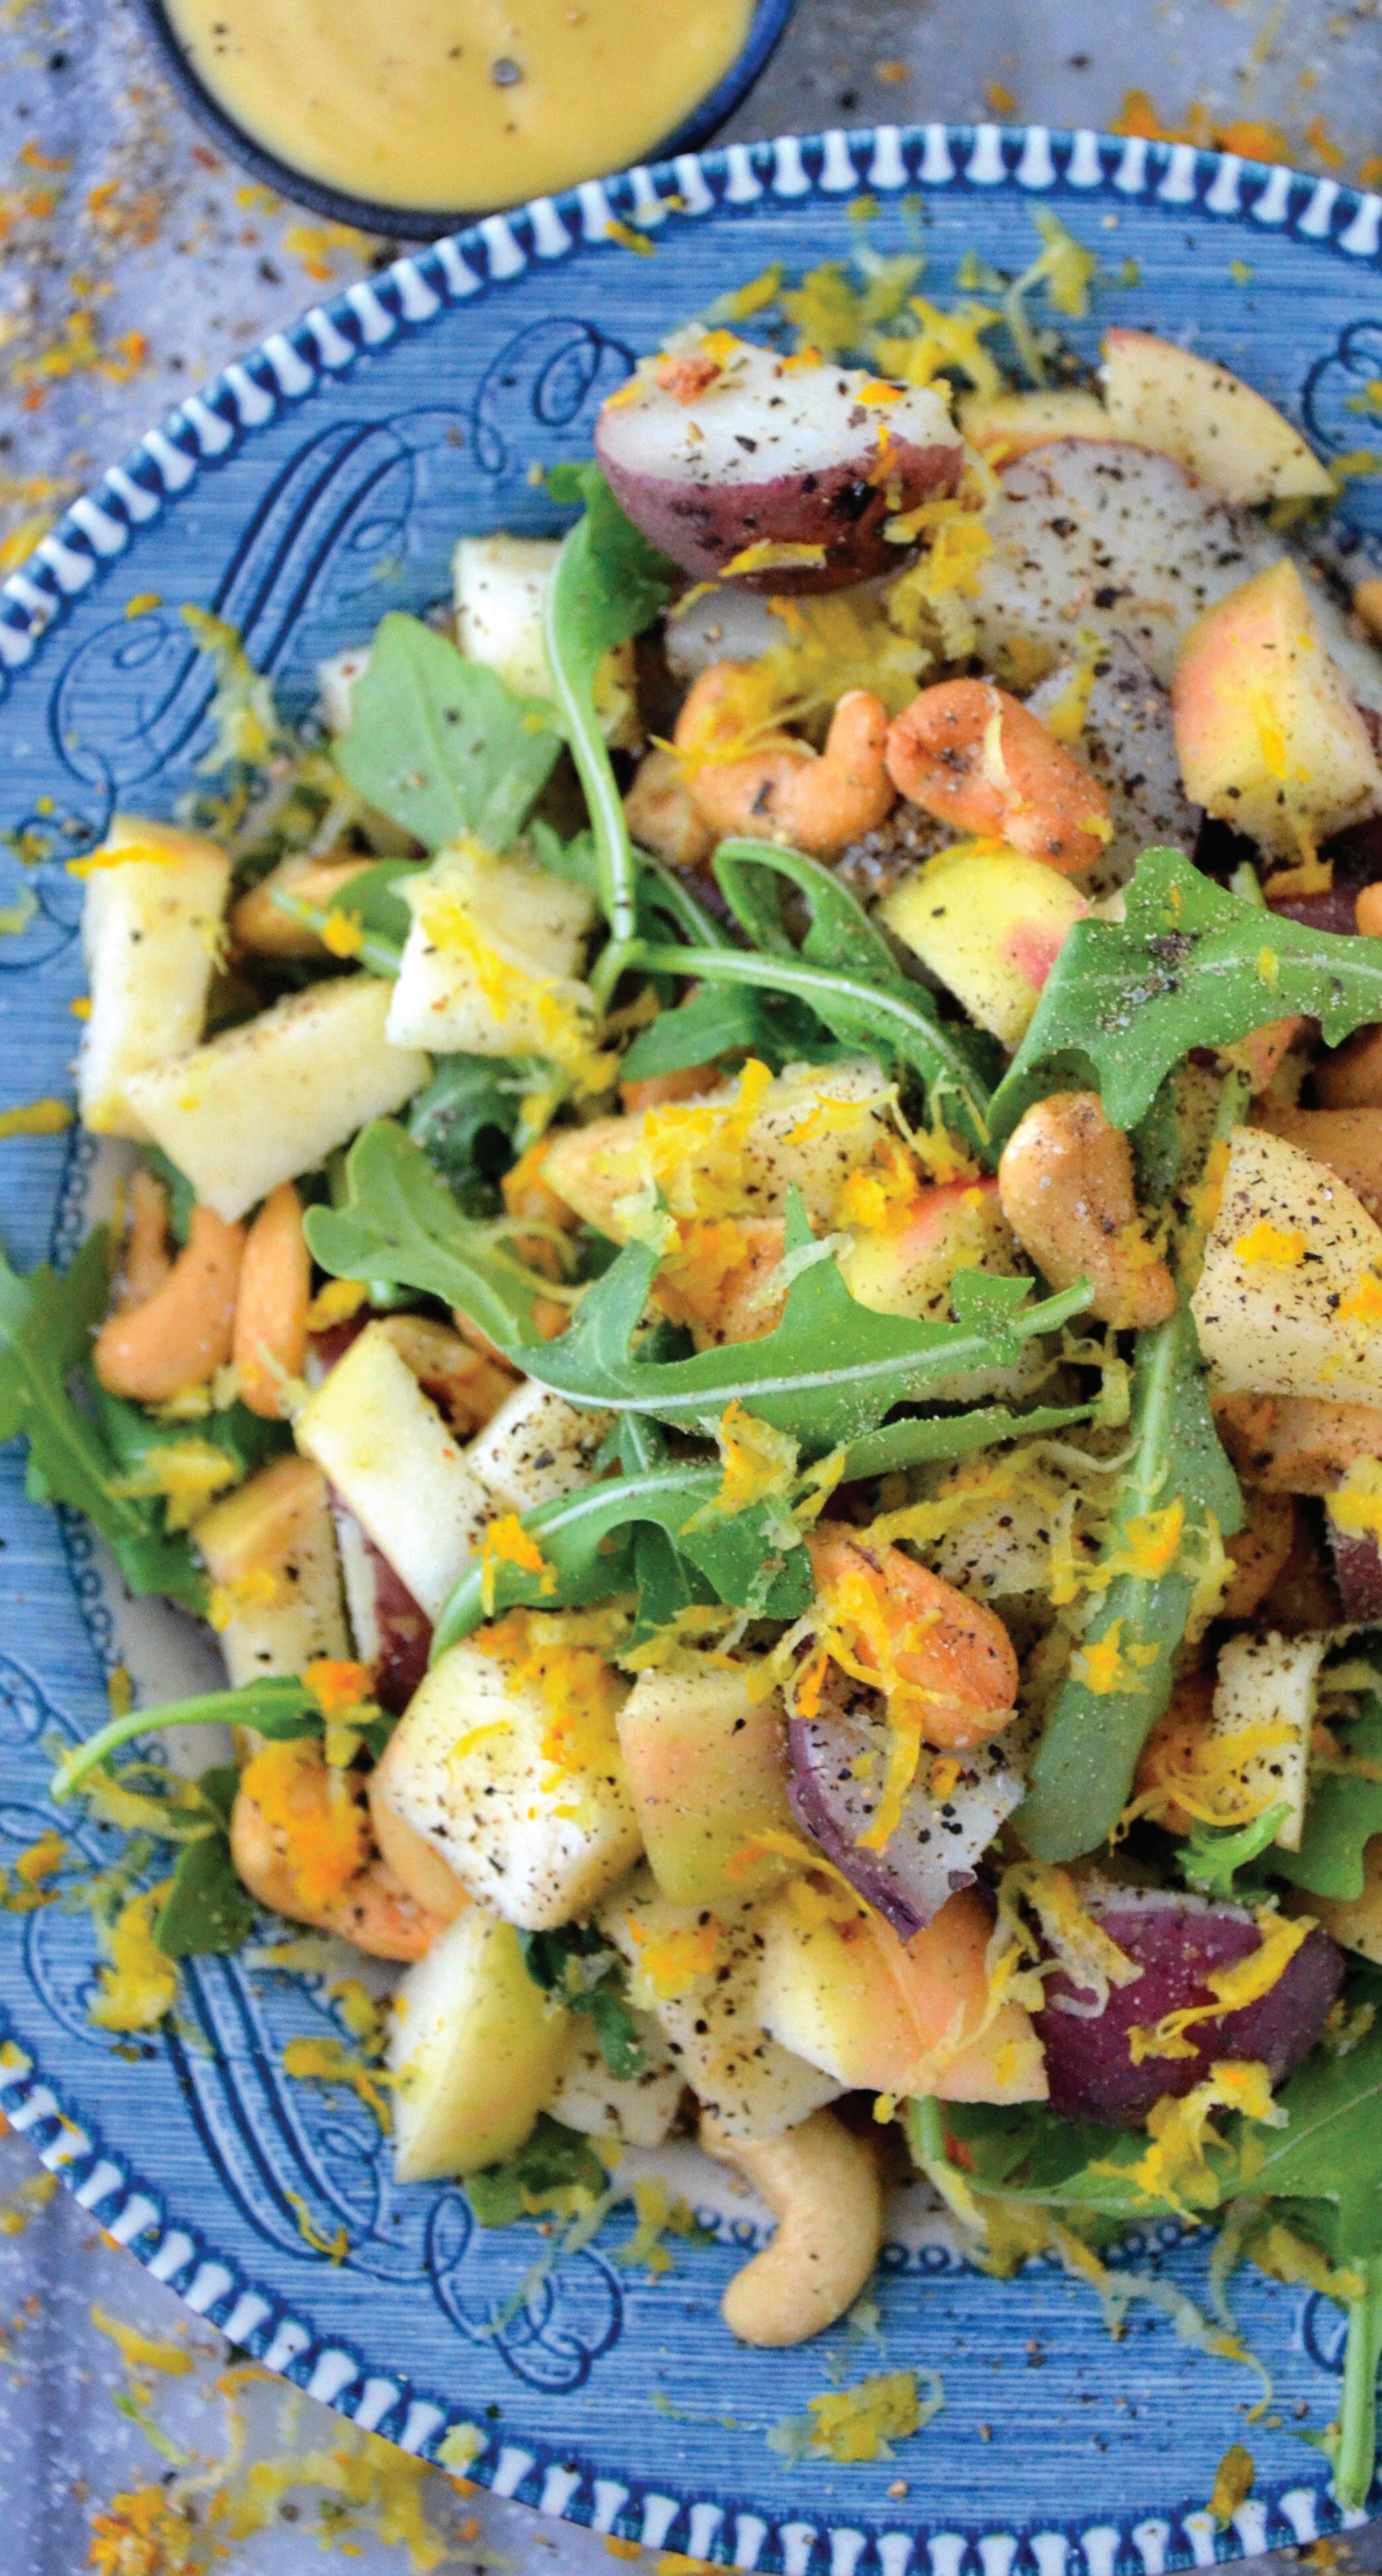
■ Summer Sides —Try our recipe for Arugula, Apple, and Potato Salad with Creamy Cashew Dressing on page 48 and pick up some Classic Coleslaws, Macaroni Salads, or Potato Salads from McCa rey’s!
You’ll have to head to the dermatologist to solve the Sun Protection Factor debate. But you can head to McCaffrey’s for help with any of your food and beverage questions! Along the way, please enjoy your culinary road trip and Simply Preparing Food all summer long.
Happy Summer,
James J. McCa rey III president
James J. McCa rey IV executive vice president
What’s in Store
Every department has a great selection to make any day or special occasion delicious
fresh flowers
Flowers certainly bring a table setting together—whether a casual outdoor picnic or an elegant white-linen dinner. Stop by our floral department for a variety of fresh-cut, grab-and-go bouquets of favorites such as roses, lilies, and orchids, seasonal blooms, or potted plants. Whether you’re celebrating an occasion or “just because,” they’ll brighten any day and tabletop.
catering and prepared foods
The summer calendar is filled with get-togethers from casual backyard cookouts to anniversary parties and family reunions. Whether you just need to pick up some potato or pasta salad or would like us to take care of everything for your party, we’re here for you! Make it easy on yourself: You gather the people, and we’ll provide the food.
bakery
Pick up delicious ready-made cookies, pastries, cupcakes, and cakes when you stop in the store, or place orders for special occasion cakes and trays of goodies for your summer parties. Every day our bakers are busy making fresh breads, rolls, and desserts, plus delicious gluten-free selections are always available.
deli and cheese
seafood
Make sure to stop by our seafood department to check out the catch of the day, as well as an array of shellfish so you can try the Maine Lobster Roll and Shrimp Summer Rolls recipes (page 20). Plus, find a great selection of hand-cut and trimmed fish fillets or steaks for grilling. Our friendly seafood experts can help you with questions and preparation of various items—feel free to ask them when you’re in store.
Whether you’re making sandwiches for a picnic or putting together a charcuterie board, you’ll find something for every taste as we feature a great selection with hundreds of di erent cheeses from around the globe and locally. Complete your board with dried or fresh fruit, olives, nuts, and sweet or savory spreads. We can also help you with a selection of ready-made charcuterie and cheese trays to simply grab and go or if you need ready-made sandwiches and salads, too.
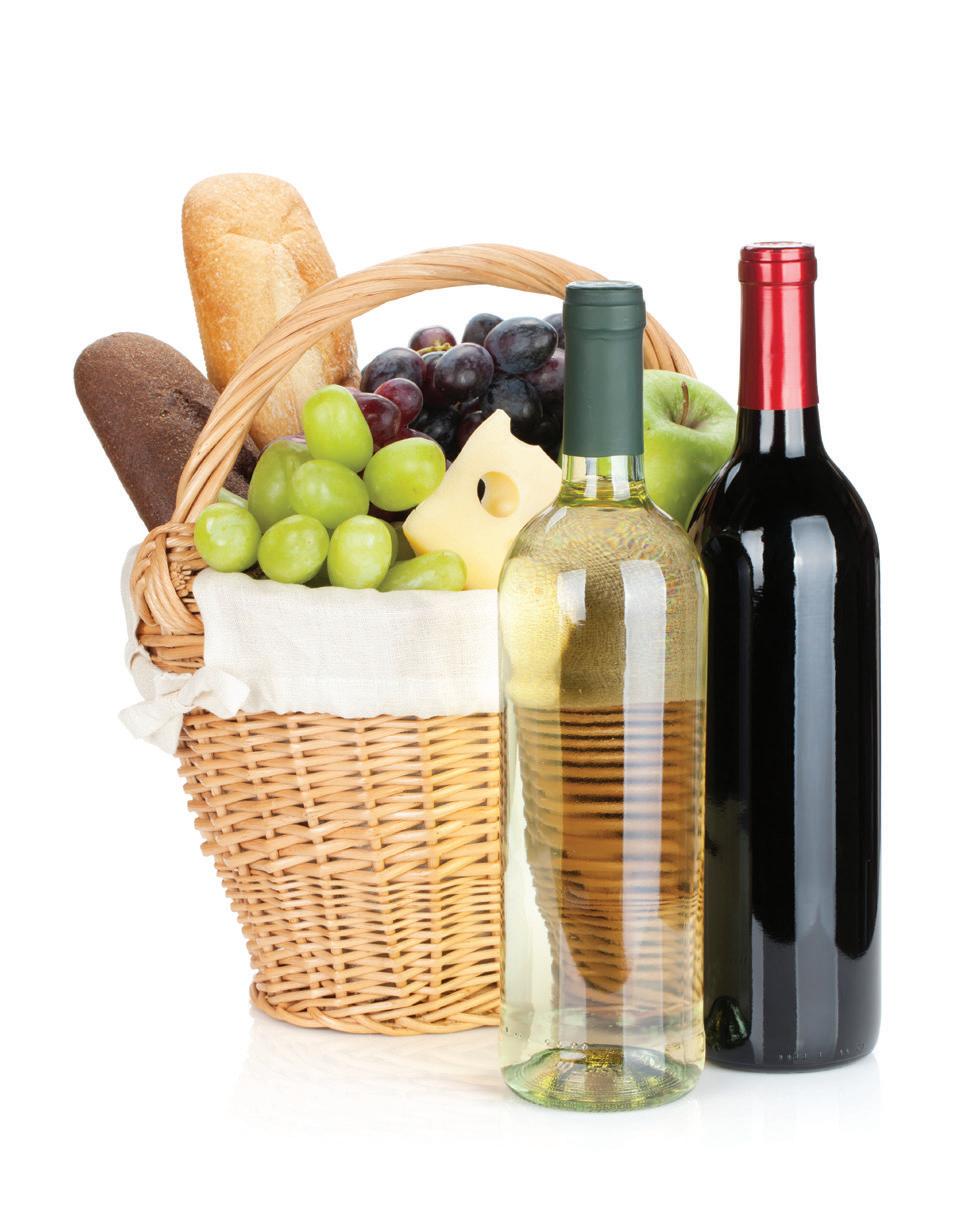
the gift of good taste
meat
It’s prime grilling season! Whether you’re looking for ground beef or pork to try the burger recipes on page 38, or the steak twists on pages 14 and 20, our knowledgeable and friendly meat department sta will help you select from a full line of the finest meats ready for your grill, oven, or pan. You’ll find a quality selection of organic and all-natural beef, poultry, and pork from brands you love.
A gift basket filled with a selection of your recipient’s favorite foods and new items to try is a great choice anytime of year. Not sure what they might like? A gift card is the perfect solution so they can select items that suit their mood.
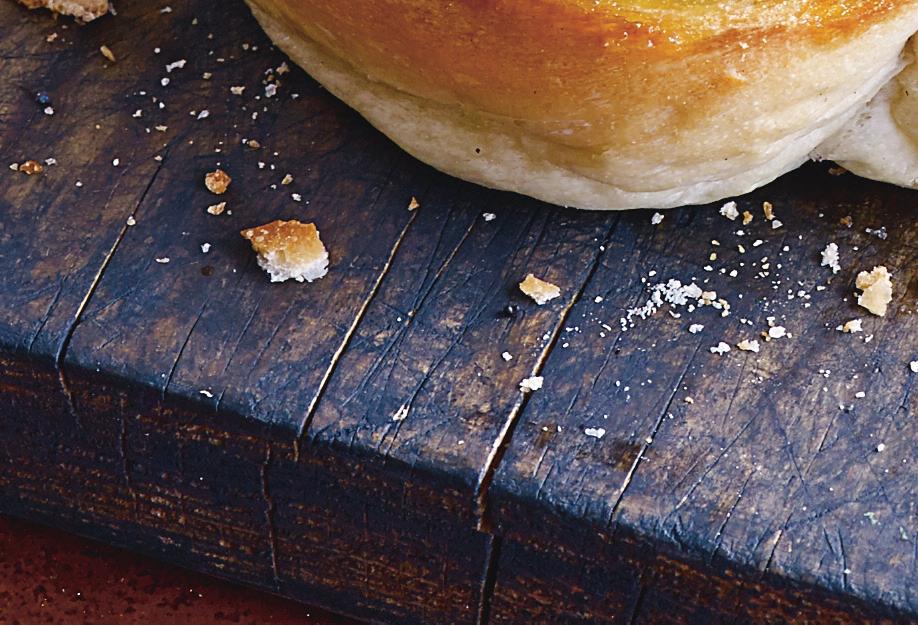
Summer Fruit
The produce aisles are brimming with a delicious array of sweet, juicy summer fruit—from berries and cherries to peaches and plums. They are naturally delicious on their own, of course, but they are also great in recipes from savory salads and appetizers to desserts. Make the most of these seasonal treasures with these recipes by Chef Steven Capodicasa.
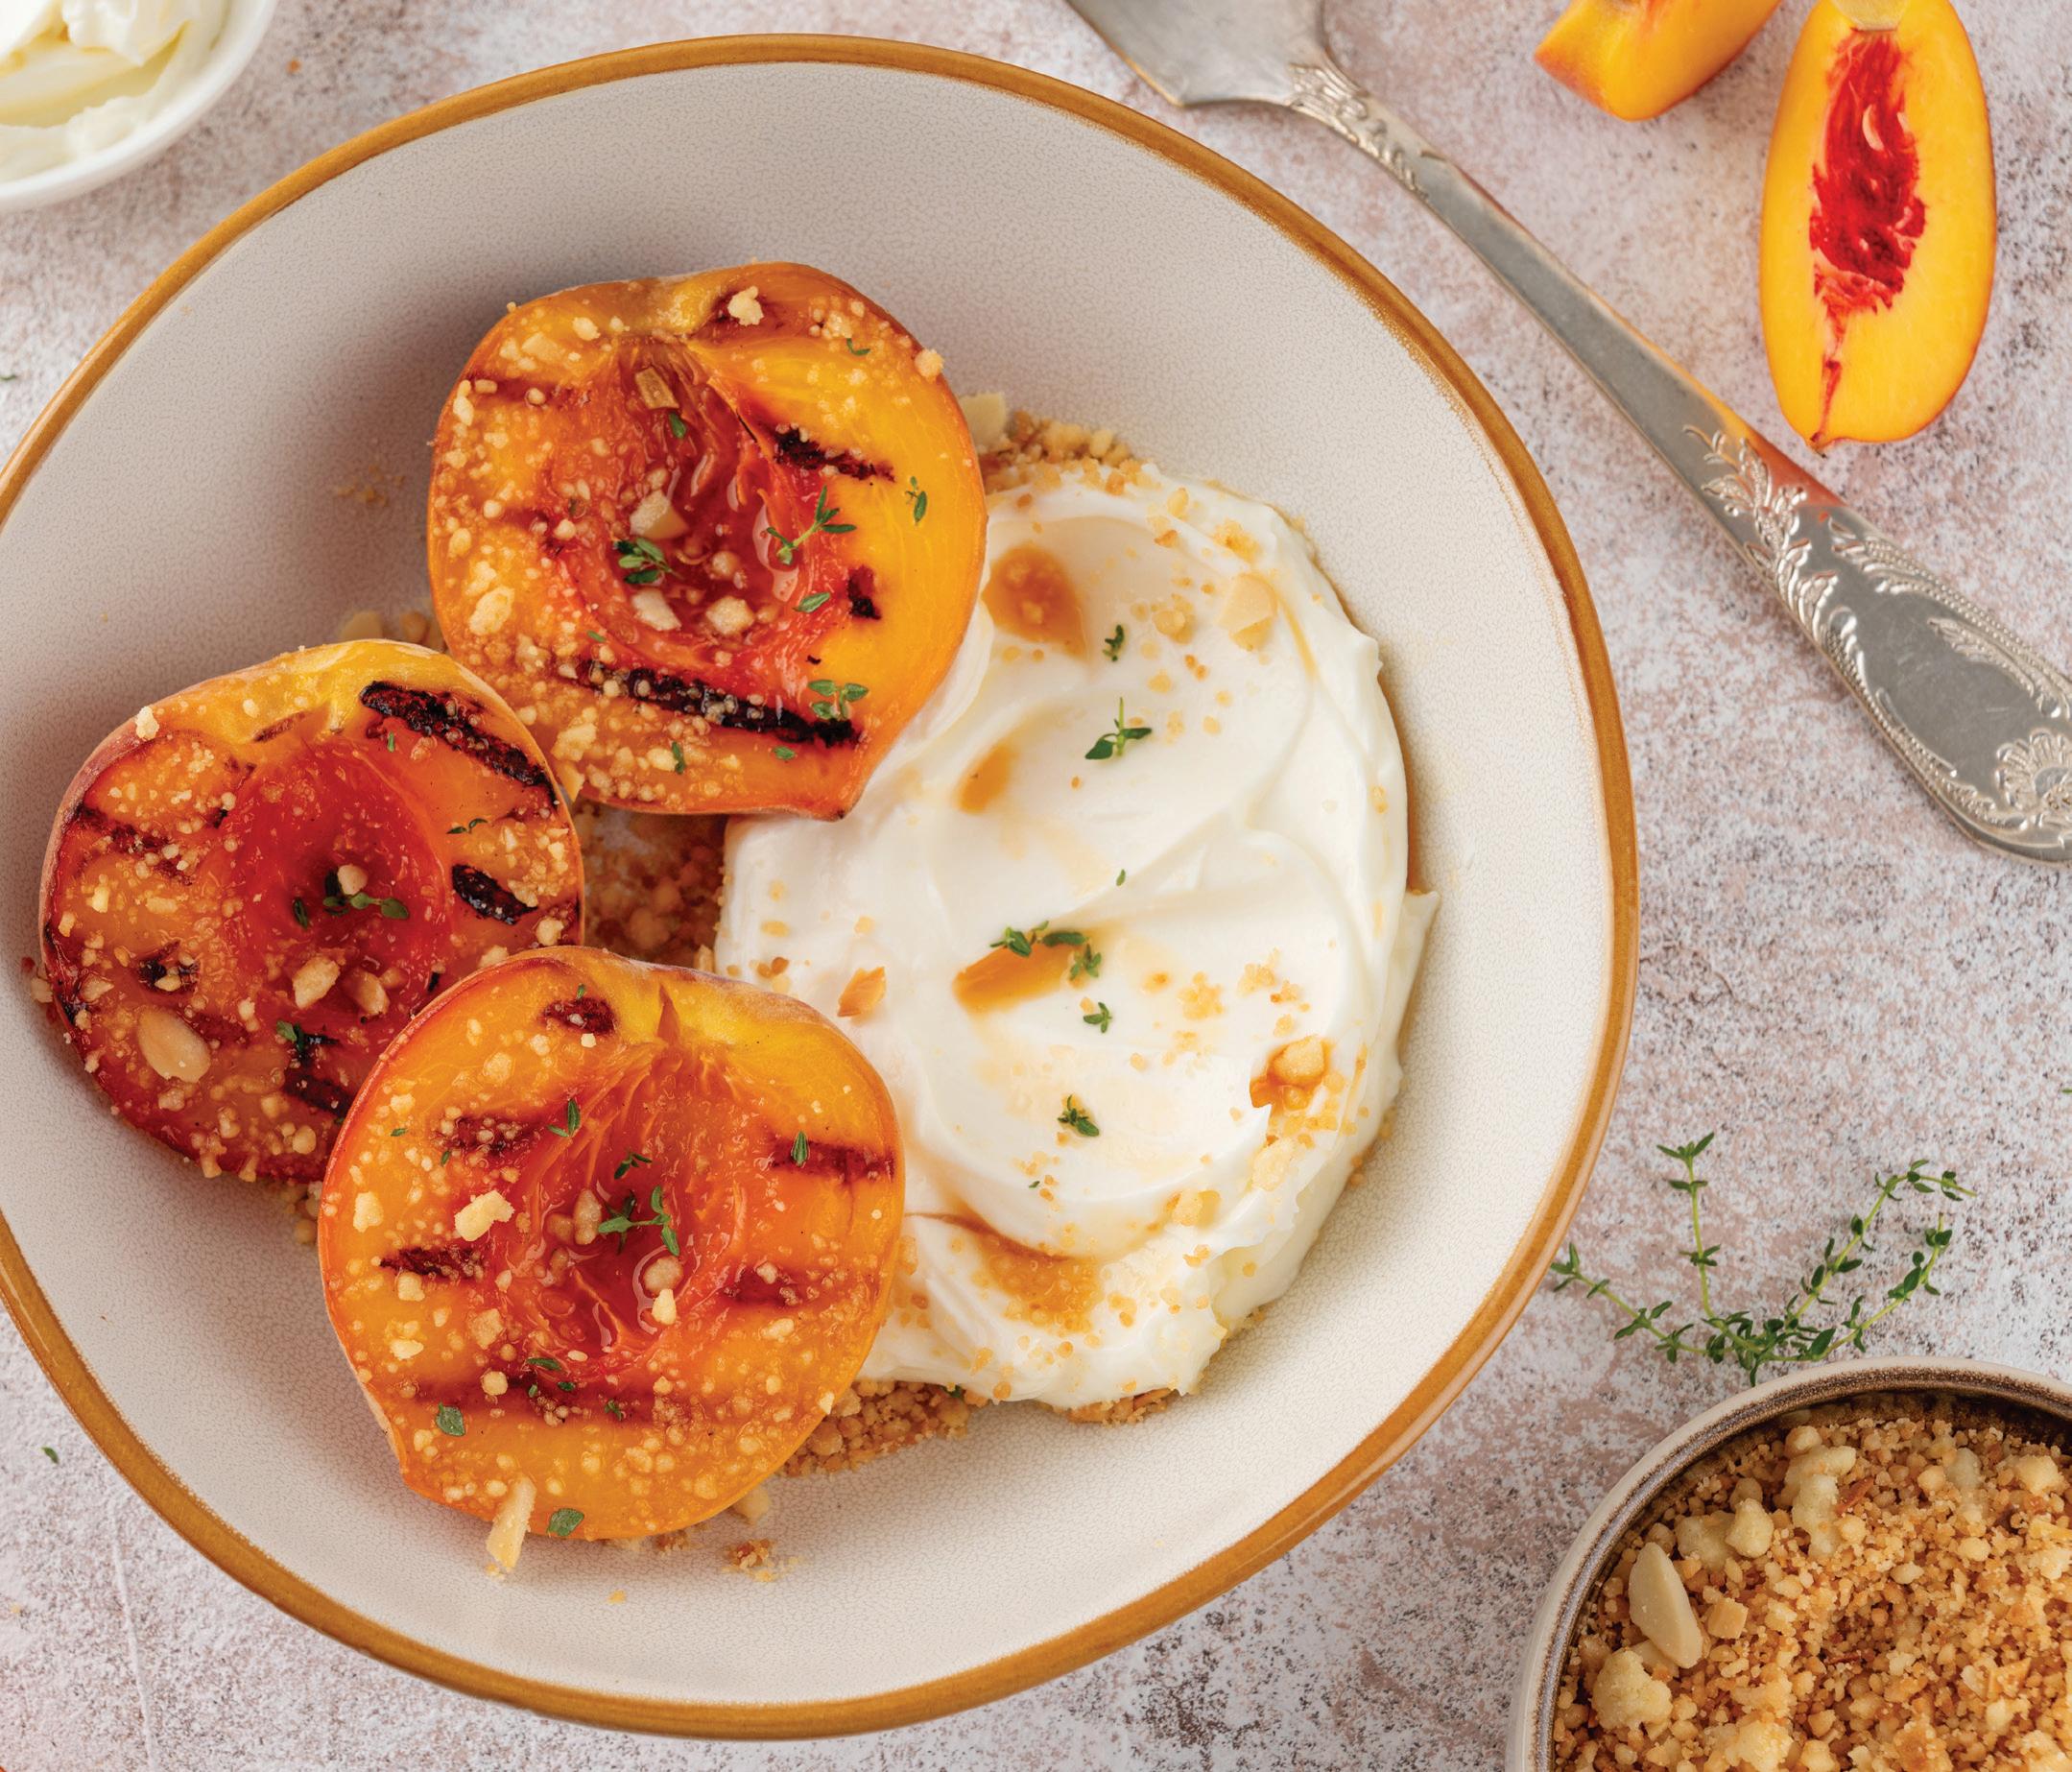
Baked Peaches with Whipped Mascarpone, Honey, and Caramel Sauce
MAKES 6 SERVINGS
for the caramel sauce
1 cup sugar
1 cup water
1 cup heavy cream
2 tablespoons (¼ stick) butter
3 ripe peaches, cut in half with pit removed
4 tablespoons (½ stick) butter
1. Heat the oven to 350°F.
½ cup honey
6 ounces mascarpone
½ cup whipping cream
2 tablespoons sugar
¼ teaspoon pure vanilla extract
Toasted, slivered almonds
2. To make caramel sauce, combine water and sugar in a heavybottomed saucepan over low heat and simmer until golden brown, about 8 to 10 minutes. Remove from heat and carefully add in heavy cream and whisk (be careful of steam) then whisk in butter. Keep warm.
3. Place cut peaches face up on a foil-lined baking sheet and top each with a slice of butter. Drizzle each half with honey. Roast in the preheated oven for 20 minutes.
4. In a bowl, combine mascarpone with whipping cream, sugar, and vanilla extract and whip to firm peaks.
5. Remove peaches from oven, cool slightly, and top with a dollop of prepared whipped cream and top generously with toasted almonds and drizzle with caramel sauce.
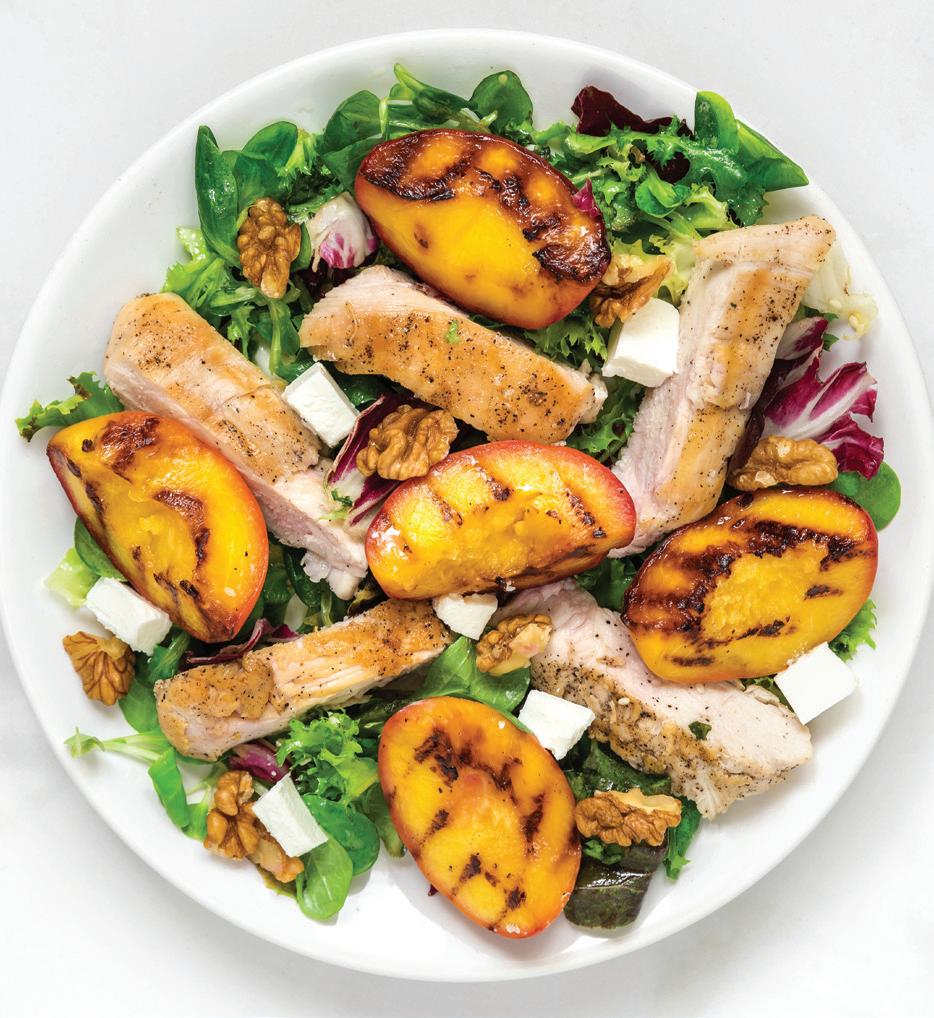
Butter Lettuce with Grilled Peaches, Pecans, and Feta Cheese
MAKES 6 SERVINGS
for the grilled peaches
6 fresh ripe peaches
1 tablespoon olive oil
2 tablespoons lemon juice
1 teaspoon cinnamon
¼ teaspoon vanilla extract
½ teaspoon sugar
for the vinaigrette
¼ cup apple cider vinegar
¼ teaspoon minced fresh thyme
1 tablespoon Dijon mustard
1. Heat grill to medium heat.
¼ cup olive oil
Salt and pepper, to taste
for the salad
12 ounces butter lettuce
1 cup shelled pecans, lightly toasted
1½ cups feta cheese, crumbled
Cooked, sliced chicken (optional)
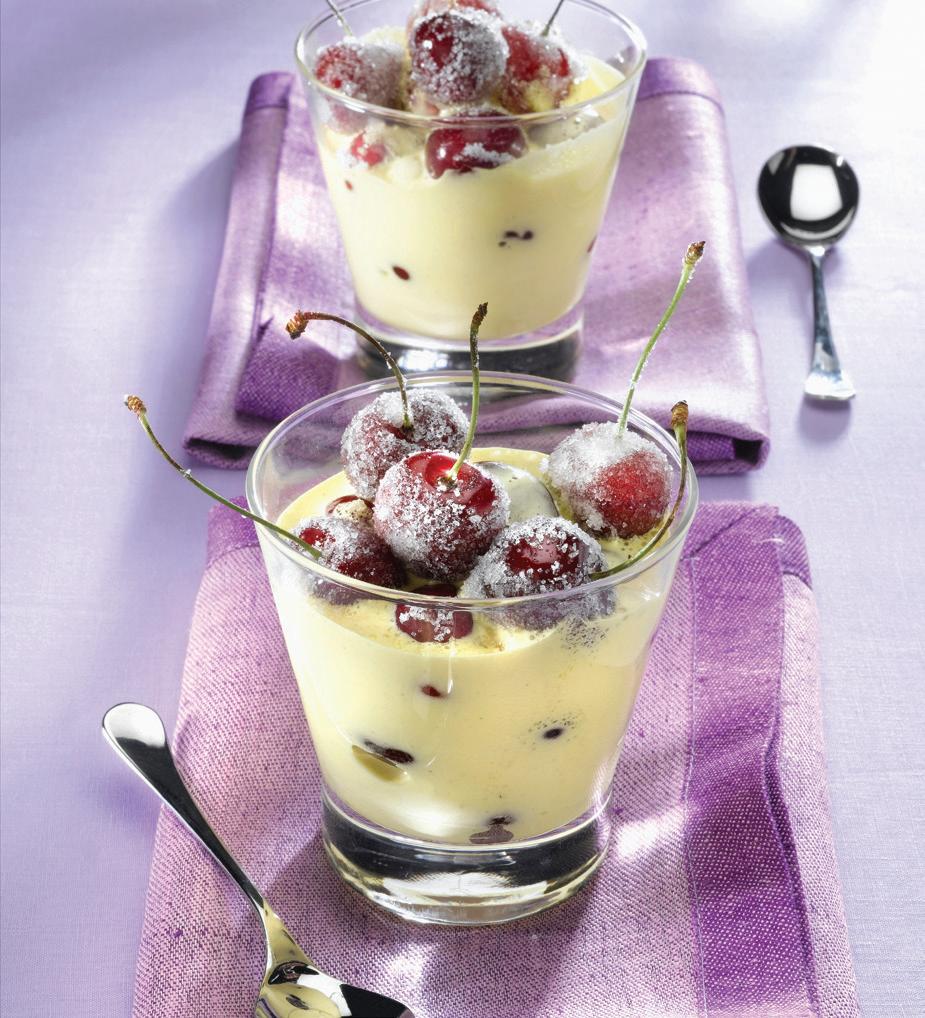
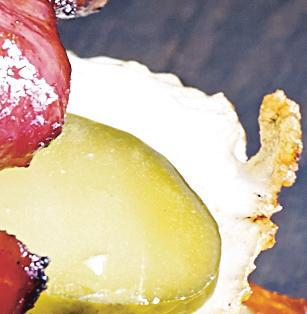
Zabaglione With Sweet Cherries and Summer Berries
MAKES 6 SERVINGS
½ cup sweet Marsala wine
1 tablespoon water
4 large egg yolks
2 tablespoons granulated sugar
Pinch of salt
2. Cut peaches in half and carefully remove the pit (collect and reserve the juice) and combine with the 1 tablespoon olive oil, lemon juice, cinnamon, vanilla extract, and sugar. Toss peaches to evenly coat and place on the preheated grill and grill cut side for 2 to 4 minutes until golden brown. Remove from grill and place in a covered bowl to cool. Let cool and slice thinly.
3. Place the reserved peach juice in a blender or food processor. Add the vinegar, thyme, and mustard, and pulse to combine. Add the ¼ cup olive oil and pulse again. Taste for seasoning and add salt and pepper as needed. You may need to add a bit more vinegar or oil to get you desired consistency and flavor.
4. Mix the lettuce, pecans, feta cheese, grilled sliced peaches, and chicken (if using). Add ¼ cup of the vinaigrette, or more if you wish.
½ cup each fresh sweet cherries, raspberries, blackberries, strawberries, and blueberries
1. Combine the Marsala and water in a liquid measuring cup and set aside. Place about 2 inches of water in the bottom of a large pot and bring to a boil.
2. Place the egg yolks into a large stainless steel bowl (one that will sit over the pot you heated the water in). Using a handheld mixer (or a whisk) beat the egg yolks, gradually adding the sugar and salt. Beat for about 5 minutes (or 8 to 10 minutes if doing so by hand) until the mixture is thick, pale yellow, and holds a “ribbon.”
3. Place the bowl with the egg yolk mixture over your double boiler (water must not be touching the bottom of the bowl) and reduce the heat to low. Stir the Marsala mixture into the yolks using a whisk. Continue to whisk the zabaglione until it is doubled in volume and registers 160°F on an instant read thermometer (a safe temperature for serving), 5 to 7 minutes. Remove the bowl from the heat and pour the zabaglione into a clean measuring cup. It may be served immediately or chilled.
4. Rinse the berries under cold water then dry them thoroughly on a triple layer of paper towels. Remove the hulls from the strawberries and pits from the cherries and cut into about ¼-inch pieces. Toss all of the berries and cherries together in a large bowl. Divide the fruit among the serving cups, then spoon or pour the prepared zabaglione over the fruit and serve immediately.
Here’s the Beef
If you enjoy beef as part of your menus, you will enjoy that it can be part of a healthy diet, too. A 3-ounce serving of beef provides more than 10 essential nutrients including iron, zinc, and vitamins B 12 and B 6 —and, of course, protein. In fact, it provides 25 grams of protein per a 3-ounce serving, which can support muscle maintenance and help keep you feeling full and energized—and all this at around 170 calories on average, and just 150 calories for a serving of lean beef. While steak can be great with little more than salt and pepper for seasonings, there are also delicious ways to mix up your grilling repertoire this summer. In these recipes, courtesy of Beef, It’s What’s For Dinner, you can switch up kebabs with fresh fruit, serve sizzling steak with cool cucumbers as an appetizer, and top crisp lettuce for a main-meal salad.
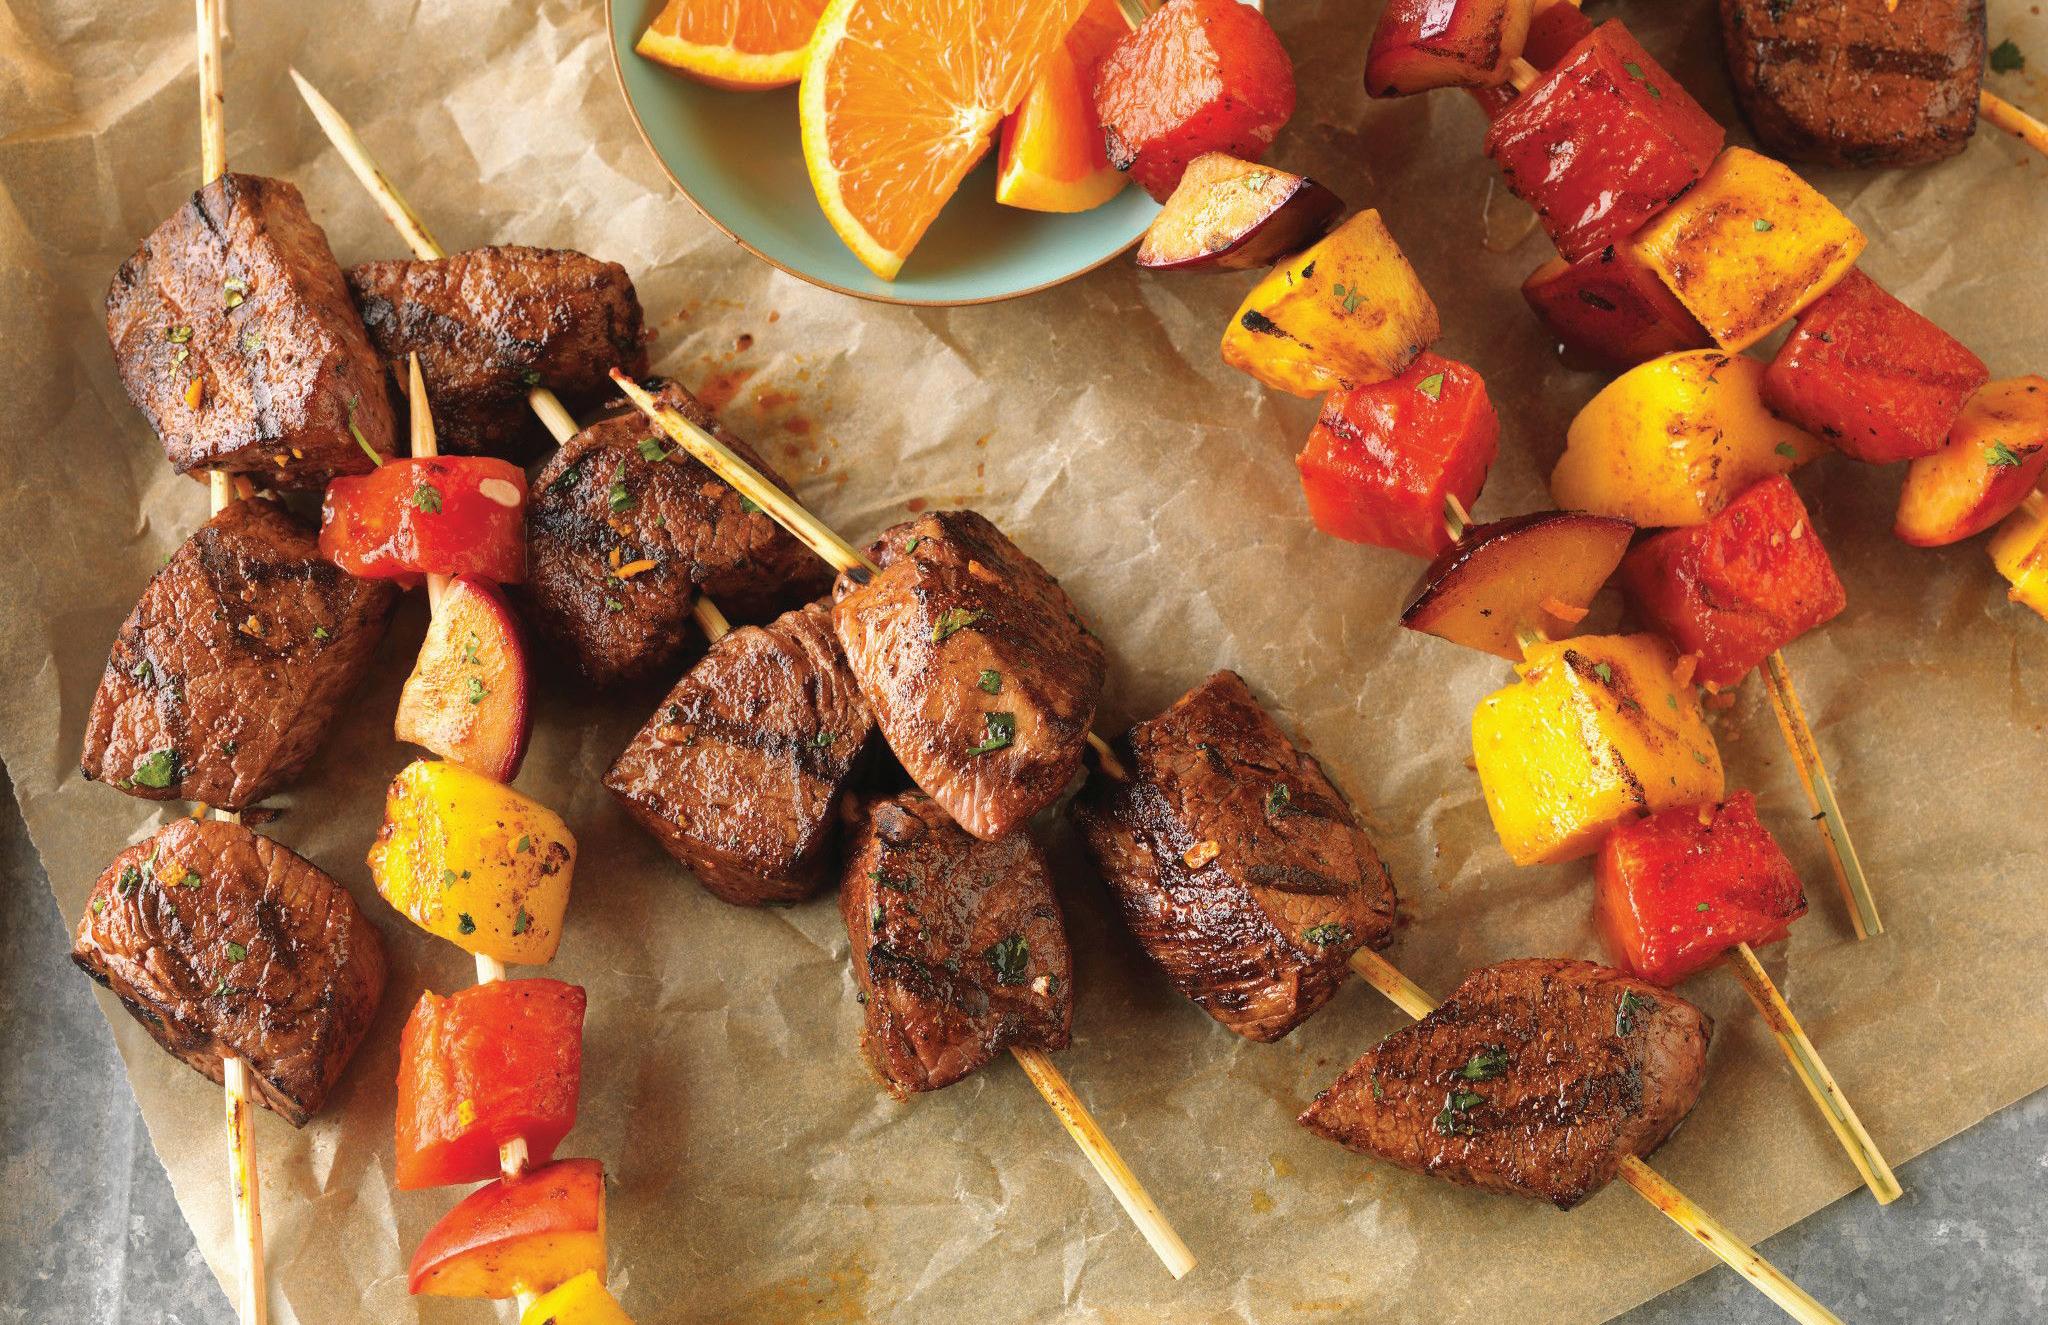
Citrus-Rubbed Beef Top Sirloin and Fruit Kebabs
MAKES 4 SERVINGS
This combines fresh fruit and steak in a colorful, easy-to-eat kebab. Plus, this recipe is certified by the American Heart Association*.
1 medium orange
2 tablespoons chopped fresh cilantro, plus more for garnish
1 tablespoon smoked paprika
¼ teaspoon ground red pepper (optional)
1 boneless center cut beef top sirloin steak (about 1 pound)
1. Grate, peel, and squeeze 2 tablespoons juice from the orange and reserve juice. Combine orange peel, cilantro, paprika, and ground red pepper (if using) in a small bowl.
2. Cut beef steak into 1¼-inch pieces. Place beef and cilantro mixture in food-safe plastic bag, turning to coat. Marinate beef in refrigerator 15 minutes to 2 hours.
3. Soak 8 (9-inch) bamboo skewers in water 10 minutes, then drain. Thread beef evenly onto 4 skewers, leaving small space between pieces. Thread fruit onto remaining 4 separate skewers.
4. Place kebabs on grid over medium, ash-covered coals and grill beef kebabs, covered, 5 to 7 minutes—or over medium heat on preheated gas grill 7 to 9 minutes— for medium-rare (145°F) to medium (160°F) doneness, turning occasionally. Grill fruit kebabs 5 to 7 minutes or until softened and beginning to brown, turning once.
5. Drizzle reserved orange juice over fruit kebabs. Garnish with cilantro, if desired.
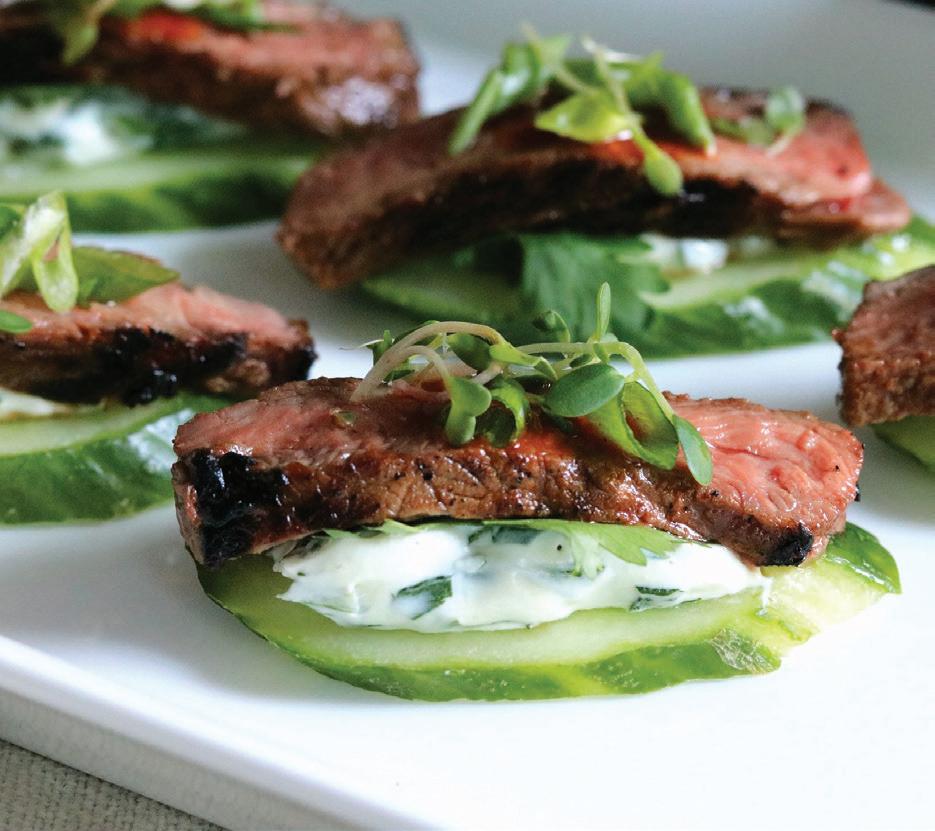
Spicy Korean Beef and Cucumber Appetizers
MAKES 10 SERVINGS
Slices of cucumber are topped with beef strip steak, herbed cream cheese, and a spicy Asian sauce. Plus, this recipe is certified by the American Heart Association*.
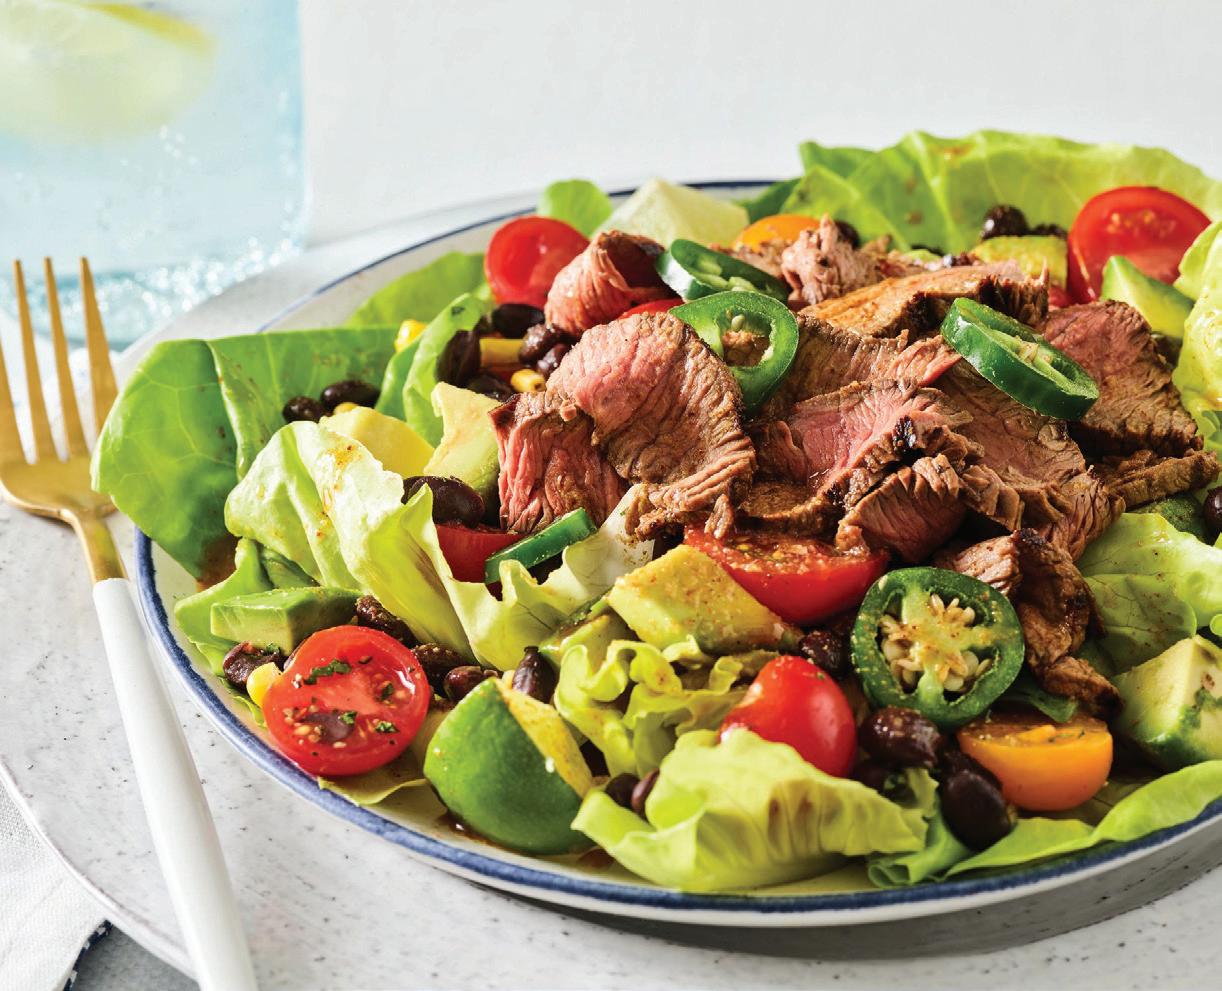
Smoky, citrus-seasoned steak served over lettuce with a corn and black bean Southwestern salsa adds a twist for a main-meal salad.
for the marinade
¼ cup orange juice
1 tablespoon Worcestershire sauce
1½ teaspoons olive oil
½ teaspoon granulated garlic
½ teaspoon ground cumin
½ teaspoon chipotle chile powder
¼ teaspoon salt
1 boneless beef top sirloin steak (about 1 pound)
for the black bean and corn salsa
1 (15 ounce) can no-salt added black beans, drained and rinsed
1 cup frozen corn, thawed
1 avocado, chopped
½ cup cherry tomatoes, halved
2 tablespoons lime juice
2 tablespoons chopped fresh cilantro
¼ teaspoon black pepper Jalapeño pepper slices (optional)
1 head Boston or bibb lettuce
1. Combine cream cheese, green onion, cilantro, and soy sauce in a small bowl. Cover and refrigerate.
2. Combine gochujang, vinegar, honey, and garlic powder in a medium bowl and set aside.
3. Place steak on grid over medium, ash-covered coals and grill, covered 11 to 14 minutes—or over medium heat on preheated gas grill, covered, cook 11 to 15 minutes—for medium-rare (145°F) to medium (160°F) doneness, turning occasionally. Remove steaks and keep warm.
4. Dice steak into bite-size pieces and toss in gochujang mixture.
5. To assemble, top each cucumber slice with 1 teaspoon cream cheese mixture. Top cream cheese mixture with steak. Garnish with micro greens, kimchi, peanuts, sesame seeds, cilantro, and scallions, if desired.
1. For the marinade, combine orange juice, Worcestershire sauce, olive oil, garlic, cumin, chile powder, and salt in a large mixing bowl. Reserve half of marinade for dressing. Place remaining marinade in a food-safe plastic bag and add sirloin steak, turning to coat. Close bag securely and marinate in refrigerator 6 hours or as long as overnight, turning occasionally.
2. Meanwhile, combine salsa ingredients in medium bowl. Cover and refrigerate until ready to serve.
3. Preheat grill to medium heat. Remove steak from marinade and discard marinade. Place steak on grid over medium, ash-covered coals and grill, covered, 10 to 12 minutes—or over medium heat on preheated gas grill, 9 to 10 minutes—for medium-rare (145°F) to medium (160°F) doneness, turning occasionally.
4. Let steak rest 5 to 10 minutes. (Temperature will continue to rise about 5°F to 10°F to reach 145°F for medium-rare; 160°F for medium.) Carve steak diagonally across the grain into thin slices.
5. Layer lettuce leaves on serving platter. Top with salsa and steak. Drizzle with reserved marinade and top with jalapeños, as desired.
Uncork delicious wines for perfect pairings with these recipes and cheeses
Diatom Chardonnay
MAINE LOBSTER ROLLS | PAGE 22
This Santa Barbara, California, Chardonnay has a vivid medium-gold hue followed by a vibrant nose of salted citrus, tangerine, exotic flowers, and subtle spice. Medium-bodied, pure, rounded, and beautifully balanced, it has plenty of power and density, integrated acidity, and a great finish.
Cheese Pairing: Brie and Cheddar
Jack Tar Cabernet Sauvignon
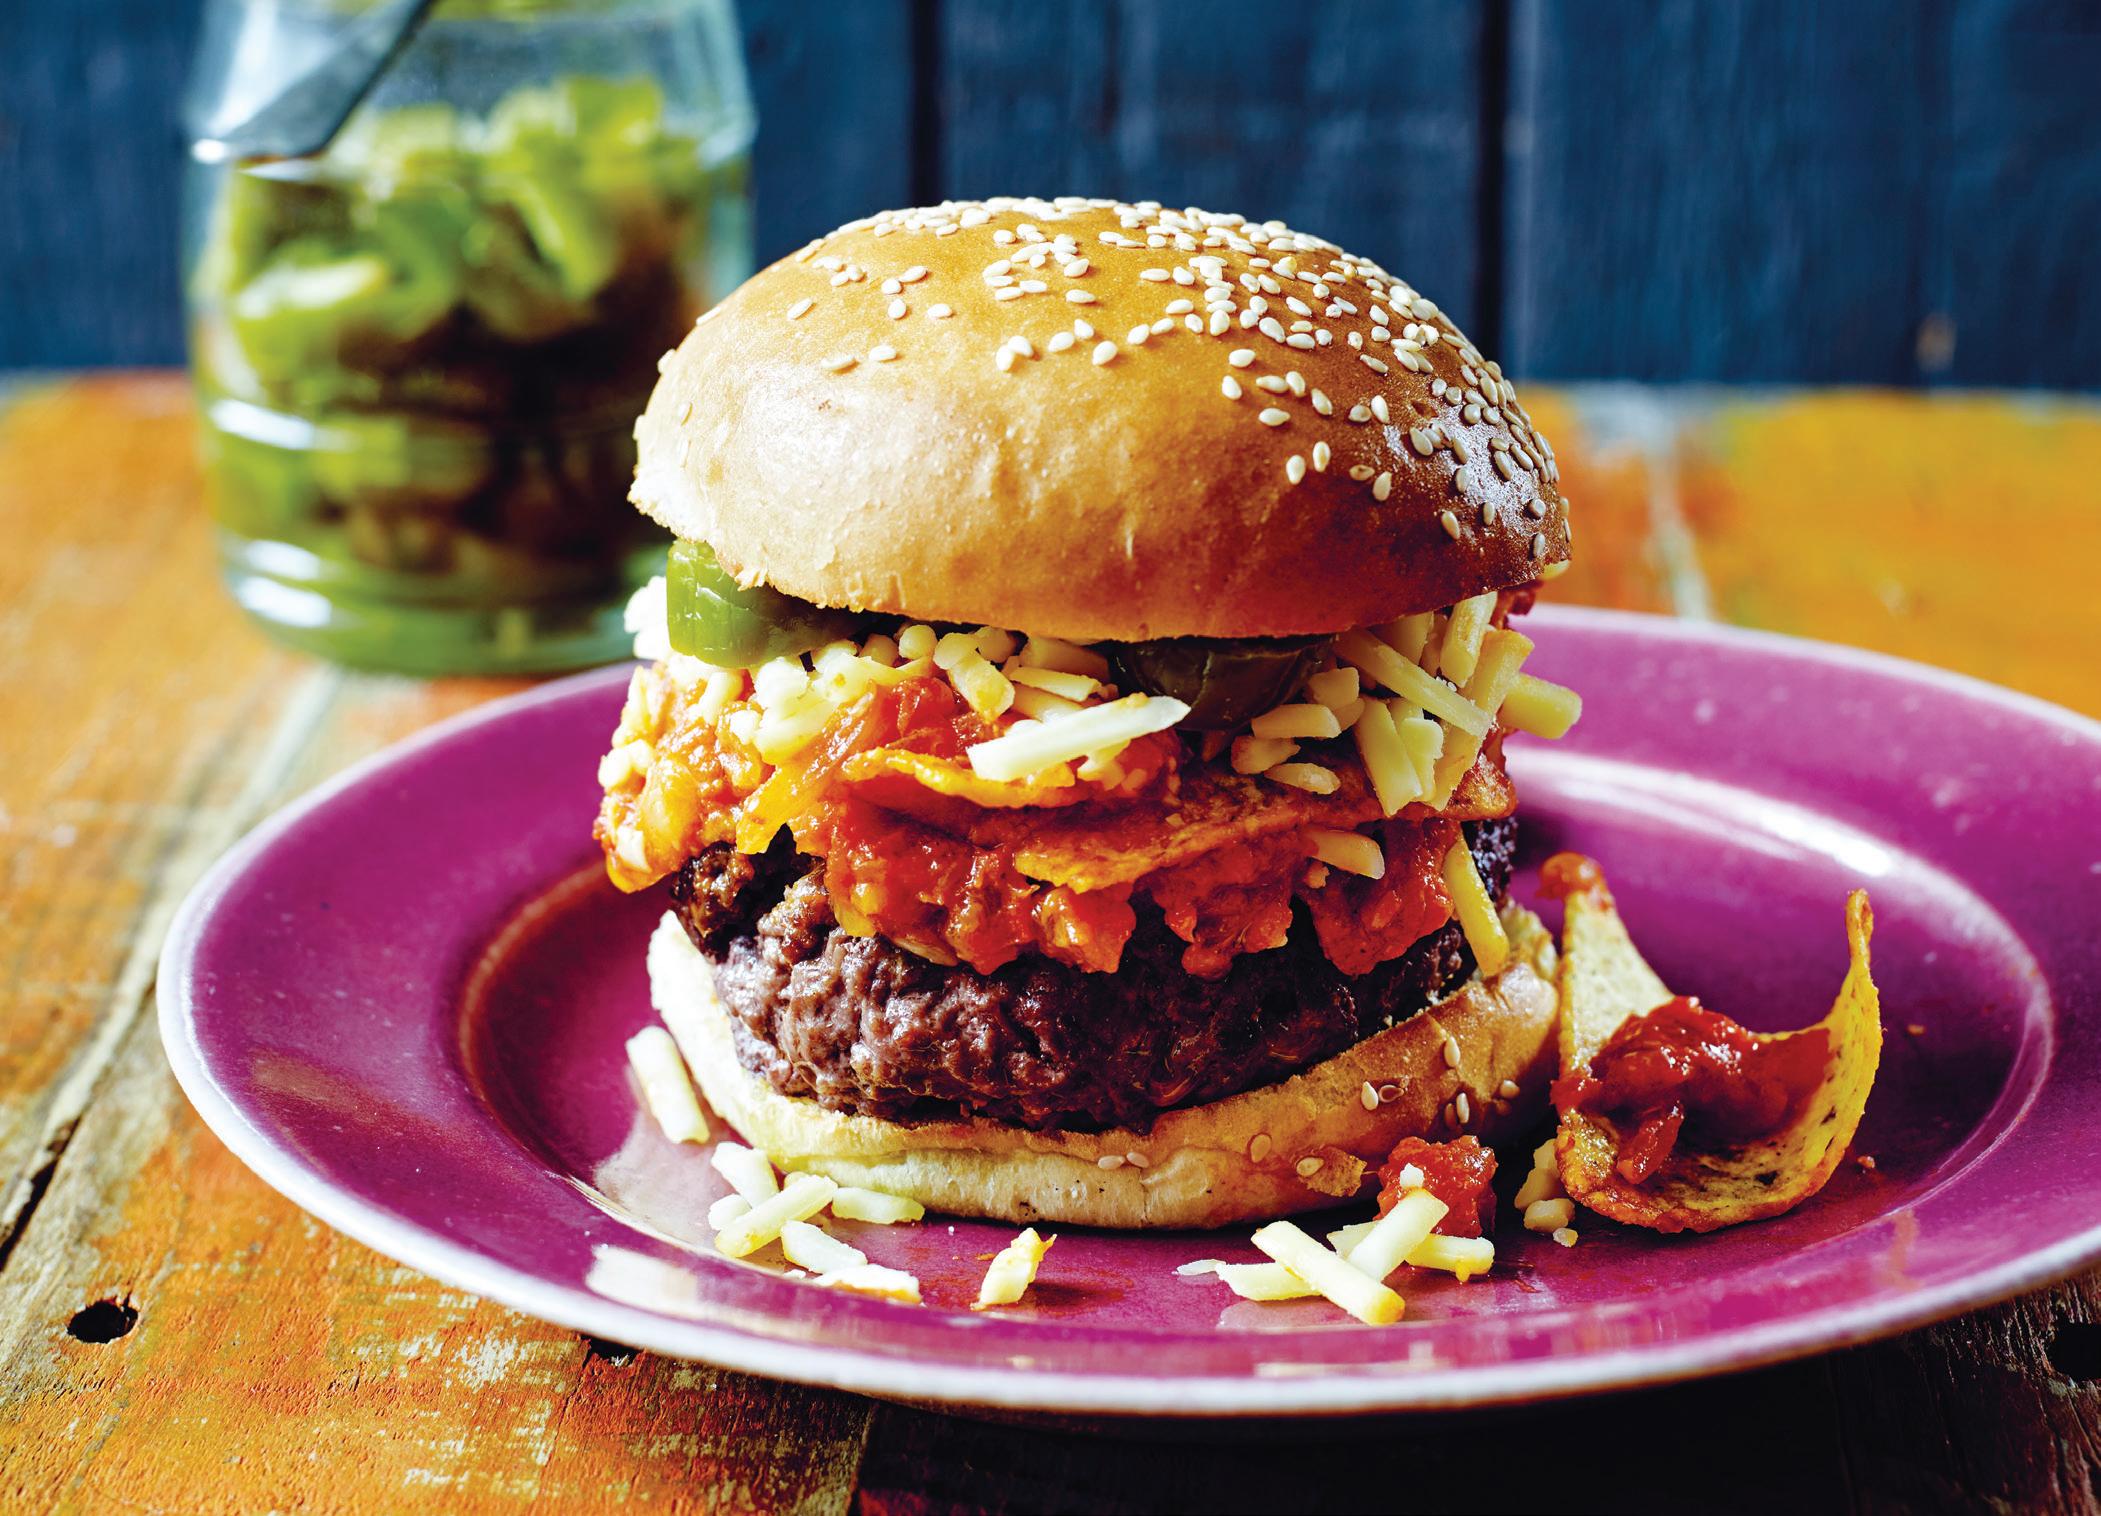
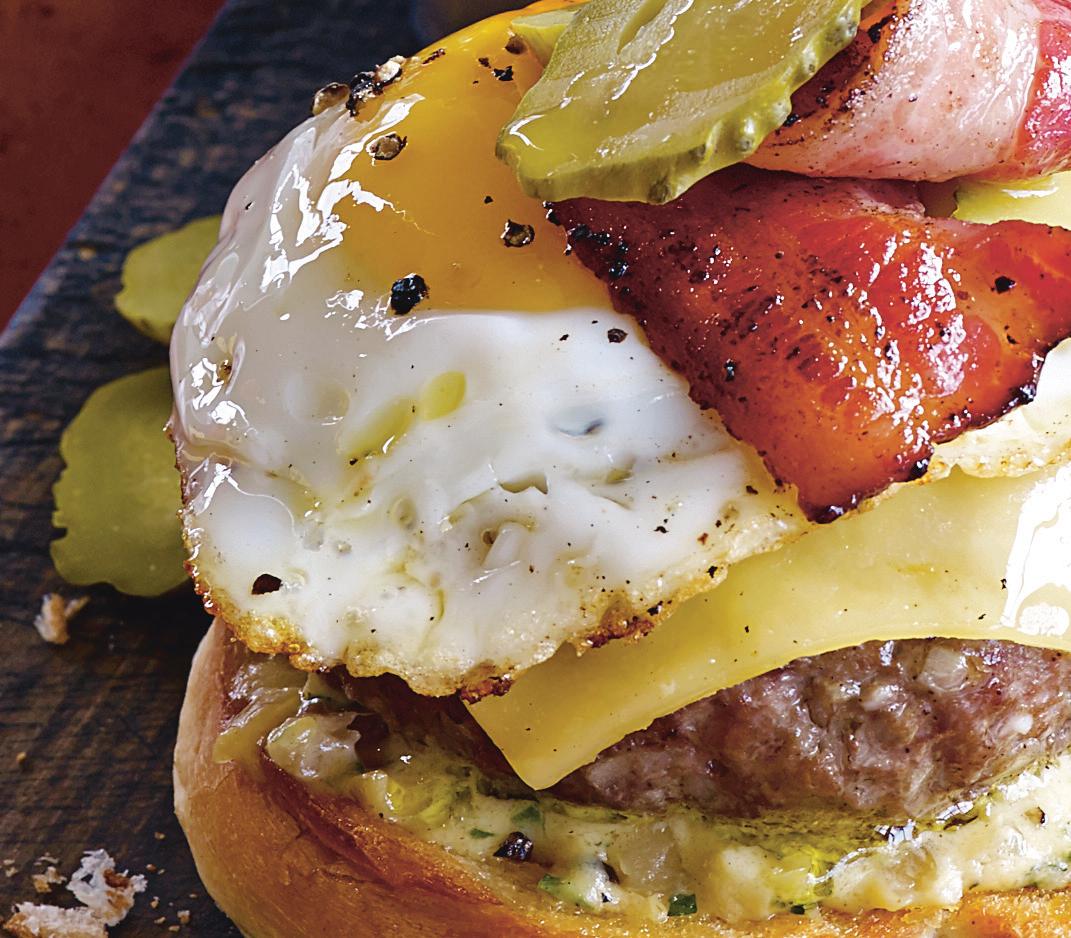
DINER CHEESEBURGER | PAGE 45
Sourced from multiple estates in Paso Robles, California, this Cabernet begins with aromatic waves of black cherries, tobacco, and vanilla cream, leading into an opulent and smooth palate of grilled plums, crushed gravel, cigar box, and spice. A plush midpalate is framed by dusty, yet formidable tannins that linger on the finish.
Cheese Pairing: Blue and Sharp Cheddar
Ken Wright Cellars Pinot Noir
BING CHERRY BARBECUE WINGS | PAGE 32
A brilliant core of red and bramble fruits dances with hints of cedar, passion fruit, rose petal, and turned earth. The palate of this Willamette Valley, Oregon, Pinot is balanced, with a plush texture and a vibrant, juicy finish.
Cheese Pairing: Gruyere and Camembert
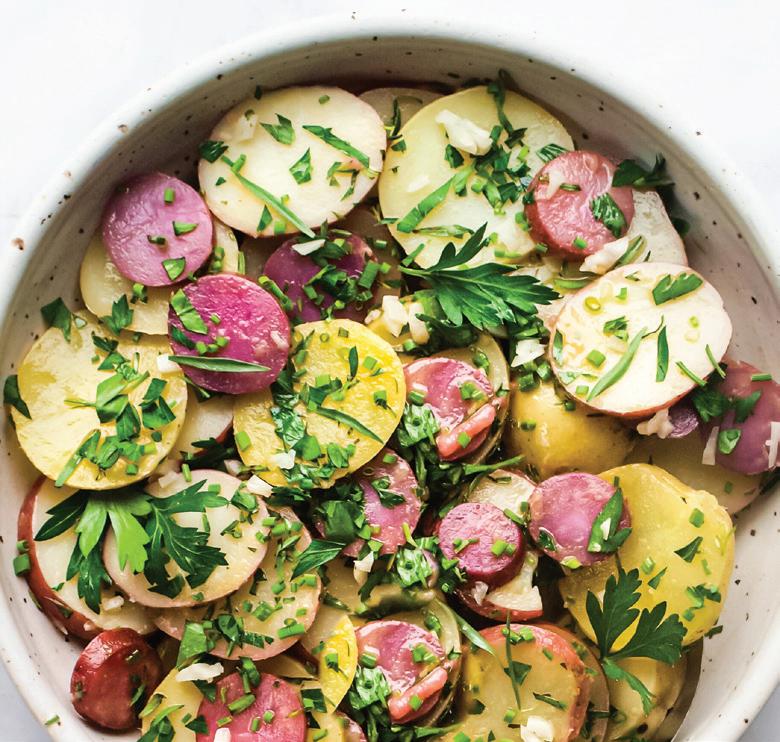
Château Les Millaux Bordeaux Blanc
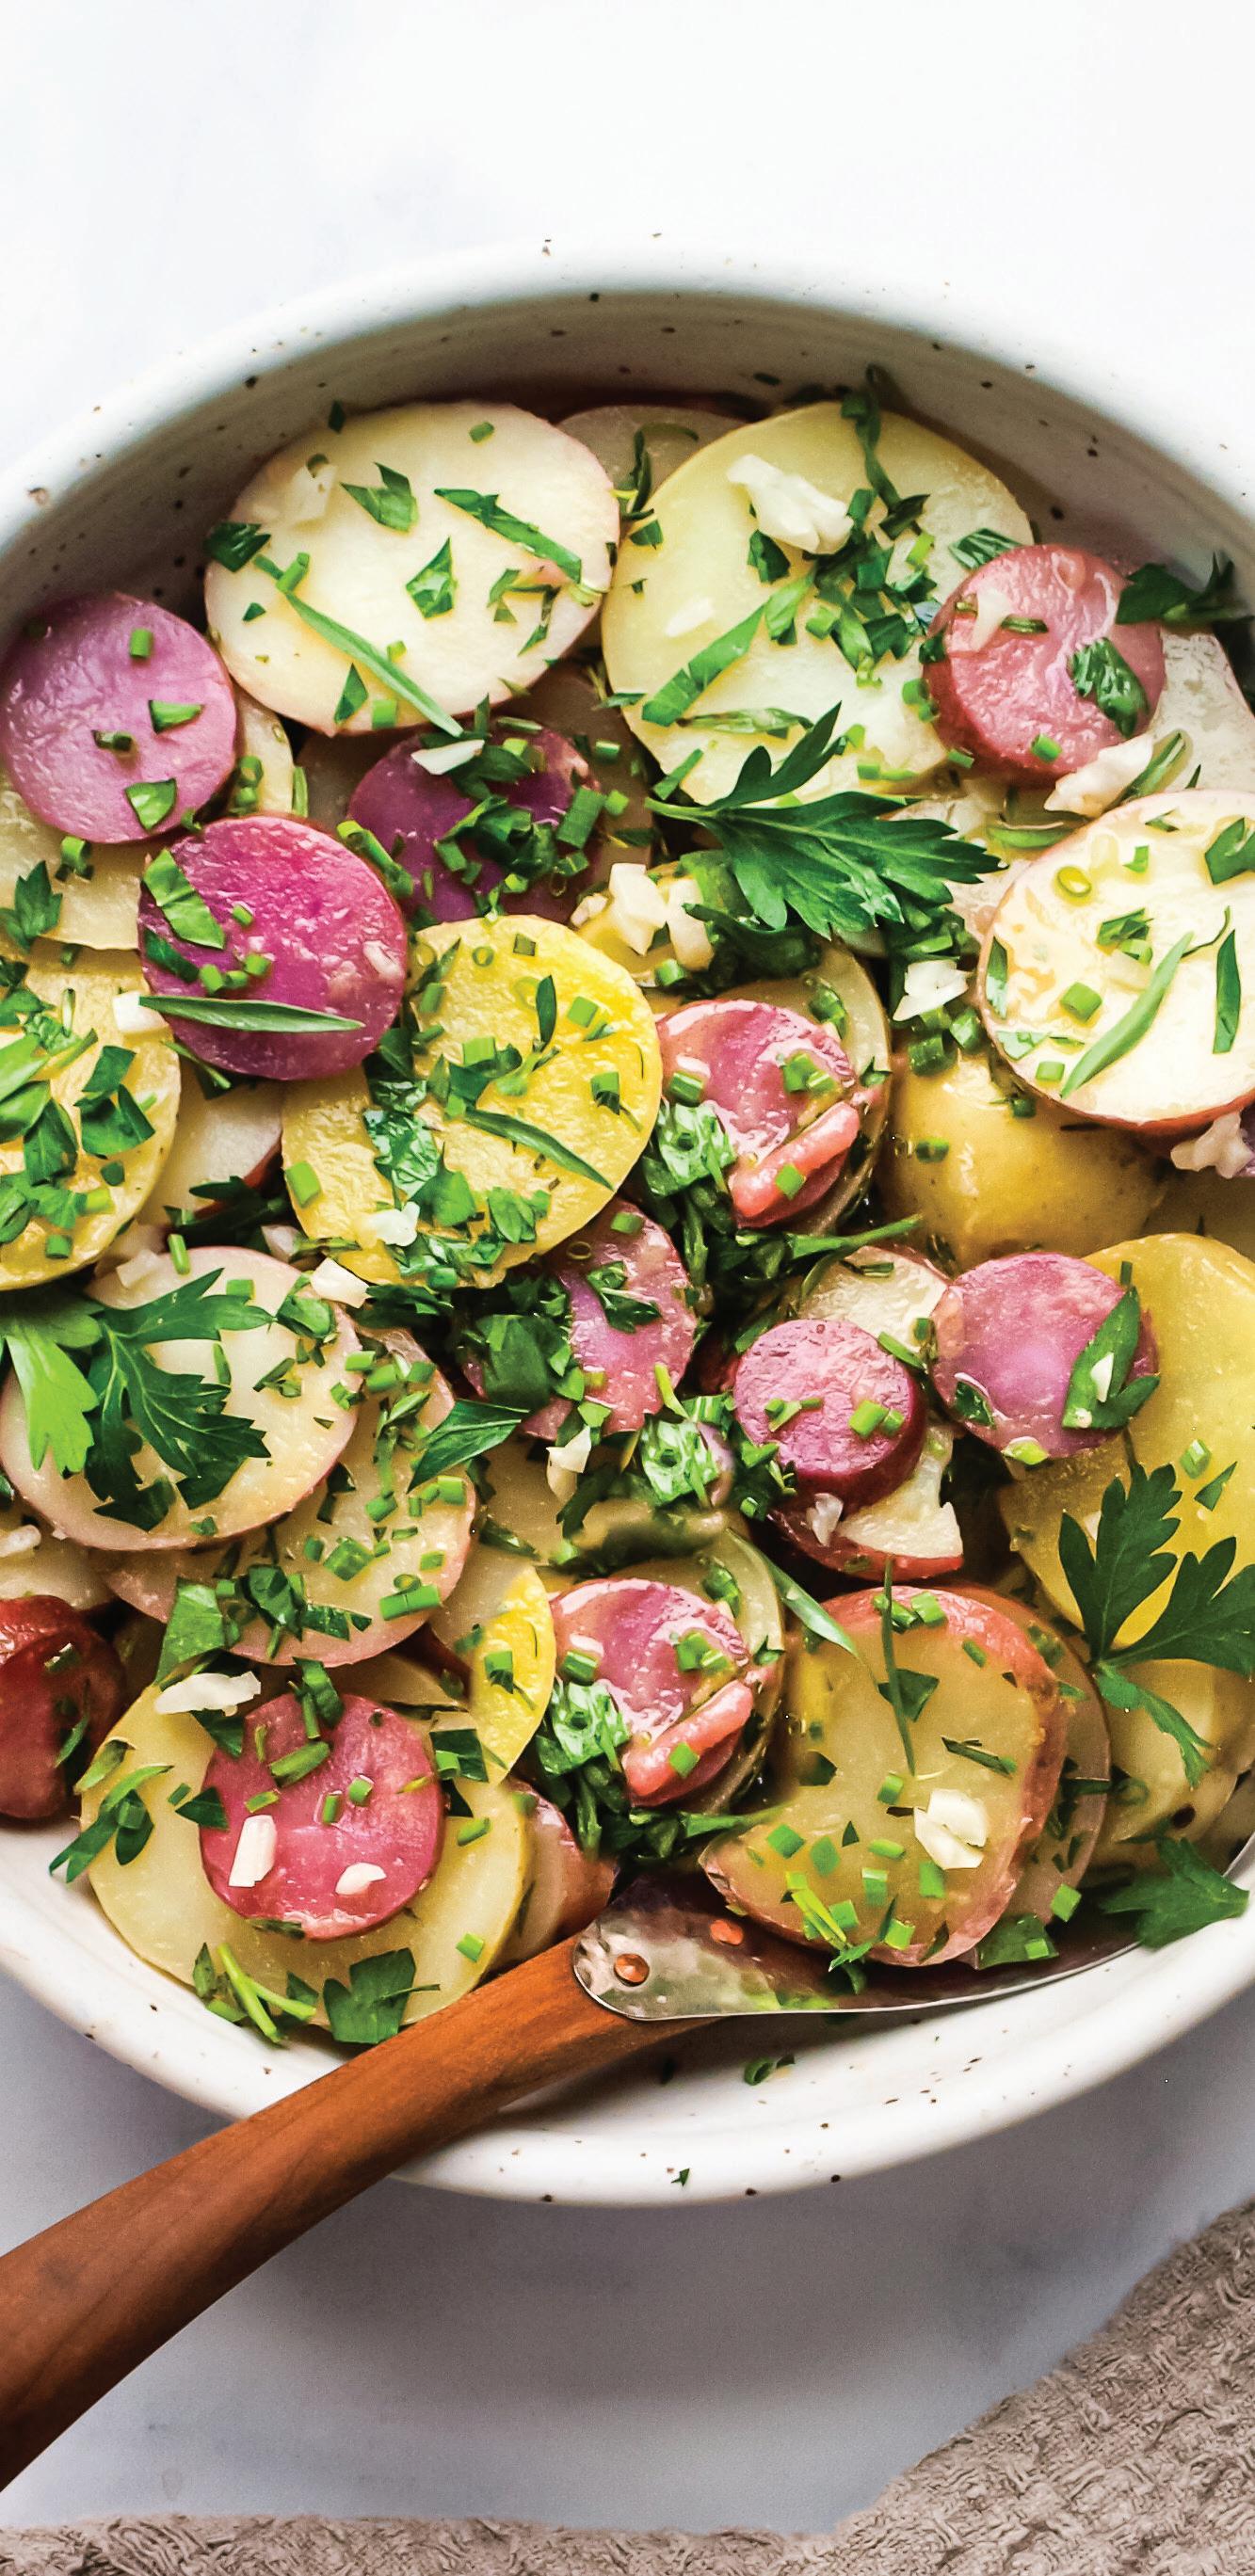
FRENCH POTATO SALAD | PAGE 47
This Sauvignon Blanc hails from between Fronsac and Saint-Émilion, France, and supplies a deliciously fruitdriven bouquet with a light, persistent palate with finely balanced acidity. Fantastic as an aperitif or as a partner to fish and poultry dishes, cheese, and salads.
Cheese Pairing: Brie and Gouda
Some wines may not be available in all locations.
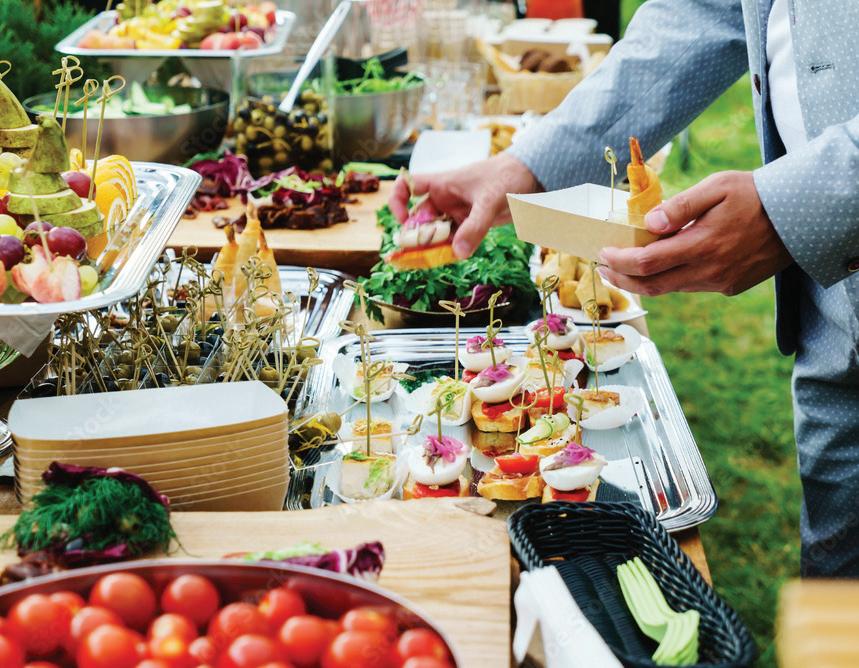
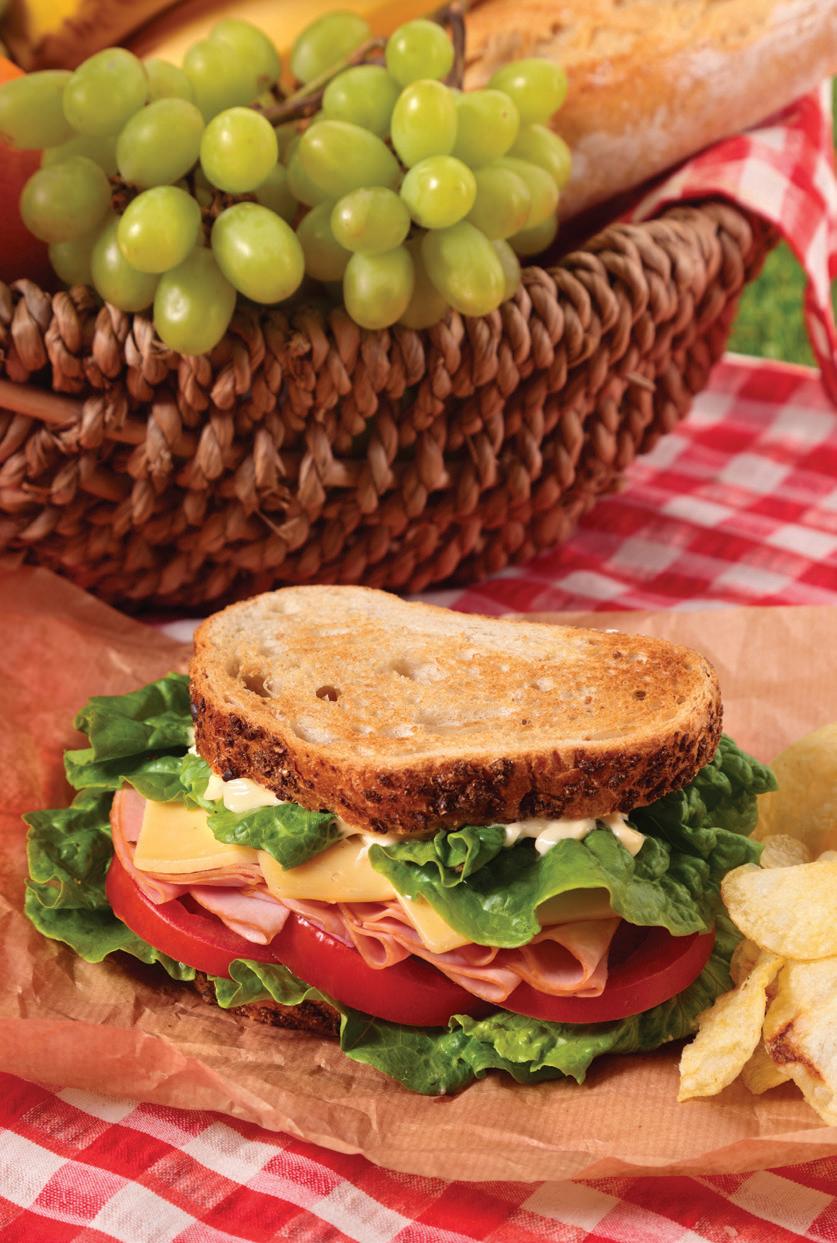
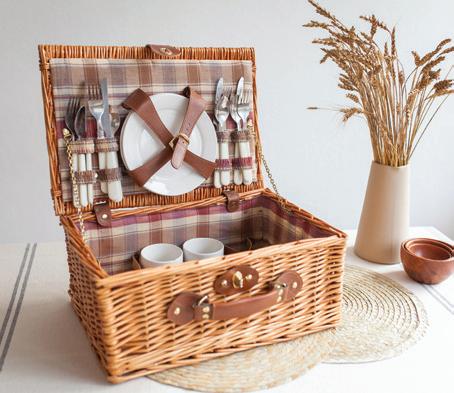
Picnic PERFECTION
Turn your picnic or cookout into a breeze with these simple essentials
by alesha taylor
As the weather warms up, there’s no better way to enjoy a meal than by dining outdoors. With the right gear and a little preparation, your picnic or cookout can be stress-free and full of delicious food. Whether you’re grilling up burgers, enjoying a fresh salad, or simply sipping a cold drink in the sun, the right tools will help make your outdoor meal even more pleasant.
Gear Up
For cooking over an open flame or just adding variety to your meal, a few extra pieces of cookware can make all the di erence. A cast-iron skillet is perfect for grilling meats or cooking on a portable stove. It provides even heat and is durable enough to withstand high temperatures. For those looking to enhance their cooking with smoky flavors, consider using cedar or maple planks. These are especially great for cooking fish or chicken, infusing them with a rich, smoky aroma.
Share a Meal
The connection between food and social relationships runs deep, as evidenced by the roots of words like “copain” in French and “compagno” in Italian, both deriving from the Latin term for “with-bread.” Highlighted in the 2025 World Happiness Report, the act of sharing meals is not just a cultural practice—it holds profound implications for our well-being. New data reveals that those who regularly share meals experience greater life satisfaction and lower levels of negative emotions. Make an e ort to gather around the table more often—sharing a meal might just be the recipe for a happier and more connected life.
Get Organized
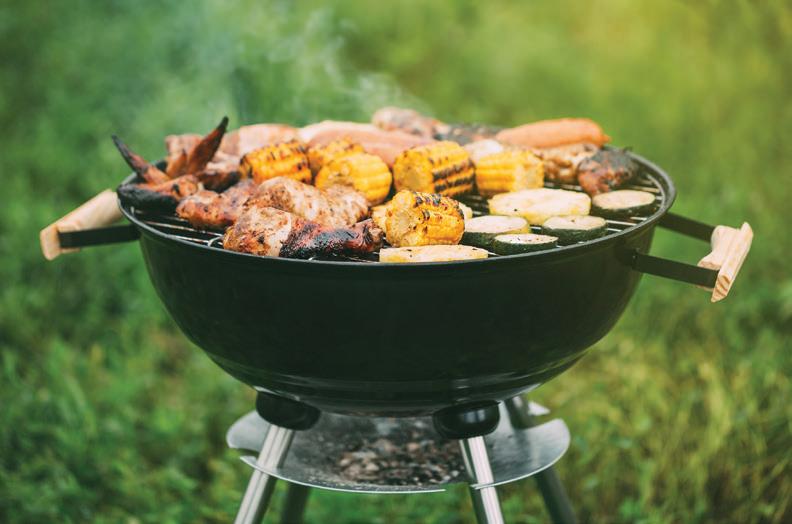
Grilling Tools
When it comes to cooking outdoors, a portable grill is an absolute must. There are plenty of options to choose from, whether you prefer charcoal for that smoky flavor or propane for a quicker setup. If you’re grilling a variety of items, be sure to have a pair of long-handled tongs for flipping burgers and a sturdy spatula for handling delicate items like fish. Don’t forget a grill basket for smaller items like veggies or shrimp that might fall through the grates.
An insulated cooler or picnic basket is key to ensuring your food stays cold. Coolers with separate compartments are perfect for keeping drinks, snacks, and perishables separate, while insulated bags work well for smaller gatherings. For long days out, make sure your cooler has plenty of ice packs to keep everything chilled until you’re ready to eat.
Cool Down
Hydration is key on hot summer days. Make sure to pack plenty of water, and consider reusable water bottles to reduce waste. Having a water dispenser or large jug can also be handy for refills, especially if you’re in a location without easy access to drinkable water.
healthy habits
Nutrition Made Simple
Registered dietitian Kylie Sakaida offers easy, sustainable, and delicious tips for living a more balanced lifestyle
by emma enebak
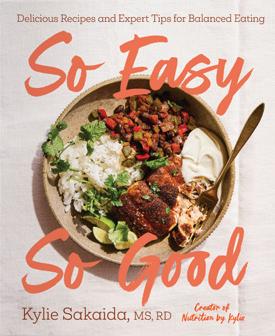
“Health doesn’t have to come at the cost of comfort or joy.” This is the wisdom that registered dietitian and social media influencer Kylie Sakaida spread in a recent TikTok video, where she garnered nearly 1 million views explaining why she still eats white rice—despite the “bad rap” it has gotten in nutrition spaces. With a collective social media following of over 6 million, Sakaida has built a brand on disrupting classical nutrition training to empower people to make nutrition less overwhelming and more accessible, providing easy, inexpensive, and flavor-packed recipes that prove eating healthy doesn’t have to be boring. Following the release of her first cookbook this spring (“So Easy, So Good: Delicious Recipes and Expert Tips for Balanced Eating”) we caught up with Sakaida to learn more about her liberating approach to nutrition, and her simple tips for leading a balanced—and delicious—lifestyle.
In your opinion, what is the biggest misconception when it comes to eating healthier?
That healthy eating has to be all or nothing. People think they need to cut out entire food groups, overhaul their entire routine, or spend hours meal prepping. But the truth is, the biggest changes o en come from the smallest habits like adding more ber to your meals, drinking more water, or simply eating at regular times. You don’t have to be perfect to be healthier!
Can you explain the importance of balancing protein, carbs, healthy fats, and fiber in our meals?
Each of these nutrients plays a key role in how we feel and function after eating. Protein not only helps keep us full but is also essential for building and repairing muscle. Carbs give us energy, fats provide satisfaction and support hormone health, and fiber helps with digestion and blood sugar balance. When we build meals that include all of these, we’re more likely to feel energized, satisfied, and less prone to cravings later.
How does ‘So Easy, So Good’ offer a new perspective on nutrition?
‘So Easy So Good’ takes a completely opposite approach from restrictive dieting. Instead of focusing on what to remove, it’s all about what you can add: more fiber, protein, variety. It’s not about achieving perfection; it’s about creating meals that support your health and your lifestyle. You’ll find options that are satisfying, nourishing, and easy enough to actually make on a busy weeknight.
Some big obstacles that people run into when improving their diet is the extra time and money it can take. How does ‘So Easy, So Good’ find ways around this?
Lack of time and energy are two huge barriers to eating healthy, which is why [the book] was built around the idea that healthy eating doesn’t have to mean starting from scratch every night. Some of the recipes in the book use convenient foods like canned beans, frozen veggies, precooked grains, and rotisserie chicken. These ingredients save time without sacrificing nutrition and make building balanced meals way more doable. There’s also a whole section on freezer-friendly meals you can prep ahead so you always have something nourishing ready to go on busy days!
What are a few simple ingredients that readers should keep in their pantry to help enhance their diets?
n Canned beans—Budget-friendly and full of fiber and protein
n Frozen veggies—Just as nutritious as buying them fresh, plus they last way longer
n Oats—Easy breakfast option that can be used as a highfiber base for nutritious toppings like nuts, seeds, and fruit
n Canned fish—Tuna, salmon, sardines, and anchovies are packed with protein and omega-3 fatty acids
n Tahini or nut butter—For sauces, dressings, or quick flavor boosts, these can turn the most basic ingredients into balanced, crave-worthy meals
What are two of your favorite high-nutrition recipes?
Can you explain the benefits they bring?
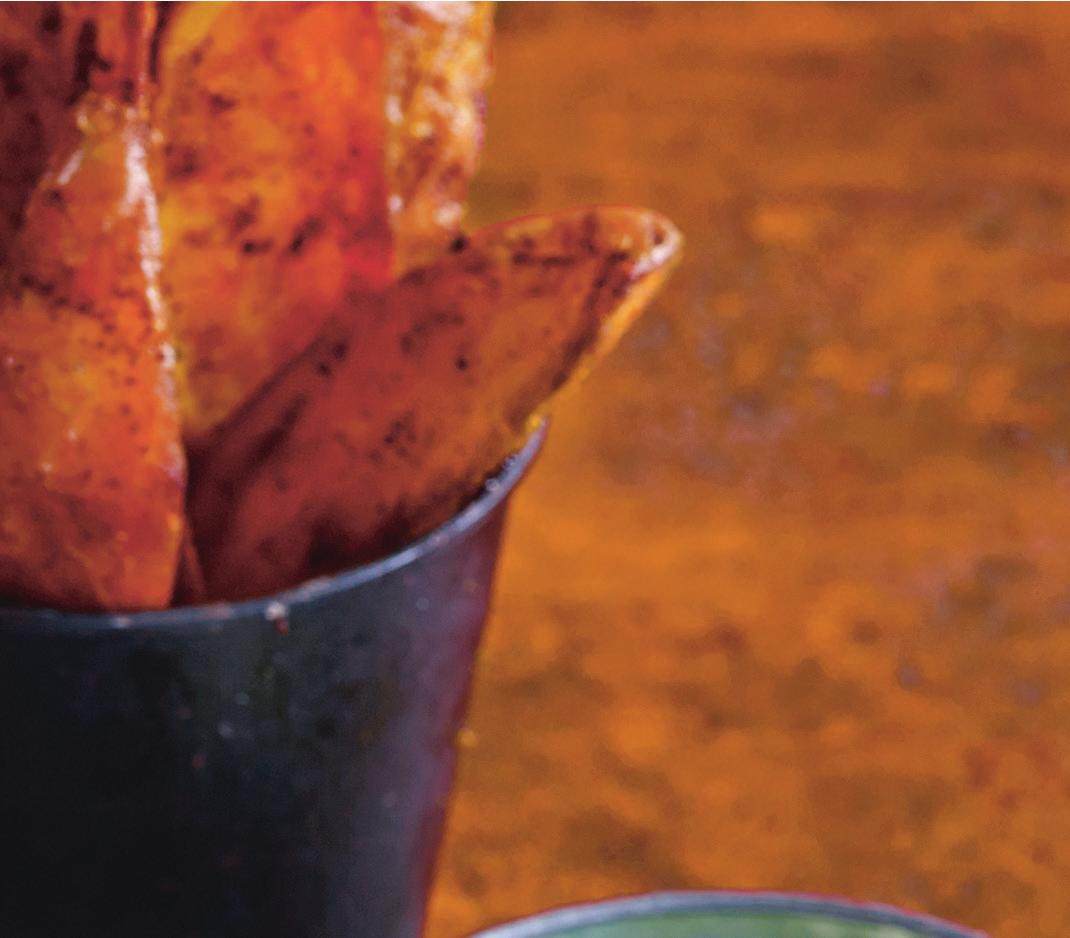
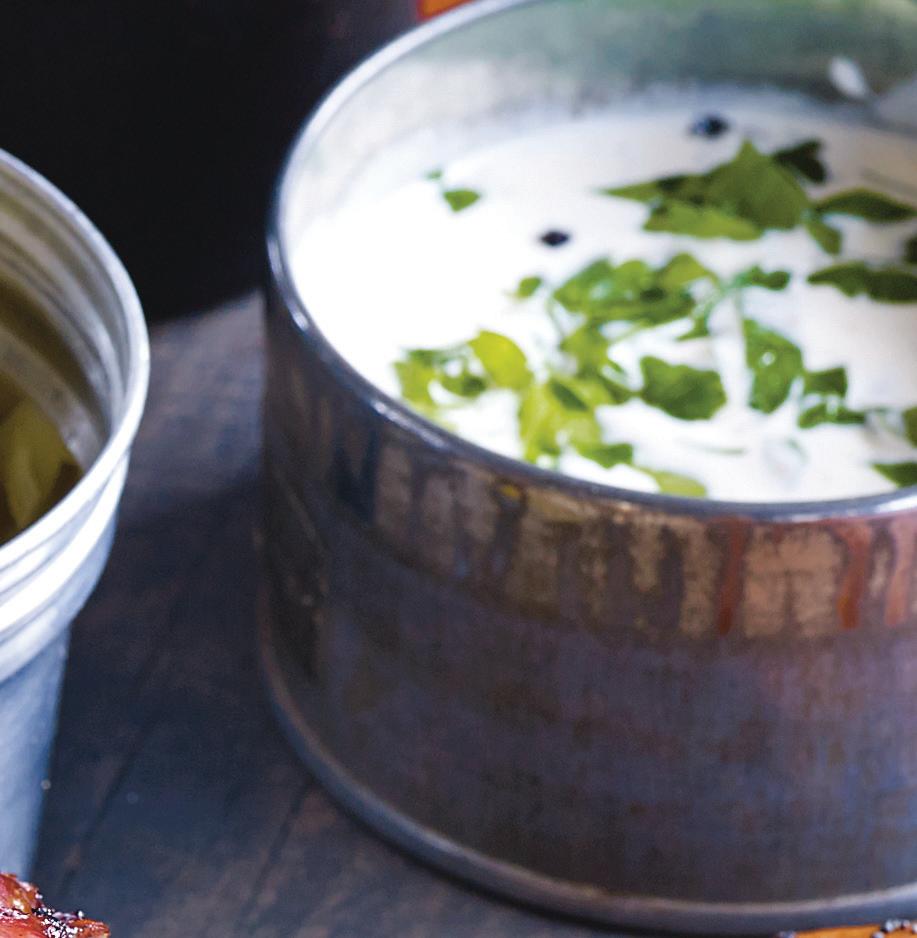
The Tahini Sweet Potato and Chickpea Bowl is a great goto option when I’m in need of an energy-boosting meal. Sweet potatoes are a fantastic source of beta-carotene, which is converted into vitamin A in the body and plays a crucial role in vision, immune function, and skin health. They also offer a healthy dose of vitamin C, potassium, and fiber. Chickpeas are packed with plant-based protein and fiber, providing sustained energy and keeping hunger at bay. Adding kale introduces an abundance of nutrients, including vitamin K, vitamin C, and calcium. Additionally, the tahini dressing adds a burst of flavor as well as healthy fats, protein, and essential minerals like calcium and iron.
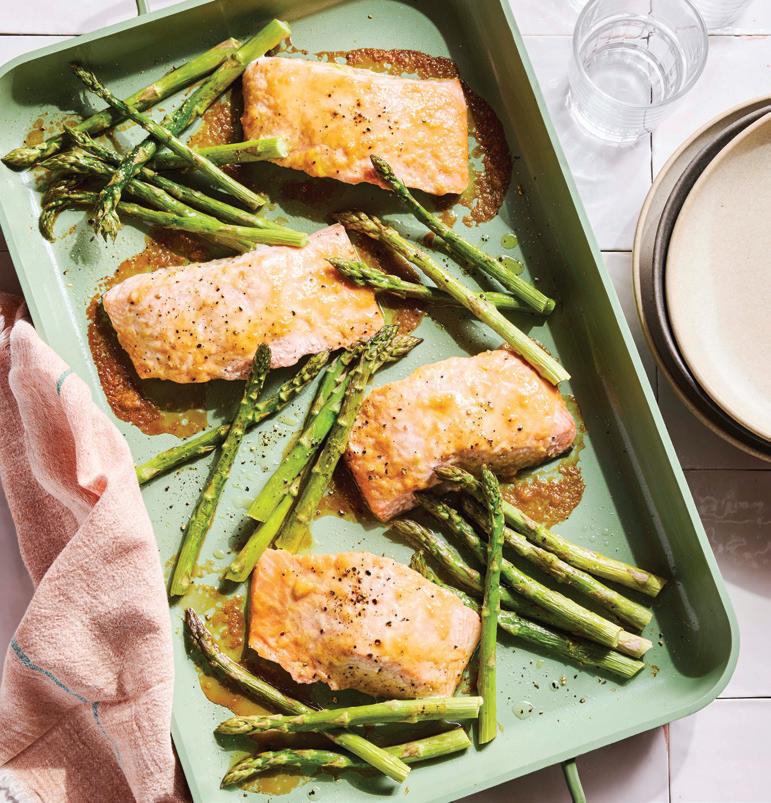
The Miso Salmon with Asparagus is another delicious and nutritious option that checks a lot of boxes for a balanced meal. The salmon provides high-quality protein and hearthealthy omega-3 fa y acids, which help reduce in ammation, support brain health, and keep you feeling full and satis ed. Pairing it with asparagus brings ber and vitamins like A , K,
Miso Salmon with Asparagus
MAKES 4 SERVINGS
and folate to the plate. These nutrients are all important for digestion and immune support.
What are some ways that a balanced approach to eating can improve daily life?
A balanced approach to eating [about half your plate produce, a quarter protein, and a quarter carbs with a thumb-size portion of healthy fats] can make daily life feel easier and more energizing. It takes the stress out of food by removing the pressure to be ‘perfect’ and instead focuses on consistency and flexibility. This mindset is more sustainable, which means you’re more likely to stick with it long term, and when you can maintain a healthy eating pattern over time, you’re more likely to see real improvements in your health. That could mean better energy, improved digestion, and positive changes in things like blood sugar and cholesterol levels. Rather than chasing quick fixes, a balanced approach helps you build habits that support your body and mind for the long haul.
This is one of the first recipes I created when I lived in Boston years ago, but it’s so good that to this day it’s still in my and many of my friends’ weekly dinner rotations! The marinade is so simple and versatile. It uses white miso, which is the lightest in flavor and adds a sweet and salty umami and richness to the dish, with a little tang coming from the rice vinegar. –k s
Olive oil spray
2 tablespoons maple syrup
2 tablespoons rice vinegar
2 tablespoons reduced-sodium soy sauce
2 tablespoons white miso
1 garlic clove, minced
4 salmon fillets (4 ounces each)
1 pound asparagus, tough bottoms trimmed (see Cook’s Note)
Extra virgin olive oil, for drizzling Kosher salt and freshly ground black pepper, to taste Steamed rice, for serving
1. Heat the oven to 400°F. Lightly spray a sheet pan with olive oil.
2. In a bowl, combine the maple syrup, vinegar, soy sauce, miso, and garlic. Add the salmon and toss to coat.
3. Using a large thin spatula, carefully place salmon fillets at least 1 inch apart on half of the sheet pan, place the asparagus on the other half of the pan, and lightly drizzle with olive oil. Season with a pinch of salt and a few twists of black pepper.
4. Place the pan in the oven and roast until the center of the fish is opaque throughout and the asparagus spears are tender, about 15 minutes.
5. To serve, divide the fish and asparagus among 4 plates. Place a scoop of the rice alongside the fish.
Cook’s Note: If the asparagus you purchase is very thin, check frequently when the spears are roasting so they don’t burn. Carefully remove them as soon as they are tender and keep warm.
Take a delicious journey to explore regional U.S. specialties
by
From sea to shining sea, this vast country pulses with culinary diversity, and experiencing the breadth of our regional cuisines could take a lifetime. Fortunately for curious cooks—and eaters!—we can get a taste of new locales by recreating iconic dishes at home. Whether you choose lobster rolls from Maine, tomato pie from the Carolina Low Country, thick spice-rubbed steaks from Ranch Country, summer rolls from Southern California, or juicy barbecue chicken from Missouri, let your cooking adventures take you to all corners of the country. Instead of armchair travel, make this the summer for dinner table travel.
molly stevens
photos by terry brennan food styling by lara miklasevics
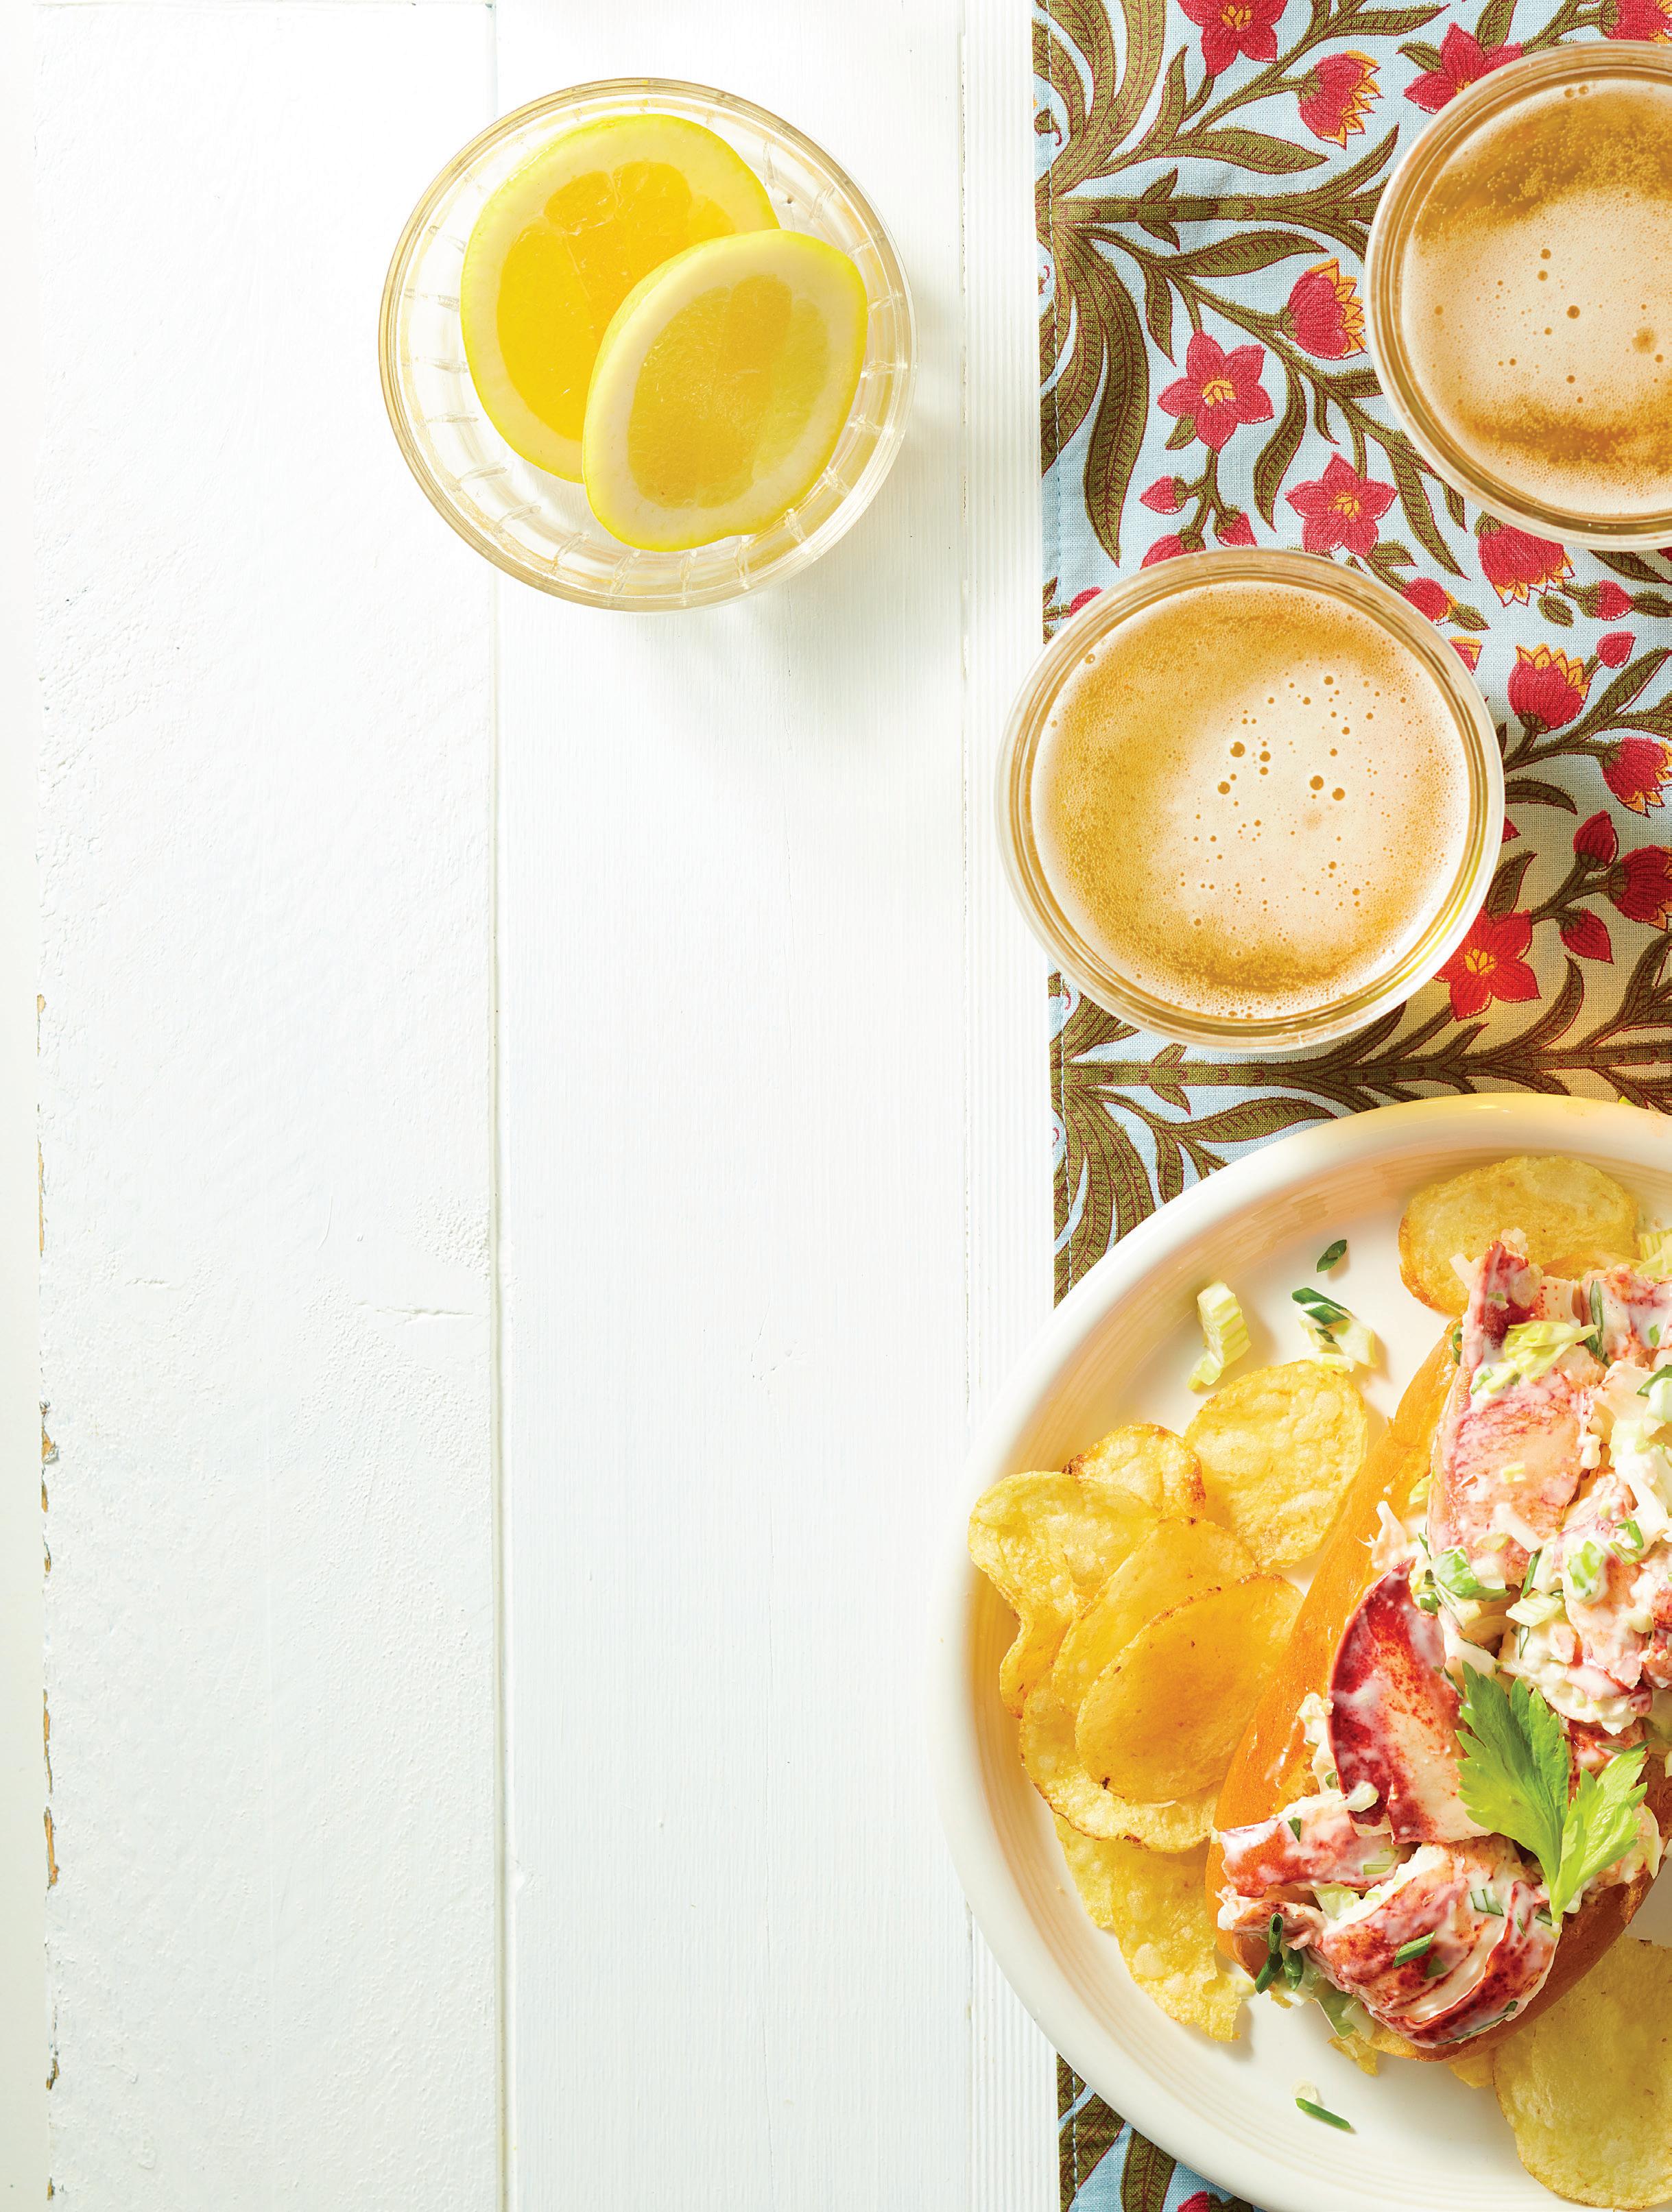
Maine Lobster Roll
MAKES 4 SERVINGS
Sold in seafood shacks and fine-dining establishments up and down the rugged Maine coast, the classic lobster roll is both humble and elegant. For a classic combo, accompany these with potato chips and a crunchy pickle spear. For something more upscale, serve steamed green beans and fresh corn on the cob. Either way, end the meal with a blueberry pie, and you might just hear waves crashing against the rocks.
12 ounces cooked lobster meat, cut into 3⁄4-inch chunks (about 3 cups), see Cook’s Notes ¼ cup finely chopped celery heart, including leaves ¼ cup mayonnaise, or to taste 2 teaspoons fresh lemon juice
2 teaspoons finely chopped fresh chives or tarragon Salt and freshly ground pepper, to taste 4 hot dog buns or briochestyle sandwich rolls, split 1 ½ tablespoons butter, softened
1. In a bowl, combine the lobster meat, celery, mayonnaise, lemon juice, and chives (or tarragon). Fold together gently so as not to break up the meat. Season with salt and pepper (the lobster may already be salty) and adjust the mayonnaise to taste. (The lobster salad can be made ahead, covered and refrigerated, for several hours.)
2. Butter the cut sides of the buns or rolls. Heat a griddle or large skillet over medium heat, place the buns, buttered side down, on the heated pan to toast until lightly browned, about 3 minutes. (Alternatively, toast the rolls in a toaster, and butter them as soon as they are golden.)
3. Divide the lobster salad evenly among the rolls. Serve immediately.
Cook’s Notes
■ For the freshest lobster meat, buy 3 live lobsters (about 1½ pounds each) and cook them yourself. Fill a large pot with about 3 inches of water and bring to a boil. Add the lobsters, cover tightly, and boil for about 12 minutes, until a leg pulls away easily. Let cool before separating the meat from the tail and claws.
■ You could also buy frozen lobster tails (you will need 1½ pounds total). Thaw them overnight in the refrigerator, and poach them in lightly salted water until firm and the internal temperature reaches 140°F, about 7 to 10 minutes.
■ For a more budget-friendly version, substitute crab sticks for the lobster meat. Add a little extra mayonnaise and a few more drops of lemon juice as the crab sticks aren’t as moist as lobster.
■ To make Connecticut-style lobster rolls (no mayo, just butter), melt 4 tablespoons of butter in a small skillet, add the lobster, along with the celery, lemon juice, and chives, and warm gently. Season with salt and pepper, and pile into toasted buns.
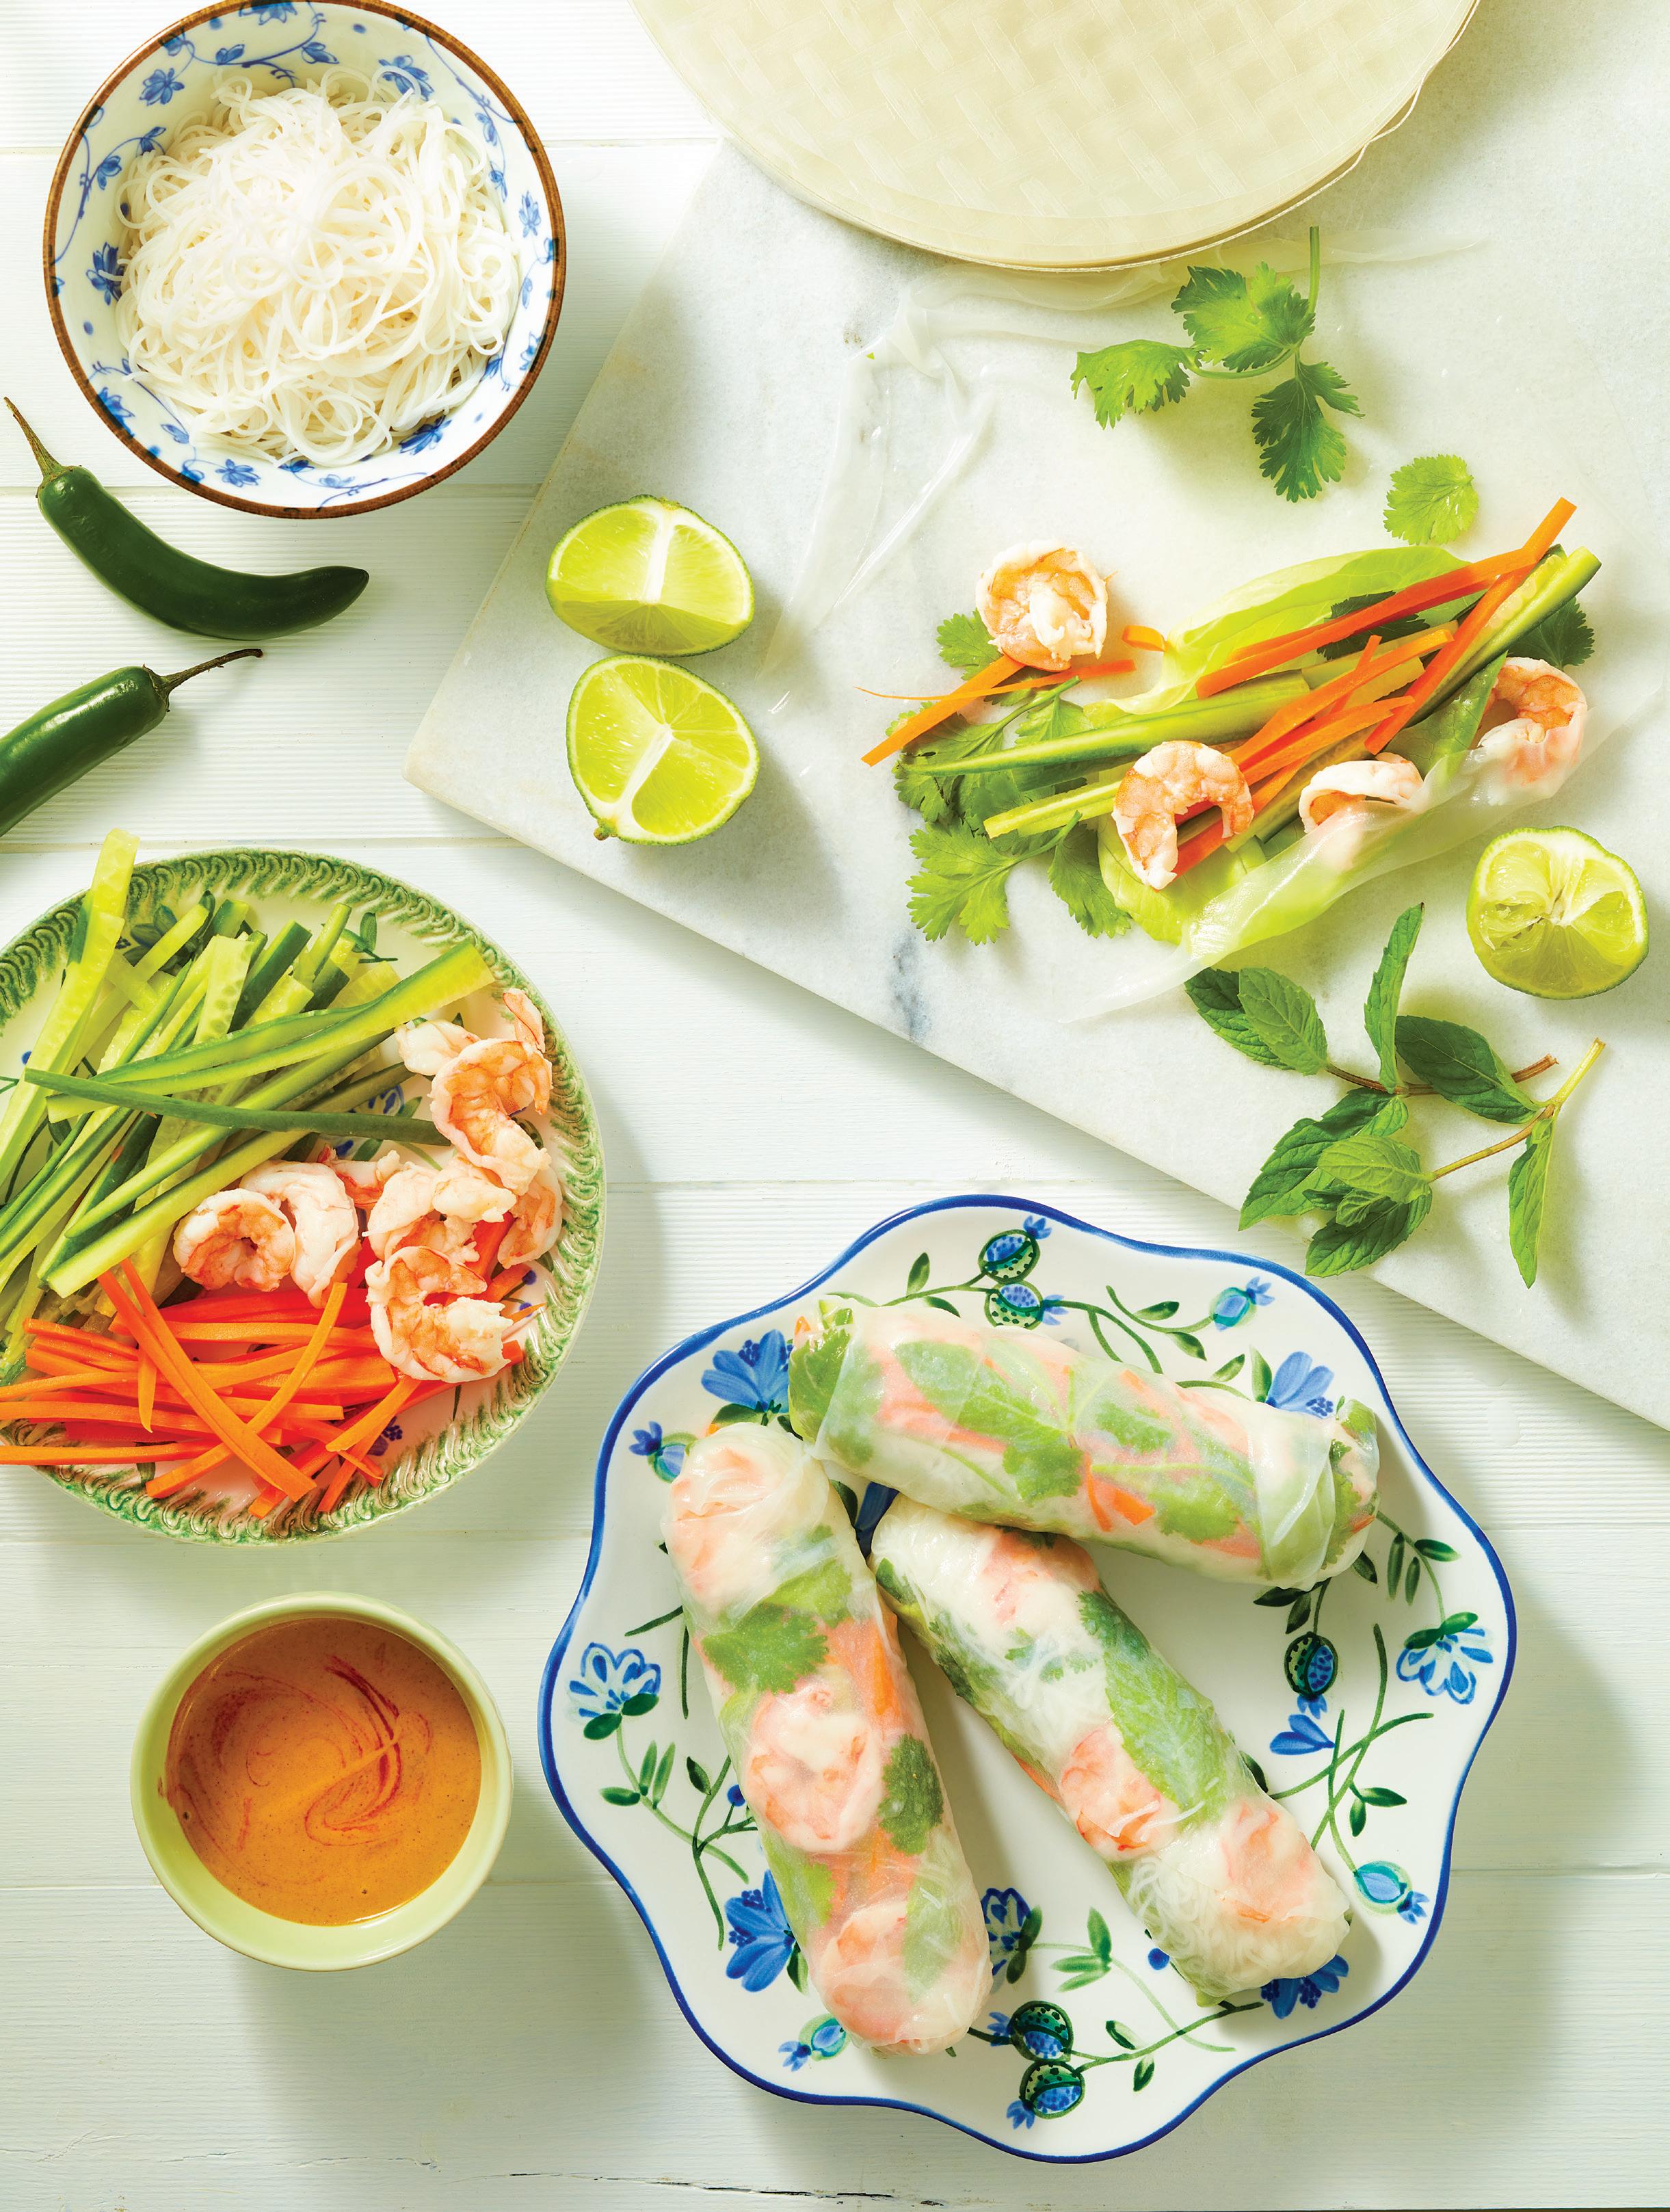
Celebrate the rich Southeast Asian culinary heritage of Southern California by throwing a DIY summer roll party. Prepare the vegetable, herb, and shrimp filling ahead and invite family or friends to make their own rolls for a fun, interactive dinner. Bright and fresh, these rolls are satisfying without being heavy. For hearty appetites, serve a favorite soup alongside.
for the shrimp
18 medium or mediumlarge shrimp, peeled and deveined, halved lengthwise
3 tablespoons rice wine vinegar
2 bay leaves
1 small onion, sliced in rings
½ teaspoon whole black peppercorns
½ teaspoon celery seed
for the rolls
4 ounces rice vermicelli noodles
1½ cups shredded carrots
1½ tablespoons fresh lime juice
2 Persian cucumbers, peeled and cut into matchsticks
1½ teaspoons rice wine vinegar
Salt, to taste ½ teaspoon sugar
1 head bibb lettuce, washed and dried (or 3 cups shredded tender lettuce leaves)
24 fresh cilantro leaves or ¼ cup coarsely chopped fresh cilantro
24 fresh mint leaves or ¼ cup coarsely chopped fresh mint
2 tablespoons finely chopped jalapeño or serrano pepper (optional)
12 (8-inch) round rice paper wrappers
Spicy Peanut Sauce, for serving (see recipe at right)
1. To cook shrimp, fill a deep skillet with several inches of water. Add rice wine vinegar, bay leaves, onion, whole black peppercorns, and celery seed. Bring to a boil, cover, and simmer for 5 minutes. Add the peeled and deveined shrimp, cover, and simmer for 1 minute. Remove from the heat and let steep for 4 minutes. Drain, and chill well before using.
2. Bring a large pot of water to a boil and cook the rice vermicelli until just tender, according to package instructions, usually 2 to 3 minutes. Drain and rinse with cool water. Arrange noodles into 12 even piles (using a fork to twirl each pile into a little nest, if desired).
3. In a small bowl, season the carrots with the lime juice, sugar, and a pinch of salt. Stir to combine. In a second bowl, season the cucumbers with vinegar and salt to taste. Arrange next to each other. If using a head of lettuce, use a knife to remove the ribs from the leaves so you have nothing but tender, pliable leaves. Arrange the lettuce, alongside the noodles, carrots, cucumbers, herbs, chiles (if using), and shrimp.
4. Provide each guest with a dinner plate for a work surface, and fill
2 large, shallow dishes or bowls (at least 9 inches wide) with very warm water (1 for 2 guests to share), and invite guests to assemble and roll their summer rolls as follows:
n Place 1 rice paper wrapper in the water, gently submerging and rotating the paper with fingertips until just soft and pliable, about 15 to 30 seconds. (Be careful not to oversoak the wrapper or it will fall apart; see Cook’s Notes.) Transfer the wrapper to a dinner plate and place a lettuce leaf (or about 2 tablespoons shredded lettuce) on the bottom third, leaving about a 2-inch border on the bottom edge. Arrange 1 portion of noodles on the lettuce, shaping it into a 4- to 4½-inch strip. Top with carrots, cucumbers, cilantro, mint, chiles (if using), and 3 shrimp halves.
spicy peanut dipping sauce
MAKES ABOUT 1¼ CUPS
½ cup smooth peanut butter, unsalted or salted
¼ cup hoisin sauce
1⁄3-½ cup warm water, as needed
3 tablespoons fresh lime juice
1 teaspoon minced or grated garlic
1 teaspoon curry powder
1-2 teaspoons Sriracha sauce, to taste Salt, to taste
In a small bowl, whisk together the peanut butter, hoisin, and enough water to make a smooth consistency. Stir in the lime juice, garlic, curry powder, and Sriracha. Season to taste with more Sriracha and salt, if needed (if using unsalted peanut butter), it will need a pinch of salt. The sauce should be the consistency of ketchup; adjust, if needed, with more water. Serve at room temperature. Refrigerate any leftover dipping sauce, covered, for up to 2 weeks.
n Fold the bottom of the wrapper over the filling, and then fold in the sides, keeping the wrapper pressed snugly around the filling. If the wrapper feels brittle or unpliable, moisten it with fingertips dipped in water. Continue rolling the wrapper away from you until sealed into a neat bundle. Enjoy immediately or set aside while your guests (or you) finish the remaining rolls (see Cook’s Notes).
Cook’s Notes
n To make the rolls ahead of time, use a cutting board in place of a dinner plate as your work surface (to give you more room). You’ll only need 1 water-filled dish for soaking the wrappers. As you fill the rolls, arrange them on a platter without touching (if they touch, the delicate rice paper will adhere and tear). Cover with plastic, and store at room temperature for 2 hours. (You can also wrap the rolls individually in plastic wrap.) The wrappers will harden if refrigerated.
n For first timers, it’s a good idea to have extra wrappers on hand in case any tear or get mangled while you get used to handling them. Once you get the hang of it, it’s a cinch.
n It’s easiest to fill the rolls using fingers (rather than tongs and spoons); be sure everyone thoroughly washes and dries their hands before jumping in.
n For a shortcut, substitute a favorite store-bought Asian peanut sauce.
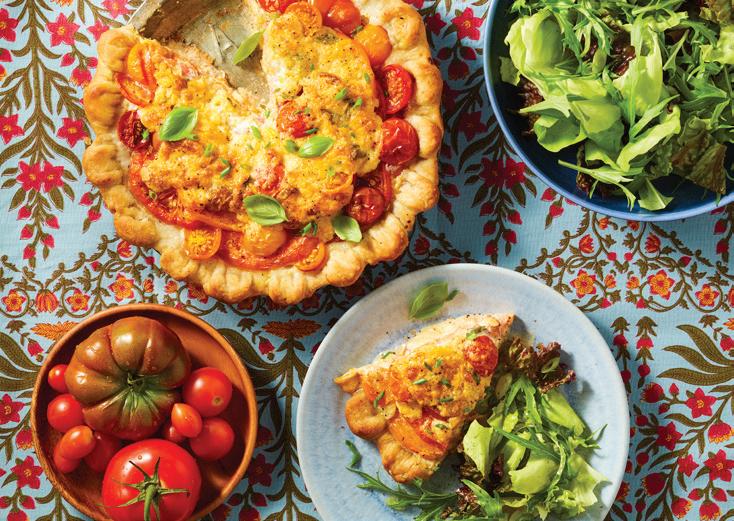
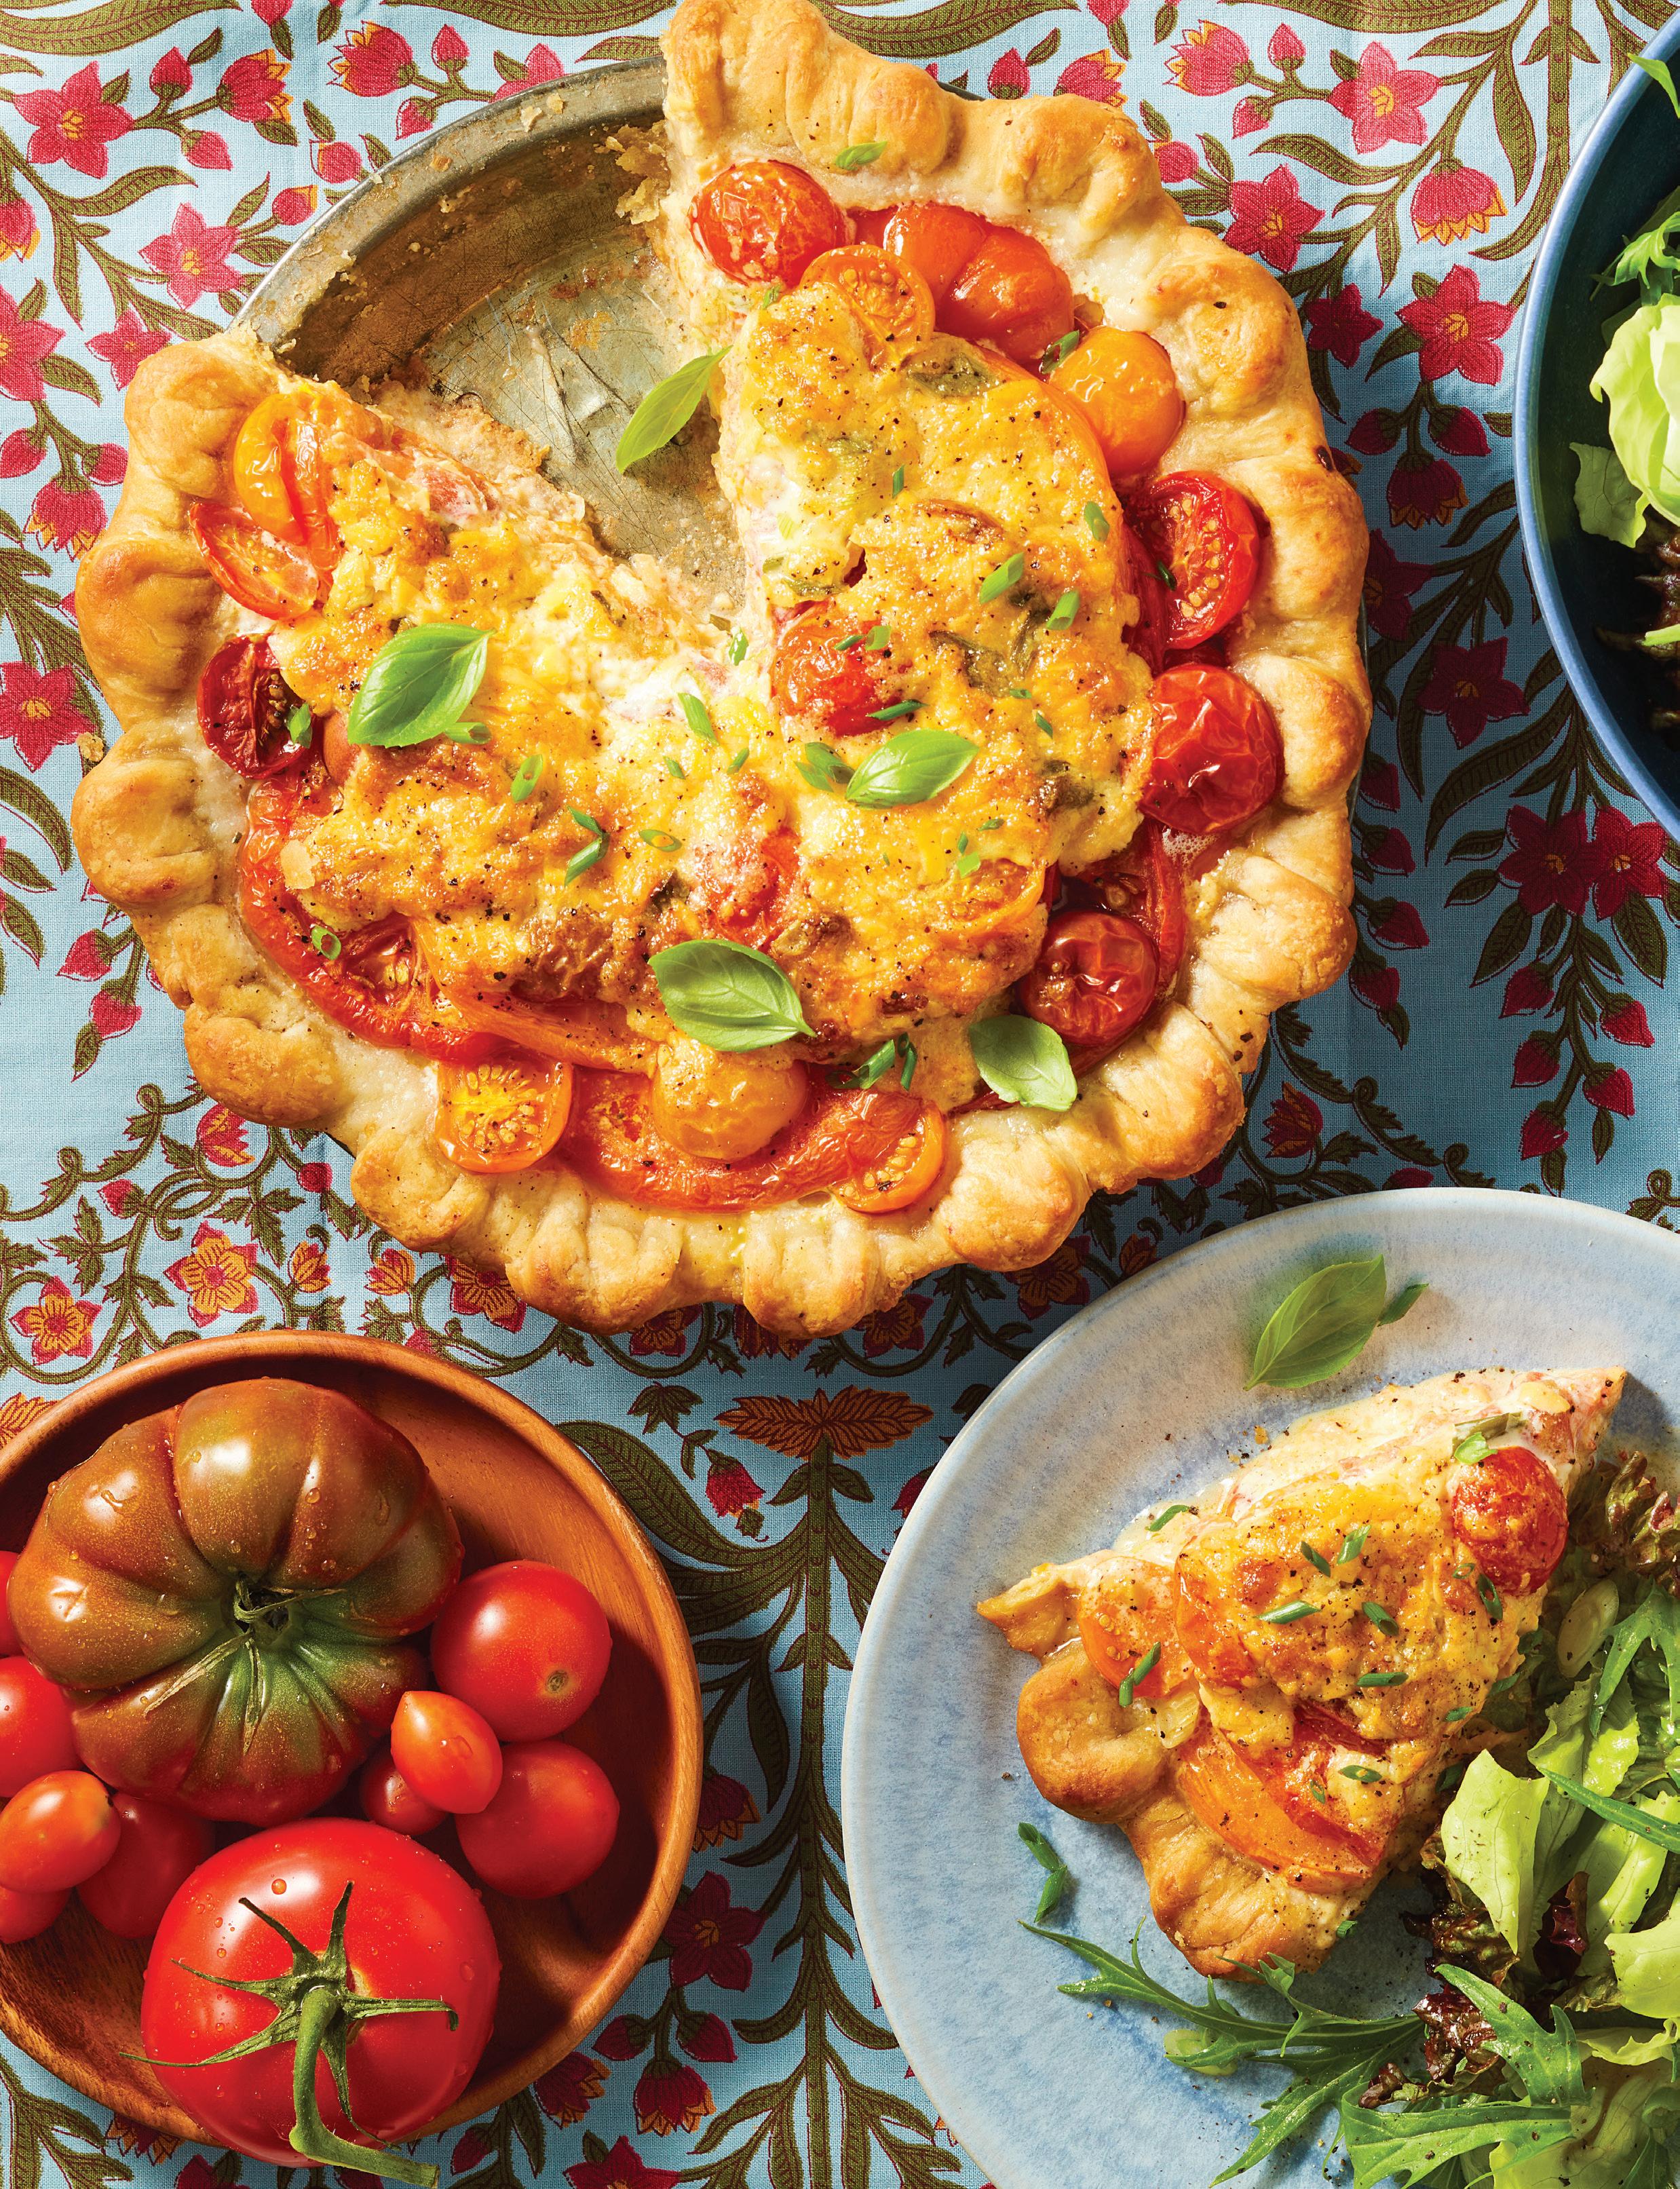
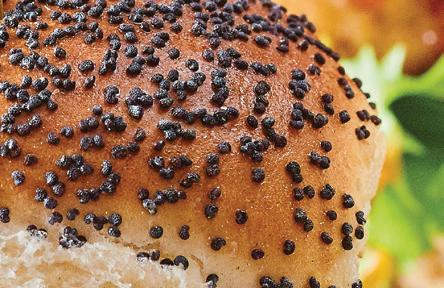
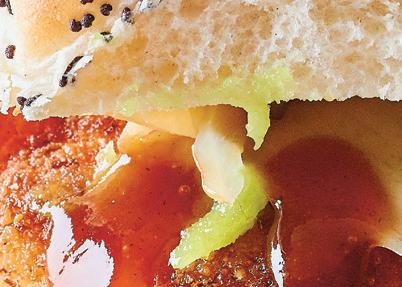
A specialty of the Carolina Low Country, this savory pie is the essence of summer—wall-to-wall ripe tomatoes layered with a tangy, creamy filling and baked in a flaky crust. Accompanied by a big green salad, a generous slice makes a satisfying supper, lunch, or brunch. It also travels well—and tastes best at room temperature—making it ideal potluck fare.
1 (9-inch) pie shell, refrigerated (homemade—see recipe below—or store-bought; see Cook’s Notes)
1½ pounds tomatoes, sliced ¼ inch thick (see Cook’s Notes)
1. Place the tomato slices on a wire rack over a baking sheet and sprinkle lightly with salt. Set aside for 45 to 60 minutes, turning once halfway, to remove excess moisture (see Cook’s Notes).
2. Meanwhile, heat the oven to 375°F. Prick the pie shell all over with the tines of a fork, and line the shell with a sheet of foil. Fill with pie weights or dried beans and bake until the crust just begins to turn golden around the edges, about 20 minutes. Carefully remove the weights and bake until the bottom of the shell begins to set, another 3 or 4 minutes. Set aside on a wire rack to cool. Increase the oven temperature to 400°F.
3. In a medium bowl, combine 1 cup of the cheese with the mayonnaise, scallions, Dijon, garlic powder, and salt and pepper to taste.
4. When the pie crust has cooled, scatter half the remaining cheese over the bottom. Blot any excess moisture from the tomatoes and layer half of them into the pie crust. Spread half the mayonnaise mixture onto the tomatoes. Continue with the remaining tomatoes and top with the remaining mayonnaise mixture (don’t worry that the mixture doesn’t go all the way to the edges). Scatter the remaining cheese on top. Bake at 400°F until the pie is bubbling and golden, 35 to 40 minutes. Let the pie cool for at least 1 hour before serving.
Cook’s Notes
n Medium-size tomatoes, like Campari or plum tomatoes, are easiest to work with and result in a “meatier” filling.
n If using kosher salt, use ½ teaspoon on the tomatoes in Step 1 and another ½ teaspoon in the mayonnaise mixture; for fine sea salt, use about half this amount, adjusting to personal taste.
n The amount of liquid released by the tomatoes will depend on the variety and the season. If it’s more than a few teaspoons, collect it to add to soups or drinks.
n The recipe invites improvisation. For instance, up the protein content by scattering in 1 cup chopped cooked bacon or ham. You can also brighten the flavor by adding fresh herbs to the filling (basil and chives are especially good).
1¼ cups all-purpose flour (5½ ounces), plus more for rolling out 8 tablespoons (1 stick) unsalted butter, cold, and cut into ½-inch bits
¼ teaspoon fine sea salt 3 to 4 tablespoons ice cold water, more as needed
1. Combine the flour, salt, and butter in a large bowl. Using a fork or your fingertips, break up the butter until all the pieces are coated and the mixture has the texture of coarse pebbles. Sprinkle over 3 tablespoons of cold water and toss to distribute evenly. Continue adding a dribble of water at a time just until the pastry will hold together loosely. Knead for about 30 seconds until the dough comes together.
2. Roll the dough out on a floured work surface until it’s about ¼-inch thick, and gently drape it into a 9-inch pie pan. Refrigerate for at least 2 (and up to 24) hours.
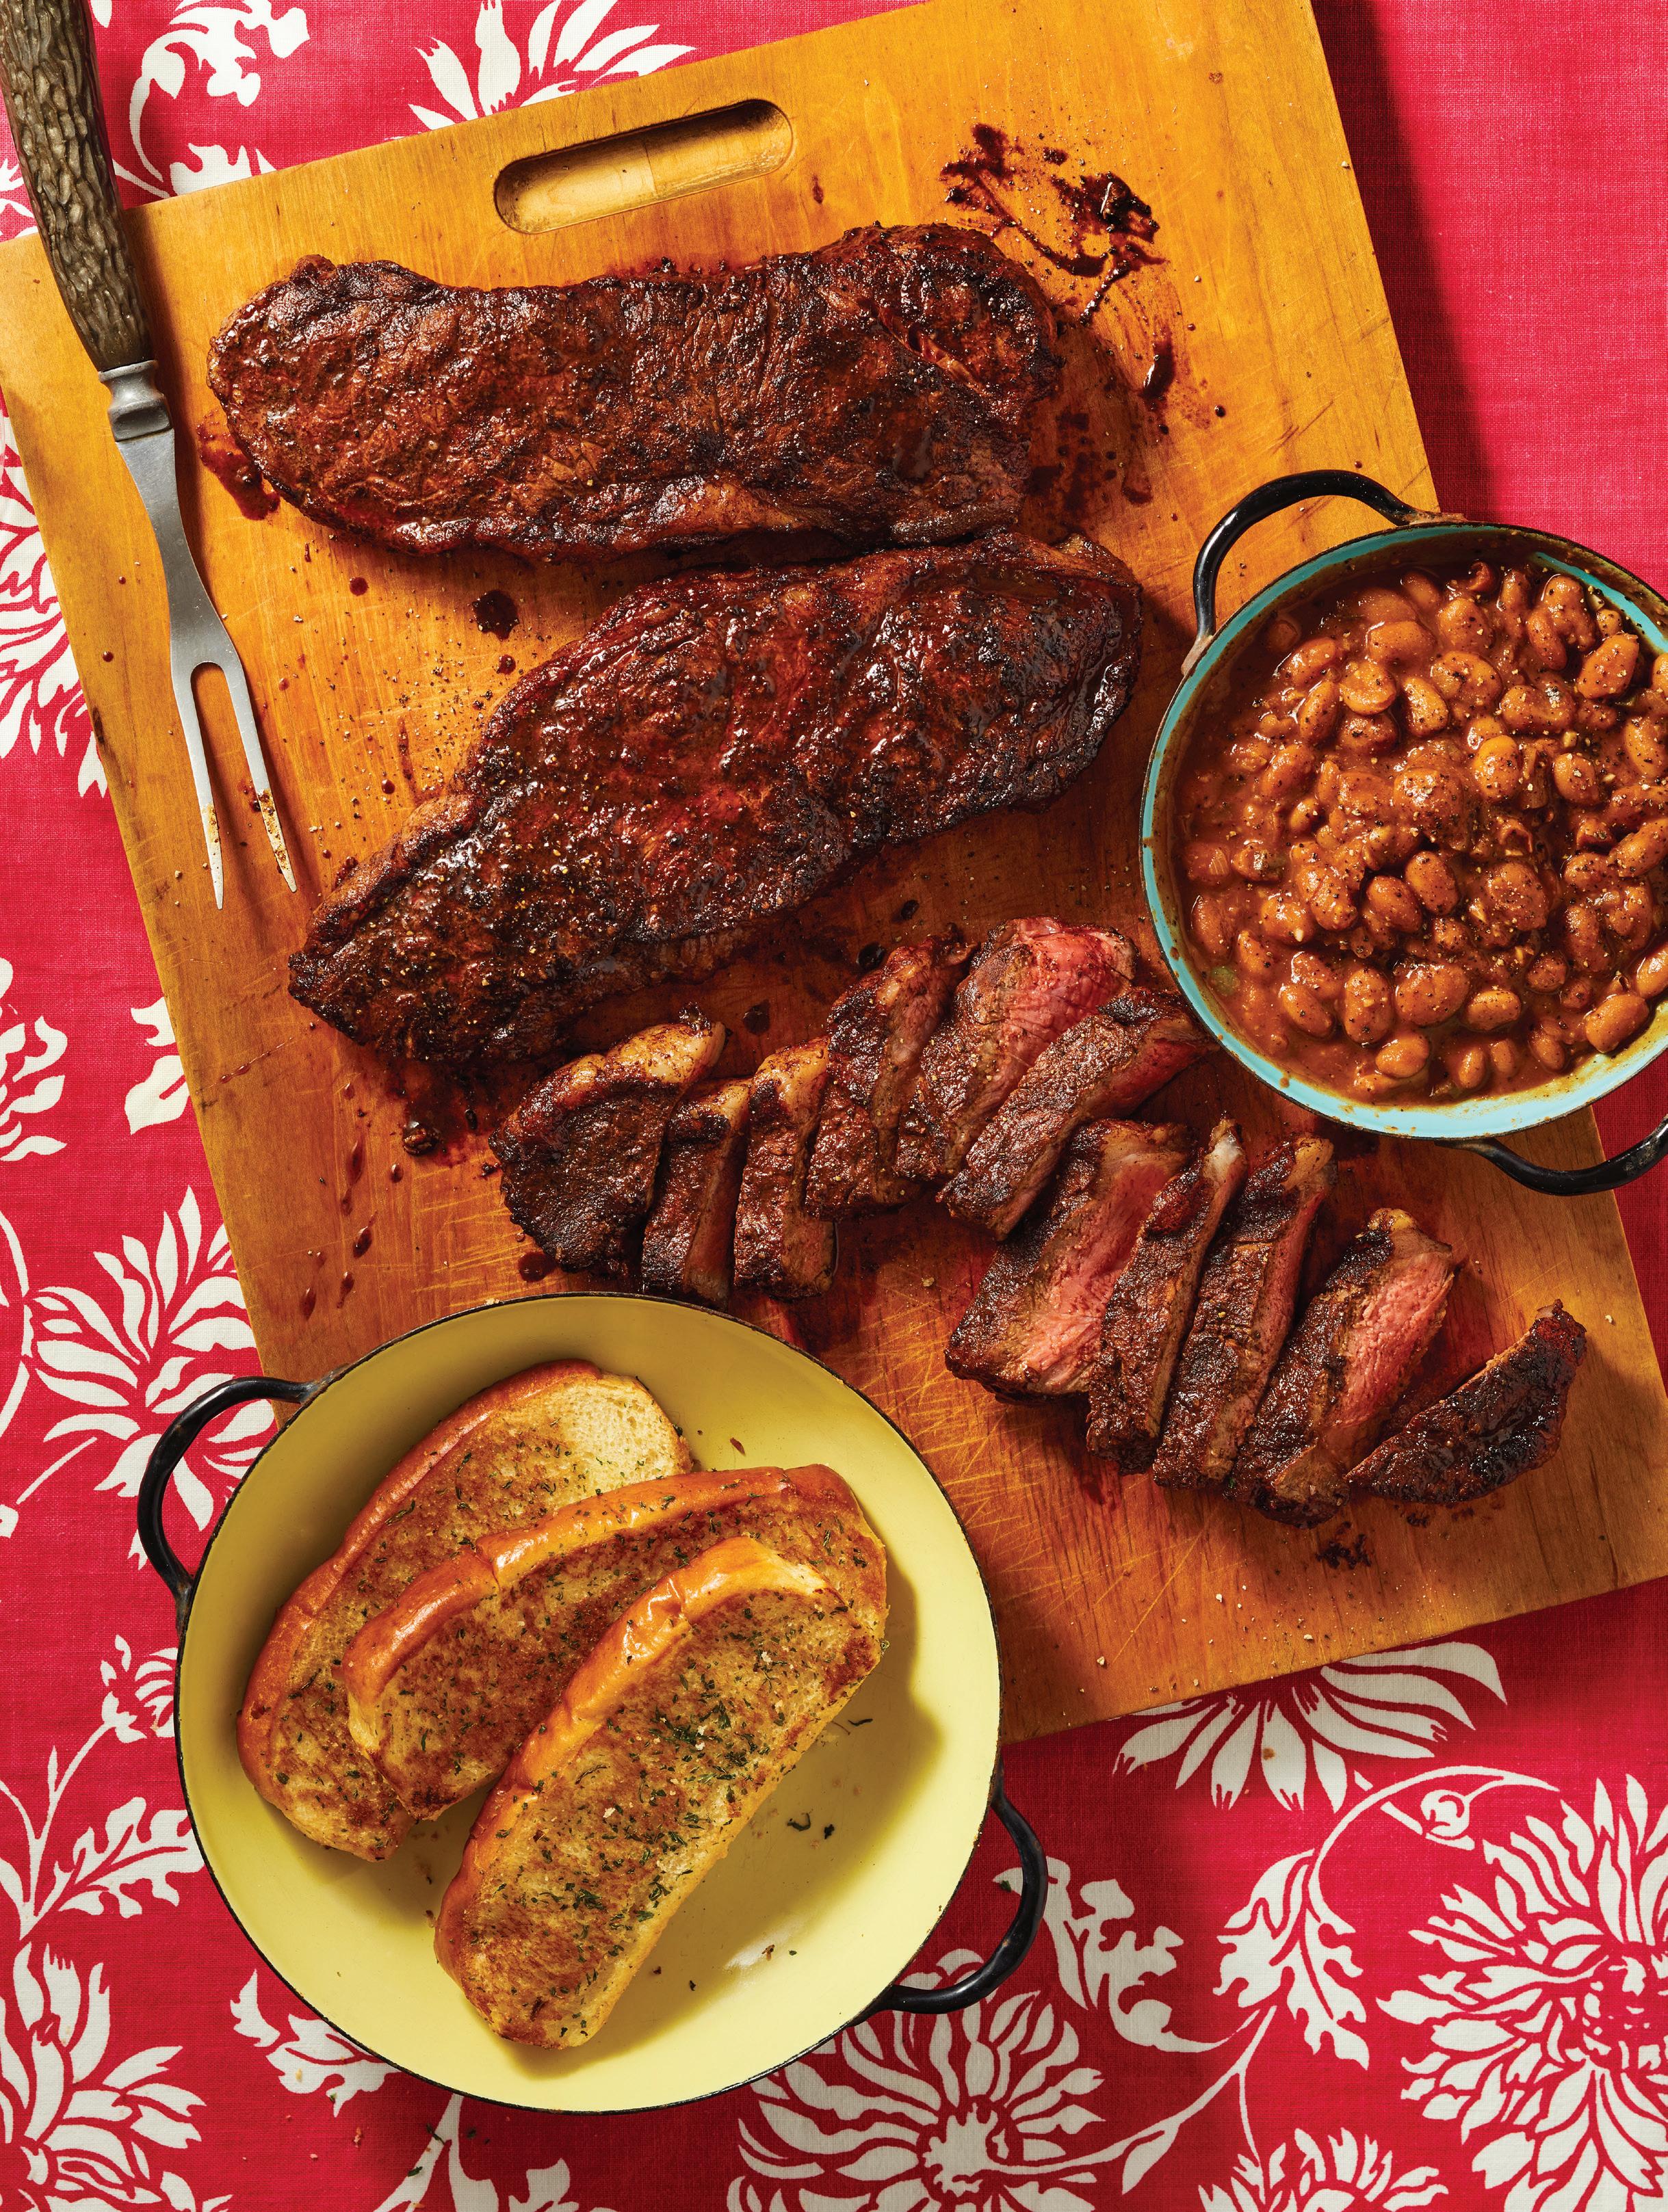
Grilled Chile-Cocoa Rubbed Steak
MAKES 4 TO 6 SERVINGS
From Texas to Montana, cattle ranches populate the landscape, beef is king, and steak is often on the menu. A spicy, earthy cocoa chile rub adds nuance and depth to the natural richness of a good steak. Balance the meal with a pot of pinto beans, a side of Texas toast, and a fresh green salad.
for the spice rub
2 tablespoons cocoa powder
1 tablespoon brown sugar, light or dark
1 tablespoon kosher salt
3- 4 teaspoons pure chile powder (see Cook’s Notes)
1 teaspoon paprika, preferably smoked
Pinch cayenne, or to taste (optional)
1 tablespoon vegetable oil
2-2½ pounds boneless top loin steaks, 1 to 1½ inches thick (see Cook’s Notes)
1 tablespoon unsalted butter (optional), cut into 3 to 4 slices
1. For the spice rub, in a small bowl, combine the cocoa powder, sugar, salt, chile powder, paprika, and cayenne (if using), and whisk until no lumps remain. Stir in the oil to make a thick paste. Rub the paste over the entire surface of the steaks. (The steaks may be seasoned 4 to 6 hours ahead and refrigerated.)
2. Let the steaks sit at room temperature for about an hour before grilling. Heat a grill to medium-hot. Place the steaks on the grill and cook for about 5 to 6 minutes per side for medium-rare, 1 to 2 minutes longer for medium. Check for doneness by cutting into the thickest part or testing with an instant-read thermometer (130°F to 135°F for medium-rare, 140°F to 145°F for medium). The meat should be a little less cooked than desired, as it will continue to cook as it rests.
3. Transfer the steaks to a carving board or platter and immediately smear the tops with butter, if using. Let the steaks rest for 5 minutes before carving and serving.
Cook’s Notes
n This bold spice rub works best on steaks that are at least 1-inch thick. Any thinner, and the spice rub can overwhelm the juicy taste of the beef.
n Top loin steaks (aka New York strip steaks) can be pricey; for a more budget-friendly option, substitute top sirloin.
n Pure chile powder refers to dried chiles ground into powder; it is not the same as chili powder, which is a spice blend designed for seasoning chili. The most popular pure chile powders are Ancho and New Mexican, but you may also find chipotle, Anaheim, Hatch, or guajillo. If the powder is extra spicy, use less and omit the cayenne.
n If using charcoal for grilling, the coals are ready when they are covered with gray ash and glowing (no flames). For a medium-hot fire, you should be able to hold your hand near the metal grill surface for 4 to 5 seconds.
Resting the meat before serving is worth the wait, as it prevents the tasty juices from draining if you cut it too soon. For most cuts, about 5 minutes is enough.
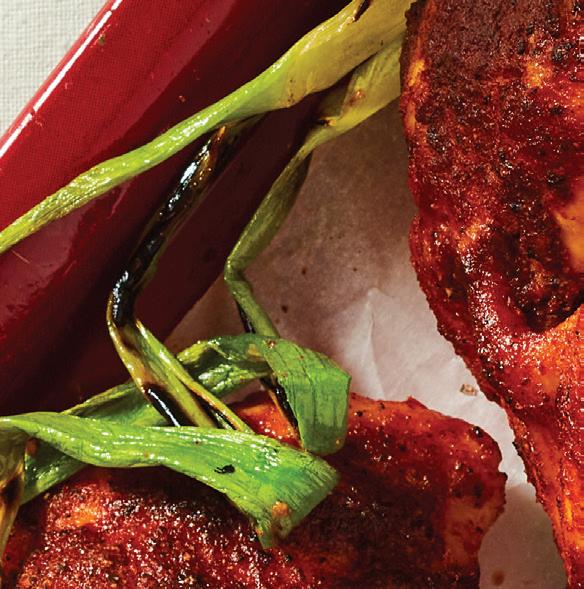
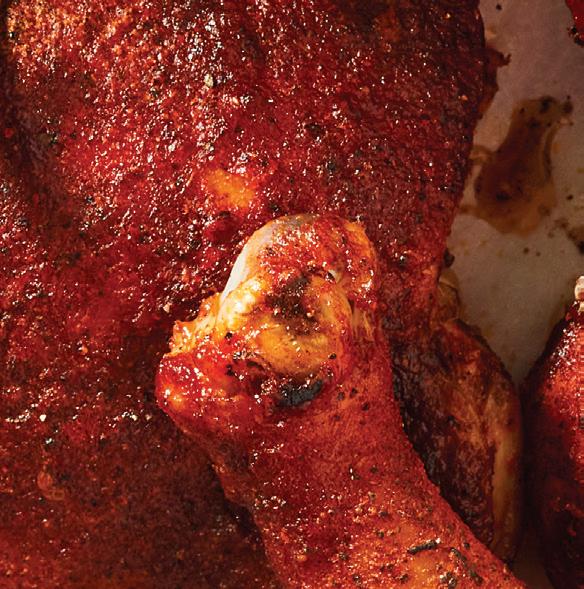
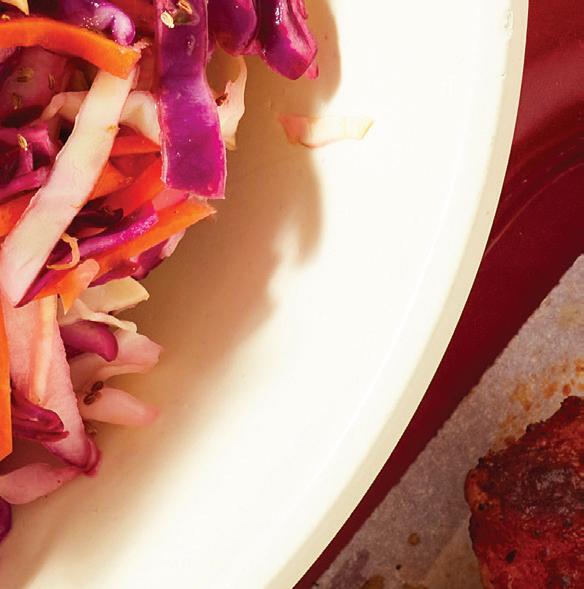
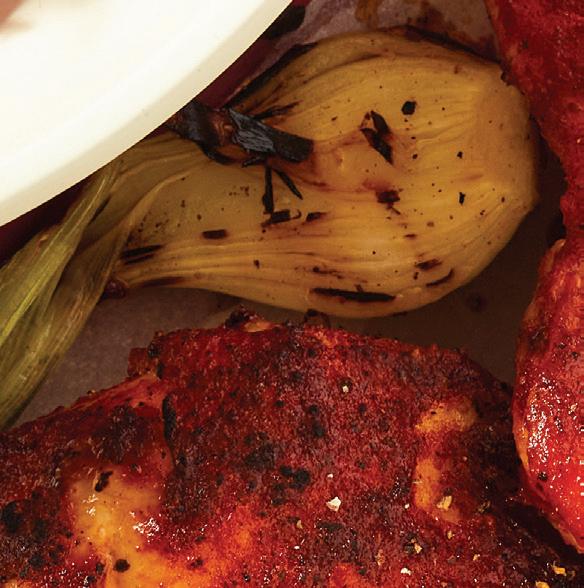
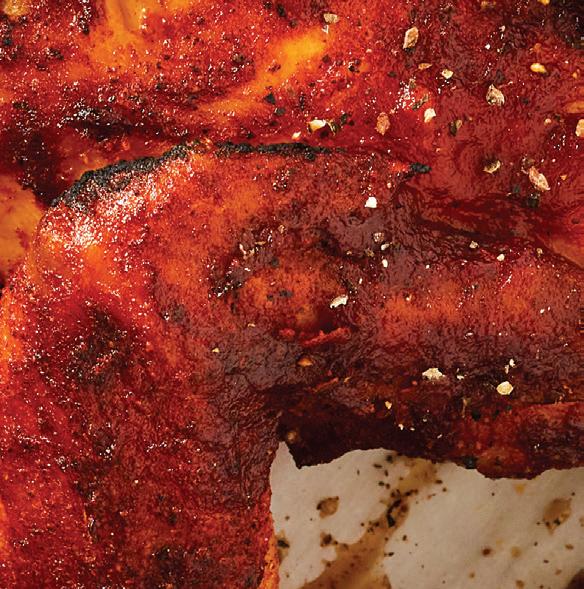
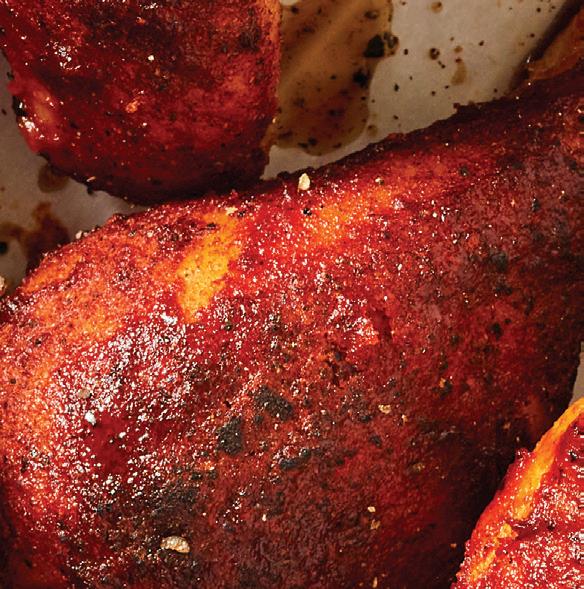
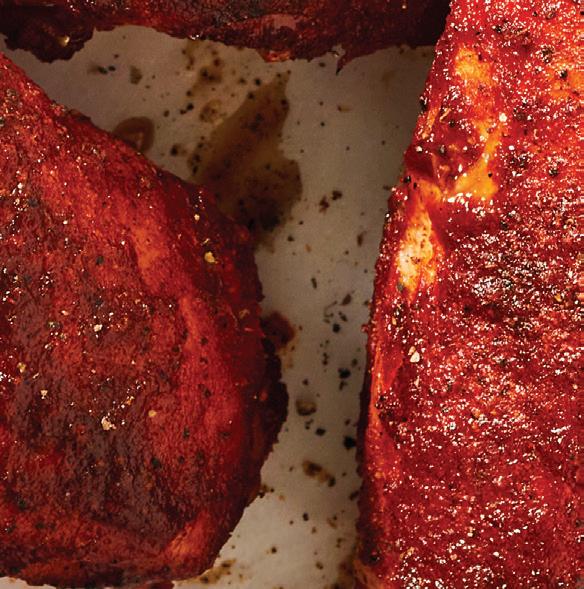
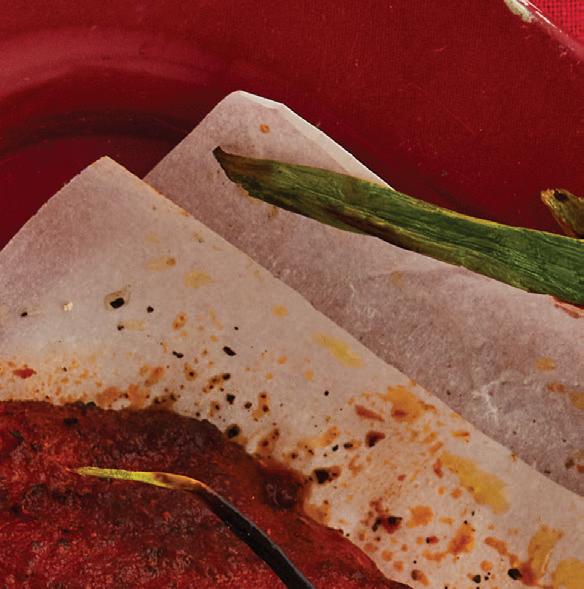
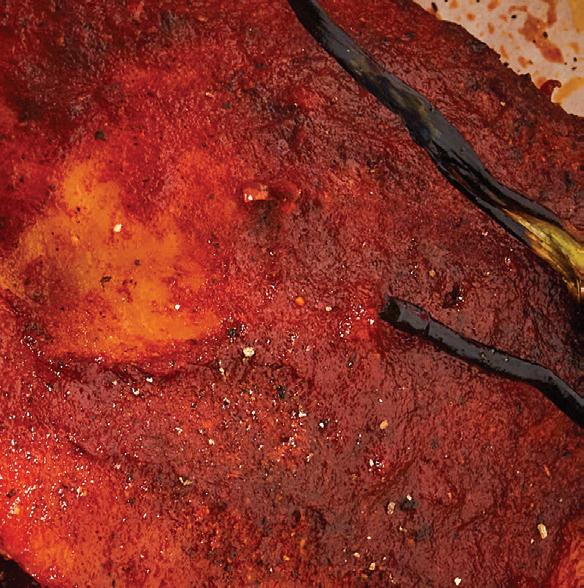
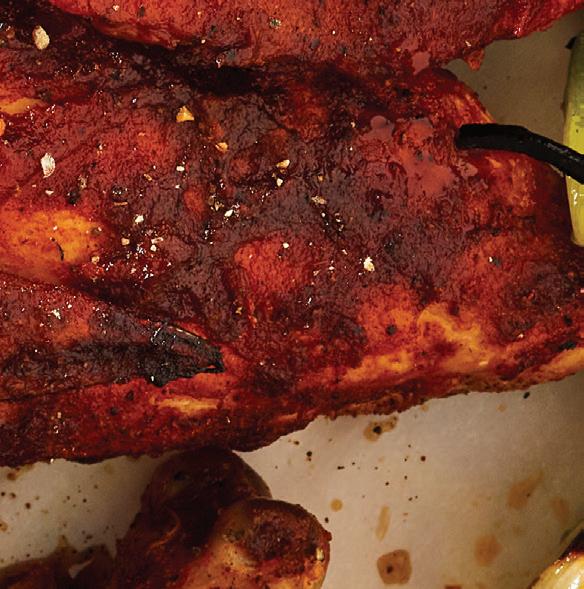
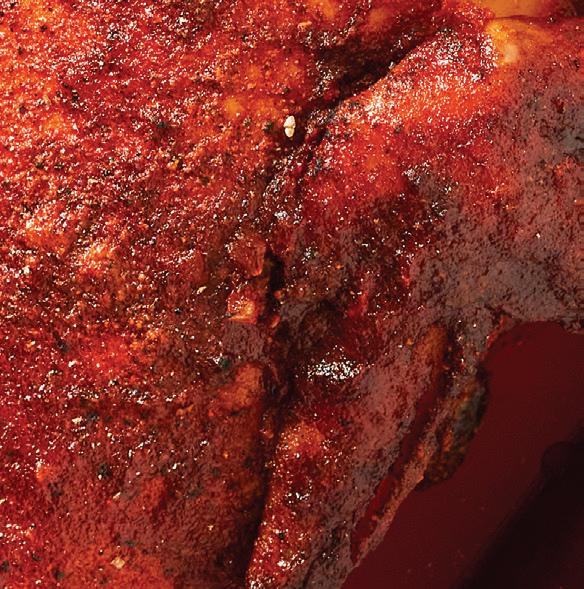
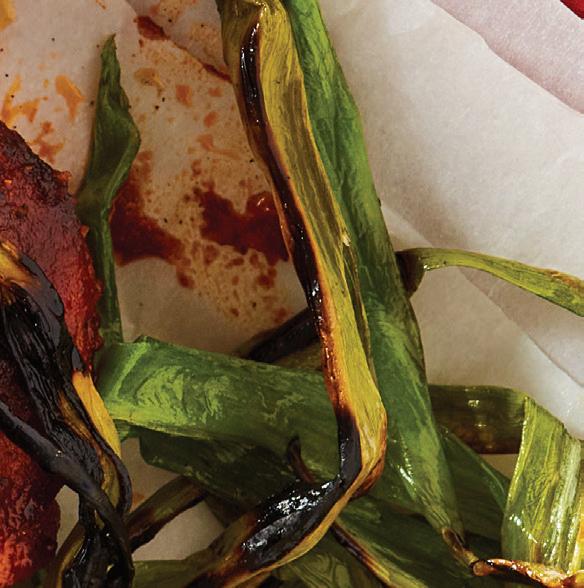
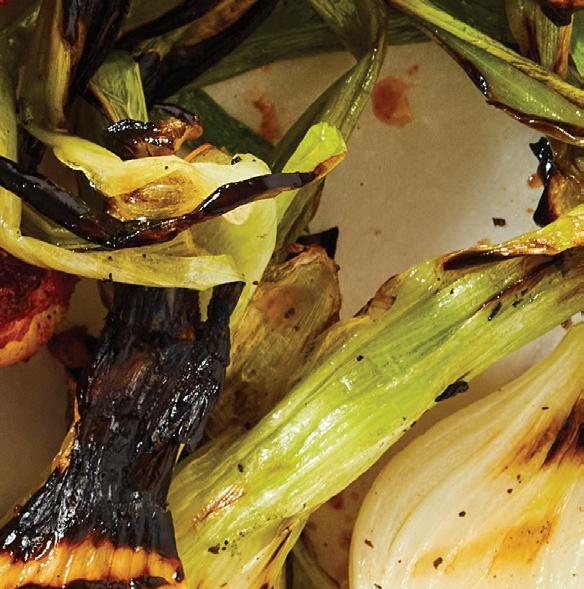
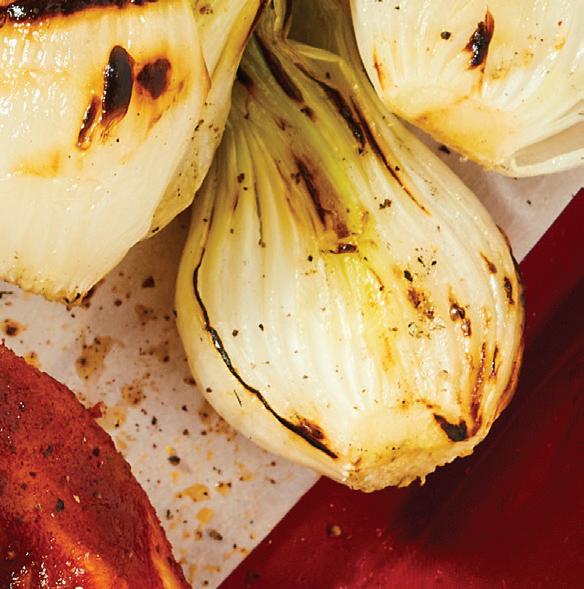
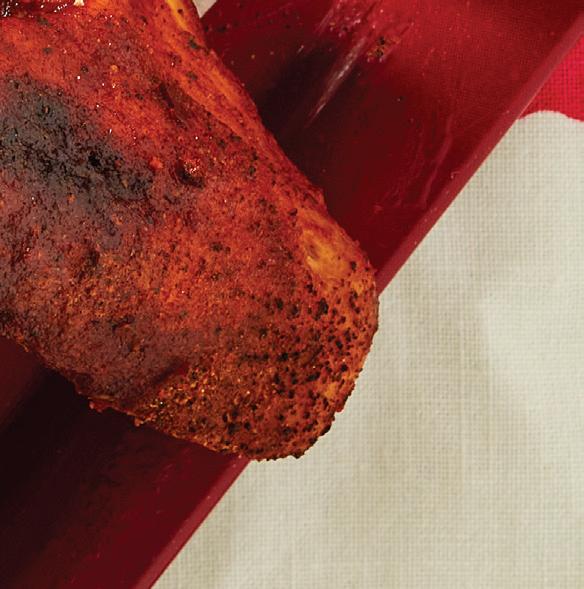
Missouri-Style Barbecue Chicken
MAKES 4 TO 6 SERVINGS, PHOTO P. 21
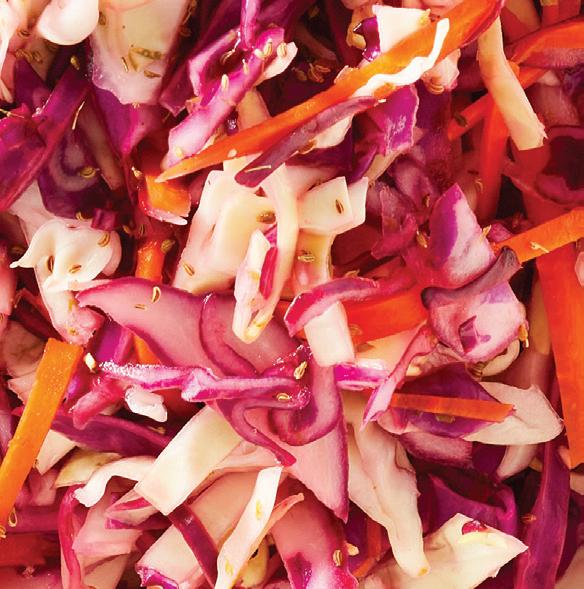
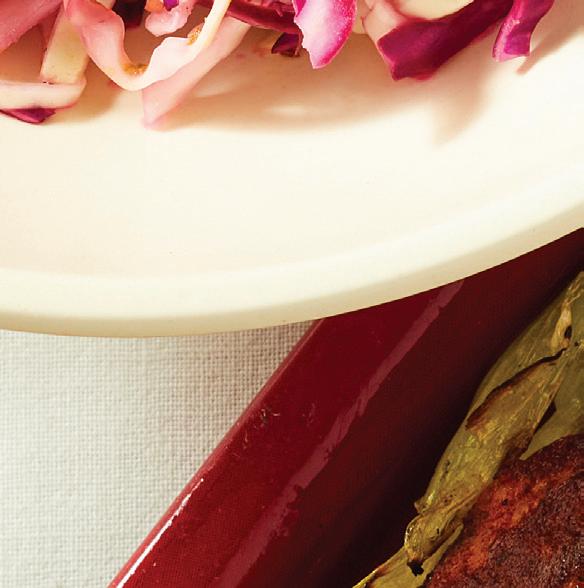
The secret to barbecue in the Show-Me State of Missouri is a one-two punch of flavor. First, the chicken is seasoned with an aromatic dry rub, a step that makes it both tender and juicy. Then, it’s slathered with tangy-sweet barbecue sauce during cooking, leaving it handsomely burnished and irresistibly delicious. For a classic meal, serve crunchy coleslaw and creamy macaroni and cheese alongside.
for the spice rub
1 tablespoon kosher salt (or 1½ teaspoons fine sea salt)
2 teaspoons smoked paprika
1 teaspoon freshly ground black pepper
½ teaspoon garlic powder
½ teaspoon onion powder
¼ teaspoon cayenne
3 pounds bone-in, skin-on chicken pieces
for the barbecue sauce
2 tablespoons butter
1 small onion or medium shallot, finely chopped
2 cloves garlic, minced
2 teaspoons chili powder
½ teaspoon kosher salt (or ¾ teaspoons fine sea salt), or to taste
1½ cups tomato puree, or tomato sauce
¼ cup cider vinegar
¼ cup brown sugar, light or dark
2 tablespoons molasses
2 tablespoons lemon juice
½ teaspoon Tabasco or other hot sauce, or to taste
¼ teaspoon liquid smoke (optional)
1. Make the spice rub: Combine the salt, paprika, pepper, garlic powder, onion powder, and cayenne in a small bowl. Pat dry the chicken pieces and coat all over with the spice rub. Arrange the pieces on a baking sheet, without touching, and refrigerate, uncovered for 4 to 24 hours.
2. Make the barbecue sauce: Melt the butter in a heavy saucepan over medium heat. Add the onion and garlic, and saute until tender and translucent, about 6 minutes. Stir in the chili powder and salt. Add the tomato puree (or sauce), vinegar, sugar, molasses, lemon juice, hot sauce, and liquid smoke (if using). Bring to a simmer and reduce heat to low.
Cook at a quiet simmer until thick and shiny, about 30 minutes.
3. Heat the oven to 400°F. Set a rack over a baking sheet.
4. Arrange the chicken, skin side up, on the rack, and bake for 15 minutes. Flip the chicken, and brush all over with barbecue sauce. Add 2 ⁄3 cup water to the pan to prevent smoking. Bake for another 15 minutes, then flip and brush again with sauce. Increase the oven to 425°F and brush the chicken again with sauce. Finish baking until sizzling and cooked through.
Total cooking time will be about 35 minutes for breast pieces and 45 minutes for legs and thighs.
Cook's Notes
n If cooking a mix of breast and leg/thigh pieces, keep in mind that breasts are done at an internal temperature of 165°F, while legs and thighs should be 180°F to 185°F.
n The chicken may also be cooked over a medium-hot grill, turning and slathering with barbecue sauce as directed.
n The tangy-sweet sauce is also excellent on pork ribs, chops, or boneless chicken breasts. And since the sauce can be made ahead and refrigerated for 2 weeks, you might want to double the recipe to keep on hand for quick dinners.
n For a shortcut, substitute a favorite store-bought barbecue sauce; you’ll need about 1½ cups.
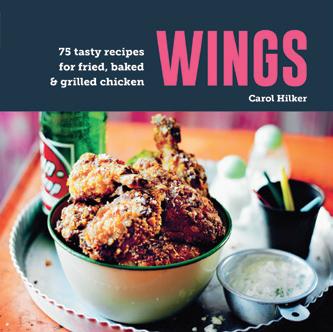
Get taste buds tingling with a creative selection of chicken wings
RECIPES BY CAROL HILKER | PHOTOS BY TOBY SCOTT
Chicken wings are a fascinating culinary phenomenon. What began as a simple dish in the ’60s in Bu alo, New York, has transformed into a global sensation that de es culinary trends. These beloved bites, originally just mini fried chicken drenched in hot sauce, have evolved into a versatile delicacy enjoyed in countless ways—baked, smoked, grilled, and even slow-cooked.
In the United States, chicken wings are more than just food; they o en embody the spirit of sports, friendship,
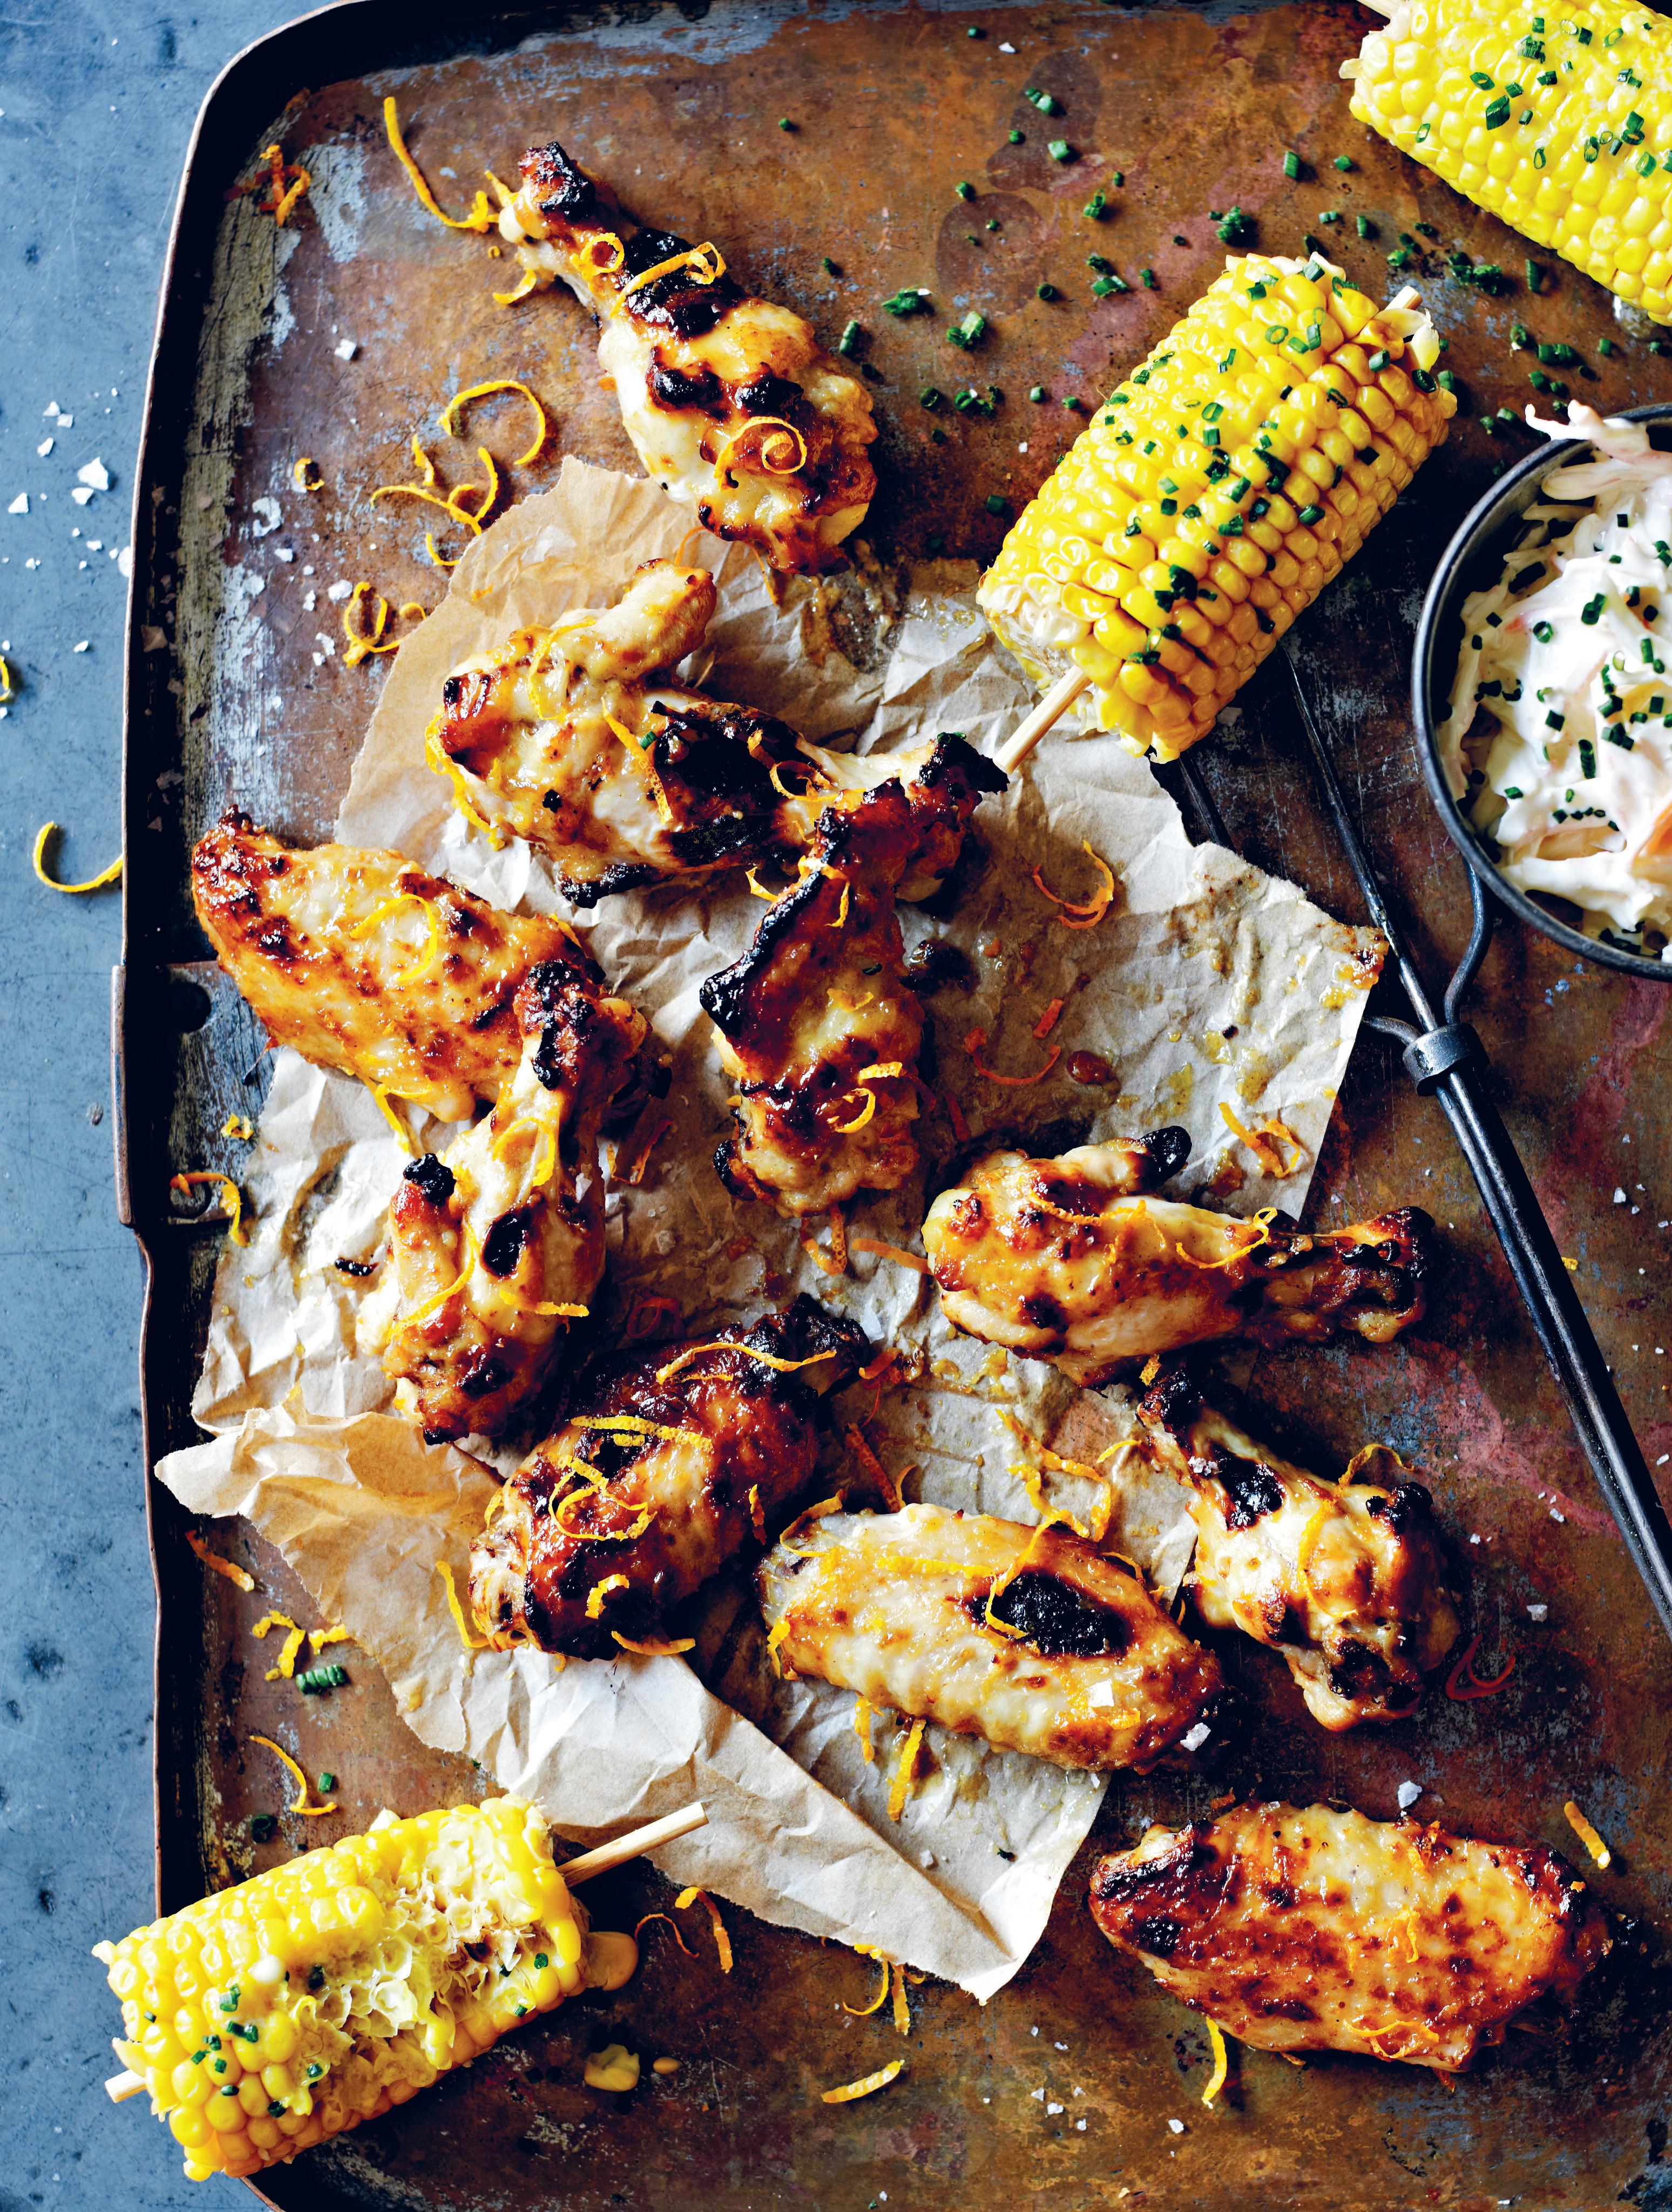
Spicy Grilled Orange-Honey Mustard Wings
MAKES 4 TO 6 SERVINGS
and camaraderie, perfectly pairing with the highs and lows of game day excitement. They are also great to serve when hanging out on the deck or patio or to bring on a picnic. In “Wings: 75 Tasty Recipes for Fried, Baked & Grilled Chicken,” chef and food writer Carol Hilker not only celebrates the classic wing recipes you know and love but also dives into how di erent cultures prepare and savor this iconic dish. Get ready to explore a world of avors in these recipes from the book that will take your wing game to new heights. – alesha taylor
The Dijon mustard gives these wings a tangy kick, but the key ingredient is the steak sauce. This recipe is simple, delicious, and proof that you don’t need a lot of bells and whistles to make good food. –Carol Hilker
4 pounds chicken wings, halved at the joints, tips removed
½ cup Dijon mustard
¼ cup, plus 1 tablespoon runny honey
3 tablespoons mayonnaise
2 teaspoons steak sauce or Worcestershire sauce
Zest of 1 orange Coleslaw and mini corn cobs, to serve (optional)
1. Preheat the grill/broiler to medium.
2. Mix the mustard, honey, mayonnaise, steak sauce, and orange zest together in a small bowl.
Set aside a small amount of the honey-mustard sauce for basting and dip the chicken into the remaining sauce to coat.
3. Lightly oil the grill rack. Grill/broil the chicken for about 20 to 25 minutes, turning occasionally, or until the chicken is cooked through and the juices run clear when the
thickest part is pierced to the bone. Baste occasionally with the reserved sauce during the last 10 minutes.
4. Serve with coleslaw and mini corn cobs, if desired.
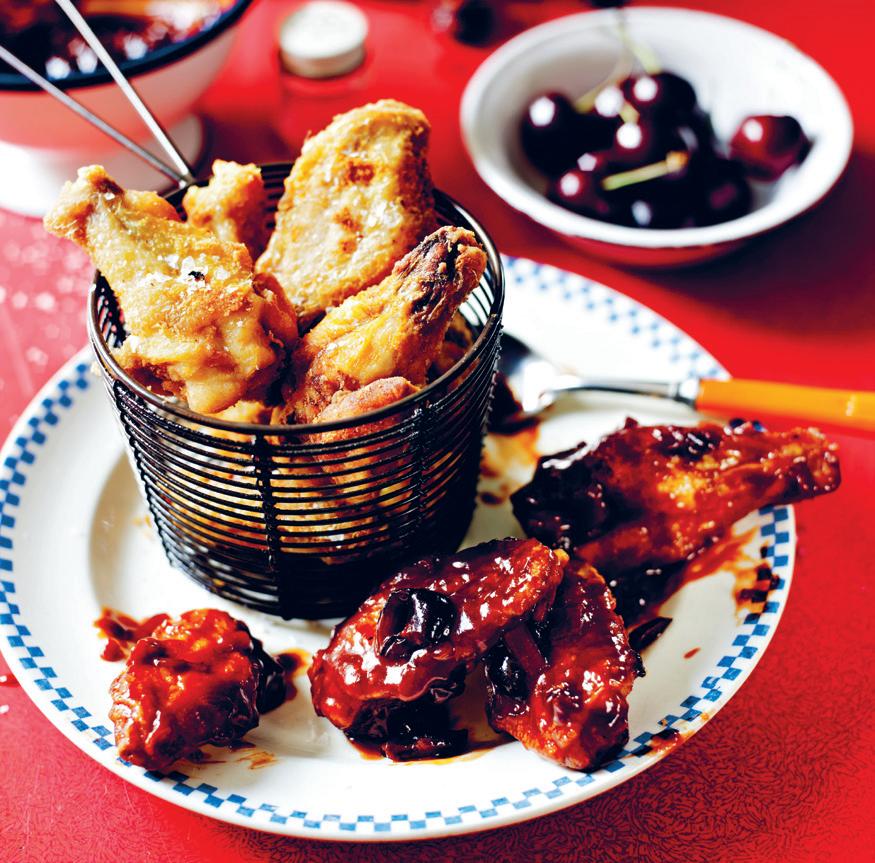
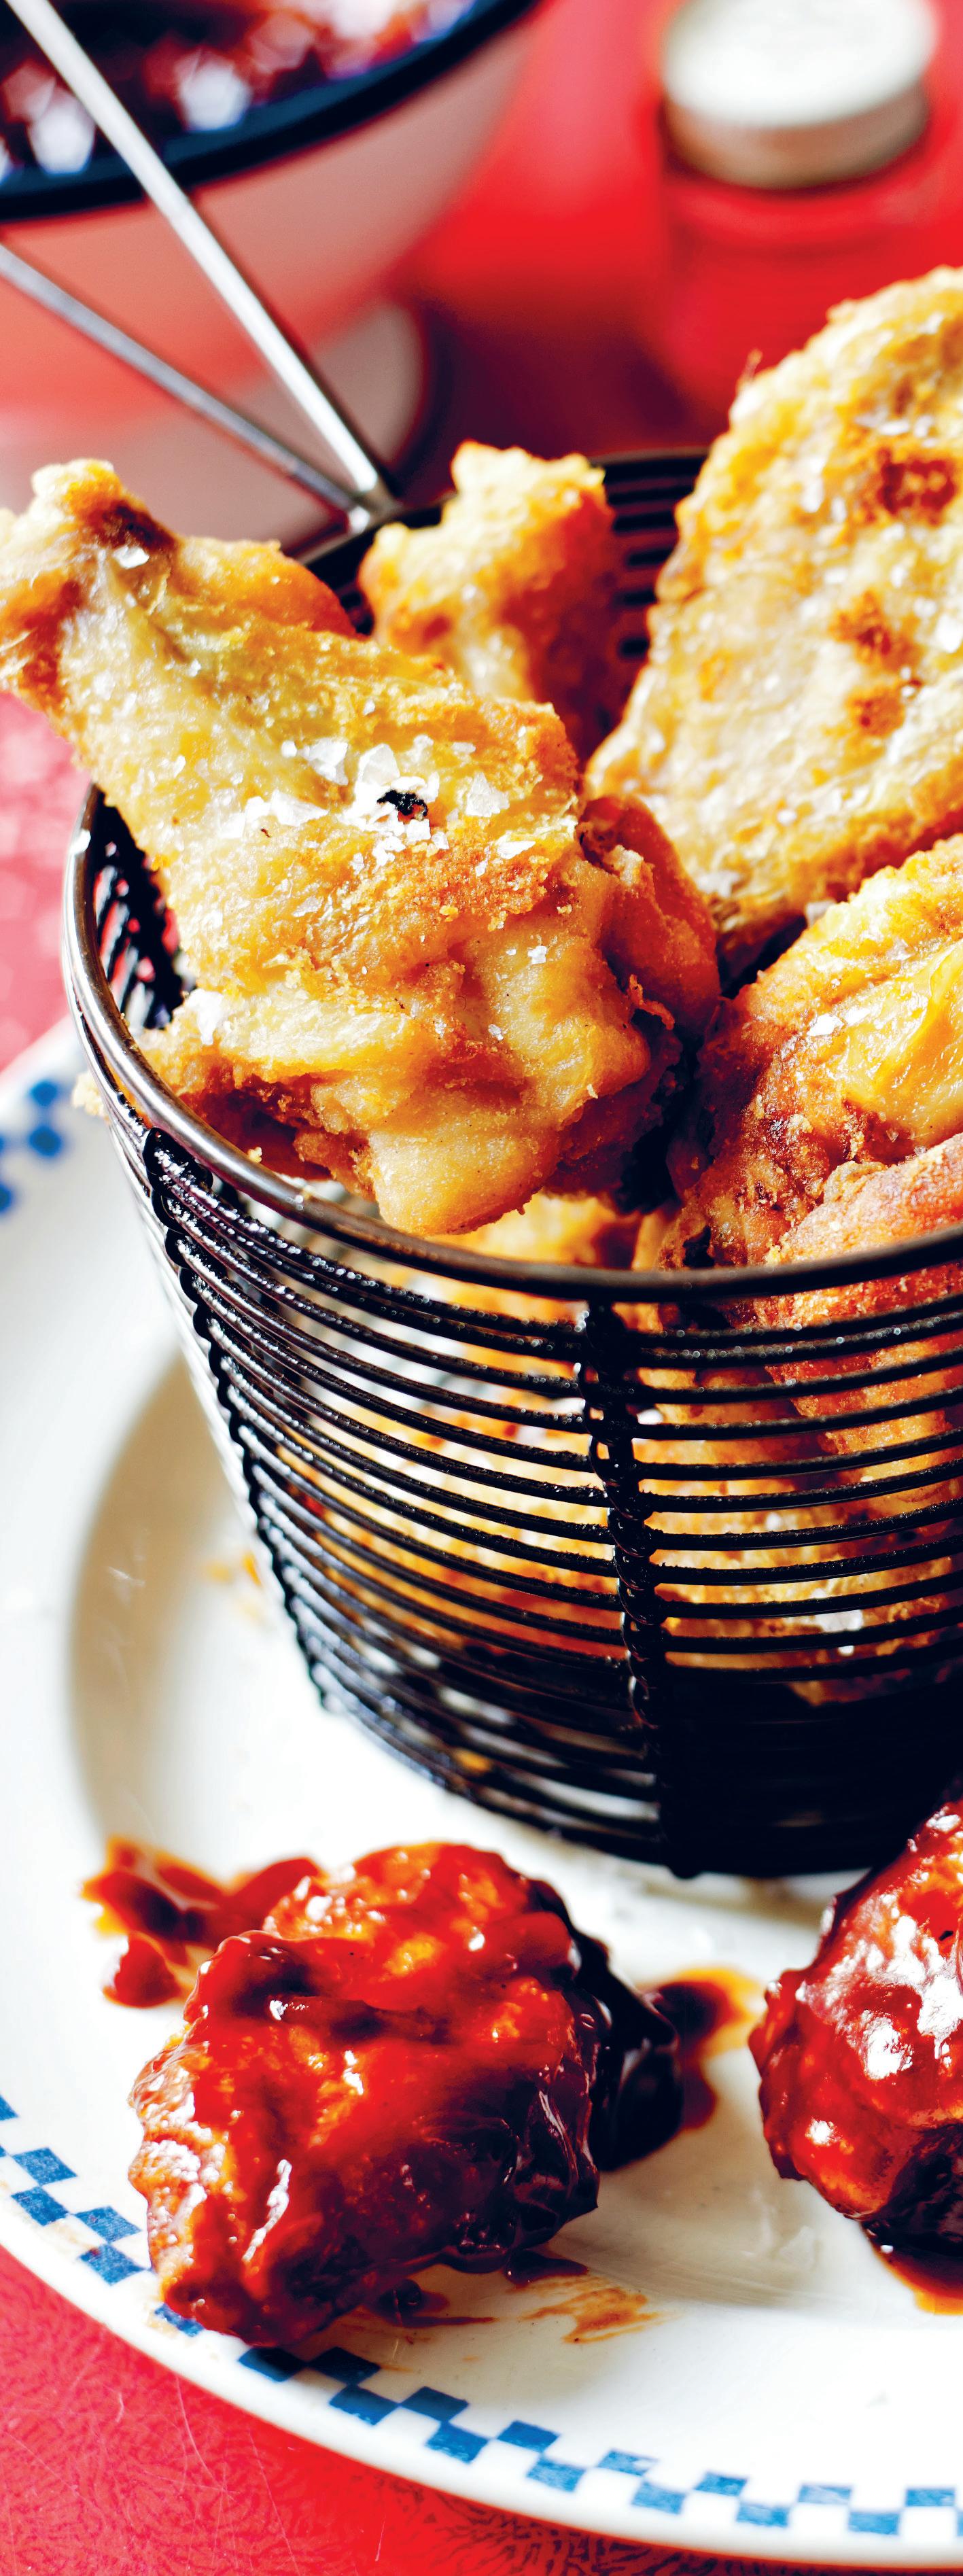
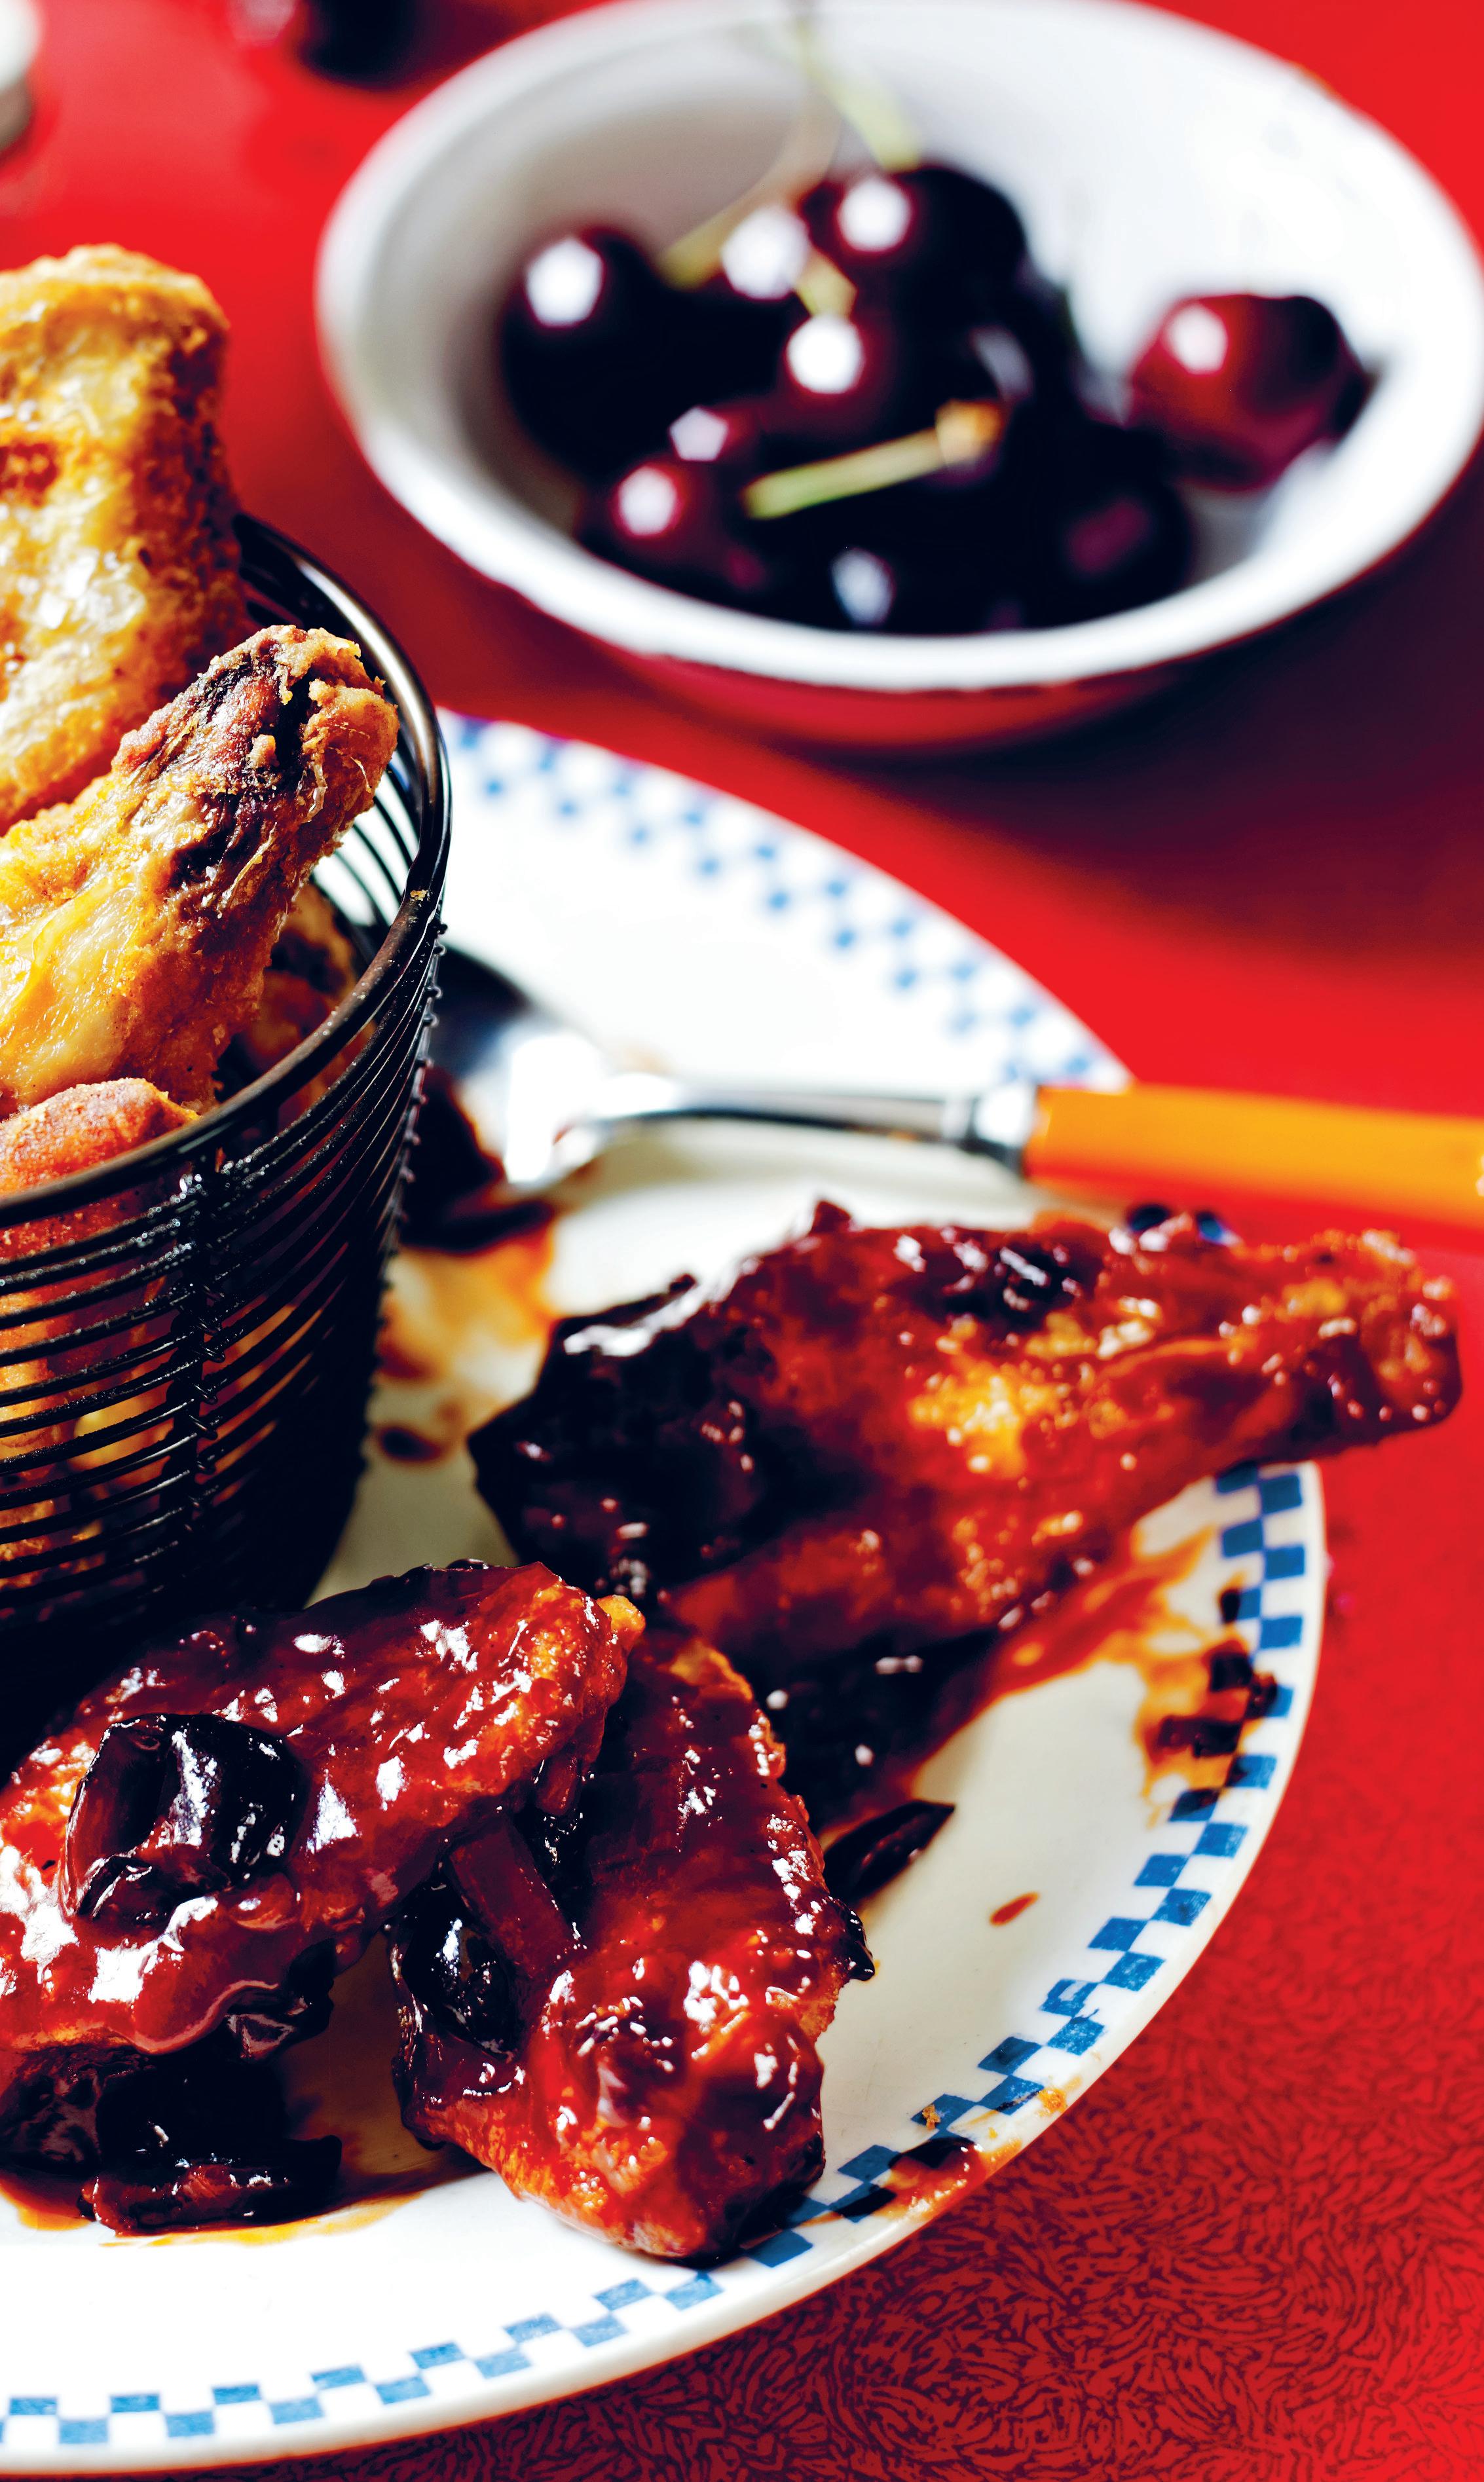
Bing cherries are deep red and sweet, and their addition to this barbecue sauce turns it into something absolutely delicious. The chicken wings are fried and slathered with the sauce, but be warned—this sauce is addictive, and also makes a great accompaniment to ribs and hamburgers. – c h
for the wings
1 cup all-purpose flour
1 teaspoon salt
1 teaspoon ground black pepper
4 pounds chicken wings, halved at the joints, tips removed Vegetable oil, for frying Cherry BBQ Sauce (see recipe below)
for the cherry bbq sauce
2 tablespoons butter
1 onion, chopped
3 garlic cloves, finely chopped
2 cups fresh or frozen Bing cherries (or other dark, sweet cherries), pitted and coarsely chopped
1 cup Homemade Ketchup (see recipe on opposite page)
2⁄3 cup packed brown sugar
¼ cup cider vinegar
1 tablespoon Worcestershire sauce
2 teaspoons mustard powder
½ teaspoon ground black pepper
1. To prepare the Cherry BBQ Sauce, melt the butter in a large saucepan, add the onion, and saute until tender. Add the garlic and continue to cook for 1 minute. Stir in the remaining sauce ingredients. Cook, uncovered, over a medium-low heat for 20 minutes or until the cherries are tender and the sauce has thickened, stirring occasionally. Set aside and let cool.
2. For the wings, preheat the oil in a deep fryer set to 375°F. Mix the flour, salt, and pepper in a medium bowl and dip each wing. Coat well in the flour mixture, then shake o the excess.
3. Fry 3 to 4 wings at a time until they are a deep golden brown and the juices run clear when the thickest part is pierced to the bone. Toss the wings with half the Cherry BBQ Sauce and serve the remainder as a dipping sauce.
Cook’s Note: These wings are also great served with Ranch Dipping Sauce (see recipe on opposite page).
⅛ teaspoon each of ground cinnamon, cloves, allspice, and cayenne pepper
1 teaspoon powdered chia seeds, for thickness (optional)
Put all the ingredients in a blender or food processor with 1 cup water and blend well. Chill in the refrigerator overnight or for at least 2 hours.
Ranch Dipping Sauce
MAKES 4 TO 6 SERVINGS
Use with the Bing Cherry BBQ Wings and General Tso's Slow-Cooker Wings.
⅓ cup mayonnaise or Greek Yogurt
⅓ cup milk
1 teaspoon hot sauce or Sriracha (optional)
for the ranch seasoning
⅓ cup dried buttermilk or powdered milk
2 tablespoons dried parsley
1½ teaspoons dried dill
2 teaspoons garlic powder
2 teaspoons onion powder
2 teaspoons dried onion flakes
1 teaspoon ground black pepper
1 teaspoon dried chives
1 teaspoon salt
Combine the Ranch Seasoning in a bowl. Put the mayonnaise or yogurt, milk and 1 tablespoon of the ranch seasoning in a small bowl and whisk to combine.
Cook’s Note: A measurement of 3 tablespoons of this Ranch Seasoning is the same as 1 packet of store-bought seasoning. Any unused seasoning can be stored in an airtight container.
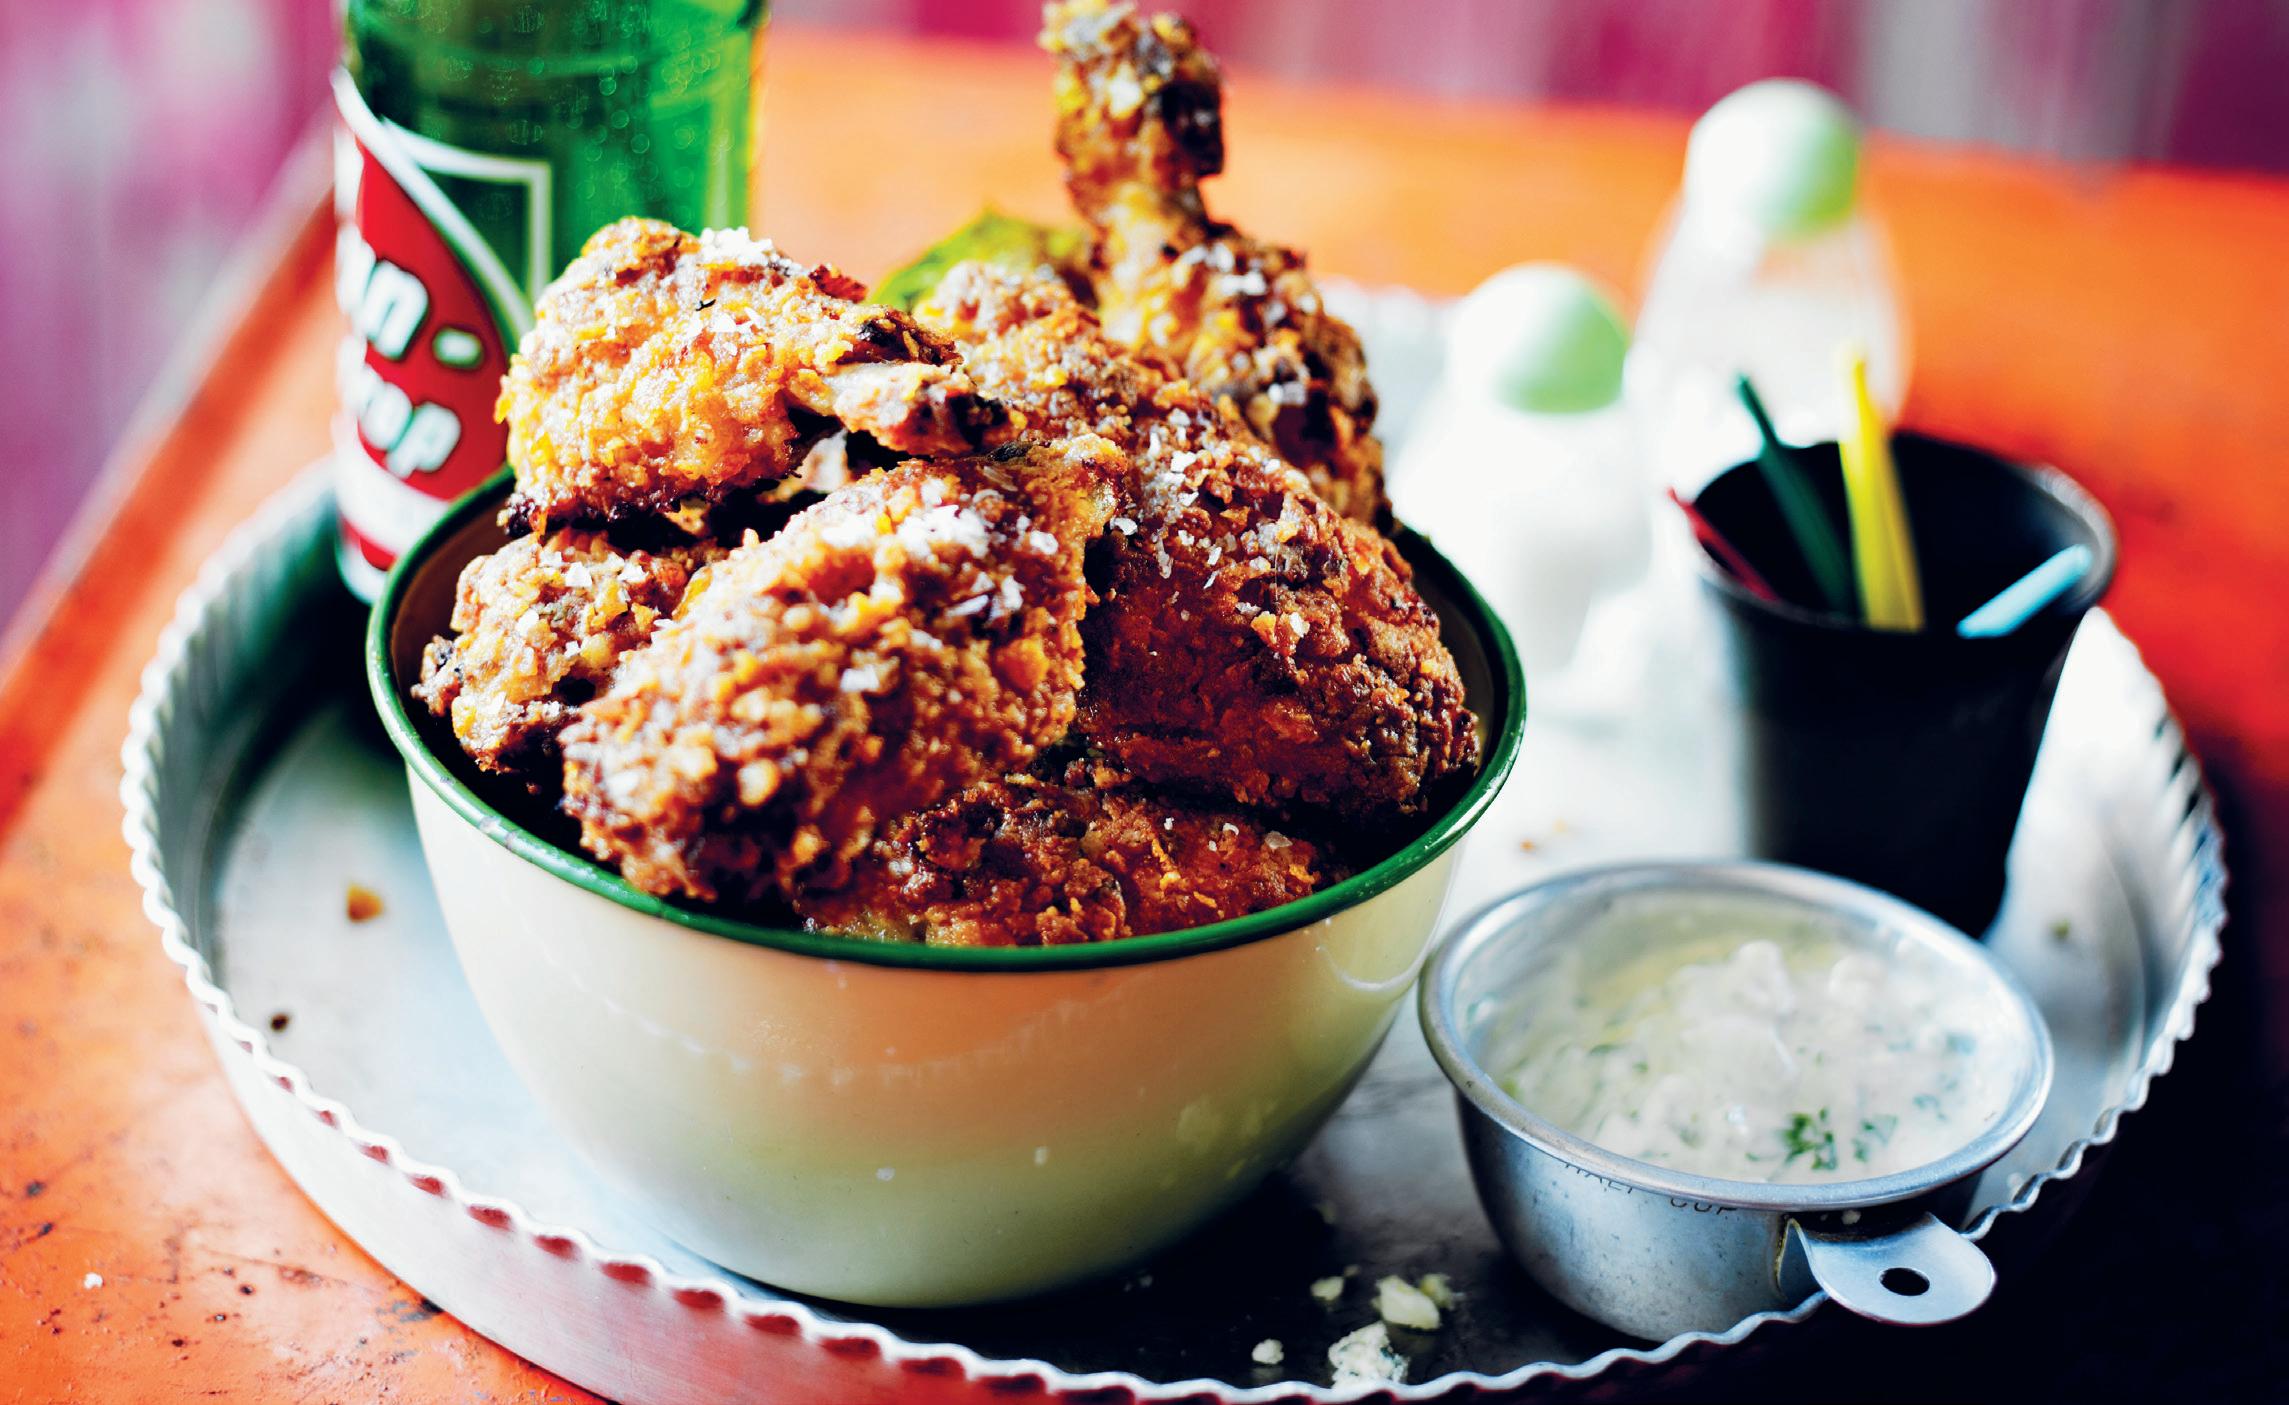
The best fried chicken always involves buttermilk, with the tangy marinade making it one of the juiciest and tastiest ways to cook chicken. This recipe is a classic. – c h
3 eggs
2 cups buttermilk
4 pounds chicken wings, halved at the joints, tips removed
3 cups all-purpose flour
1 cup crushed saltine crackers or cornflakes
1 teaspoon ground black pepper
1 teaspoon dried thyme ¼ teaspoon cayenne pepper 1 teaspoon salt, plus extra for seasoning ½ teaspoon garlic powder
Vegetable oil, for frying Dijon-Blue Cheese Dipping Sauce, to serve (see recipe at right)
1. Beat the eggs and buttermilk together in a large bowl until smooth. Mix in the chicken wings, cover, and refrigerate for 30 minutes.
2. Heat the oven to 425°F. Line 2 to 3 large baking sheets with foil.
3. Combine the flour and crackers/cornflakes with the pepper, thyme, cayenne pepper, salt, and garlic powder in a large bowl.
4. Remove the chicken wings from the buttermilk marinade and discard the remaining marinade. Allow the excess buttermilk to drip from the wings, then press into the crumbs to coat.
5. Arrange the chicken wings on the baking sheets. Bake in the preheated oven for 25 to 35 minutes or until golden brown and the juices run clear when the thickest part is pierced to the bone. Remove from the oven.
6. Preheat the oil in a deep fryer set to 375°F. See Editor’s Note.
7. Fry the wings in batches for a few minutes to crisp them. Drain on a plate lined with paper towels and season to taste with salt. Serve with Dijon-Blue Cheese Dipping Sauce.
Dijon-Blue Cheese Dipping Sauce
MAKES 4 SERVINGS
½ cup mayonnaise
½ cup sour cream
2 teaspoons fresh lemon juice
2 teaspoons red wine vinegar
1 teaspoon creamy Dijon mustard
¼ teaspoon Worcestershire sauce
1⁄3 cup crumbled blue cheese
1 garlic clove, finely chopped
1-2 tablespoons chopped fresh flat-leaf parsley
1 spring onion/scallion, finely chopped Salt and black pepper, to taste
Stir or whisk the mayonnaise, sour cream, lemon juice, vinegar, mustard, and Worcestershire sauce in a bowl until smooth. Add the blue cheese, garlic, parsley, and spring onion/scallion, and stir until combined. Season to taste, then cover and refrigerate for at least 1 hour before serving.
Editor’s Note: If you don’t have a deep fryer, heat oil in a heavy deepsided pan on the stovetop and bring oil to 350°F. Follow at Step 7 and fry the wings in batches for a few minutes to crisp them.
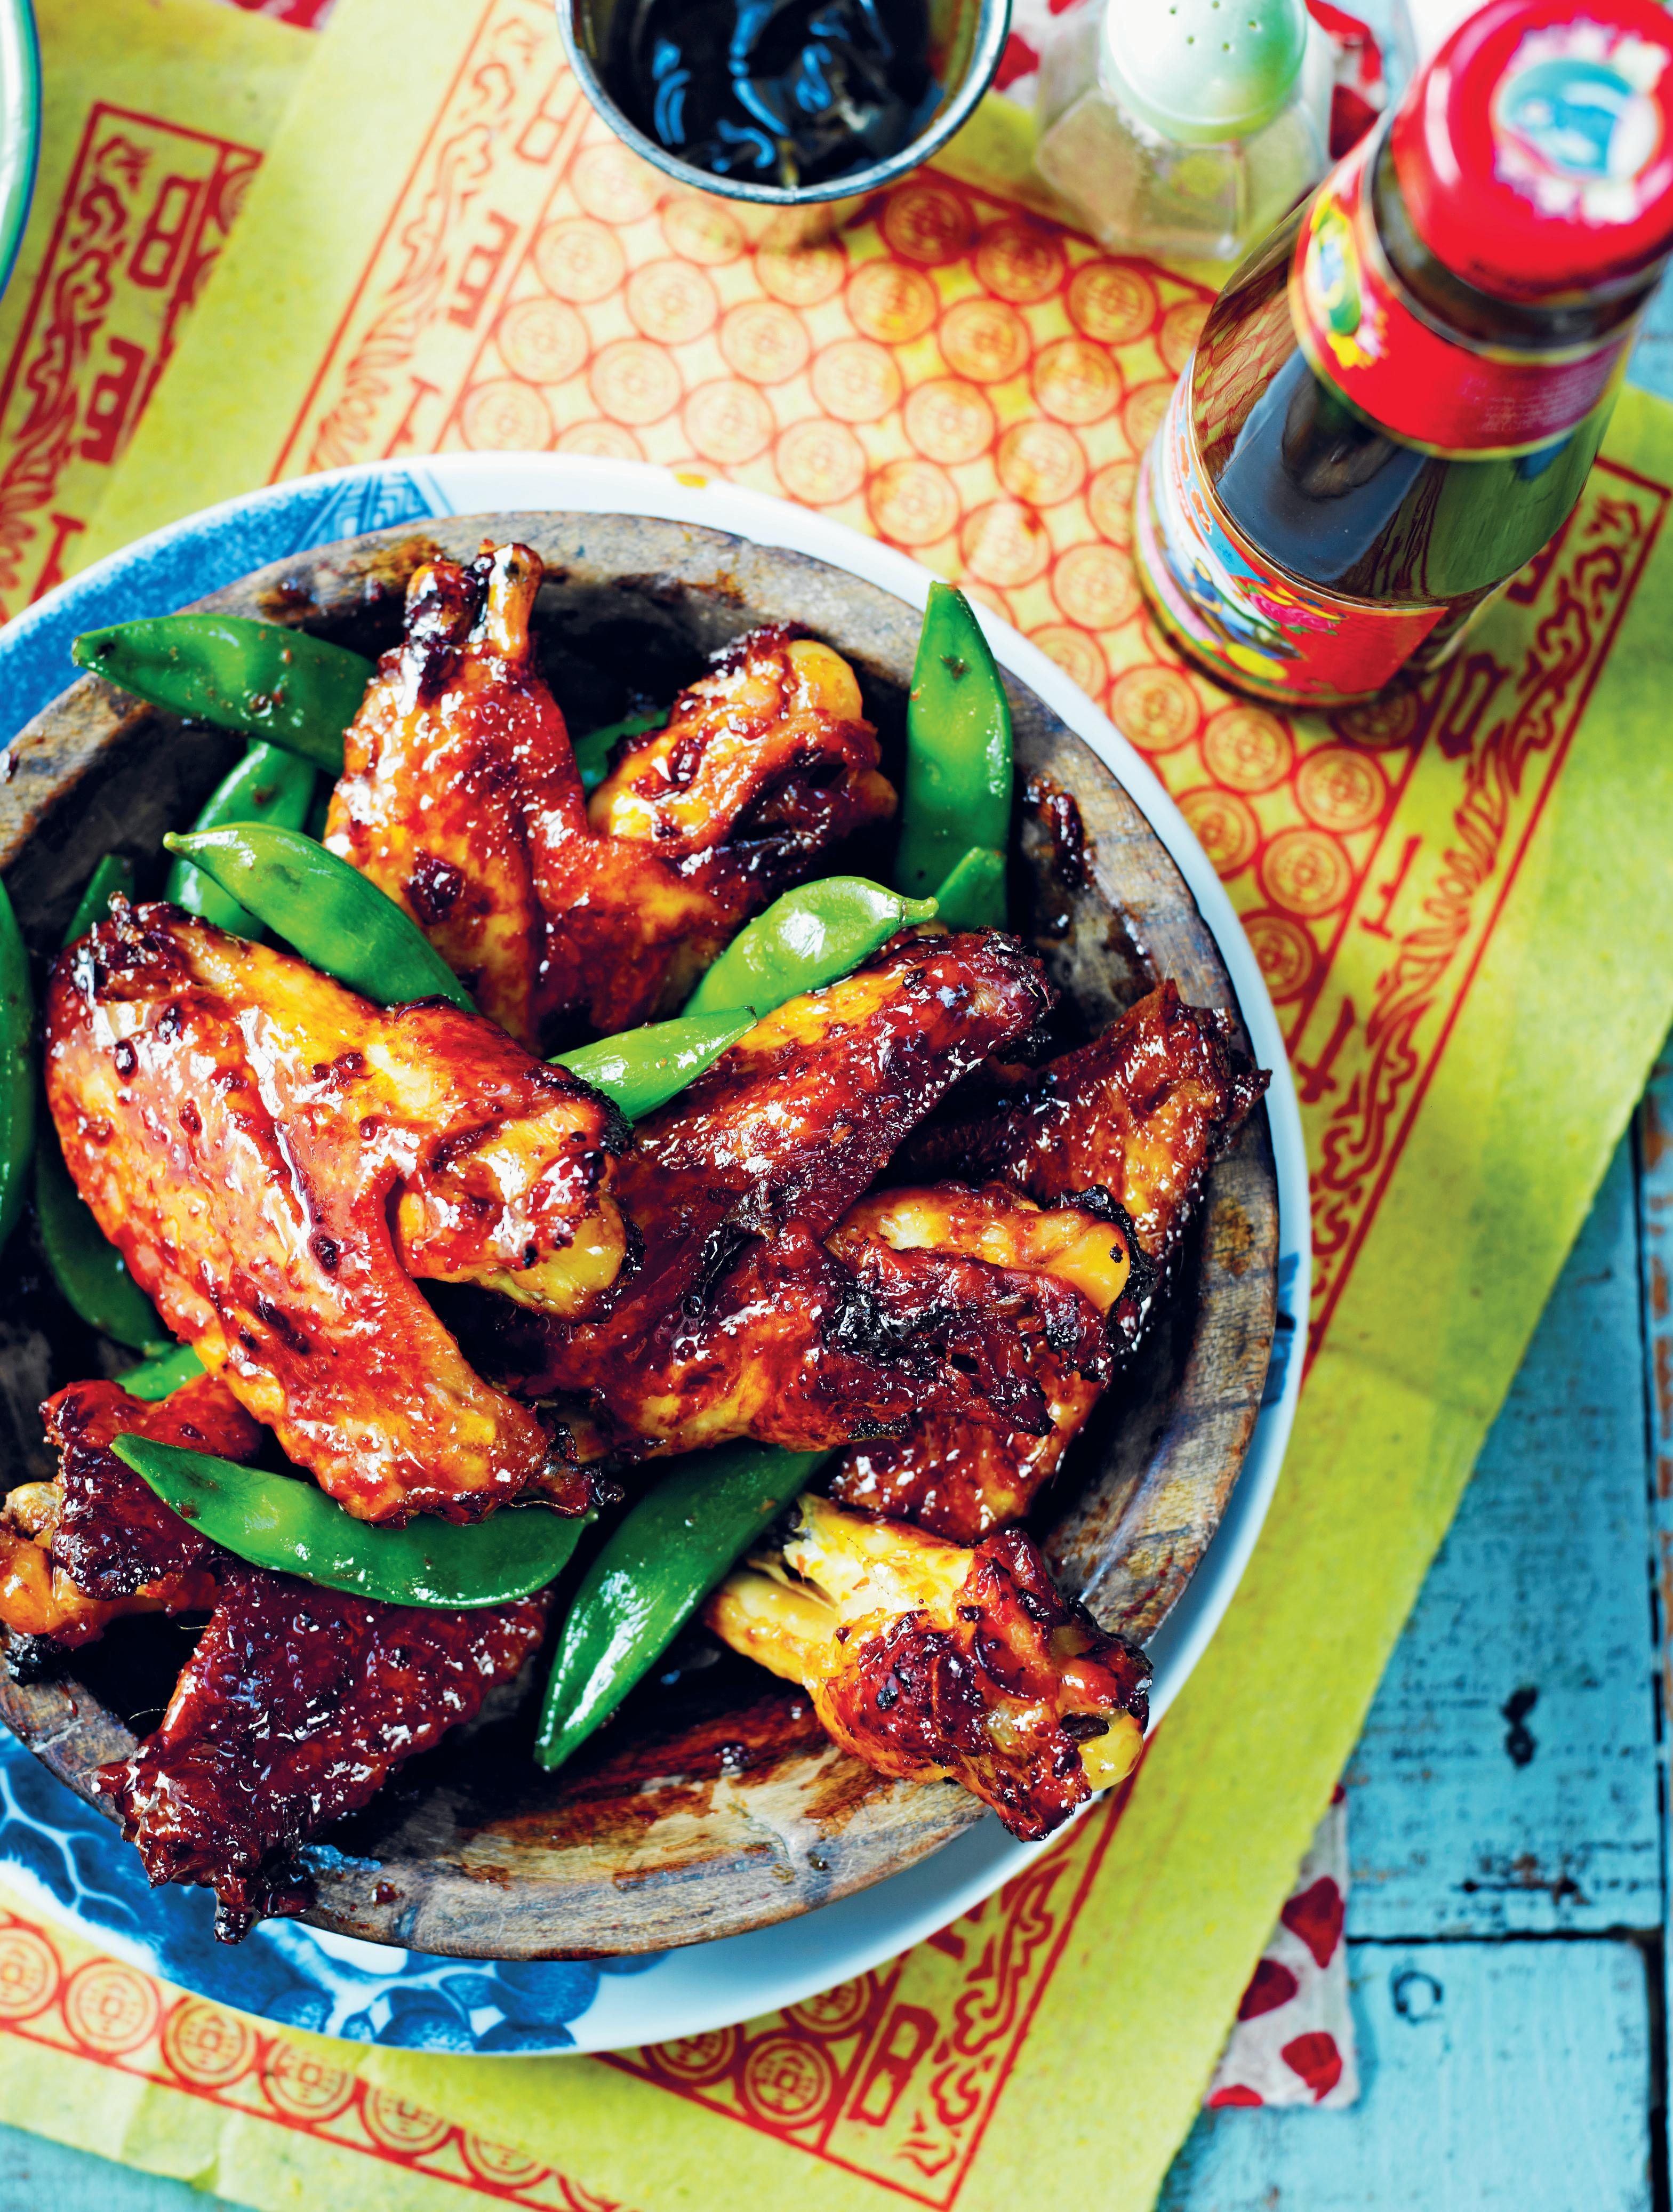
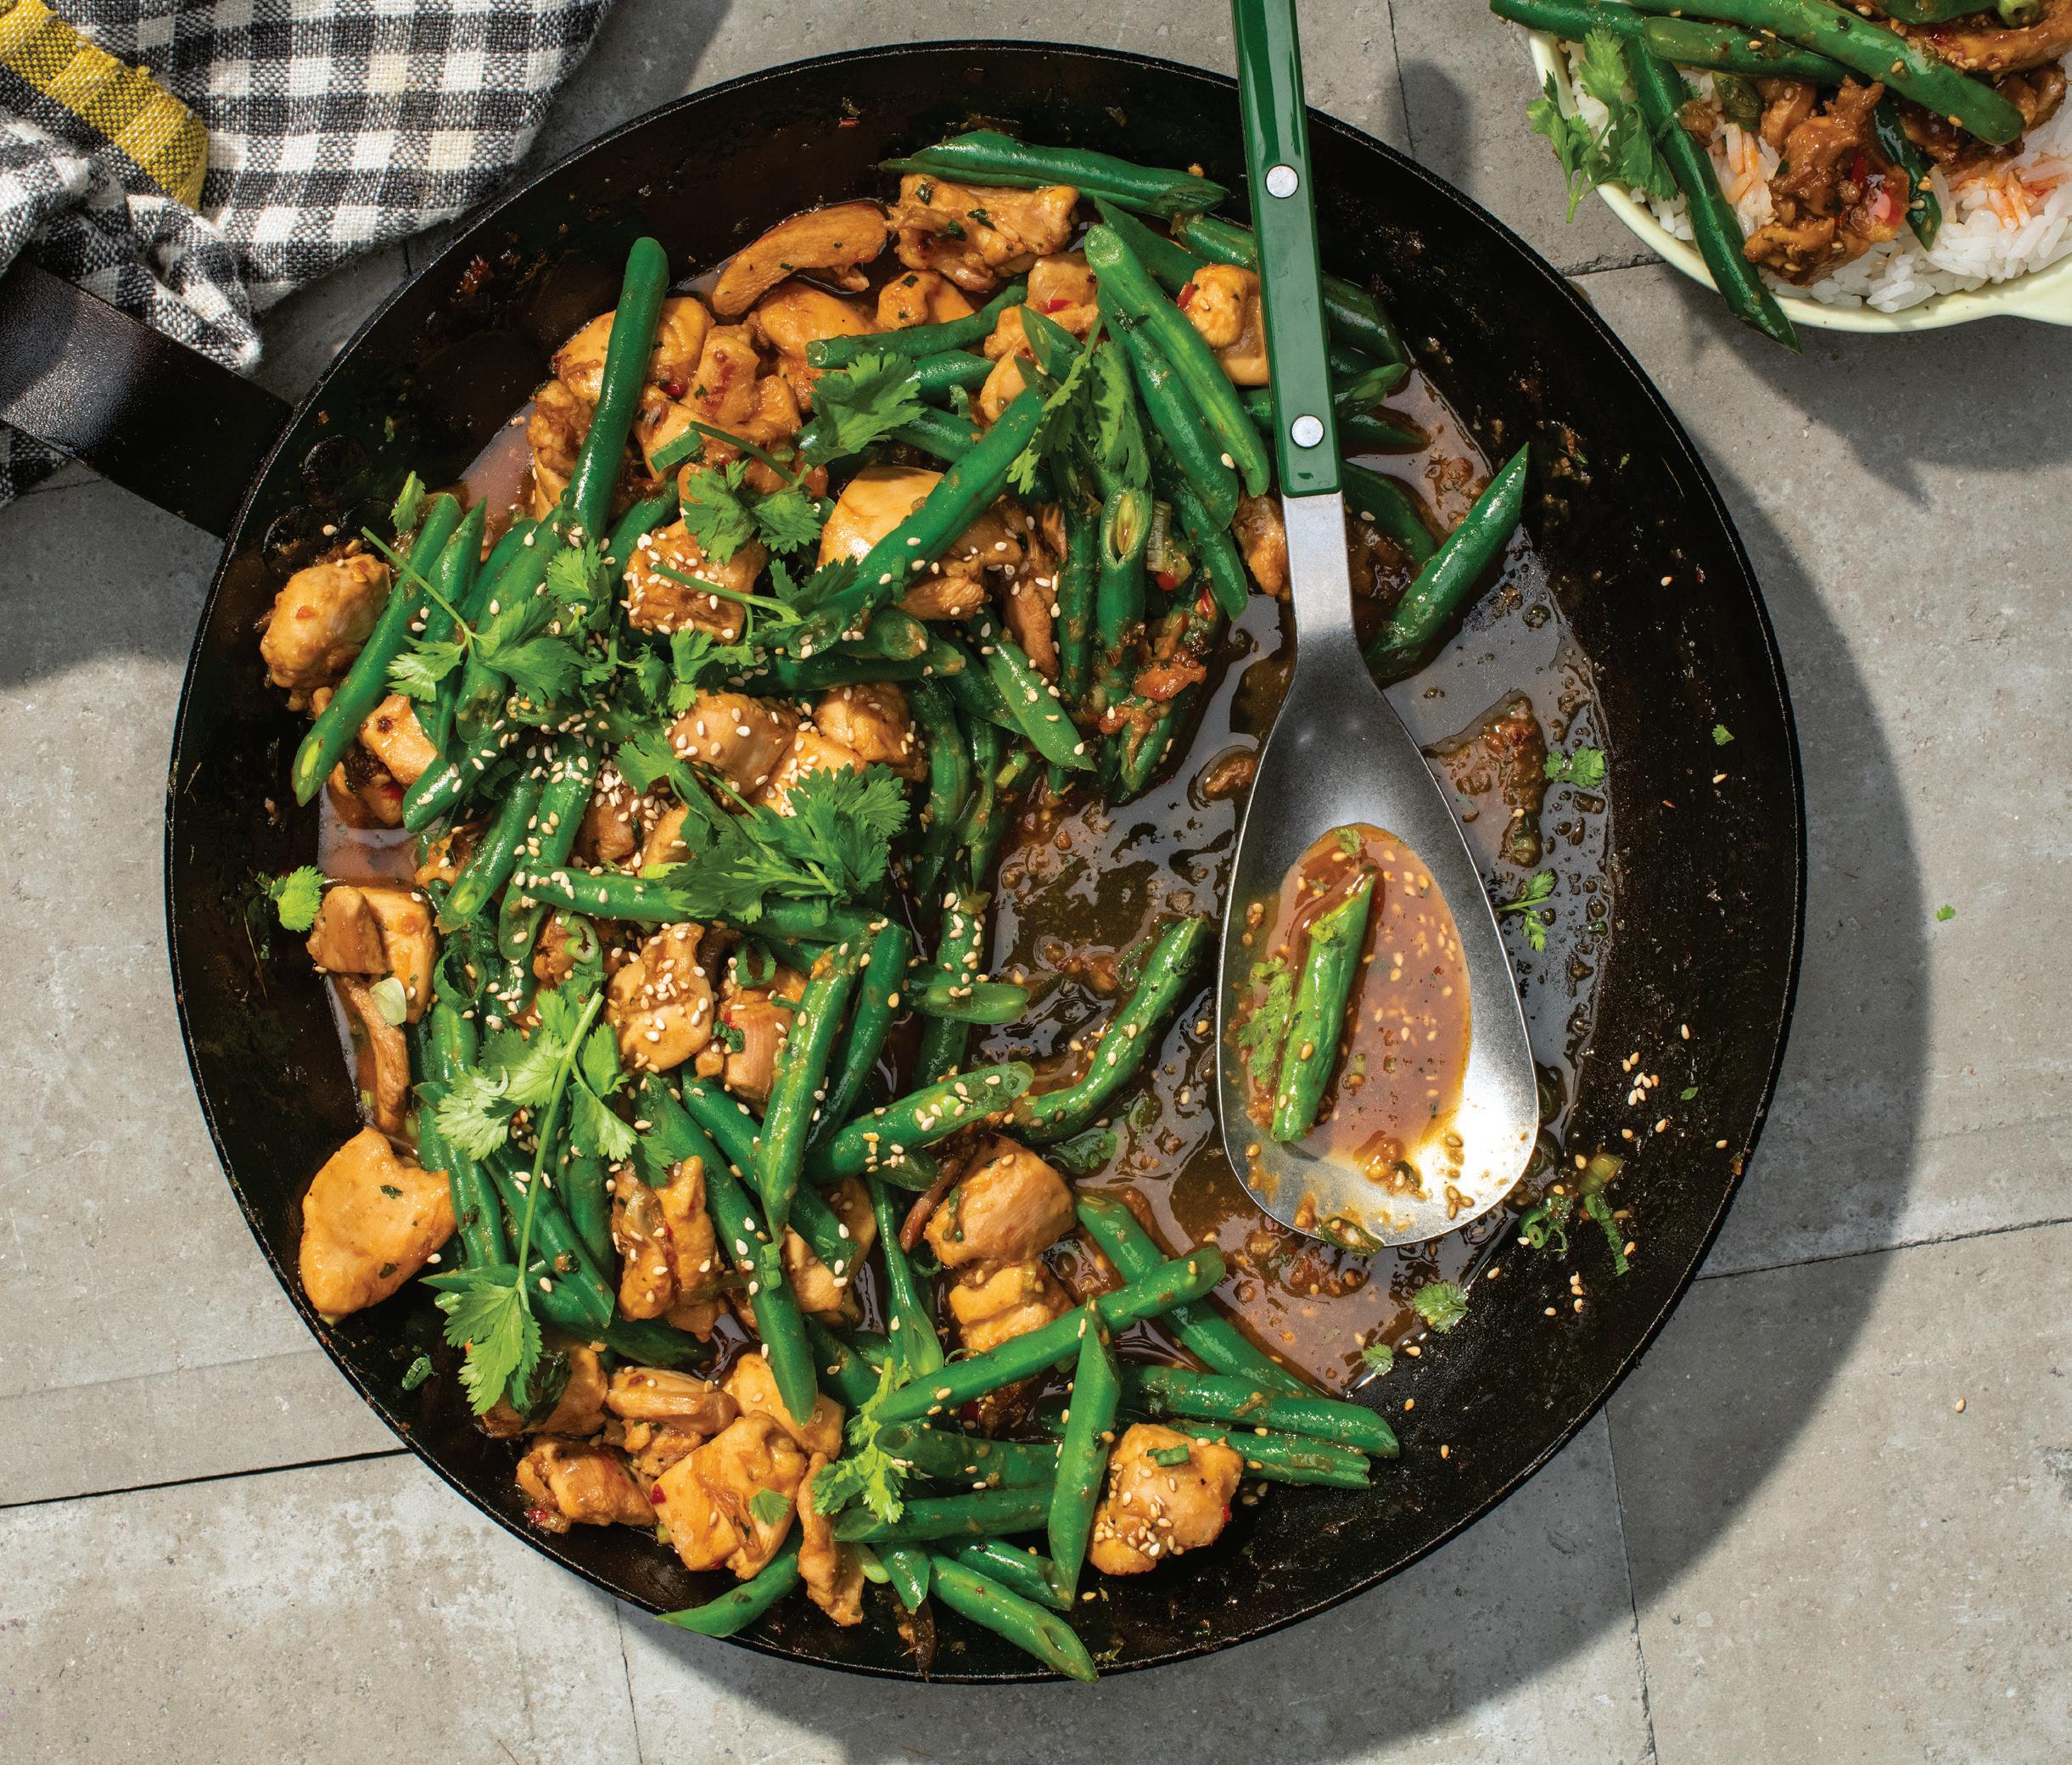
Probably one of the most popular Chinese takeout dishes, General Tso’s chicken has a Chinese barbecue sauce, sweetened with a combination of garlic, honey, and ginger. The marinade is thick and pairs perfectly with darker chicken meat. Baked in a slow cooker, the meat falls right o the bone. – c h
4 pounds chicken wings, halved at the joints, tips removed
5 teaspoons finely chopped garlic
8 tablespoons runny honey
2 teaspoons grated fresh ginger
6 tablespoons soy sauce
1 teaspoon crushed red pepper flakes
9 ounces snow peas, cooked
1. Place the chicken in the slow cooker.
2. Mix the remaining ingredients, except the snow peas, in a bowl. Pour this mixture over the chicken and stir.
3. Cook on high for 3 to 5 hours (adjust according to your slow cooker’s settings, if necessary). Add the snow peas during the final 30 minutes of cooking and stir to coat with the sauce.
Cook’s Note: These wings go well with Ranch Dipping Sauce (see recipe on page 33).
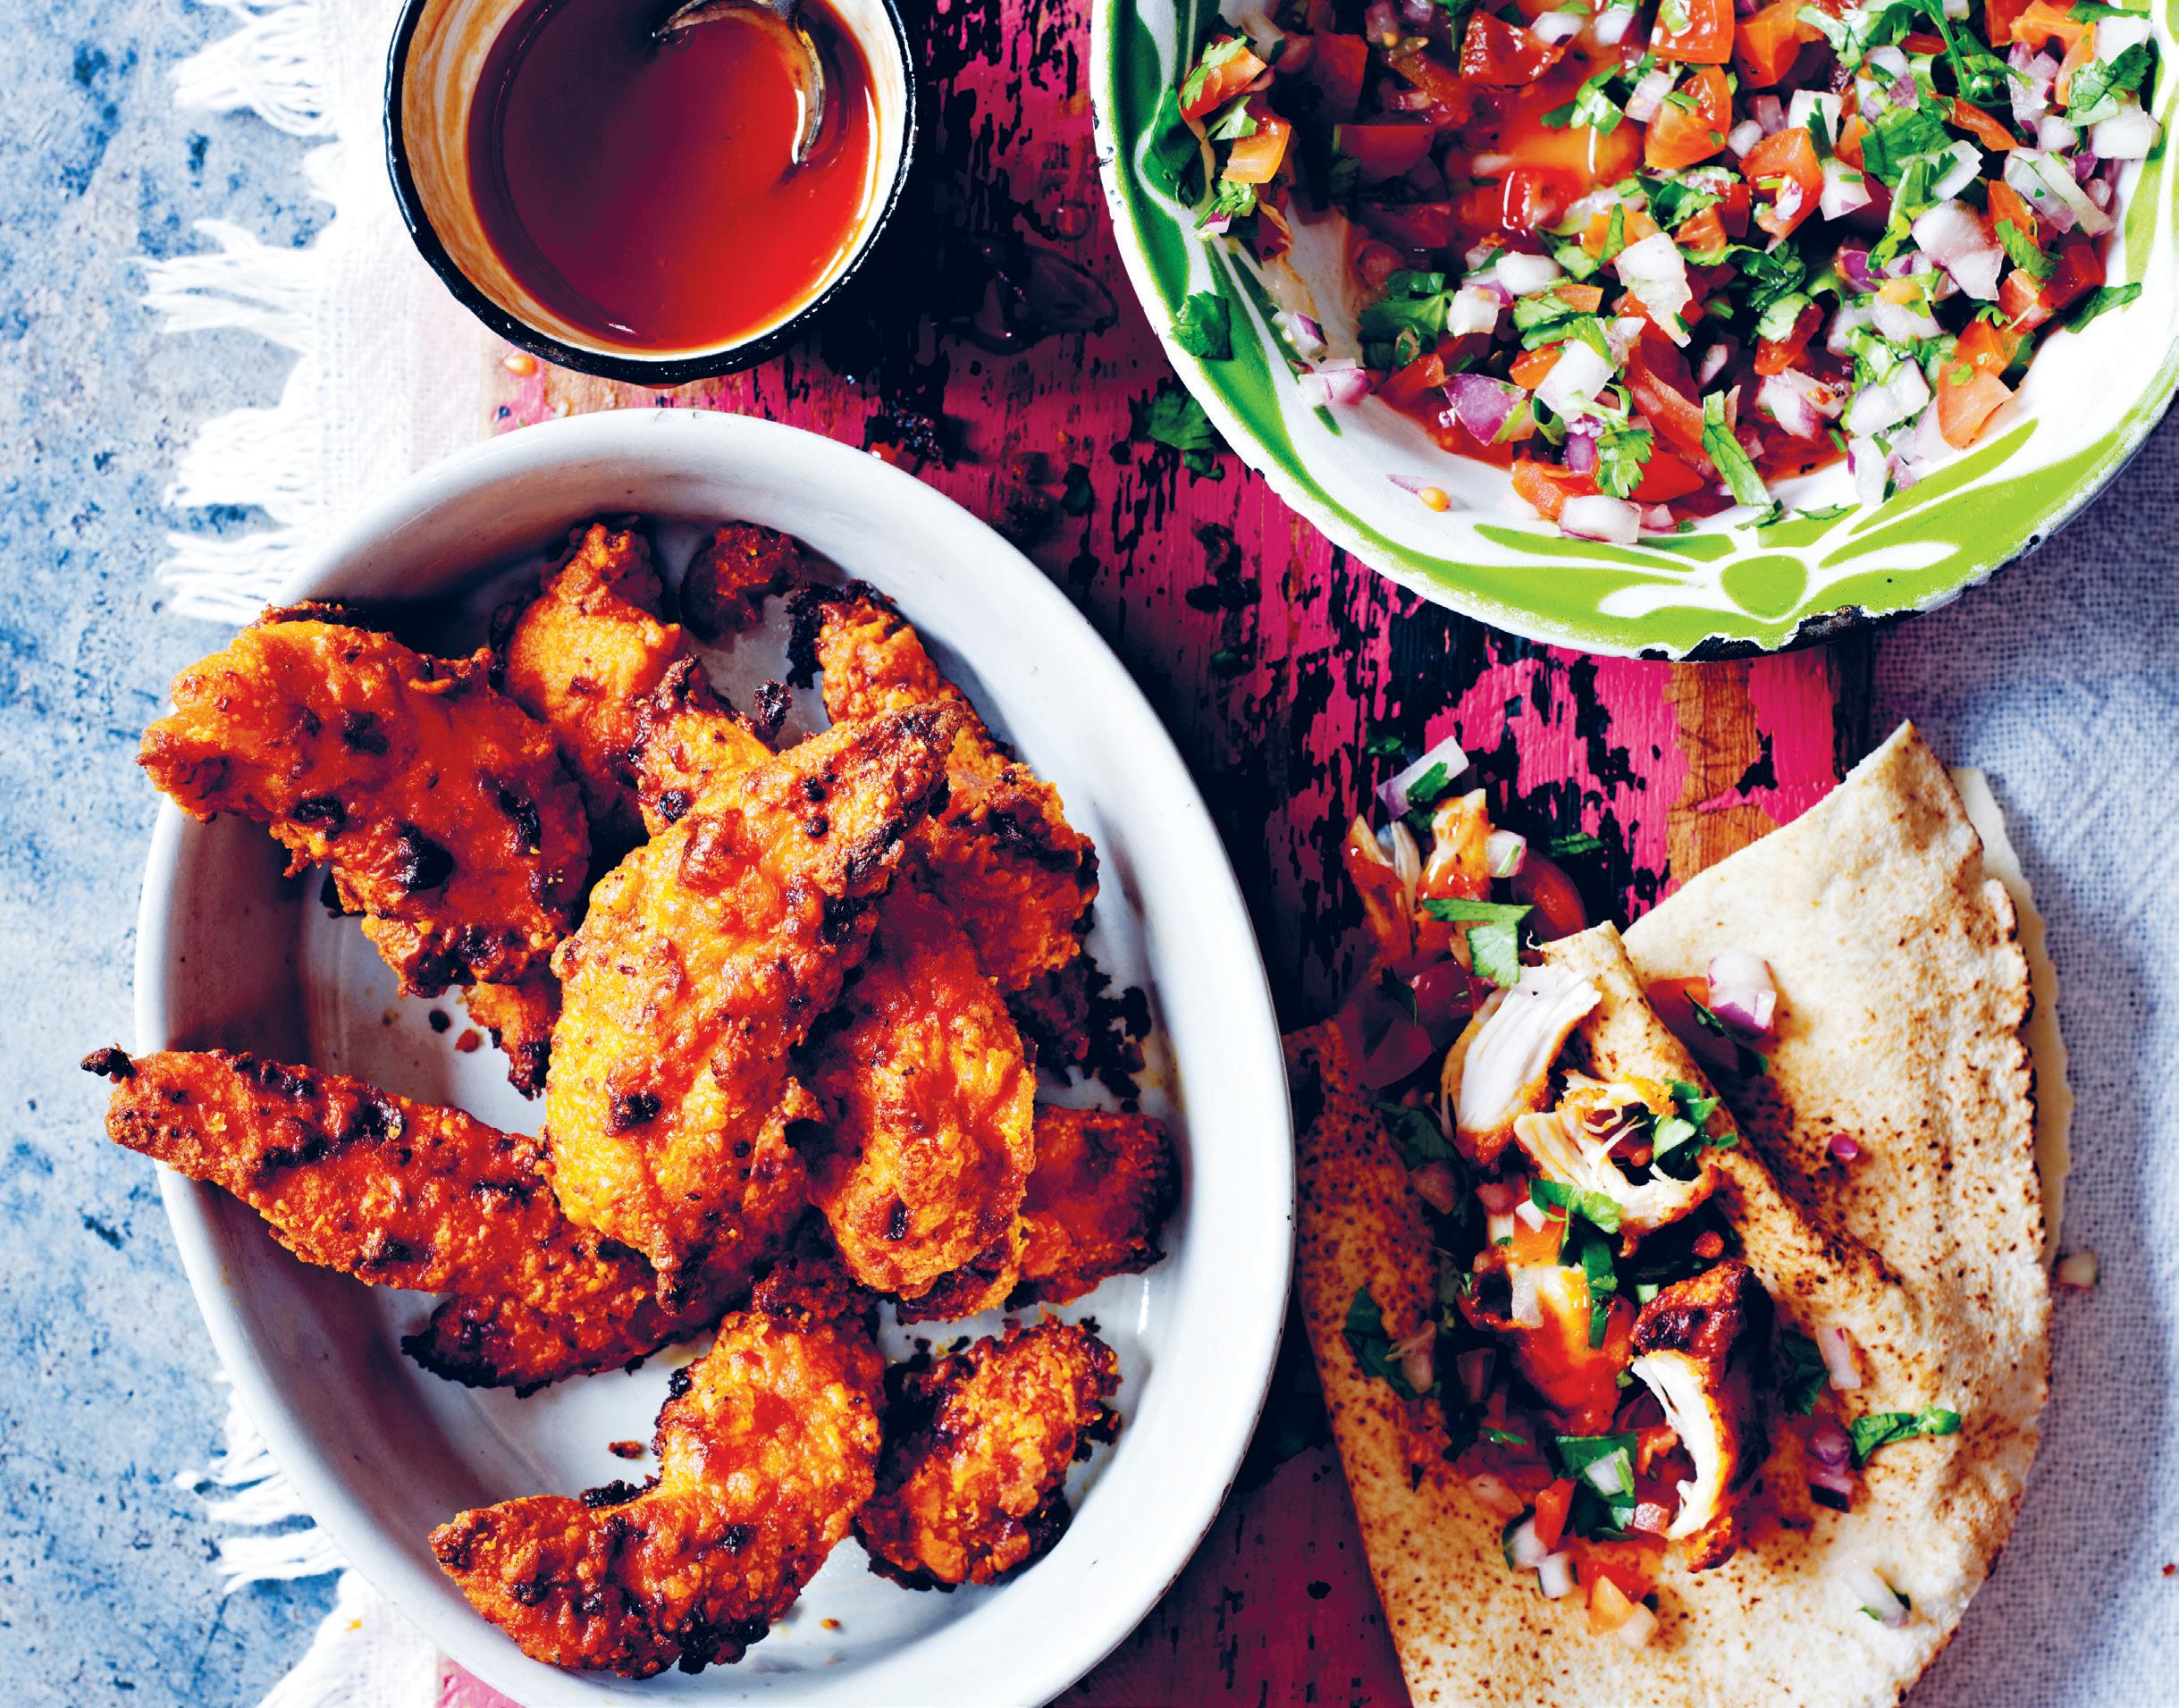
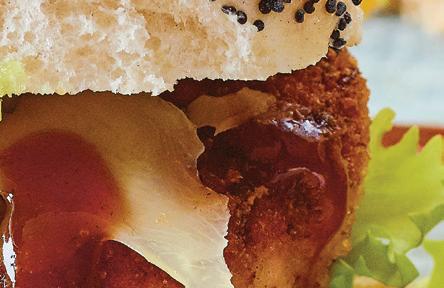
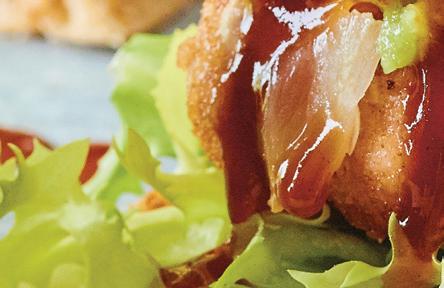
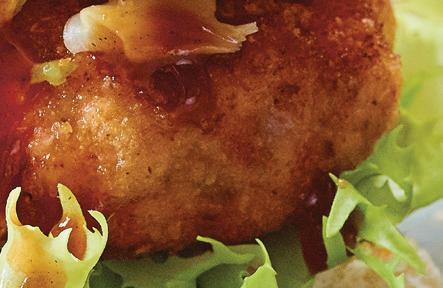
This is for those who don’t like to deal with chicken bones—or those of you who eat pizza with a knife and fork! These “wings” are bone-free, baked until crispy, and served with a Honey-Chipotle Sauce, although almost any sauce and marinade from the book would work well. – c h
4 pounds chicken fillets/ tenders
1 cup all-purpose flour
1 teaspoon cayenne pepper
1 teaspoon garlic powder
1 teaspoon salt
¾ cup (1½ sticks) butter, melted
¾ cup hot pepper sauce, such as Frank’s Red Hot Sauce
Honey-Chipotle Dipping Sauce, to serve (see recipe at right)
1. Line 2 to 3 baking sheets with foil, and lightly grease with cooking spray or vegetable oil.
2. Put the flour, cayenne pepper, garlic, and salt in a resealable plastic bag and shake to mix. Add the chicken, seal the bag, and toss until well coated with the flour mixture. Place the chicken on the lined baking sheets. Cover loosely with plastic wrap and place in the refrigerator for at least 1 hour.
3. Heat the oven to 400°F.
Honey-Chipotle Dipping Sauce
MAKES 4 TO 6 SERVINGS
1¼ cups runny honey ½ cup tomato ketchup 1½ tablespoons white wine vinegar
1 tablespoon ground chipotle chili powder ¾ teaspoon salt
Combine all the ingredients in a medium saucepan with ½ cup water and bring to a boil over a medium-high heat. Reduce the heat once the mixture comes to the boil and let simmer for 3 to 5 minutes.
4. Whisk together the melted butter and hot sauce in a small bowl. Dip the chicken into the butter mixture, then place back on the baking sheets. Bake in the preheated oven for 25 to 30 minutes, until the chicken is crispy on the outside and the juices run clear when the thickest part is pierced to the bone. Turn the wings over halfway during cooking so they cook evenly.
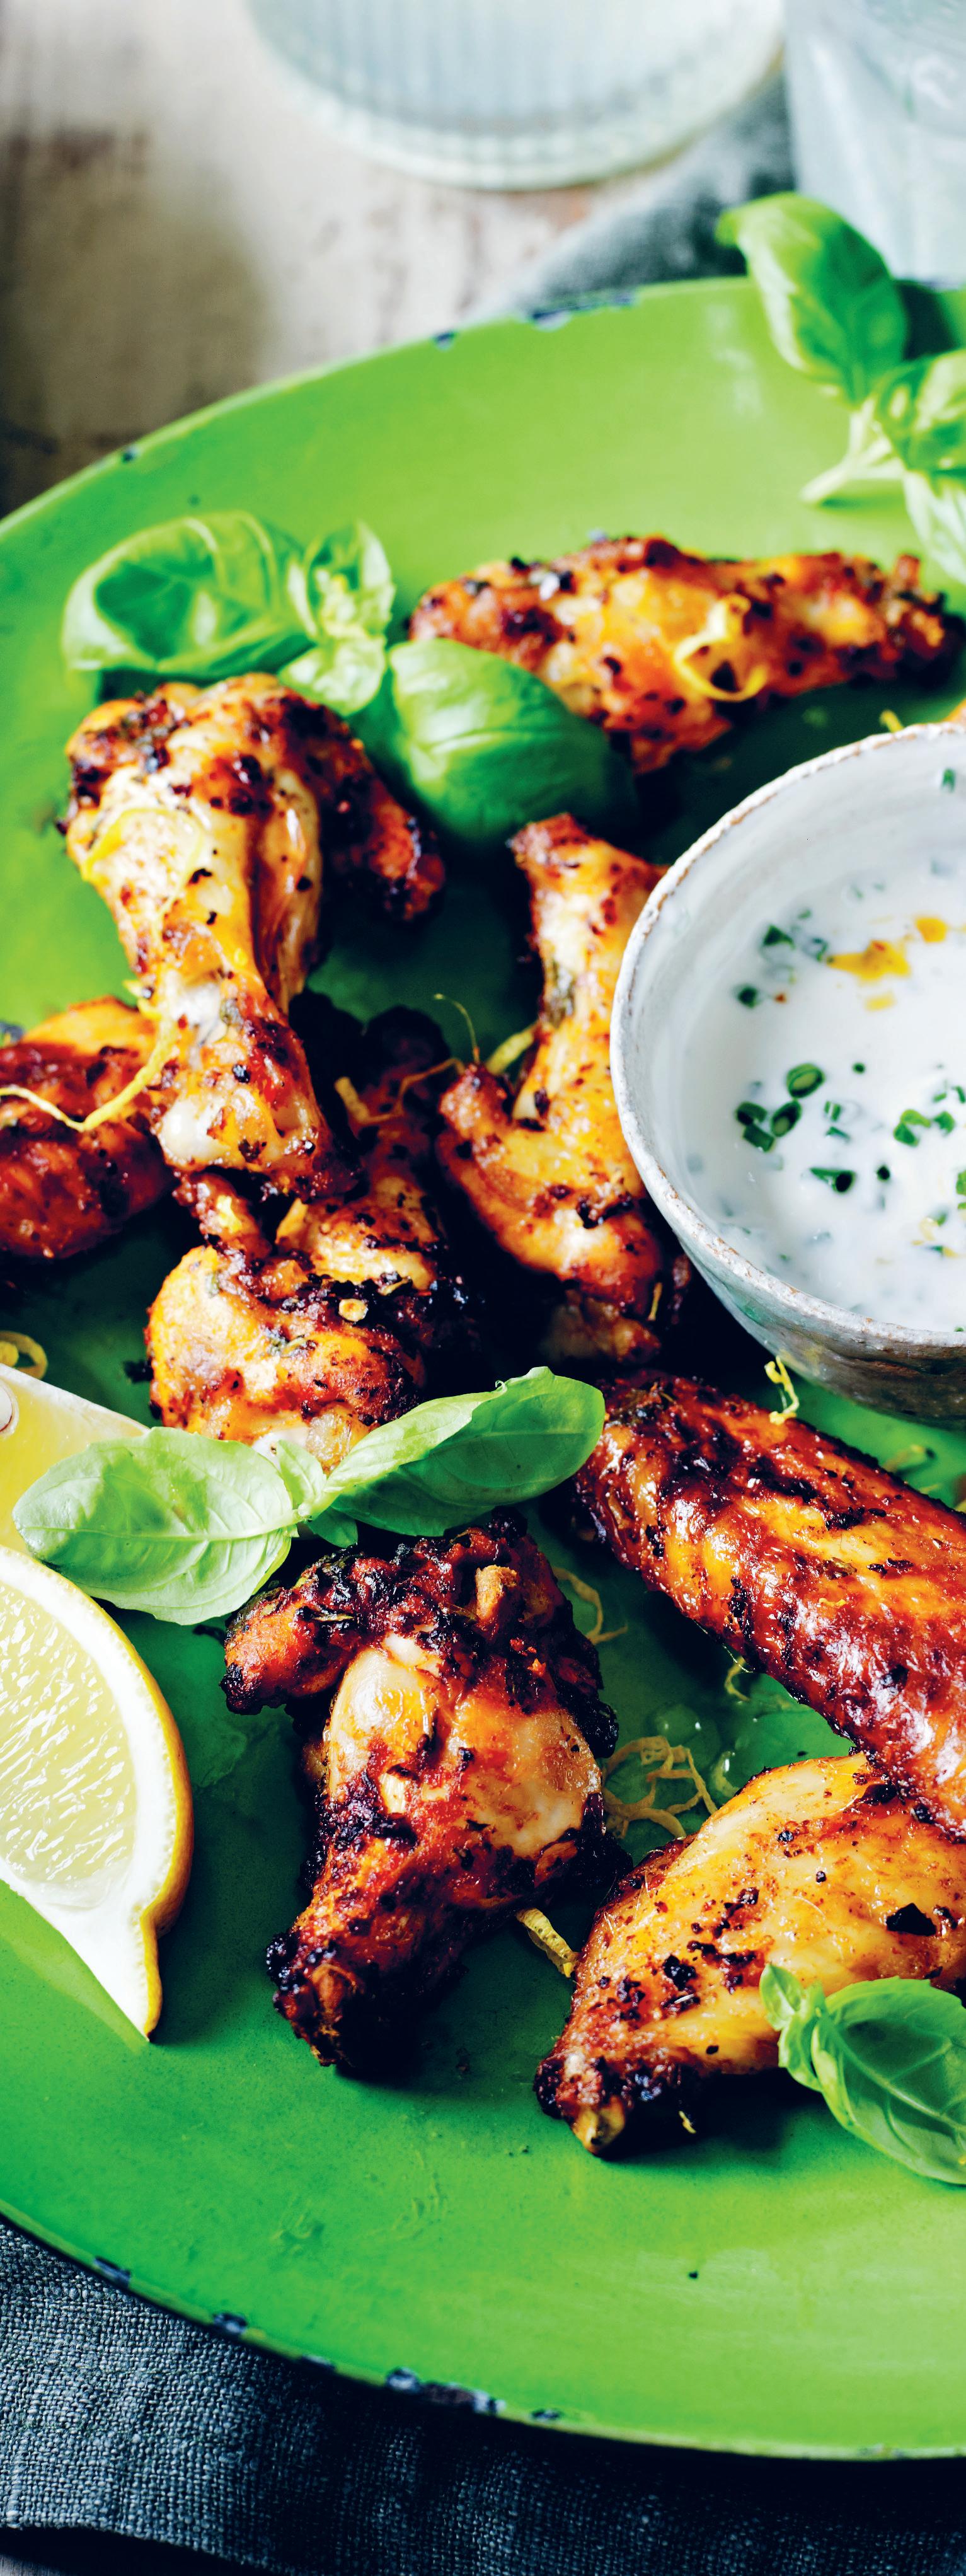
This might be the healthiest recipe in the book. With three primary ingredients, it’s easy to mix and match and dabble with the quantities. – c h
4 pounds chicken wings, halved at the joints, tips removed
2 tablespoons ground black pepper
3 tablespoons freshly squeezed lemon juice
2 teaspoons seasoned salt
1½ teaspoons smoked paprika
1 teaspoon garlic powder
½ teaspoon red pepper flakes
2 tablespoons chopped fresh basil, plus extra to serve
4 tablespoons olive oil
3 tablespoons grated lemon zest, plus extra to serve Lemon wedges, to serve Garlic-Cream Dipping Sauce, to serve (see recipe below)
1. Combine all the ingredients, except the lemon zest, in a large bowl. Toss until the wings are thoroughly coated. Cover the bowl with plastic wrap and marinate in the refrigerator overnight (or for at least 4 hours).
2. Preheat the oven to 400°F. Line 2 to 3 baking sheets with foil.
3. Arrange the wings on the baking sheets and pour the leftover marinade over them. Bake for about 30 minutes or until the wings are golden brown on each side and the juices run clear when the thickest part is pierced to the bone.
4. Remove the wings from the oven and let cool briefly. Sprinkle with lemon zest and fresh basil. Serve with lemon wedges and Garlic-Cream Dipping Sauce.
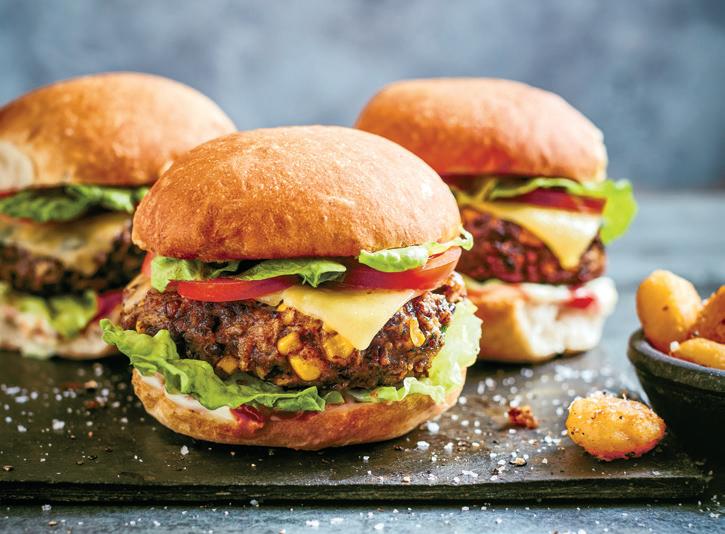
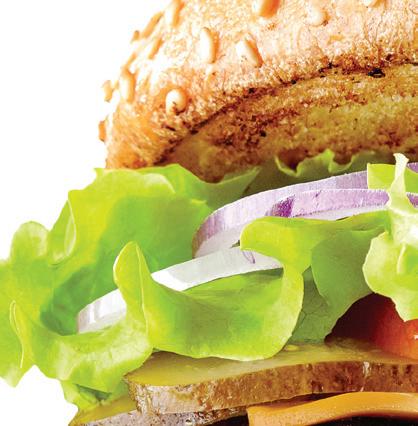
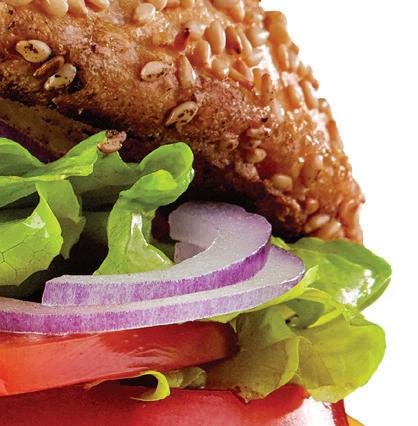
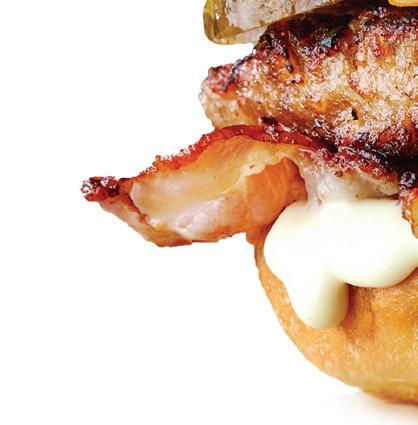
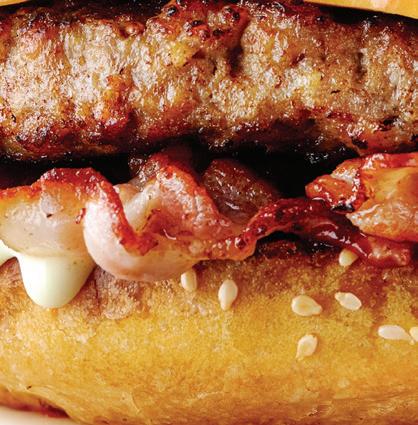
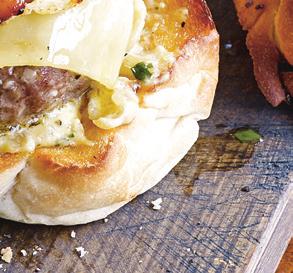
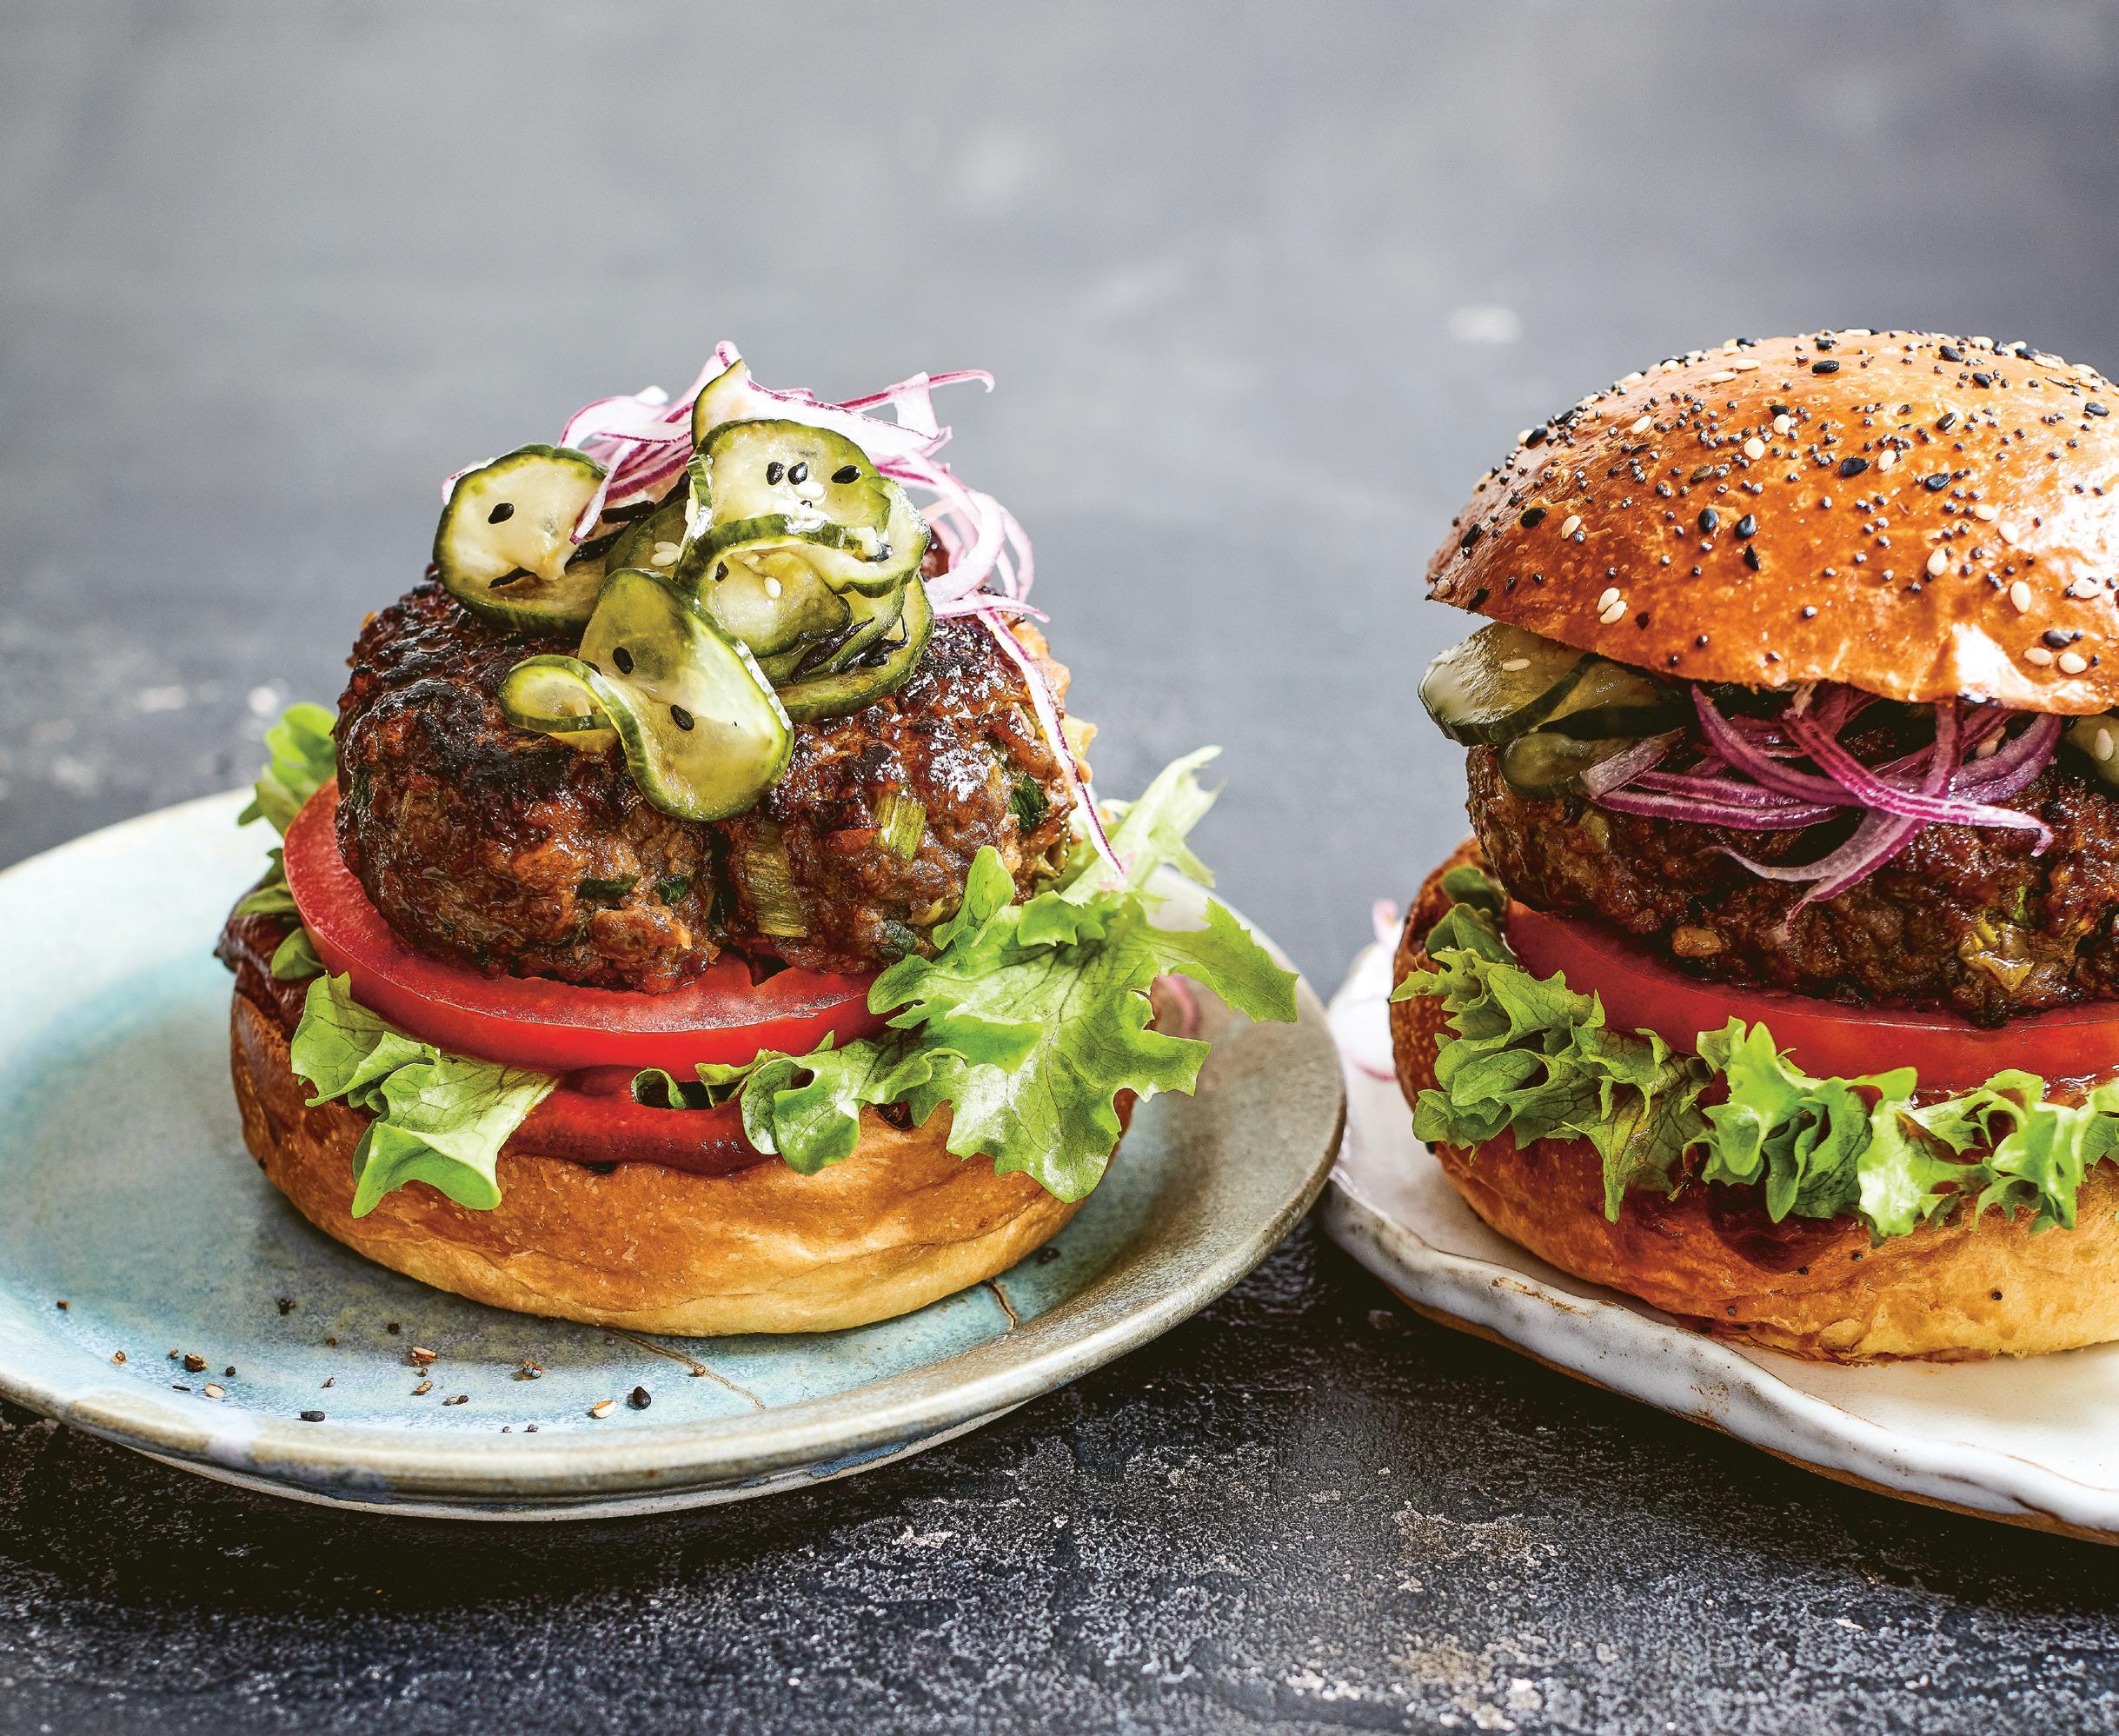
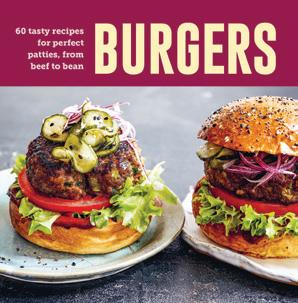
Whip up next-level meaty or meatless burgers packed with creativity and flavor
The classic ground beef burger set the standard for a delicious meal in a bun since it came on the scene sometime between the late 1880s and early 1900s—with several di erent folks staking claim to its creation. Whether you prefer a slice of melted cheese and minimal or numerous toppings, no one can deny the perfection of your favorite burger. Yum. Your go-to burger will not be replaced, but trying di erent toppings, sauces, meats, and even sh or veggie burgers just might open your eyes to a variety of 21st-century pa ies to switch up your meals. In this collection of recipes from “Burgers: 60 Tasty Recipes for Perfect Pa ies, from Beef to Bean” published by Ryland Peters & Small, you’ll have many delicious ideas to try and impress your fellow burger-loving friends and family with tasty twists. –mary subialka
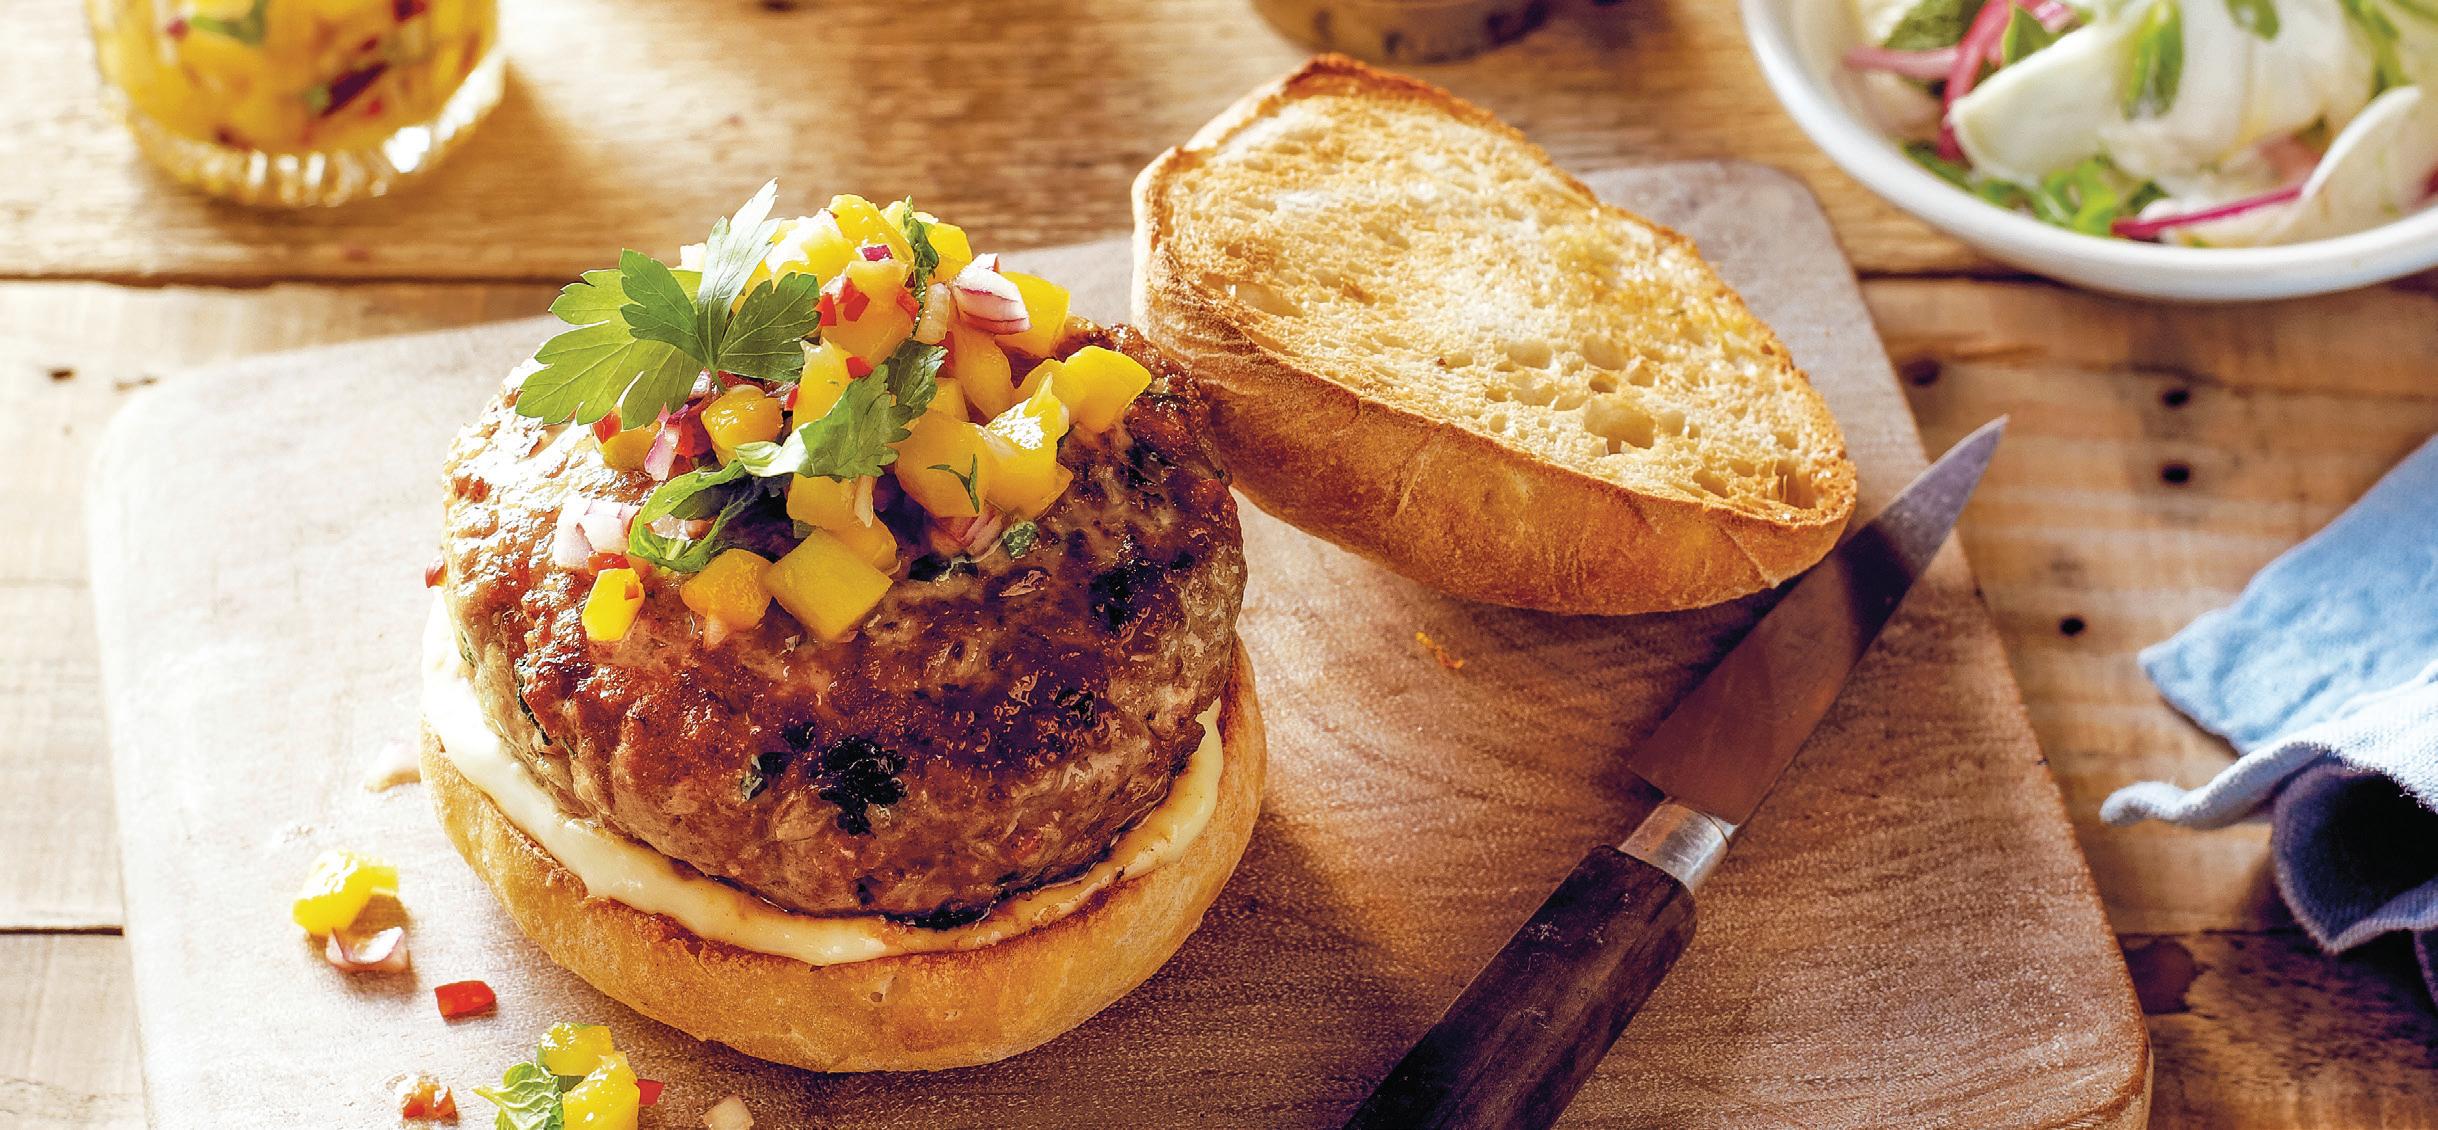
Teriyaki
Burger
MAKES 4 | RECIPE BY JAMES PORTER
A ectionately known as “teri burgers,” these are Hawaii’s take on this American classic. The teri sauce gives these burgers a sweet, sticky quality and helps to keep the meat moist and extra succulent. Although frying is the suggested cooking method here, they are arguably even better cooked on the barbecue or grilled/broiled. – j p
1 pound ground beef (see Editor’s Note on page 41)
1 bunch spring onions/ scallions, finely sliced (white and green parts)
1 teaspoon finely chopped fresh ginger
1 teaspoon finely chopped garlic
¼ teaspoon freshly ground black pepper
¼ teaspoon sea salt
2½ tablespoons teriyaki sauce
¼ cup panko breadcrumbs
1. Place the ground beef in a large bowl with the spring onions, ginger, garlic, pepper, salt, teriyaki sauce, panko breadcrumbs, and sesame seeds. Mix together well. Divide the mixture into 4 burgers and shape into round patties, approximately 1 inch thick.
1 tablespoon toasted sesame seeds
2 tablespoons vegetable oil to serve
4 burger buns, halved and warmed (brioche buns work well)
2. Heat the oil in a heavy-based skillet over medium-high heat. Fry the burgers for about 4 minutes on each side, or for a little longer if you prefer your burger well-done.
3. Serve each burger in a warm bun with thinly sliced red onion, lettuce, and tomato. Serve with ketchup on the side, along with your favorite pickles.
Thinly sliced red onion, lettuce, and tomato Your favorite ketchup Your favorite pickles
Cook’s Note: For an extra tropical twist, try topping each of your burgers with a grilled/broiled pineapple ring.
The spicy Asian flavors and sweet fresh mango salsa set this succulent pork burger apart from a traditional beef burger—and this makes a lighter alternative, too. – s r
3 tablespoons olive oil, divided
¾ cup (about 1 small)
finely diced onion
3 garlic cloves, crushed
1 (1½-inch) piece of ginger, peeled and finely grated
2 pounds ground pork
2 long red chiles, deseeded and finely chopped
1 tablespoon fish sauce
2 tablespoons chopped cilantro
2 ounces bacon, chopped and cooked
2 eggs, beaten
Sea salt and freshly ground black pepper, to taste
to serve
6 burger buns, halved Mayonnaise Mango Salsa (see recipe at right) Fennel and Mint Slaw (see recipe at right)
1. Heat 1 tablespoon of the oil in a skillet and saute the onion, garlic, and ginger over gentle heat until soft. Remove from the heat and allow to cool.
2. Place the pork, chopped pepper, fish sauce, cilantro, chopped and cooked bacon, and eggs in a large bowl. Add the onion mixture and combine. Season with salt and pepper.
3. Form into 6 patties (about 2 ounces each) pressing each burger down to make it nice and flat. Chill until ready to cook.
4. Heat the oven to 325°F.
5. Heat the remaining 2 tablespoons of oil in a large frying pan and fry the burger patties for 4 minutes, turning once, until nice and brown on both sides. You may need to do this in batches, depending on the size of your pan.
6. Transfer the patties to a baking sheet and finish o by cooking in the preheated oven for a further 10 minutes.
7. While the patties are cooking, lightly toast the burger buns. Spread some mayonnaise on the bottom bun and top with the pork patty, Mango Salsa, and the other half of the bun. Serve with the Fennel and Mint Slaw on the side.
To make the salsa, mix all of the ingredients together in a bowl and set aside.
fennel and mint slaw
MAKES 6 SERVINGS
2 heaped tablespoons mayonnaise
Freshly squeezed juice and grated zest of 1 lemon
1 cup (scant) flat-leaf parsley
7 ounces (about 1 small) fennel bulb, trimmed and sliced into rings
1½ ounces arugula ½ red onion, finely sliced
To make the slaw, mix the mayonnaise with the lemon juice and zest and then dress the fennel immediately to prevent the fennel discoloring. Gently mix through the herbs, arugula, and the red onion.
A regular burger recipe goes from average to amazing with the addition of pepperoncini, tortilla chips, and Spicy Arrabbiata sauce. – c h
for the arrabbiata sauce
1 tablespoon vegetable oil
1 large onion, chopped
4 garlic cloves, crushed
2 (14 -ounce) cans crushed tomatoes, undrained
2 tablespoons tomato paste
1⁄3 cup white wine
1 tablespoon white sugar
1 teaspoon red pepper flakes, crushed
½ teaspoon Italian seasoning (optional)
Salt and pepper, to taste
1 tablespoon freshly chopped basil
1 tablespoon freshly chopped flat-leaf parsley
for the burgers
2 pounds ground beef (see Editor’s Note)
3 cups Arrabbiata Sauce
2 tablespoons butter
2 cups thick-cut plain tortilla chips
4 burger buns, split and toasted
4 slices cheddar cheese
1 cup jarred pepperoncini, chopped
Salt and freshly ground black pepper, to taste
1. First, make the Arrabbiata Sauce. Add the vegetable oil to a large saucepan or pot set over medium heat. When the oil is hot, add the chopped onion and garlic. Saute for 5 minutes, or until softened. Add the canned tomatoes and their juice, tomato paste, wine, sugar, red pepper flakes, and Italian seasoning (if using). Season well with salt and black pepper and bring to a boil. Reduce the heat to medium and simmer, uncovered, for about 15 minutes, stirring occasionally.
2. Stir in the basil and parsley, check the seasoning, and add more salt and pepper to taste. Use in the recipe as directed. Any leftover sauce can be frozen for another time.
3. To make the burgers, form the beef into 4 thin (8-ounce) patties. Set a ridged stovetop grill pan over medium-high heat. Season the burgers on one side with salt and pepper. When hot, add the burgers to the pan, seasoned side down. Season the other side of the burger and cook to your liking.
4. In a medium skillet, heat the Arrabbiata Sauce over medium heat. Add the butter and stir until it is melted. When the butter is melted, add the tortilla chips to the pan. Gently stir the pan to coat the chips while taking care not to break them. Set aside and keep warm.
5. Place a cooked burger on the bottom half of each burger bun, top with a slice of cheese, the tortilla mixture (chilaquiles; about a few tablespoons to start, then serve with more on the side) and the chopped pepperoncini before adding the top of the bun. Serve immediately.
Editor’s Note: Ground beef fat content choice depends on personal preference, although generally a higher fat percentage will make a juicier burger.
1. Heat 1 teaspoon sunflower oil and the sesame oil in a skillet and gently fry the shallots and ginger for 5 minutes until soft. Let cool.
2. Combine 10½ ounces of the salmon with the shallot mixture, miso paste, and a little salt and pepper and purée in a food processor until fairly smooth. Finely dice the remaining salmon and stir through the minced mixture. Shape the mixture into 8 small patties, pressing each one down to make them nice and flat, and chill for 30 minutes.
3. Heat the oven to 375°F and line a baking sheet with parchment paper.
4. Meanwhile, make the Katsu Sauce. Combine all the ingredients in a bowl, stirring to dissolve the sugar. Set aside.
5. Place the breadcrumbs in a shallow bowl and dip in the patties, pressing the crumbs over the surface to coat them completely.
6. Heat 1 tablespoon sunflower oil in a large skillet and cook the patties for 1 minute on each side over medium heat. Transfer to the prepared baking sheet and bake in the preheated oven for 5 to 10 minutes, or until cooked through. Remove from the oven and rest for 5 minutes.
7. To serve, cut the rolls in half and lightly toast the cut sides under the grill/broiler. Fill each roll with a burger, salad leaves, pickled ginger, wasabi (if using), and Katsu Sauce. Serve at once.
Black beans make for a tasty alternative to traditional beef burgers, and the addition of corn kernels brings texture and sweetness. They are a bit on the delicate side, so take care to turn them carefully as they cook. – t a m
2 onions, diced Splash of olive oil, for frying
3 garlic cloves, chopped
1 (14 -ounce) can black beans, drained and rinsed
1 (7-ounce) can sweet corn kernels, drained
7 ounces cooked black beluga lentils (1⁄2 of a 14 -ounce can), drained and rinsed
2 tablespoons smoked paprika
¼ cup rolled oats
1 tablespoon all-purpose flour
A few sprigs of fresh cilantro, chopped Salt and freshly ground black pepper, to taste 4 slices cheese (optional) to serve
4 burger buns, sliced in half (brioche works well)
2 vine tomatoes, sliced ½ iceberg lettuce, shredded Ketchup Mayonnaise
1. Fry the onions in a splash of olive oil in a skillet over low heat for about 10 minutes, then add the garlic and warm through for another couple of minutes, then remove from the heat.
2. Tip the beans into a large mixing bowl, mash with the back of a fork until well pureed, or as best as you can do. Tip the sweet corn onto a chopping board and run a knife over them, just to break them up slightly, then add to the bowl of beans along with the lentils, smoked paprika, oats, flour, coriander, and cooked onions and garlic. Season very generously with salt and black pepper.
3. Heat a heavy-based frying pan and drizzle in a splash of olive oil. Form 4 patties with the burger mixture and place them into the pan—don’t move them. Leave them to char on the outside for a few minutes before carefully turning them over. Don’t worry if they break up a little. As soon as you’ve turned them, lay a cheese slice on top (if using) and continue cooking for a few more minutes.
4. Finally, toast the burger buns in a ridged stovetop grill pan or in a lightly oiled frying pan, lace with ketchup, place a burger patty on top, followed by a couple of slices of tomato, some lettuce, then mayo, and finish with the top of the bun.
According to food historians, the cheeseburger was invented in 1920 in Pasadena, California, a remarkable 20 years after the hamburger first appeared. Lionel Sternberger (no pun intended), a cook at his father’s sandwich shop, The Rite Spot, one day decided to place a slab of American cheese on a hamburger, inventing one of the world’s most loved sandwiches. –c h
for the dijonnaise
2 large white onions
2 tablespoons butter
1¾ cups light cream
3 tablespoons Dijon mustard
Pinch of garlic powder
Pinch of ground nutmeg
Small handful of chopped flat-leaf parsley and tarragon
Sea salt and freshly ground black pepper, to taste
for the burgers
1 pound ground beef (see Editor’s Note on page 41)
1 cup minced onion
2 garlic cloves, crushed
to serve
8 slices bacon
4 eggs
4 brioche buns
4 slices of American or cheddar cheese
Spicy Dill Pickles, chopped (see recipe at right)
Sweet and Sour Cherry Pickles (see recipe at right) Classic Hand-Cut Fries (see recipe below) Ranch dressing
1. First, make the Dijonnaise by finely chopping the white onions and frying with the butter in a medium saucepan. Add the cream and mix in the mustard. Season the mixture with salt and pepper, then add the garlic powder, nutmeg, and herbs. Simmer until the sauce takes on a mustardy color and is relatively thick. Set aside.
2. Mix together the ground beef, minced onion, and garlic. Shape into patties and sprinkle with salt and pepper. Grill to your liking.
3. In a medium skillet, fry the bacon and eggs, then set aside.
4. Cut a brioche bun in half and spread a layer of Dijonnaise (about 1 or 2 tablespoons on each bun). Place a cooked patty on top, then a slice of cheese, followed by a fried egg, 2 slices of bacon, and some chopped dill pickle. Serve with Sweet and Sour Cherry Pickles, Classic Hand-Cut Fries, and ranch dressing. (Any remaining Dijonnaise can be stored in the refrigerator up to 3 days.)
Although it might seem to some that fries should be prepared in a deep fryer, baking them in the oven delivers a better texture and crunch. It’s also much easier to season them properly. These are crispy, golden, and the perfect accompaniment to any burger. Eat them plain or dunk them in ketchup.
4 large baking potatoes
¼ cup olive oil
1 tablespoon paprika
1. Heat the oven to 350°F.
1 tablespoon garlic powder
1 tablespoon chili powder
1 tablespoon onion powder
2. Use a sharp knife to cut the potatoes into 1-inch thick wedges. In a medium-size mixing bowl, mix together the olive oil, paprika, garlic
spicy dill pickles
MAKES 4 JARS
4 cups water
1¼ cups white vinegar
3 tablespoons sea salt
8 dill sprigs
8 large garlic cloves
4 dried hot chili peppers
24 ounces pickling cucumbers, quartered or halved and sliced lengthwise
4 sterilized 16 -ounce canning jars
1. In a stainless steel stockpot, bring the water, vinegar, and salt to a boil. Let boil for 10 to 12 minutes.
2. Meanwhile, pack the cucumbers facing upwards into the canning jars. Make sure they are at least ½ inch below the jar’s rim. Place 2 dill sprigs, 2 garlic cloves, and 1 chili pepper in each jar. Carefully ladle the hot mixture into the jars. Add extra water if necessary so that the cucumbers are submerged, but leave ½ inch of space from the rim of the jar. Remove air bubbles, wipe the rims, and put the lids on. Let the cucumbers pickle for at least 24 hours before tasting. These will keep for 2 weeks in the refrigerator.
sweet and sour cherry pickles
MAKES 1 JAR
½ jar Spicy Dill Pickles, including the brine
1 cup granulated sugar
1 packet cherry Kool-Aid powder
Follow the recipe above for Spicy Dill Pickles. After the brining is done, remove the pickles from the liquid. Stir the Kool-Aid and sugar into the pickle brine until they have both dissolved. Add the pickles back to the mixture, and seal in the jar. Place in the refrigerator and let brine for at least 1 week before tasting.
powder, chili powder, and onion powder. Coat the potatoes in this oil and spice mixture and place them on a baking sheet.
3. Bake the fries for 45 to 60 minutes in the oven, turning once, and remove when they’re golden and crispy.
Treat your picnic plate to delicious twists this summer
What would a backyard barbecue or summer picnic be without an array of side dishes to jockey for space on your plate? The favorite family recipes for creamy potato salad and rich macaroni salad will always have a special place at the table, but it’s also interesting to meet different “guests” at the party. Lighten up with a potato salad variation that shows no signs of mayo or one that mixes in greens and apples for a sweet and savory take. Pasta salad gets a flavor of New Orleans, and cheesy zucchini waffles offer a great way to enjoy your veggies. Plus, watermelon isn’t just for dessert—mix it up with feta, mint, and cucumber for a fresh salad worthy of a plate position. – mary subialka
French Potato Salad
MAKES 6 TO 8 SERVINGS
RECIPE BY SYLVIA FOUNTAINE
COURTESY OF IDAHO POTATO COMMISSION
This French Potato Salad is loaded up with fresh herbs—tarragon, parsley, and chives—and dressed in the most flavorful Dijon vinaigrette. It’s vegan, with no mayo, and quick and easy to make. Healthy and light! –s f
2 tablespoons roughly chopped fresh tarragon (or ¼ cup dill or basil ribbons)
2 tablespoons minced fresh chives (or green onions)
for the dijon vinaigrette
1 tablespoon Dijon mustard
¼ cup champagne vinegar or white wine vinegar
⅓ cup olive oil
¼ teaspoon black pepper
1. Place the sliced potatoes in a large saucepan covered completely with cold water.
2. Sprinkle in salt and bring to a boil.
3. Add the garlic and reduce heat. Simmer 5 minutes or until potatoes are just tender.
4. While potatoes are simmering, make the vinaigrette by whisking together Dijon, vinegar, oil, and pepper in a small bowl. Set aside.
5. Drain potatoes and garlic. Place potatoes mostly in a single layer on a baking sheet to cool.
6. Mince the cooked garlic and add to the vinaigrette. Drizzle the vinaigrette evenly over the warm potatoes. Let sit at room temperature for about 10 to 15 minutes.
7. Add to a serving bowl gently tossing with the chopped fresh herbs. Serve at room temp or refrigerate and chill.
Arugula, Apple, and Potato Salad with Creamy Cashew Dressing
MAKES 6 SERVINGS | RECIPE BY AMIE VALPONE COURTESY OF IDAHO POTATO COMMISSION
⅓ cup cashews
3 small McIntosh apples, cut into ½-inch pieces
2 tablespoons balsamic vinegar
2 tablespoons plain Greek yogurt
½ teaspoon sea salt
¼ teaspoon freshly ground black pepper
2 tablespoons extra virgin olive oil
2 pounds Idaho Red Thumb Fingerling potatoes
4 ounces fresh arugula
¼ teaspoon fresh lemon zest
1. Heat oven to 375°F.
2. Place cashews on a baking sheet and toast for 10 minutes or until fragrant. Remove from oven, cool for 5 minutes, then finely chop and set aside.
3. In a medium-size bowl, combine apples, balsamic vinegar, yogurt, sea salt, pepper, olive oil, and toasted cashews. Mix well to combine, and set aside.
4. In a large saucepan, bring 6 cups of water to a boil. Add whole potatoes and cook 10 to 15 minutes or until tender. Drain and cut into ½-inch cubes. Set aside to cool.
5. Combine arugula and cubed potatoes in a large serving bowl. Drizzle with yogurt dressing and gently toss to coat. Sprinkle with lemon zest. Place in the refrigerator until ready to serve. Serve chilled.
ARUGULA, APPLE, AND POTATO SALAD WITH CREAMY CASHEW DRESSING
New Orleans Cajun Jambalaya Pasta Salad
MAKES 4 SERVINGS | RECIPE BY LAURA FUENTES
This is full of New Orleans flavor! It has enough heat to wake up your taste buds, but it’s not too spicy unless you want to add a little more heat.
–l f
12 ounces rotini pasta, or your favorite
½ cup mayonnaise or plain Greek yogurt
2 tablespoons Creole mustard (see Cook’s Notes)
1 teaspoon Creole seasoning
4 hard-boiled eggs, chopped
½ bell pepper, diced
2 stalks celery, finely chopped
¼ cup red onion, chopped
1. Cook pasta according to package directions. Once ready, drain and set aside.
2. In a large bowl, combine the mayonnaise, Creole mustard, and Creole seasoning. Add the pasta back into the bowl, the hard-boiled eggs, bell peppers, celery, and red onion. Toss to coat everything with the creamy dressing.
3. Refrigerate to chill for 1 hour and serve cold.
Cook’s Notes
■ You can substitute an equal amount Dijon for Creole mustard without adding any creole seasoning. The style is the same, both are grainy and slightly spicy.
■ If you would like to make this a main dish, you can add 2 cups shredded cooked rotisserie chicken or cooked chicken. Add 12 ounces cook smoked or andouille sausage, or simply use protein pasta instead of plain.
Savory Parmesan Zucchini Wa es MAKES 6 SERVINGS | RECIPE BY LAURA FUENTES
In the summertime, when zucchini is plentiful, I try to find creative ways to enjoy it, and these wa es are a favorite because they’re cheesy, delicious, and easy to make. They are also kidfriendly and super versatile. You can serve as a snack or appetizer with tzatziki, marinara, or veggie tomato sauce to dip them with. They also make a healthy base for chicken and wa es, serving them with juicy seared chicken breasts, or as a side with beef kebabs or baked salmon. –l f
2 cups shredded zucchini (about 2-3 zucchini)
1 large egg
¼ cup milk (any)
⅓ cup grated Parmesan, plus more for topping
½ cup all-purpose flour
½ teaspoon Italian seasoning
½ teaspoon garlic powder
Cooking spray or melted butter, for wa e iron
1. Using a cheese grater, grate the zucchini. Place it in a colander and press out as much moisture from the zucchini as possible. You can also ring it out on a kitchen towel or several layers of paper towels.
2. Make the batter: In a bowl, whisk the egg and milk.
3. In another bowl, combine the 1⁄ 3 cup Parmesan, flour, Italian seasoning, and garlic powder. Add the liquid mixture to the flour mixture, and once there are no visible flour lumps left, add the grated zucchini to the
batter bowl and mix it well to combine the zucchini and the batter.
4. Heat your wa e iron to a medium heat setting. Once hot, and right before cooking the batter, spray or brush the wa e iron with oil or melted butter.
5. Scoop the zucchini wa e batter on the greased hot surface, leaving some room for a little expansion.
6. Close the lid and cook the wa es until lightly browned, about 3 to 5 minutes, depending on the wa e iron.
7. Sprinkle wa es with a little extra Parmesan cheese and serve warm.
With his latest cookbook, the trailblazing Chef Roy Choi is on a mission to prove that eating healthy doesn’t have to be boring
BY MACY HARDER
Chef Roy Choi has never been one to shy away from doing things differently. Born in Seoul, South Korea, and raised in Los Angeles, Choi has been making waves in the culinary scene for nearly two decades. After going through classical culinary training and cooking at a threeMichelin-starred restaurant, he shook things up in 2008 with the inception of Kogi, a Korean-Mexican food truck that served as a catalyst for the modern food truck revolution—a cultural moment that later inspired Jon Favreau’s 2014 movie, “Chef.”
Even the late chef and writer Anthony Bourdain could attest to Choi’s influence, having written that he “first changed the world when he elevated the food-truck concept from ‘roach coach’ to highly sought-after, ultra-hot-yet-democratic rolling restaurant.” In the years since co-founding Kogi, Choi has opened a handful of beloved California eateries, including Sunny Spot, Chego, and A-Frame, to name a few.
But Choi’s influence continues to expand beyond food itself. He published his first book, “L.A. Son: My Life, My City, My Food” in 2013 —serving as part-memoir, part-cookbook, the autobiography details Choi’s experience growing up as an immigrant in 1970 s Los Angeles. He has been included twice on the TIME 100 list of the most influential people in the world, and he has hosted and appeared in several TV series (most recently, he cooked alongside Meghan, Duchess of Sussex on her Netflix show, “With Love, Meghan”).
For his latest endeavor, Choi is going back to the principle that kickstarted his journey: breaking the rules. In his new cookbook, “The Choi of Cooking: Flavor-Packed, RuleBreaking Recipes for a Delicious Life,” Choi and collaborators Tien Nguyen and Natasha Phan share a collection of recipes, essays, and bits of wisdom meant to empower readers to eat healthier without sacrificing their favorite foods. In Choi’s words, it’s all about “taking steps, not leaps, and moving away from extremes toward balance.”
Roy Choi’s Guiding Lights
There are no hard-and-fast rules to my cooking philosophy. Just a few guiding lights as you cook:
n Love for others and yourself
n Kindness in your heart
n Generosity of spirit and giving
n Flavor for days
n FUN, FUN, FUN
n Vibrancy and vibes
n Health is wealth
n Realness of intention
n Care of earth, technique, and detail
n Happiness is feeding
We recently caught up with Choi to learn more about the inspiration behind this book, beginner-friendly recipe recommendations, and his go-to tips and tricks for home cooks.
“After all these years, I learned that the best cooking comes from a place of love and kindness and generosity for yourself, the ingredients you cook, and those you feed.”
– ROY CHOI, “THE CHOI OF COOKING”
‘The Choi of Cooking’ focuses on meeting readers where they are and incorporating more foods that fuel your body, from healthier swaps to beginner-friendly recipes. What inspired you to take this approach?
My own life was becoming unsustainable. It was almost a double life: eat and cook well at work then destroy myself in private with gut bombs, fried foods, meats, chips, and candy. And I was seeing many friends and legends in hip-hop pass away too early, which made me think of so many others who need change, too. So, I just finally found the strength to change, and the courage to confront it and share how you can still enjoy life and be good to yourself.
In your opinion, what impact can cooking and feeling empowered in the kitchen have on someone’s life? It changes everything, every fiber of your being. Your health, your mind, your soul. We are conditioned to rely on, believe, and consume the worst processed things in our life and consider the state of being that leaves us in as normal. It is not. It is an existence that has been designed to control our consumerism. Cooking should not be a chore or neglected or ‘instantized,’ it should be exhilarating.
Do you have any favorite tips, tricks, or pieces of advice for home cooks?
Use a blender! A blender can turn a kitchen sink into a potion of magic. From vinaigrettes, marinades, and sauces, to drinks, to soups, to everything. And it’s quick. A new type of fast food.
If you had to choose a few recipes from ‘The Choi of Cooking’ to recommend for beginners, which would you pick, and why?
The sauces, and speci cally the Korean Crying Tiger, Farmers Market Pesto, and the Sweet Chile o’ Mine sauce, because building an arsenal that you can use on the y is the key to cooking. Make those and have them around for a few days and cook, cook, cook, cook, cook. As far as a composed dish, the Lo Mein Spaghe i is a fun point of entry.
Green Bean and Chicken Stir-Fry
MAKES 6 TO 8 SERVINGS
If you’re not already incorporating vegetables into your every day, one of the easiest ways to ease into it is to start slow. Take this stir-fry: I intentionally set this up to let you decide how much chicken and green beans you want to use. Then, the next time you make it, cook it with a little less chicken and more green beans than you did before, and so on until one day, you’ll wonder what it would be like to swap out some of the chicken for diced firm tofu. No matter what you do, it’ll be a perfectly saucy stir-fry that can be eaten like a rice bowl for those nights it’s just you and the couch, or placed on a big platter and served family style. And you’ll be on a new path with new cooking tools. You do you to make a new you. –r c
1-1½ pounds green beans, trimmed
14 -16 ounces boneless, skinless chicken, preferably dark meat, chopped into pieces the size of what you would get at Panda Express
1 heaping tablespoon cornstarch
Salt and freshly ground black pepper
2 tablespoons toasted sesame oil, plus more as needed
2 tablespoons minced fresh ginger
2 tablespoons sliced scallions, plus more for garnish
2 tablespoons minced garlic
1 cup Sweet Garlic Teriyaki Sauce (see recipe, below right)
1 tablespoon chili garlic sauce, sambal oelek, or Sriracha
1 tablespoon fresh lime juice
1 generous tablespoon unsalted butter
2 heaping tablespoons chopped fresh cilantro Toasted sesame seeds, for garnish Cooked rice, for serving
1. Cut the green beans into halves or thirds, depending on how long they are. Set aside.
2. In a large bowl, toss the chicken with the cornstarch. Season with salt and pepper and toss again.
3. Heat a large wok or skillet over high heat. Add the sesame oil, ginger, garlic, and scallions and saute, shaking the pan, until they release their aroma, 15 to 30 seconds. Add the chicken and saute, adding more sesame oil as needed to keep things moving around smoothly, until the pieces are nicely browned on all sides, 3 to 5 minutes.
4. Add the green beans, season with a pinch of salt and pepper, and saute until they’re seared and maybe even a little charred, 2 to 3 minutes. Add ¼ cup water, the teriyaki sauce, and chili garlic sauce. Cook until the chicken is just about done, there are a thousand little bubbles bursting all around the edges of the sauce, and the sauce itself has reduced, thickened slightly (not syrupy), and is viscous, about 5 minutes.
5. Add the lime juice and butter. Stir in the cilantro. Garnish with sesame seeds and more scallions.
6. Serve over a bowl of rice, or transfer it all to a large bowl and serve it family style at the table.
Cook’s Note: Get in where you fit in. This recipe is super versatile. Instead of chicken, dice some medium or firm tofu. Or, substitute the chicken and green beans for other proteins and vegetables; try it, for example with beef and broccoli.
Sweet Garlic Teriyaki Sauce
MAKES 3½ CUPS
If you let it, this sauce can take you many, many places. On one journey, it’s a stir-fry sauce. On another trip, it’s a marinade and a glaze for wings. It’s best to make it ahead of time, so it’s ready to go when you are. –r c
1¼ cups soy sauce
½ cup rice vinegar
½ cup orange juice
¼ cup pineapple juice
2 serrano peppers, coarsely chopped
½ cup whole garlic (15 to 20 cloves), sliced
½ cup sugar
½ medium yellow onion, sliced
½ cup chopped scallions
1 teaspoon crushed red pepper flakes
1. In a medium pot, combine 1 cup water, soy sauce, rice vinegar, orange juice, pineapple juice, serranos, garlic, sugar, onion, scallions, and pepper flakes. Bring to a boil over high heat. Reduce to a simmer. Skim the scum from the surface of the liquid with a spoon. Gently simmer until the garlic softens, about 20 minutes. Remove from the heat. It’s ready to use.
2. To store it, cool it completely, then pour into an airtight container and refrigerate for up to 1 week. You also can freeze this in clean ice cube trays: Cool the sauce completely, then strain and discard the solids, and pour it into the tray. Frozen, it’ll keep for 3 months.
GREEN BEAN AND CHICKEN STIR-FRY WITH SWEET GARLIC TERIYAKI SAUCE
Burgers and Bottles
Uncork go-to wine mates for your burgers and flavorful toppings
by mary subialka
The delicious aroma of burgers sizzling on the grill is one of the great joys of summer. After your gloriously fragrant creations are cooked to perfection and ready to enjoy, make sure the wine you serve alongside them won’t leave a bad taste in your mouth. Of course, there are many wines that might do the job, but there are some choices that can better complement the flavors of the meat as well as your choice of toppings.
Ground beef burgers generally have some slightly sweet vanilla and earthy flavors that come from the smokiness of cooking and a caramelized flavor from the meat’s charred sugars. So, wine that has fruity flavor and a good amount of acidity or tannins can pair well with those characteristics. Some of the go-to wine mates include Beaujolais, Merlot, or Pinot Noir. These reds also work well if you’re cooking up turkey burgers, as do white wines such as Chardonnay, Gewürztraminer, and Riesling. The Beaujolais and Chardonnay could also pair well with salmon burgers. Add various toppings such as lettuce, tomato, raw onion, ketchup, and mayonnaise to your feast, and a more flavorful Aussie Shiraz or California Syrah could pair well with this flavor combo. Are you a fan of pickle relish and yellow mustard? Try sparkling wine or Gewürztraminer. When bold cheeses, such as blue cheese or sharp cheddar are melted atop your burger, Cabernet Sauvignon can stand up to the strong flavors of the cheese, and the richness of the meat can soften the wine’s tannins. Add some bacon and uncork a Spanish Rioja—the wine’s smoky flavor goes well with the bacon.