11 minute read
How to use Exness Trading App In India

In today’s fast-paced digital world, online trading has emerged as a popular way for individuals to explore financial markets and potentially grow their wealth. India, with its rapidly growing economy and increasing internet penetration, has become a hotspot for retail traders looking to dive into forex, cryptocurrencies, stocks, and commodities. Among the many trading platforms available, the Exness Trading App stands out as a reliable, user-friendly, and feature-rich option for Indian traders. Whether you’re a complete beginner or someone looking to refine your trading skills, this comprehensive guide will walk you through every aspect of using the Exness Trading App in India.
💥 Trade with Exness now: Open An Account or Visit Brokers
This article covers everything you need to know—from downloading the app and setting up your account to depositing funds, placing trades, and managing risks effectively. We’ll also explore the app’s key features, its legality in India, and tips to maximize your trading experience. By the end of this guide, you’ll have a clear understanding of how to navigate the Exness Trading App and start your trading journey confidently.
What is the Exness Trading App?
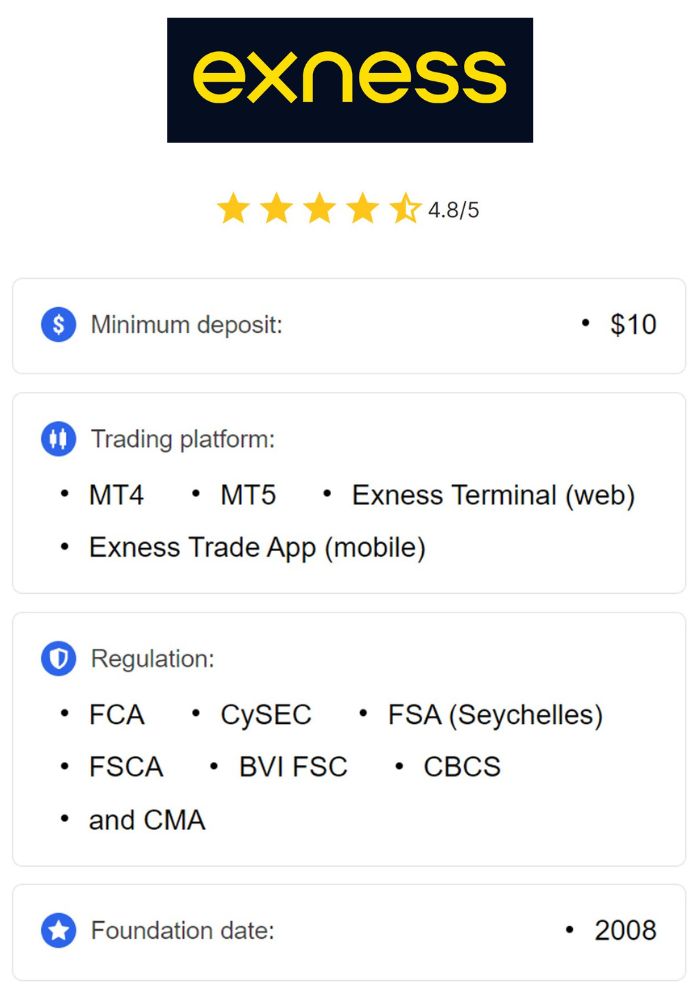
Before diving into the how-to steps, let’s first understand what the Exness Trading App is and why it’s popular among Indian traders. Exness is a globally recognized online brokerage platform founded in 2008, offering access to a wide range of financial instruments, including forex pairs (e.g., USD/INR, EUR/USD), cryptocurrencies (e.g., Bitcoin, Ethereum), metals (e.g., gold, silver), and indices. The Exness Trading App is the mobile version of this platform, designed to provide traders with the flexibility to monitor markets, execute trades, and manage their accounts on the go.
For Indian users, the app is particularly appealing due to its low minimum deposit requirements, competitive spreads, and support for local payment methods. It’s available for both Android and iOS devices, making it accessible to a broad audience. Whether you’re commuting in Mumbai, working in Delhi, or relaxing in Bangalore, the Exness Trading App ensures you’re always connected to the financial markets.
Is Exness Legal in India?
A common question among Indian traders is whether using the Exness Trading App is legal. The short answer is yes, but with some caveats. Forex trading in India is regulated by the Reserve Bank of India (RBI) and the Securities and Exchange Board of India (SEBI). Retail forex trading involving currency pairs other than those paired with the Indian Rupee (INR) is restricted for Indian residents. However, Exness operates as an offshore broker and allows trading in INR pairs (e.g., USD/INR), which aligns with RBI guidelines.
Additionally, Indian traders can use Exness to trade other assets like cryptocurrencies, commodities, and indices, which are not as heavily regulated for retail participation. To stay compliant, ensure you’re aware of India’s foreign exchange laws, such as the Foreign Exchange Management Act (FEMA), and avoid transferring funds overseas beyond permissible limits without proper documentation. Always consult a financial advisor if you’re unsure about the legalities.
With that cleared up, let’s move on to the practical steps of using the Exness Trading App.
Step 1: Download and Install the Exness Trading App
The first step to start trading with Exness in India is to download the app. Here’s how you can do it:
For Android Users:
Open the Google Play Store on your smartphone.
In the search bar, type “Exness Trading App” or simply “Exness.”
Look for the official app developed by ExnessCo (Exness doesn’t publish fake or pirated apps, so it’s safe to download).
Tap “Install” and wait for the app to download and install on your device.
For iOS Users:
Open the App Store on your iPhone or iPad.
Search for “Exness Trading.”
Select the official app by Exness and tap “Get” to install it.
Alternatively, you can visit the official Exness website (exness.com) from your mobile browser, where you’ll find direct download links for the app. Ensure you have a stable internet connection to avoid interruptions during the download process.
Once installed, locate the Exness icon on your home screen and tap to open it. You’re now ready to set up your trading account!
Step 2: Register an Account on the Exness Trading App
To start trading, you’ll need an Exness account. The registration process is straightforward and can be completed within minutes:
Open the App:
Launch the Exness Trading App on your device.
Sign Up:
On the homepage, tap “Register.”
Enter your email address and create a strong password.
Select your country (India) from the dropdown menu.
Agree to the terms and conditions by checking the box, then tap “Continue.”
Verify Your Email:
Exness will send a verification email to the address you provided.
Open your inbox, find the email, and click the verification link. If you don’t see it, check your spam or junk folder.
Set Up Your Profile:
After verifying your email, log in to the app using your credentials.
You’ll be prompted to complete your profile with basic details like your full name and phone number.
Congratulations! You now have an Exness account. However, to unlock full functionality (like withdrawals), you’ll need to verify your identity—more on that later.
💥 Trade with Exness now: Open An Account or Visit Brokers
Step 3: Explore the Exness Trading App Interface
Before jumping into trading, take a moment to familiarize yourself with the app’s layout. The Exness Trading App is designed to be intuitive, even for beginners. Here are the main sections you’ll encounter:
Dashboard: Displays your account balance, equity, and open positions at a glance.
Trade: The section where you can browse markets, analyze charts, and place trades.
Accounts: Manage your trading accounts (e.g., demo or real accounts) and switch between them.
Deposit/Withdrawal: Access options to fund your account or withdraw profits.
More: Includes settings, customer support, and educational resources.
Spend a few minutes navigating these tabs. If you’re new to trading, consider starting with a demo account (more on this below) to practice without risking real money.
Step 4: Verify Your Identity (KYC Process)
To comply with international financial regulations and ensure security, Exness requires users to complete a Know Your Customer (KYC) verification. This is especially important for Indian traders to enable deposits and withdrawals. Here’s how to do it:
Go to the Verification Section:
From the app’s “More” tab, select “Verification.”
Submit Identification Documents:
Upload a clear photo of a government-issued ID (e.g., Aadhaar card, passport, or driver’s license).
Provide proof of address, such as a utility bill, bank statement, or rental agreement (dated within the last 3 months).
Take a Selfie:
Follow the on-screen instructions to take a selfie for facial verification.
Wait for Approval:
Exness typically reviews documents within 24–48 hours. You’ll receive a notification once your account is fully verified.
Pro Tip: Ensure your documents are legible and meet Exness’s requirements to avoid delays. This step is mandatory for real-money trading.
Step 5: Deposit Funds into Your Exness Account
Now that your account is set up and verified, it’s time to add funds. Exness supports several payment methods tailored for Indian users, making deposits quick and convenient. Here’s how to do it:
Navigate to Deposits:
From the app’s homepage, tap “Deposit.”
Choose a Payment Method:
Options for Indian traders include:
UPI (Unified Payments Interface): Fast and widely used in India.
Net Banking: Supports major Indian banks like SBI, HDFC, and ICICI.
Debit/Credit Cards: Visa and Mastercard are accepted.
E-Wallets: Skrill, Neteller, and others (availability may vary).
Cryptocurrency: Bitcoin, USDT, etc., for tech-savvy users.
Enter the Amount:
The minimum deposit is just $10 (approximately ₹800), though it may vary by account type.
Input your desired amount and follow the prompts.
Complete the Transaction:
Depending on the method, funds may reflect instantly (e.g., UPI) or take a few hours (e.g., bank transfer).
Exness doesn’t charge deposit fees, but your payment provider might, so double-check before proceeding.
Step 6: Choose Your Trading Account Type
Exness offers several account types to suit different trading styles. When you first log in, you’ll have a demo account by default. To trade with real money, create a live account:
Go to Accounts:
Tap the “Accounts” tab in the app.
Select an Account Type:
Standard: Ideal for beginners with low spreads and no commission.
Raw Spread: Tight spreads with a small commission, great for scalpers.
Zero: Near-zero spreads on major pairs, suited for experienced traders.
Pro: Fast execution with no commission, perfect for day traders.
Create the Account:
Tap “Open New Account,” choose your preferred type, and set the leverage (e.g., 1:100, 1:500, up to 1:2000).
For beginners, the Standard account with moderate leverage (1:100) is a safe starting point. High leverage can amplify both profits and losses, so use it wisely.
Step 7: Start Trading on the Exness App
With your account funded and set up, you’re ready to trade! Here’s a step-by-step guide to placing your first trade:
Select a Market:
Go to the “Trade” tab and browse available instruments (e.g., forex pairs like USD/INR, gold, or Bitcoin).
Analyze the Chart:
Tap on an instrument to view its price chart.
Use built-in tools like candlestick charts, Moving Averages, or RSI to analyze trends.
Place a Trade:
Tap “Buy” (if you predict the price will rise) or “Sell” (if you expect it to fall).
Set your lot size (e.g., 0.01 for micro-lots, perfect for beginners).
Optionally, add a Stop Loss (SL) and Take Profit (TP) to manage risk.
Confirm the Order:
Review your trade details and tap “Confirm” to execute it.
Monitor Your Position:
Check the “Dashboard” to see your open trades, profit/loss, and market movements.
Start small and focus on learning the market dynamics before scaling up your trades.
Step 8: Withdraw Your Profits
Once you’ve made some profits (or if you simply want to cash out), withdrawing funds is just as easy as depositing:
Go to Withdrawals:
From the app, tap “Withdrawal” in the “Accounts” section.
Select a Method:
Choose from UPI, bank transfer, or e-wallets (same options as deposits).
Enter the Amount:
Specify how much you want to withdraw (ensure it’s within your free margin).
Submit the Request:
Follow the prompts to complete the withdrawal. Processing times vary (e.g., instant for UPI, 1–3 days for bank transfers).
Exness processes withdrawals quickly, often within 24 hours, and there are no withdrawal fees from their side.
Key Features of the Exness Trading App for Indian Traders
The Exness Trading App is packed with tools to enhance your trading experience. Here are some standout features:
High Leverage: Up to 1:2000, one of the highest in the industry (use cautiously).
Low Spreads: Competitive pricing, especially on forex pairs like USD/INR.
Instant Withdrawals: Get your funds faster than with most brokers.
Demo Account: Practice trading with virtual funds, risk-free.
24/7 Support: Contact customer service via live chat, email, or phone anytime.
These features make Exness a top choice for both novice and seasoned traders in India.
Tips for Successful Trading with Exness in India
To maximize your success and minimize risks, keep these tips in mind:
Start with a Demo Account:
Practice for at least a month to build confidence and test strategies.
Manage Your Risk:
Never risk more than 1–2% of your account balance on a single trade.
Stay Informed:
Follow market news (e.g., RBI announcements, global economic events) that impact prices.
Use Stop Losses:
Protect your capital by setting automatic exit points for losing trades.
Keep Learning:
Explore Exness’s educational resources or external courses to sharpen your skills.
Trading is a marathon, not a sprint—patience and discipline are key.
Common Mistakes to Avoid
Beginners often stumble due to avoidable errors. Here’s what to watch out for:
Overleveraging: High leverage can wipe out your account if the market moves against you.
Emotional Trading: Don’t chase losses or trade impulsively after a win.
Ignoring Fees: While Exness has no deposit/withdrawal fees, spreads and swaps can add up.
Neglecting Research: Trading without analysis is like gambling—always study the market first.
By steering clear of these pitfalls, you’ll set yourself up for long-term success.
Why Choose Exness for Trading in India?
Exness stands out among competitors for several reasons:
Localized Support: Payment methods and customer service tailored for Indian users.
Regulation: Licensed by reputable authorities like CySEC and FCA, ensuring trustworthiness.
Flexibility: Trade anytime, anywhere with a mobile-first design.
Low Entry Barrier: Start with as little as $10, making it accessible to all.
For Indian traders seeking a reliable and efficient platform, Exness ticks all the right boxes.
Conclusion: Your Trading Journey Starts Here
The Exness Trading App opens the door to a world of financial opportunities for Indian traders. With its easy setup, robust features, and support for local payment methods like UPI, it’s an excellent choice for anyone looking to explore forex, crypto, or commodities. By following the steps outlined in this guide—downloading the app, registering, verifying your account, depositing funds, and placing trades—you’ll be well on your way to mastering the markets.
Remember, trading involves risks, and success doesn’t come overnight. Start small, practice with a demo account, and gradually build your skills. Whether you’re in Mumbai, Chennai, or Kolkata, the Exness Trading App empowers you to take control of your financial future from the palm of your hand.
Ready to get started? Download the Exness Trading App today and take your first step toward financial independence. Happy trading!
💥 Note: To enjoy the benefits of the partner code, such as trading fee rebates, you need to register with Exness through this link: Open An Account or Visit Brokers 🏆
Read more: