11 minute read
How to create an Exness account in India?

Creating an Exness account in India is a straightforward process that opens the door to a world of opportunities in forex and CFD trading. Exness is a trusted global broker that offers competitive spreads, a variety of account types, and advanced trading platforms like MetaTrader 4 (MT4) and MetaTrader 5 (MT5). Whether you are a beginner or an experienced trader, opening an Exness account allows you to access a wide range of financial markets, including forex, commodities, stocks, and cryptocurrencies.


For Indian traders, Exness provides an easy and secure way to start trading with local payment options, competitive leverage, and a transparent, regulated environment. In this guide, we will walk you through the simple steps to create an Exness account in India, ensuring you can begin your trading journey with confidence and ease.
Requirements to Create an Exness Account in India
Before you begin the process of creating an Exness account in India, it’s essential to meet a few basic requirements and have the necessary documentation ready. Here's what you need to get started:
1. Eligibility
Age: You must be at least 18 years old to create an Exness account, as this is the legal age for entering into financial agreements in India.
Residency: You must be a resident of India. Exness allows traders from various countries, including India, to open accounts, but you must provide proof of your residency status.
2. Documents Needed
To verify your identity and address, you will need to submit specific documents as part of the account registration process. These include:
Proof of Identity: A government-issued ID is required for verification. Accepted documents include: Passport, Aadhaar Card (preferable), Voter ID, Driver’s License.
Proof of Address: To confirm your residential address, you will need to submit a recent document that displays your name and address. Commonly accepted documents include: Utility bills (electricity, water, or gas bills), Bank statements, Aadhar card with your address, Tax bills.
3. Internet Access
A stable internet connection is crucial to complete the registration and trading process smoothly. You will need to access the Exness website and trading platforms (MT4/MT5) regularly, so ensure that you have reliable internet access.
4. Payment Method
Exness offers various payment methods for deposits and withdrawals. You will need to choose a payment method that suits your preferences, such as: Bank Transfer (for INR deposits), Credit/Debit cards (Visa, MasterCard), E-wallets (Skrill, Neteller, etc.), Cryptocurrencies (where available).
Start Trading: Open Exness Account or Visit Website

Steps to Create an Exness Account
Creating an Exness account is simple and can be completed in just a few steps. Below is a detailed guide on how to create your Exness account and get started with trading:
Step 1: Visit the Exness Website
Go to the official Exness website at www.exness.com.
Click on the "Open Account" button, which is prominently displayed on the homepage. This will redirect you to the account registration page.
Step 2: Provide Personal Details
Enter your email address: This will be your primary contact with Exness. Make sure it is valid as you will need to verify it.
Create a strong password: Choose a secure password for your account. It should be something unique to protect your account from unauthorized access.
Enter your phone number: Exness may ask for your phone number for two-factor authentication (2FA) and account security.
Select your country: Choose India from the list of countries. This will ensure the platform adapts to Indian traders' preferences, including payment methods and currency options (INR).
Agree to the terms and conditions: Read through Exness’s terms and conditions, privacy policy, and regulatory disclaimers. Once read, check the box to agree to them.
Step 3: Choose Your Account Type
Exness offers different types of accounts, each catering to specific trading styles and needs:
Standard Account: Ideal for beginners, offering low spreads and no commissions.
Pro Account: Suitable for experienced traders seeking tighter spreads and commissions.
Zero Account: Designed for scalpers and traders looking for ultra-low spreads.
Raw Spread Account: For traders who prefer to trade with raw spreads and pay a commission per trade.
Select the account type that best fits your trading goals and click "Next".
Step 4: Set Up Login Credentials
Username and Password: After selecting your account type, you will be asked to create a unique username and password for easy access to your Exness account.
Security Questions: You might be prompted to answer a couple of security questions for added protection of your account.
Two-Factor Authentication: Enable two-factor authentication (2FA) for enhanced security. Exness offers 2FA via email or phone number.
Step 5: Submit Identity and Address Verification Documents
To complete the registration process, you will need to verify your identity and address. Upload the following documents:
Proof of Identity: Upload a clear copy of your government-issued ID (e.g., Aadhaar card, passport, voter ID, or driver's license).
Proof of Address: Upload a recent utility bill (electricity, water, or gas) or a bank statement that shows your name and residential address.
Additional Verification: Sometimes, Exness may request further documents or clarification if necessary, so be prepared to provide extra information if prompted.
Step 6: Deposit Funds into Your Account
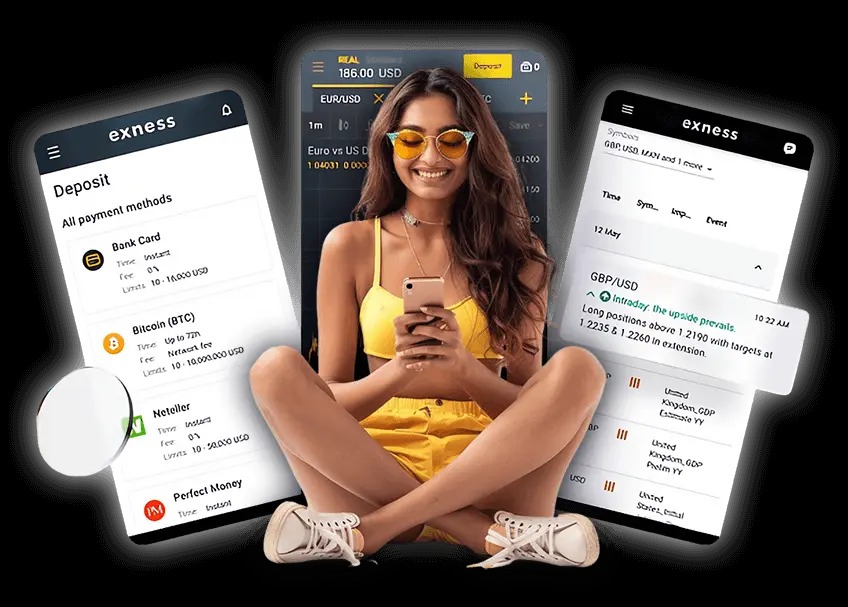
Once your account is verified, you can proceed to deposit funds into your Exness account. Exness offers several deposit options, including: Bank Transfer, Credit/Debit Cards (Visa, MasterCard), E-wallets (Skrill, Neteller), Cryptocurrencies (where supported).
Choose your preferred deposit method and follow the prompts to fund your account. Be aware of the minimum deposit requirements for your selected account type.
Step 7: Download Trading Platforms
Download MT4/MT5: After funding your account, you will need to download a trading platform (MetaTrader 4 or MetaTrader 5). These platforms are available for Windows, macOS, Android, and iOS.
Exness WebTrader: Alternatively, you can access the Exness WebTrader directly through your browser without needing to download any software.
Step 8: Start Trading
Once your deposit is confirmed and your platform is set up, you’re ready to start trading. Use the platform’s features to analyze markets, open and manage trades, and monitor your portfolio.
Practice on a Demo Account: If you’re new to trading, you may want to use the demo account offered by Exness to practice trading without risking real money.
Start Trading: Open Exness Account or Visit Website
Verification Process
To create a secure trading environment, Exness requires users to undergo a verification process to confirm their identity and address. This is a standard procedure that helps prevent fraud and ensures compliance with financial regulations. To verify your identity, you must provide a government-issued document such as an Aadhaar card, passport, or driver’s license. This document must be clear and legible, showing your full name and date of birth. Additionally, you will need to submit proof of your residential address, which can be a recent utility bill, bank statement, or tax document. These steps protect your account and personal information, ensuring that only authorized users can access it.
Once your identity and address documents are submitted, Exness will review them, which typically takes a few hours to a few days. You will also need to verify your phone number and email address to secure your account further. The verification process may require additional documents or clarifications if necessary. Once all the required documents are approved, you will receive confirmation, allowing you to proceed with depositing funds and starting your trading activities. This verification step ensures that your account is secure and meets regulatory standards, allowing you to trade with confidence.
Start Trading on Exness
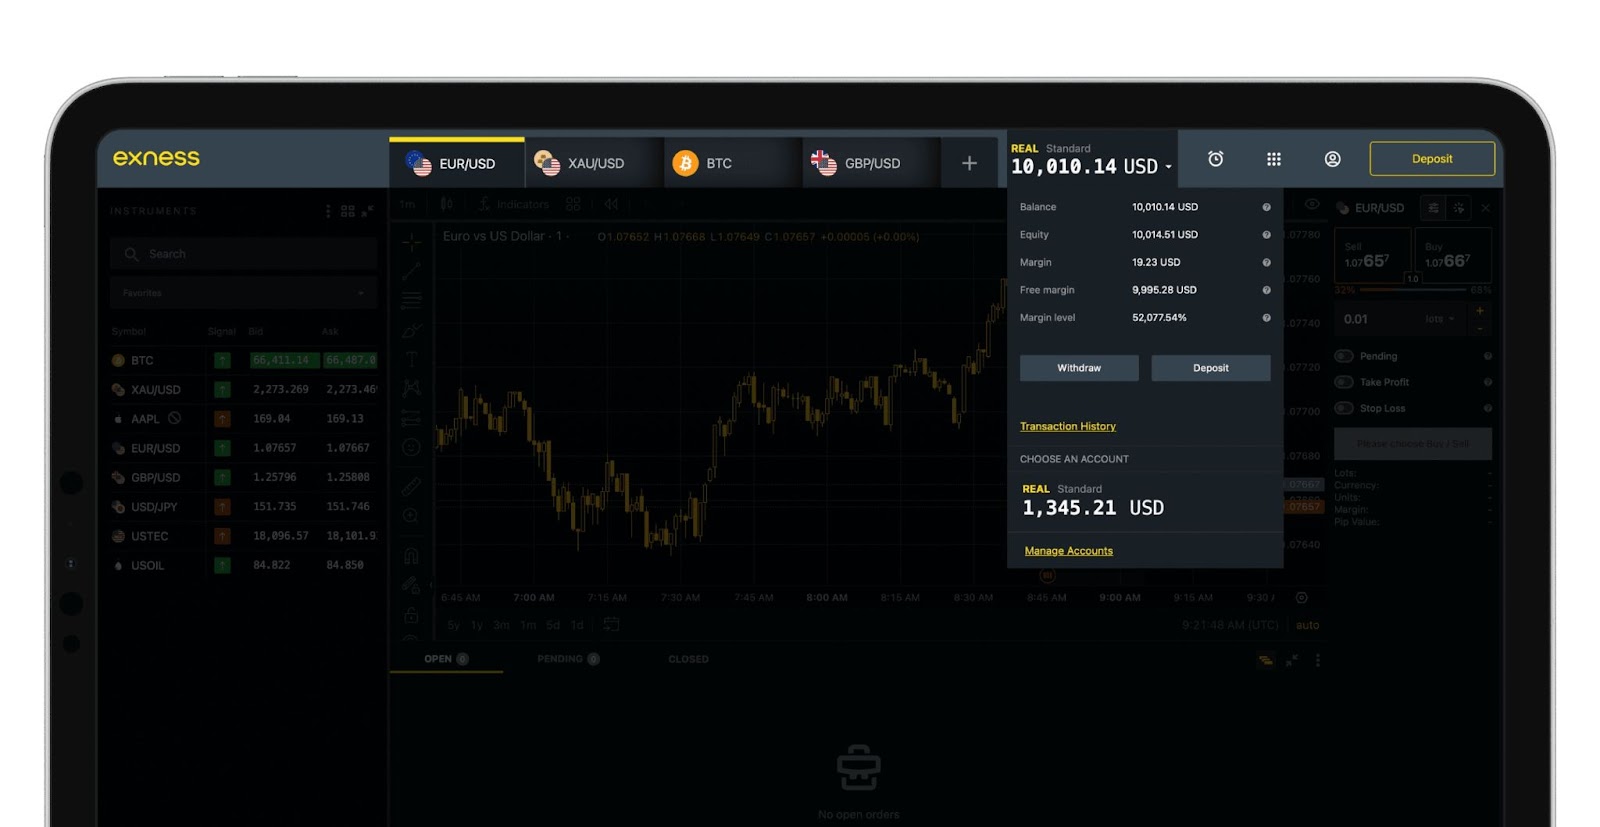
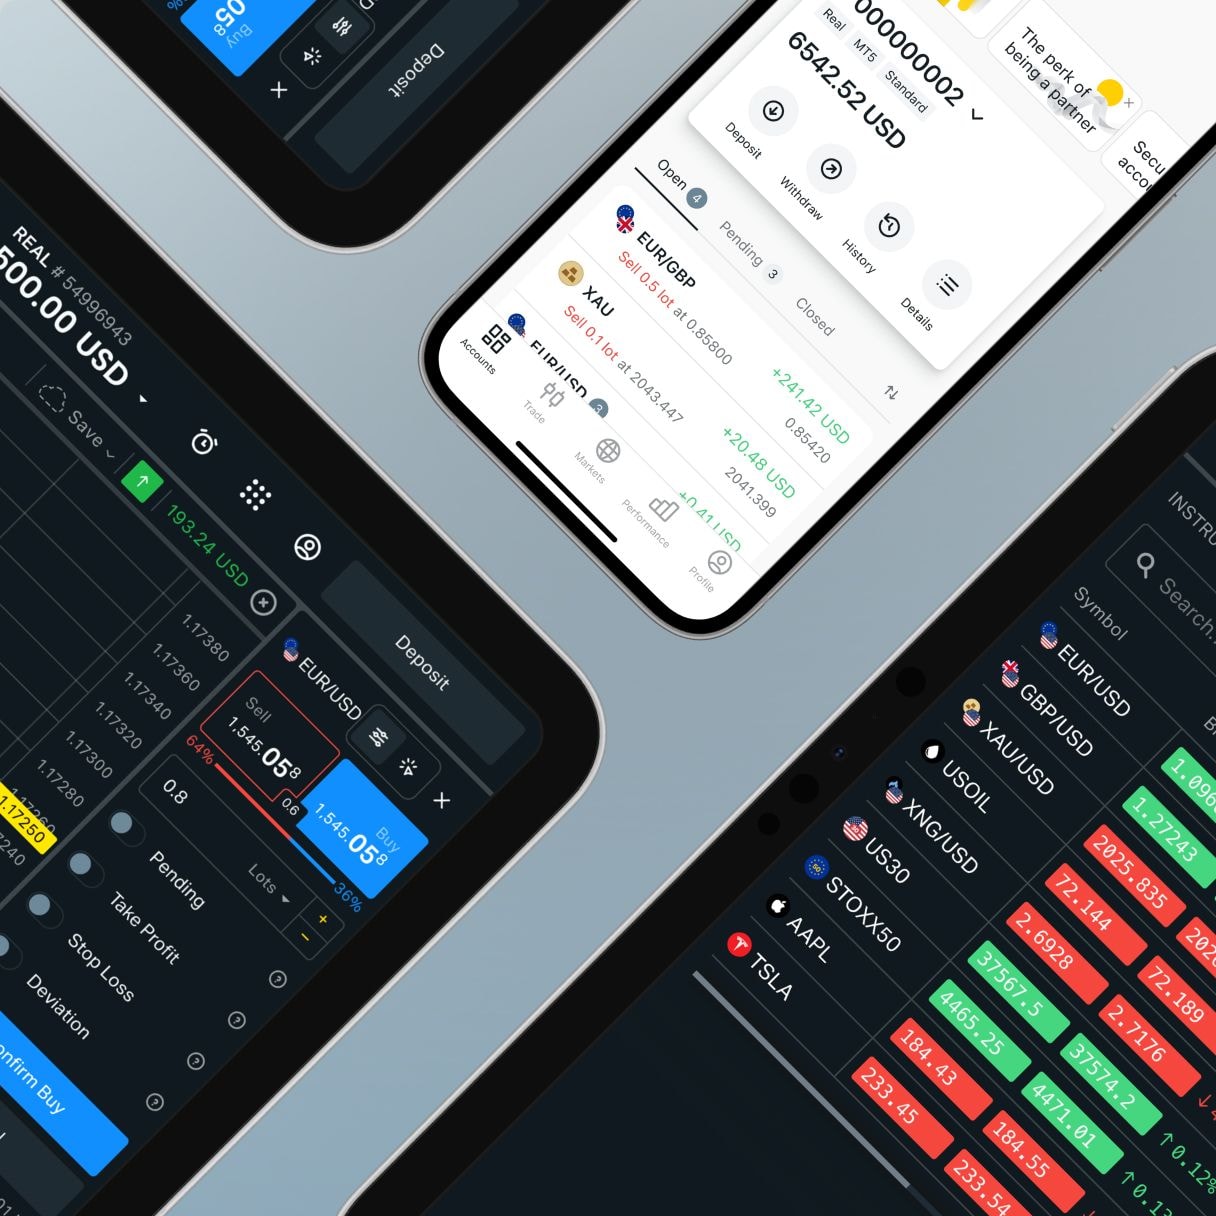
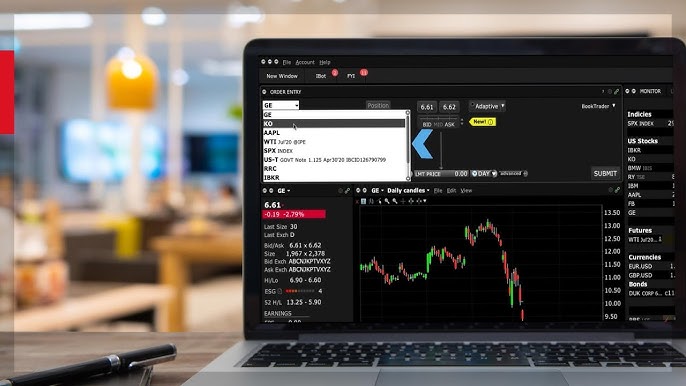
Once your Exness account is created and verified, you’re ready to begin trading in the global financial markets. Exness provides several powerful trading platforms that make it easy to execute trades, analyze markets, and manage your positions. The most popular platforms offered by Exness are MetaTrader 4 (MT4) and MetaTrader 5 (MT5), both of which are widely used by traders around the world. These platforms offer a user-friendly interface, advanced charting tools, a wide range of technical indicators, and the ability to automate trading strategies with Expert Advisors (EAs). You can also access Exness WebTrader, a browser-based platform that doesn't require any software installation, offering the same trading features on any device with an internet connection.
Before diving into live trading, it's recommended to familiarize yourself with the platform by using a demo account. Exness provides free demo accounts where you can practice trading with virtual funds, allowing you to learn the platform's features and test your strategies in real-market conditions without the risk of losing real money. Once you're comfortable, you can deposit funds into your live account using a variety of payment methods such as bank transfers, credit cards, e-wallets, and even cryptocurrencies. With your account funded, you can start executing trades, monitor your positions, and explore the wide range of instruments available, from forex and commodities to stocks and cryptocurrencies.

Benefits of Trading with Exness in India
Exness offers several advantages for traders in India, making it an attractive option for both beginners and experienced traders. One of the key benefits is local payment options, which make it easy for Indian traders to deposit and withdraw funds in Indian Rupees (INR). Exness supports popular payment methods such as bank transfers, credit/debit cards, and e-wallets like Skrill and Neteller, ensuring fast and convenient transactions. This eliminates the need for currency conversion fees and helps traders manage their funds more efficiently.
Additionally, Exness provides competitive spreads and high leverage options, which allow traders to maximize their trading potential. Indian traders can access leverage up to 1:2000, enabling them to control larger positions with smaller investments, although this also increases potential risk. Exness also offers negative balance protection, ensuring that traders cannot lose more than their account balance, providing an extra layer of security. The broker is fully regulated by top-tier authorities, ensuring that your funds are safe and your trading environment is transparent and reliable. With 24/7 customer support in multiple languages, including Hindi, and access to educational resources, Exness helps Indian traders improve their skills and navigate the financial markets with confidence.
Conclusion
Creating an Exness account in India is a simple and straightforward process that allows you to start trading in a secure and regulated environment. By following the steps outlined—registering on the website, providing the necessary documents for verification, and funding your account—you can quickly gain access to Exness's advanced trading platforms and a wide range of financial instruments. Whether you're a beginner looking to explore forex trading or an experienced trader seeking advanced features, Exness offers the tools, resources, and support to help you succeed.
With local payment options, competitive spreads, high leverage, and strong regulatory oversight, Exness is an excellent choice for Indian traders. Once your account is set up and verified, you’ll be ready to start trading with confidence and make the most of the opportunities available in the global markets. Don’t forget to utilize the demo account feature to practice your strategies risk-free, and take advantage of the educational resources provided to enhance your trading knowledge.
FAQ
How can I create an Exness account in India?
To create an Exness account in India, visit the Exness website, click on "Open Account," and provide your personal details like name, email, and phone number. After selecting an account type, complete the verification process by submitting your ID proof and address documents. Once verified, you can deposit funds and begin trading.
What documents are required to verify my Exness account in India?
You will need to provide a proof of identity (Aadhaar card, passport, voter ID, or driver’s license) and a proof of address (utility bill, bank statement, or Aadhaar card showing your address). These documents must be recent and clear to ensure quick verification.
Can I use Indian Rupees (INR) to deposit and withdraw funds on Exness?
Yes, Exness allows Indian traders to deposit and withdraw funds in Indian Rupees (INR). You can use various methods such as bank transfers, credit cards, and e-wallets to manage your funds efficiently.
What trading platforms does Exness offer in India?
Exness offers MetaTrader 4 (MT4), MetaTrader 5 (MT5), and Exness WebTrader, all of which are available for Indian traders. These platforms provide advanced charting tools, multiple timeframes, and support for automated trading through Expert Advisors (EAs).
Is Exness regulated in India?
Exness is regulated by several reputable financial authorities, including the FCA (UK), CySEC (Cyprus), and FSCA (South Africa). While Exness is not specifically regulated by Indian authorities, its strong international regulatory framework ensures a secure and transparent trading environment.
How long does it take to verify my Exness account in India?
The verification process usually takes a few hours to a couple of days. Once you submit the required documents for identity and address verification, Exness will review them, and you will be notified once your account is approved.