Elaina Wright Architectural Portfolio
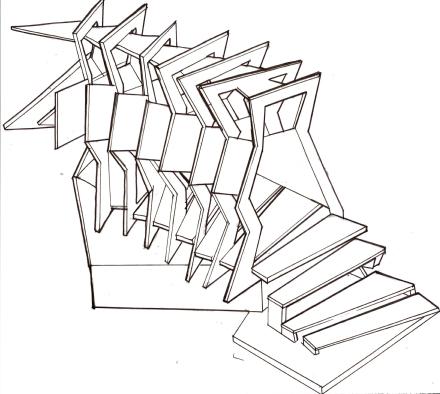

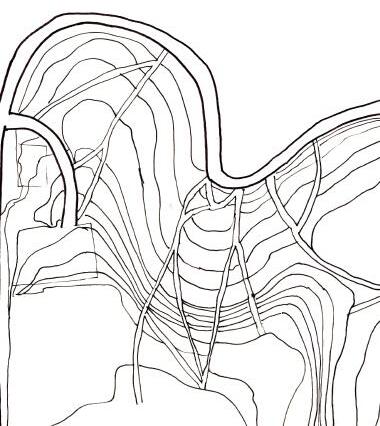
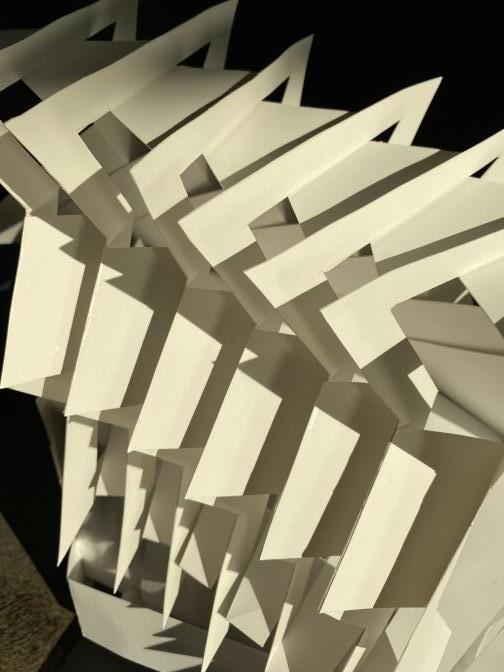
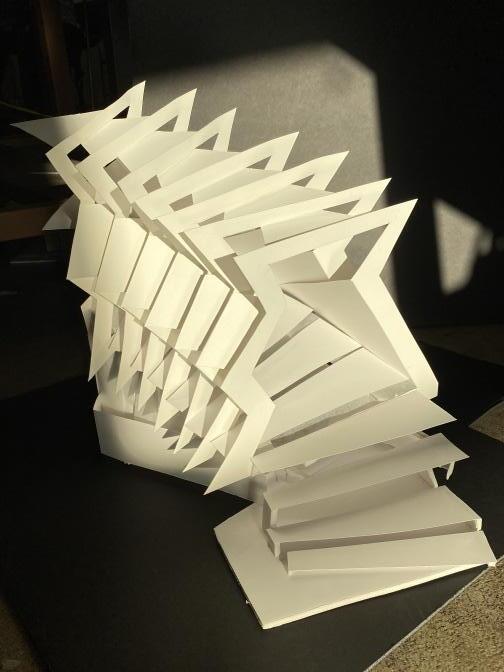
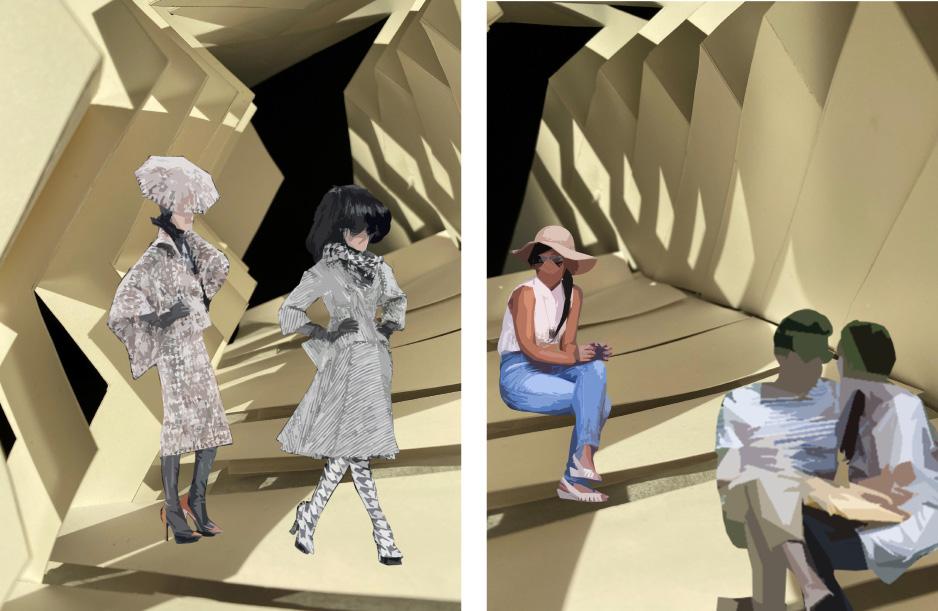
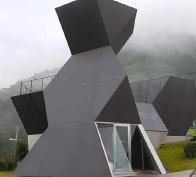
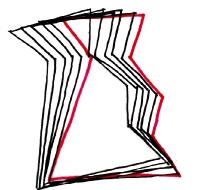
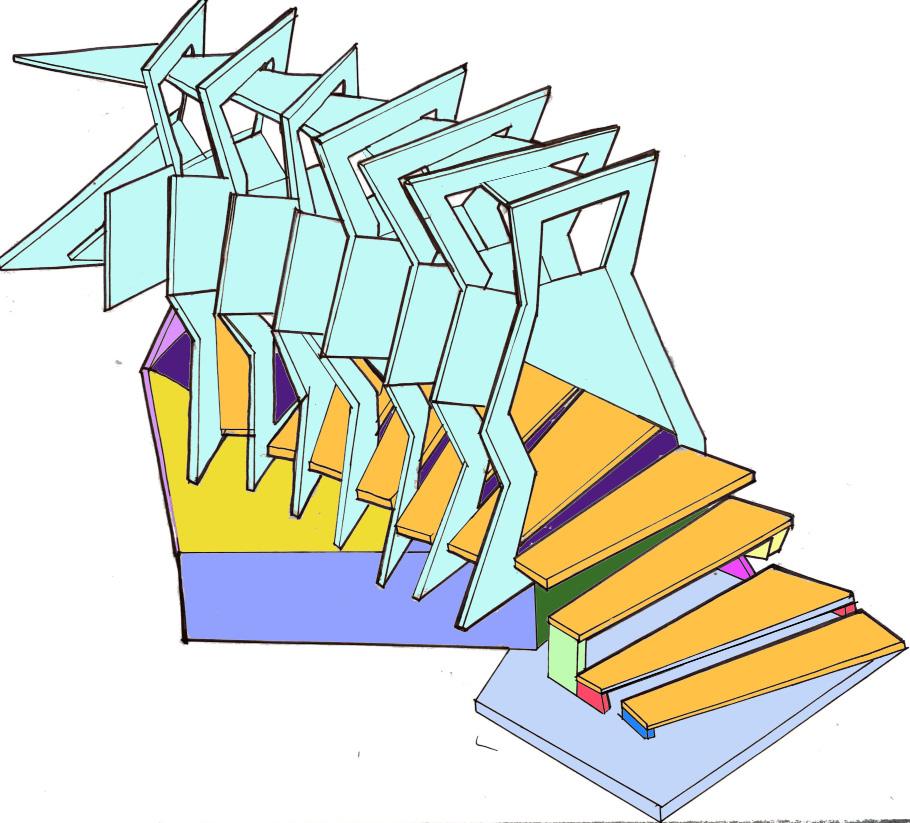
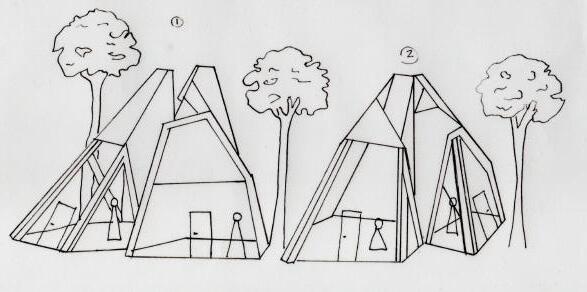
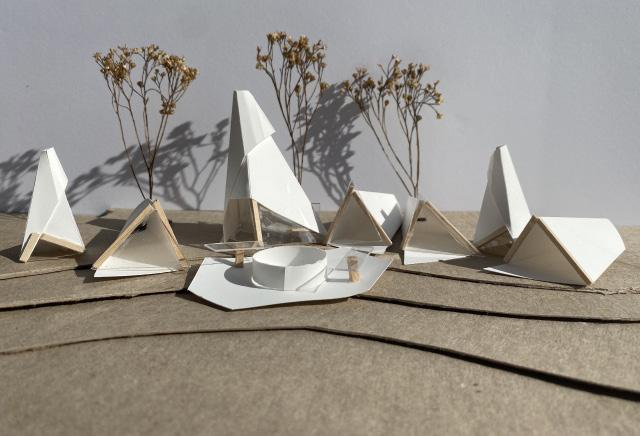
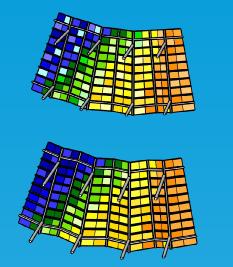
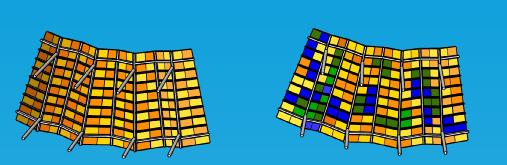
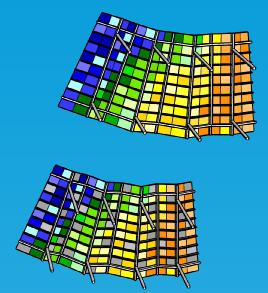
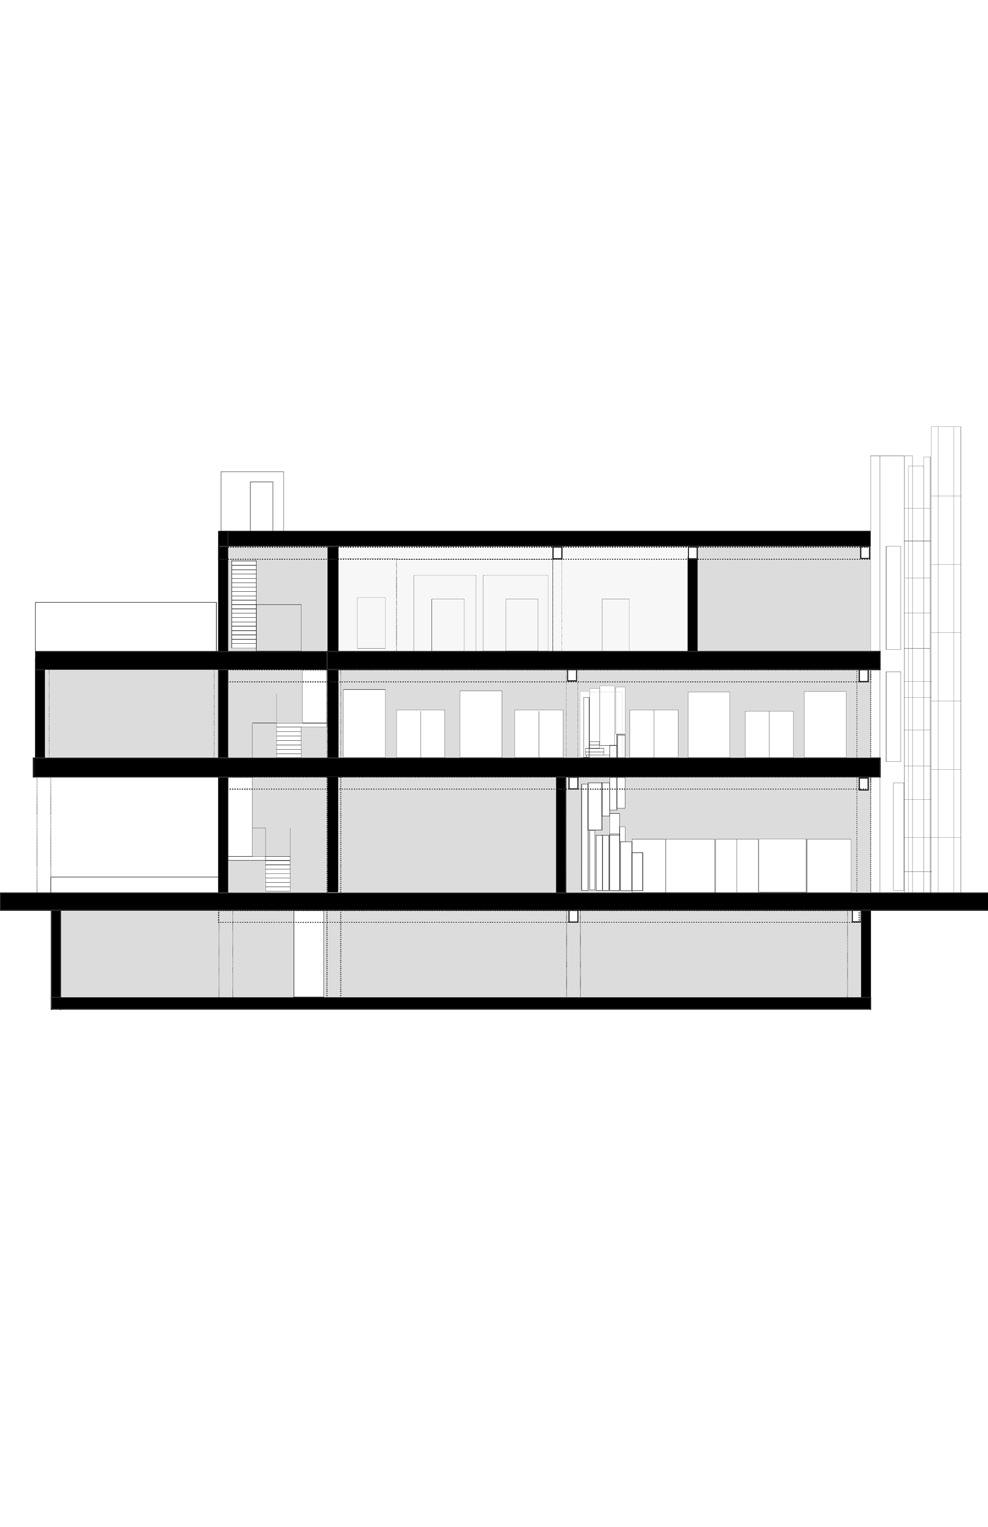
I took the outline for my lighbox from a section image of Toyo Itos Architecture Museum. The abstract hourglass like shape was very interesting to pursue. As part of our design process, we traced our chosen section and then refined it, then we were able to tessellate these tracings, and arrange them in different fashions in order to create a concept for our light boxes. Then, we used these to construct our Light Boxes.
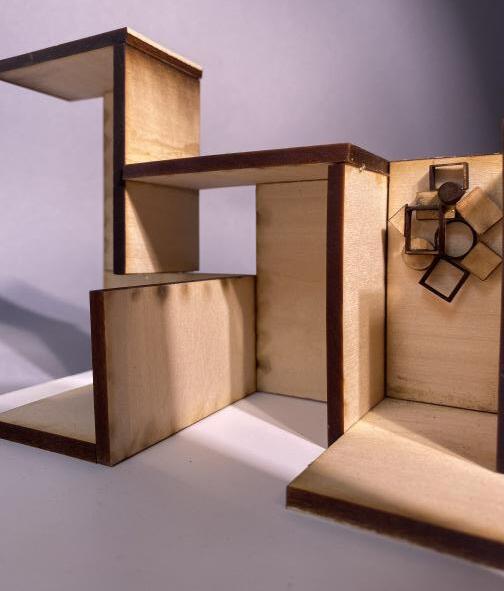
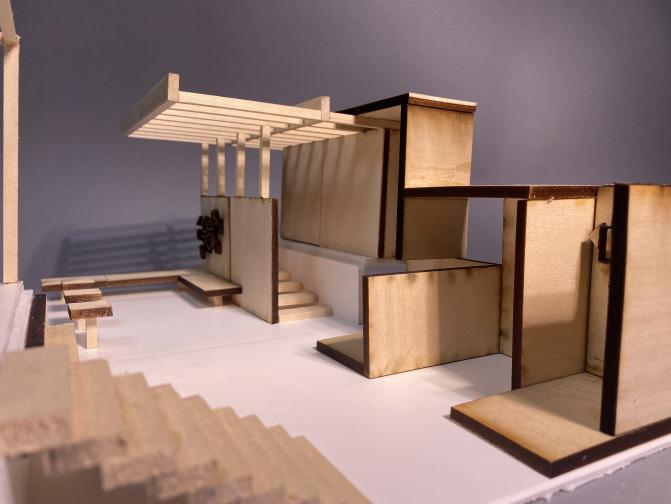
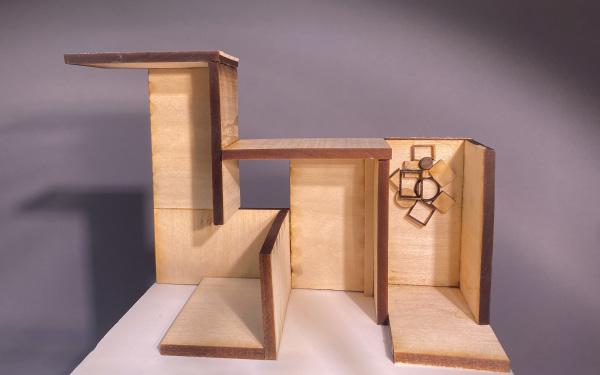
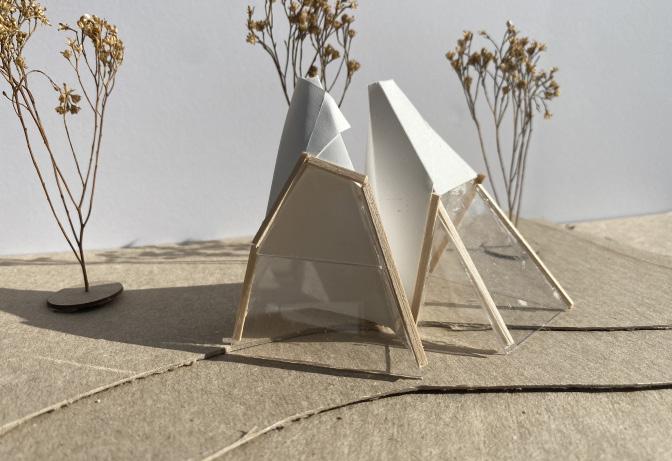
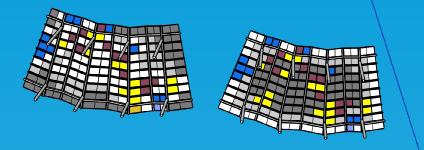
This project was a partner project! Me and my partner, Matthew Mendel, Both created a model with similar design features to compliment one anothers as one coherent design. My model, can be seen on the right side of the bottom photo whereas Matts is on the left. For photo submission we arranged our modular designs in various ways, as seen in the top photo.

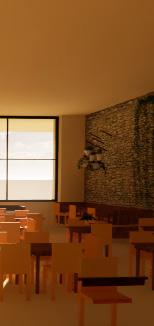
Artist Gallery Space


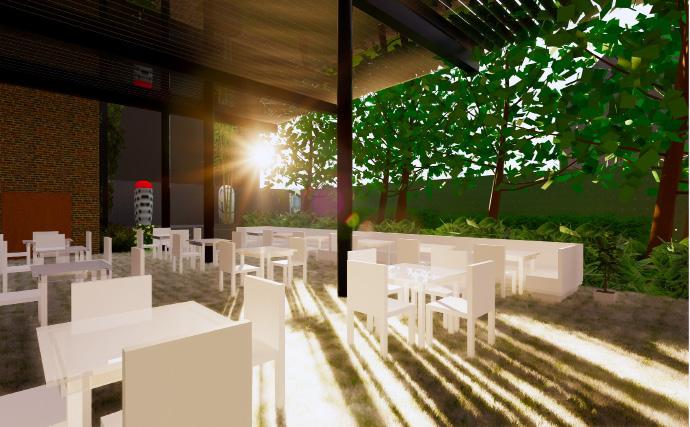
and Resturant Dining
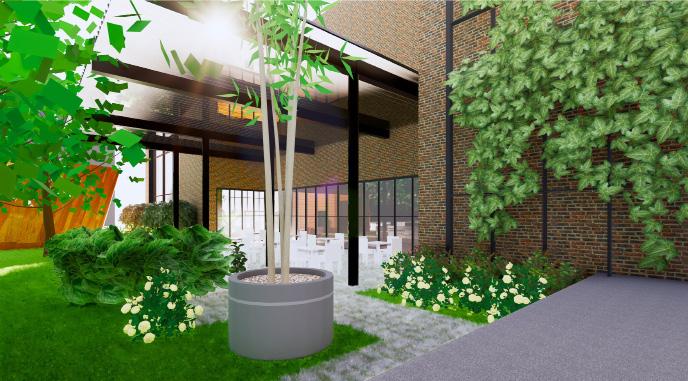
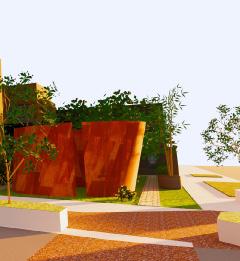
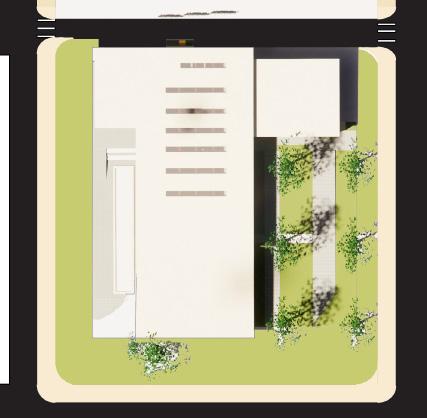
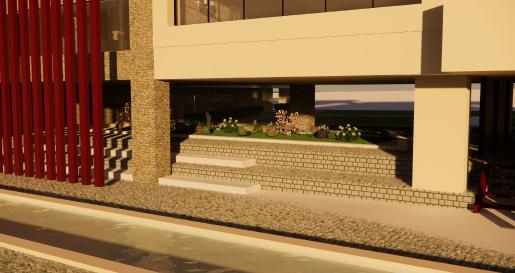
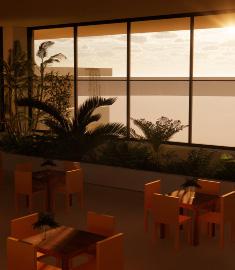
Outdoor Dining, Garden, and Gallery Areas
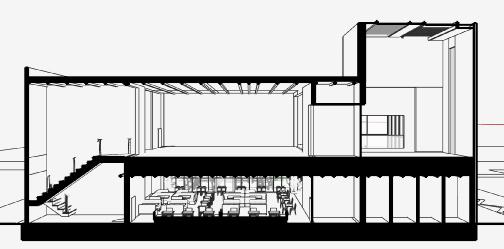
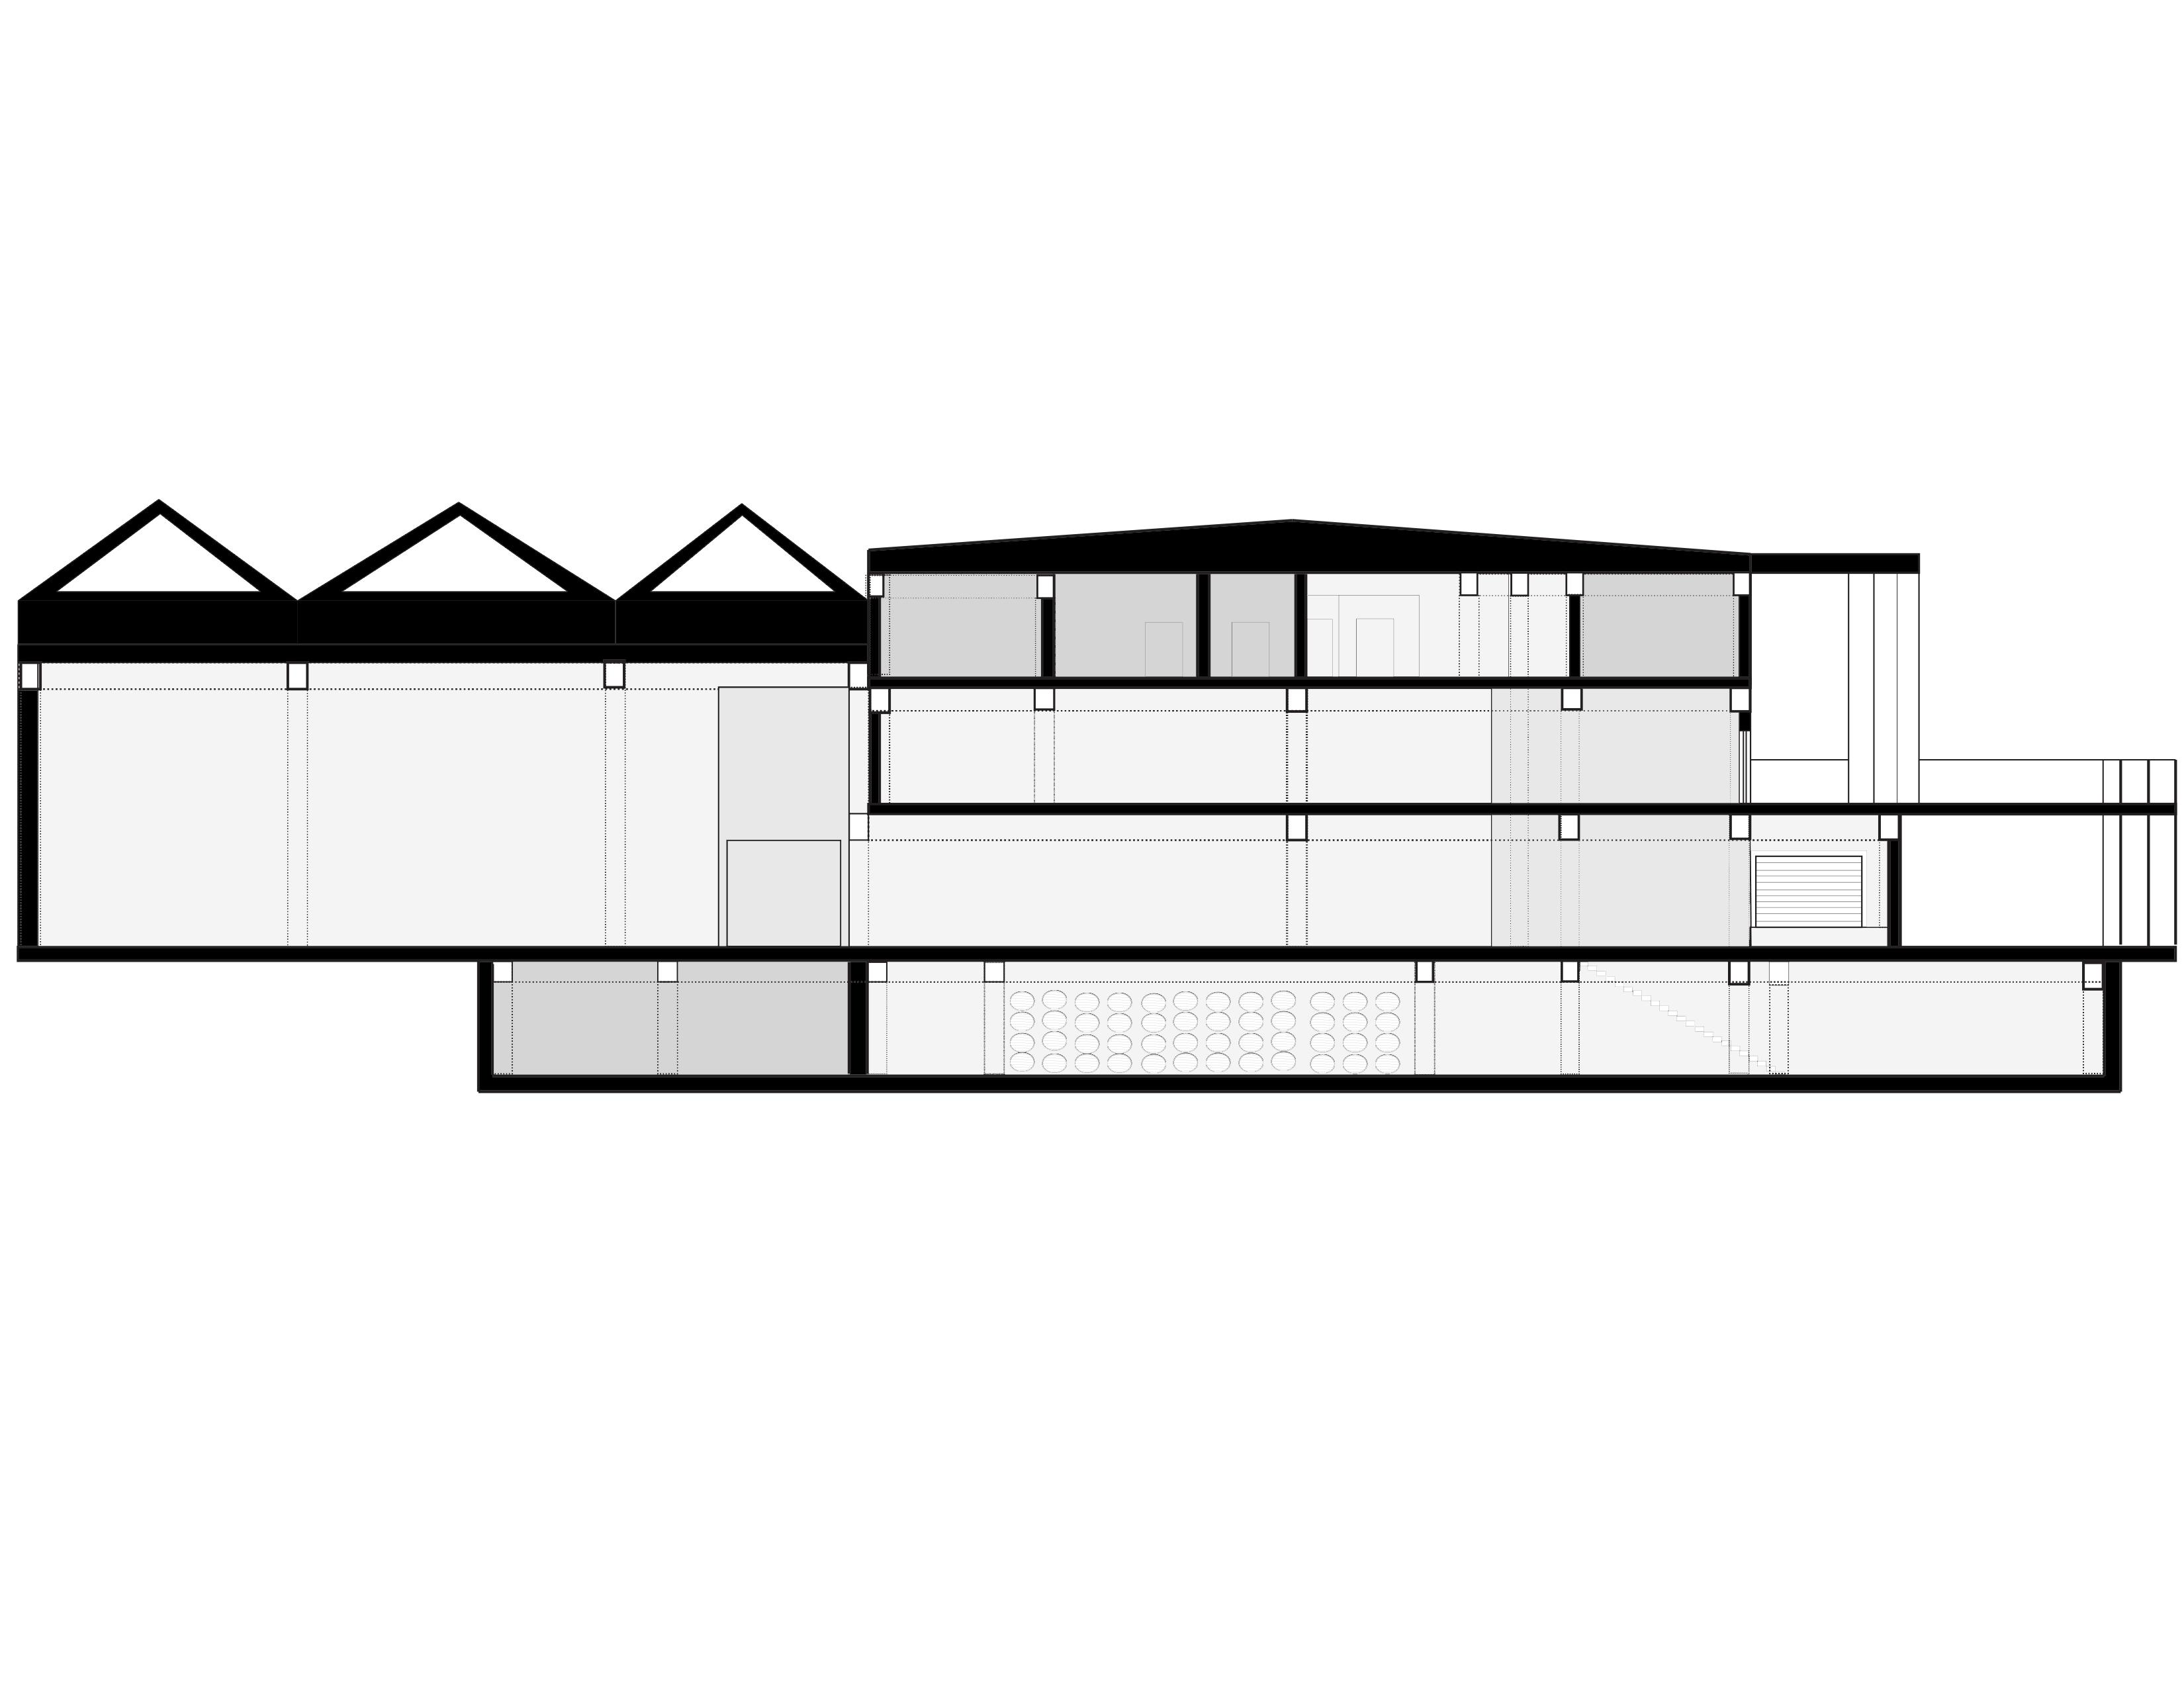
Section Drawing Looking South,
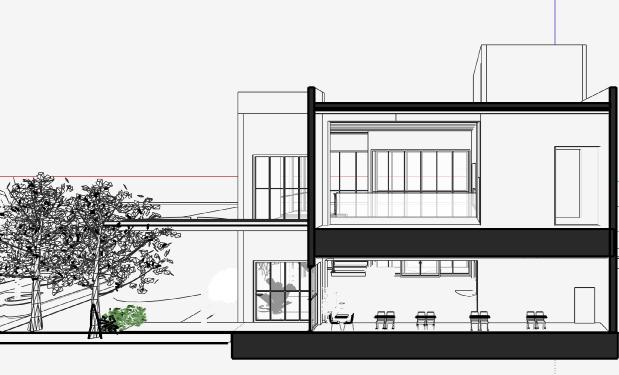
Section Drawing Looking West
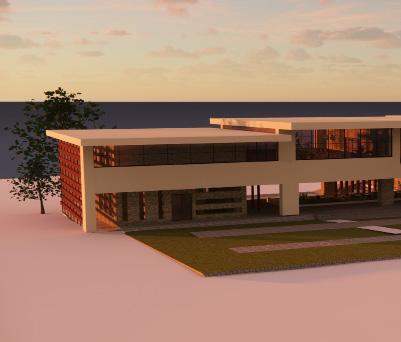
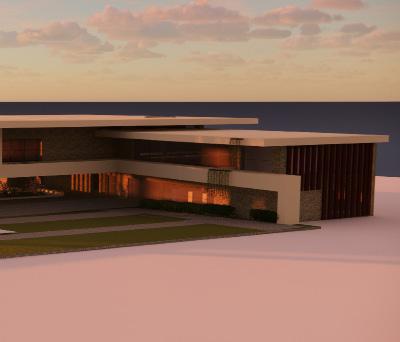
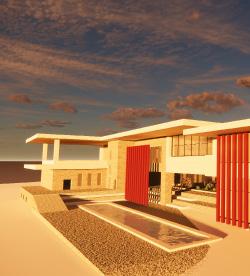
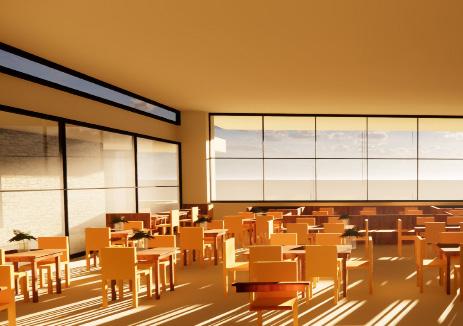
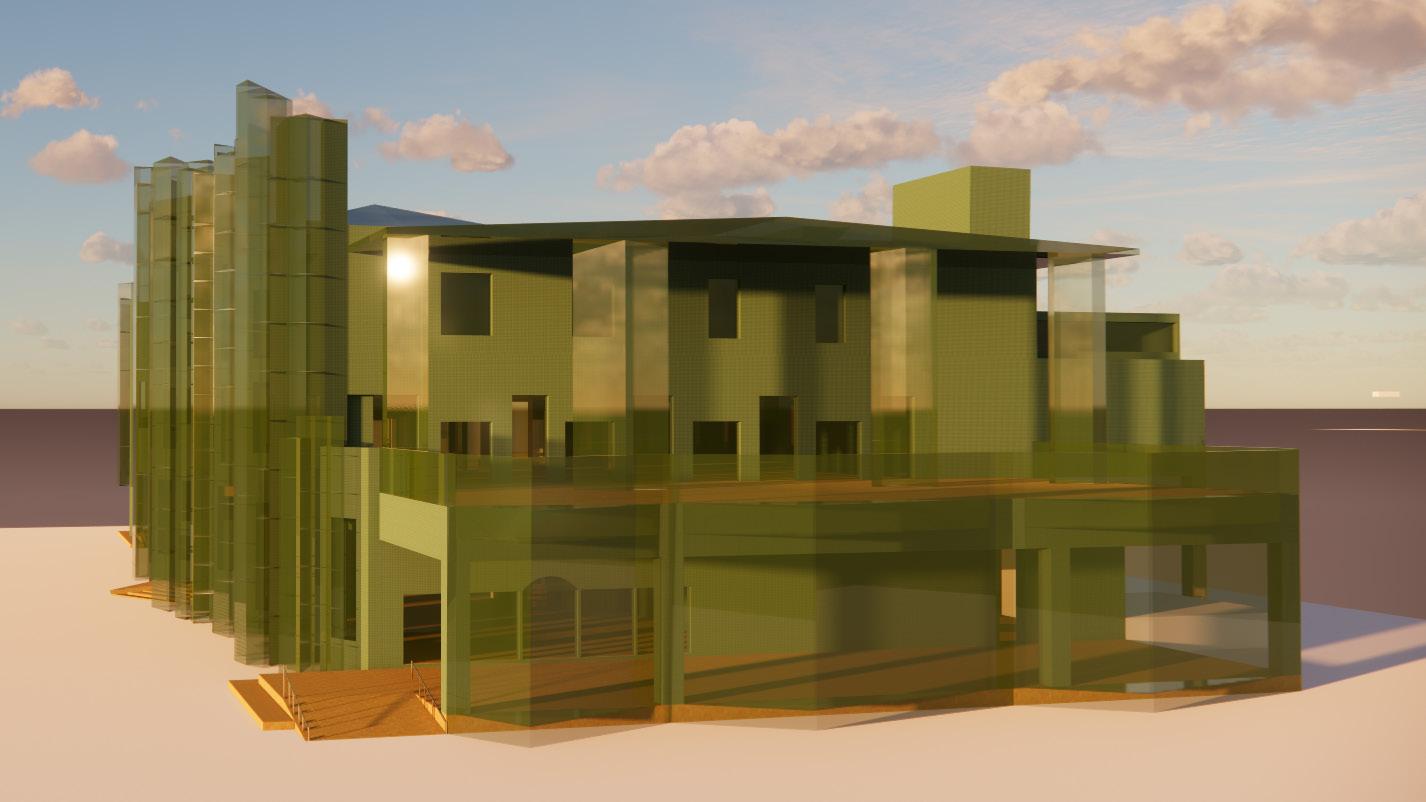
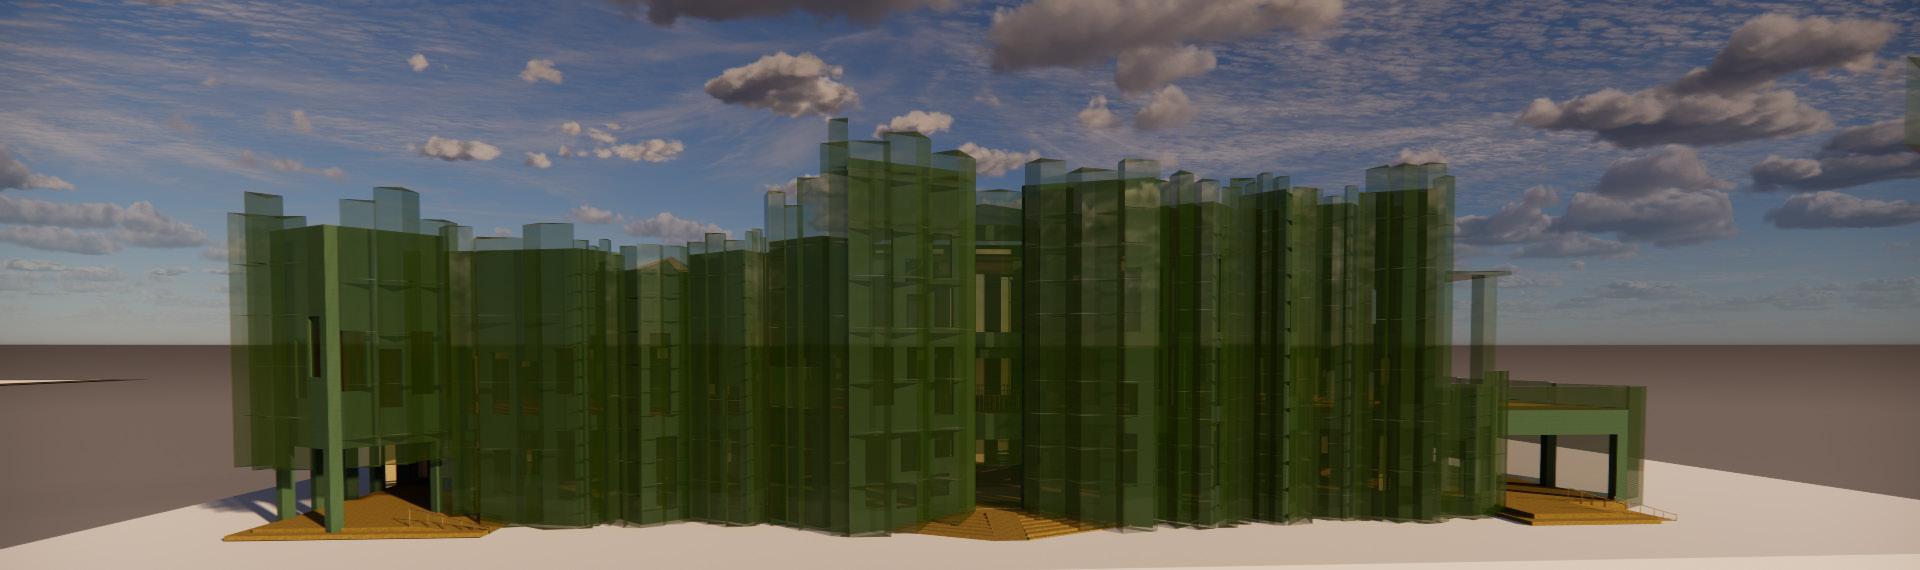
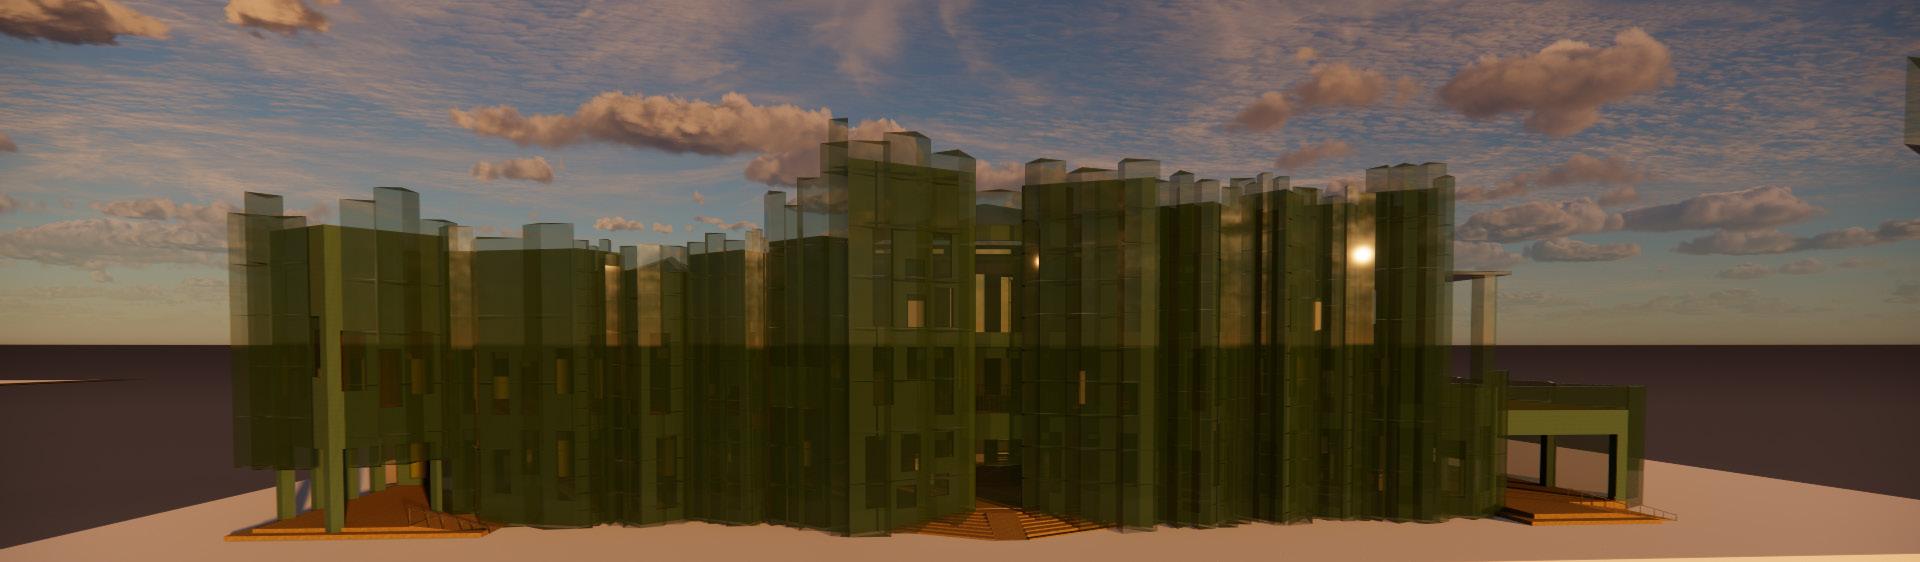
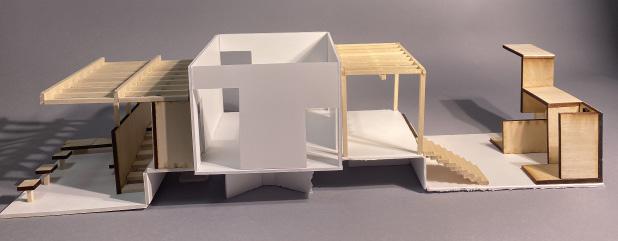
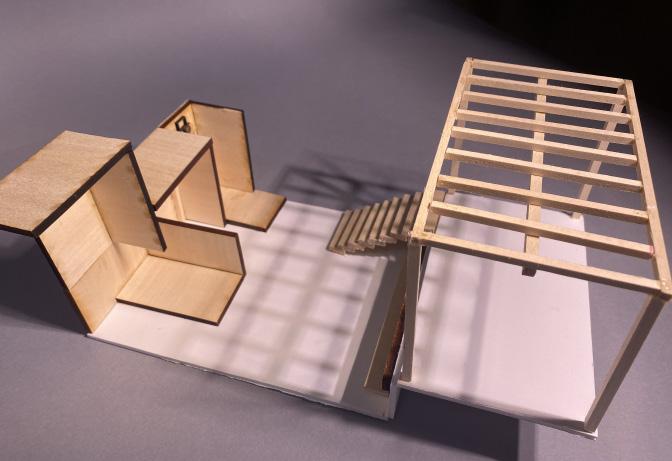
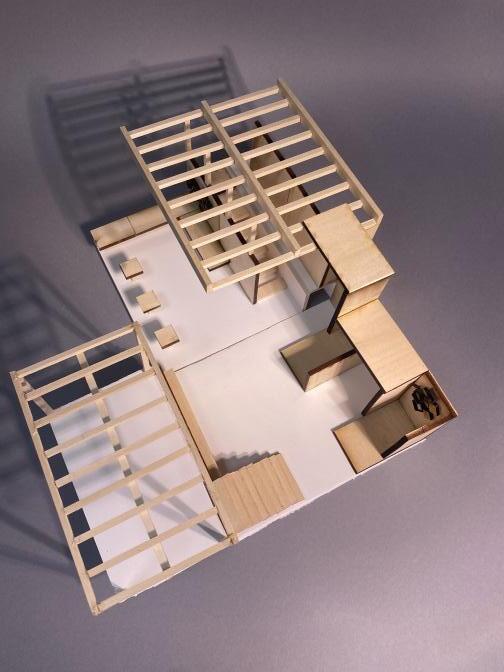
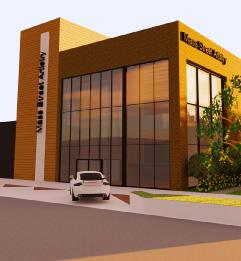
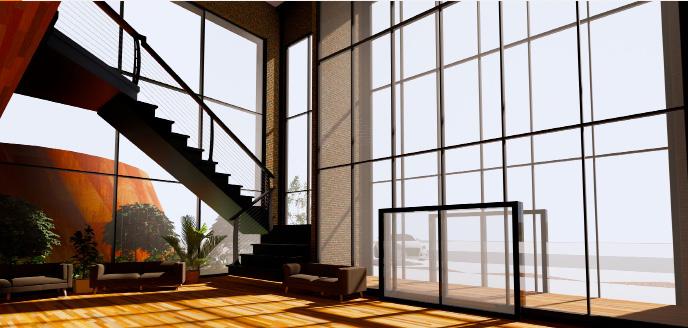
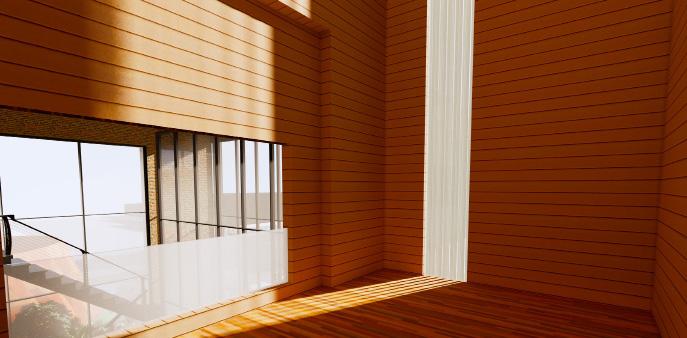
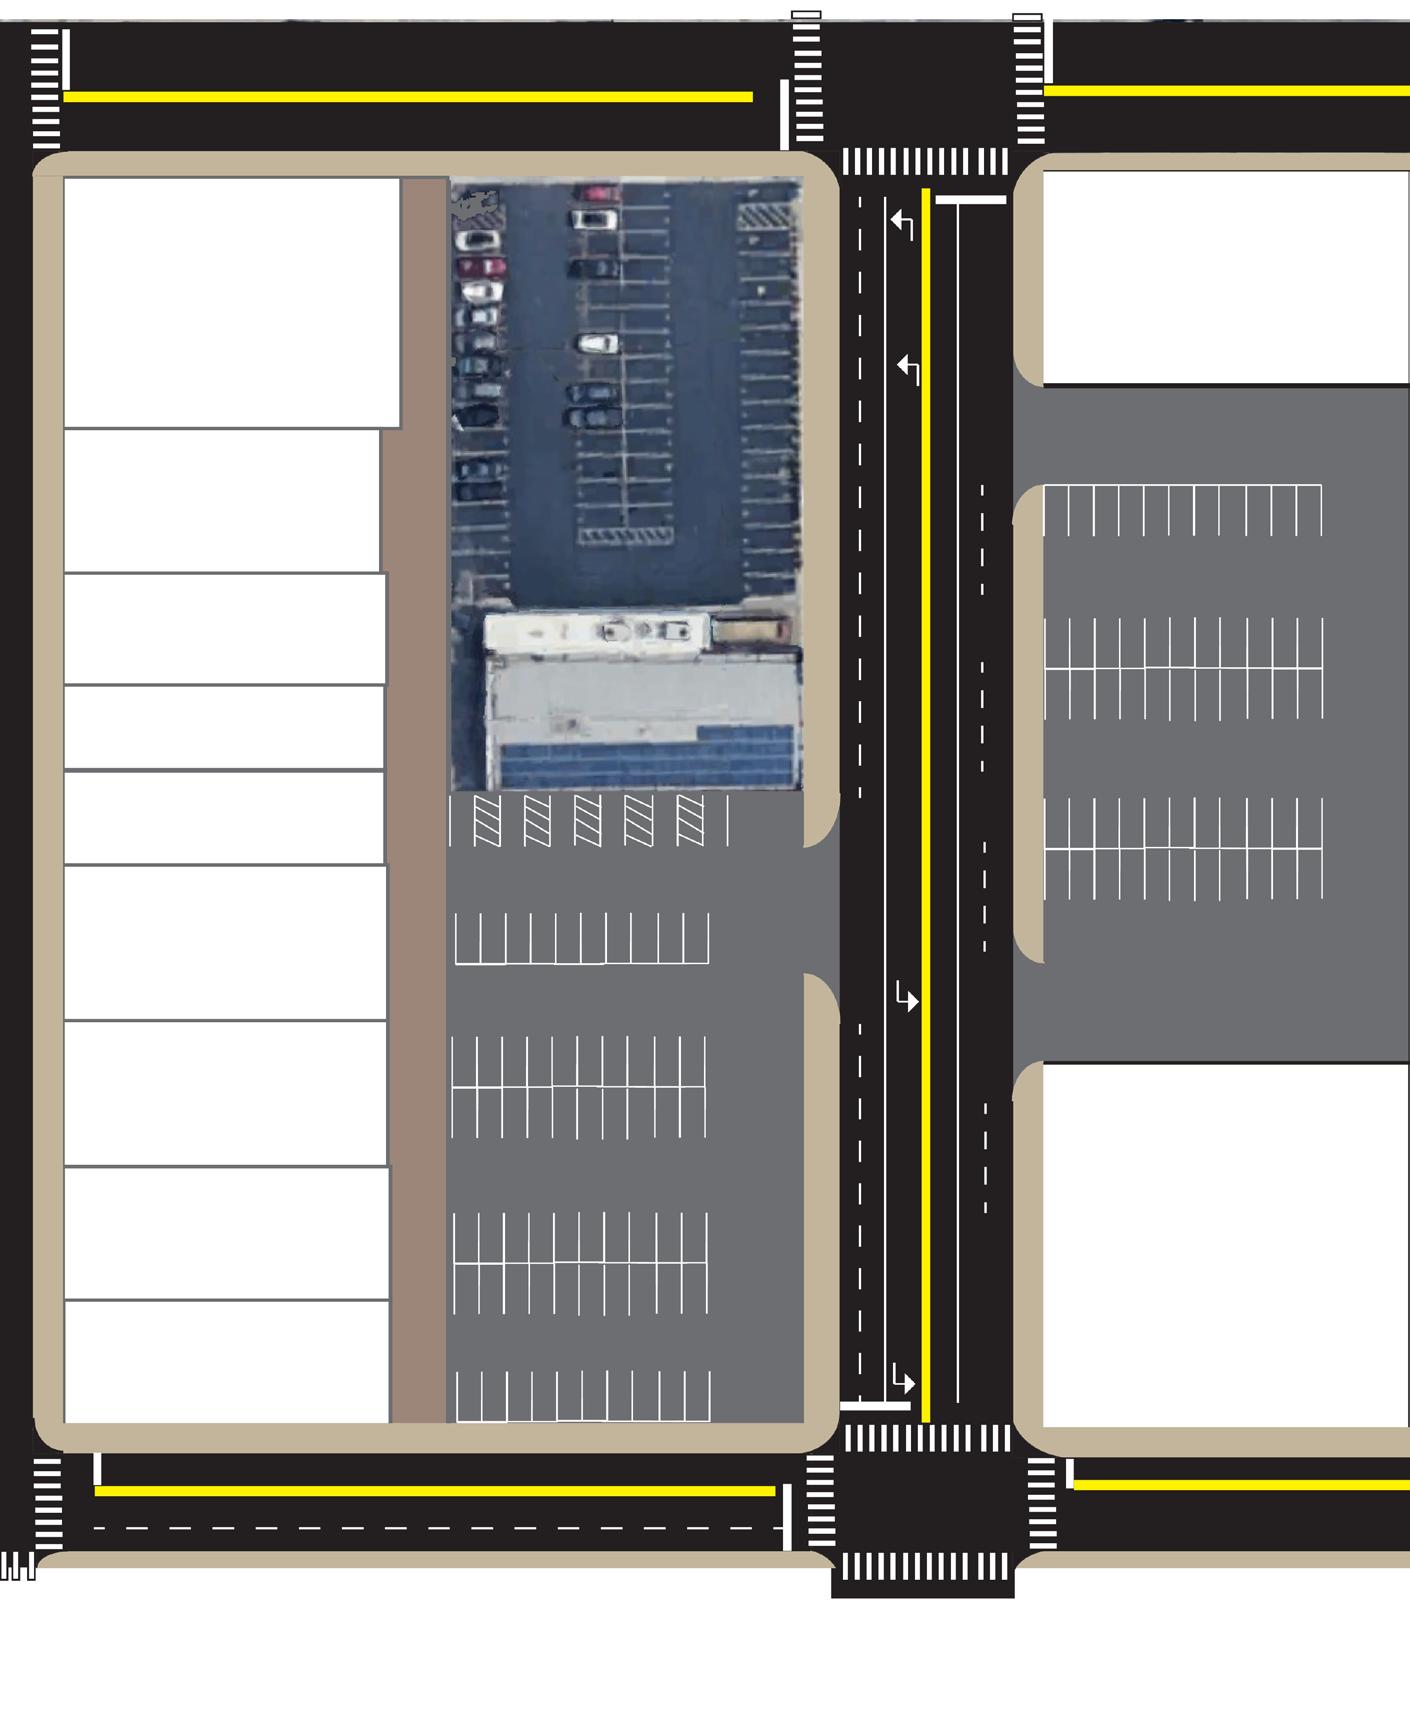
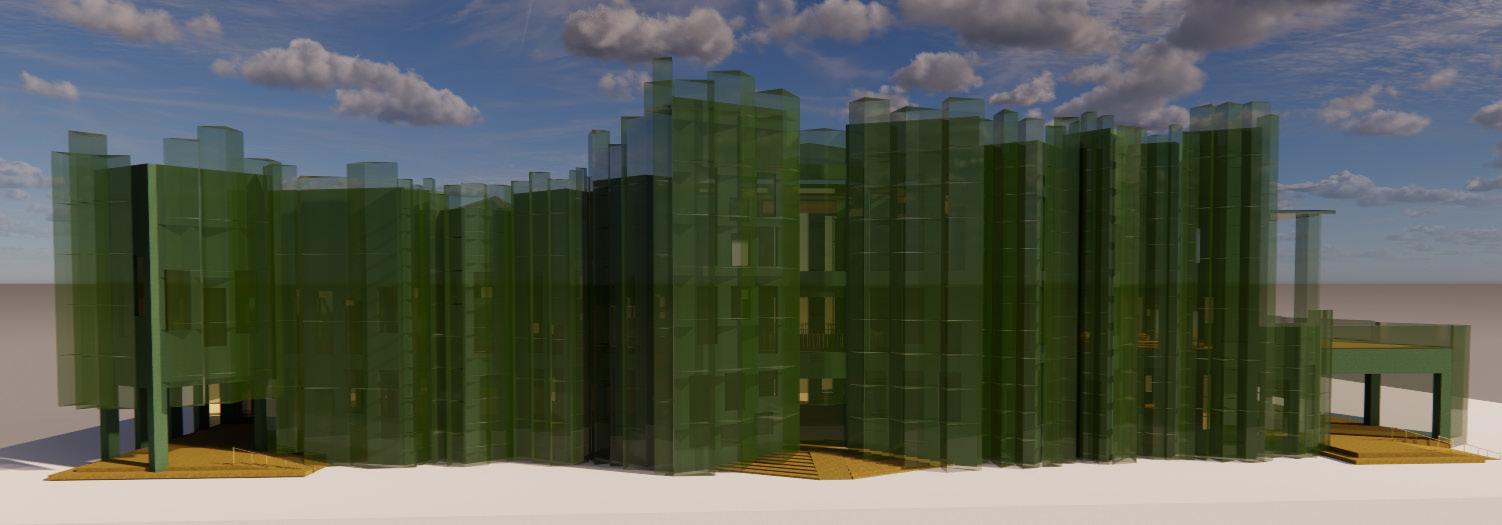
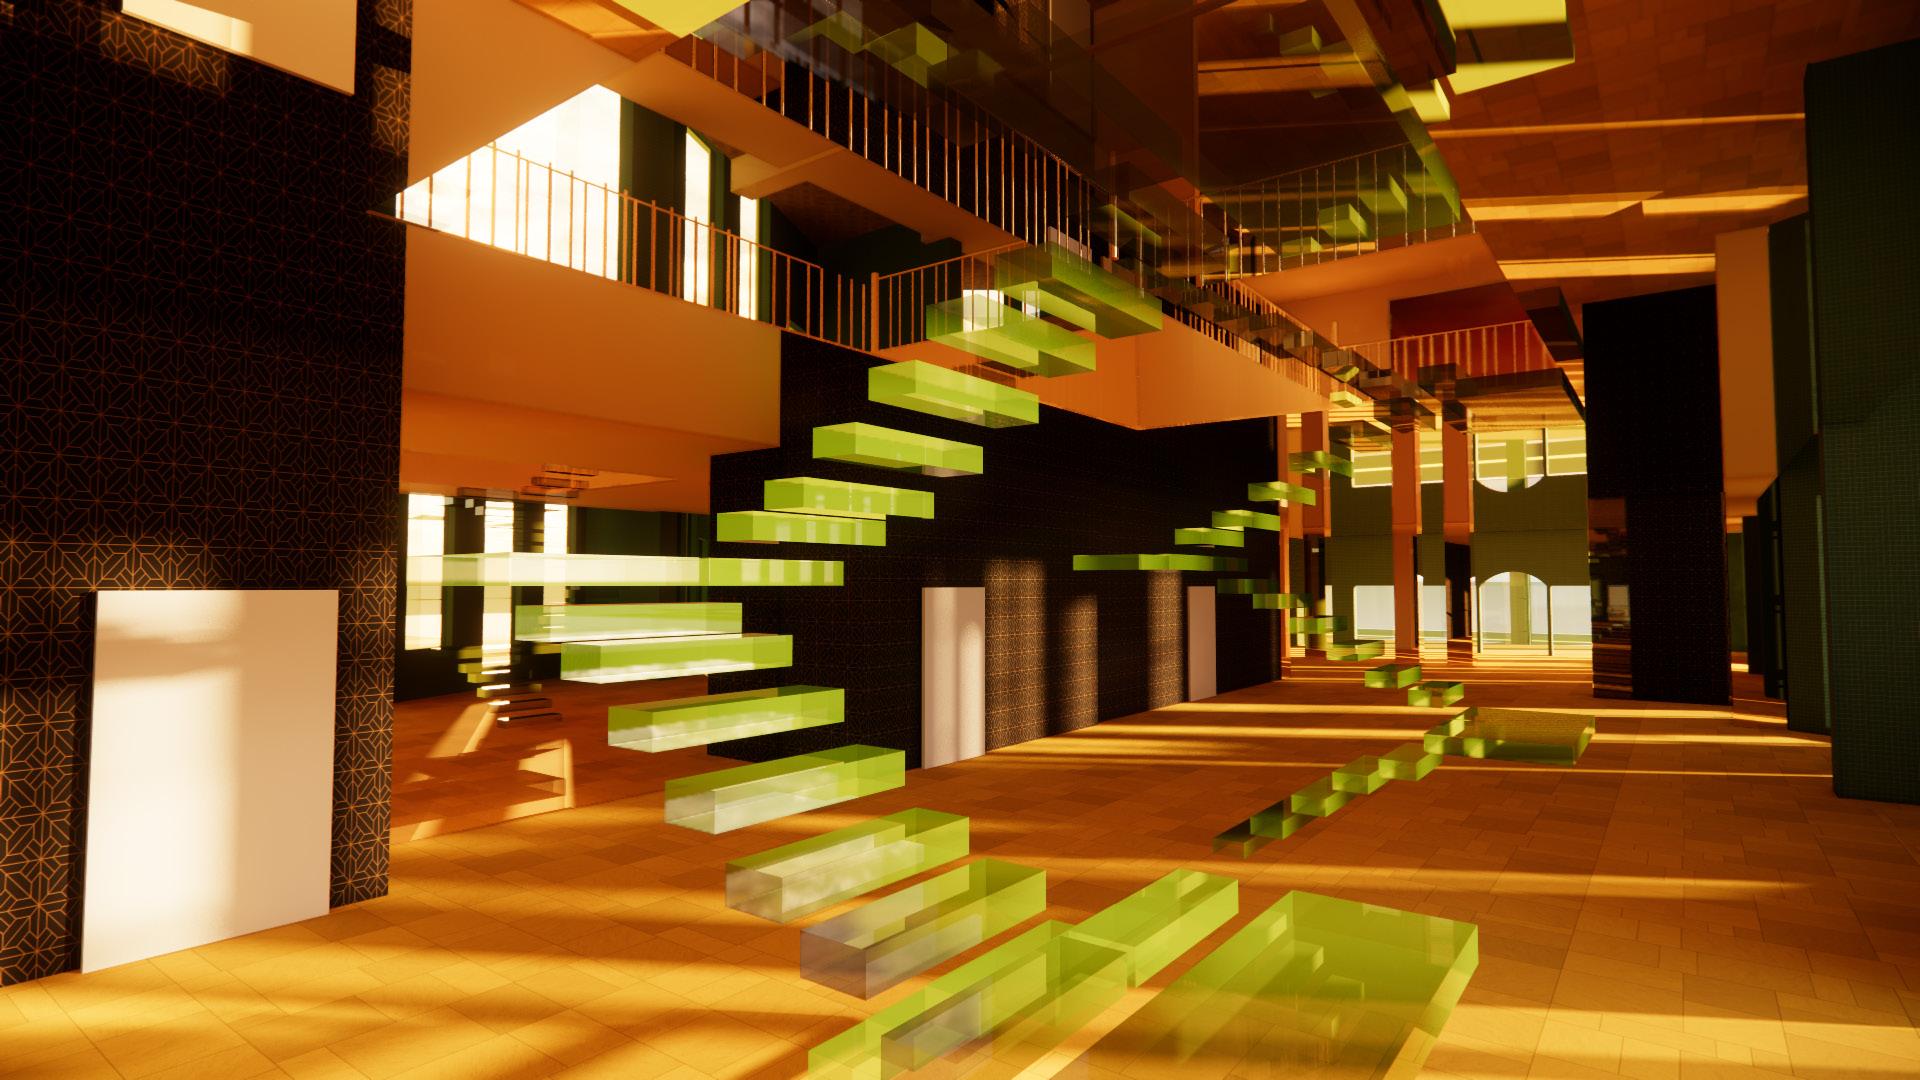
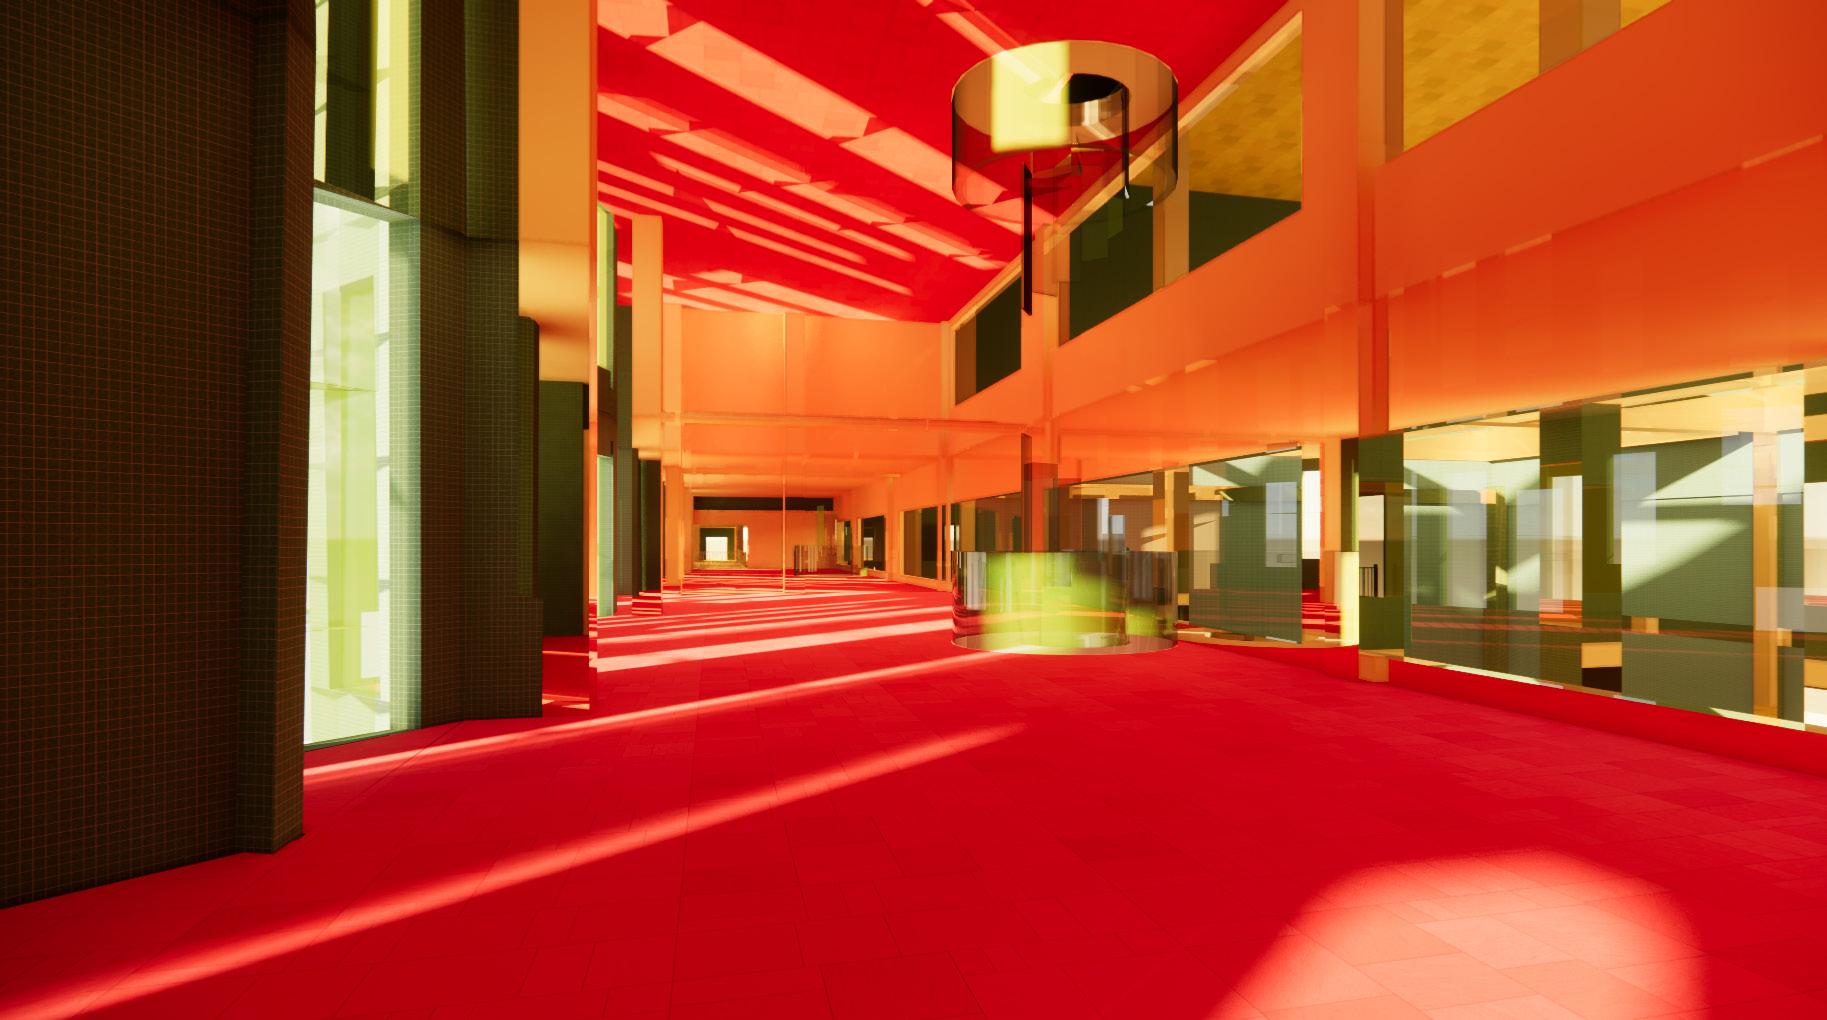
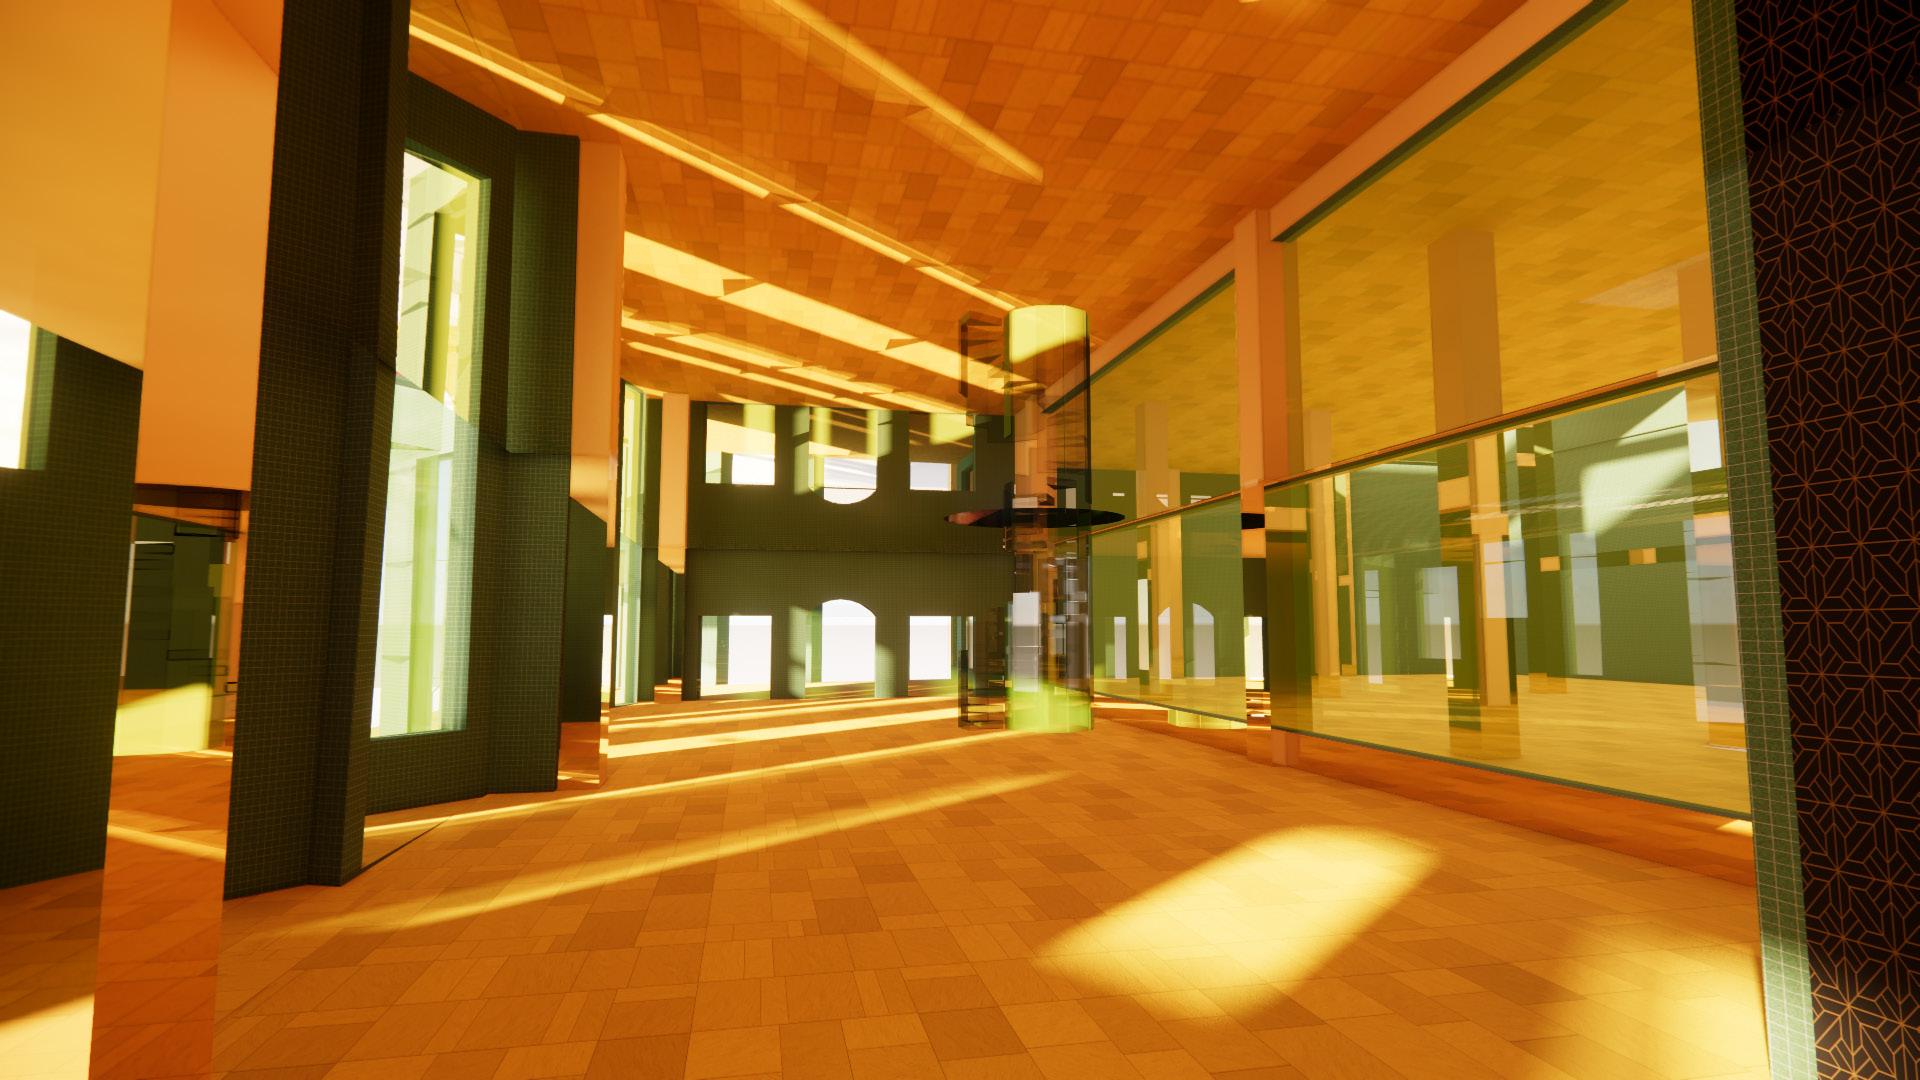
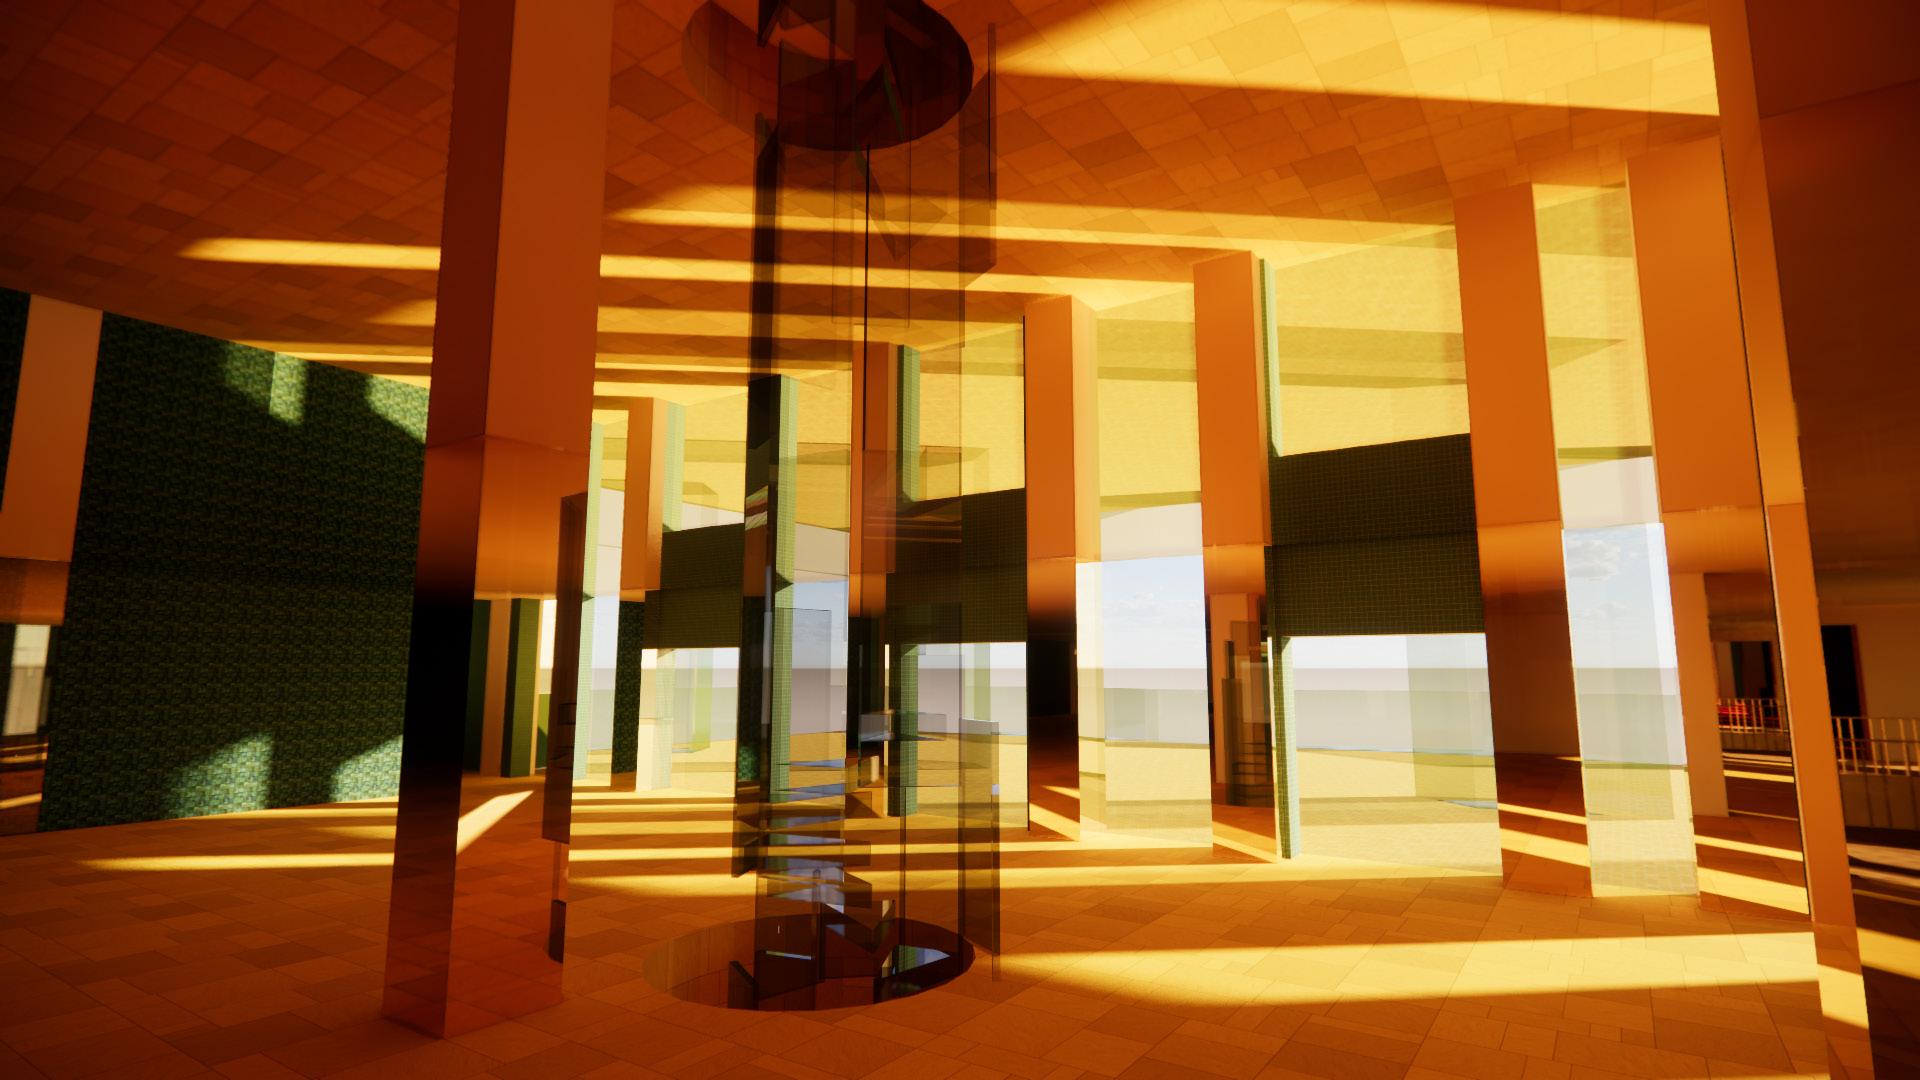
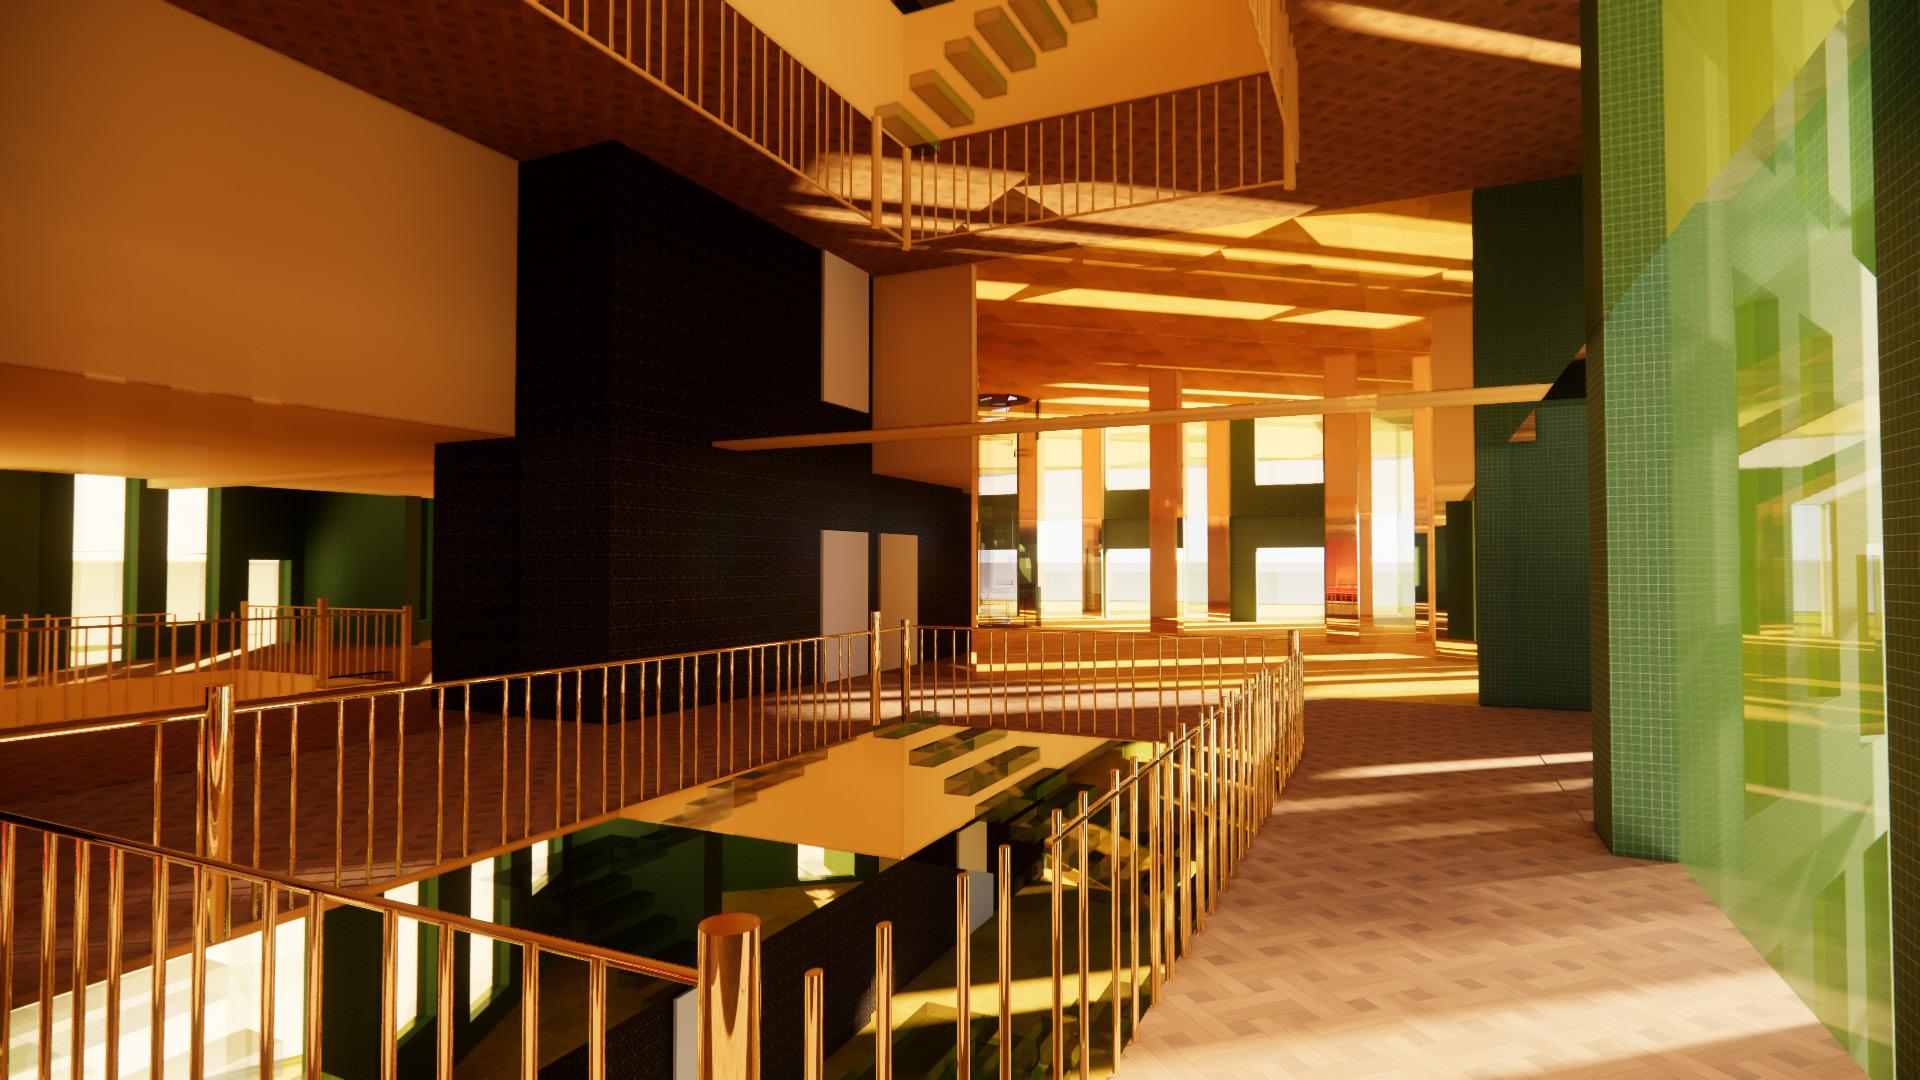
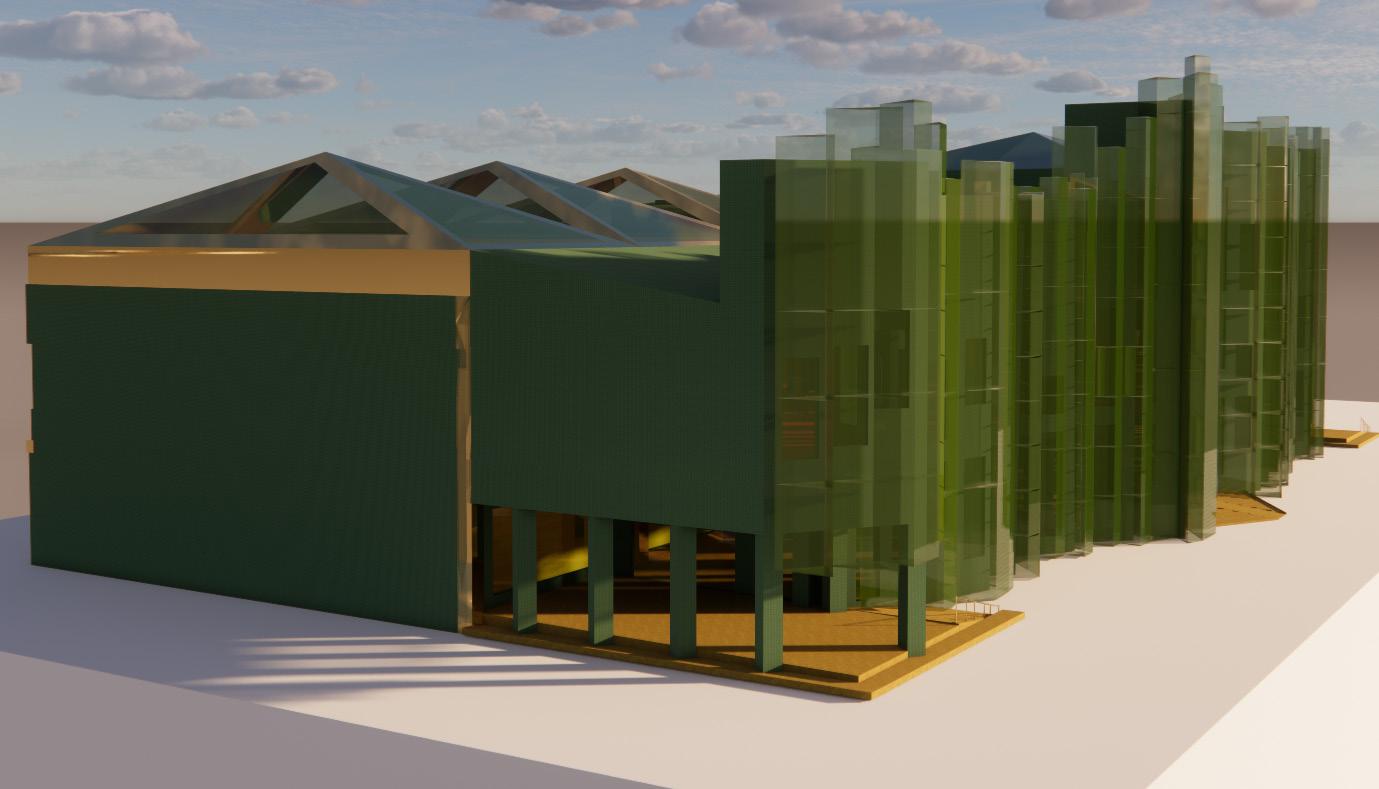
In this project, which took half of our spring semester to design and create, we were tasked with creating a multi-use building in the heart of Lawrence; downtown near Massachussetts street. It included a food hall complete with a dining space, a green grocer, community meeting center, a post office, and culinary education center. The centerpiece of my design was my multi-use outdoor dining space, complete with retractable windows to allow this space to serve purpose during all months of the Kansas climate. Allowing for an open air space in cool and warm weather, while simoltaneously providing the option of an enclosed dining area in cold or extremely hot temperatures. Another stand out feature aside from this dining atrium included the outdoor garden space with a reflection pool located directly beneath the elevated atrium space. I focused on the use of both vertical and horizontal elements to create spaces with sweeping views and visual interest, while encorporating classic architectural design elements excersized by many renowned architects, including Frank Lloyd Wright and his designs like Falling Water, The Robie house, and more.
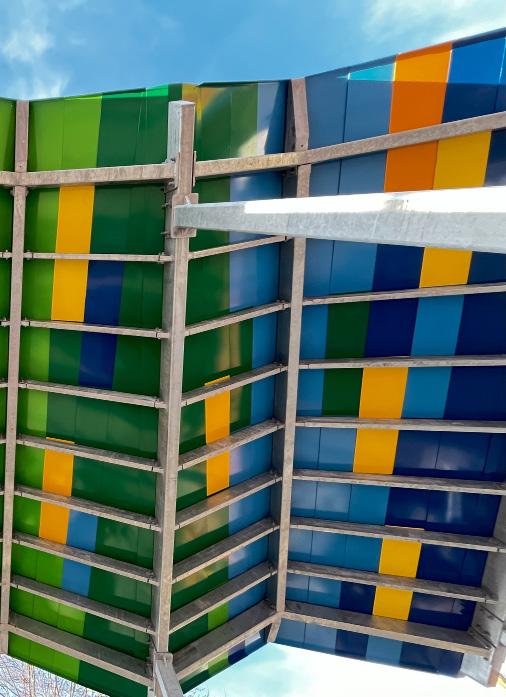
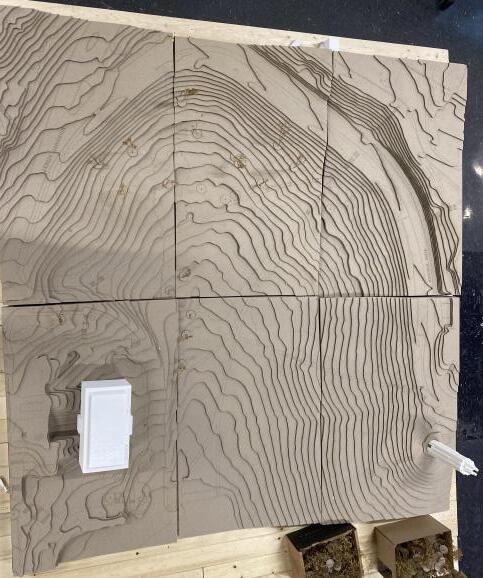
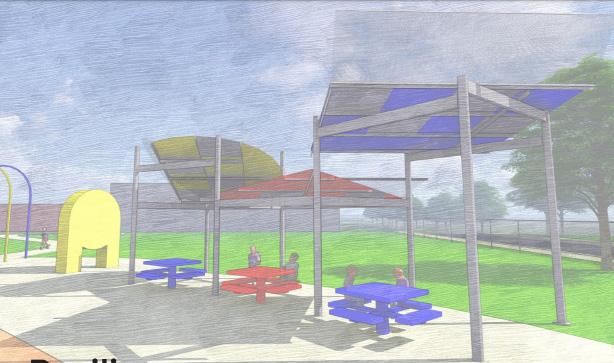
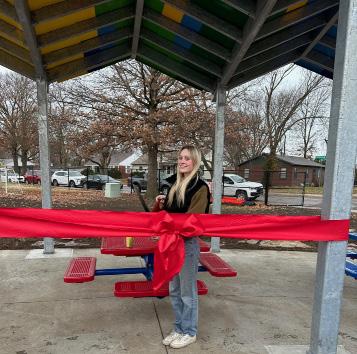
Fall of 2023 was by far the most hands on and challenging semester yet. As a group, my studio was tasked with designing, fabricating, and constructing a pavillion for Hillcrest Elementary playground in Lawrence, Kansas.
The design process occured in several phases, first in four small groups where each group created a design concept based on one of four design idea categories. My group, the geometric group, designed 3 standalone structures made up of a square, triangle, and circle; all shapes found within the playground. The three other groups designed a basketball net pavilion, a pavilion that reflected birds wings as well as movement, and finally, a pavilion that reflected properties found in canopies of trees. When put to a vote, the canopy pavilion prevailed, and we swiftly began the design process and the budget. From there we split and rotated into different groups. The groups were budget and material research, roof design, structure, mock-up, and construction documents. I started with helping create the budget as well as research polycarbonate and other alternative clear materials for possible roof tiles.From there, I joined the roof group and created various color patterns and design ideas. After weeks of the design process, we finally landed on the set structure and color pattern for the roof, and on to constructing and fabricating we went.
Over the duration of the studio, we visited many manufactures, fabricators, and more to gain insight on what really goes into the construction process.

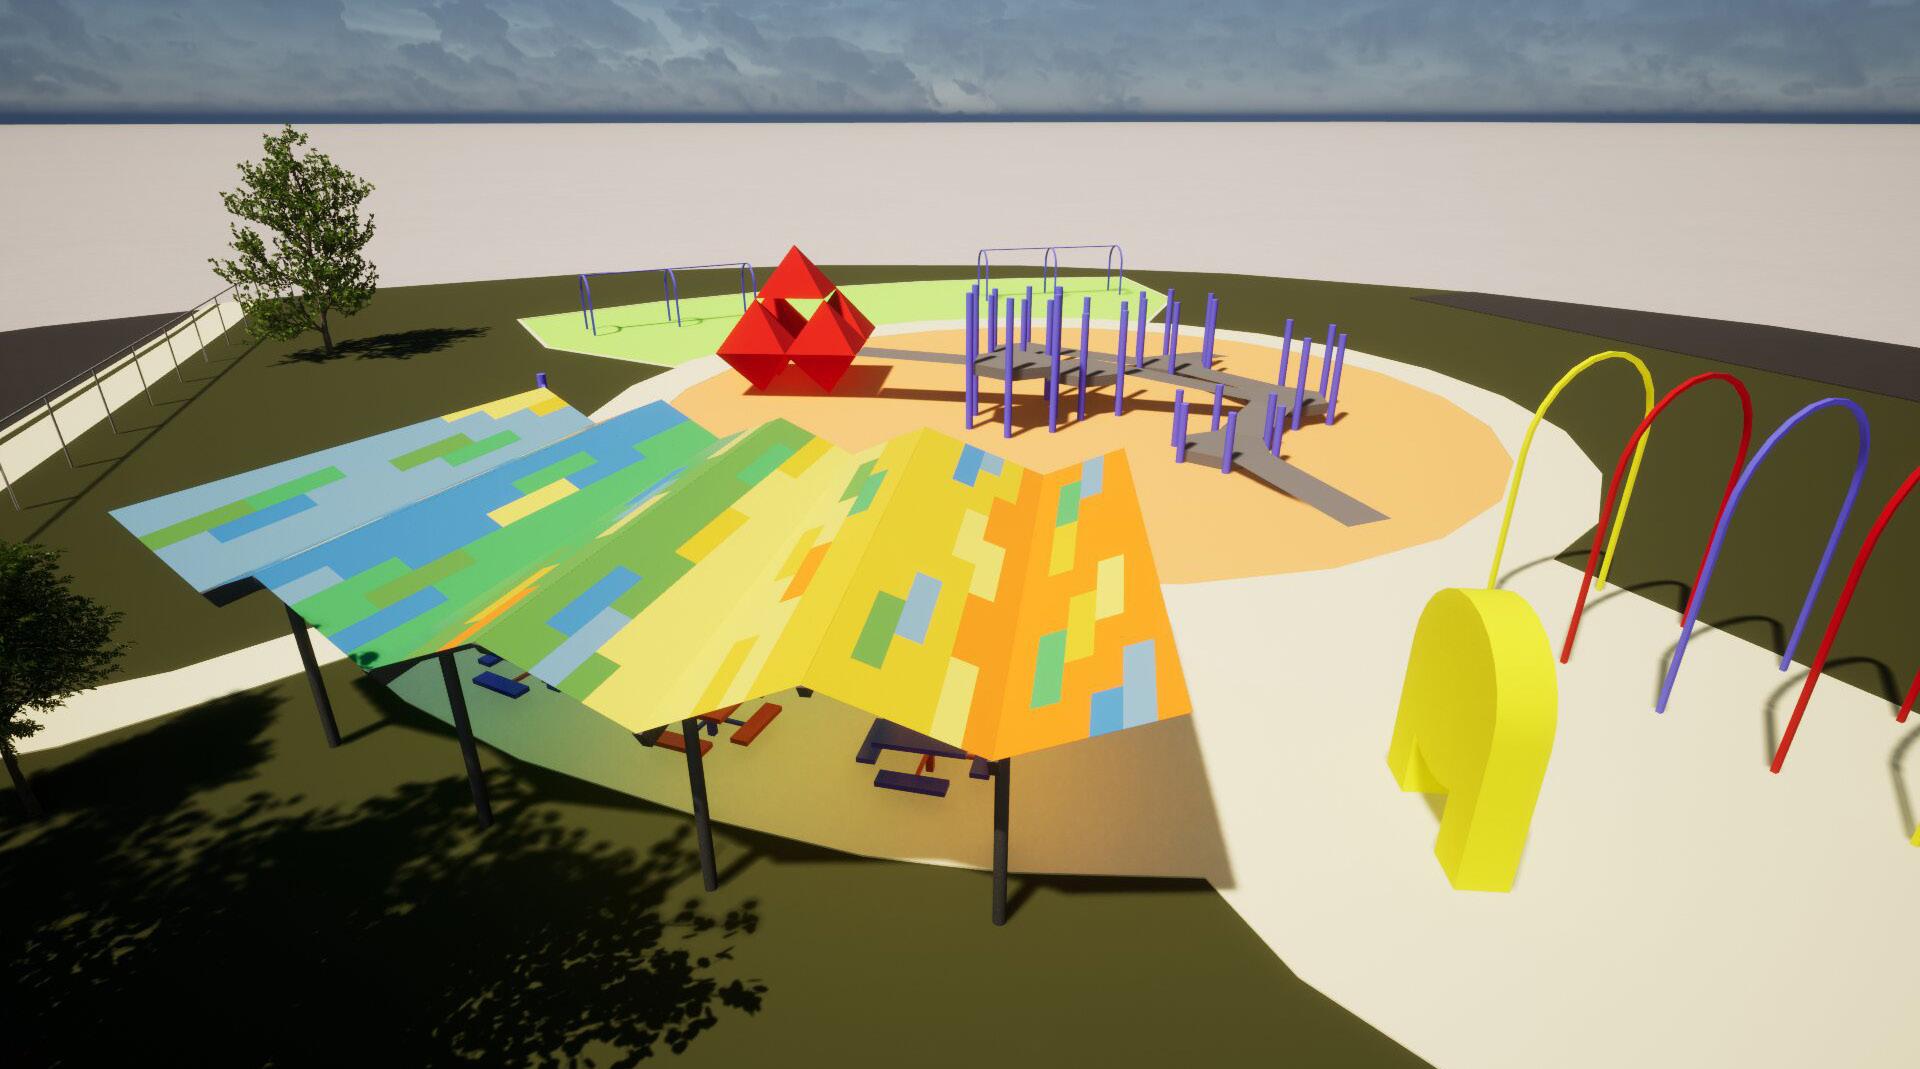
I played with different style gradients, options using polycarbonate tiles, one with the schools colors, and gray color patterns. Ultimately, we decided polycarbonate was too expensive and risky to pursue, since we couldnt get samples of the colored material.
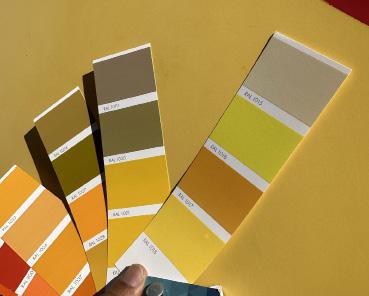
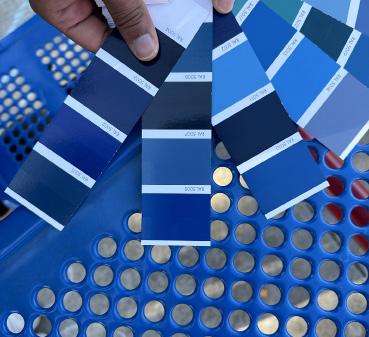
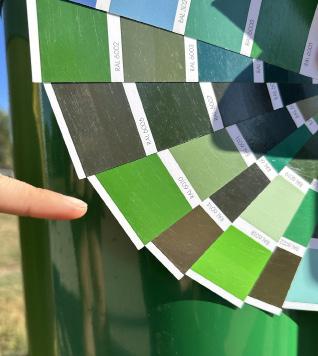
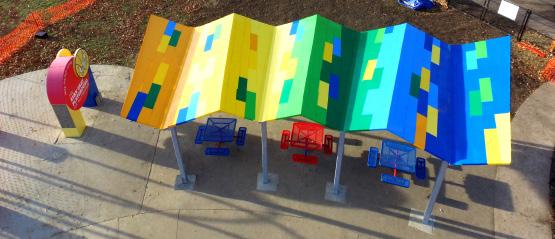
Me and a few other classmates visited the site and color matched various colors found within the site to the powder coating samples we received from A1 powder coating. From there, we settled on the color choices and honed in on the pattern arrangment. With the rendering complete, we received our steel and began the fabrication process.
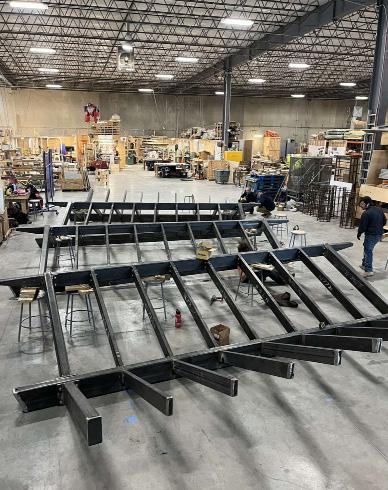
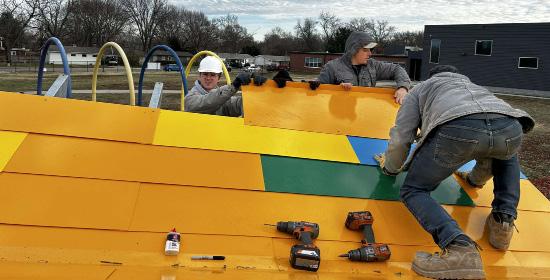
Fabrication was a challenging process. But, a rewarding one. This was completely new territory for me. I used two different metal saws, plasma cut and welded, grinded a lot of metal, drilled holes, and so much more. One thing I was really proud of was when I cut all the rebar for the footings. It was very physically taxing, and it gave me alot of pride when I lifted each piece onto the saw all by myself. Out of everything, the thing I enjoyed the most was probably drilling and sawing. They were by far the most satisfying jobs. Grinding was actually really fun, but very physically taxing which made it a difficult challenge. I really appreciate this experience in particular because I did things I probably never would have done if it werent for the class and I think I learned a lot of real world skills and gained a lot of perspective through the fabrication process.I was really nervous about this part, but, I proved to myself I could do it!

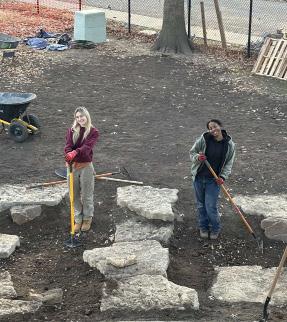
On site prep including many things. Measuring and mapping out footings, moving trashcans and dissassemblling picnic benches, and fencing off the construction area. Then, we had to cut into the concrete, dig out the footings, and excavate the dirt for the bioswale. After that was said and done, we inserted and secured the rebar, then, we were ready to pour!
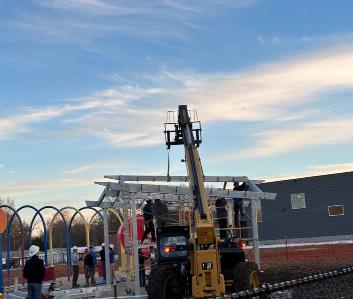
After finishing fabrication of the structure and the footings were cured, we were ready to start construction.
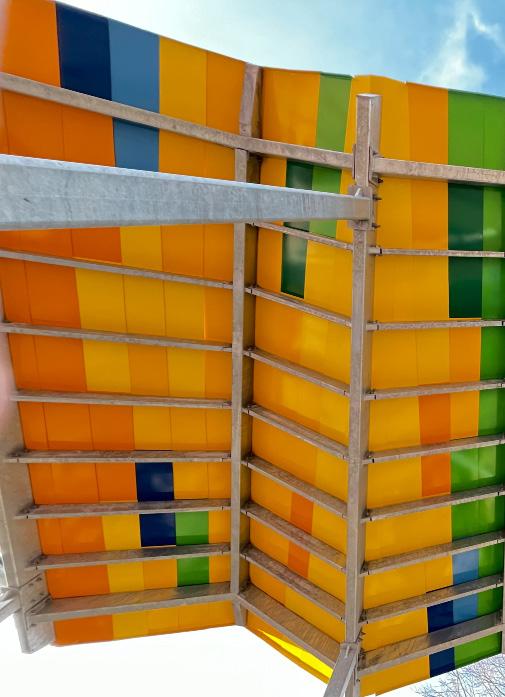
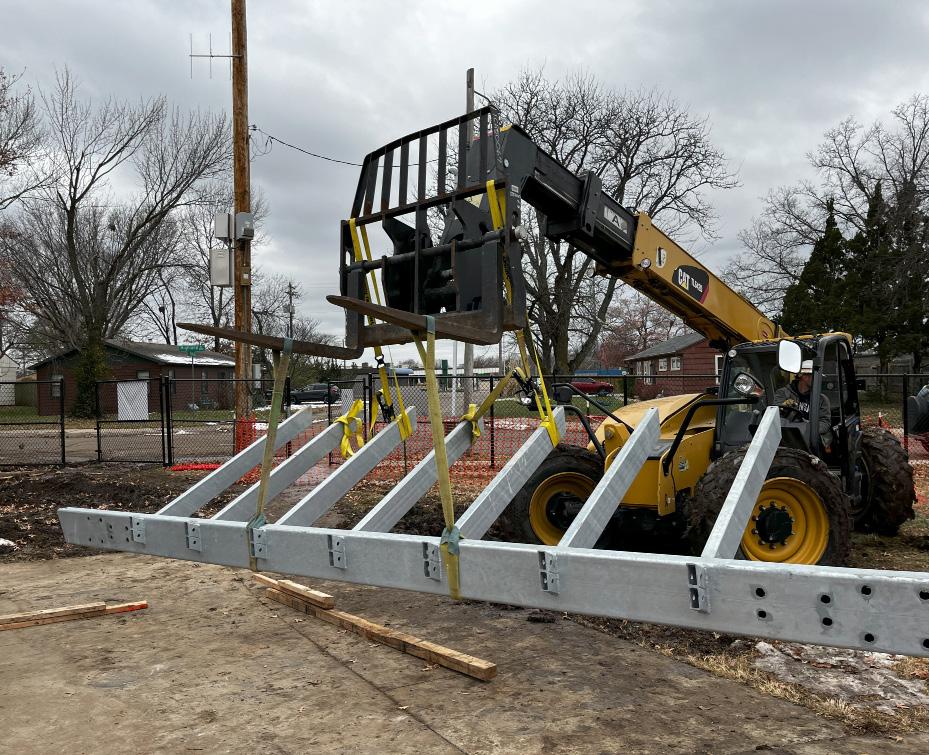
We receiveed the structural elements first, and then after having the structure put up, Keith was able to pick up our roof tiles from A1 to enter the final and most colorful phase of construction.
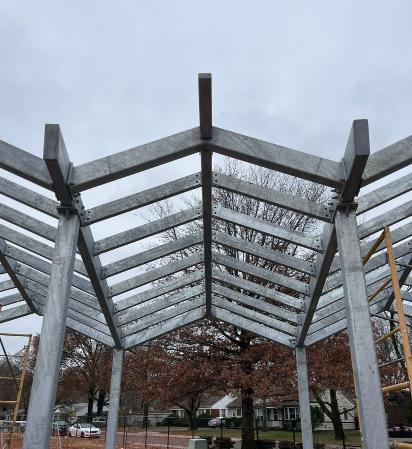
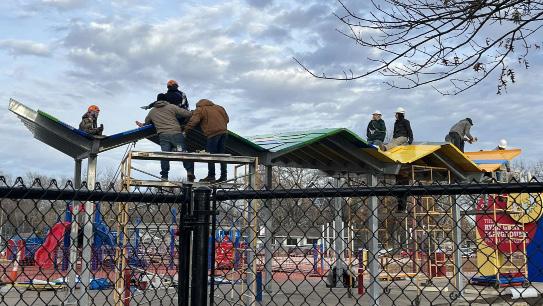
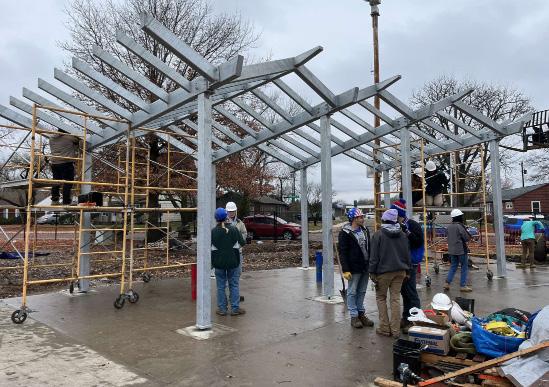
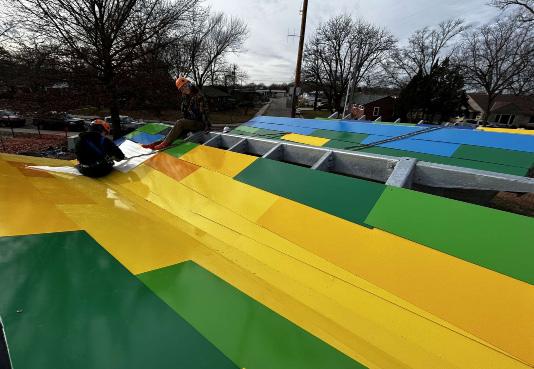
We began by putting up the columns, and worked our way up from there by using scaffolding and the fork lift to put everything in place. Once the roof tiles were ready to go up, we took to the roof to screw and rivet them into place.
Meanwhile, some of us got to work on the ground work and creating the Bioswale.
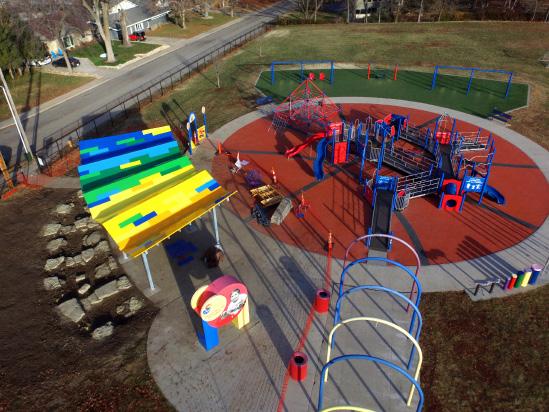
It was a lot of hard work for everybody, but the final product was well worth it.
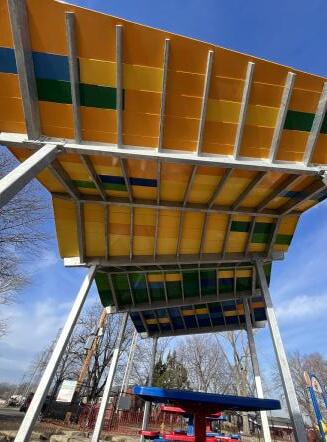
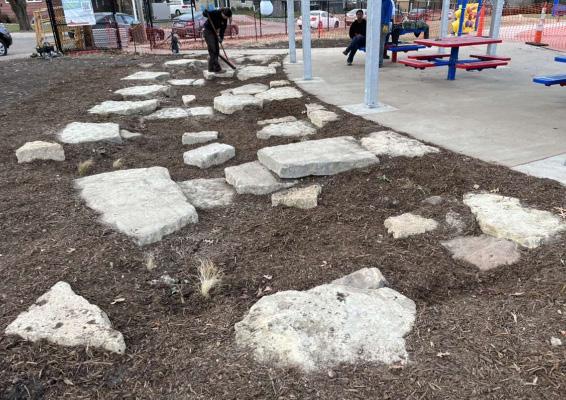
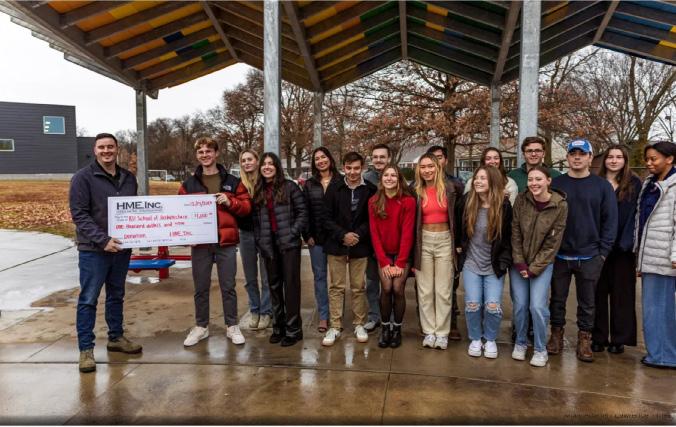
With the bioswale complete and planted, and all roof tiles in place, we were ready to unveil our structure to the community. It was very well received by everyone who came to the grand openingand and it looked fantastic. We could not have asked for a better final product, and we only had a few minor mistakes along the way. It was definetly a relief to finish the pavilion before the deadline, but being able to share our hard work with the community and those who contributed so much to our project, like HME, KBS construction, A1 powdercoat and paint, and so many others was truly amazing. I gained so much from being apart of this project and really pushed myself to the limit along the way.
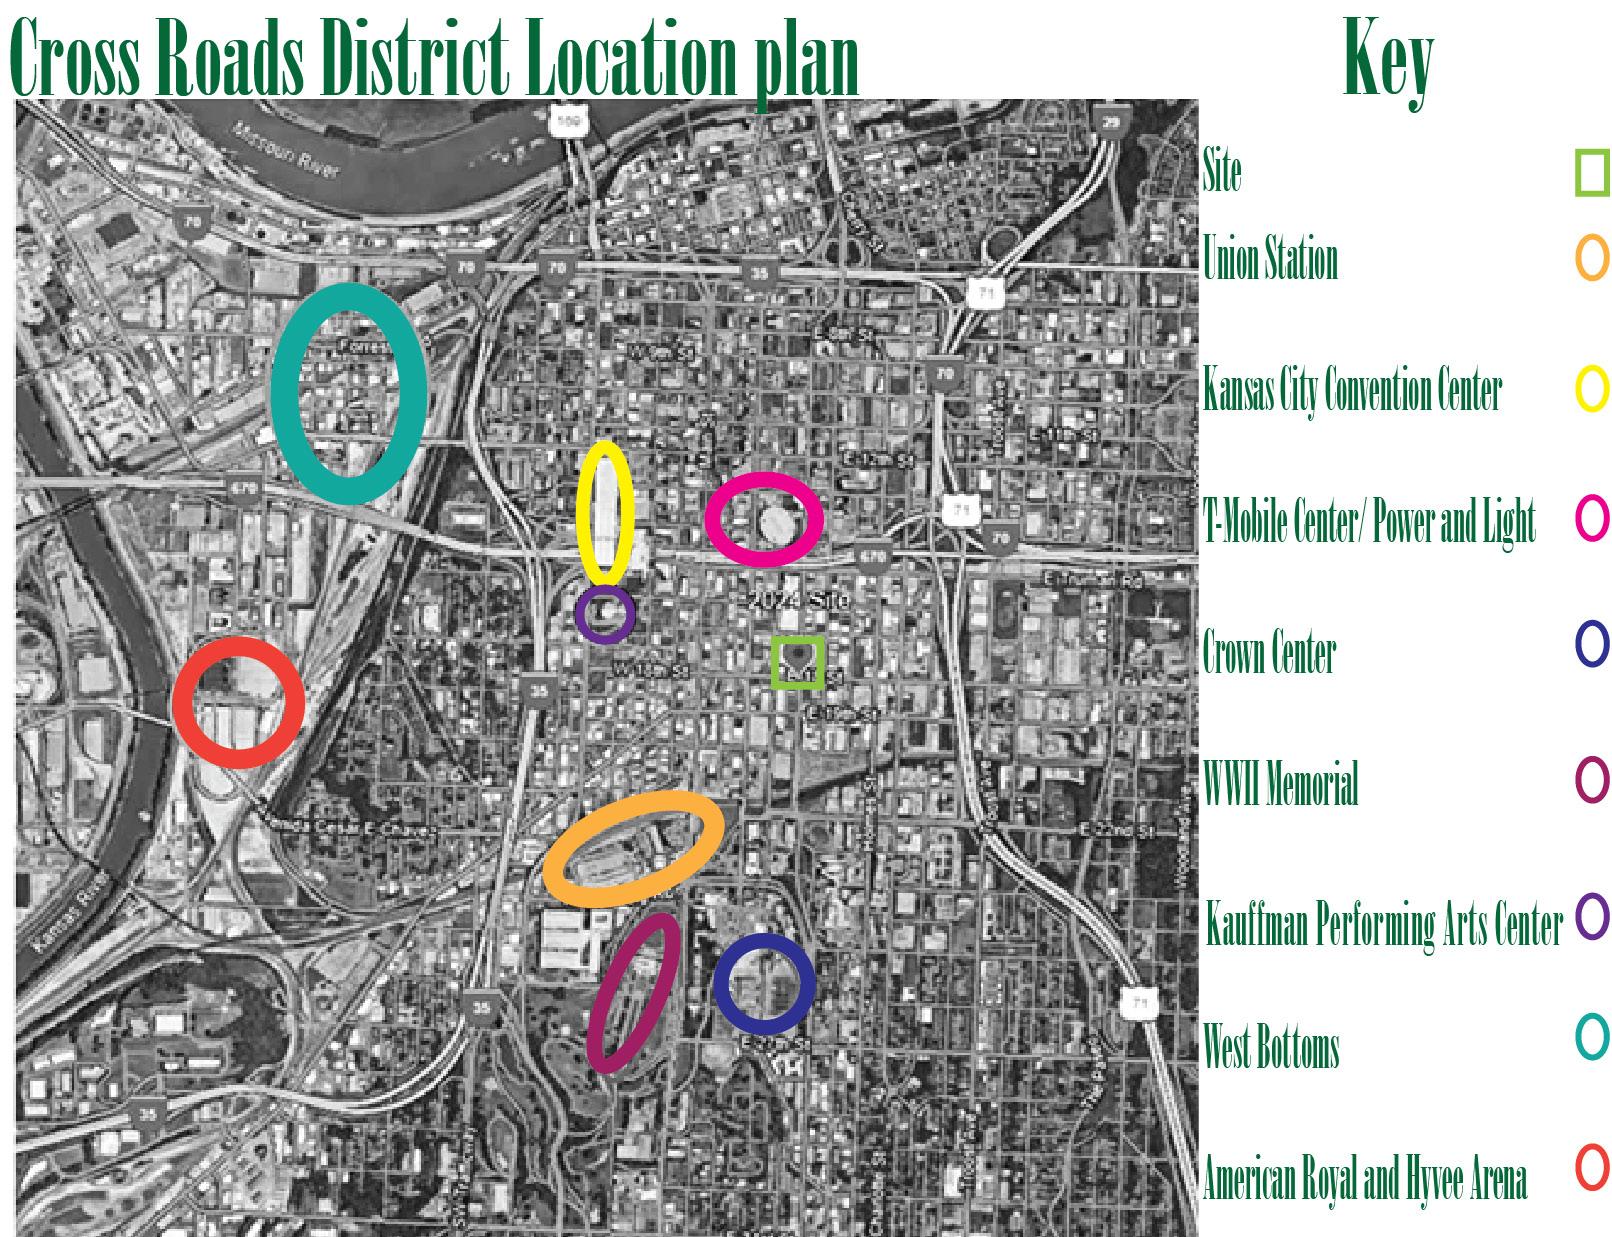
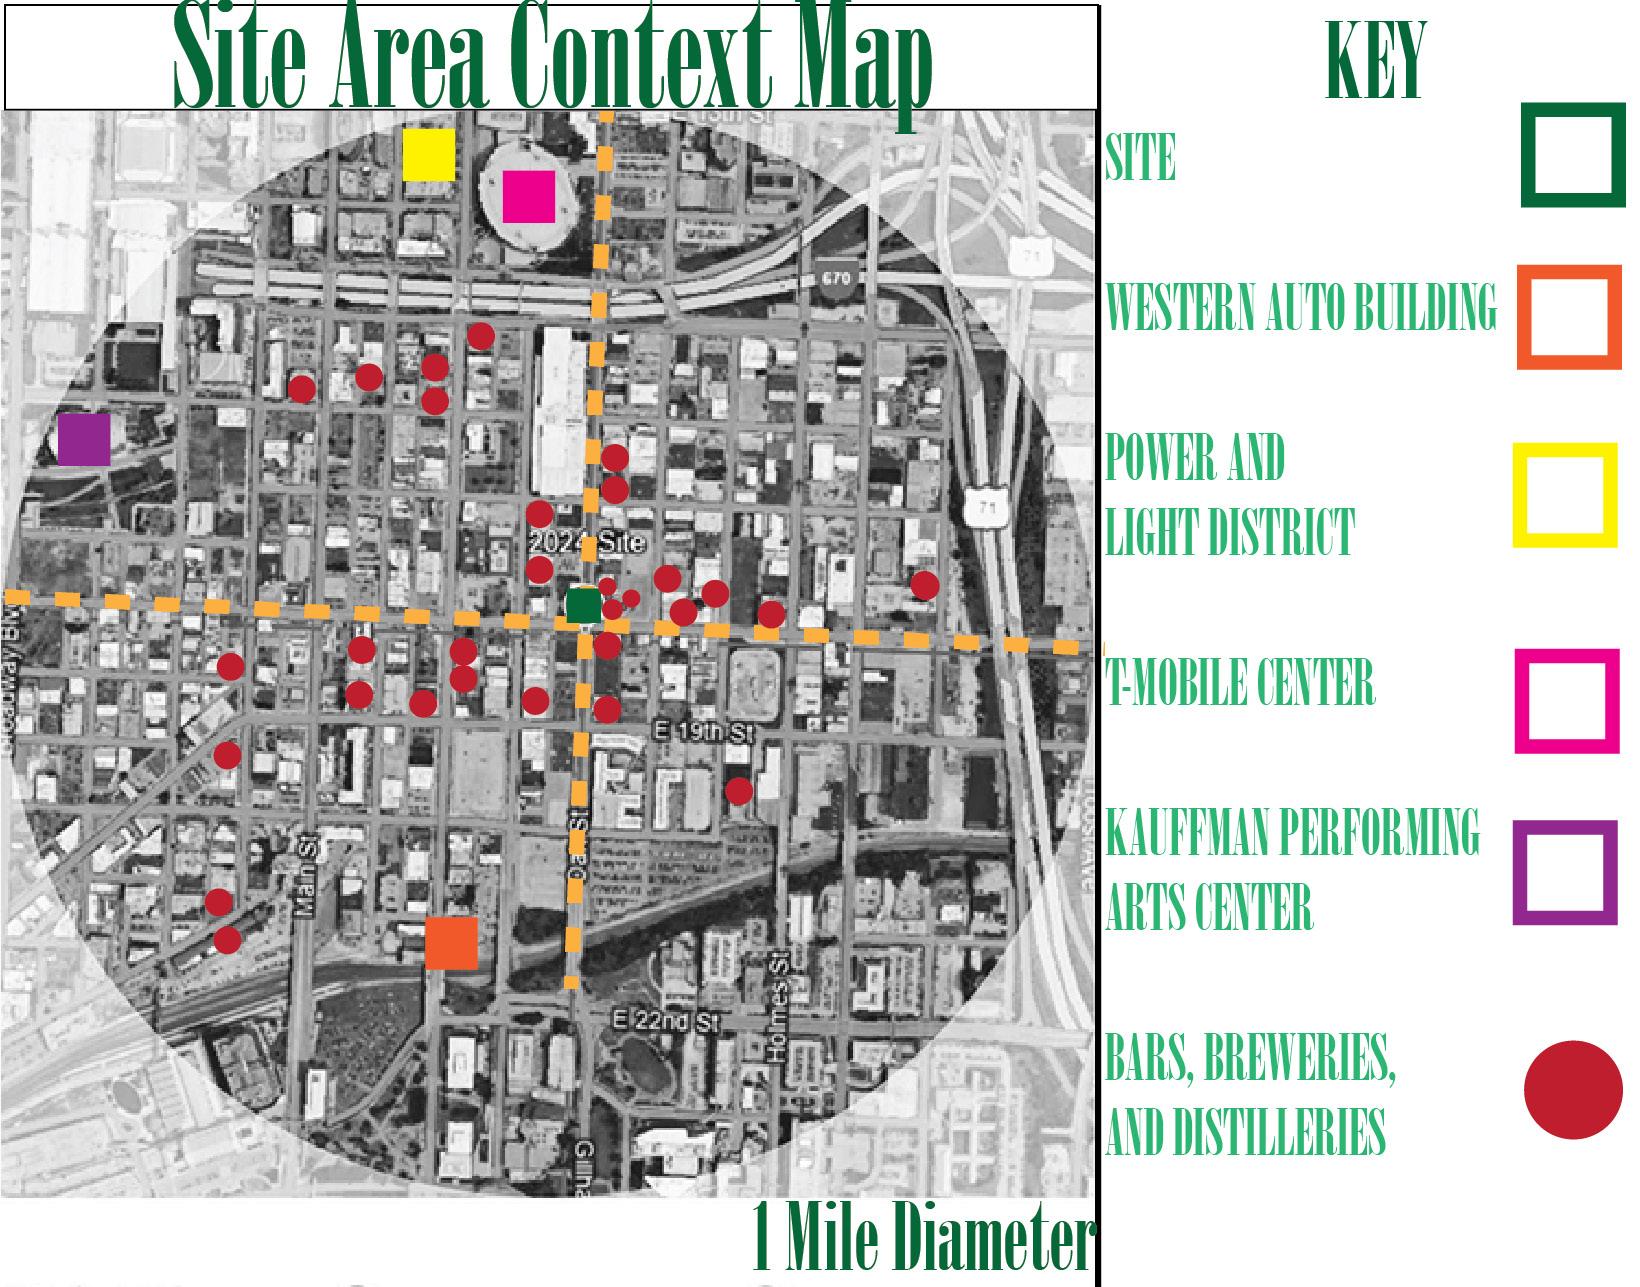
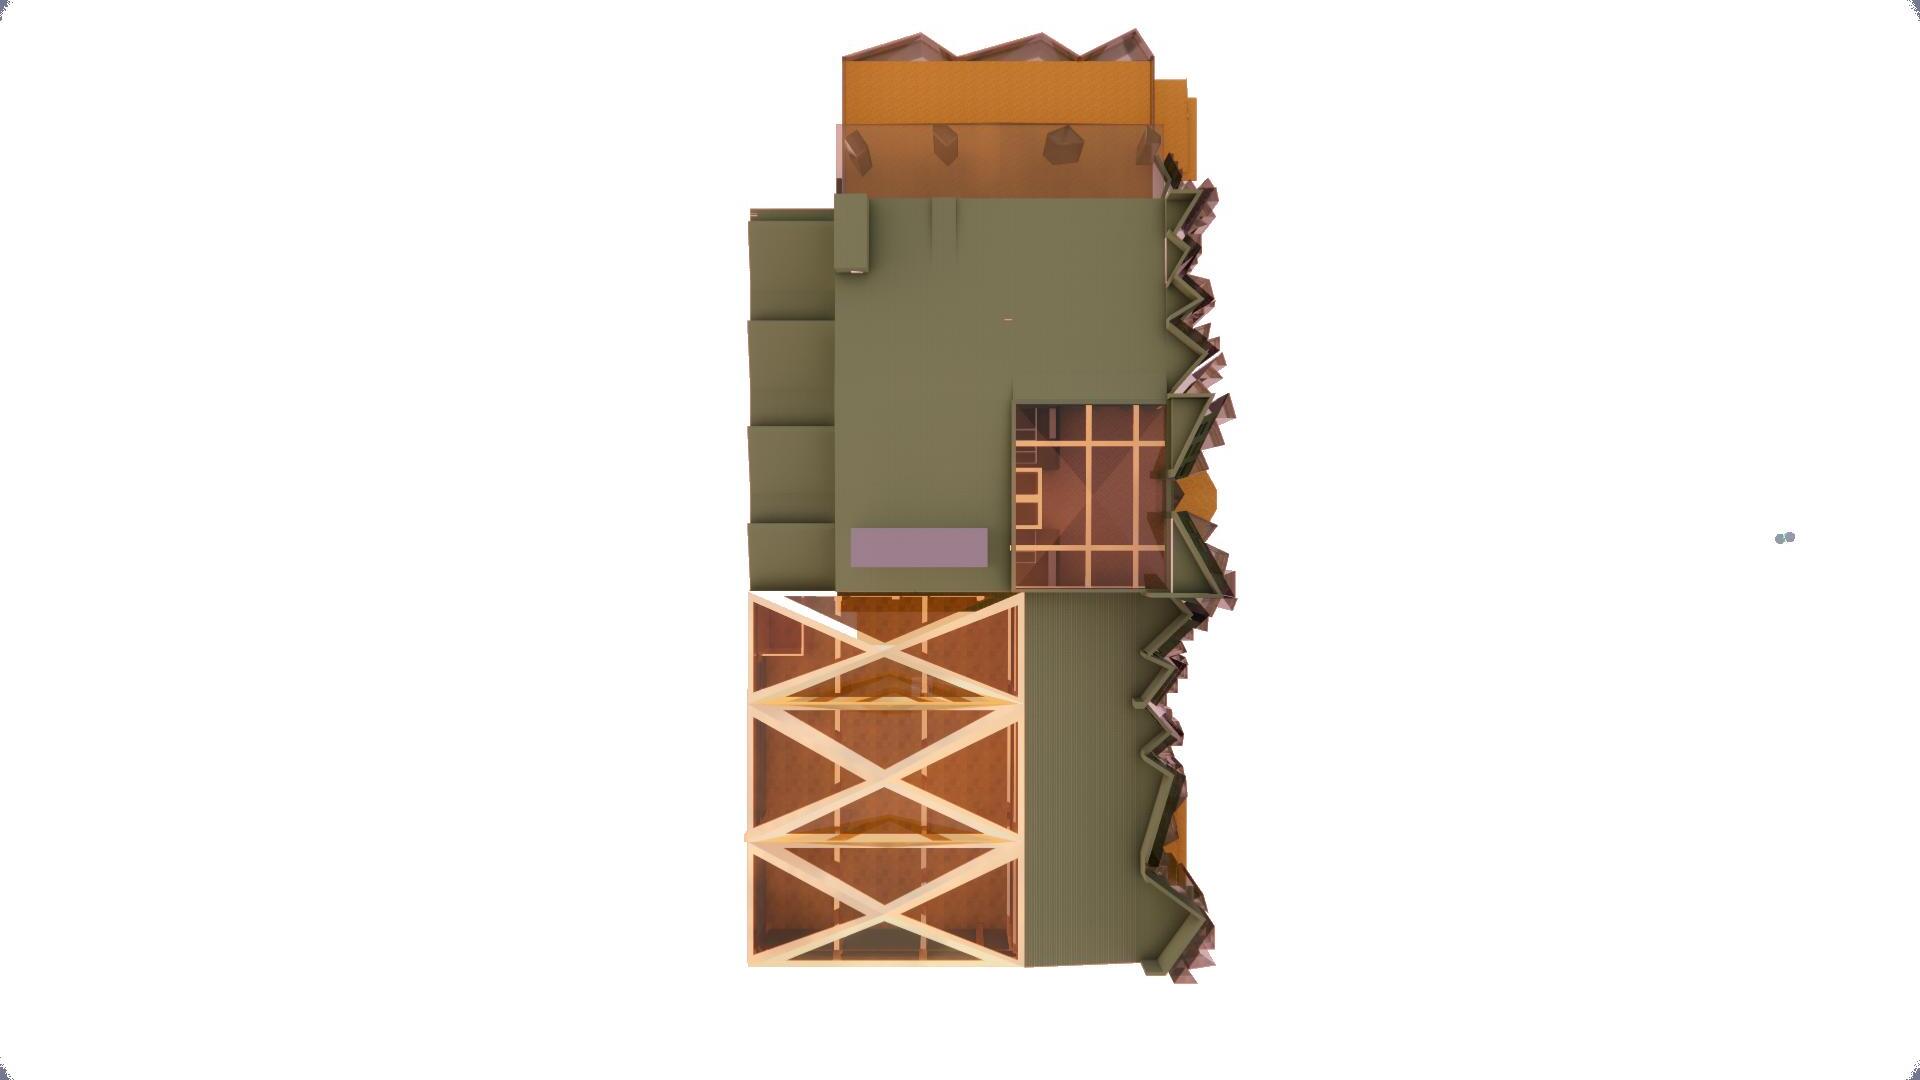


DISTILLERS LAB
EQUIPMENT BOILER
SPENT GRAIN TANK
MECHANICAL/ELECTRICAL ROOM
GRAIN STORAGE
TIN MANS ASTING BAR
OZ’S BAR
RETAIL/TOUR STAGING& RECEPTION
DISTILLING SPACE
KITCHEN AND CATERING
EMERALD CITY BALL ROOM
RUBY SLIPPER LOUNGE
STORAGE COPY ROOM
LOCKER/GET READY STAFF GYM
BREAK ROOM
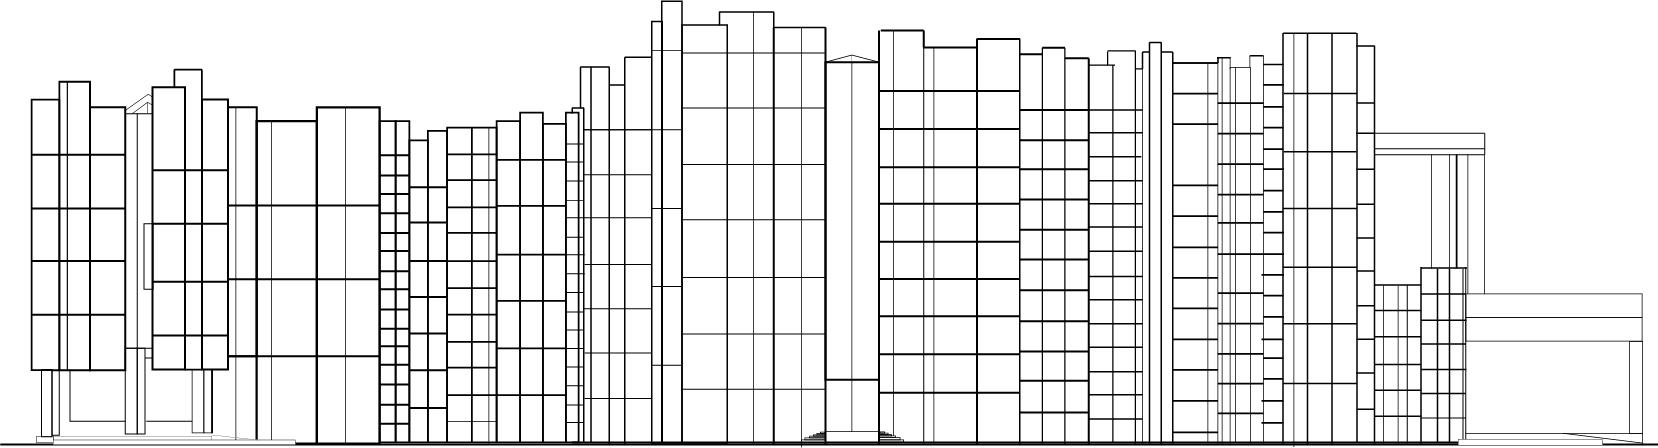
Face View