


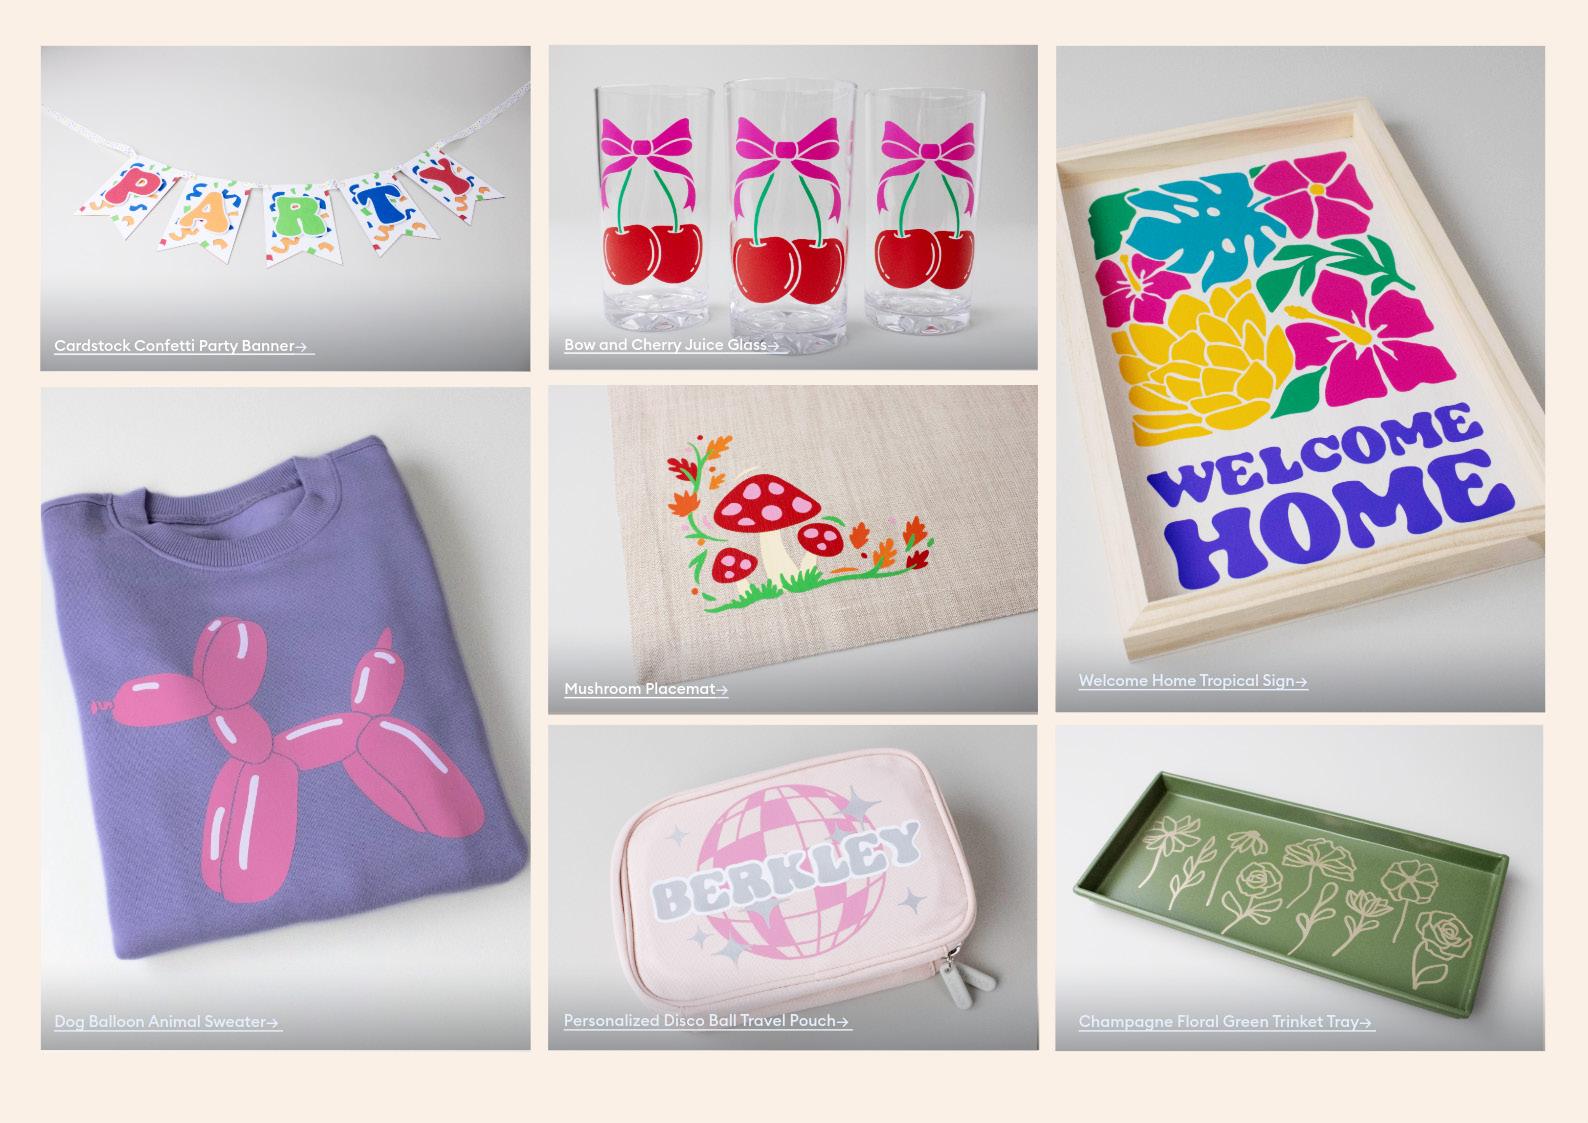
Cardstock Confetti Party Banner→ Bow and Cherry Juice Glass→
Mushroom Placemat→
Personalized Disco Ball Travel Pouch Dog Balloon Animal Sweater→

Champagne Floral Green Trinket Tray→

Start making! Click here to open the Design Space® project.

Start making! Click here to open the Design Space® project.
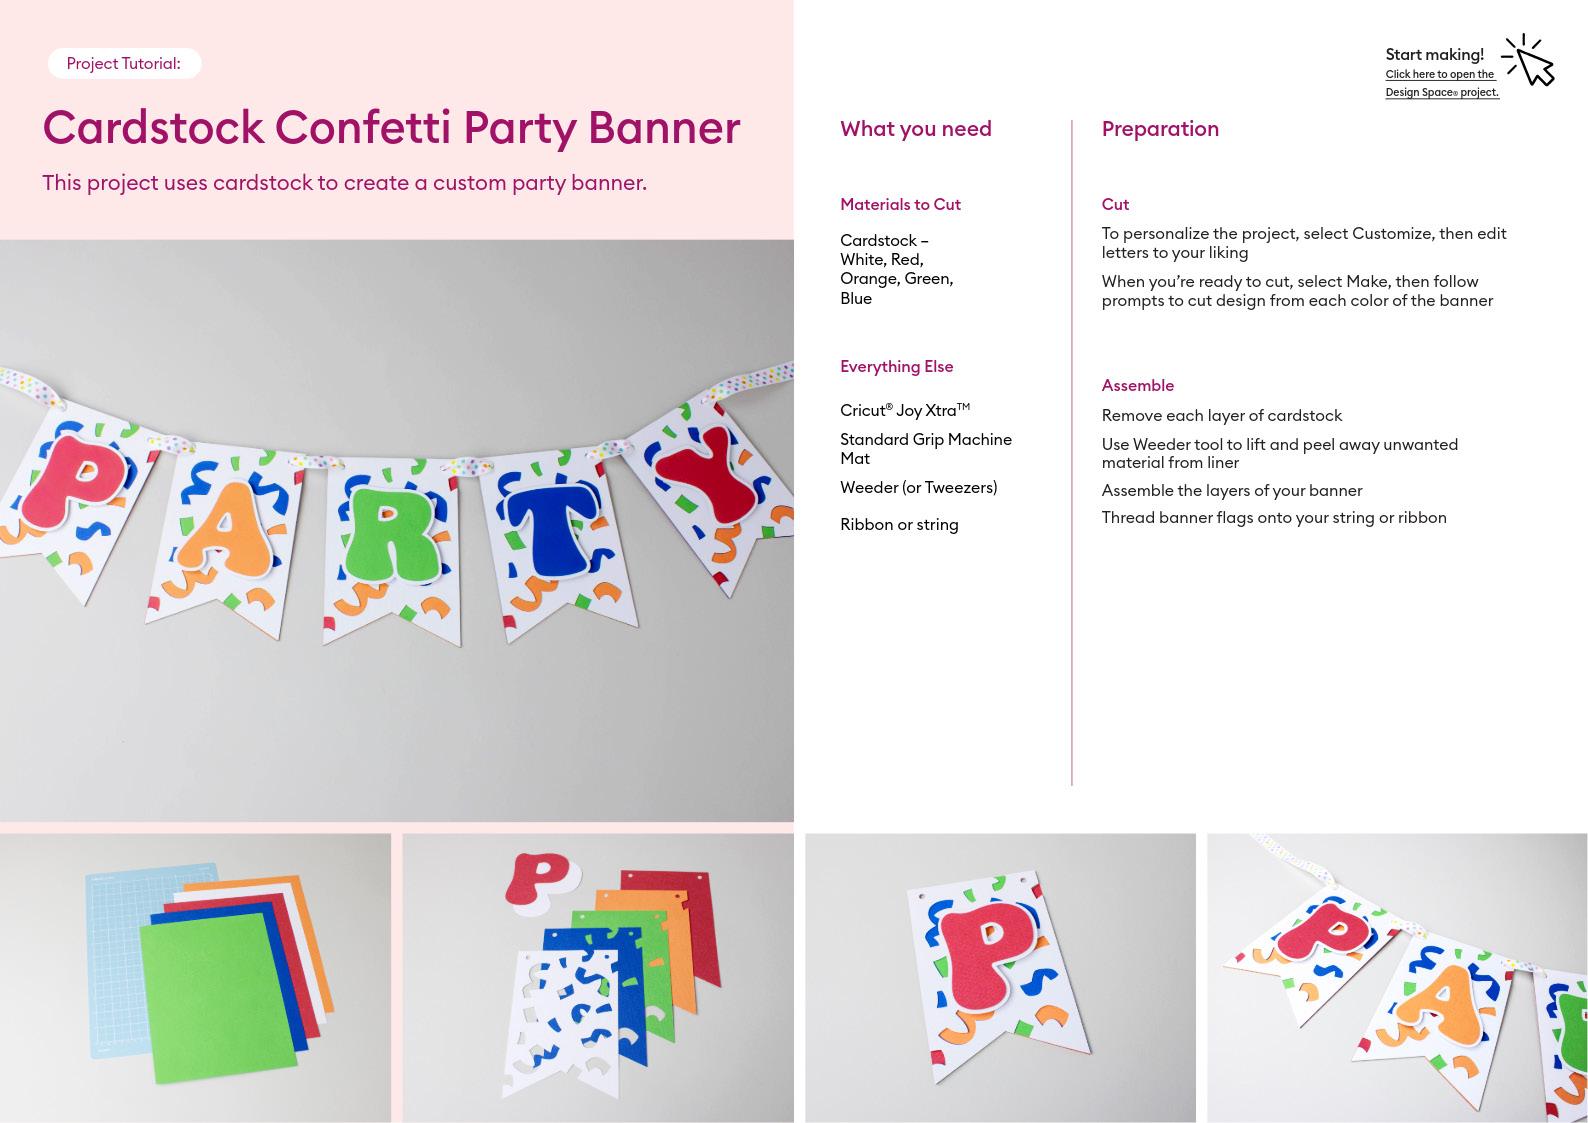
Cardstock –White, Red, Orange, Green, Blue
Everything Else
Cricut® Joy XtraTM
Standard Grip Machine Mat
Weeder (or Tweezers)
Ribbon or string
To personalize the project, select Customize, then edit letters to your liking
When you’re ready to cut, select Make, then follow prompts to cut design from each color of the banner
Remove each layer of cardstock
Use Weeder tool to lift and peel away unwanted material from liner
Assemble the layers of your banner Thread banner flags onto your string or ribbon


Start making! Click here to open the Design Space® project.
Materials to Cut
Iron-On (HTV) or Smart Iron-On™, Pink
Iron-On (HTV) or Smart Iron-On, White
Everything Else
Cricut® Joy Xtra™
Standard Grip Machine Mat (Green)
Cricut Heat Press
Heat Press Mat
Weeder (or Tweezers)
Scraper
Sweatshirt
Cut
To personalize the project, select Customize, then edit design to your liking
When you’re ready to cut, select Make, then follow prompts to cut design from each color of Iron-On
If using Iron-On (HTV), remove each piece of Iron-On from machine mat
Use Weeder tool to lift and peel away unwanted material from liner
Starting with the pink layer, place the decal in desired position, then use Scraper tool to firmly press decal on sweatshirt
Press Heat Press against deal for transfer. When cool, remove the liner
Repeat the placement and transfer steps for the white layer


Start making! Click here to open the Design Space® project.
to Cut
Vinyl or Smart Vinyl™ (Red, Grass, Party Pink)
Everything Else
Cricut® Joy Xtra™
Standard Grip Machine Mat (Green)
Transfer Tape
Weeder (or Tweezers)
Scraper
Juice Glass
To personalize the project, select Customize, then edit the design to your liking
When you’re ready to cut, select Make, then follow prompts to cut design
Assemble
Place vinyl sheet, color side up, onto Standard Grip Machine Mat, or for Smart Vinyl load it color side up into the machine
Use Weeder tool to lift and peel away unwanted material from liner
Place transfer tape on your design and use Scraper to firmly adhere transfer tape to your decal
Place decal on the glass and firmly press design onto the surface using Scraper
Remove the transfer tape
Repeat for each color.


Start making! Click here to open the Design Space® project.
Materials to Cut
Iron-On (HTV) or Smart Iron-On™ (Red, Pink, Orange, Grass, Cream, Dark Orange)
To personalize the project, select Customize, then edit the design to your liking
When you’re ready to cut, select Make, then follow prompts to cut design
Everything Else
Cricut® Joy Xtra™
Standard Grip Machine Mat (Green)
Cricut Heat Press
Heat Press Mat
Weeder (or Tweezers)
Scraper
Placemat
Assemble
If using Iron-On (HTV), remove each piece of Iron-On from machine mat
Use Weeder tool to lift and peel away unwanted material from liner
Starting with the largest layer, place the decal in desired position, then use Scraper tool to firmly press decal on placemat
Press Heat Press against decal for transfer. When cool, remove the liner
Repeat the placement and transfer steps for every color


Start making! Click here to open the Design Space® project.
Materials to Cut
Iron-On (HTV) or Smart Iron-On™ (Pink, White, Silver)
Everything Else Cut
Cricut® Joy Xtra™
Standard Grip Machine Mat (Green)
Cricut Heat Press
To personalize the project, select Customize, then edit design and text to your liking
When you’re ready to cut, select Make, then follow prompts to cut design from each color of Iron-On
If using Iron-On (HTV), remove each piece of Iron-On from machine mat
Use Weeder tool to lift and peel away unwanted material from liner
Weeder (or Tweezers)
Scraper Heat Press Mat
Travel Pouch/Bag
Starting with the largest layer, place the decal in desired position, then use Scraper tool to firmly press decal on bag/pouch
Press Heat Press against decal for transfer. When cool, remove the liner
Repeat the placement and transfer steps for every color


Start making! Click here to open the Design Space® project.
Materials to Cut
Vinyl or Smart Vinyl™ (Grass, Party Pink, Maize Yellow, Aqua, Purple)
To personalize the project, select Customize, then edit text boxes to your liking
When you’re ready to cut, select Make, then follow prompts to cut design
Everything Else
Cricut® Joy Xtra™
Standard Grip Machine Mat (Green)
Transfer Tape
Weeder (or Tweezers)
Scraper
Wood Sign
Assemble
Place vinyl sheet, color side up, onto Standard Grip Machine Mat, or for Smart Vinyl load it color side up into the machine.
Use Weeder tool to lift and peel away unwanted material from liner
Place transfer tape on your design and use Scraper to firmly adhere transfer tape to your decal
Place decal on your sign and firmly press decal onto surface using Scraper
Remove the transfer tape
Repeat for each color


Start making! Click here to open the Design Space® project.
Materials to Cut
Vinyl or Smart Vinyl™, Champagne
To personalize the project, select Customize, then edit text boxes to your liking
When you’re ready to cut, select Make, then follow prompts to cut design
Everything Else
Cricut® Joy Xtra™
Standard Grip Machine Mat (Green)
Transfer Tape
Weeder (or Tweezers)
Scraper
Green Metal Tray
Assemble
Place vinyl sheet, color side up, onto Standard Grip Machine Mat, or for Smart Vinyl load it color side up into the machine
Use Weeder tool to lift and peel away unwanted material from liner
Place transfer tape on your design and use Scraper to firmly adhere transfer tape to your decal
Place decal on your sign and firmly press decal onto surface using Scraper
Remove the transfer tape


