


What will you make next?

What will you make next?
Bring your creative ideas to life and turn the ordinary into something uniquely yours with a Cricut heat press. Whether you’re customizing a t-shirt, tote bag, mug, or home décor, Cricut empowers you to design, press, and impress with ease. Add a personal touch to life’s special moments—birthdays, weddings, holidays, and everyday surprises. Cricut heat presses make crafting more rewarding and meaningful. Once you start personalizing, you’ll never look at a blank canvas the same way again.
Don’t miss the Cricut “Press for Less” Sale from June 8–21, 2025. Shop now for unbeatable prices on all Cricut heat presses. Look inside for details!


Materials to Cut
Everyday Iron-On™, White
Everything Else
StandardGrip Machine Mat - 12” x 12”
Cricut EasyPress™, or Household Iron and Press Cloth
Cricut EasyPress™ Mat
Weeder
Cricut BrightPad™ (optional)
T-Shirt
If you want to alter the project, select Customize, then use the tools in the Edit panel to make changes before you cut.
Be sure to Mirror the image when using iron-on and place the shiny side (clear liner) down on the mat.
Follow the prompts in Design Space® to cut the images from the iron-on material.
Use a Weeder tool to remove the negative pieces of iron-on so just your design remains on the clear liner.
Apply the iron-on layers to your project using a Cricut EasyPress™ and Cricut EasyPress Mat with our Interactive Guide, linked below, for the perfect time and temp settings; or use a household iron or heat press and a press cloth.


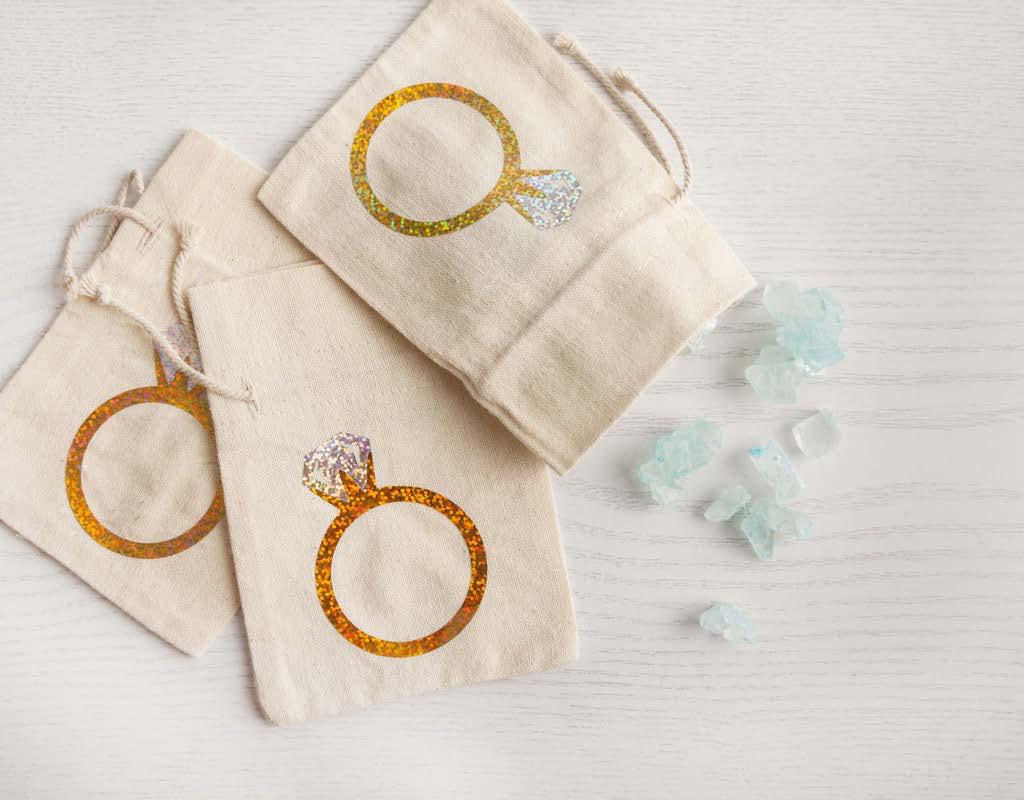
Materials to Cut
Glitter Iron-on, Dark Green
Foil Iron-on, Pink
Everything Else
StandardGrip Machine Mat
Cricut EasyPress™, or Household Iron and Press Cloth
Cricut EasyPress™ Mat
Weeder
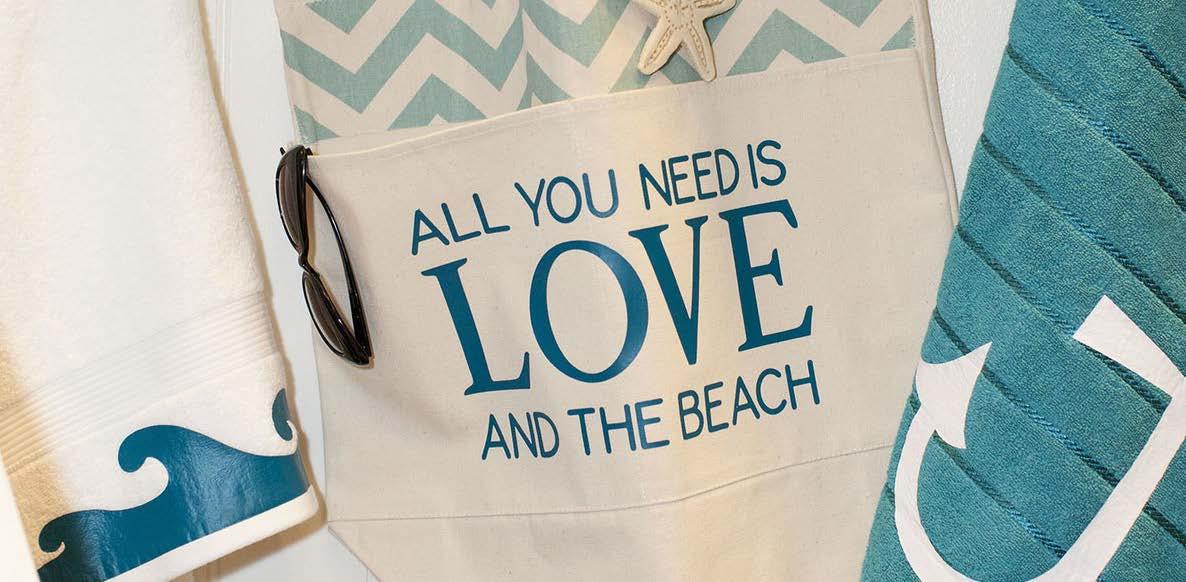
Turkish Beach Towel
If you want to alter the project, select Customize, then use the tools in the Edit panel to make changes before you cut.
Be sure to Mirror the image when using iron-on and place the shiny side (clear liner) down on the mat.
Follow the prompts in Design Space® to cut the images from the iron-on material.
Assemble
Use a Weeder Tool to remove the negative pieces of iron-on so just your design remains on the clear liner.
Apply the iron-on layers to your project using a Cricut EasyPress™ and Cricut EasyPress Mat with our Interactive Guide, linked below, for the perfect time and temp settings; or use a household iron or heat press and a press cloth.
If using multiple layers, work in the same order they appear in the Layers panel in Design Space, starting from the bottom layer and working up.


Materials to Cut
Everyday Iron-On™, Teal
Everything Else
StandardGrip Machine Mat
Cricut EasyPress™, or Household Iron and Press Cloth
Cricut EasyPress™ Mat
Weeder
Cricut BrightPad™ (optional)
If you want to alter the project, select Customize, then use the tools in the Edit panel to make changes before you cut.
Be sure to Mirror the image when using iron-on and place the shiny side (clear liner) down on the mat.
Follow the prompts in Design Space® to cut the images from the iron-on material.
Use a Weeder tool to remove the negative pieces of iron-on so just your design remains on the clear liner.
Apply the iron-on layers to your project using a Cricut


Materials to Cut
Laser Copy Paper
Infusible Ink™ Transfer
Sheets, Party Pink
Infusible Ink™ Transfer
Sheets, Sky Blue
Infusible Ink™ Transfer
Sheets, Avocado
Everything Else
StandardGrip Machine
Mat - 12” x 12”
LightGrip Machine Mat12” x 12”
EasyPress 2 - 6” x 7”
EasyPress Mat - 12” x 12”
Reverse Action Tweezers
Infusible Ink™ Markers (1.0), Black (5 ct)
Butcher Paper
Cardstock, White
Lint Free Cloth
Heat Resistant Tape (optional)
Coaster Blanks, Round
If you want to alter the project, select Customize, then use the tools in the Edit panel to make changes before you cut.
Cut
Be sure to Mirror the mat when using an Infusible Ink™ Transfer Sheet and Markers and place the shiny side (clear liner) down on the mat.
Follow the prompts in Design Space® to cut the images from the Infusible Ink™ Transfer Sheet and laser copy paper.
Assemble
For your Infusible Ink™ project, follow the links below to determine the settings and stack order you should use for your project.
How to use Infusible Ink
How to mirror your design in Design Space
How to use multiple Infusible Ink Transfer Sheets to create a design (Slice and Set)
Heat Guide


Materials to Cut
Everyday Iron-On™, Black
Everyday Iron-On™, White
SportFlex Iron -On™, Metallic Lavender
Everything Else
Cricut Cutting
StandardGrip Machine Mat
Cricut Hat Press™
Cricut Hat Pressing Form
Strong Heat Resistant Tape
Weeder
Bucket Hat, Khaki
To begin, select Customize, then use the Edit panel to make changes. Cut
When you’re ready, select Make It, and mirror your design.
Place iron-on material, shiny side (clear liner) down, on mat.
Follow Design Space® prompts to cut images.
Assemble
Use a Weeder Tool to remove unneeded iron-on pieces, leaving design on clear liner.
For Cricut Hat Press, download the Cricut Heat™ app to get precise settings and step-by-step instructions.


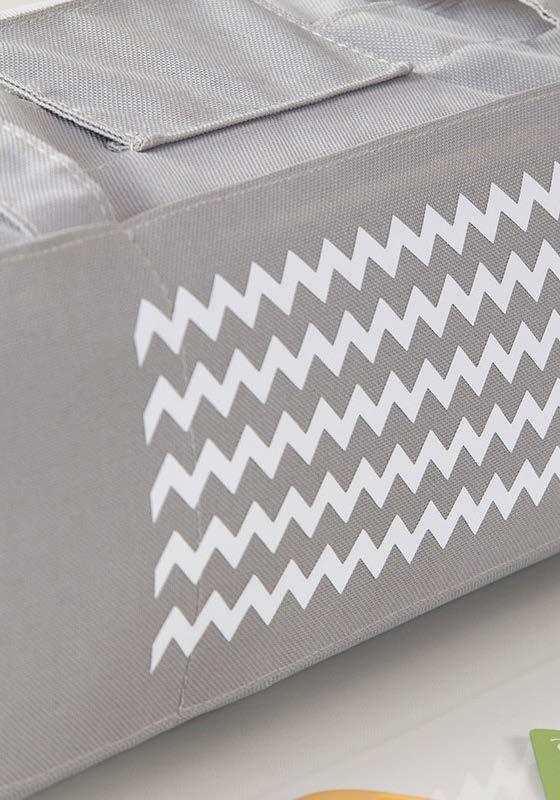
Materials to Cut
Everyday Iron-On™, Charcoal
Everything Else
StandardGrip Machine Mat
Cricut EasyPress™, or Household Iron and Press Cloth
Cricut EasyPress™ Mat
Weeder
Cricut BrightPad™ (optional)
Yoga Bag
Thick Towel or Cotton Blanket (To aid in ironon onto the bag)
If you want to alter the project, select Customize, then use the tools in the Edit panel to make changes before you cut.
Be sure to Mirror the image when using iron-on and place the shiny side (clear liner) down on the mat.
Follow the instructions in Cricut Design Space to cut images from iron-on.
Assemble
Use a Weeder Tool to remove the negative pieces of iron-on so just your design remains on the clear liner.
Apply the iron-on layers to your project using a Cricut EasyPress™ and Cricut EasyPress Mat with our Interactive Guide, linked below, for the perfect time and temp settings; or use a household iron or heat press and a press cloth.
Cricut Everyday Iron-On, Everyday Iron-On Mesh, and Express Iron-On
Heat Guide


Materials to Cut
Laser Copy Paper
Everything Else
LightGrip Machine Mat12 in x 12 in
Cricut Mug Blank, 15 oz/425 ml
3 Layers of Butcher Paper
Heat Resistant Tape
Lint Roller
Cricut Mug Press™
Infusible Ink™ Freehand Markers, Brush Tip, Tropical (5 ct)
Infusible Ink™ Freehand Markers, Brush Tip, Basics (5 ct)
To begin, select Customize. This project is for the cutout shape only. Have the child/children color on the laser paper with the Infusible Ink™ Freehand Markers prior to cutting.
Be sure to Mirror the image whenv using iron-on and place the shiny side (clear liner) down on the mat.
Follow the prompts in Design Space® to cut the images from the iron-on material.
Assemble
Peel mat away from laser copy paper.
Apply design to your Cricut Mug blank, and secure in place with Heat Resistant Tape. Wrap 3 layers of butcher paper around design and secure with Heat Resistant Tape.
Once Cricut Mug Press™ reaches pressing temperature, insert mug, then lower lever to start transfer.
After beep, remove mug from press, then set on heatresistant surface. Once completely cool, remove paper to reveal design.


Materials to Cut
Infusible Ink™ Transfer Sheet Patterns, Rainbow Comic Dot
Everything Else
StandardGrip Machine
Mat - 12” x 12”
EasyPress 2 - 12” x 10”
EasyPress Mat - 12” x 12”
Reverse Action Tweezers
Lint Roller
Heat Resistant Tape (optional)
Butcher Paper
Cardstock, White
Wine Bag Blank
If you want to alter the project, select Customize, then use the tools in the Edit panel to make changes before you cut.
Be sure to Mirror the mat when using an Infusible Ink™ Transfer Sheet and place the shiny side (clear liner) down on the mat.
Follow the prompts in Design Space® to cut the images from the Infusible Ink™ Transfer Sheet.
Assemble
For your Infusible Ink™ project, follow the links below to determine the settings and stack order you should use for your project.


Materials to Cut
Iron-On (HTV) or Smart Iron-On, Black
Materials Tip: *Smart Vinyl does not require a machine mat.
Everything Else
Cricut StandardGrip® Machine Mat (Green)*
Cricut Heat Press (or Household Iron)
Cricut Heat Press Mat (or Towel)
Weeder (or Tweezers)
Optional: Thin Cotton Pressing Cloth – if material is delicate
Bag
To edit design, select Customize.
From Canvas, select any customizing items from the design panel such as images or text.
When you’re done, save your project.
Confirm your machine is selected in the top toolbar. Then, select Make.
If using Iron-On, select On Mat. If using Smart Iron-On®, select Without Mat.
NOTE: For Smart Iron-On®, ensure material size is compatible with your machine. Check material packaging for compatibility.
If you need to move your design, select and drag it to desired area.
Select Continue to go to the next step.
Cut
Place Iron-on (HTV) sheet, liner side down, onto Cricut StandardGrip® cutting mat or for Smart Iron-On load it liner side down into the machine.
TIP: If using Smart Iron-On® it may be loaded into the machine without a mat.

When you’re ready, select Make It. Then follow Design Space® prompts.
Assemble
For full project details, open in Cricut Design Space.

Materials to Cut
Everyday Iron-On™, Red
Everyday Iron-On™, Navy
Everyday Iron-On™, Gold
Glitter Iron-on , Gold
Everything Else
StandardGrip Machine Mat, 12” x 12”
Cricut EasyPress™, or Household Iron and Press Cloth
Cricut EasyPress™ Mat
Weeder
T-shirt
Cricut BrightPad™ (optional)
If you want to alter the project, click “Customize,” then use the tools in the Edit panel to make changes before you cut.
Be sure to Mirror the image when using iron-on and place the shiny side (clear liner) down on the mat.
Follow the instructions in Cricut Design Space to cut images from iron-on.
Assemble
Use a Weeder Tool to remove the negative pieces of iron-on so just your design remains on the clear liner.
Apply the iron-on layers to your project using a Cricut EasyPress™ and Cricut EasyPress Mat with our Interactive Guide, linked below, for the perfect time and temp settings; or use a household iron or heat press and a press cloth.
If using multiple layers, work in the same order they appear in the Layers panel in Design Space, starting from the bottom layer and working up.


Materials to Cut
Iron-on, Gold
Everything Else
Iron-On (HTV) or Smart Iron-On
Cricut Heat Press (or Household Iron)
Cricut Heat Press Mat (or Towel)
Weeder (or Tweezers)
Matching Long Sleeve Sweatsuits
TIP: Wait 24 hours before washing. Wash and dry inside out. Do not use fabric softener.
To alter the project, select Customize, then use the Edit panel to make changes.
To edit text, double-click the text you want to change, then update as needed. To fasten text to another layer, use Attach.
Cut
Place Iron-on (HTV) sheet, liner side down, onto Cricut StandardGrip® cutting mat or for Smart Iron-On load it liner side down into the machine.
TIP: If using Smart Iron-On® it may be loaded into the machine without a mat.
When you’re ready, select Make It. Then follow Design Space® prompts.
Make sure to mirror your design.
Assemble
For full project details, open in Cricut Design Space.


Materials to Cut
Everyday Iron-On, Neon Yellow - 12” x 24”
Everyday Iron-On, Silver - 12” x 24”
Everything Else
StandardGrip Machine Mat - 12” x 12”
Cricut EasyPress Mini™
EasyPress Mat
Weeder
Travel Bag, Charcoal
If you want to alter the project, such as change size or shape, select Customize, then use the tools in the Edit panel to make changes before you cut.
To personalize the text of this project, use the text tool to select the text you want to change, and type in your desired letters. Use the Attach option to preserve the arrangement of text before cutting.
Be sure to Mirror the image whenv using iron-on and place the shiny side (clear liner) down on the mat.
Follow the prompts in Design Space® to cut the images from the iron-on material.
Assemble
Use a Weeder Tool to remove the negative pieces of iron-on so just your design remains on the clear liner.
Apply the iron-on layers to your project using a Cricut EasyPress Mini™ with our Interactive Guide, linked below, for the perfect time and temp settings.
Carefully peel the liner off according to interactive guide suggestion. Use a press cloth on any areas, such as seams or similar small areas, that need additional attention to fully adhere the iron-on to the texture of the bag. The Cricut EasyPress Mini™ is perfect for those hard to reach areas.
Have a great trip!


