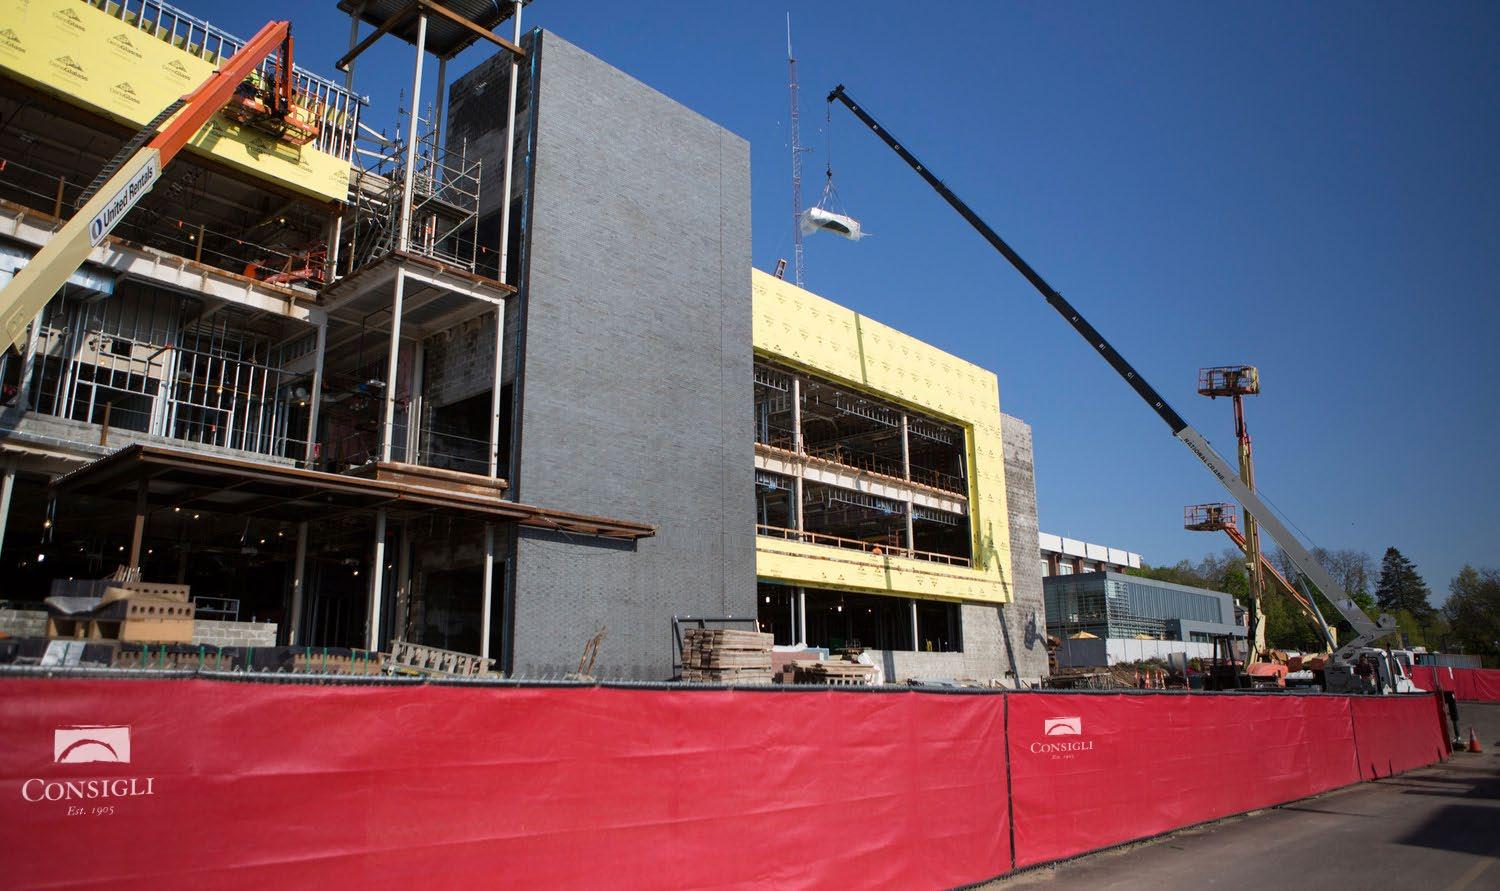

Please Note: The following sign package is required for the set up of each trailer on site. If you have any questions, please contact The Yard at Yard-CCI@consigli.com


Please Note: Place inside fence line in popular congregational areas of the site, such as bathrooms, the break room, and hoist locations. These signs must be visible for all workers.

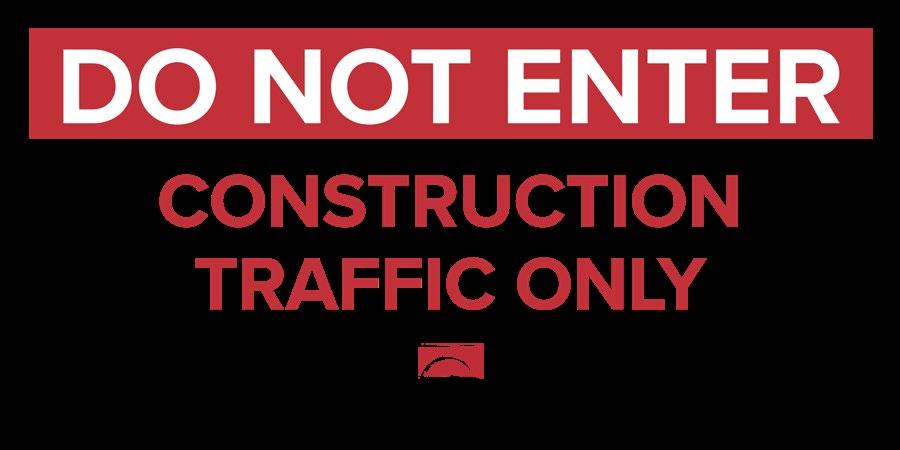
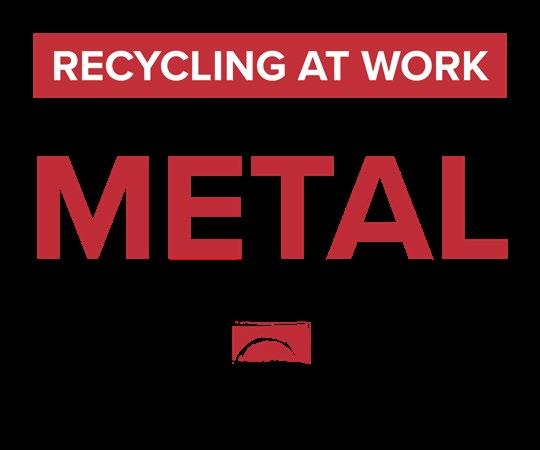
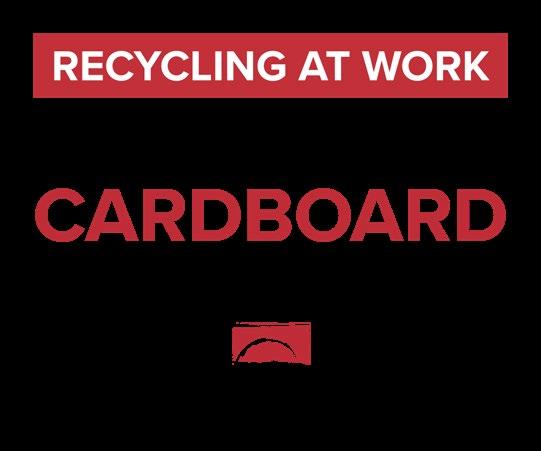
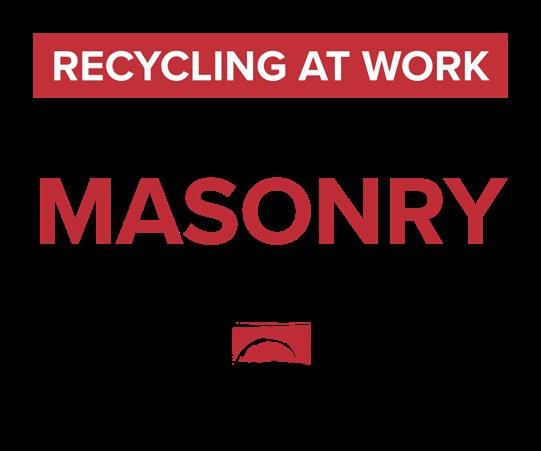
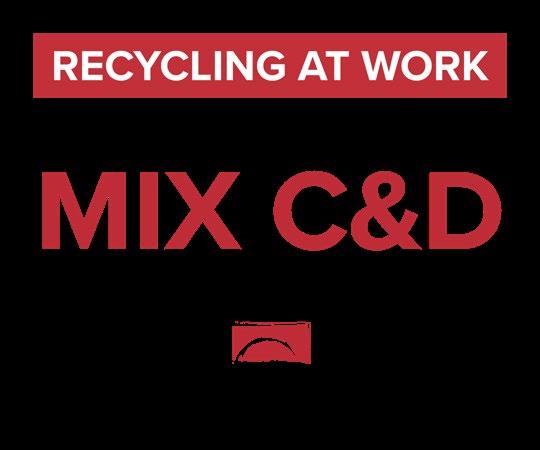
Please Note: This signage is a series of 6 signs. One order will include all 6 signs in the selected size and material.


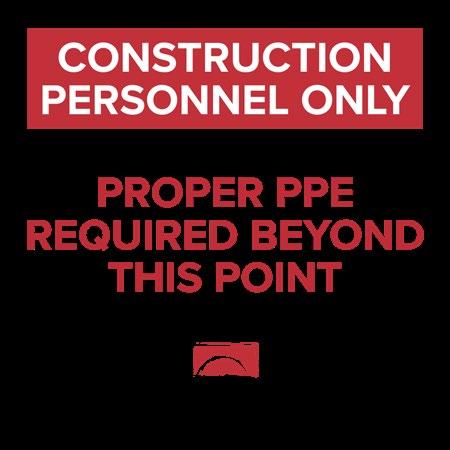
R3 Construction Personnel Only
on outside gate.
R4 Visitors Report to Office Trailer

at all entry points.
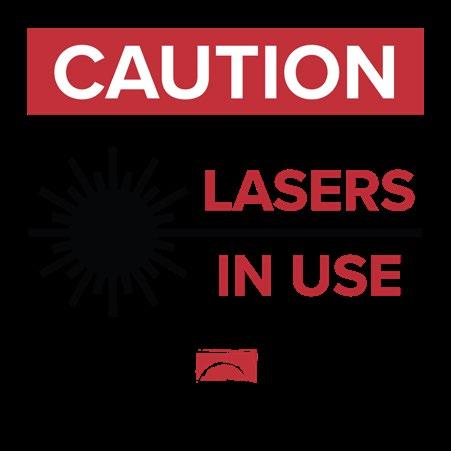
B6 Caution: Lasers in Use
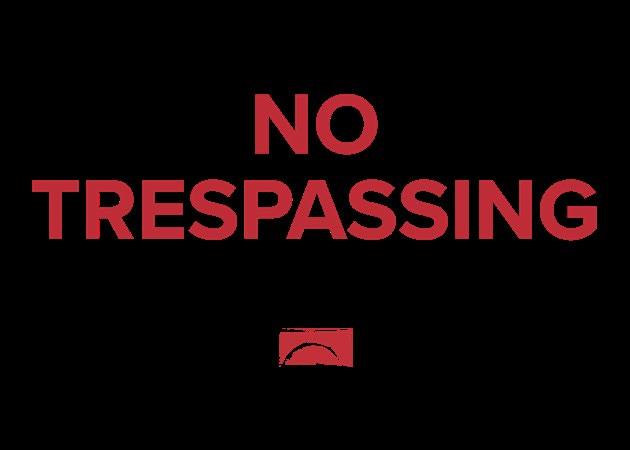
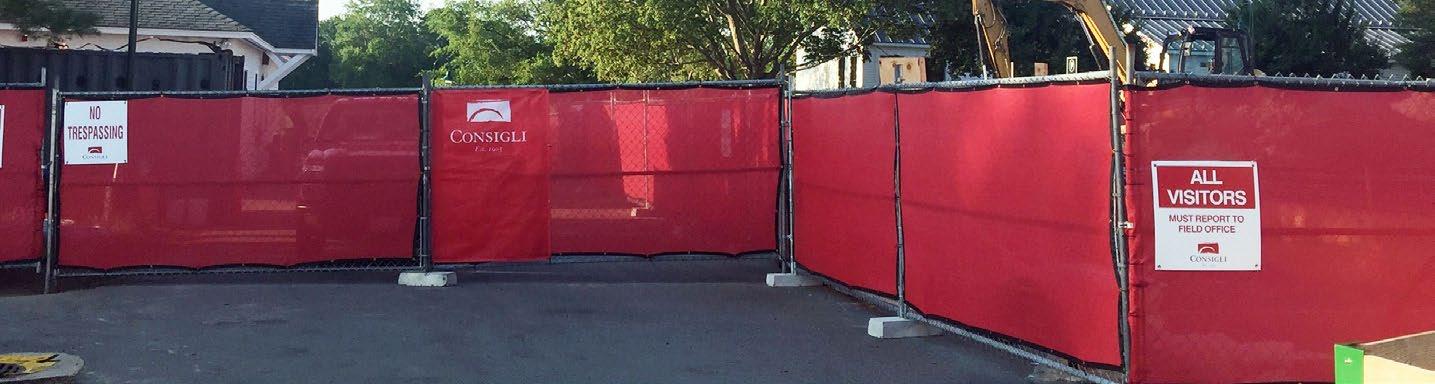
R6 No Trespassing

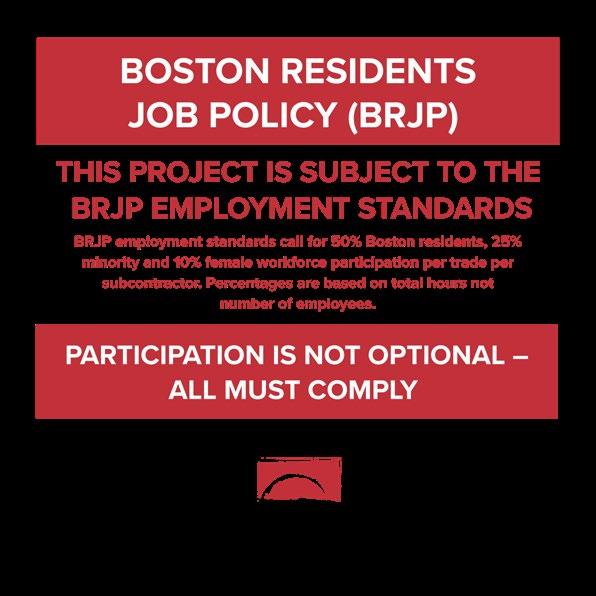
Please Note: These signs are only required on Boston jobsites that have defined City of Boston resident participation or community goals. Project Sign Requirements: • Job Name
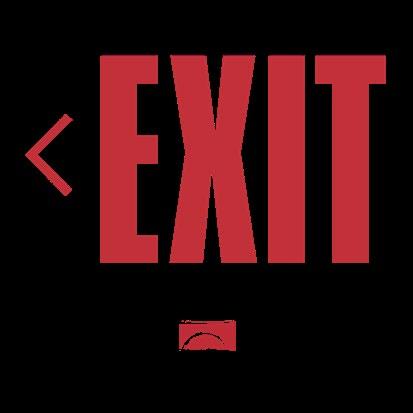
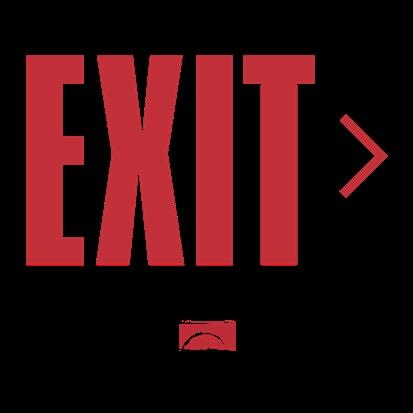
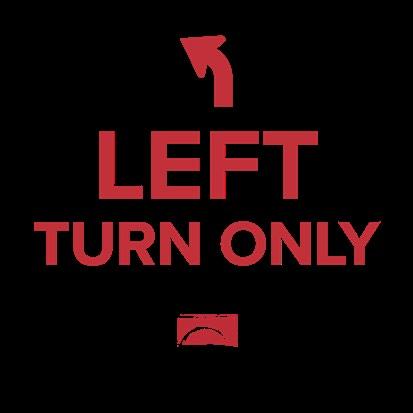
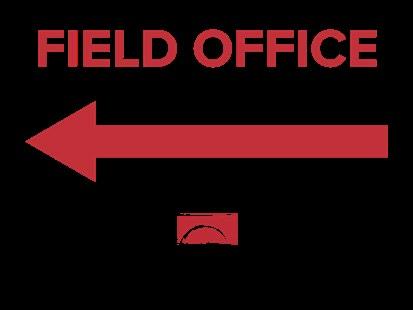
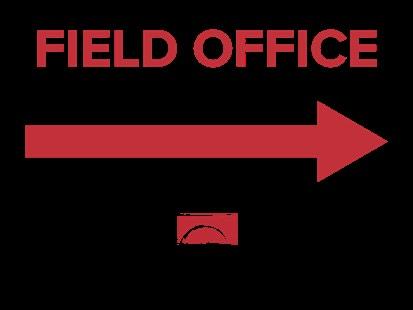
Available to order with arrows.
Confirm

Address
Completion Date
Boston City Logo
Boston Planning & Development Agency
• Client/Partner Logos • Permit Number • Emergency Contact Name and Number • Rendering of Building
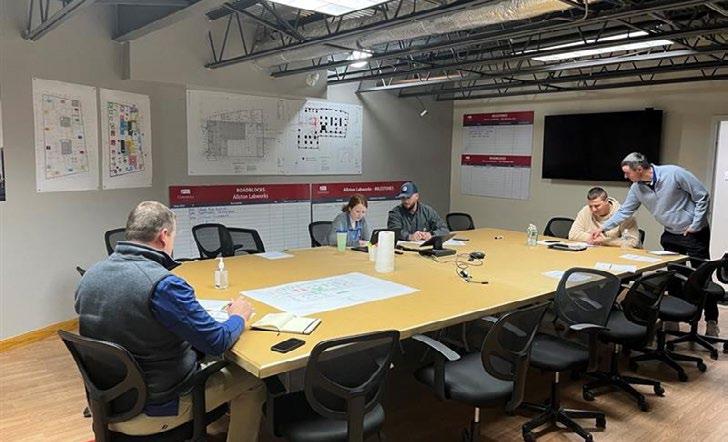
Trade/Partner Coordination
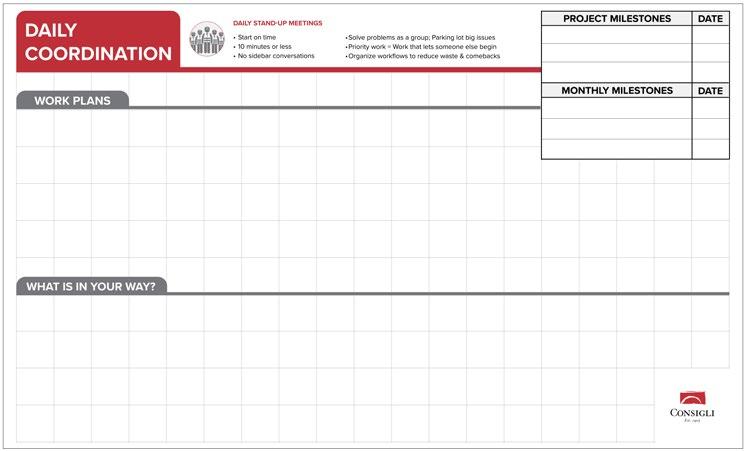
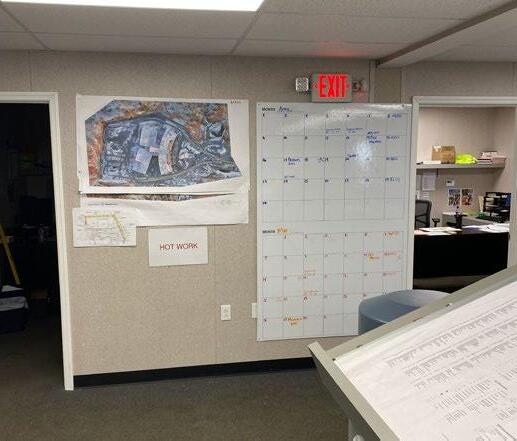
Monthly Calendar

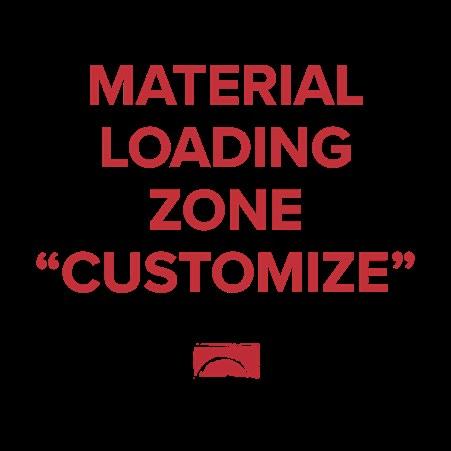
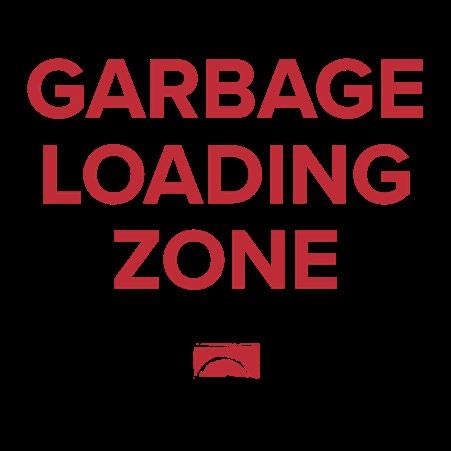
Customizable.
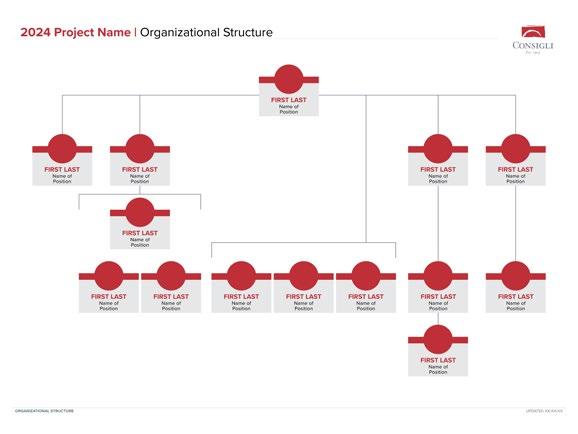
In order for an organizational chart to be ordered, you must provide a comprehensive list of project team members, their roles, and the team’s reporting structure.
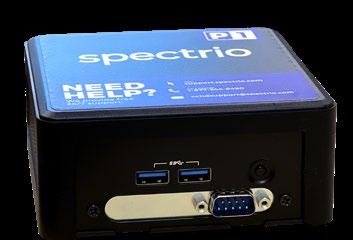
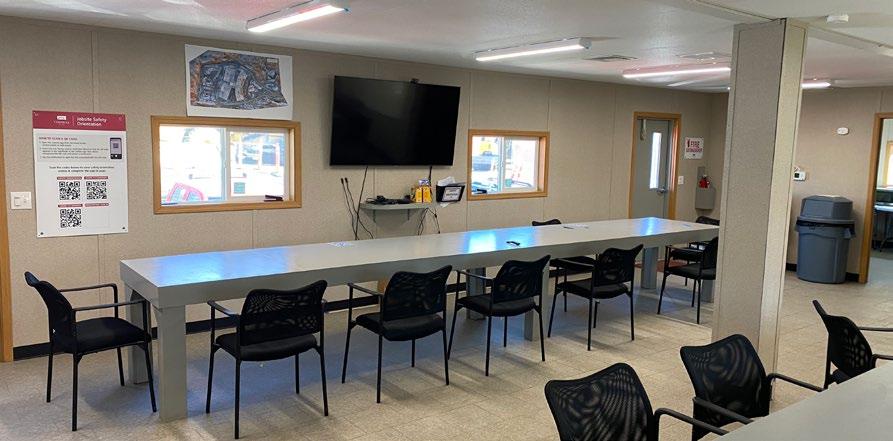
Hook up to TV in Field Office. This item is purchased through IT; please contact consigli@service-now.com.
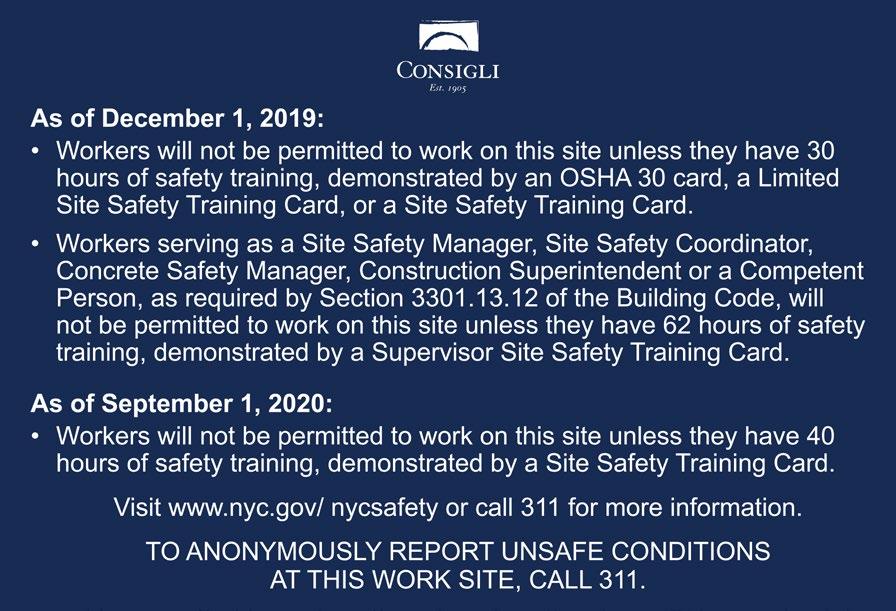
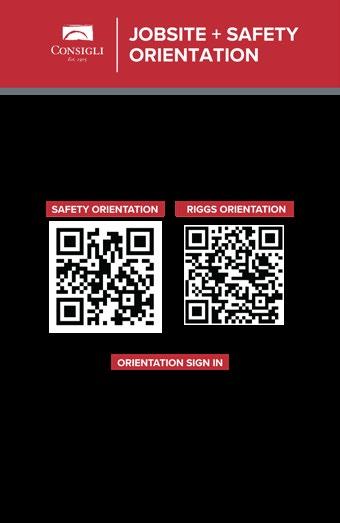
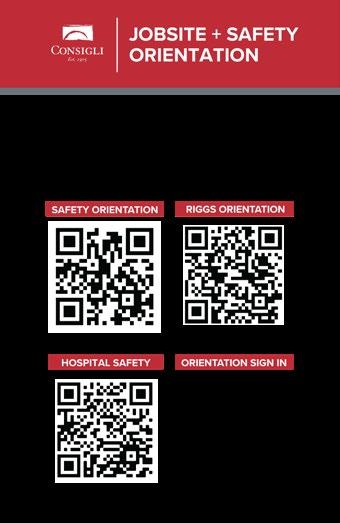
Safety Orientation (Standard or Hospital)


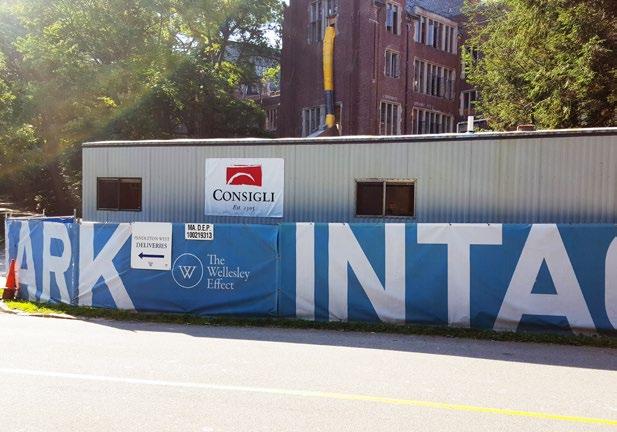
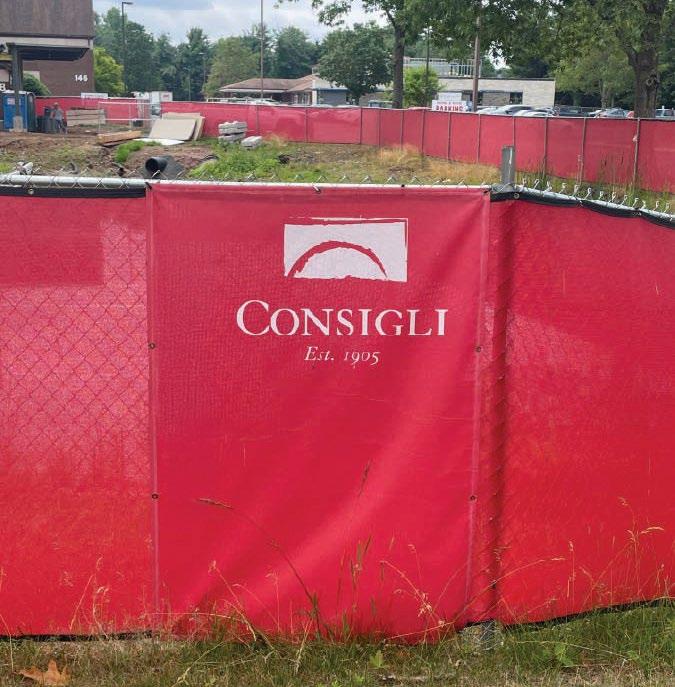
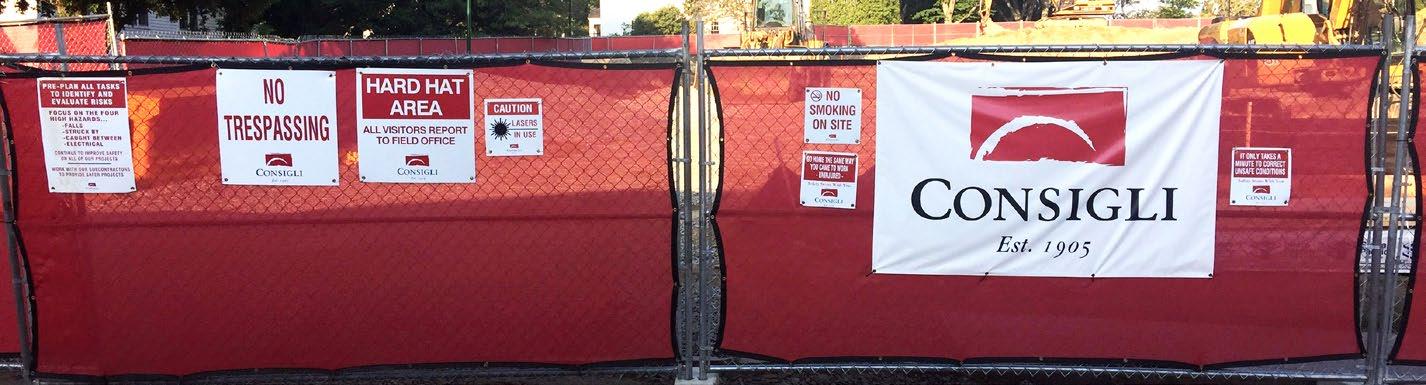
For jobsites with fences that allow Consigli branding: Hang 48”x68” vinyl banners using zip ties. The banners should be hung in sets of four, side-by-side, at visible/well-traveled outward-facing or inward-facing location (whatever your site allows for and best accommodates).
For jobsites with trailers: Hang 2’x3’ or 11”x17” laminated posters using staples or double-sided tape at a visible, well-traveled location side-by-side in sets of four inside your trailer.

For jobsites with interior work only, project offices in buildings (with no trailer), or with branding limitations:
Hang 2’x3’ or 11”x17” laminated posters side-by-side in sets of four using staples.

B1 Fire Extinguisher

B2 Fire Extinguisher Arrow

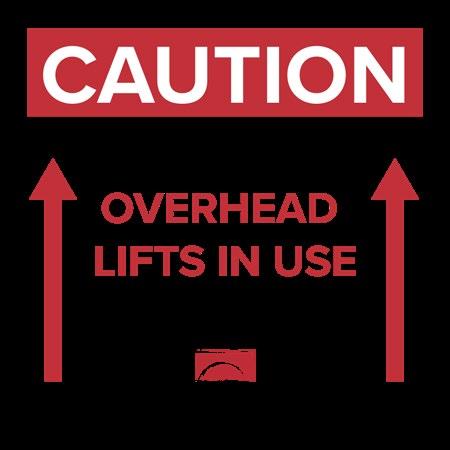
B3 Caution Overhead Lifts in Use
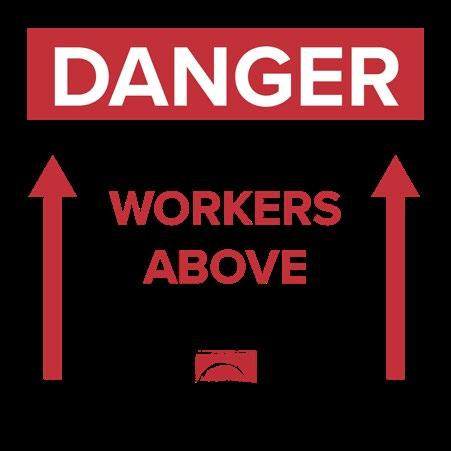
B5 Danger Workers Above
B8 First Aid


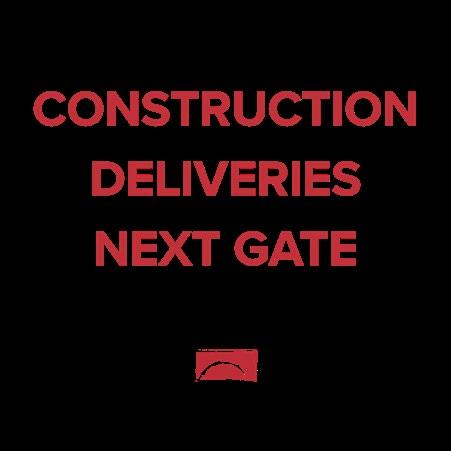
B14 Construction Deliveries Next Gate
Construction Vehicles Only

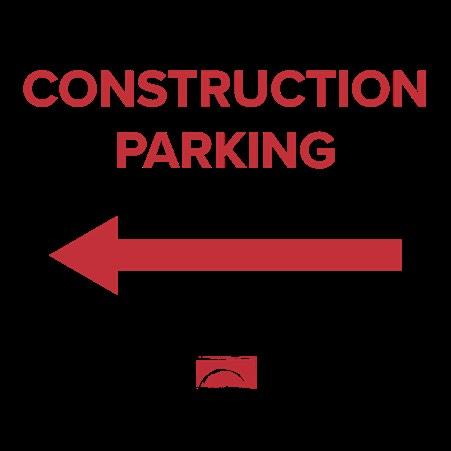
Construction Parking
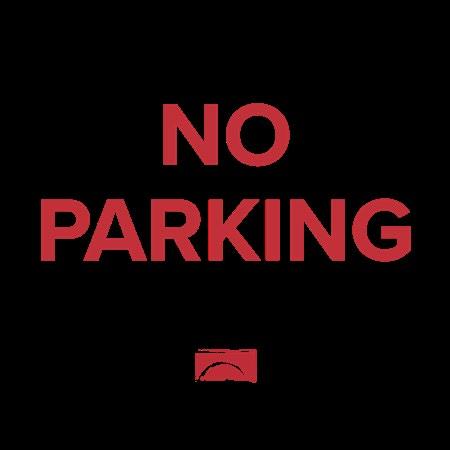
B18 No Parking
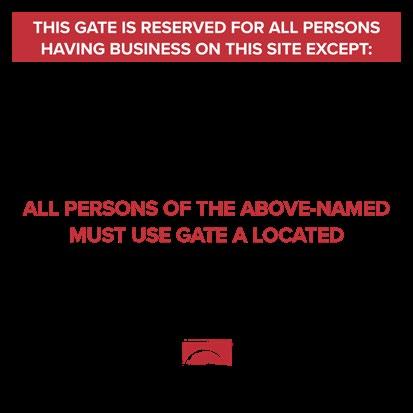
B20 & B21 This Gate is Reserved A & B
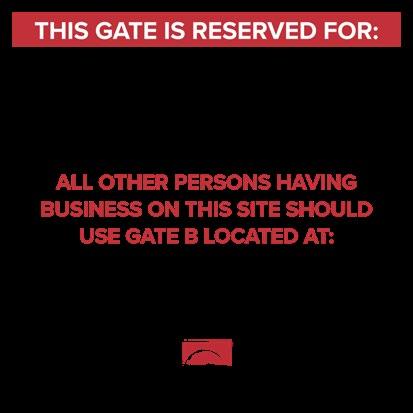
Decal areas for customization.
B19 Sidewalk Section Closed
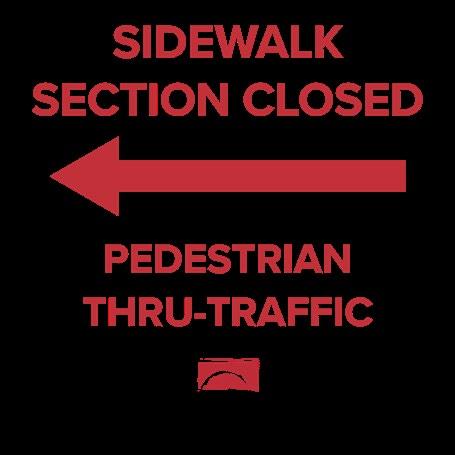
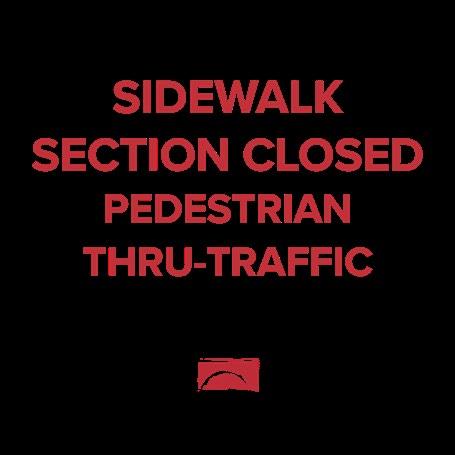
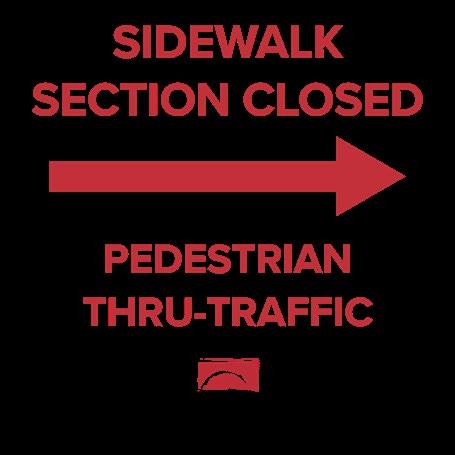
Customizable: Select arrow direction.
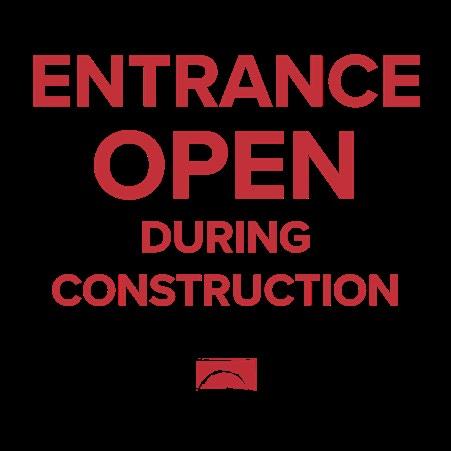
B23 Entrance Open During Construction
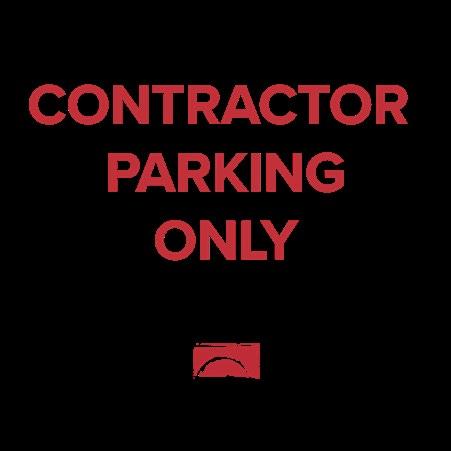
B49 Contractor Parking Only


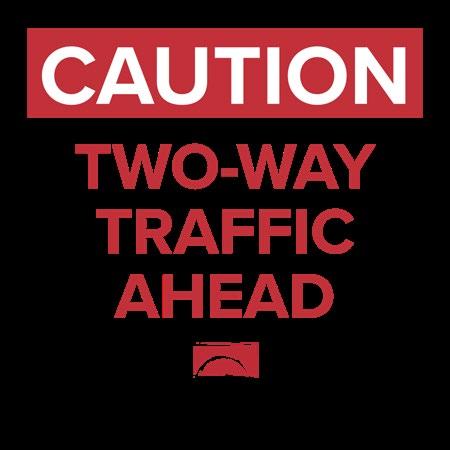
B53 Caution: Two-Way Traffic


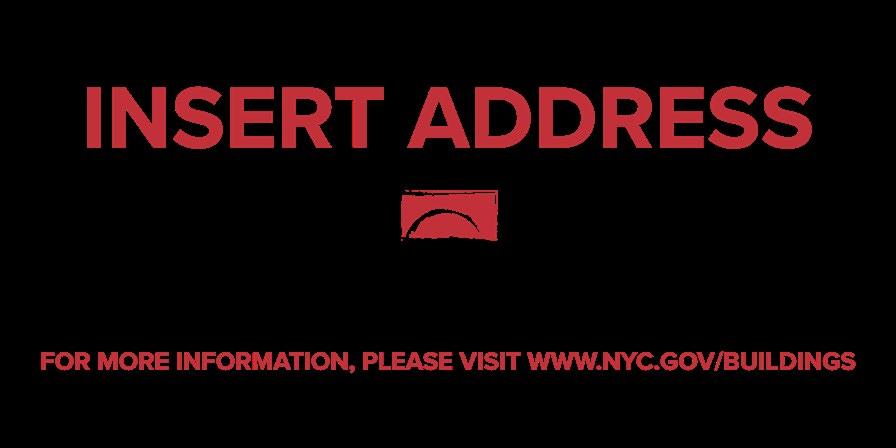
Project Sign


Same as red Consigli scrim 1/8” weave.
Please Note: Equipment stickers are replacing all spray painting. Stickers can be ordered through QuickBase. Equipment stickers are to be used on approved equipment only. EQ1


When an owner will not allow site branding, brand Consigli owned items: trailer banners, equipment etc.
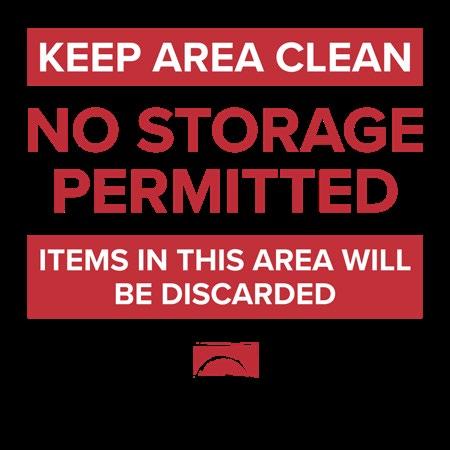
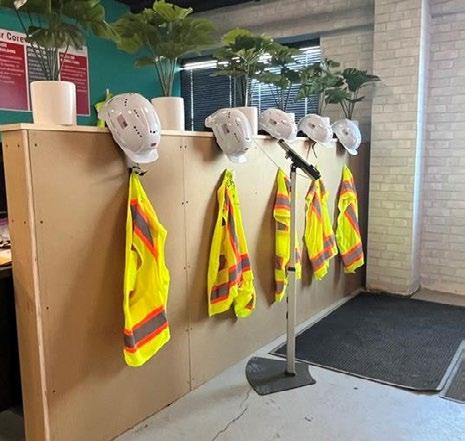
Keep common areas clean and organized. Have visitor helmets readily available.
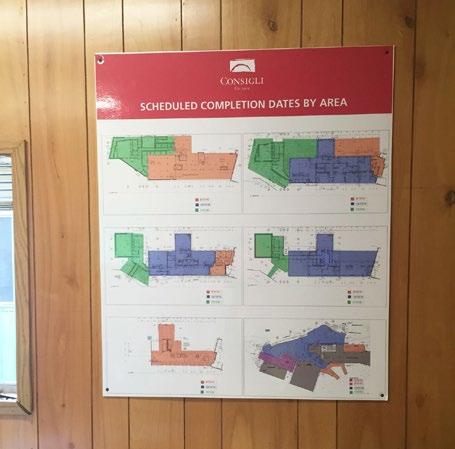
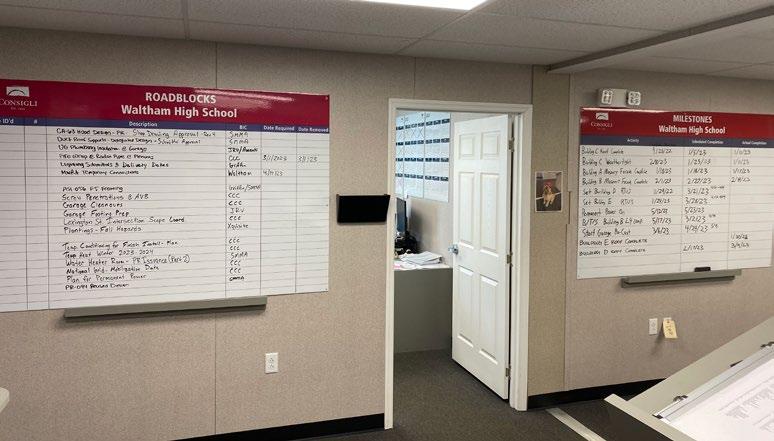
Calendars, whiteboards, milestones / roadblocks boards & logistics plans can be customized.
Please Note: If scrim is graffitied, use spray paint using the correct shade (#C03038). If scrim quality is compromised, replace the scrim. If you are on a project where scrim is not needed / required or the owner is requesting a non-Consigli color (Ex: Black, Green, Custom), please inform Marketing and your GS. Size
4’x150’
6’x150’
8’x150’
Standard Shipping Time: 5–7 Days
3’8”x4’ $49.00/panel
5’8”x4’ $57.40/panel
7’8”x4’ $77.00/panel
Standard Shipping Time: 5 Days
Orders will be placed through QuickBase by the designated person responsible for site signage/scrim (PE, PM, or Super):
On QuickBase under “Marketing Department” you will see the new
“Site Signage Form” in the toolbar. Click “+ New Site Signage Form” and you will be able to start building out your custom form.
• Order forms must be filled out completely. Required fields left blank will not allow the order to be processed.
• After submitting your order through QuickBase, the Signage Team will receive an email with all the necessary information.
• Once the order is submitted, you will be included in an email ordering your scrim and confirming receipt.
Consigli Branded Panels vs. Solid Color:
Based on the initial logistics plan, the number of branded panels will be discussed at the kickoff meeting.
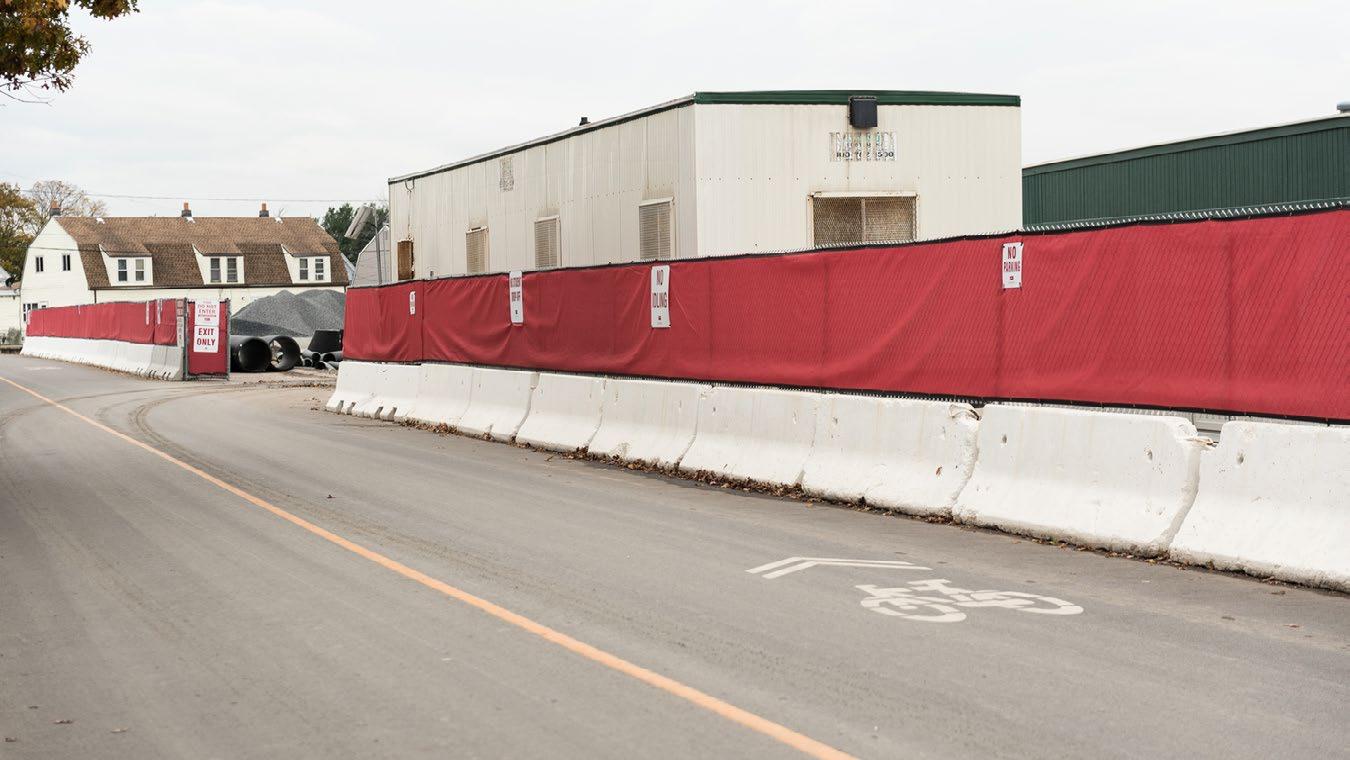
• Full perimeter fencing should be wrapped in solid red.
• Branded panels should be strategically placed along high-traffic areas and entryways.
Please Note: Grey scrim is used ONLY when the owner says no to red. If scrim is graffitied, use spray paint using the correct shade (#939598). If scrim quality is compromised, replace the scrim.
Size Scrim
6’x150’ $268.00/roll
Standard Shipping Time: 5–7 Days
Orders will be placed through QuickBase by the designated person responsible for site signage/scrim (PE, PM, or Super):
On QuickBase under “Marketing Department” you will see the new “Site Signage Form” in the toolbar. Click “+ New Site Signage Form” and you will be able to start building out your custom form.
• Order forms must be filled out completely. Required fields left blank will not allow the order to be processed.
• After submitting your order through QuickBase, the Signage Team will receive an email with all the necessary information.
• Once the order is submitted, you will be included in an email ordering your scrim and confirming receipt.
• In custom sign note section, specify that it should be grey scrim.
Example: Grey Scrim
If project team and/or the client decide to produce custom site signage, it should be discussed at initial signage meeting. At this meeting, potential designs and deadlines will be discussed and initial renderings/designs will start to be laid out. Custom scrim design will come from either the owner, client, or designed in house at Consigli.
If the client/project team chooses to utilize custom signage or scrim, these requirements must be followed to ensure the highest quality resolution.
• Prepare all images based on a 1” = 1’ ratio.
» For example, a 10’x30’ image should be prepared as 10”x30” artwork.
• If supplied as an image, resolution must be 600 dpi.
• Scan individual page elements using the same 1” to 1’ ratio.
» Scans may be CMYK or RGB. Resolution requirements are 600 dpi @ 1” to 1’ or 50 dpi 1’ to 1’.
• All grayscale images should be converted to CMYK or RGB.
• Send files in one of the following formats in order of preference:
High Quality Acrobat PDF, Illustrator, InDesign or Photoshop.
» Must include all the fonts or fonts must be converted to outlines.
» Must include all dimensions (width x height) of each design piece.
» Max density of blacks should not exceed: C60 M40 Y40 K100.
To order custom scrim, please contact Kayla Leary at kleary@consigli.com.
Installation will first be addressed on the order form. The main focus will be on two factors:
1. Who is installing the scrim?
» Do we have the necessary “in-house” resources to install ourselves?
» External installation resources.
» Will we need the services of an external installation company?
2. When will the signage/scrim be installed?
» Dates will be addressed on the order form. Coordination between the Consigli project team and fencing & scaffolding companies will be necessary.
» If this date changes, the Signage team needs to be notified ASAP to modify order as necessary.
Fencing Installation: Contracted Fencing Company
• Coordinate once company has been selected.
» Scrim needs to be on-hand at the time of fencing install.
Scaffolding Installation: Contracted Scaffolding Company
• Coordinate once company has been selected.
» Scrim needs to be on-hand at the time of scaffolding install.
Upon scrim delivery, entire perimeter fence to be lined with solid red. Custom panels to be installed directly on top of red scrim, based off of predetermined locations shown on the logistics plan.
Ex: High-vis locations such as entrances or intersections
• Scrim to be installed using thick, black zip ties.
• Scrim should be pulled tight with as few folds or creases as possible.
• If “wind holes” are needed, If “wind holes” are needed, please indicate that when ordering to receive pre-cut scrim.
» Do not cut holes on site.
At the close of a job, the large sections of fence scrim should be assessed for quality. If these large sections have retained their quality, they will be rolled up, labeled with an estimated length and returned to the Milford Consigli Yard for storage.
Branding is important to our culture and should be made priority on site and integrated into site walks. Signage will be reviewed on an as needed basis with either the Marketing Team or your General Super.
• Project team must develop a process to maintain the quality of site signage.
Acceptable Appearance
Red Consigli “Branded Panels” are to go on fencing near entrances and in high-vis locations.
Scrim should be clean and tightly attached to fencing. Zip ties should be trimmed after install.
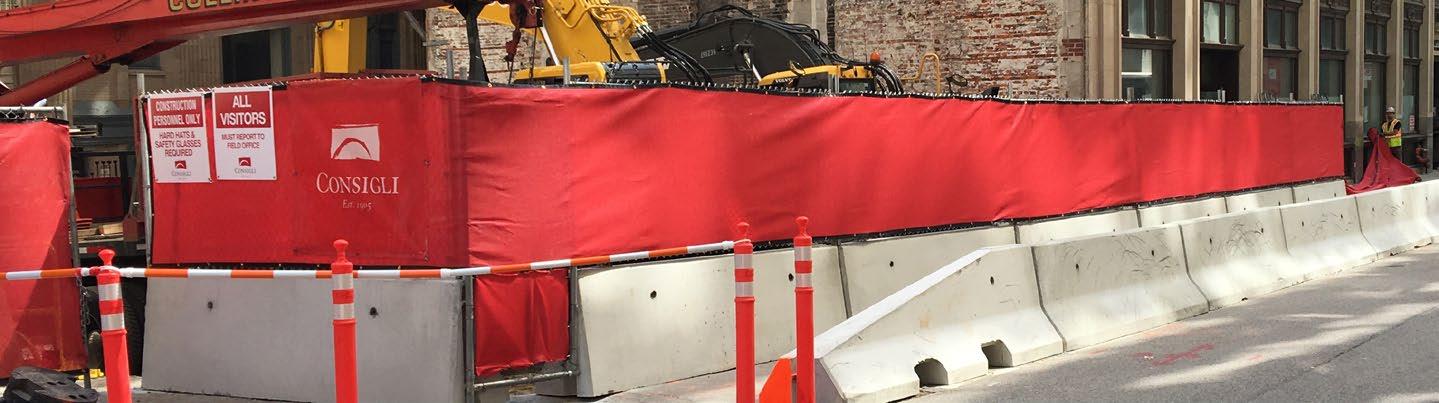
• Signage that has been damaged or is dirty must be replaced and or rehung as best as possible.
• All signs will be produced with grommets in all four corners and include Consigli logos. If you are unable to have Consigli branding (scrim/signage) per your contract, please add that note in the custom section in your signage order.
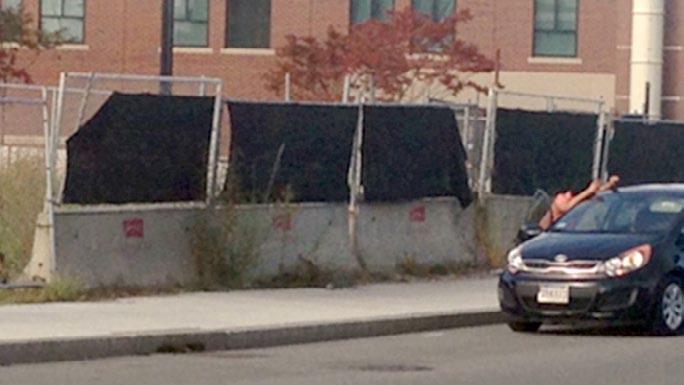
Unacceptable Appearance
White vinyl “Trailer Banners” are to go on trailers or scaffolding, not fence lines. Too many signs.
When your site is “tagged” replace or cover marked areas. If it’s damaged or completely tagged, replace.
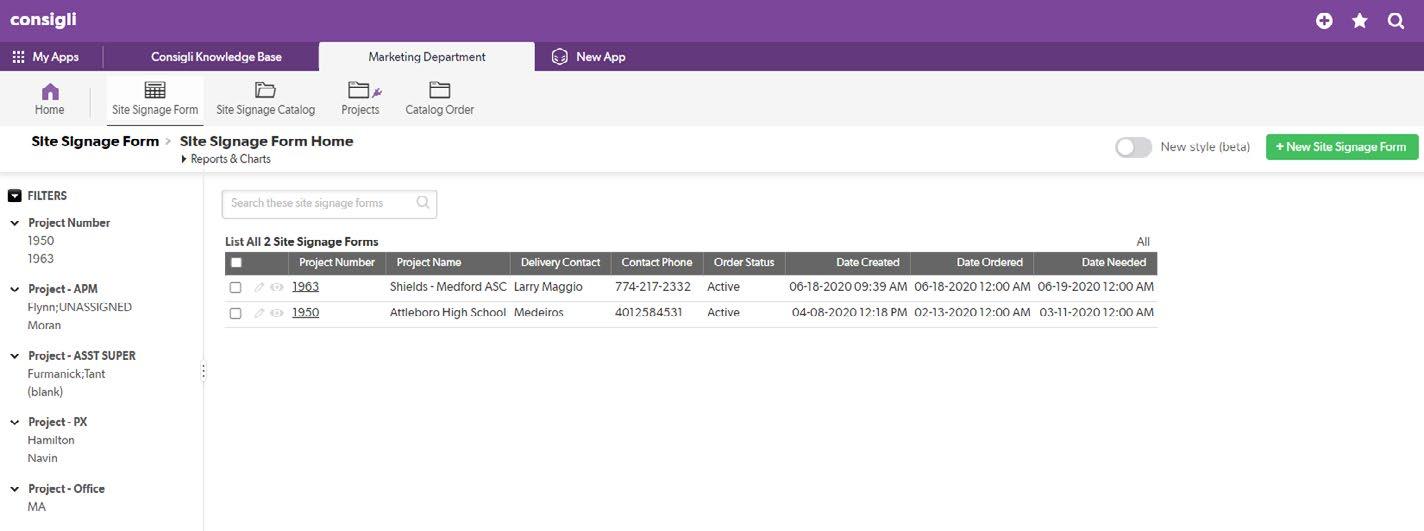
On QuickBase under “Marketing Department” you will see the “Site Signage Form” in the toolbar.
Click “+ New Site Signage Form” and you will be able to start building out your custom form.
Selecting Your Project:
• Type your Project Number in the top most field.
• Once your job number is added your site specific information will automatically populate (Team, Site Address etc.).
• Fill out all required information & add your signs on the Site Signage Form.
• Click “Save & Close”either in the top right corner or bottom of the page & an email will be sent to marketing for processing.
» If you need to make a change to your order re-open your form,
make edits then click save.
Double click the “Catalog Item - Sign #” to select your specific sign from the drop-down menu. Click enter and the remaining fields will auto populate.
Please Note: There are two options per sign for material.
Ex: B11 - Exit - Corr. Plastic or B11 - Exit - Aluminum.
Please be sure to select only the material you need.


If the sign you want has multiple size options, you will need to select that size from the “Catalog Item - Sign #” field. Once you select your sign and enter the quantity, the total cost will auto populate.
In the “Custom Signs Notes” section near the bottom of the form, write the sign material, quantity, dimensions, and what text you would like written on the sign. After you save your order, a marketing team member will reach out to you with a proof before printing.