
5 minute read
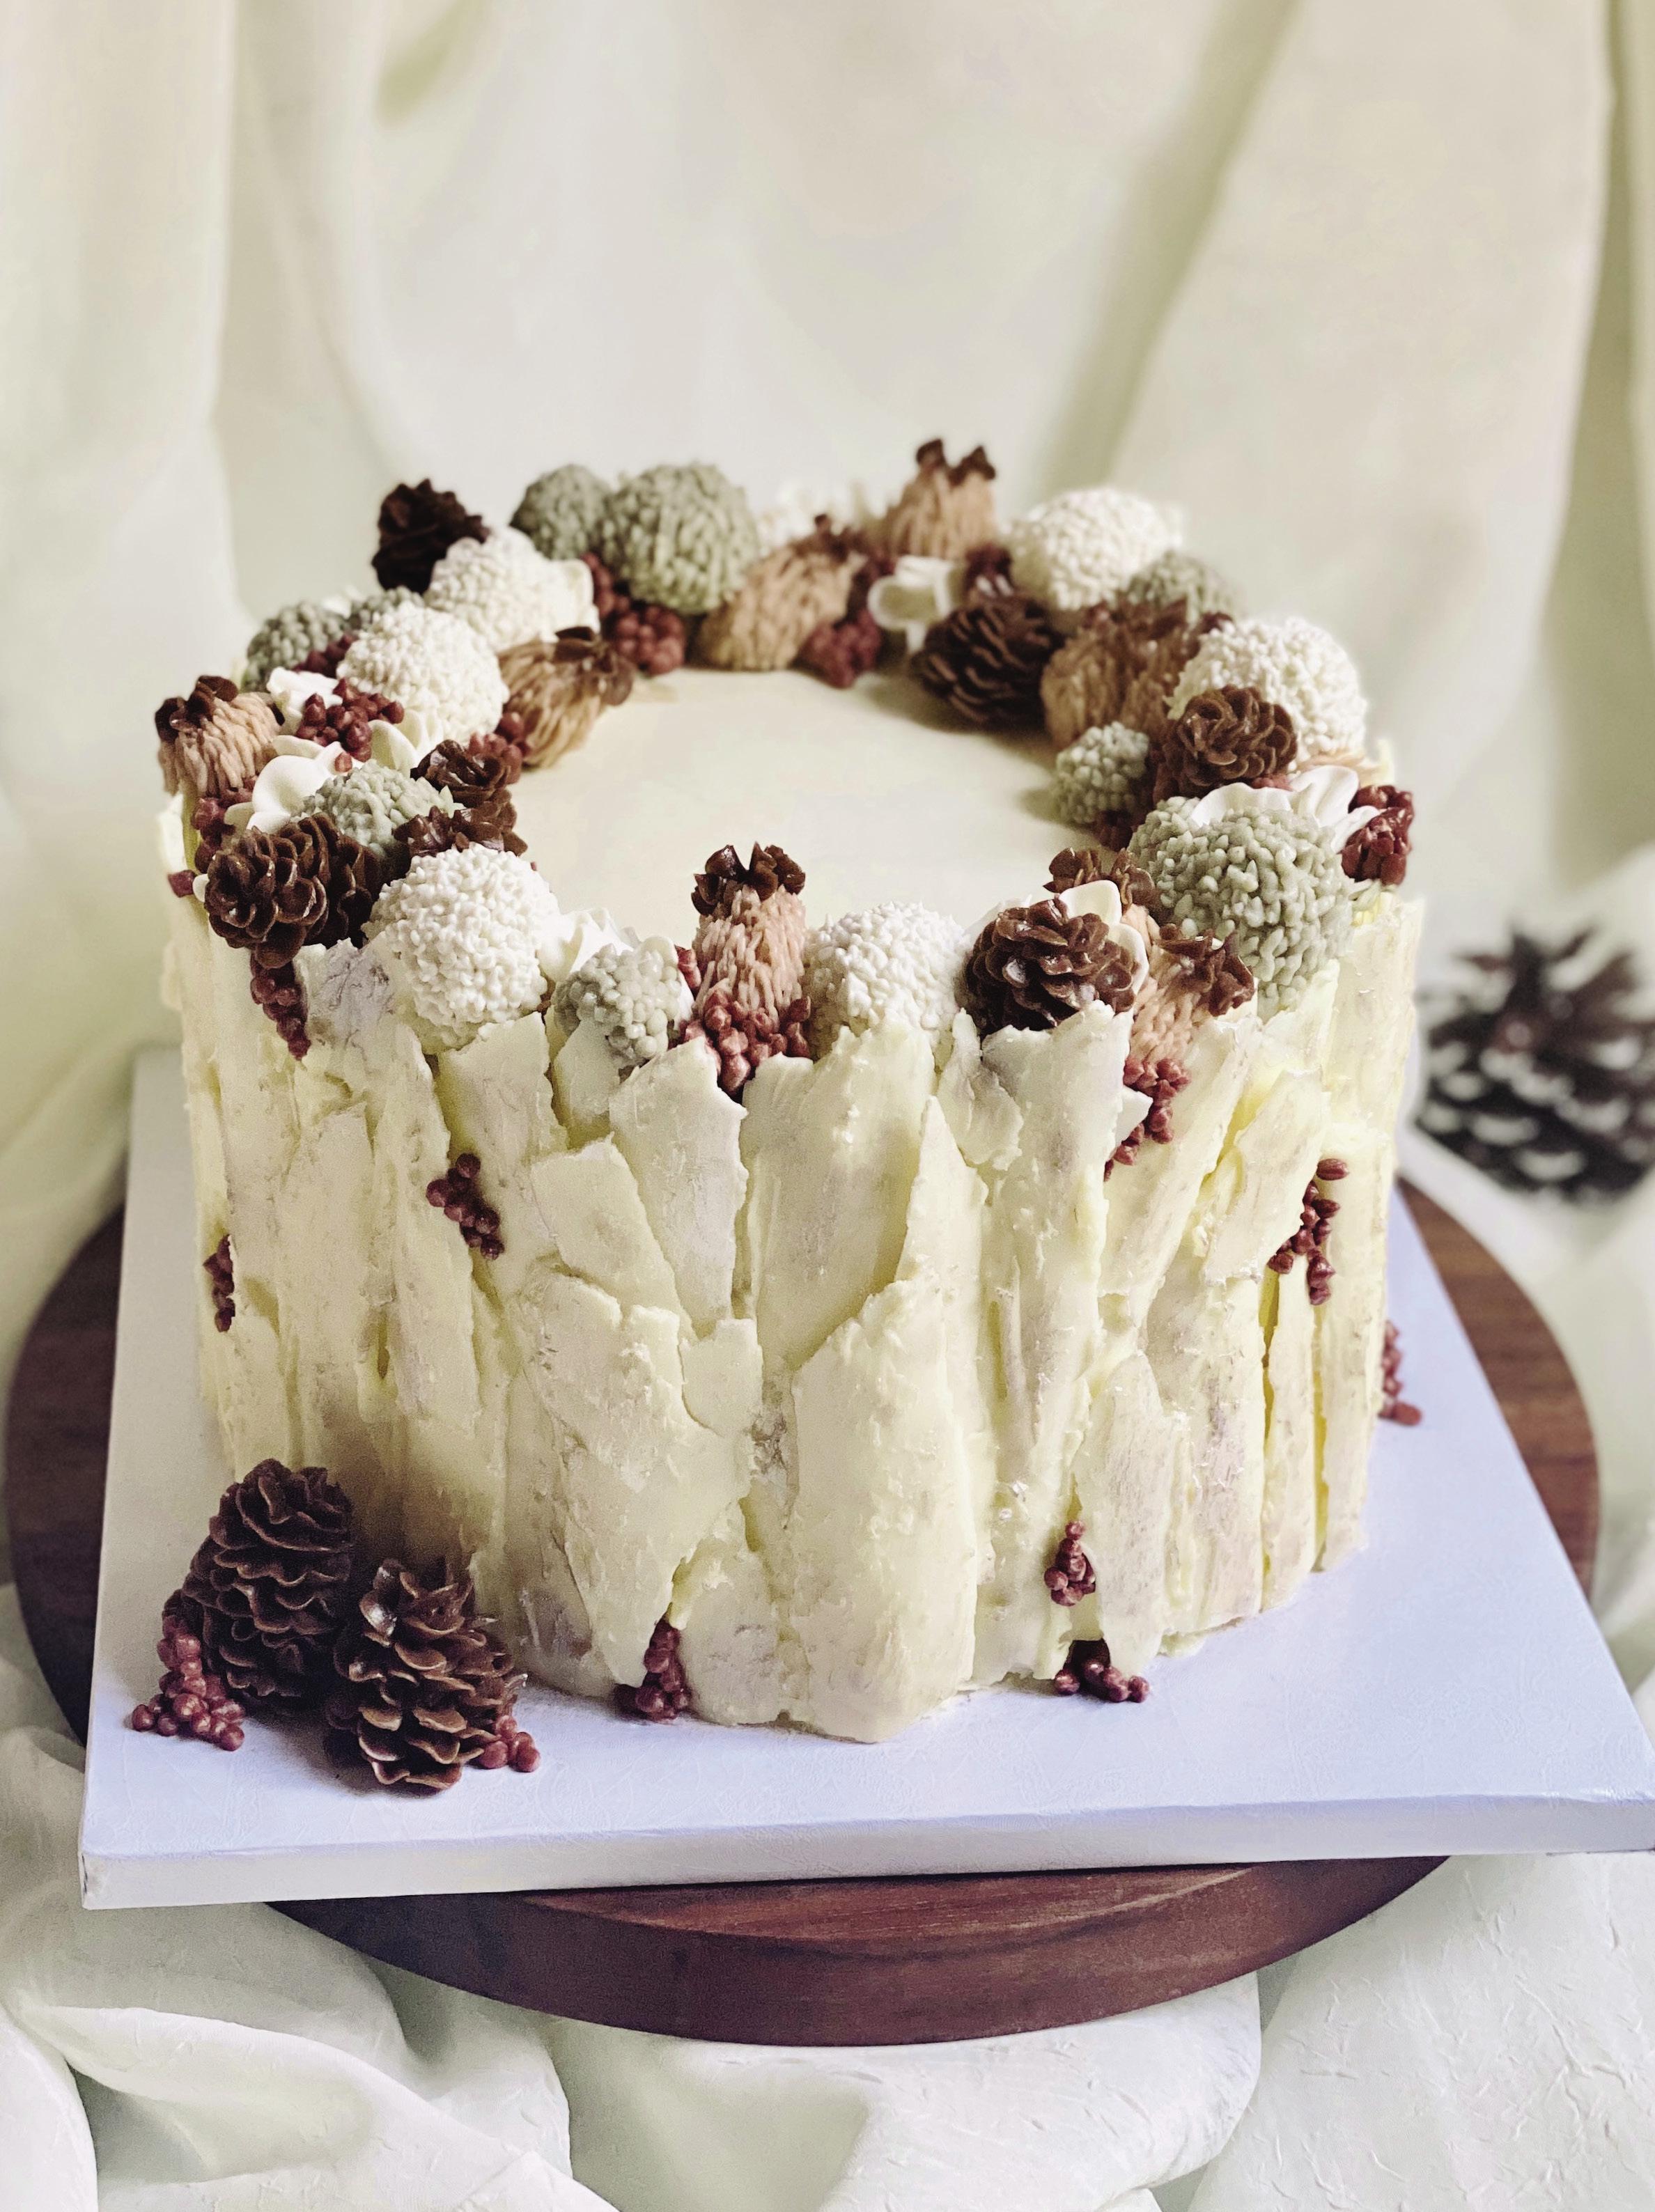
RUSTIC HOLIDAY WREATH


Winter white chocolate bark turns a simple RusticHoliday Wreath cake into a rustically beautiful creation. Top with a piped buttercream wreath in neutral shades for an elegant touch. BY LINH TRAN
Linh Tran is a self-taught cake artist based in the San Francisco Bay Area from Orinda, CA. Her passion for cake design began in 2014, coinciding with the birth of her daughter, Nana. Being surrounded by nature, Linh is constantly inspired—particularly by florals—which is seen throughout her work with buttercream. In addition to creating bespoke designs, Linh also offers tutorials to local clients. Piping buttercream florals brings her so much joy and serenity, for which she is happy to share these techniques with others.
nanashomecakery.com facebook.com/nanas.homecakery instagram.com/nanas.homecakery
LEVEL:
COMPONENTS
Edibles:
White chocolate 8-inch cake Buttercream Edible gel food colors: light brown, dark brown, copper, and gray Brown luster dust
Equipment:
Small saucepan Heat-safe mixing bowl Parchment paper Offset spatula Tall scraper Knife or scissors Piping bags Paintbrushes Couplers Piping tips: 1, 3, 12, 101, 104, and 233 Large flower nail and holder Freezer-safe container Paper towels WHAT YOU NEED
Tip: FOLDING THE TIP OF THE PIPING BAG INTO A BOWL OR CUP WILL HELP CONTROL LEAKS.
Tip: YOU CAN YOU USE A THIN ROLLING PIN OR A PAPER TOWEL TUBE TO ROLL THE CHOCOLATE FOR MORE STRUCTURE.
CREATE THE BARK

1. Place a saucepan on the stove and add 1 to 2 inches of water to the pan. Place a dry, shallow, heat-safe mixing bowl over the saucepan. The mixing bowl should fit snugly over the pan so that it creates a seal and the water should not be touching the bottom of the bowl. Add chopped white chocolate to the mixing bowl.
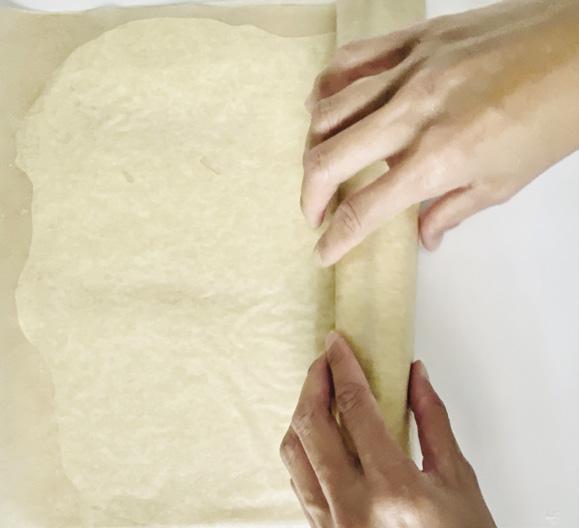
Turn the stove on to medium heat. Continuously stir until the chocolate is thoroughly melted, then remove the mixing bowl to cool. 2. Pour melted chocolate onto a large piece of parchment paper, leaving a small amount left over for later. Spread the chocolate with an offset spatula into a thin layer. Place another piece of parchment paper on top and even out the chocolate with a scraper.
Roll the chocolate parchment paper into a tube shape and refrigerate until fully hardened.


3. Cover the cake with buttercream. Take the chocolate parchment paper out of the refrigerator and carefully roll out the chocolate. This process will naturally create chocolate bark shards. Using a knife or food-safe scissors, cut down the pieces to size (longer shards should be slightly taller than the cake height). Add leftover chocolate to a piping bag and cut a small hole.
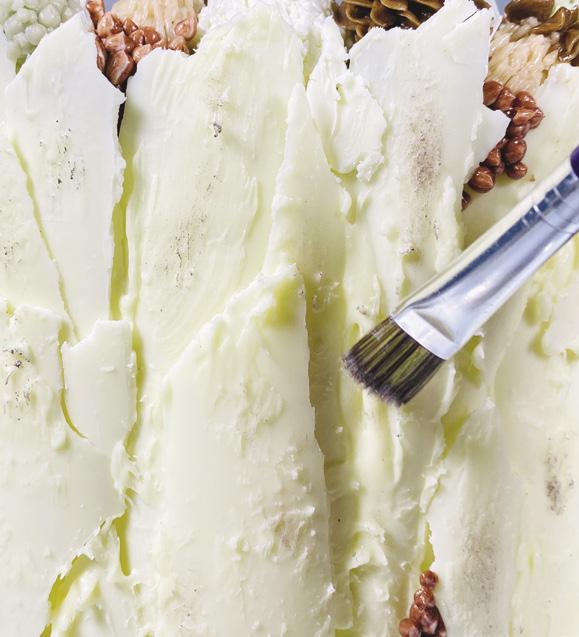
Apply larger shards to the cake first, adhering with the leftover chocolate. Then, add the smaller pieces in between.
Brush on additional chocolate to the bark for more texture.

1
2a
2b
3a
3b 3c
PIPE THE BUTTERCREAM WREATH
1. Color buttercream in light brown, dark brown, copper, and gray, leaving some white.
Fill buttercream in separate piping bags fitted with couplers. Create mini pine cones with piping tip #101 and dark brown buttercream. Cut parchment squares and attach 1 to a flower nail with a small dot of buttercream. Pipe a small circle and a thin vertical center for the base. Position the piping tip relatively flat to the nail, with the larger end of the tip facing inward and attached to the base. Create small overlapping petals while rotating the nail in the opposite direction as the piping direction. Create about 8 to 10 layers, slowly angling inward as you reach the top of the cone. Make about 8 mini pine cones and place them in a container in the freezer to harden.
2. Create a wreath base with white buttercream and coupler by piping a circular shape onto the cake top, close to the height of the chocolate bark. Then, pipe round mounds to create the pom-
pom bases around the wreath in varying sizes, in both white and gray buttercream. For the pine bases, pipe a cone shape with piping tip #12 and light brown buttercream.

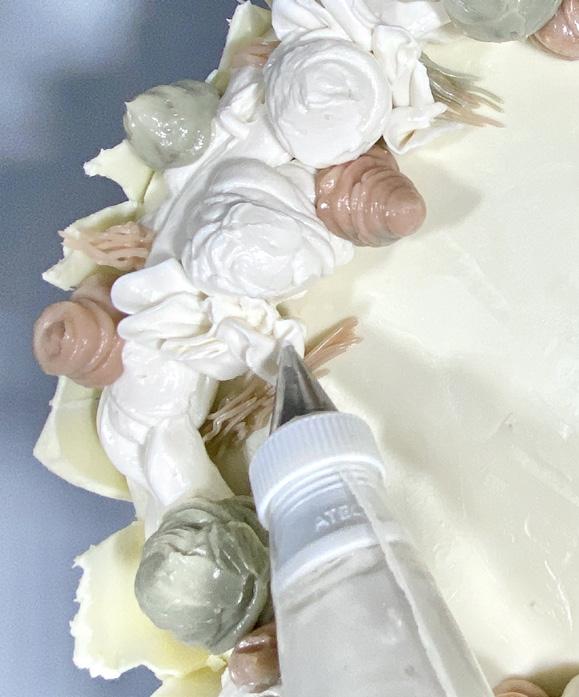


3. Add fillers such as long grass with piping tip #233 and light brown buttercream. Pipe petal flourishes with piping tip #104 and white buttercream, moving in an up-and-down wave motion. Leave some open gaps to add the frozen mini pine cones later. 4. For the pom-poms, pipe mini dots onto the round mounds with piping tips #1 and #3 and white and gray buttercream, respectively. You can also use piping tip #233 to speed up the piping process and tip #1 to fill in any gaps. 5. For the pines, pipe overlapping short lines starting from the top of the cone base with tip #1 and light brown buttercream. Pipe a small cap on top of the pine with piping tip #131 and dark brown buttercream, squeezing hard and quickly to attach. 6. Take the mini pine cones out of the freezer and place them along the wreath to fill in the open gaps, securing with buttercream. Fill in any remaining gaps on the wreath and chocolate bark by piping small bunches of berries with piping tip #3 and copper buttercream. Lightly dust the chocolate bark by using a paintbrush dabbed in brown luster dust, wiping off excess on a paper towel before applying. ACD


