

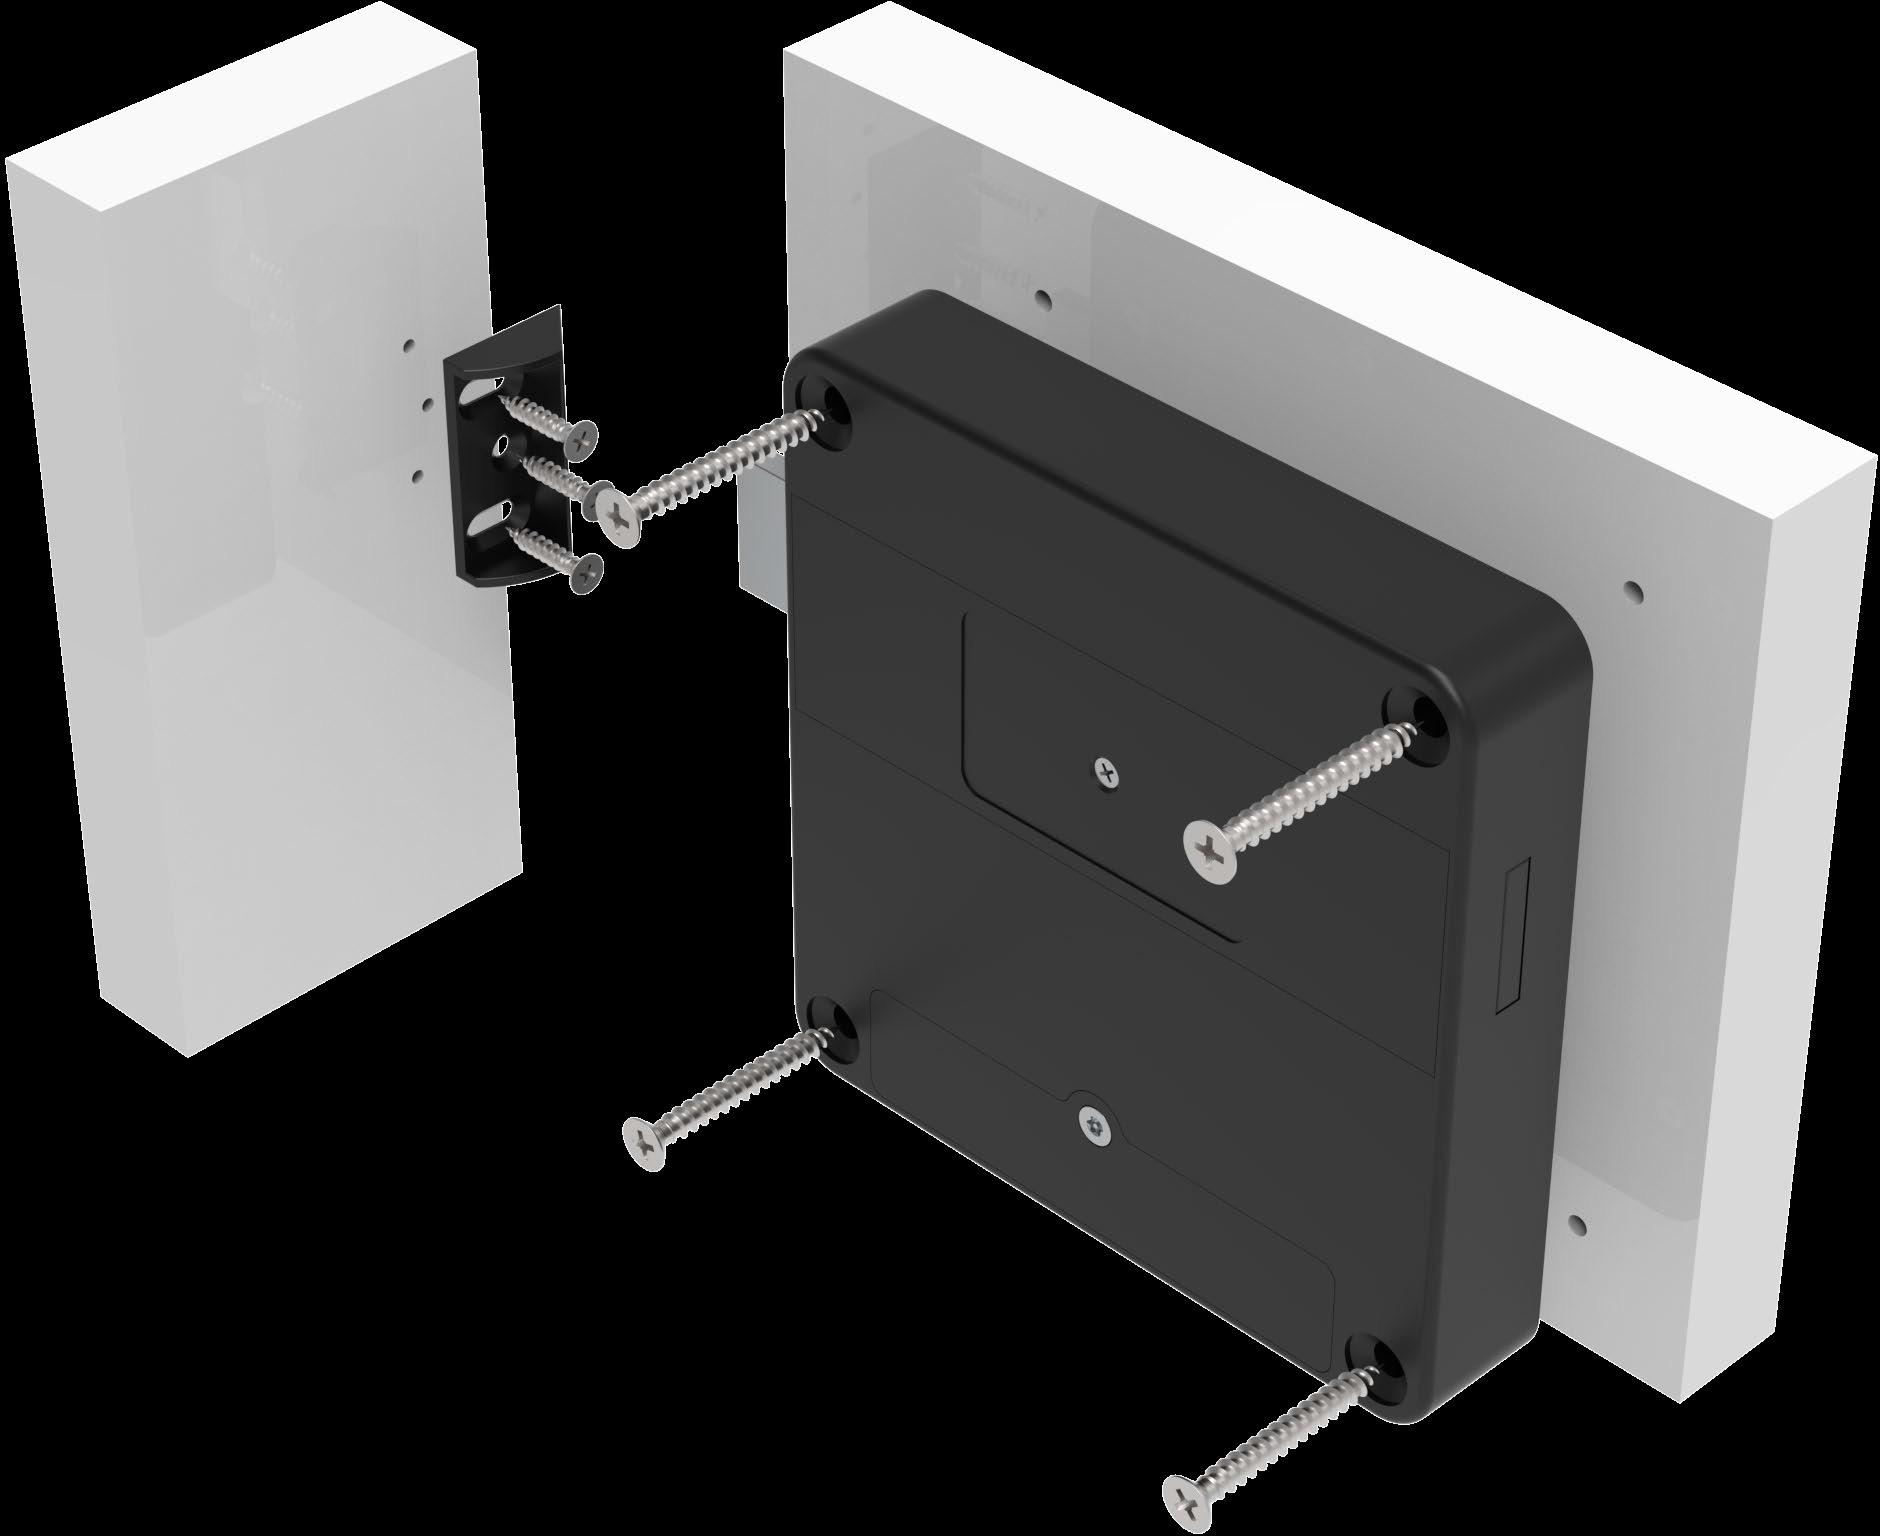
3 mounting screws for lock plate
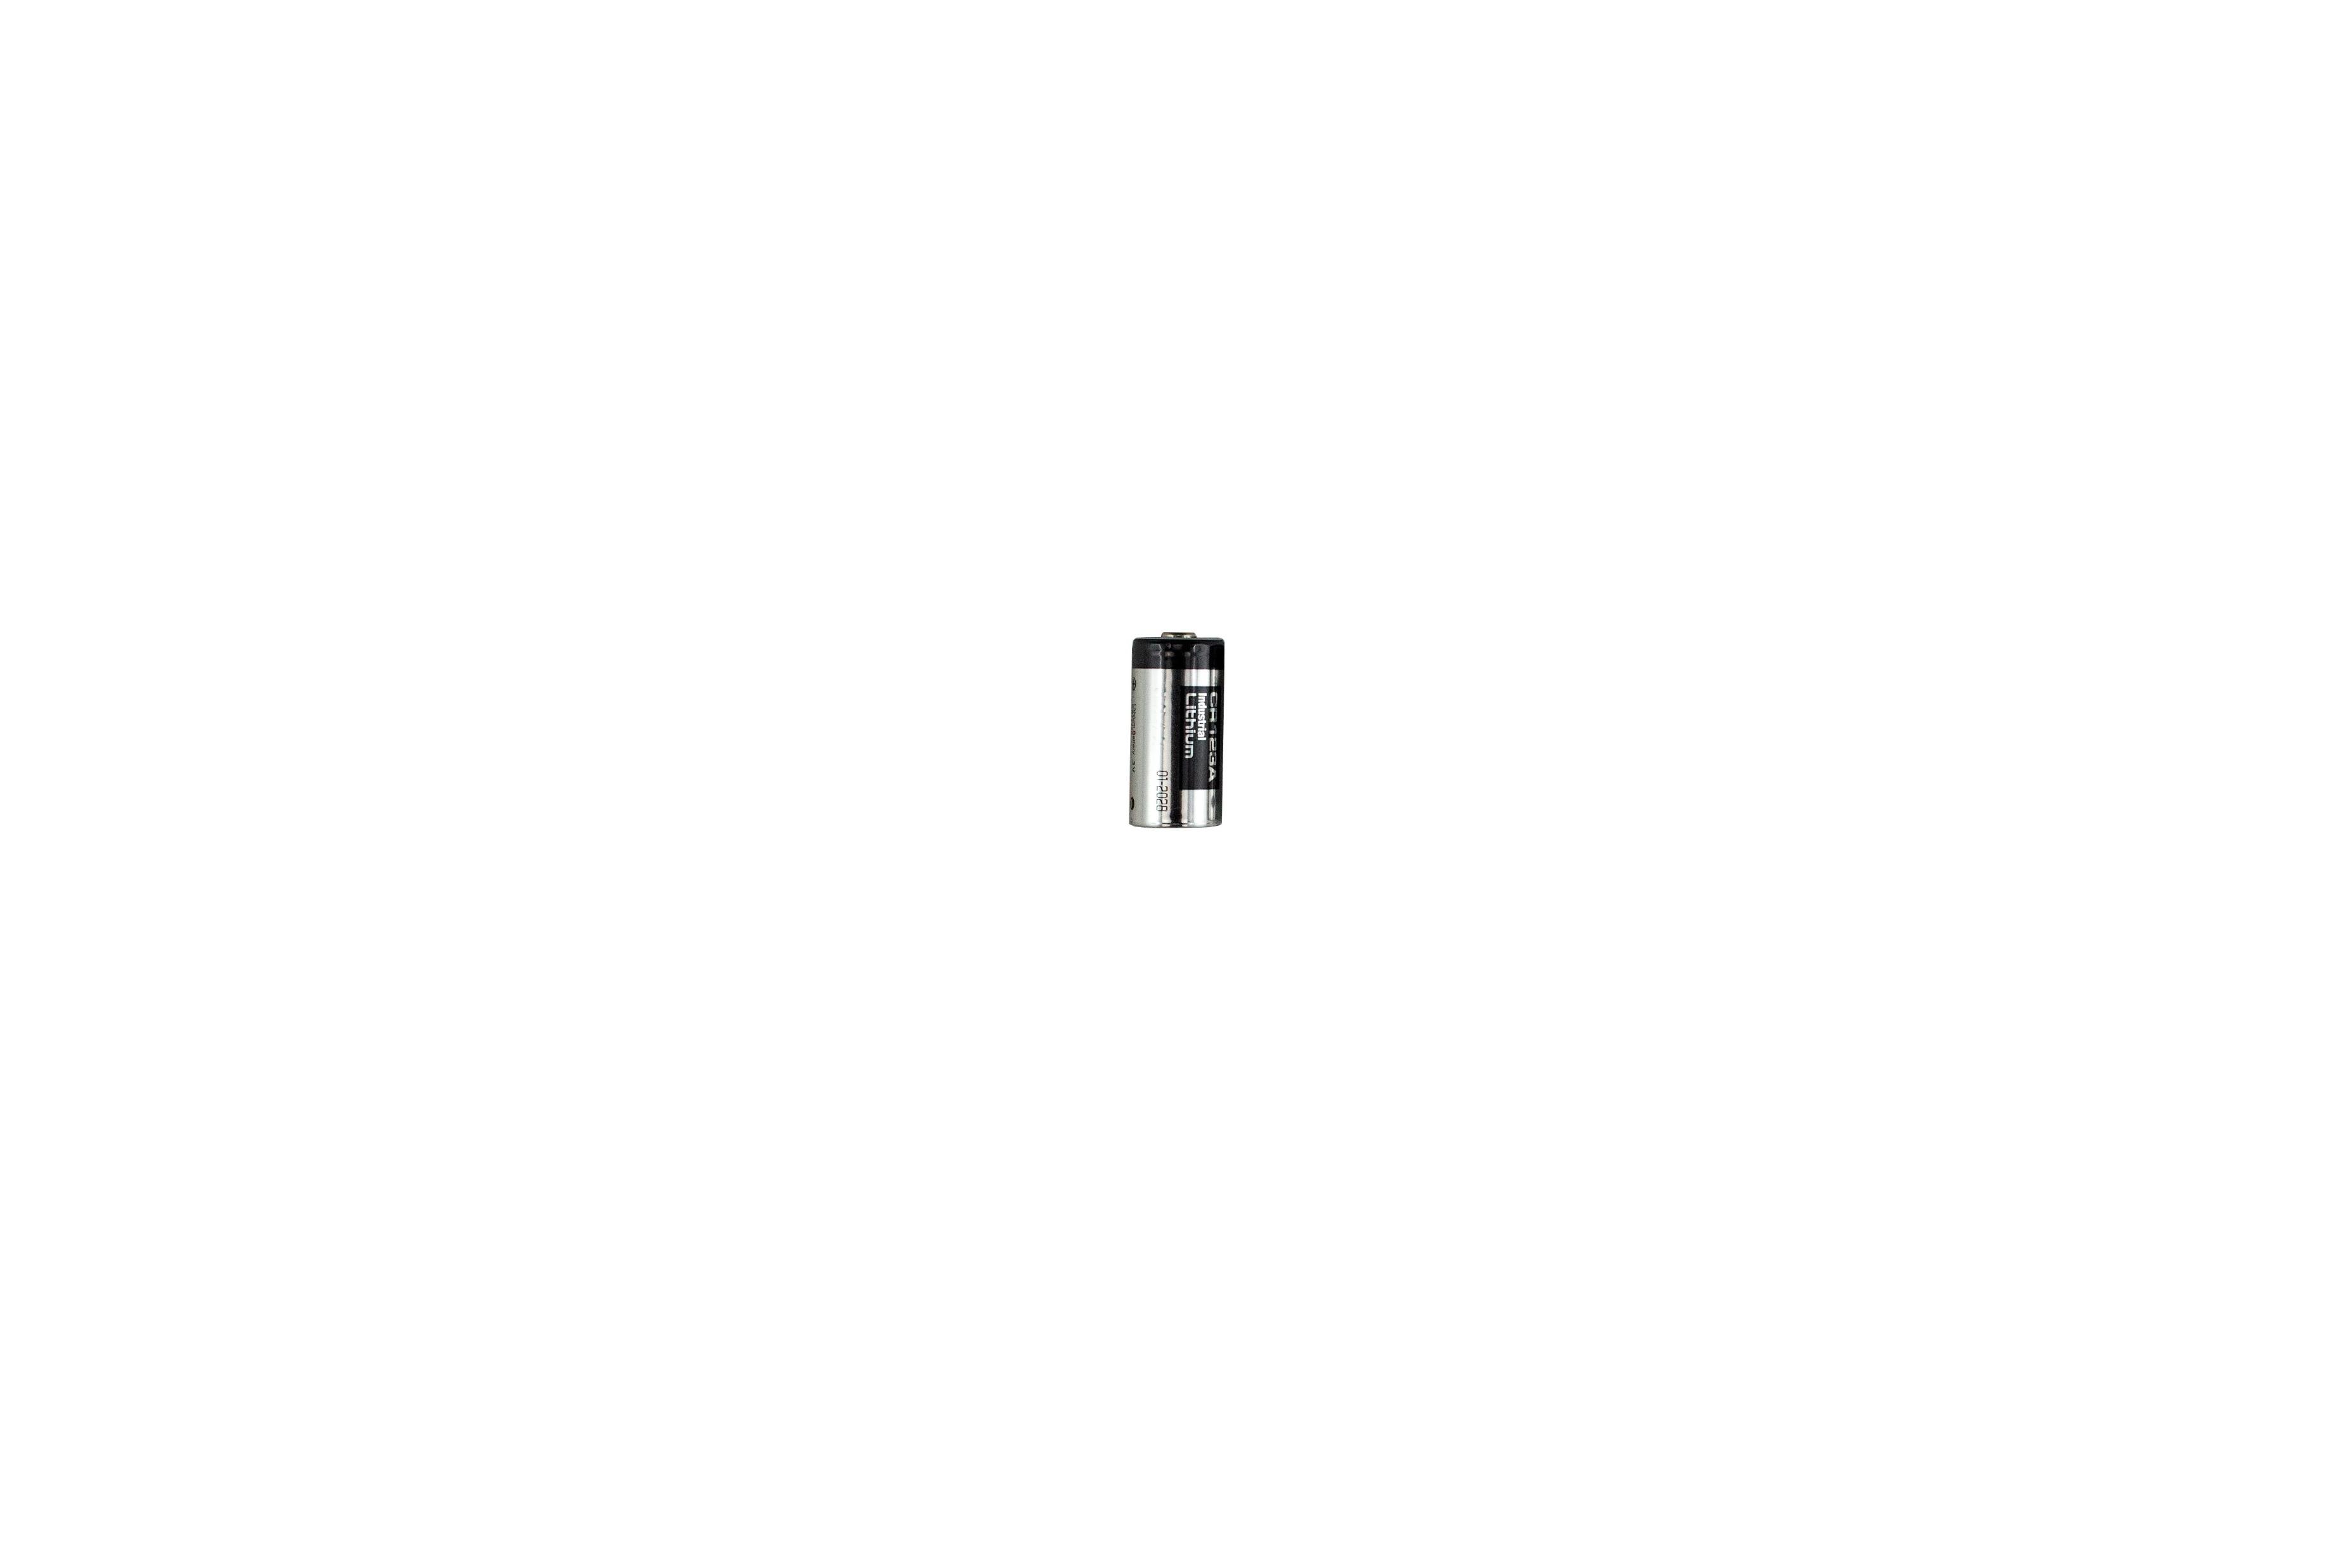


3 mounting screws for lock plate


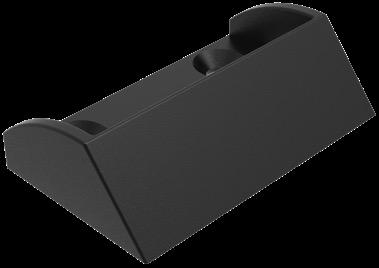
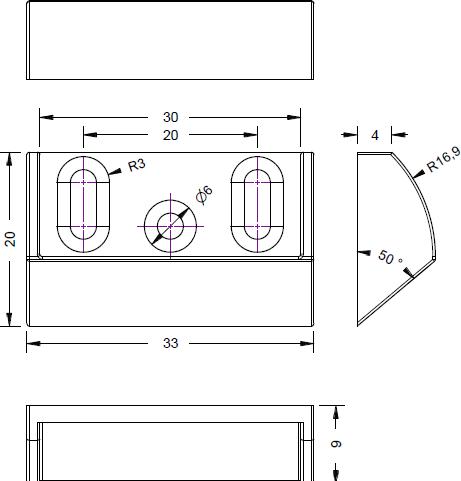

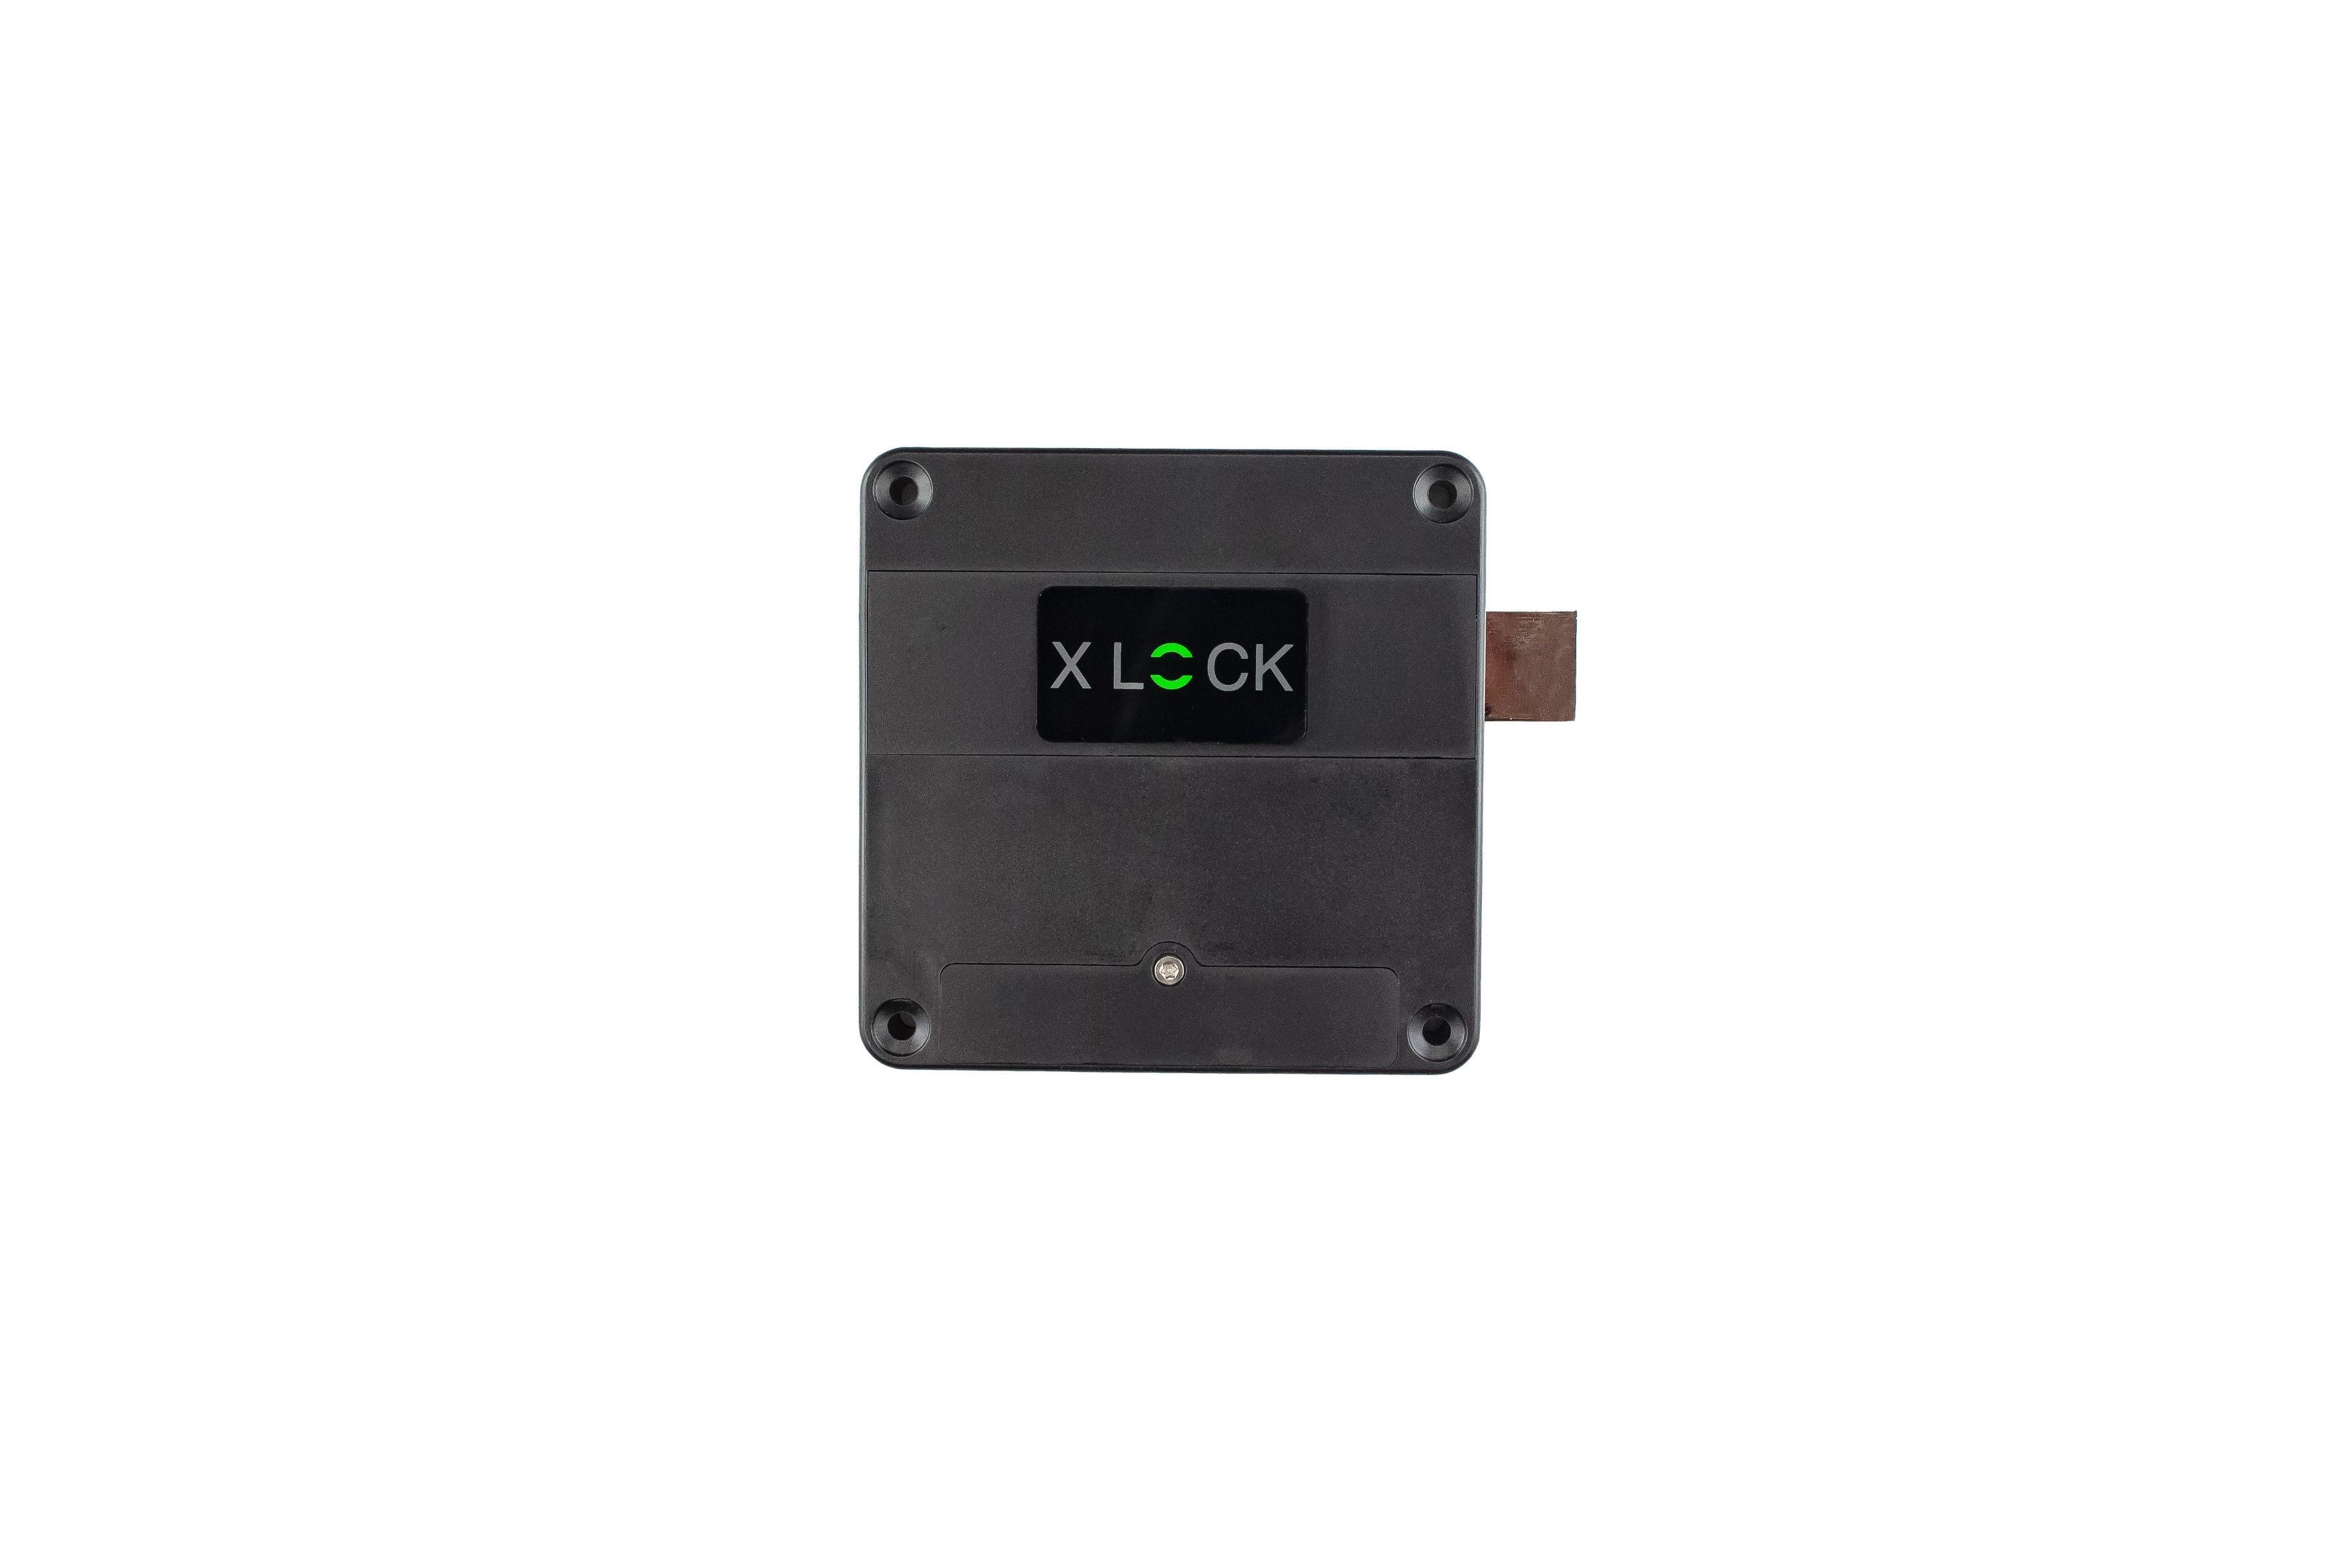
 Lock XL40
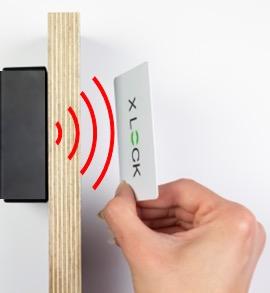
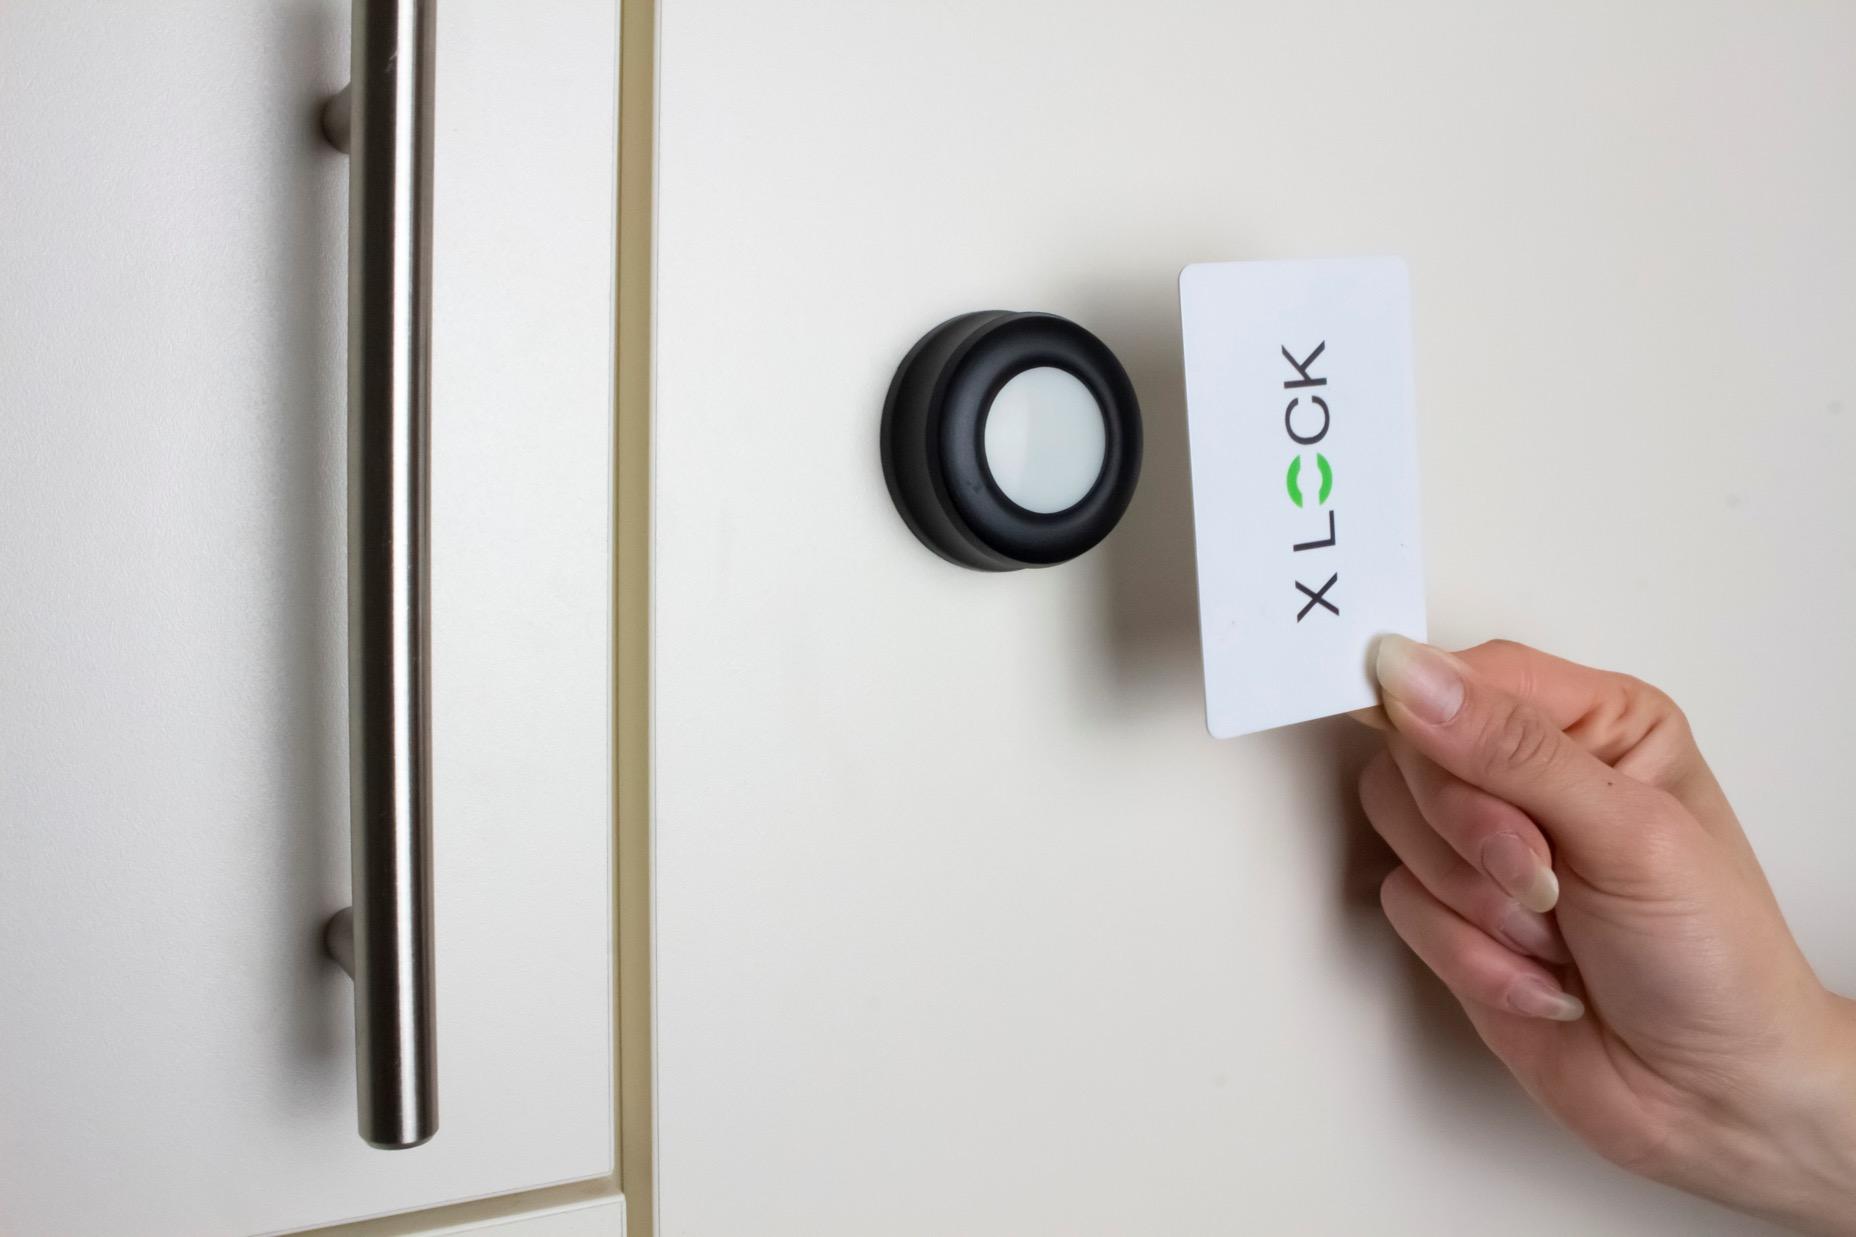
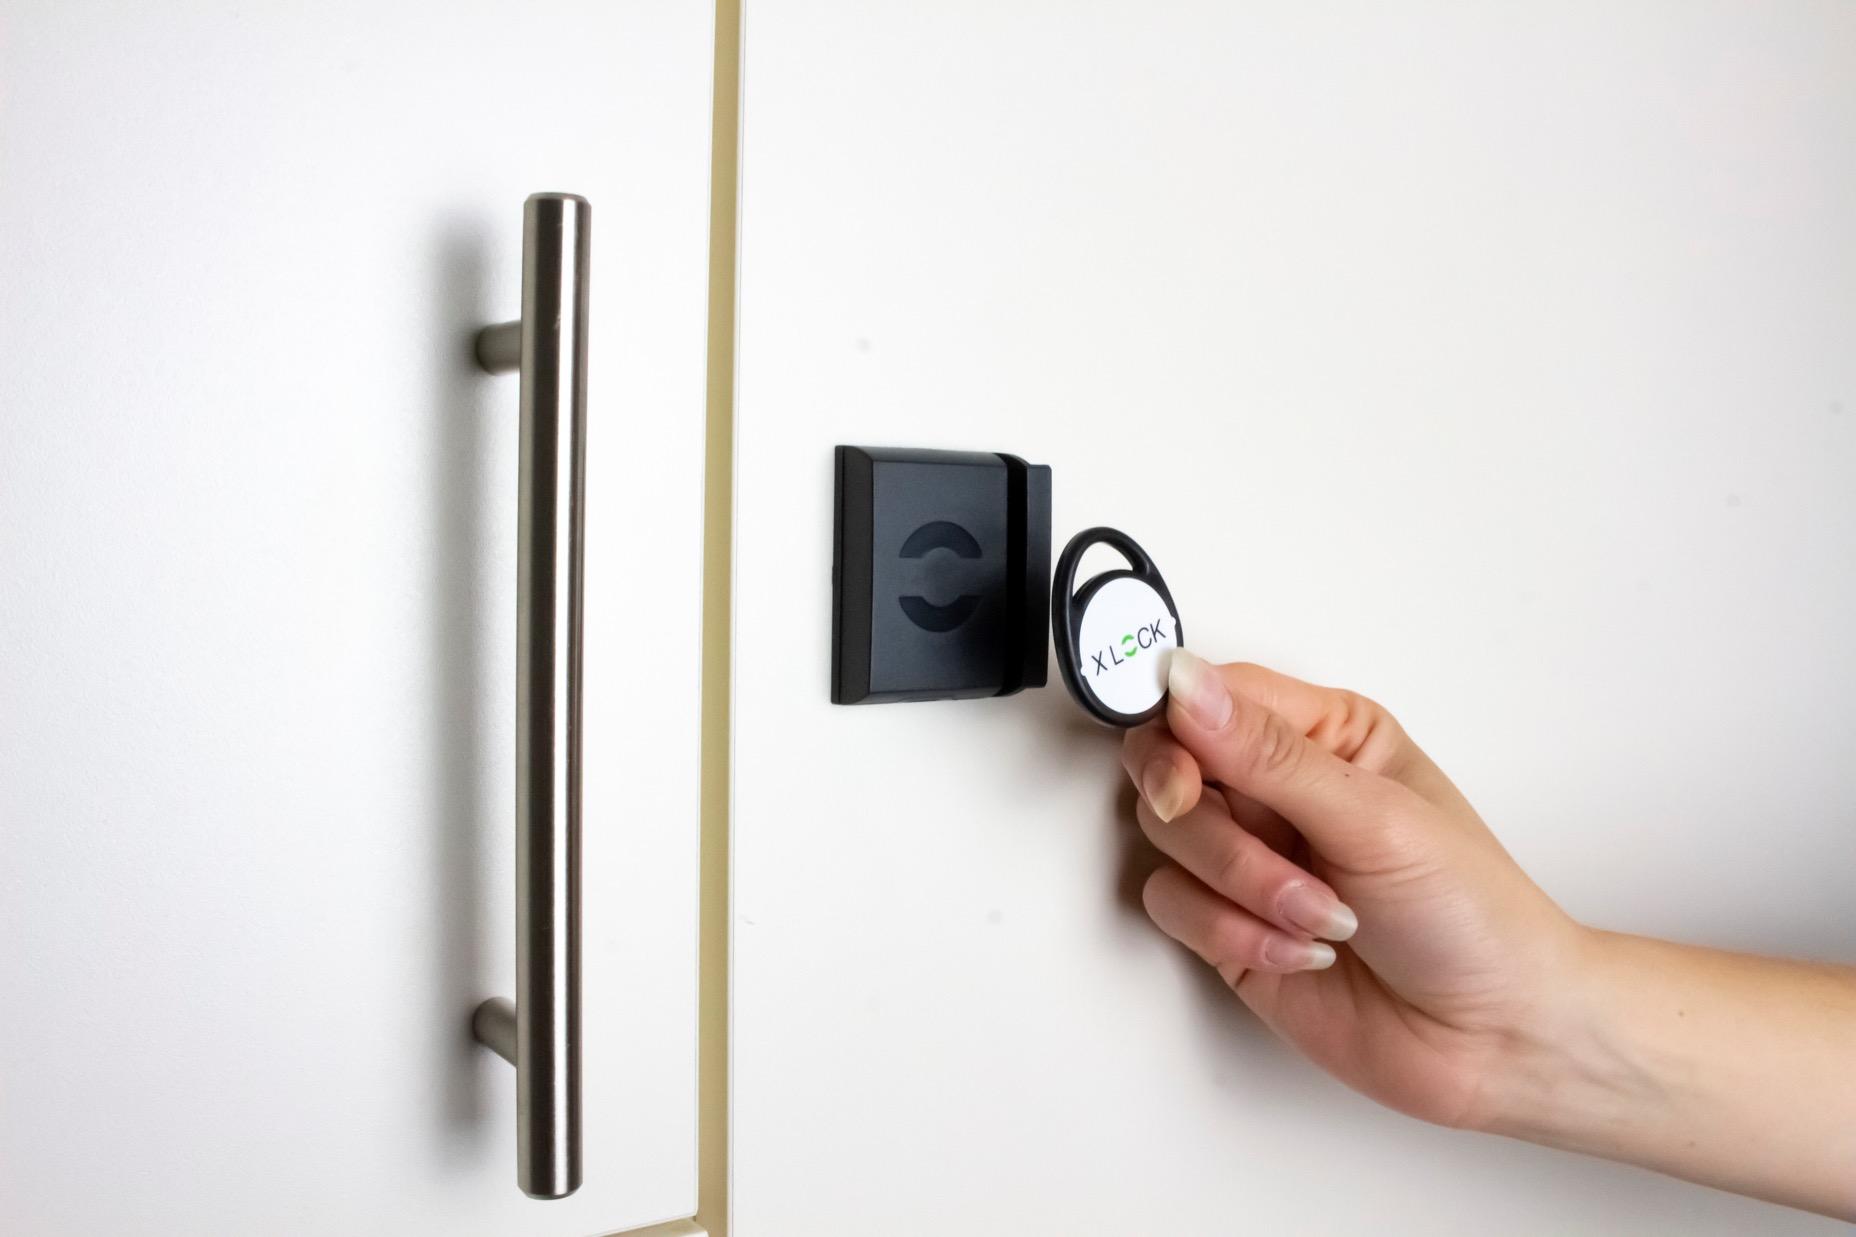
The reading distance depends on the material of the door and the transponder. In the case of concealed installation, the reading distance must be checked before installation.
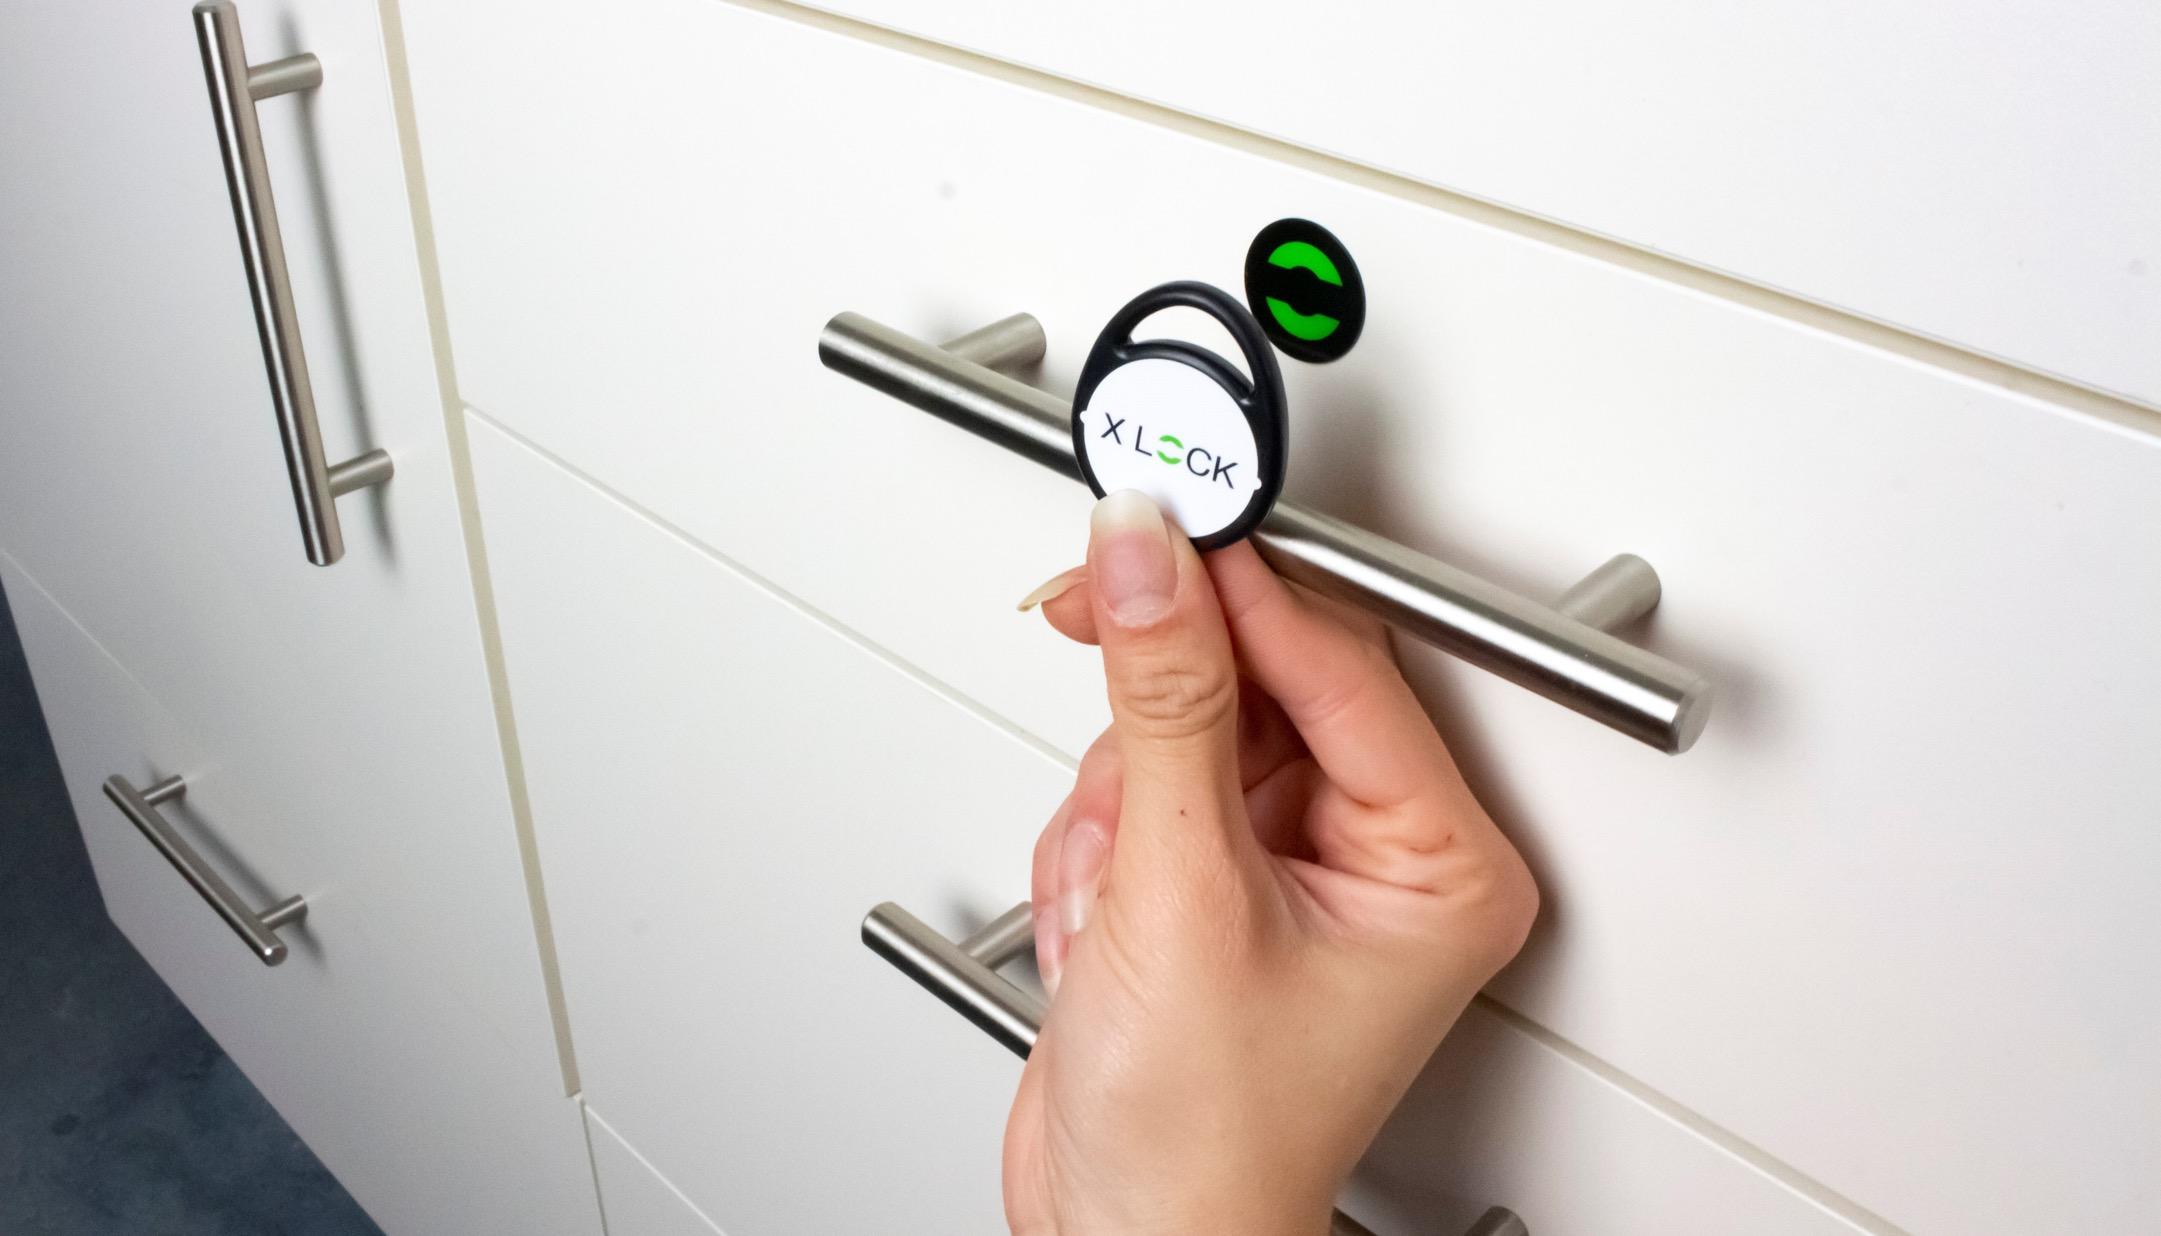
The optimal RFID reading distance for Mifare® Classic 4 byte key fobs is up to 22mm +/ 3mm.
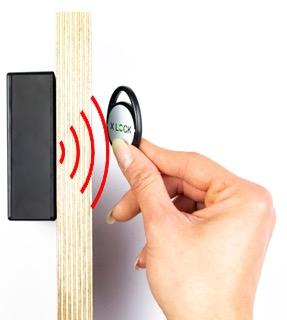
The reading distance depends on the material of the door and the transponder. In the case of concealed installation, the reading distance must be checked before installation.
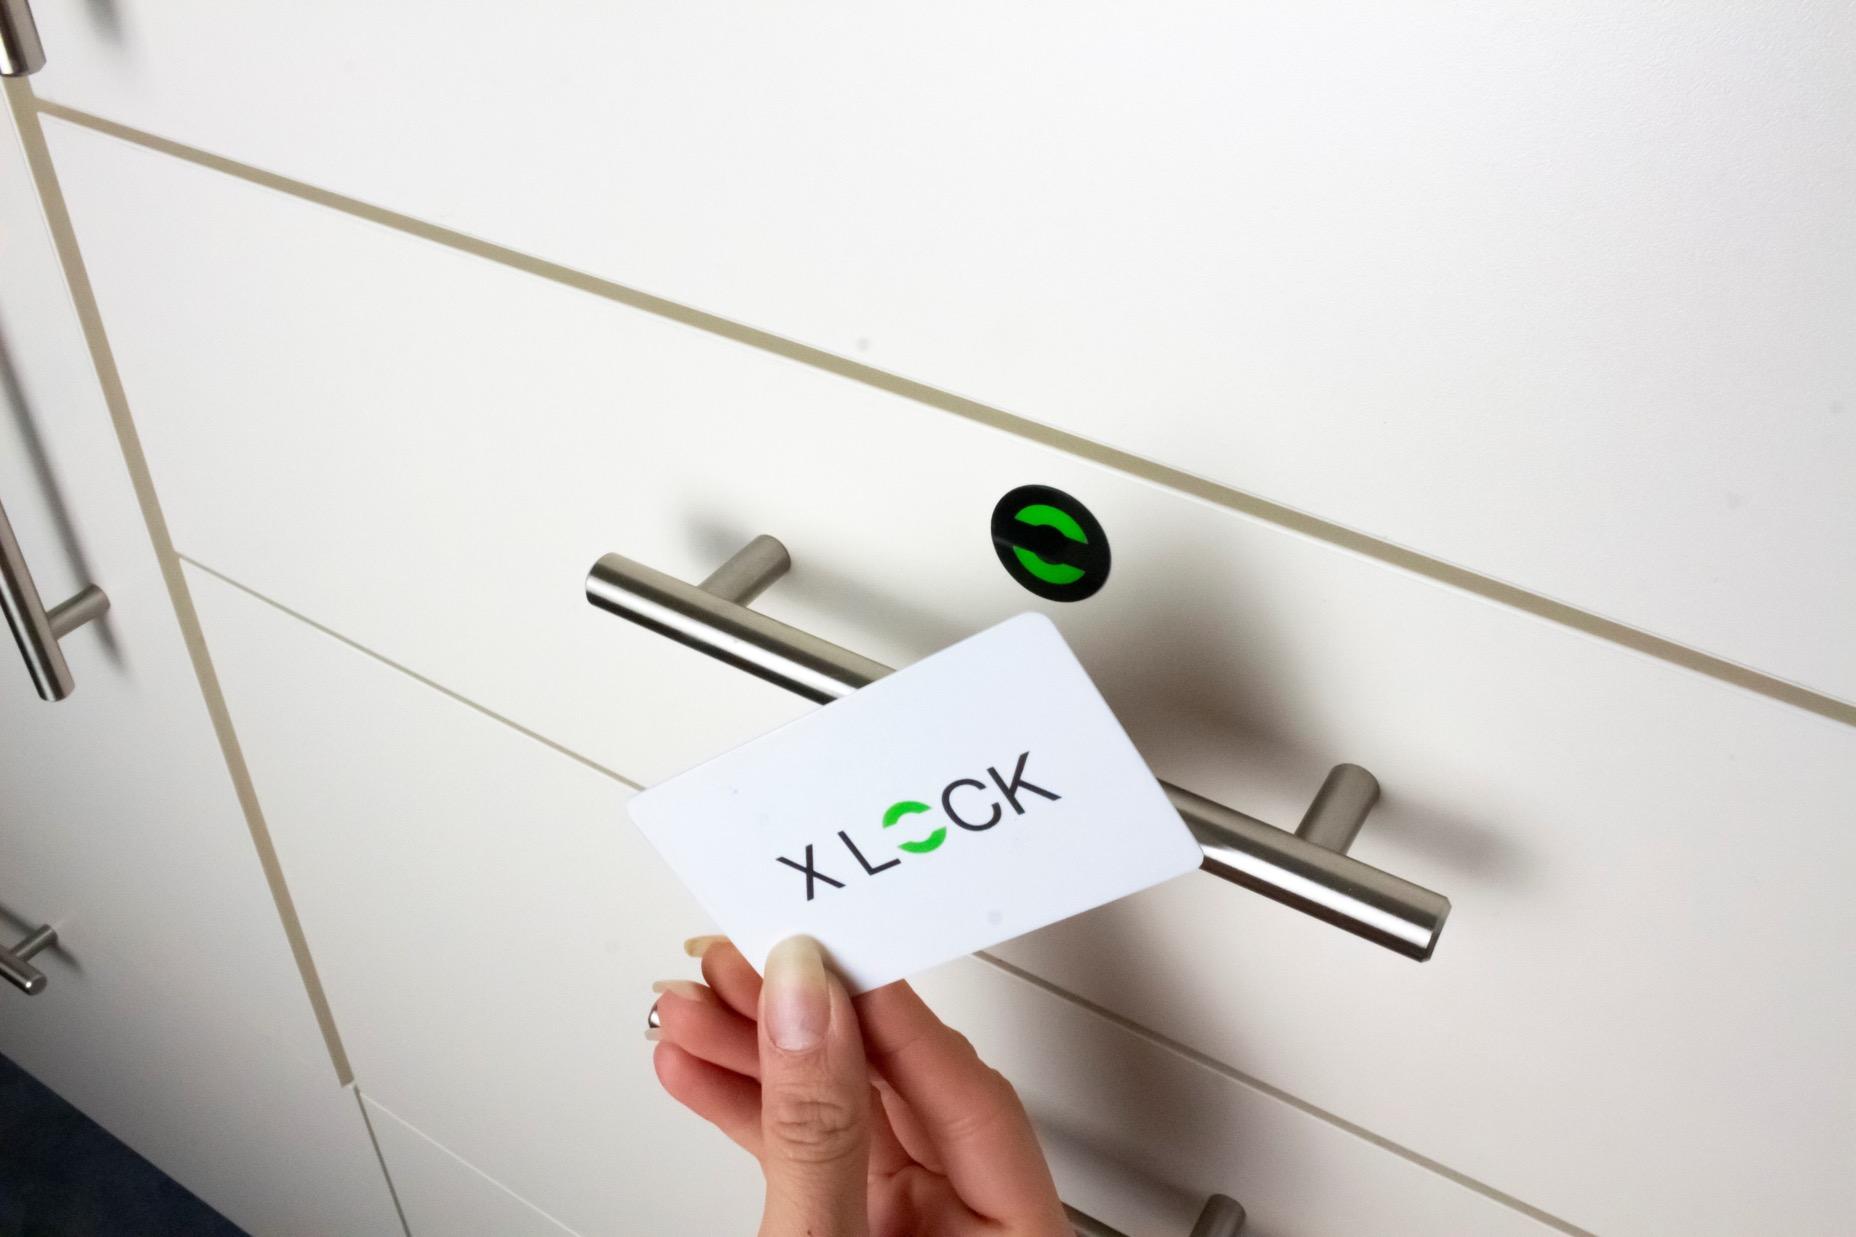
The optimal RFID reading distance for Mifare® Classic 4 byte ID cards is up to 25mm +/ 3mm.

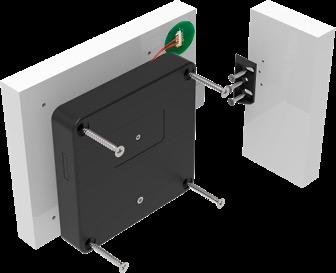
Drawing of recessed antenna. Antenna should be recessed right under the lock.
IF you have to recess the antenna, please order article number XLOCK 44.

With Mifare® Desfire transponders, the reading range often is weak.
The antenna must therefore be recessed in the front door, or an external antenna should be used. (see pictures on the right)
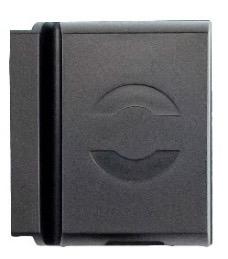

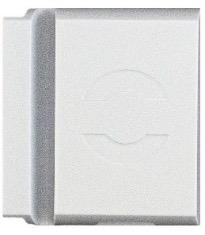

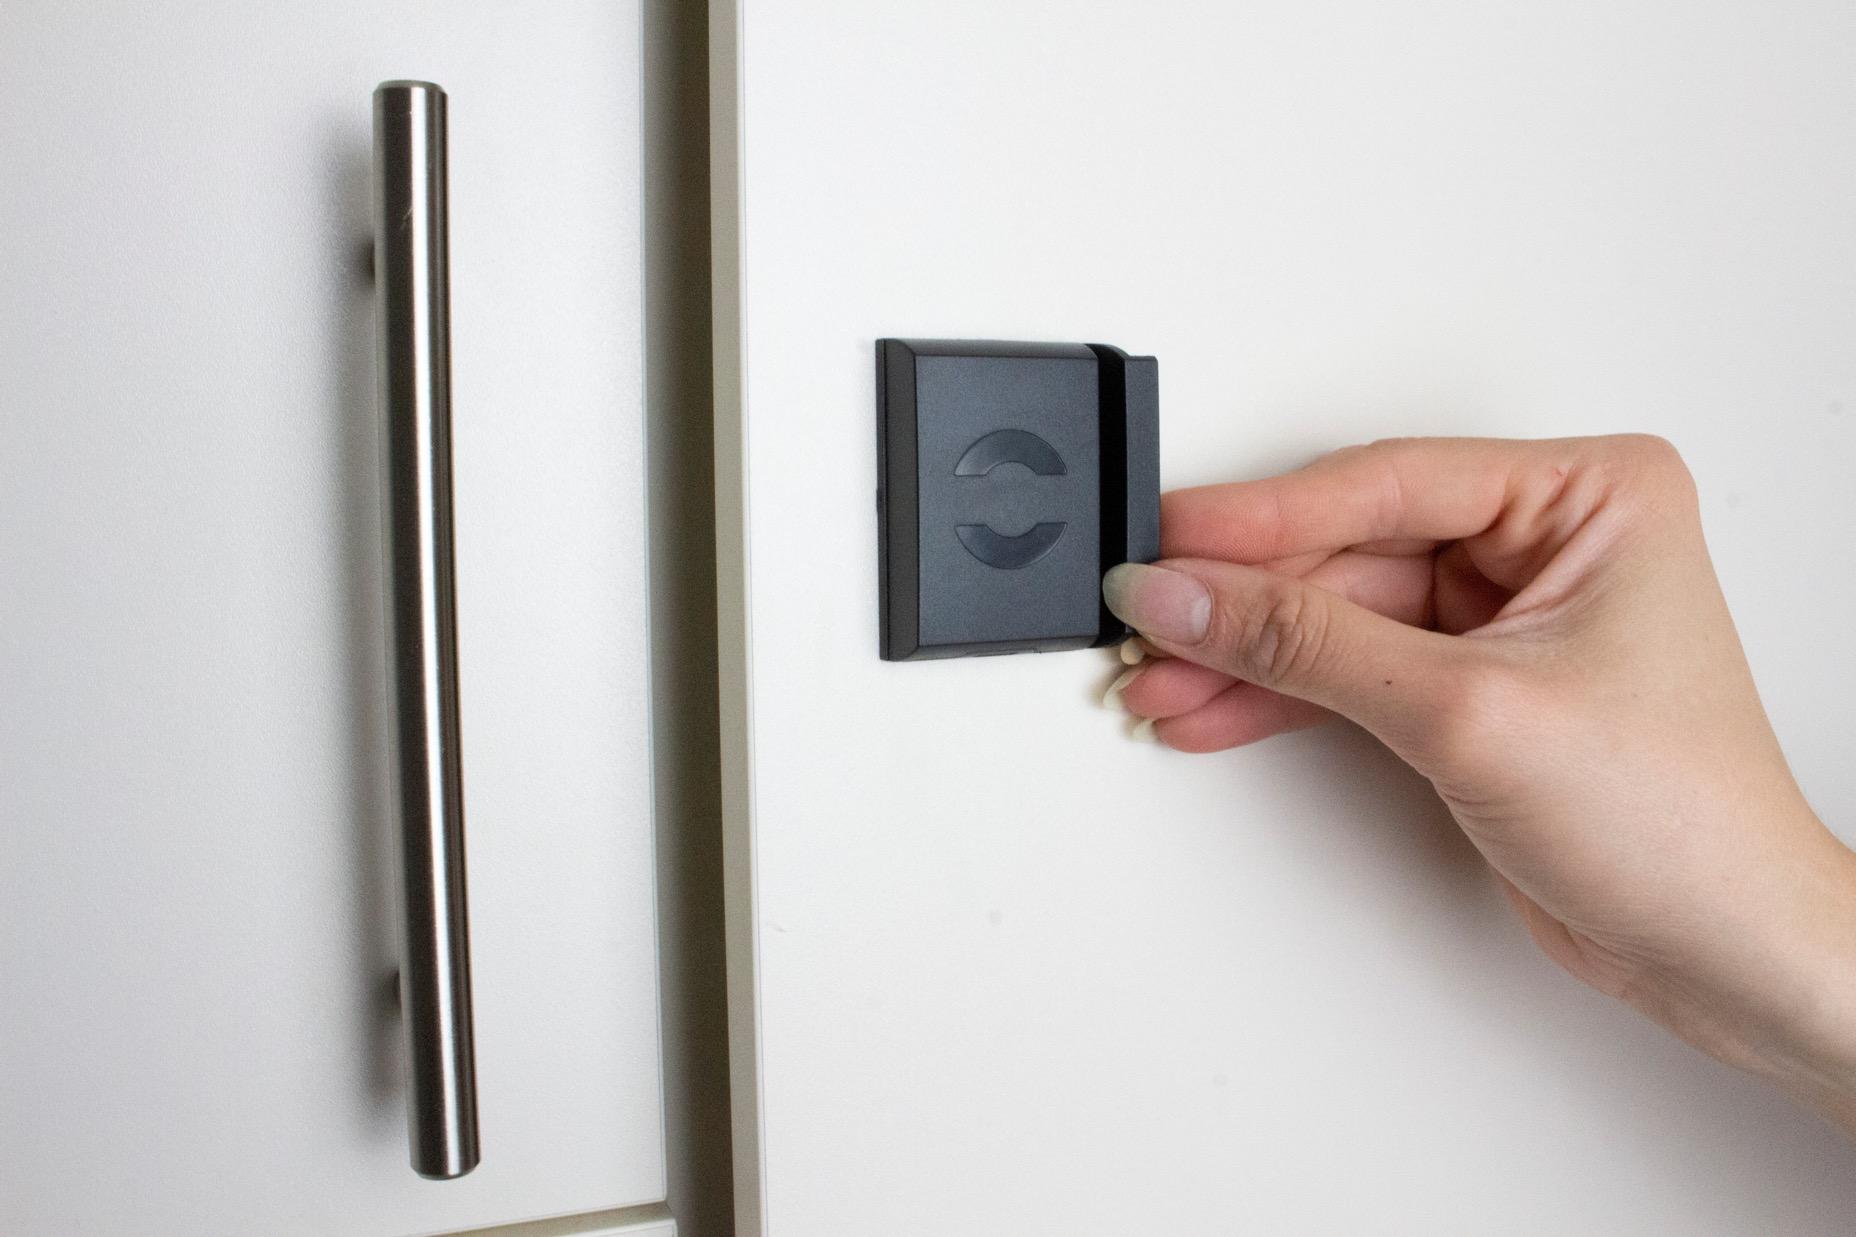
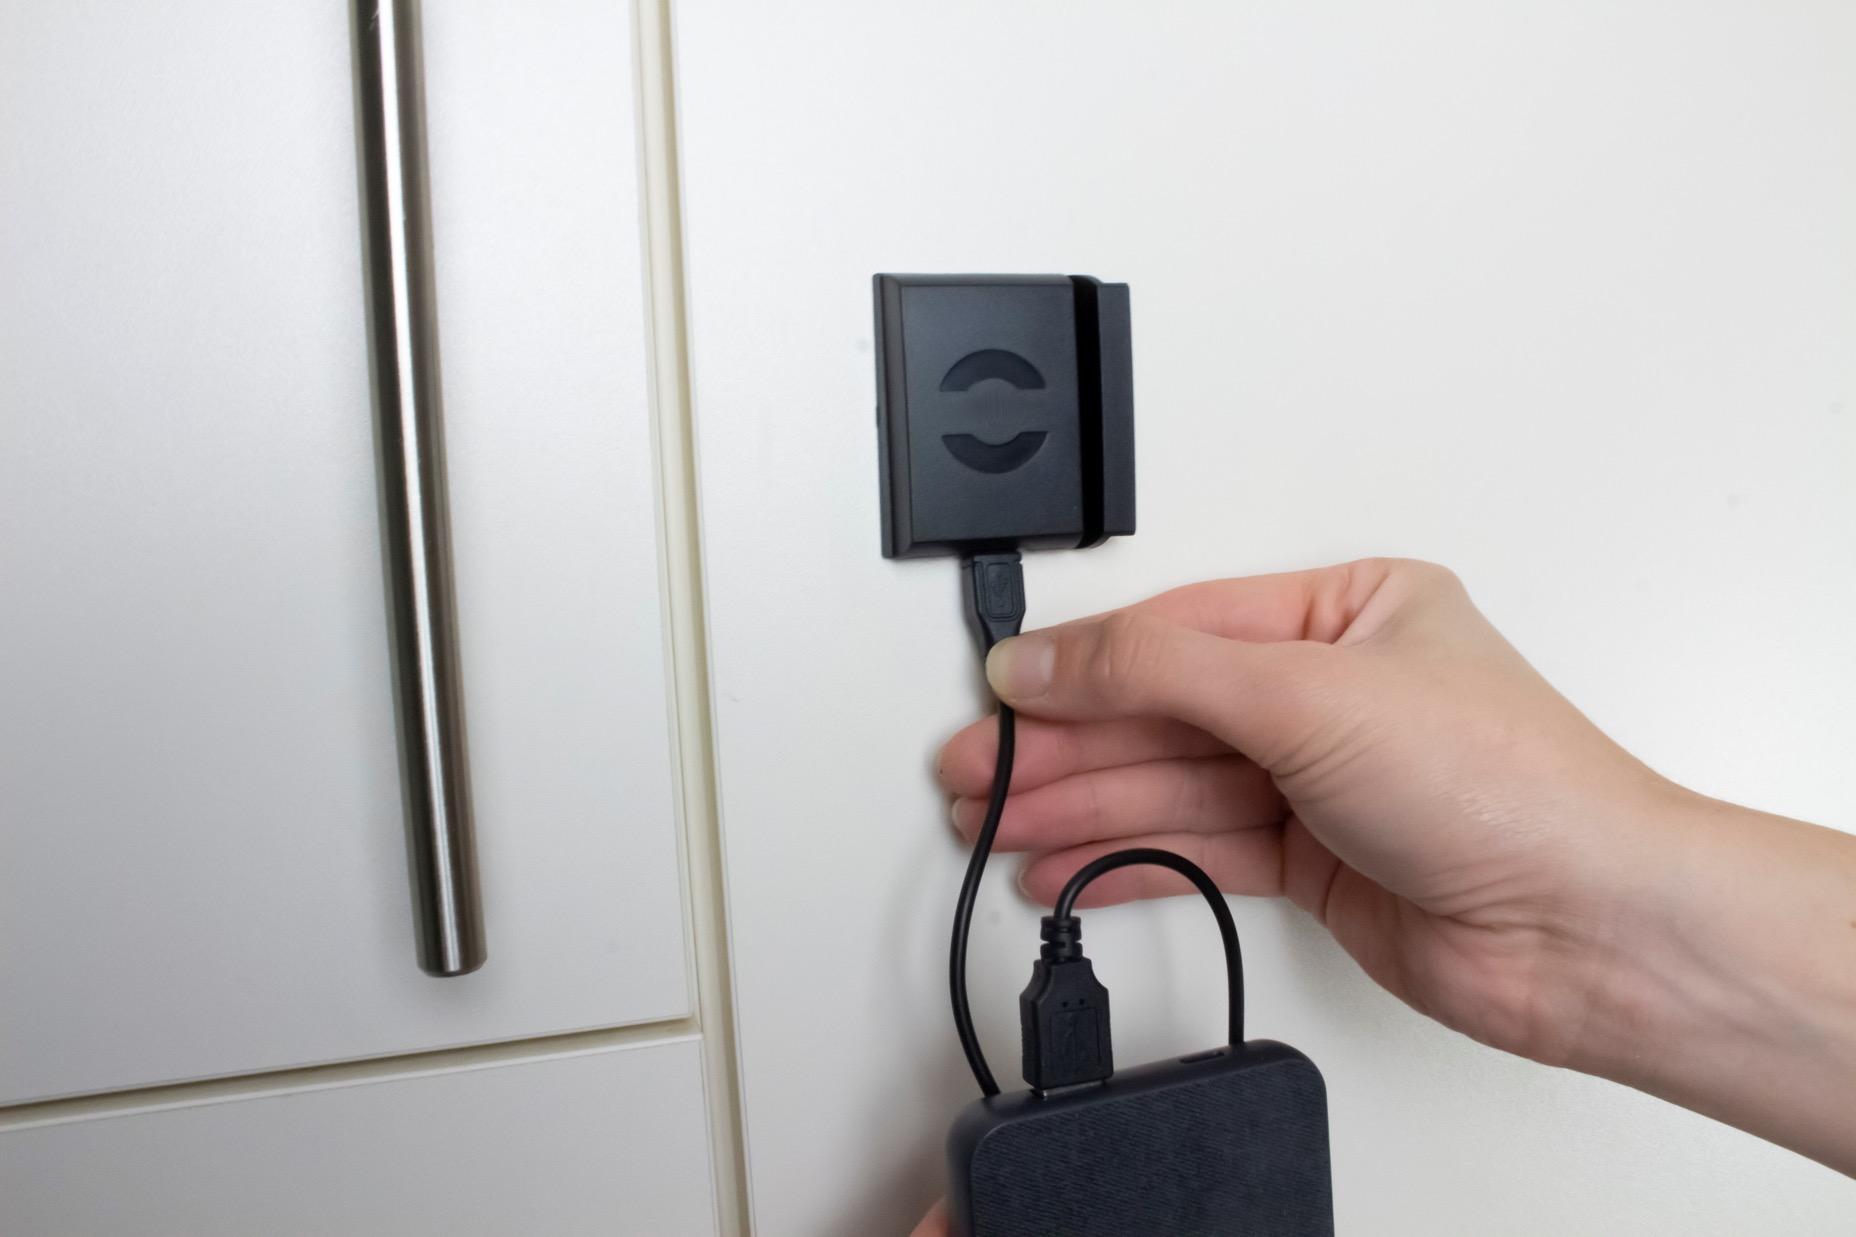



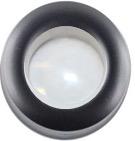
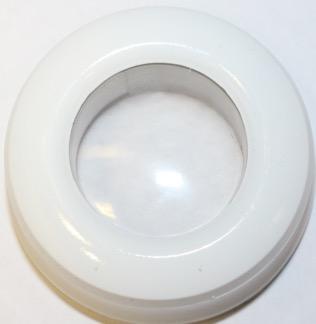
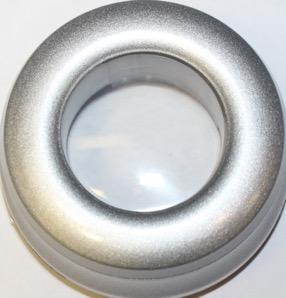


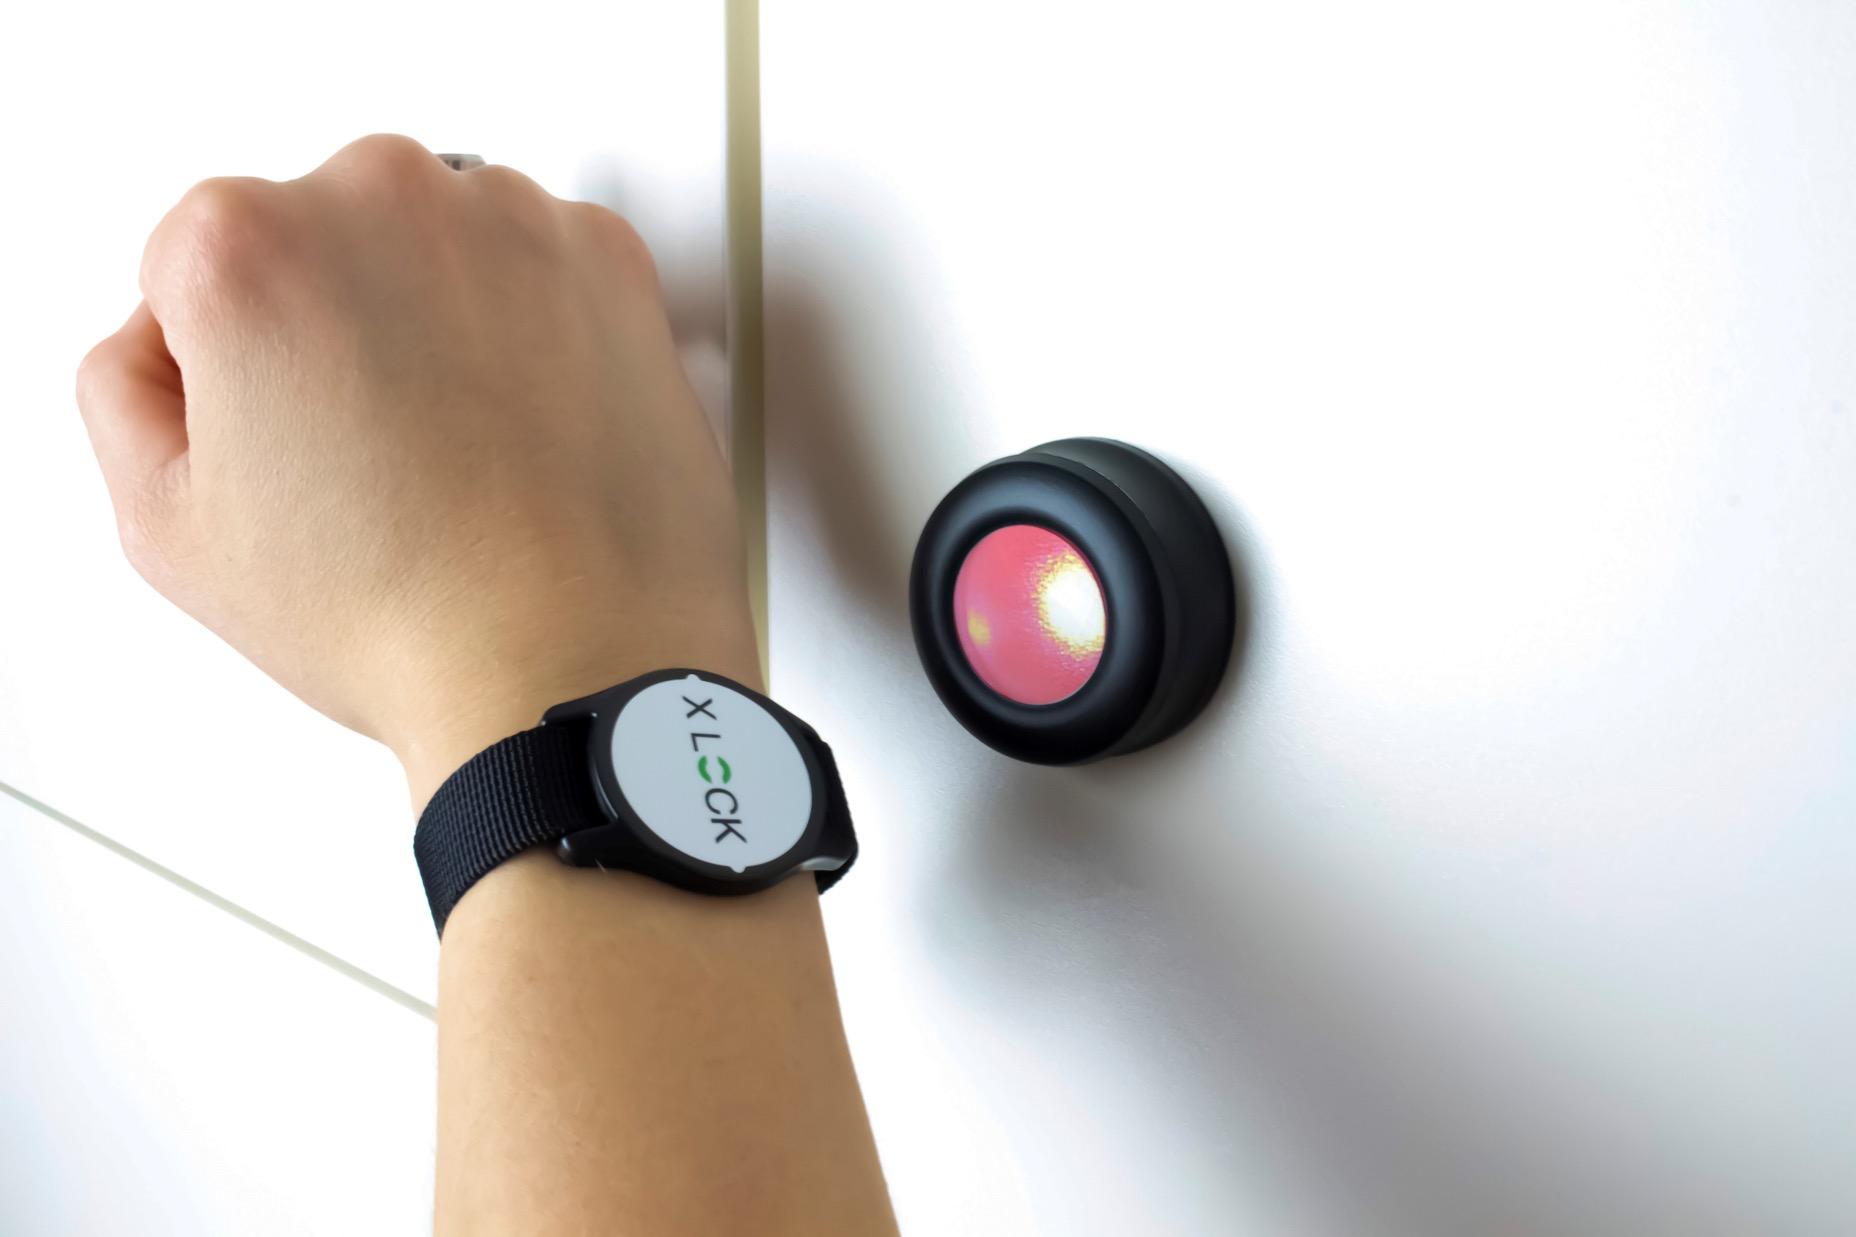


FLEX = maximum flexibility in programming
With this electronics it is possible to set 10 different operating modes. Programming and adjustment is easy and can be done at any time, even when installed. Programmed transponders and master cards will not be deleted during the changeover.
The following modes are available:
Mode 01 Fix Code / NFC / 4 Seconds (NFC = DesFire + Mifare Classic)
Mode 02 Fix Code NFC Open/Close (NFC = DesFire + Mifare Classic)
Mode 03 Freelocker Sector 10 0 hours (Mifare Classic 4 Byte Sector 10)
Automatic locking after 4 seconds
Manuel unlocking/locking
Mode 04 Freelocker Sector 10 XX hours (Mifare Classic 4 Byte Sector 10) Autmatic unlocking after XX hours
Mode 05 Freelocker NFC 0 hours (NFC=DesFire + Mifare Classic)
Mode 06 Freelocker NFC + XX hours (NFC =DesFire + Mifare Classic)
Automatic unlocking after XX hours
Mode 07 Freelocker Sector 10 0 hours (Mifare Classic 4 Byte Sector 10)
Mode 08 Freelocker Sector 10 XX hours (Mifare Classic 4 Byte Sector 10) Automatic unlocking after XX hours
Mode 09 Freelocker NFC 0 hours (NFC=DesFire + Mifare Classic)
Mode 10 Freelocker NFC XX hours (NFC=DesFire + Mifare Classic)
Automatic unlocking after XX hours
Mode 01 06:
3 master cards function as programming cards and emergency opening cards.
Mode 07 10:
3 master cards as programming cards with the possibility of programming 5 emergency opening cards. The 5 emergency cards have the function to unlock and lock the lock again after an emergency opening. The transponder/card that locked the lock in Freelocker mode will after the emergency opening still have the possibility to unlock. The transponder can be deleted with a desk cleaner.
The master cards are unique and are programmed in each lock per project/building. These cards are required to program and delete service cards, emergency opening cards and user cards. Up to 3 master cards, 5 emergency opening cards and 47 user transponders can be programmed per lock.


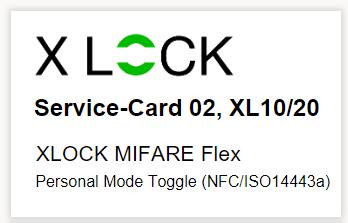
With a master card and the service cards 01….. to 10, the lock can be programmed in mode 01……to mode 10. See details for all mode on next page.

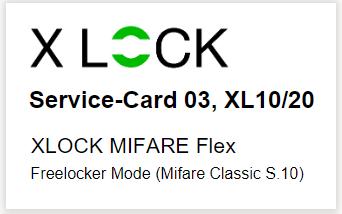
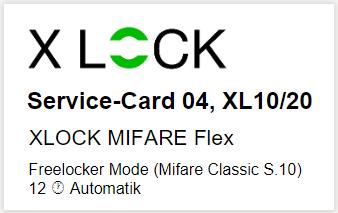
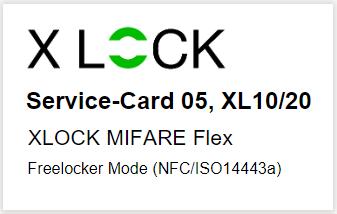
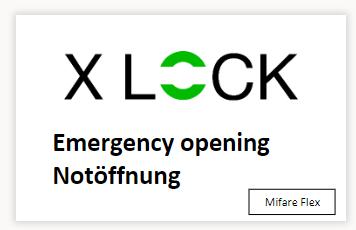
A blocked lock can be opened with an emergency opening card only works with Freelocker Mode 7,8,9 and 10. The lock remains unlocked and can be locked again with the emergency opening card. The user ID that locked the locker remains saved. This means that the user card can later open the lock again.



 Master
The lock can be programmed in Mode 01 with a master card and the service card 01.


In Mode 01, up to 47 transponders (type ISO14443a / NFC) can be programmed per lock. This mode is also called "Personal Locker" or "Fixcode".

Only programmed ID Cards can lock and unlock the lock. After an authorized ID Card has been identified, the lock unlocks and automatically locks again after 4 seconds. The storage just needs to be closed and the lock is locked.
With a master card and the service card 02, the lock can be programmed or switched to mode 02 .
In mode 02, up to 47 transponders (type ISO14443a / NFC) can be programmed per lock. This mode is also called "Personal Locker" or "Fixcode".
After an authorized ID Card has been identified, the locks unlocks and remains unlocked. The next time an authorized ID Card is identified, the lock locks.
With a master card and the service card 07, the Freelocker mode 07 R/W sector 10 (free choice of locker) can be programmed.

Any ID Card can be used to lock an available locker. Only this ID Card can afterwards be used to unlock the locker again. .
In addition, "cabinet occupied" is written to the ID Card/key fob. With an info terminal the locker number can be accessed.
! Only works with Mifare 4 byte type Classic 1K / Mifare and Classic 4 K transponders!
With a master card and the service card 08, the Freelocker mode 08 R/W sector 10 (free choice of locker) can be programmed.
Same as Mode 07, but the lock unlocks automatically XX hours after the last booking.
! Only works with Mifare 4 byte type Classic 1K / Mifare and Classic 4 K transponders!
The Freelocker Mode 09 R/W can be programmed with a master card and the service card 09.
No information is written to the transponder.
The lock will not unlock automatically. The lock remains locked with each booking.
! Mifare Classic 1K (4 + 7 bytes) and Mifare Classic 4K (4 + 7 bytes), Mifare DesFire EV1, Mifare light, LEGIC® advant ATC2048 and ATC4096, NFC (ISO 14443a) can be used!
The Freelocker Mode 10 R/W can be programmed with a master card and the service card 10.
No information is written to the transponder. The lock will be unlocked automatically XX hours after the last booking.
! Mifare Classic 1K (4 + 7 bytes) and Mifare Classic 4K (4 + 7 bytes), Mifare DesFire EV1, Mifare light, LEGIC® advant ATC204 8 and ATC4096, NFC (ISO 14443a) can be used!


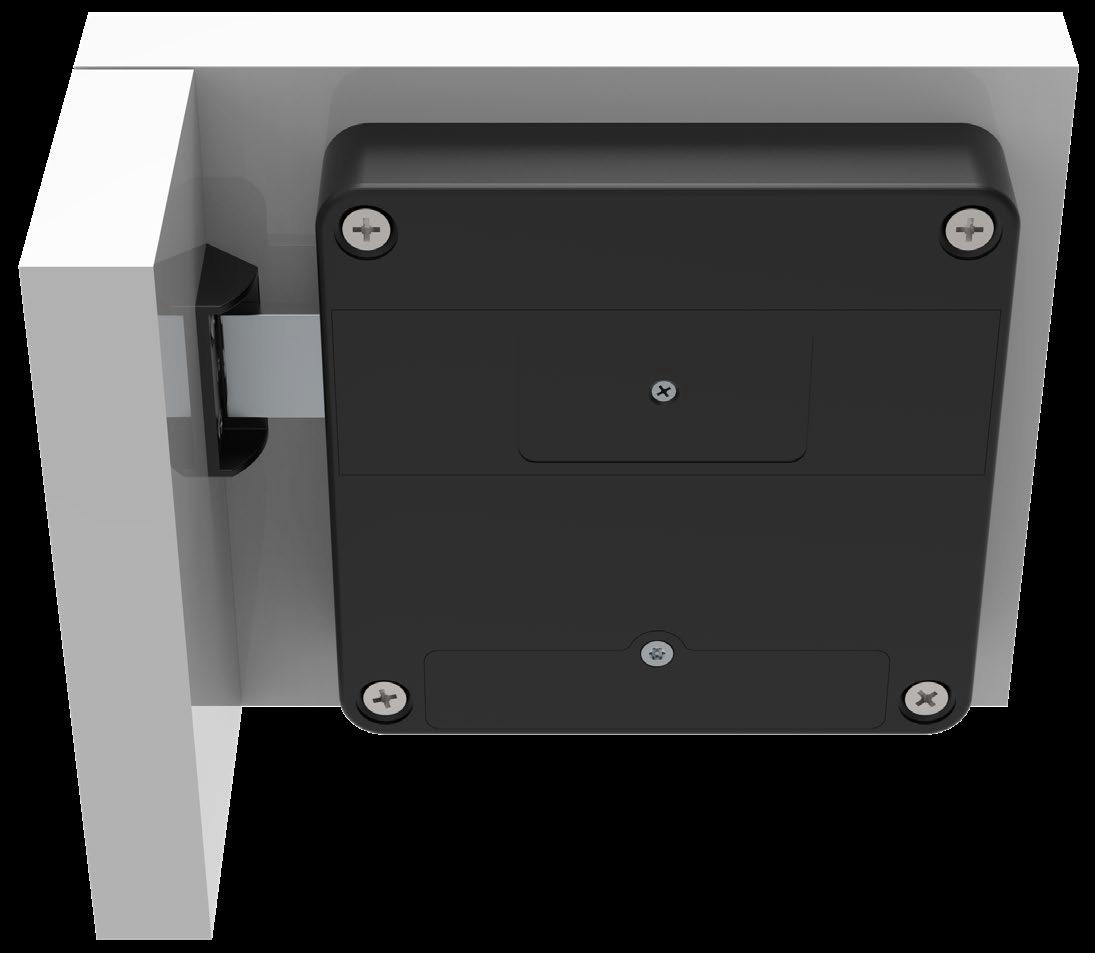
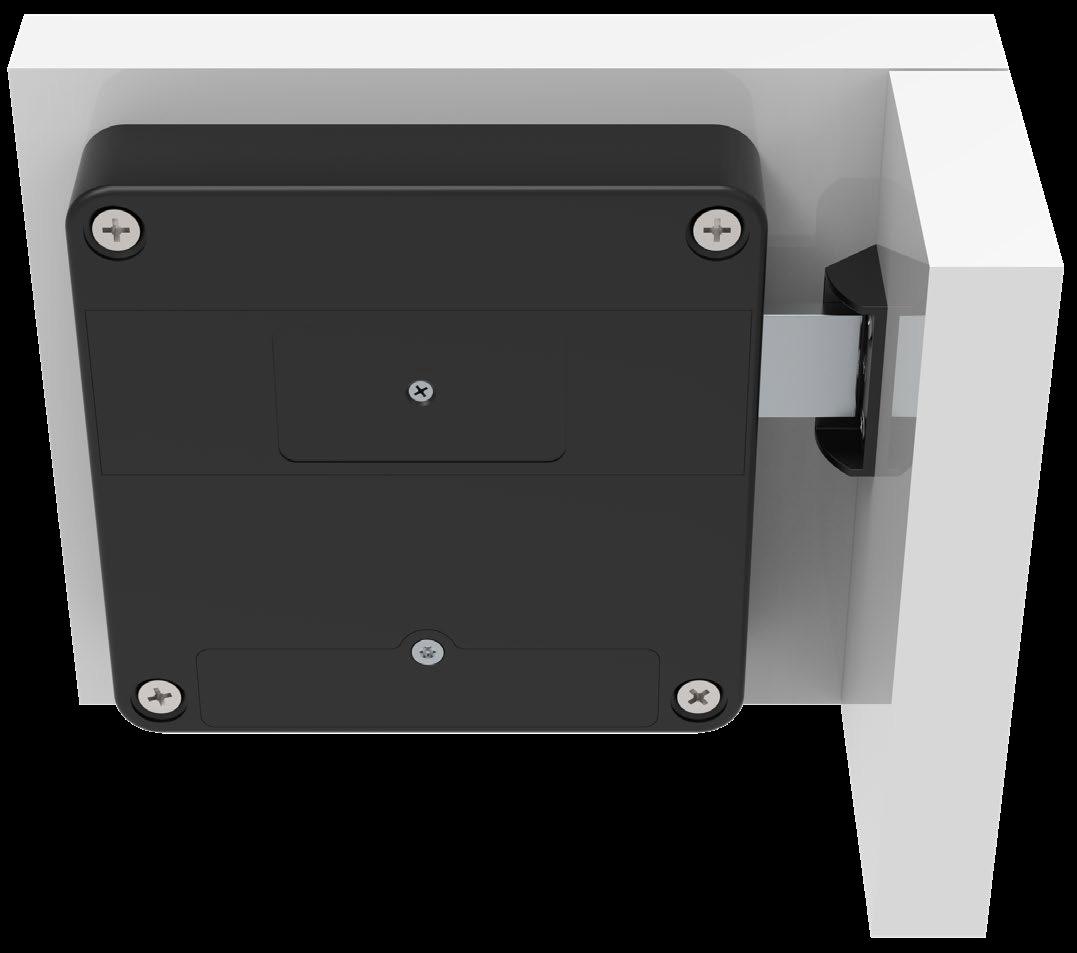
Tighten the screws with a screwdriver and do not use drilling machines.


Tighten the screws with a screwdriver and do not use drilling machines.


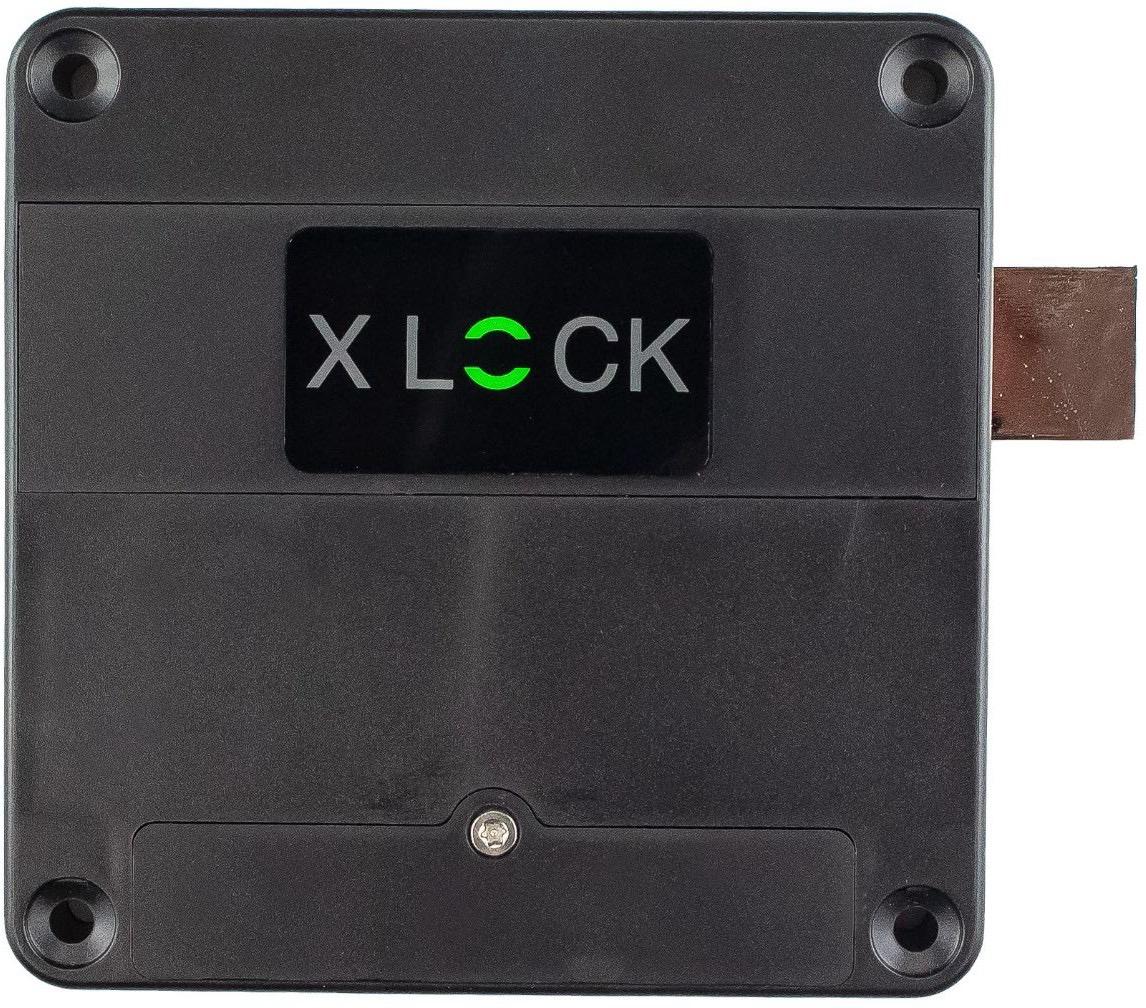
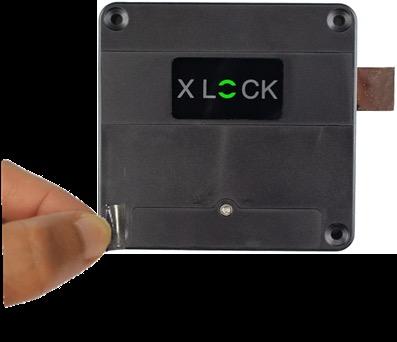
1) Remove battery strip = system is activated, and the RFID field is now working.
2) Avoid an overlapping reading field of the locks, otherwise the battery will be discharged quickly.
3) Do not activate batteries before installation.
4) Always remove batteries for transport!
IF YOU ORDERED THE LOCKS WITH BATTERY.
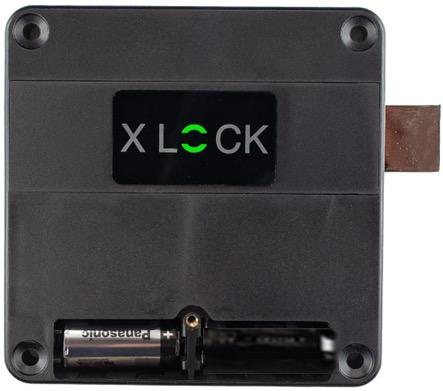
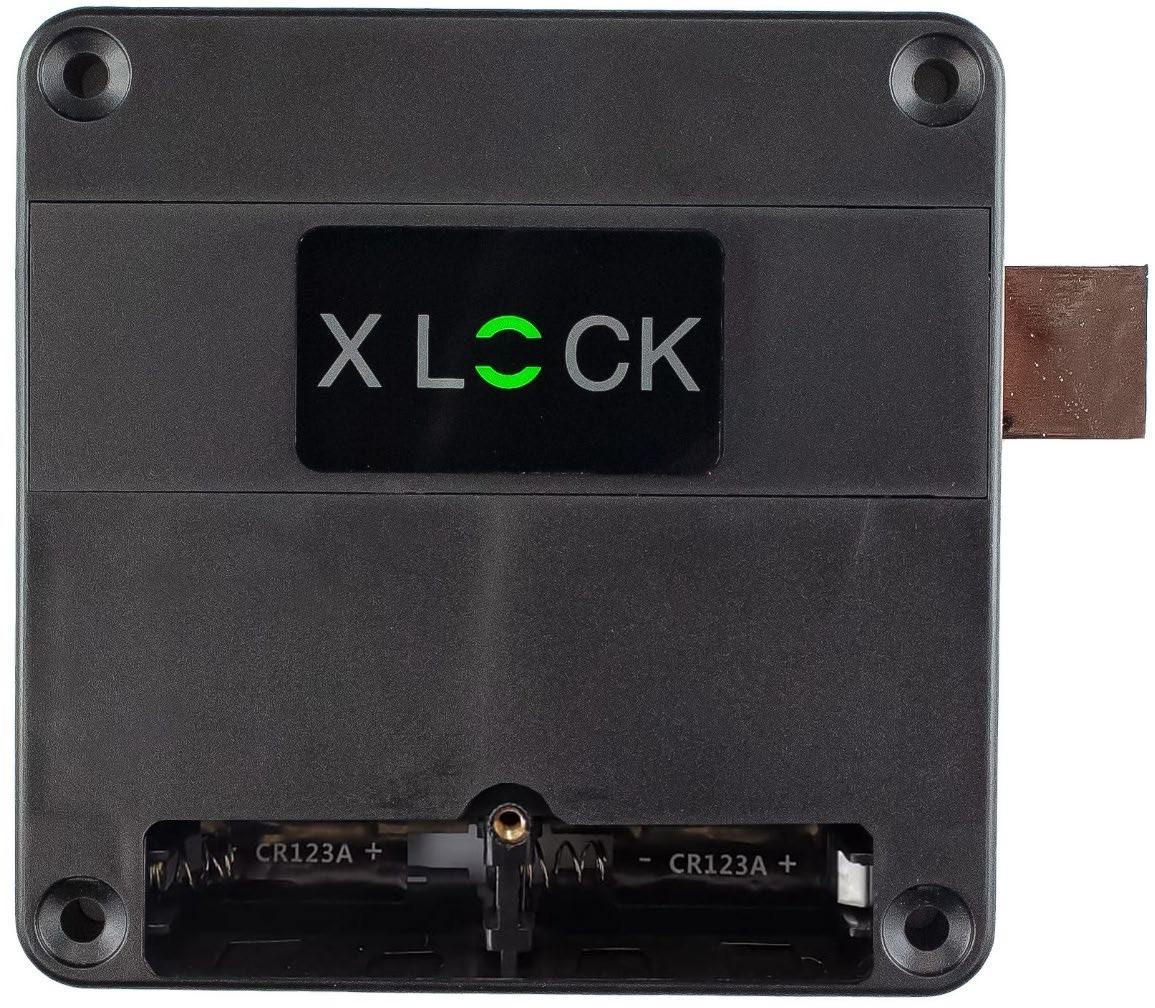
Open the battery compartment cover and insert the batteries with the correct polarity (+/ ).

Battery is inserted with the correct polarity = system and RFID field is activated.
Close the battery compartment cover.
Your lock is now ready for use.
Battery strip is pulled out = system and RFID field is activated.


Reset the lock to the delivery status.
If the reset button is only pressed briefly, the sound is switched off = short signal.

If this happens, the reset button must be pressed briefly again = long signal, tone on.
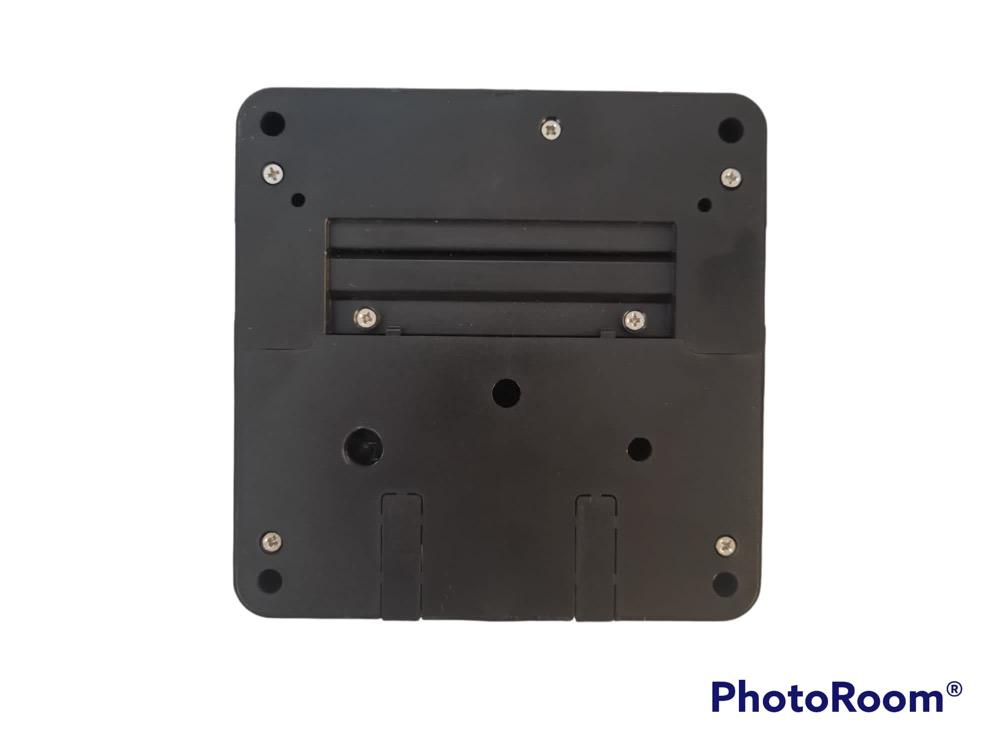
Press the reset button on the back of the lock gently for 3 seconds. until a long signal arises.
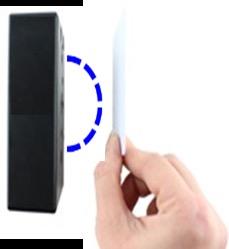



1. Master card is held to the antenna field.


Während es tickt wird die 2. Masterkarte an das Antennenfeld halten.
Während es tickt wird die 3. Masterkarte an das Antennenfeld halten
Hold Master Card to the RFID field.
Programming Service Card
Programming User Card
Only possible in Mode 01 and Mode 02
Hold Master Card to the RFID field.
Ticks for about 5 seconds
Ticks for about 5 seconds
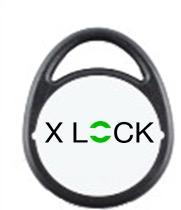
Hold the service card to the antenna field while it is ticking. Two sounds arise and the Service card is programmed.


Hold the User Card to the antenna field while it is ticking. A sound arises and the user card is programmed.





Modus 7, 8, 9 & 10
Hold Master Card to the RFID field.


Ticks for about 5 seconds
A maximum of 5 emergency opening cards can be programmed in Freelocker mode.
While ticking, hold the emergency opening card to the antenna field. Repeat the process for additional emergency opening cards.


Hold Emergency Opening Card to the RFID field.
The lock can be unlocked and locked (open/close mode) with the emergency opening card.

The bolt pulls back > the lock is unlocked.
*If you hold the emergency card to the antenna field a second time, the lock locks again.

Hold Master Card to the RFID field.
Hold the programming card up to the antenna field two more times while ticking.


The latch moves back > lock unlocked Do no longer hold the master card to the antenna field.


After the lock has unlocked, the master card must no longer be held against the antenna field. Otherwise all master cards will be deleted and must be programmed again.


Hold Master Card to the RFID field.
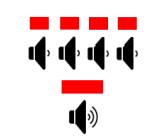
Ticks for about 5 seconds


Hold the programming card up to the antenna field two more times while ticking.
The latch retracts > lock unlocked.
Hold the programming card 4 times to the antenna field while ticking.


The master card is erased after the long beep. The lock is waiting for new master cards to be programmed.


The user cards remain stored in the lock.
Attention: After deleting the master cards, the lock waits for new master cards. 1 3 new master cards must be programmed!
Delete User Card individually
Ticks for about 5 seconds
Hold Master Card to the RFID field.
Hold the user card to the antenna field while it is ticking


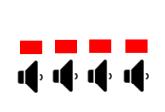
Delete all programmed User Cards
Ticks for about 5 seconds


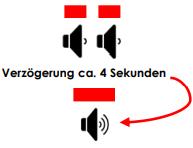
Delay about 4 seconds
Hold Master Card to the RFID field.
Hold the Master Cards up to the antenna field two more times while ticking
The latch retracts > lock unlocked.
Hold the master card up to the antenna field two more times while ticking. Remove the card from the antenna field.


Do not hold the master card to the antenna field again. Otherwise all master cards will be deleted and must be programmed again.


Completely reset the lock
Reset button is pressed briefly once for 1 second > sound ON
Reset button is pressed briefly once for 1 second > sound OFF





Press the reset button for 3 seconds all cards are deleted.
! IMPORTANT ! After a reset, the mode remains saved in the lock.
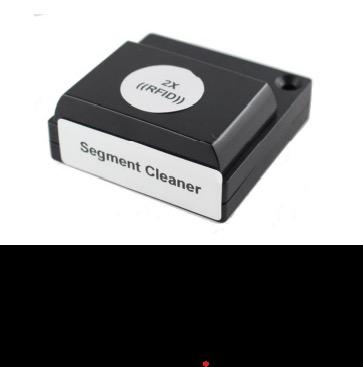

Deleting the Freelocker segment on the user card: The locker number and "Locker locked" can be deleted on the user card with the Segment Cleaner.
The transponder is held up to the antenna field twice. > Locker number deleted and the user card can be used for another locker.
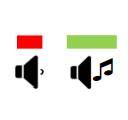

If the user has forgotten which of the lockers he/she locked, the locker number can be checked at the information terminal.
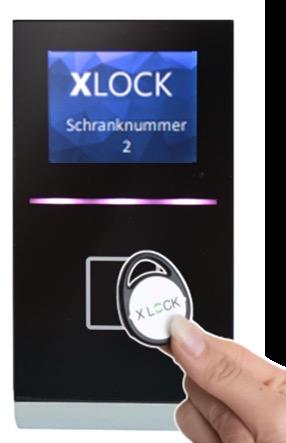

To do this, a Mifare Classic transponder (Mifare Classic 1K / Mifare Classic 4K) is held up to the RFID field of the information terminal (see image).
Lock the lock the locker number is saved on the user card


1. Hold the user card to the antenna field of the lock.
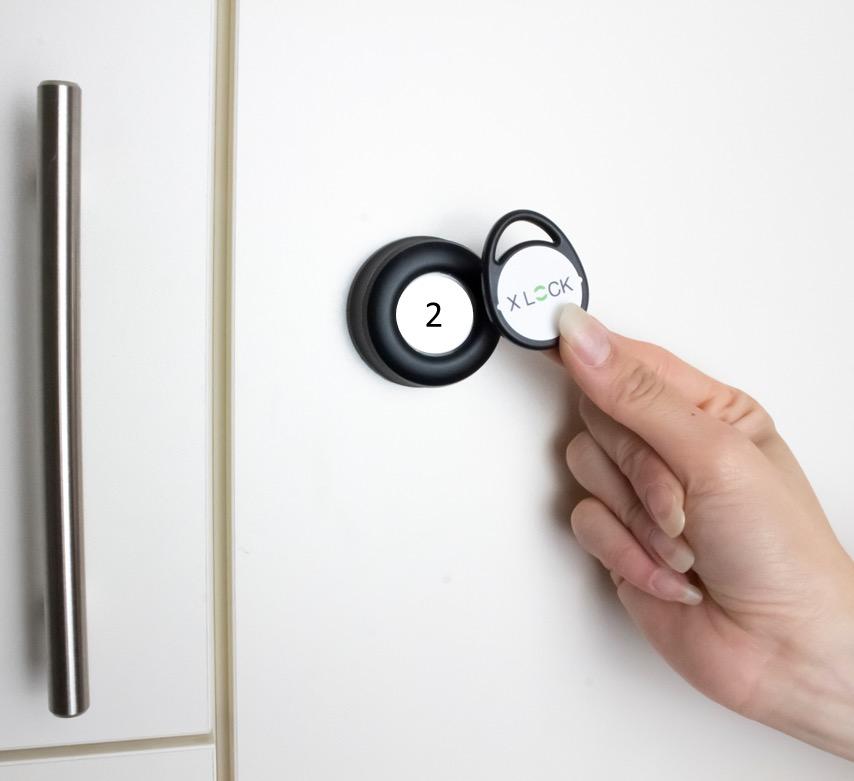


2. The locker number is now saved on the segment (Sector 10).

3. Hold the user card to the terminal. It is now displayed that the locker with the number 2 is occupied.
1. Hold the user card to the antenna field to unlock the locker.
2. Locker number was deleted on the segment (Sector 10). No more locker number on the user card.
3. Read out the locker number at the information terminal. No locker is occupied.
