


By Thomas Glassock-Warren

This document is the guide to building your own home using the BuildIY system, detailing the process from site selection through to occupant certification.
Arichitect’s Role
Construction Consultant’s
Role
Owner-Builder’s Role
THE PROCESS
Site
Design Consultation
Building Drawings
Specifications
Schedules
Costing
Contracting
Suppliers
CONSTRUCTION GUIDE
The Basics
Site Preparation
Footings
Frame
Flooring
Walls
Roof
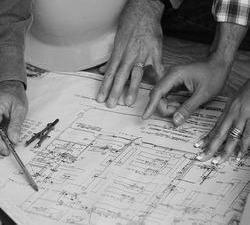
The architect will be your primary consultant during the early stages of the project offering their design expertise to convert your vision into building documentation necessary for construction and loan approvals. Architects are invaluable during this early stage as they will help solidify your aesthetic ambitions making layout and material recommendations that work to your functional and economic constraints. This will help ensure the final design is within your desired budget.1 The documentation the architect produces in the form of drawings, specifications and schedules are incredibly important as they will be reviewed by local councils and lenders as part of their approval processes and be referred to by yourself and all other consultants and contractors you hire. Fortunately, this is an architect’s bread and butter with any qualified architect highly experienced in creating this documentation. Local architects will also have experience dealing with your local council and be aware of any additional regulations that need to be considered.2 This can not only save you time but also money as the architect can flag any compliance issues prior to the development application being submitted. Architects can be expensive but by using the prefabricated modular system much of their design and documentation work is expedited, reducing the cost with an estimated fixed fee of $40 000 for their work (see ‘Design Consultation’ chapter).3
Builders often seek to get off the tools around the age of 50 but typically do not retire until they reach into their 60s which means there is an employment gap which this construction consultant work could fill.4 This construction consultant work could become more appealing since the Construction, Forestry and Maritime Employees Union (CFMEU) went into administration because in-spite their illegal activities the union had been important in supporting their members transition into retirement.5 By having an experienced builder to support owner-builders, a level of quality assurance is provided to local Councils and the trades that owner-builders are seeking to employ. Whilst having someone to on-call will help unexpected issues to be resolved quicker, helping maintain consistent construction progress. Construction consultants would assist owner-builders within their local area, charging their services as an hourly rate.
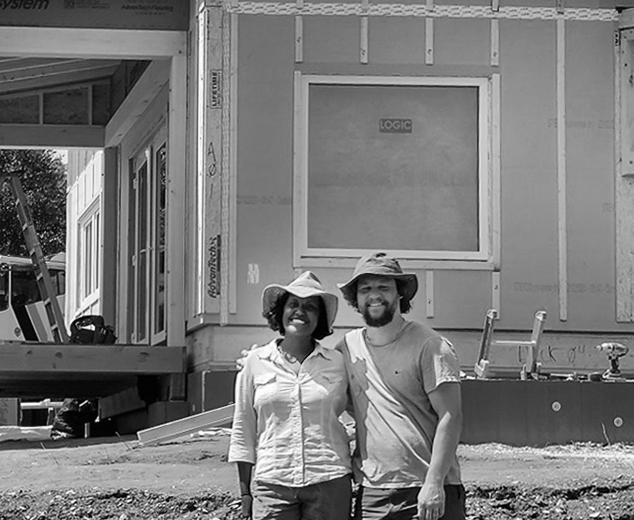
So, what’s your role as an owner-builder? If you are the holder of the OwnerBuilder Permit you are the head builder for construction activities taking place on your property. The permit holder should be onsite regularly and act as the primary person responsible for the managing, overseeing, planning and quality control of the project as this creates a chain of command and simplifies communication with subcontractors as they know who their ‘go-to’ person is.6 Other members of the owner-builder team or family/friend volunteers should also primarily answer the to Permit holder, their role onsite would be dependent on their skill set however a useful default is to allocate them basic labourer tasks. These tasks are a constant on site and include cleaning, helping people move material and equipment, run errands and landscaping. It is also worth mentioning that as an owner-builder you should not be using labour hire because they are expensive with some companies charging up to $100/ hour for one labourer and all the basic labouring work should be easily completed by someone within the owner-builder team. During the construction stages until lockup it is highly recommended that work is primarily completed by qualified builders because the quick and accurate completion
of these stages is very important to ensure the longevity of the house, being structurally sound and correctly weatherproofed as well as stopping weather related delays and allowing equipment to be store within the house ready to go the next day. During these early stages the owner-builders should be focused on project management tasks, organising the trades and getting their ducks in a row for when they completely take over construction after lock-up whilst also jumping in to help the trades on the tools to learn and check their work. After lock-up is the fix-out and finishing stage, this is where the ownerbuilders get on the tools properly, fashioning their home to match their vision.
There are three key codes of practice relating to construction and the Permit holder owner-builder needs to have studied each of them: Australian Building Codes Board, Standards Australia and SafeWork. You’ll need to read through the SafeWork codes of practice for construction work and create a work health and safety plan as this is project specific.7 The relevant Australian Construction Standards and National Construction Codes are referenced within the following pages of the construction guide however it is still worth looking through these documents to familiarise yourself with the full spectrum of construction. The National Building Specification (Natspec) is another resource useful for understanding construction methods and reference the relevant Australian Standards.8
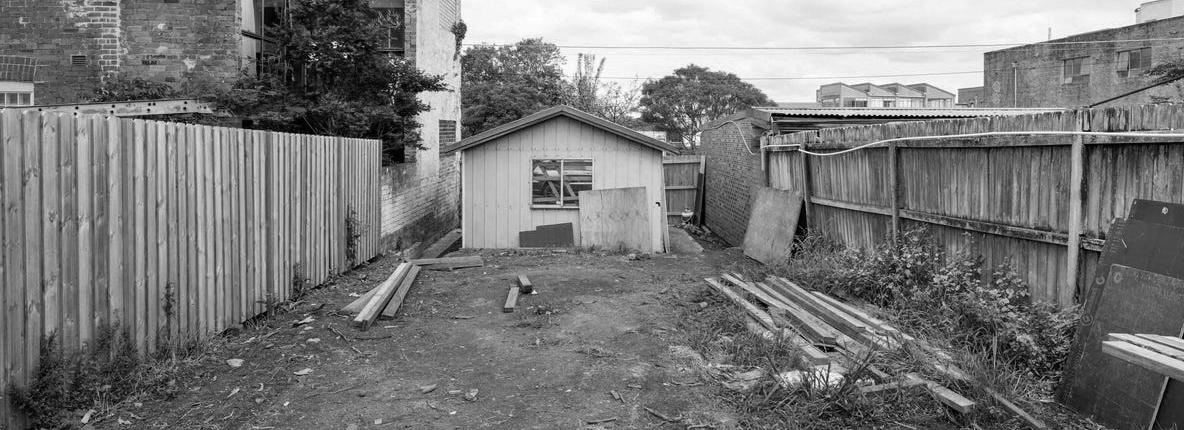
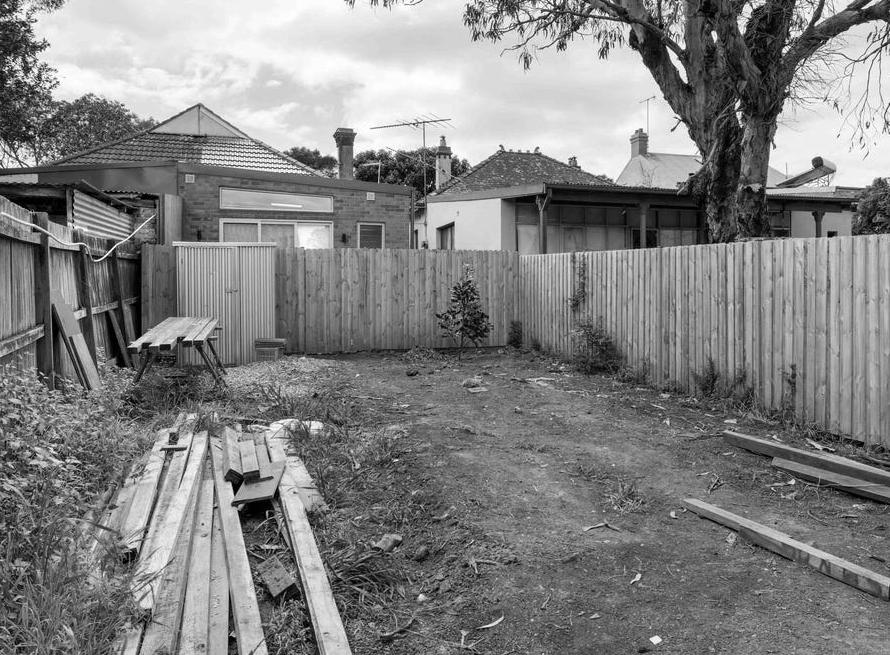
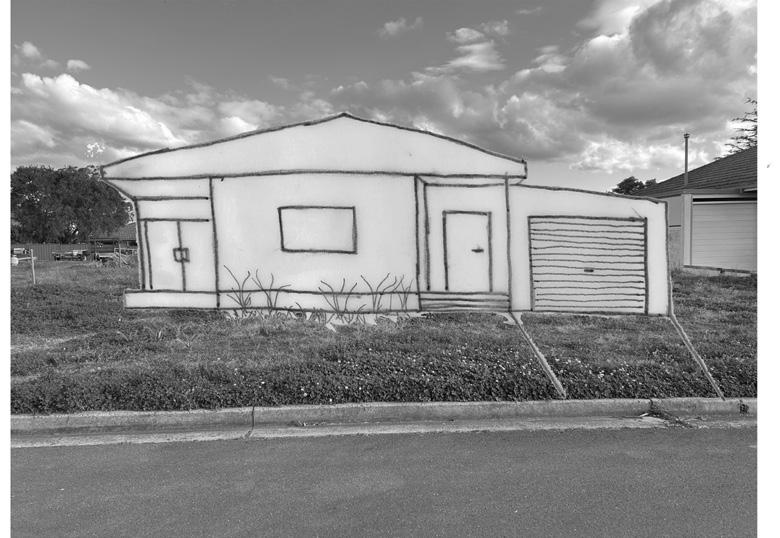
Site selection is largely up to the discretion of the owner-builder as the preference towards a specific site is personal and unique, being difficult for another person to make recommendations upon a final selection. This is to say the first requirement of the site is to be in a neighbourhood where you want to live, with the on-site characteristics you want and be within your budget. If you are looking for additional criteria to decide between sites you equally like then consider; the accessibility of the site as this may make construction slower and more challenging, whether the site require significant excavation, if utility services already available (water, power and sewerage) as these can be expensive to connect. Site orientation can also be considered as it improves building comfort, typically you should seek to have north-east facing living spaces as they allow the penetration of winter sun and the capture of prevailing winds during summer.9 Building restrictions from State Government Local Environmental Plans (LEP) and Local Government Development Control Plans (DCP) should also act as an additional consideration as some planning controls may prevent you from building your desired home. Site zoning, setbacks, floor space ratios, building heights and easements all affect the buildable area onsite and could result in true buildable area being unsuitable for the size of home desired. Neighbourhood character and covenants are used by Local Councils to control the design aesthetic of areas to maintain street continuity by placing material and design restrictions on areas of the home visible from the street which may
also impact your decision. It is worth noting that compromises to building restrictions can be negotiated with Local Councils however this process often accrues additional costs during Development Applications (DA).10 Information on a property you are interested in can be found by typing the address into the NSW Planning Portal.


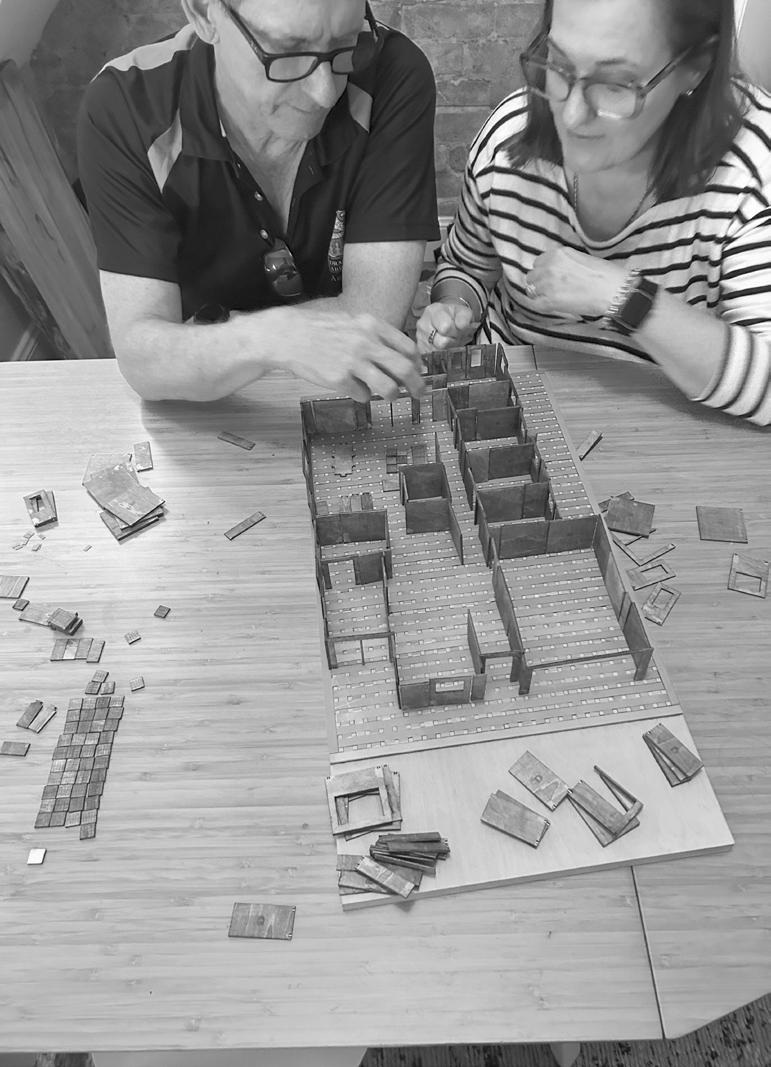
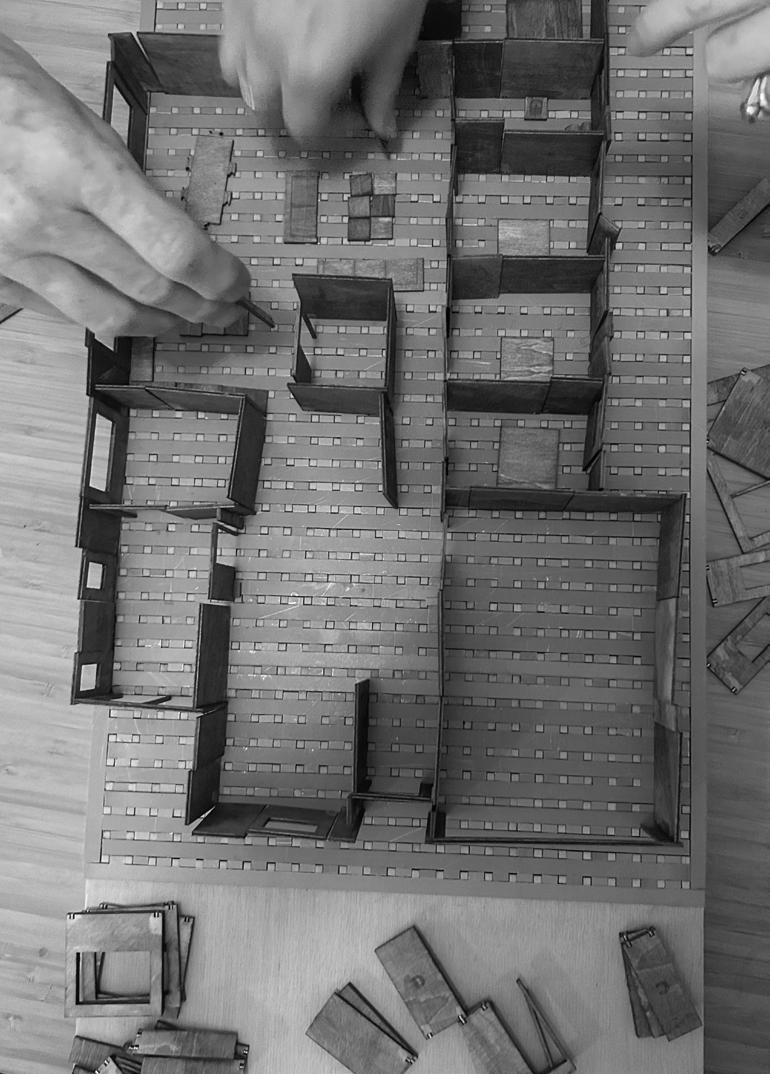
The design consultation can begin once a site location has been purchased with the process split into two stages of consultation with the architect to produce a design for a new home using the construction system with the architect charging a fixed fee of $40 000 for work within this scope. 11 Firstly, the architect will meet you on site, discuss your desires for the home and explain any potential opportunities or challenges the site has to offer. During this first consultation the architect will array the 600x600 grid onto the site to reference whilst sketching and documenting home orientation, landscaping ideas, materiality, furniture layouts, room relationships and sizes based upon discussion. The second consultation meeting will be within the architect’s office where they will sit and pitch their design for your home.12 This is where you can see the design in 3D and use the consultation model with moveable versions of the prefabricated components to continue to work through the design, adjusting the floor plan to suit your desires. After this stage the architect will produce the construction drawings of the finalised design and email them to you for final review, where any amendments can be discussed. If you feel additional consultations are required, they can be arranged however they will be charged at an additional hourly rate.
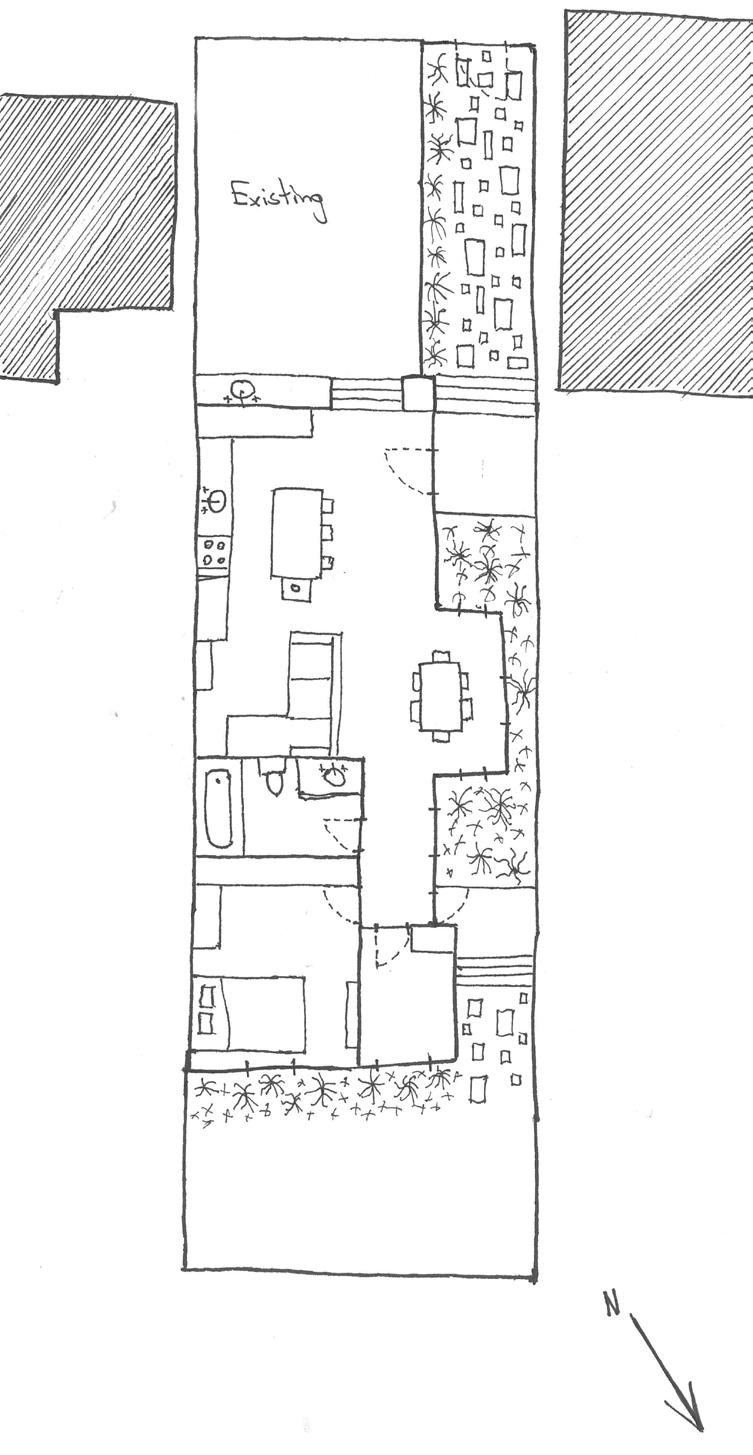

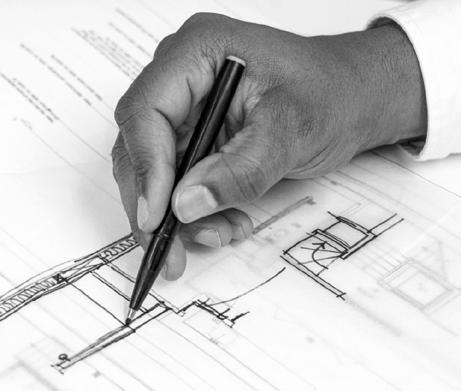
Now the design is finalised a complete set of building drawings will be produced by the architect containing all the information necessary to build the house you have envisioned. Reviewing and understanding this document in detail is incredibly important for the primary owner-builder as they will check that all future construction work is completed in accordance with what is documented. The document will show site plan, floor plan, footing plan, roof plan, services plan, sections, elevations and construction details of the home to be built and should be understandable with only a basic knowledge of architectural drawing conventions. However, AS1100 explains the guidelines used to produce building drawings in case any aspects are unclear.13 This stage is a good time to use the services of the construction consultant as they can sit down with you and
the plans to help breakdown the conversion of the drawings into built form, providing advice on the key challenges to be aware of, recommendations of contractors suitable to the works required, what to look for when tendering contracts and potential suppliers for products and equipment. By taking this time to study the building drawings you should have a complete knowledge of the scope of the project which will help in vetting contractors, suppliers and creating a clear sequence of construction. Component
Schedule of Component Locations.
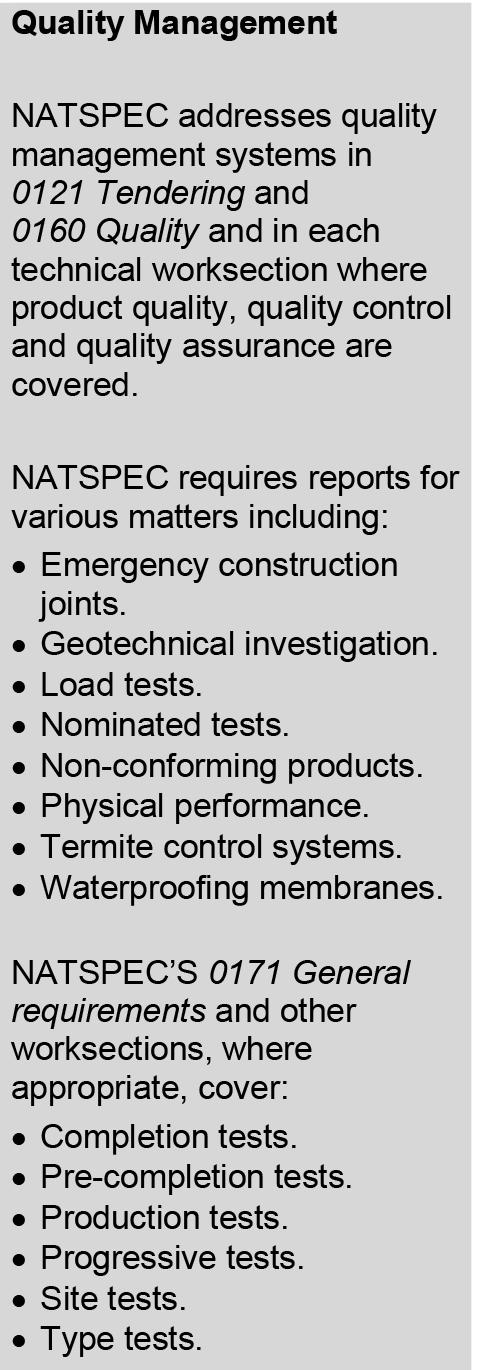
Specification is a document required as part of any DA and most loan applications, it focuses predominantly on the quality of materials and workmanship used on the project. This is a very important document as it will set the work quality expectations for all tradespeople contracted to the job and give you an indication of the level of accuracy your owner-builder work will need to achieve to construct the home as drawn. An important exercise is to work through
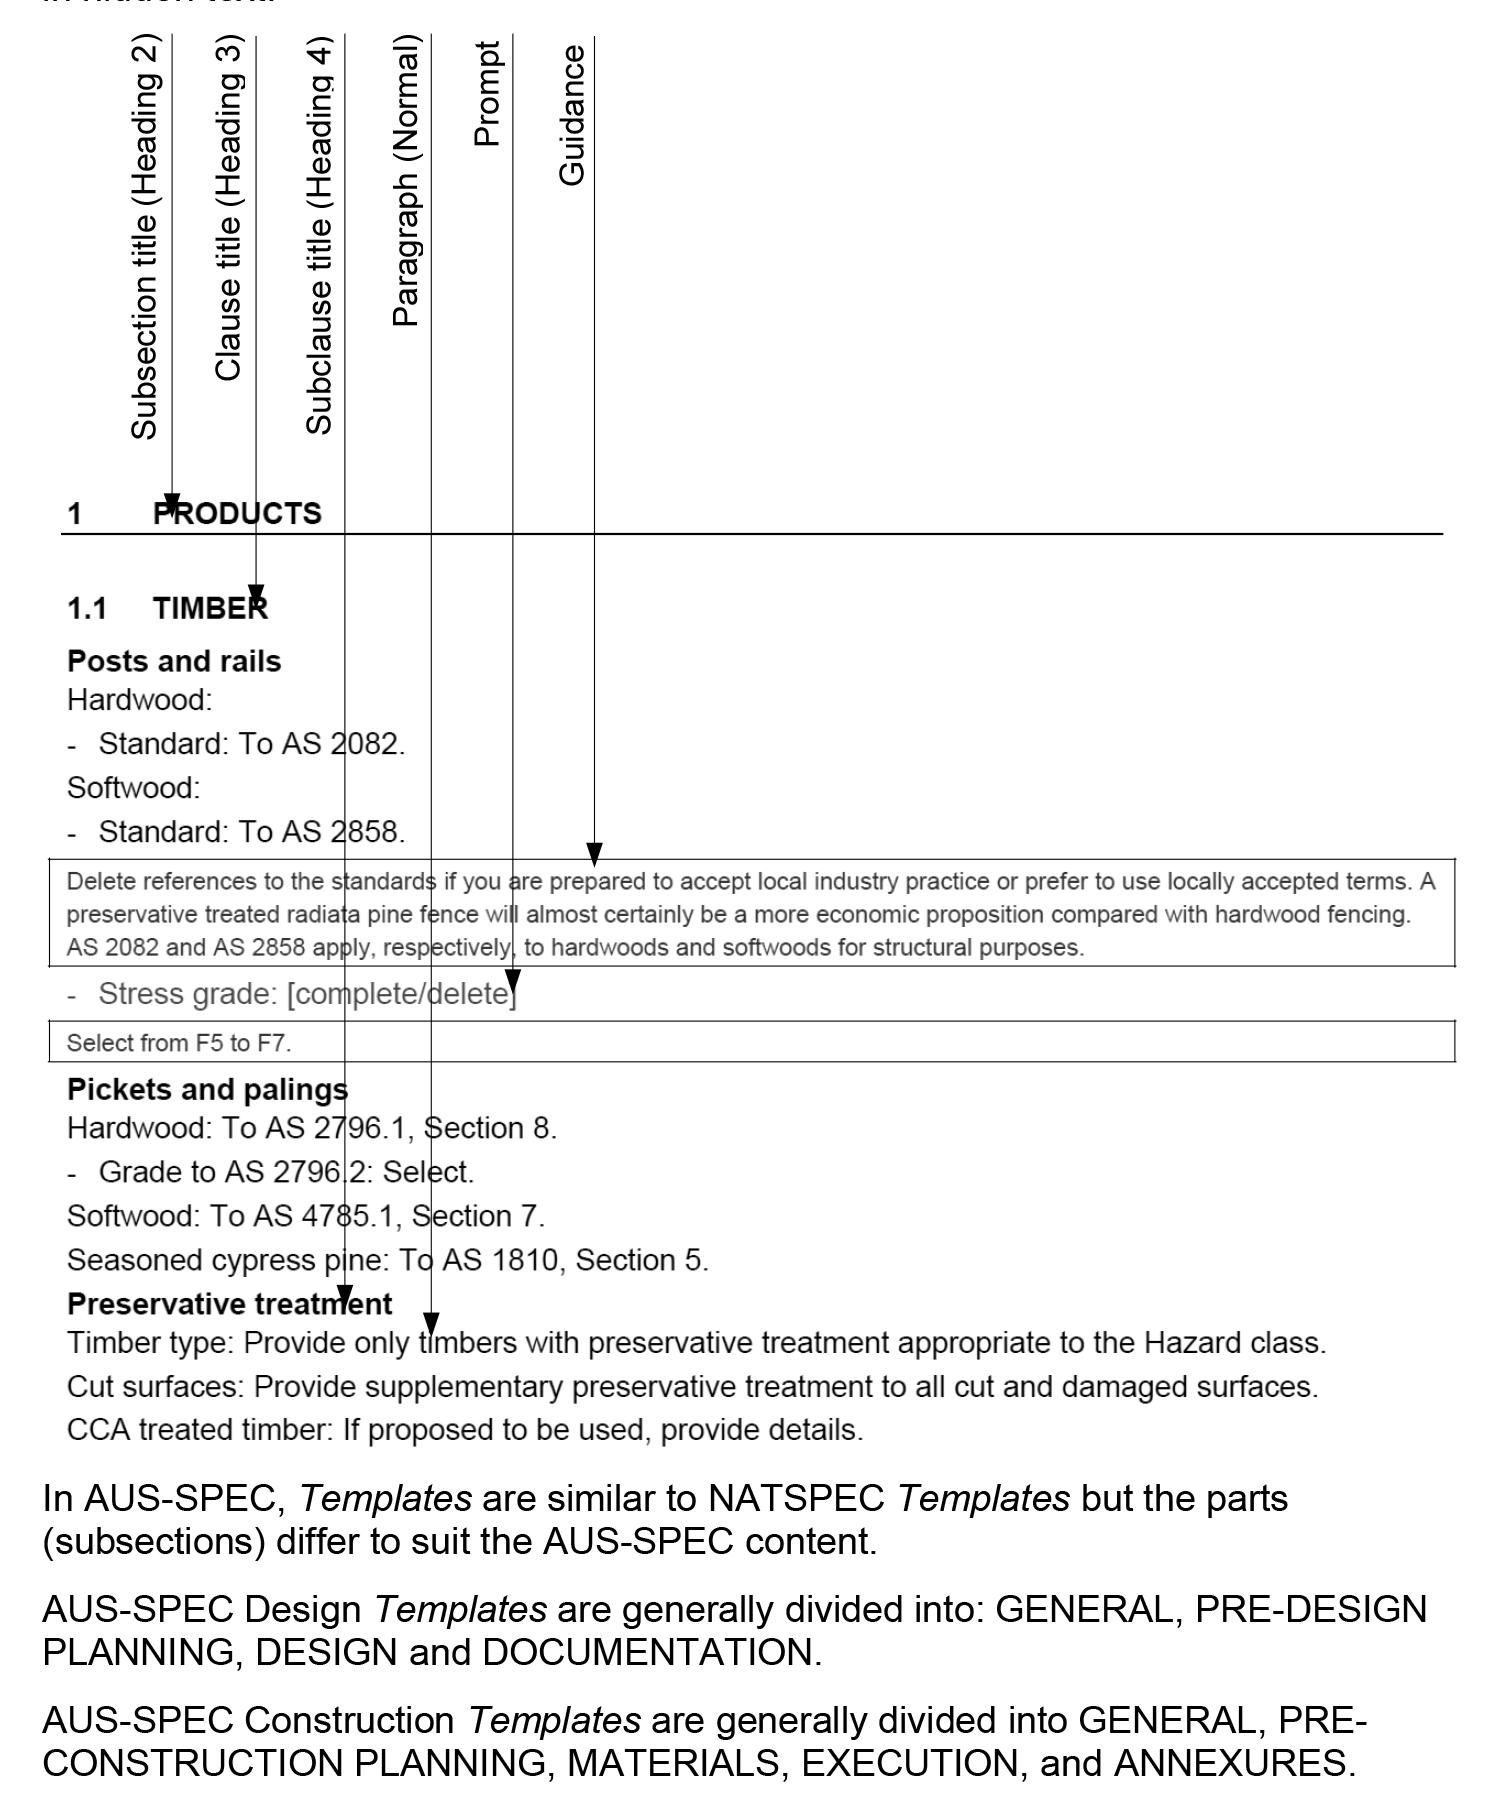
the specification document highlighting tasks which have high enough workmanship and accuracy requirements to warrant hiring skilled workers as this will help with your budgeting and is required by lenders. Specification documents are available from various sources including lending authorities, National Building Specification (Natspec) and architects.14 The preparation of the specification document for this construction system is included within the architects fixed rate for consultation. This is highly advantageous for the owner-builder as the architect can tailor the document to you and your project making it directly relate to the home you intend to create and the quality of work you would like.
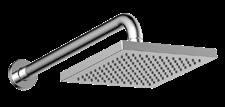
Schedules are another document produced by the architect as part of your home’s construction documentation and is a table that lists all the materials, colours, finishes and dimensions for all visible areas of the home. The schedule is broken down into window, door, hardware, finishes, decoration and sanitary fixture sections and is used to streamline document navigation and reduce the number of annotations within the architectural drawings. This document is especially useful when ordering components as it is easy to quantify products and during the lock-up and fix-out stages can be referenced to clearly know what needs to go in each room.
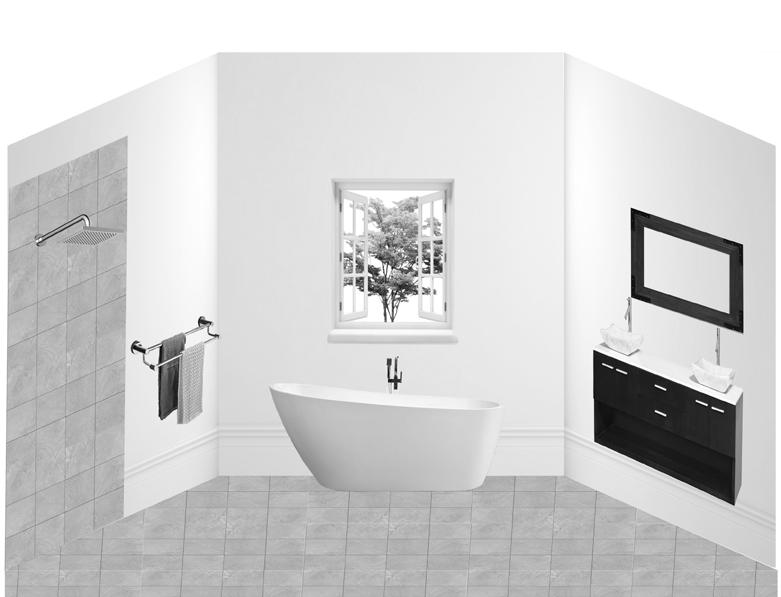
Bathroom Material Finish Schedule
Ceiling
Walls & Trims
Painted Aquachek plasterboard
Painted Aquachek plasterboard
Floor Porcelain tiles 147x147mm
Counter Top Litestone Natural Stone
Mixer
Shower mixer
White acrylic latex paint.
White acrylic latex paint.
Cotto Oscuro
Pure white
Natural stainless steel
Image


Costing is perhaps the most important stage after the design has been finalised because detailed and accurate estimations greatly improve the chances of receiving a loan and will form the basis of all your budgeting for the project. By using a prefabricated system, a large amount of the materials are simple to quantify as they are factored into the system’s cost. Therefore, the main aspects remaining that the ownerbuilder needs to price are site preparation costs, excavation, concreting, services, landscaping, finishes and labour. This is where identifying what aspects of the project you and your owner-builder team are going to complete on the specifications document becomes useful because labour costs can be more easily calculated. Given the importance of completing this process correctly to maximise the potential bank loan it is highly recommended to employ a quantity surveyor to complete this work. The breakdown of costs the quantity surveyor provides will mean that the amount of money paid at the completion of each stage closely matches the true cost ensuring your funds remain topped up.15
Price source: Rawlinsons Construction Cost Guide 2024 *Note doors and windows are not included as they are chosen by the owner-builder.
Project sequencing is a list and ordering of the tasks to be completed in the construction of your home. It is the formalisation of the project timeline and is used to determine daily work, track task progression and allow for planning and resourcing of upcoming tasks. For this prefabrication system much of the project sequencing is determined by the assembly process of the system and is detailed within the construction guide. However, the timeline of these stages will change based on the specific nature of your project including home size and site accessibility.
Construction guide page 26
Construction guide page 28
Construction guide page 30
Construction guide page 32
Construction guide page 34
Tendering is a challenging job for ownerbuilders because finding reliable subcontractors is incredibly hard for anyone without experience and contacts within the construction industry. The construction consultant can assist with this aspect, having knowledge of local trades and provide advice about the sort of things you should look for in trade peoples and their contracts. However, it is always good practice to do your own research and inquire into any other trade companies you think are appropriate for this project because you are the one who will be engaging them and working alongside them. By using the prefabricated system, the scope of works will be easy to quantify for potential subcontractors due to the simplified construction process allowing them to give you more accurate quotes and make them more likely to take-on the work.
Work completed by sub-contractors valued over $5000 requires a written contract in compliance with the Home Building Act.16 AS 4905-4906 are standardised contracts for the building industry however these contracts are unsuitable for owner-builders as these contracts are built around a third party acting as the intermediary between the builder and property owner which obviously doesn’t work for an owner-builder.17 The Master Builders’ Association does have some contract templates that could be used by owner-builders, especially the BC4 Residential Building Contract although these are dependent on the type and scale of work to be completed.18 In any case have a solicitor review the contract prepared for any
clauses that should be included or removed. This document could be your only protection against unexpected delays, costs and charges.

Once construction and loan approvals have been reached you can formally place your order and set a delivery timeline for the components included in the prefabricated system: footings, framing, flooring, wall and roofing structures. Many of the components you will require such as the footings and framing are kept on hand and the modular components will be manufactured and sent whilst you are occupied with the construction of these first two stages.
Material and equipment ordering and purchasing will inevitably be a big part of the work completed by the owner-builder with research and savvy negotiation offering the potential for significant savings in the overall build cost. Prior to construction commencing you should use the quantity surveyor’s costing, the specifications document and the project schedule to break down what you’ll need and when you’ll need it. Once the list is completed you should contact suppliers and note the potential lead times on their products (the time it takes from placing the order to when a component arrives on site) because some items especially windows and doors can take months to be fabricated and delivered. This process will prevent any potential construction delays due to materials or equipment not arriving on-site on time and prevent panic purchases by allowing time to shop around and find the best deals.
Ordering materials and getting the best price will often require negotiation with suppliers so be willing to ask for trade discounts, order in bulk and get multiple quotes to create
competition for your business. It is inevitably you will use major hardware stores during your project but be cautious their products are often marked-up in comparison to sourcing materials directly from suppliers and the general quality is pretty average. It is recommended that large orders should be done through other suppliers more oriented to tradespeople and bunnings used to pick-up odds and ends that you may need. Bunnings does offer their PowerPass card to ownerbuilders allowing you to take advantage of their trade discount.19 Second-hand construction materials are also a worthwhile consideration with salvage yards, Facebook Marketplace and Gumtree regularly having common building materials for a low price however the quality can vary.20
Hiring equipment over purchasing should always be considered as it has the potential to save money if the tool is only needed to complete one-off tasks in a compact timeframe and offers peace of mind that if anything breaks it will simply be replaced. Kennards Hire will likely be your go to equipment hire company with locations throughout NSW making pick-up simple but once again remember to shop around.
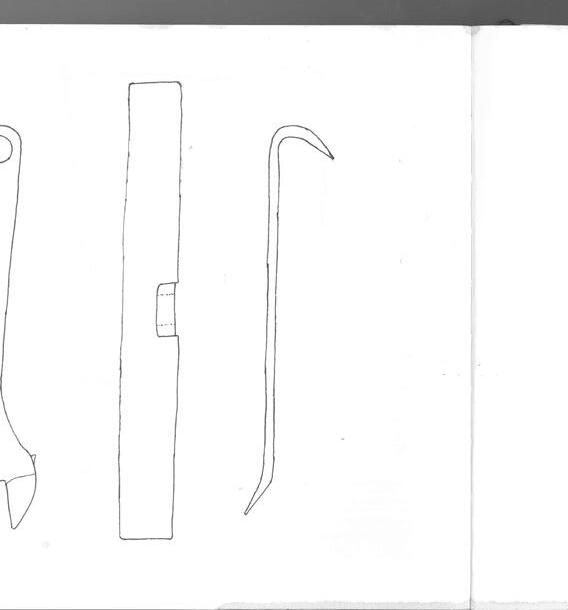
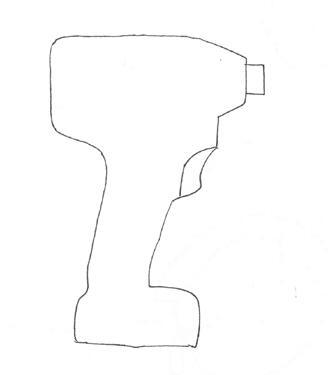
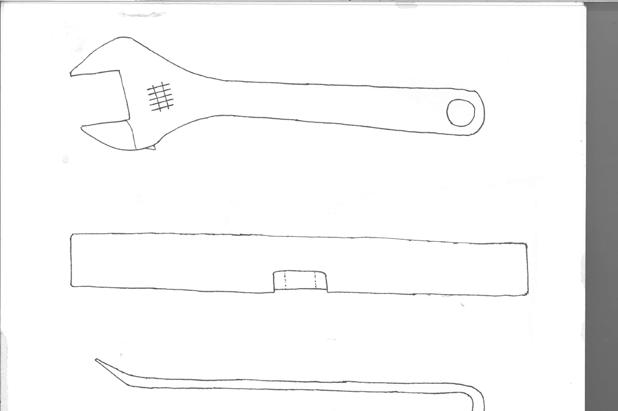
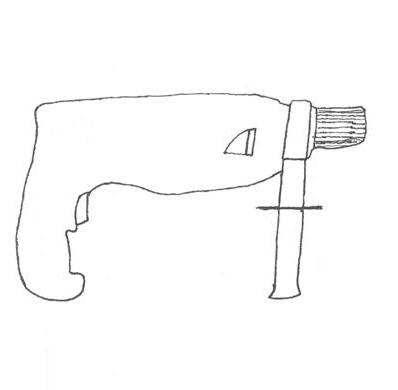
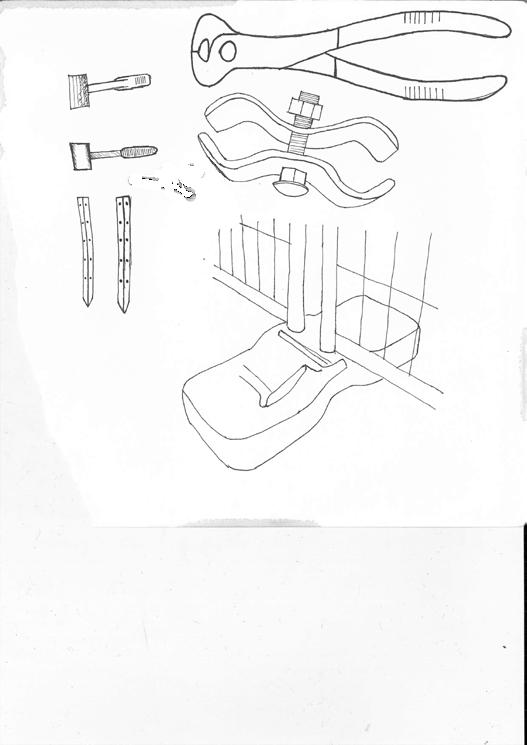
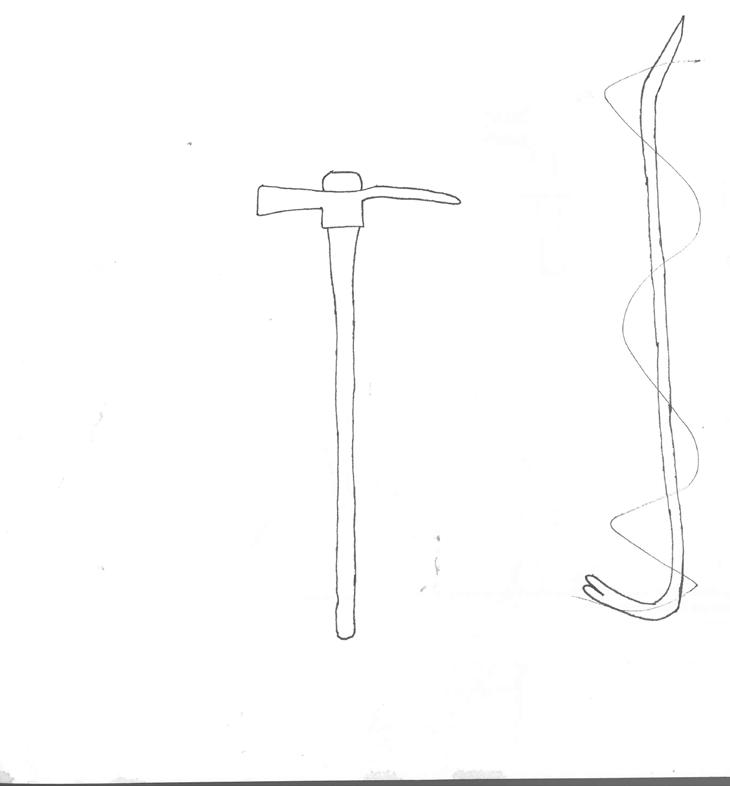
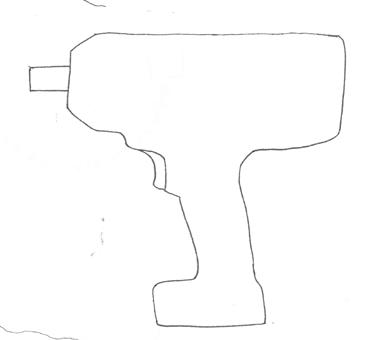
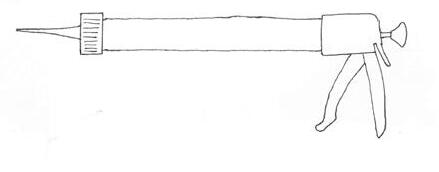
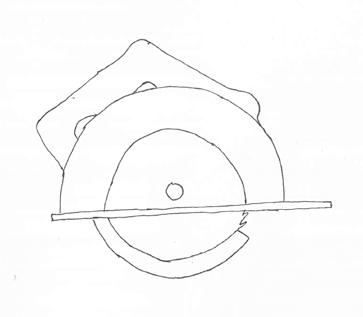
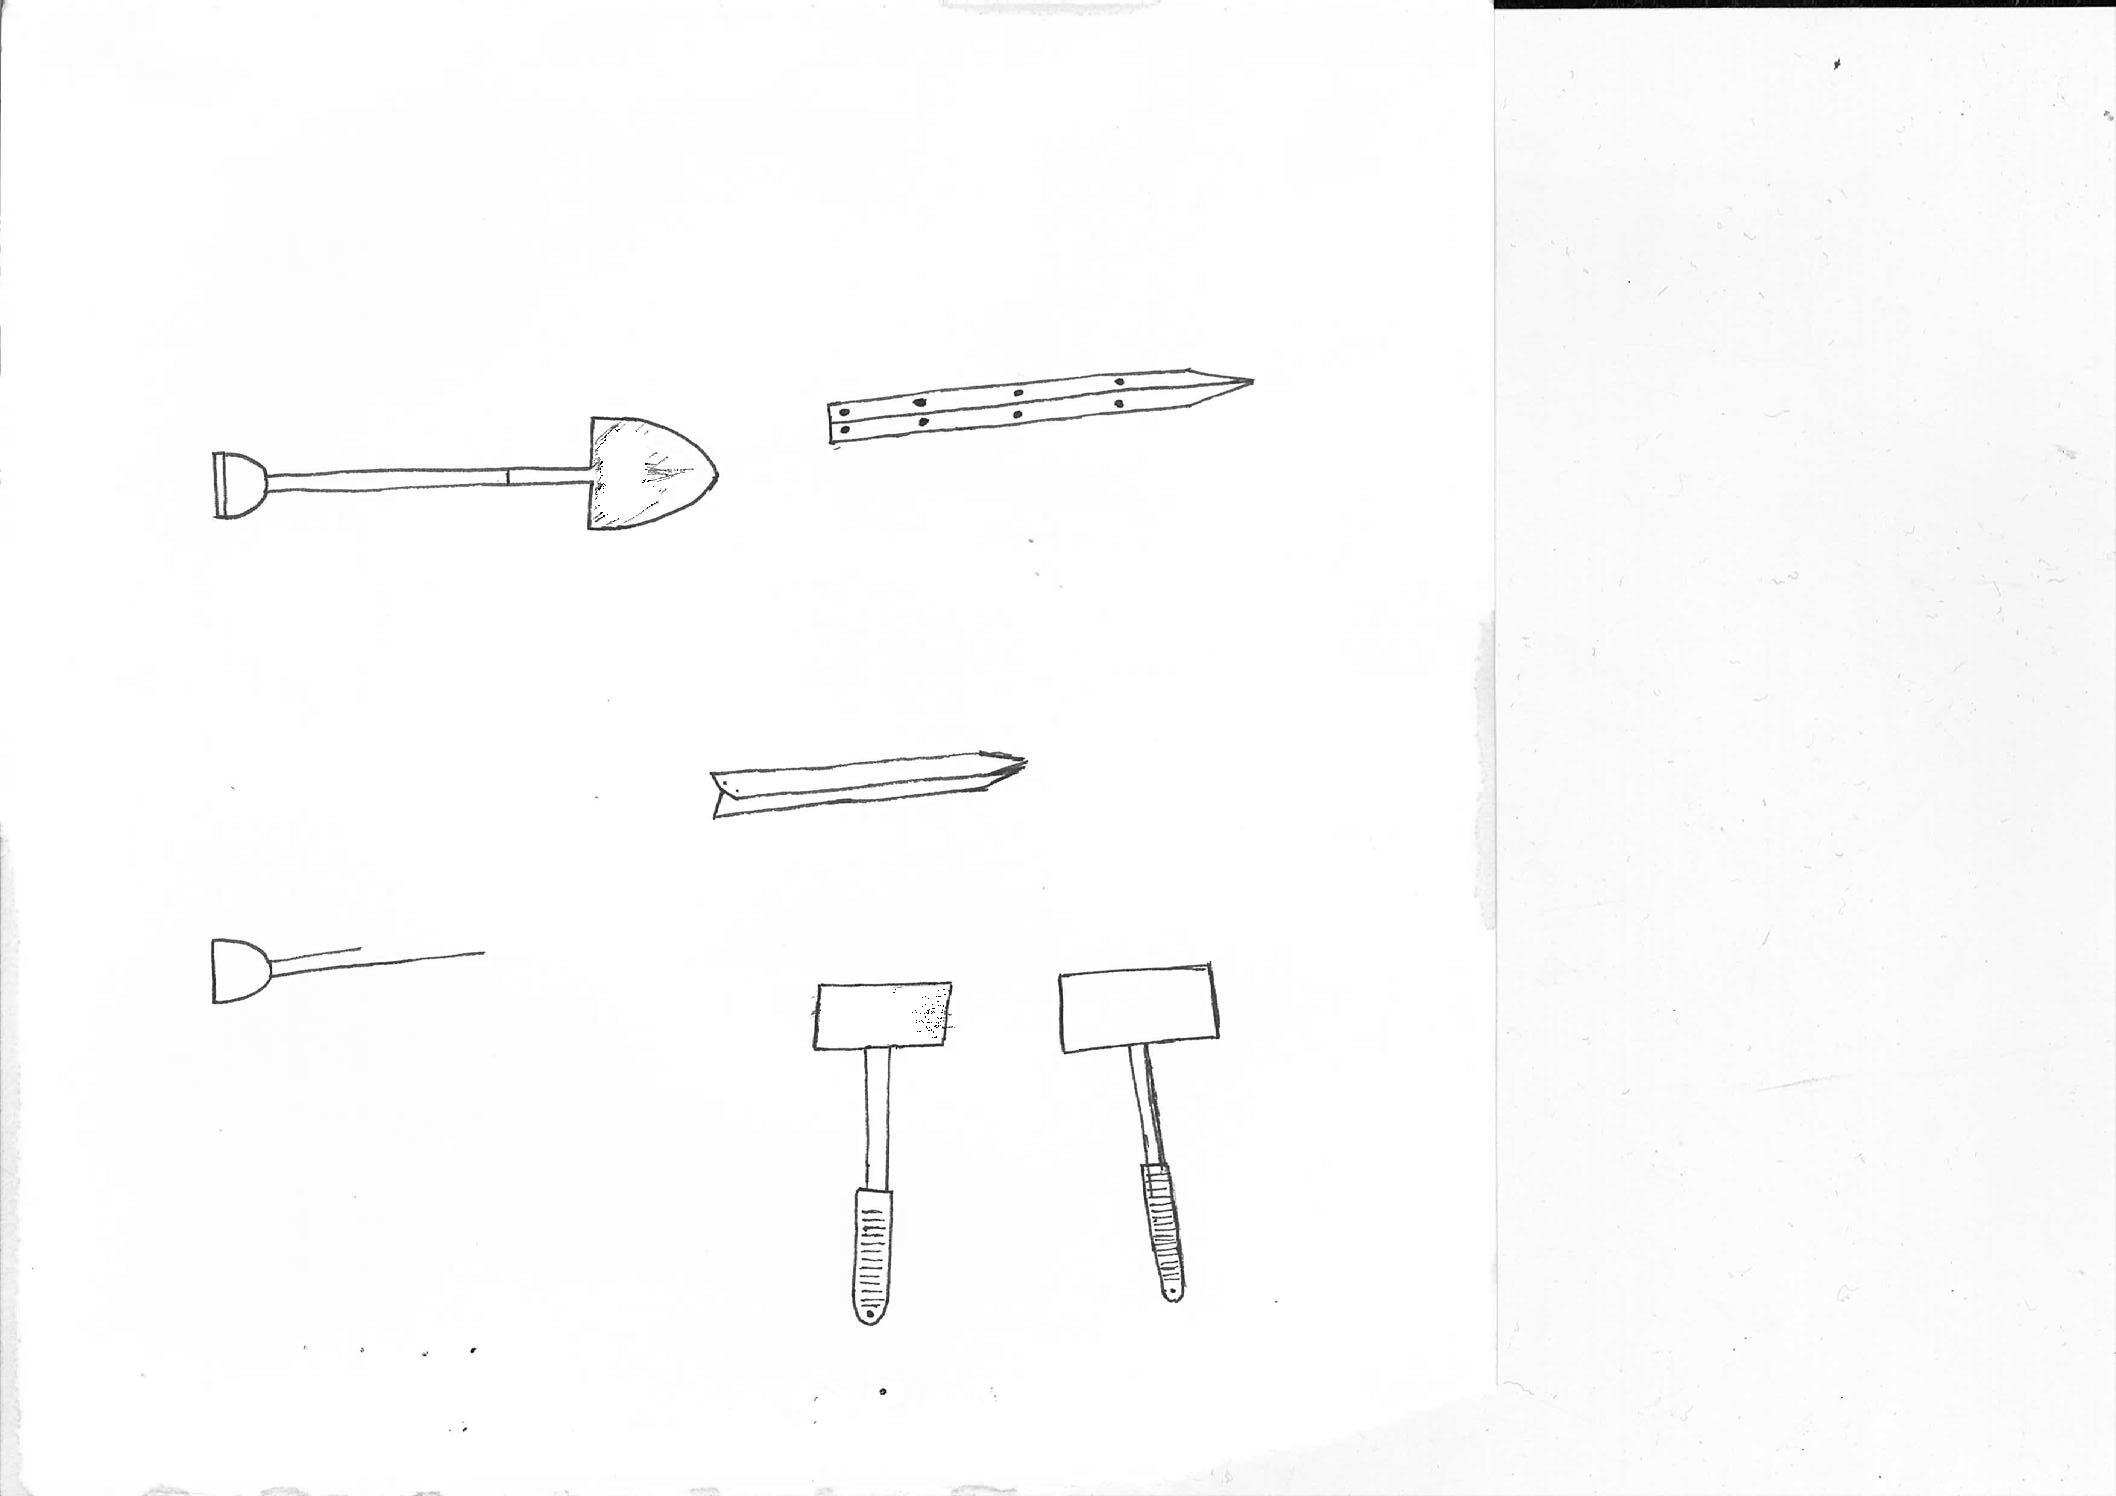
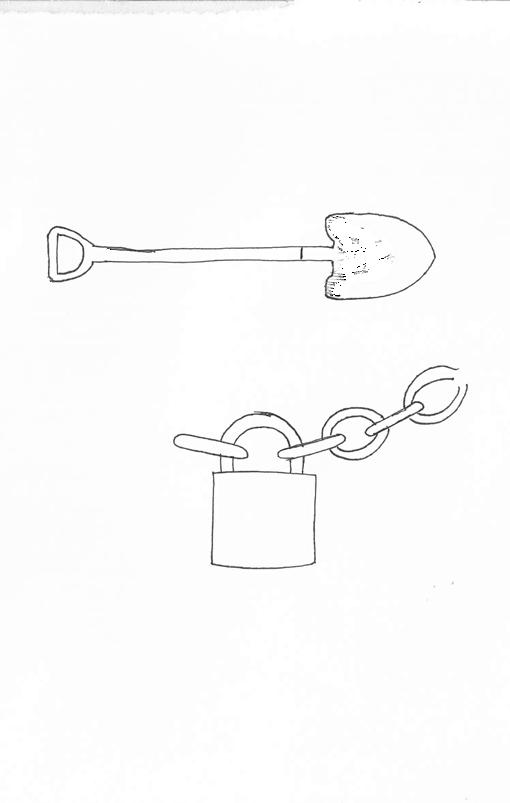
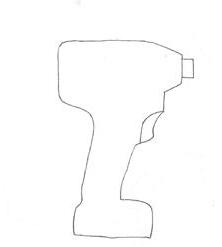
The following is the set of basic tools and equipment you will likely need whilst working on-site. This list should allow you to complete almost any task necessary on-site, however feel free to purchase any more specialised tools that you feel may be beneficial.


name and conditions of entry at the front of the property as well as signs denoting first-aid locations.22 Temporary services will also need to be installed including toilets, running water and power. Construction fencing and water control are outlined in detail because they are legally required and can be completed by the owner-builder whilst understanding a set-out survey will help an owner-builder know exactly where various aspects of the house need to go.


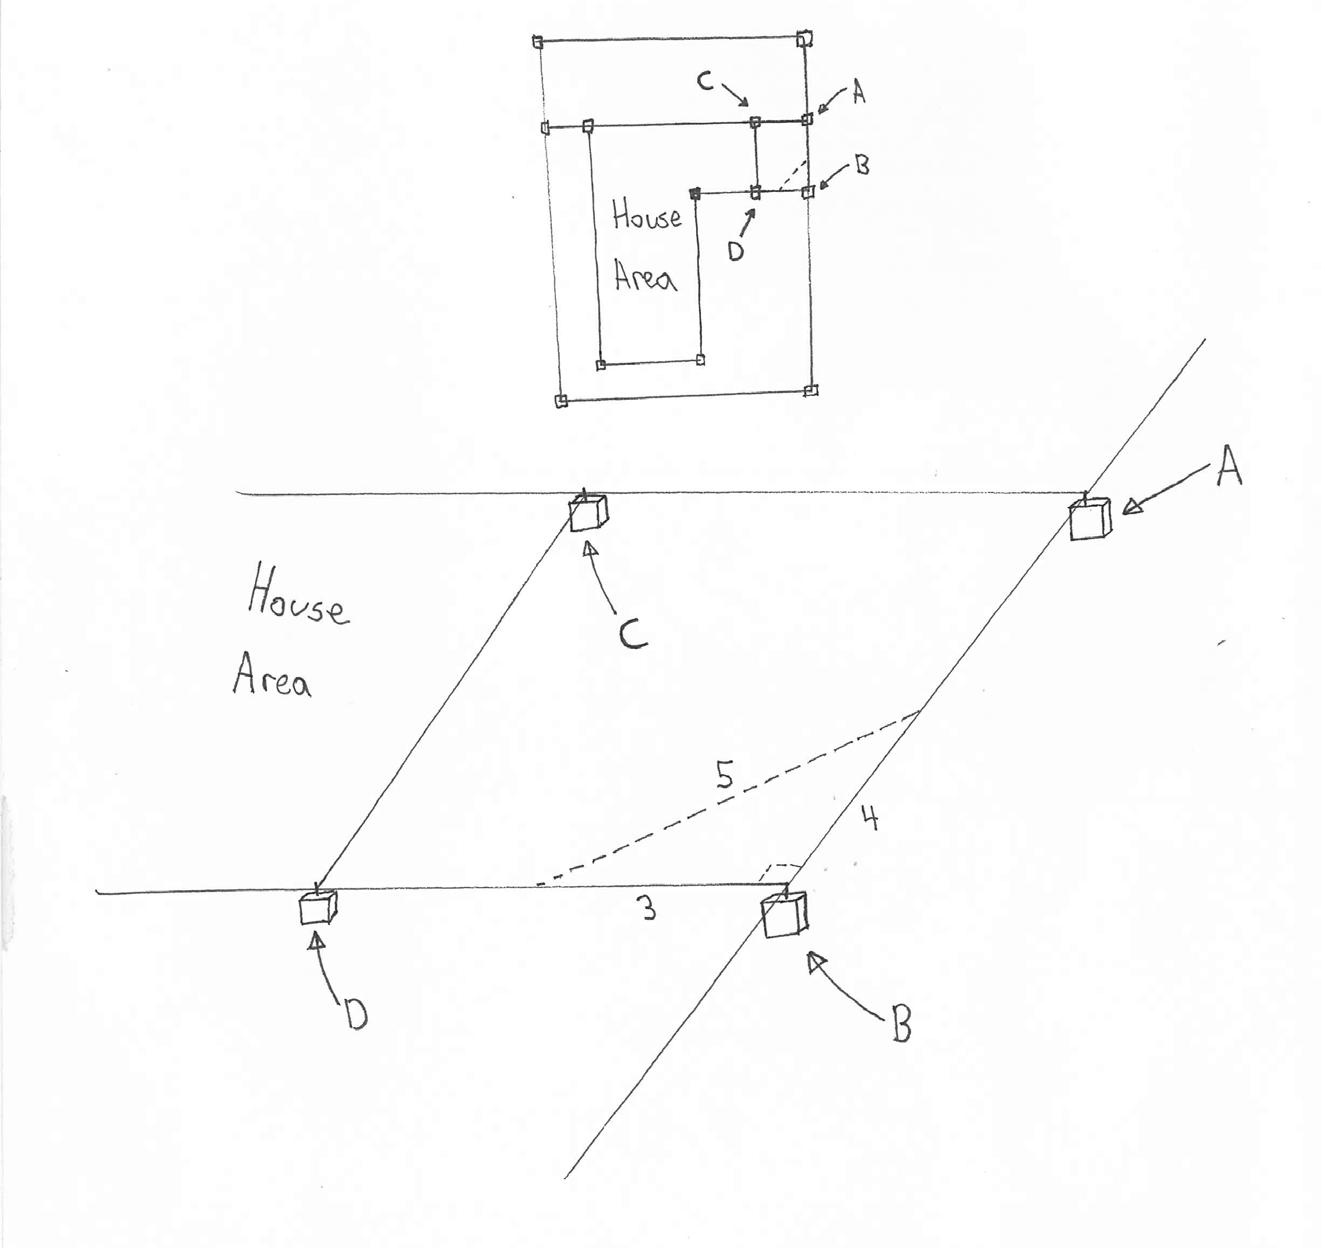
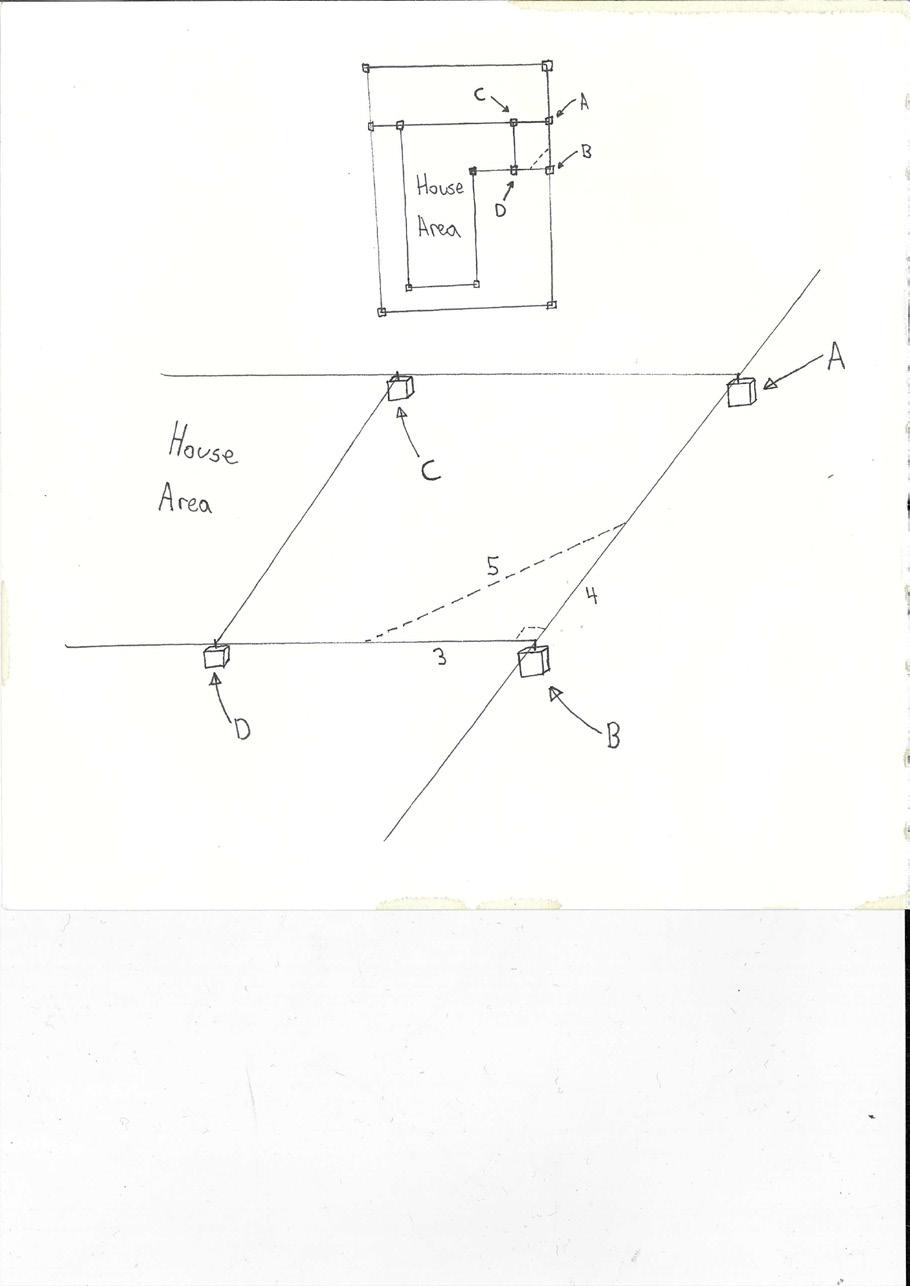
Water control is the management of water on site, most of the time surface water run-off is the primary concern as this water must not negatively affect the neighbouring buildings or local environment, the potential punishment are placed to denote building locations with information written on them to clarify what aspect of the home they are referring to.
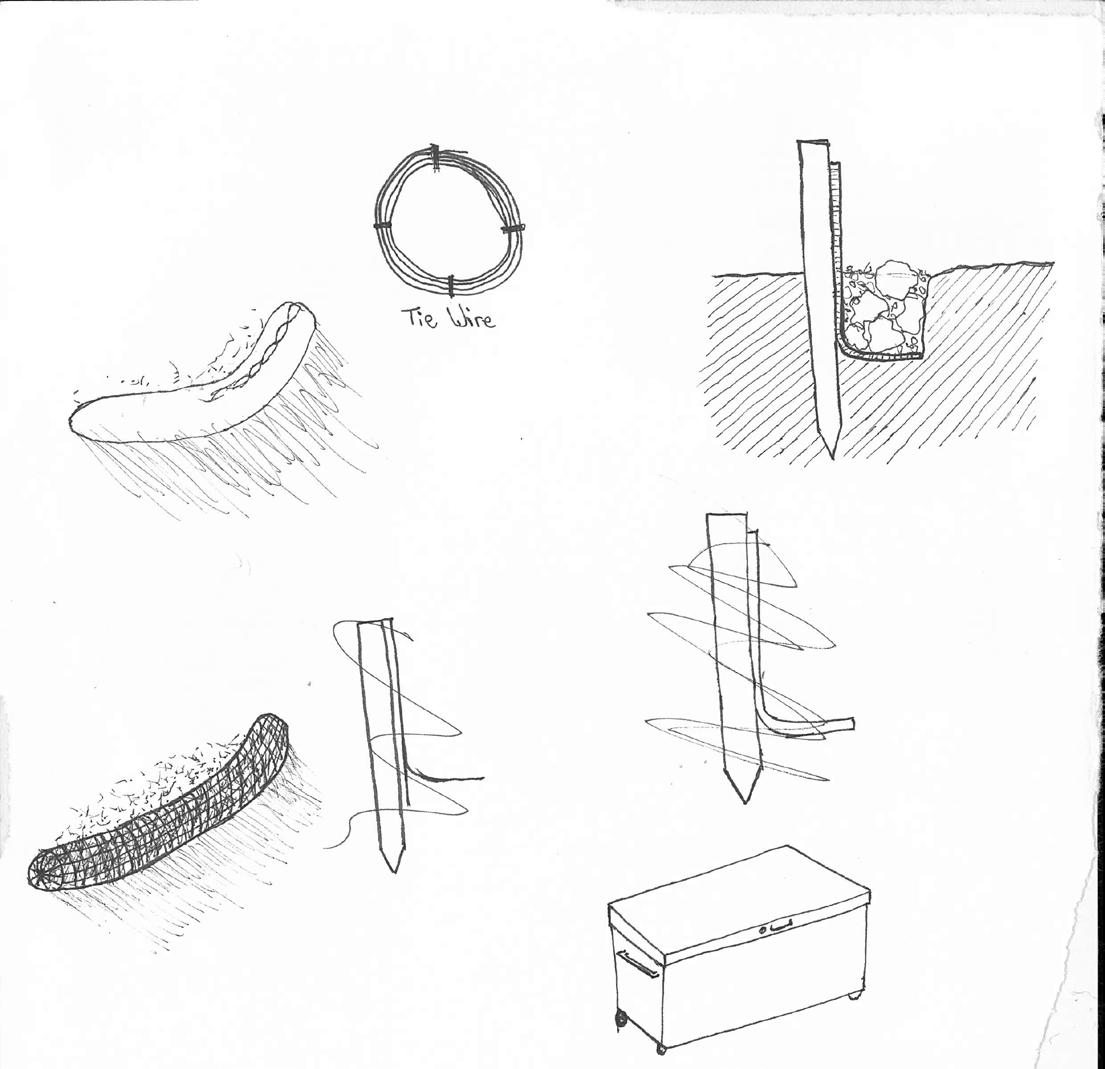

Sediment control fabric
Backfill with mostly rocks & gravel.

AS: AS 3798-1996
Colour tells you type of stake
Plan
Reference
Cut Depth
Reference nail

Offset from nail
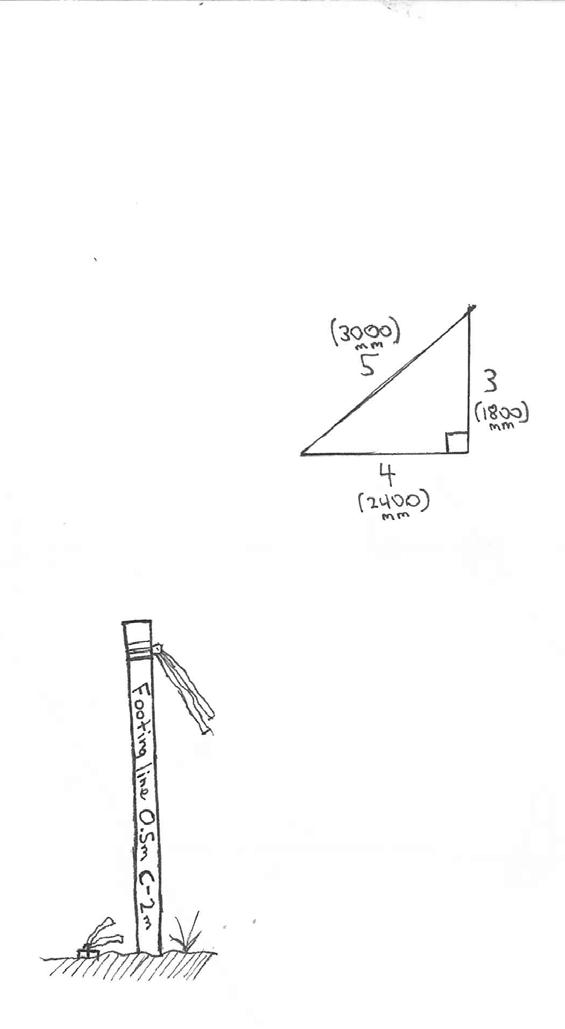
Using 3,4,5 method you can mark out your house area for excavation.
Reference nail
WHAT YOU NEED:
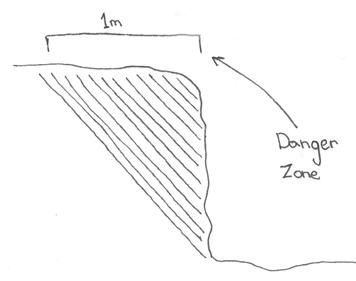
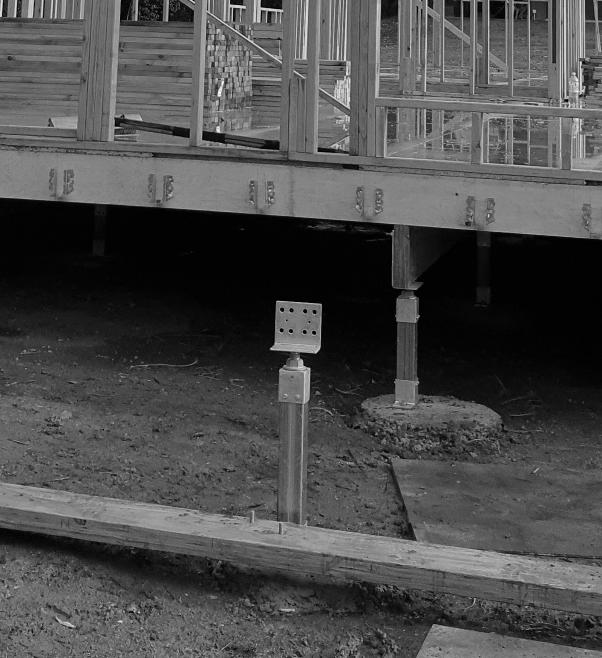
Footings stage is a simplification of what is the construction of the ground-to-floor system that connects the house to load bearing ground strata. The specific groundto-floor system used by the prefabricated system is an adjustable house stump system using concrete footings and steel stumps. Work within this phase should be completed by professional contractors due to the heavy equipment required and the importance of this work being completed precisely. However, knowledge of the processes involved is important in both the resourcing of equipment and labour. The site will be its most accessible for heavy machinery during this phase and you will have some heavy excavation machinery on-site digging the holes for the footings so consider if there is any other major earth works that need to be completed such as a buried water tank or landscaping. This will save money and time preventing the potential for you and your owner-builder team from having to hand move significant amounts of earth. Deep excavations are a major hazard on construction sites with the capacity to cause serious injury therefore these areas need to be fenced off and marked shortly after being excavated, this is also necessary to comply with SafeWork Australia. Similarly, when moving around a site stay 1m back from the edge of an excavated area because there is a potential for ground subsidence.25 Remember to check your contractor’s qualifications before works commence because machinery such as excavators require licences to operate.

Excavation of the footings will be completed using an auger which has the capacity to drill through earth and rock to the required depth of 600mm.26
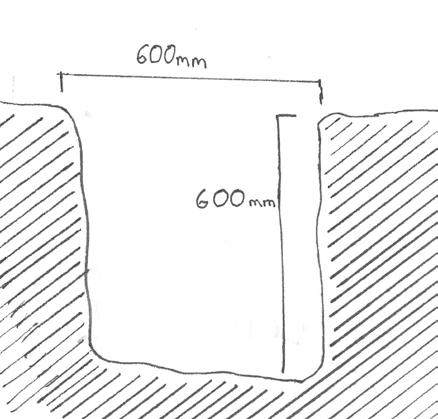
NCC: Part 3.2.5, Part 3.1.1-3.13 AS: 2870, 3600, 3798-2007.


After the holes are dug rebar cages are lowered into the hole and placed on bar chairs. Concrete for a stump footing is a pad footing and is poured into the hole the stumps are then lowered into the hole and aligned using string lines and levels, once happy, fix it to the pad.27
The footings system is sourced from Level Master Australia, with the usage of an adjustable stump allowing for a greater margin of error, more accurate levelling and can be fabricated off site.28
8mm Masonary Bolts fixing stump to concrete
200mm thick concrete pad per NCC requirements.
Turn to adjust height.
Master System
The frame is the installation of all the primary steel structure that will be used to transfer various loads but also locate and align the prefabricated panels. The equipment required for this stage is dependent on the size of the home and the potential spans. A crane or some type of lift assist machinery will be used to expedite this process and make it easier and safer to place the various steel members. This work should be entirely left to your contractors because working around machinery completing this type of work is very dangerous with fewer people in the area making the work easier. Your biggest task during this stage will be planning and identifying any concerns relating to the crane operation including overhead power lines and potential road closures and taking the necessary safety and application steps required to resolve these issues. If you do choose to assist in this stage, limit yourself to aligning and tightening off members already placed and listen to the directions of the crane operator and his dogman.
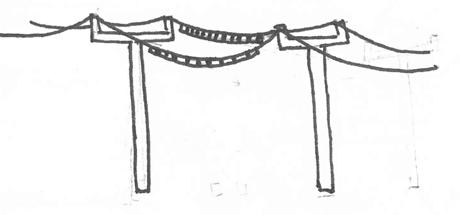

The PFC member will be the first component installed and locating it will be very important because the rest of the home is built of it. When lowering the PFC into position the two end stumps are most important to get right, check they have a plumb prior to the PFC being lowered and once positioned measure off to confirm it is in the correct position on-site.
NCC: ABCB Part
3.4.2 ABCB 6.3
AS: AS 3623-1993
BOLTING IN
The PFC steel member will be bolted to the stumps using precut holes. There will be allowance so that the holes are likely to align however if they do not use a jack to take the load of the PFC member off the stump and adjust the stump vertically (as shown in Footings section) or horizontally by placing packers underneath the base.
COLUMNS & TOP PLATE
The process is similar for the columns and top plate with holes in the PFC aligned with the base plate of the column and the holes in the top plate beam aligned with the column top plate
Elevation of construction system.
Once weight is taken off the stump footing use packers to plumb it up.
Bolt the bottom plate should plumb the post but if you do have issues use packers again.
The flooring comes in prefabricated components consisting of rigid insulation, joists, noggings and floor sheeting that are dropped into place either by hand or crane, depending on the size of panels specified. Your primary consideration is knowing the material thicknesses of your flooring system and adjusting the height of this system so that the floor to ceiling height remains 2.4m. The height of the panels placed in wet areas will be lower than this to allow for waterproofing requirements and falls towards drainage and will be identified by having fibre-cement floor sheeting rather than yellow tongue to comply with the ABCB.29 A potential concern during this phase is poor weather, as continued exposure to rain will degrade the panels, having builder’s tarps on hand to cover the flooring until the roof is complete will address this.

Adjusting the floor height you will need to move the angle bar down from the top of the cross beam to the height required. You can also adjust the height of the stump footing should you need additional height adjustment.
Lowered height for bathrooms or floor heating.
Increased height for floorboards.
NCC: Section J1.6, ABCB 3.4.1, AS: 2796, 4785, 1080
Using the pre-cut holes in the angled bar as a guide drill through. INSTALLATION
FLOOR SHEETING
Some floor sheeting will need to be cut to cover over the cross beams and packed up the correct level to align with floor panels.
Use a chalkline to guide your cuts & remeber it doesn’t have to be perfect flooring will be going over the top.
Pack up to height.
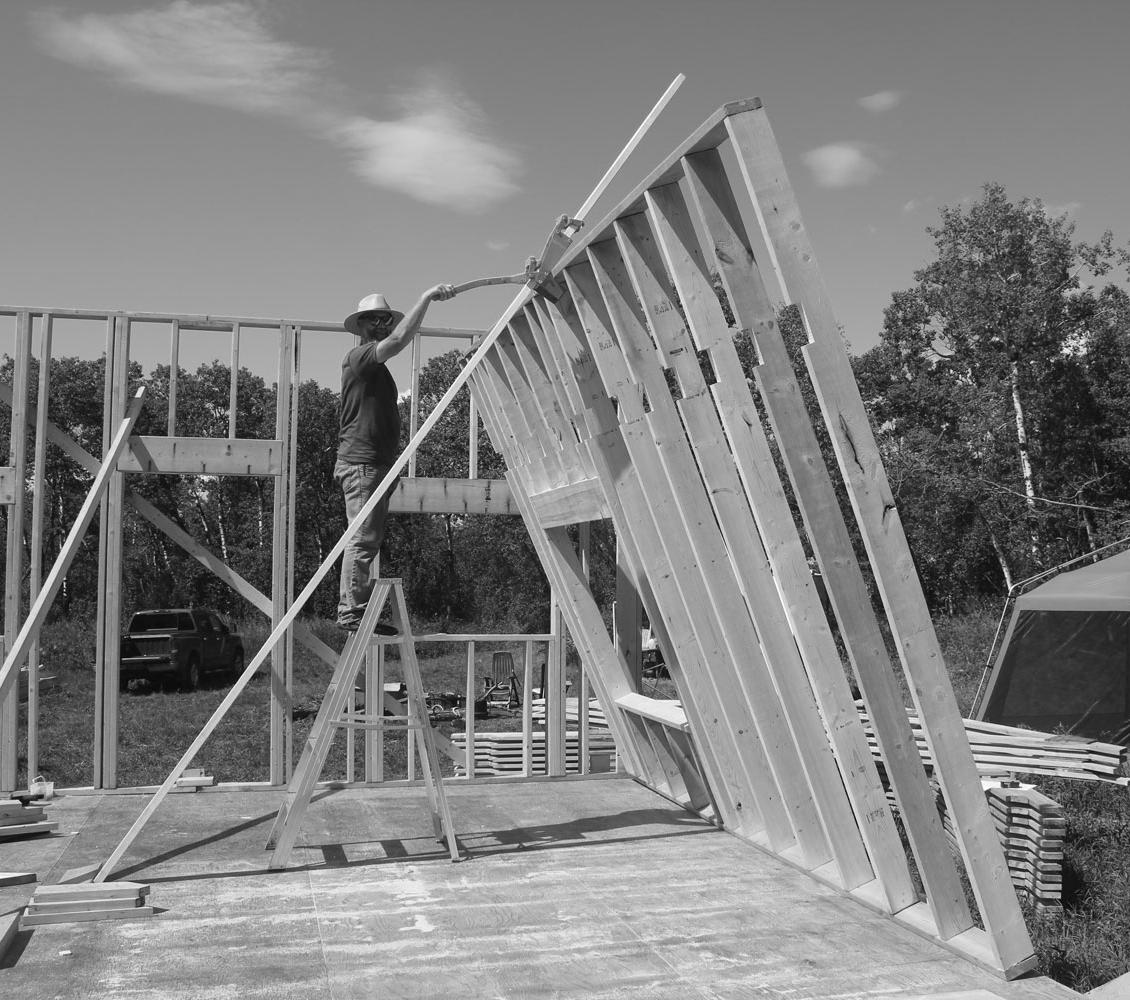
Installation of the wall panels is a simple yet repetitious process that can either be moved into place via a crane or by hand with the assistance of a pallet jack. The structural frame, if installed correctly, will make it simple to align and plumb the wall with the only construction consideration around adapting if aspects of the material are bowed. Maintaining safe work practices during this stage is something you will need to keep your eye-out for because the quick, easy and repetitious process may result in corners being cut and create the potential for a wall panel to fall on a worker attempting to fix it off.
Prop beam to straighten bow in steel
To lift the panels into position you will be using wall jacks to ease the process of installation with blocking placed on the top plate to stop the wall panel in position and stop it falling out the opposite side.
Blocking fixed to top plate.
Make sure Prop is placed on the PFC
1684.2-2010
Packers
Always brace the wall prior to fixing it off because this will lock it in the correct position and prevent it from falling onto someone. The panels are fixed to each other or a column firstly to pull them in tight then the top and bottom plates.
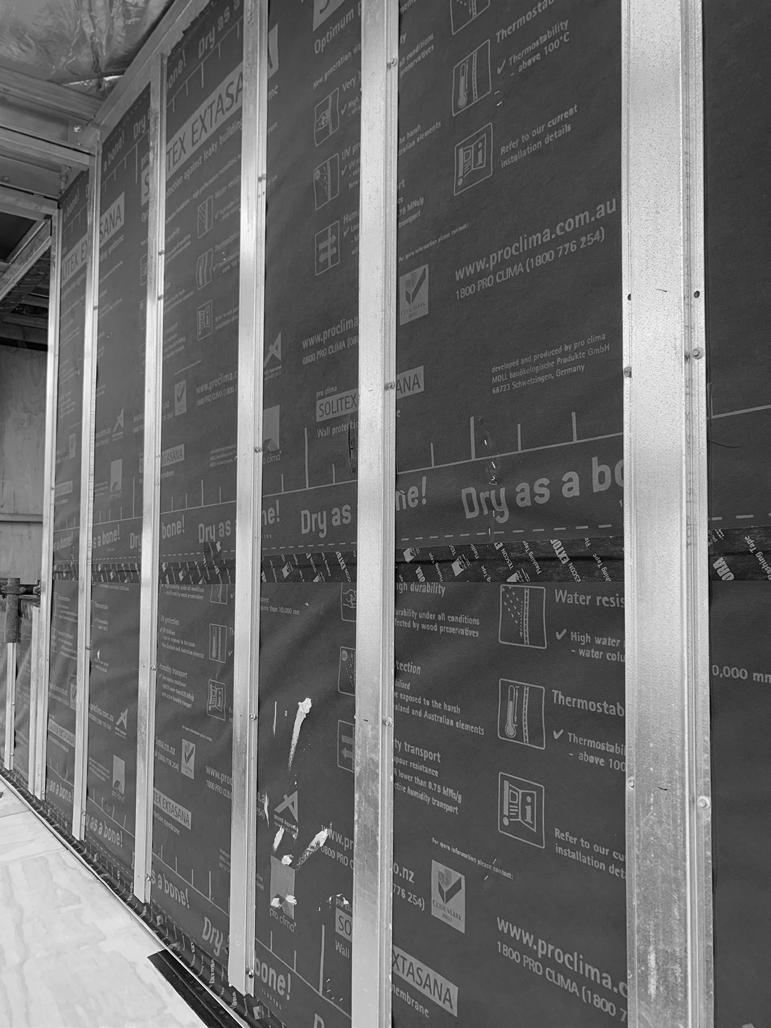
Once the walls are installed you will need to go around with waterproofing tape and seal all the joints between the panels.
Images of tape used to cover joints between panels.
Fixings
Use brace to move the panel to where it is perfectly plumb. Then fix it to the flooring.

The roof structure stage consists of installing the roof trusses, prefabricated panels and roof sheeting. This work should be completed by a qualified professional because it is complex and dangerous requiring knowledge of various construction compliances. The true construction process of the roof system will be dependent on the roof type of your design however staging will remain consistent between each roof type.
Hip Trusses
Truncated Girder
Truss
Truncated Standard
Truss
Hip Truss
Parallel Chord
Truss
Trusses are lifted onto the plates and placed into a stack via crane, moved into position, bolted to the top plate and then braced to prevent any movement. Note that trusses cannot be left overnight without bracing because there is a potential they will fall over, once they are all placed and fully anchored this will not be a problem.30
Standard Truss
Cantilever Truss
Dual Pitched Truss
Bell Truss
Scissor Truss
Trusses are fixed to the SHS top plate via a angled plate.
Braces need to to be fixed to the trusses until the full roof system is completed.
NCC: ABCB Part 3
H2F1, H2P1
AS: 1562.1 -2018
The prefabricated panels are simply lifted and placed on top of the trusses and fixed to the trusses using pre-cut plates.
The eaves will need to be completed closely after the roof structure to completely weatherproof the house. Construction of the eaves will be dependent on your design and roof type but here are some details for common eave designs. Roof sheeting and flashing will also need to be completed quickly for the house to be weatherproof.
Roof Sheeting
Prefabricated panel 1
Prefabricated panel 2
Plate from prefabricated system connects to truss hold each segment in place.
Batten
Flashing
Gutter
Vertical timber cladding
Sheathing
Ceiling batten
Flashing
Trim
Roof sheeting
90x45 Timber Sheathing
Prefab panel start.
Batten
Vertical timber cladding
Prefabricated panel
Example of Eaves built onto the construction system.
Well... that’s up to you now.
The fix-out stage is where you can take complete control and really get hands on with the project. What follows is a series of guides for common components you will likely look to construct yourself. Remember to research installation techniques related to your specific materials and follow manufacturer installation closely to maintain component performance, appearance and warranties. Flooring and wet areas are two aspects of the fix-out where it might be beneficial to hire skilled contractors rather than complete them yourself because squeaky or uneven floors affect the experience and quality of the home. Wet areas have specific requirements around falls and waterproofing to prevent water pooling or potentially ingressing into the wider home.31 Additionally, tiling is a tricky process to get right for those inexperienced, with mistakes easy to read and improper grouting creating potential water damage issues. During this stage it is highly recommended that works required to gain a Partial Occupation Certificate are completed first because this will allow you to legally live in the home whilst construction is ongoing.32
You’ll have to find the relevant codes this time.
T Prop used to hold ceiling sheets in place.
Opening
Opening
Sheet layout example, remember to focus on using full sized sheets whereever possible.

Cut first skirting square to butt into walls
90x45 timber and battens used to create a standard ceiling at 2.4m floor to ceiling.
Battens contain hole to prevent water from being trapped.
Vertical cladding battened off prefabricated panels.
Battened down ceiling.
Waterproofing panel
Basic 90x45 timber framing used to fill in eave cavity.
Weatherboards fixed directly to sheathing.
Weatherboard Cladding
Colourbond sheeting battened off roof panel.
Grout used to create shower fall.
Adjusting floor height for tiled bathroom with falls.
Colourbond roof sheeting.
Calling out various methods of ‘fixing-out’ the construction system.
Once you have deemed the building to be completed it is worthwhile contacting your building consultant prior to the final inspection of the home being completed by the certifier. The building consultant can then walk through the property with you and note any compliance issues and how to resolve them prior, saving money and time on continually calling out certifiers. A common non-compliance is the height of step-downs from the house to external areas which does have bearing due to the stumps elevating the house above the ground. Often

owner-builders will look to complete decks and external structures after acquiring full Occupant Certification, using outdoor decking stair kits in the meantime to reduce the step-down which is a quick way to resolve this non-compliance example.33
1“Working with an architect.” Australian Institute of Architects, n.d. https://www. architecture.com.au/explore/working-with-an-architect
2 Wilkie, George. “Building your own home.” Lansdowne-Rigby Publishers, 2012.
3“Unconventional Prefab.” Archier, n.d. https://archier.com.au/prefab/
4 “Construction industry faces workforce shortage of 650 000 in 2022.” Associated Builders and Contractors, February 22, 2022. https://www.abc.org/News-Media/ News-Releases/abc-construction-industry-faces-workforce-shortage-of-650-000-in2022#:~:text=%E2%80%9CAccording%20to%20the%20Centers%20for,are%20 currently%20older%20than%2055.
5 “Committed to members for the long term.” CFMEU, n.d. https://cg.cfmeu.org/ news/committed-members-long-term
6 Wilkie, George. “Building your own home.” Lansdowne-Rigby Publishers, 2012.
7 “Construction work.” NSW Government, n.d. https://www.safework.nsw.gov.au/ your-industry/construction/construction
8 Staines, Allan. “House building manual.” Pinedale Press, 9th Edition, 2020.
9 Wilkie, George. “Building your own home.” Lansdowne-Rigby Publishers, 2012. Accessed August 7, 2024
10 Wilkie, George. “Building your own home.” Lansdowne-Rigby Publishers, 2012.
11 “Unconventional Prefab.” Archier, n.d. https://archier.com.au/prefab/
12 Peter Stutchbury Architecture. “PS1 construction.” n.d. https://www.dimensions. com.au/
13 Wilkie, George. “Building your own home.” Lansdowne-Rigby Publishers, 2012.
14 Wilkie, George. “Building your own home.” Lansdowne-Rigby Publishers, 2012.
15 Wilkie, George. “Building your own home.” Lansdowne-Rigby Publishers, 2012.
16 “Owners-builder permit.” NSW Government, n.d. https://www.fairtrading.nsw.gov. au/housing-and-property/building-and-renovating/becoming-an-owner-builder/ownerbuilder-permits
17 Wilkie, George. “Building your own home.” Lansdowne-Rigby Publishers, 2012.
18 “Store.” Master Builders Association, n.d. https://www.mbansw.asn.au/store/ residential/bc4-residential-building
19 “Bunnings trade.” bunnings, n.d. https://trade.bunnings.com.au/powerpass
20 Wilkie, George. “Building your own home.” Lansdowne-Rigby Publishers, 2012.
21 “Site preparation: What you need to know.” Safety Culture, n.d. https:// safetyculture.com/topics/site-preparation/
22 “NSW site signage and advertising requirements.” Housing Industry Association, n.d. https://hia.com.au/resources-and-advice/managing-yourbusiness/managing-compliance/articles/nsw-site-signage-and-advertisingrequirements?srsltid=AfmBOoq-qCMap5oKPJ2TYsw59al9KwneYf6MUYcx9sMJVu peu1MefJfs
23 Australian Building Codes Board. “National Construction Codes.” Canberra, ACT, 2011. https://ncc.abcb.gov.au/editions-national-construction-code
24 Australian Building Codes Board. “National Construction Codes.” Canberra, ACT, 2011. https://ncc.abcb.gov.au/editions-national-construction-code
25 “Code of practice: Excavation work.” NSW Government, January 2020. chromeextension://efaidnbmnnnibpcajpcglclefindmkaj/https://www.safework.nsw.gov.au/__ data/assets/pdf_file/0019/52147/Excavation-work-COP.pdf
26 Australian Building Codes Board. “National Construction Codes.” Canberra, ACT, 2011. https://ncc.abcb.gov.au/editions-national-construction-code
27 Australian Building Codes Board. “National Construction Codes.” Canberra, ACT, 2011. https://ncc.abcb.gov.au/editions-national-construction-code
28 “House stump components.” Level Master, n.d. https://www.levelmaster.com.au/
29 Australian Building Codes Board. “National Construction Codes.” Canberra, ACT, 2011. https://ncc.abcb.gov.au/editions-national-construction-code
30 Staines, Allan. “House building manual.” Pinedale Press, 9th Edition, 2020.
31 Australian Building Codes Board. “National Construction Codes.” Canberra, ACT, 2011. https://ncc.abcb.gov.au/editions-national-construction-code
32 “Occupantion Certificates.” NSW Government, August, 2019. chrome-extension:// efaidnbmnnnibpcajpcglclefindmkaj/https://www.planning.nsw.gov.au/sites/default/ files/2023-04/occupation-certificates-faq.pdf
33 Planning. “Stage 6: Get your occupation certificate.” NSW Government. n.d. https://www.planning.nsw.gov.au/assess-and-regulate/development-assessment/yourguide-to-the-da-process/stage-6-get-your-occupation-certificate#:~:text=The%20 Occupation%20Certificate%20authorises%20the,accordance%20with%20its%20 BCA%20classification).
Figure 1: ArchitectYourHome. “Architect Drawings” n.d. 2024. https://architect-yourhome. com/our-approach/architect-drawings/
Figure 2: hsceonline. “A brief guide on how to choose a structural engineer.” August 15, 2015. https://medium.com/@hcseonline/a-brief-guide-on-how-to-choose-a-structural-engineer941d446cf7d7
Figure 3: Australian Glass Group. “NCC 2022 Confirmed.” n.d. https://agg.com.au/ncc-2022-confirmed/
Figure 4: Taken by student.
Figeure 5: Taken by student.
Figure 6: NatSpec. “Specification writing.” NATSPEC Paper, April, 2024. chrome-extension:// efaidnbmnnnibpcajpcglclefindmkaj/https://natspec.com.au/images/PDF/Specification_Writing_ Paper.pdf
Figure 7: Created by student.
Figure 7: Spectrum. “Case study: Termination of a domestic building contract.” n.d.
Figure 8: K2K Signs. “Owner builder construction site sign for NSW.” n.d. https://www.k2ksigns.com.au/products/owner-builder-construction-site-sign-fornsw?variant=40724742668331
Figure 9: Taken by student.
Figure 10: Taken by student.
Figure 11: Taken by student.
Figure 12: LevelMaster. “Why adjustable house stumps.” n.d. https://www.levelmaster.com.au/ why-adjustable-house-stumps/
Figure 13: Taken by student.
Fignure 14: ABC Tarp. “Builders tarp, floor sheets & construction tarps.” n.d. https://www. abctarps.com.au/tarpaulins/builders-tarp-floor-sheets/
Figure 15: Treloar, Mike. “Using a Wall Jack.” Nine Bean Rows, August 18, 2021. https://www. ninebeanrows.com/using-a-wall-jack/
Fignure 16: Taken by student.
Fignure 17: Taken by student.