
Saturday, October 11, 2025

Saturday, October 11, 2025
By METRO CREATIVE
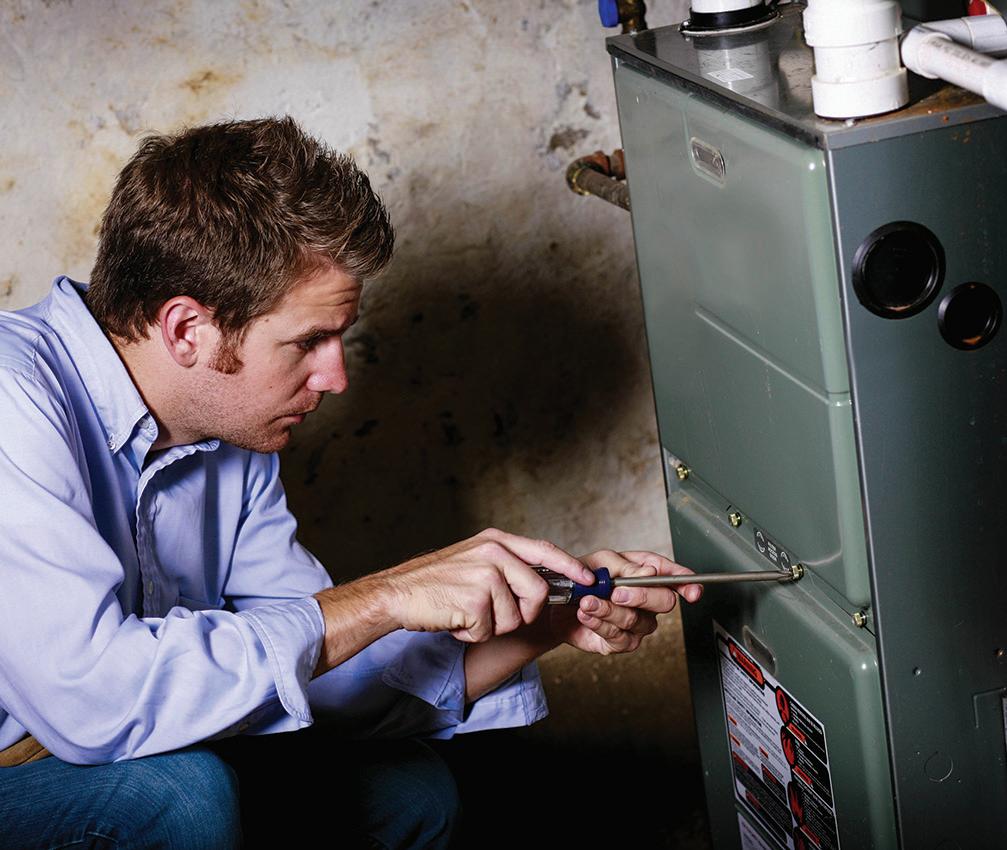
Turning on the heat may be the furthest thing from homeowners’ minds come the end of summer or early fall. After all, there are plenty more days of comfortable temperatures to expect over the weeks to come. However, failing to inspect a furnace prior to when it is needed could lay a foundation for cold evenings.
Many HVAC experts recommend that homeowners get their furnaces tuned up before the first cold spell arrives. When the heat is needed for the first time, it will be guaranteed to work if it’s been examined and any underlying issues have been addressed.
HVAC technicians are busy at the start of summer and winter. If a furnace is not working correctly, it could take some time before a professional can make a service call. Having the furnace and related equipment checked prior
to when it’s time to turn on the furnace means homeowners will not be left in the lurch or potentially spending premium prices for repairs.
It is important to get a furnace checkup for a variety of reasons. Doing so can make the HVAC system run more efficiently, which could result in savings over the winter. Regular maintenance also can help the furnace last longer, delaying the need for a costly replacement. No one wants the furnace to break down in the middle of a frigid night. Annual checkups can help reduce the risk of that happening. In addition, many furnace manufacturers offer warranties on their systems that require annual maintenance from a professional. Failure to have the system inspected could void the warranty.
Even if homeowners are floating in the pool and cranking up the air conditioning, they should give consideration to having their furnaces inspected and serviced soon to prepare for the colder months ahead.


By METRO CREATIVE

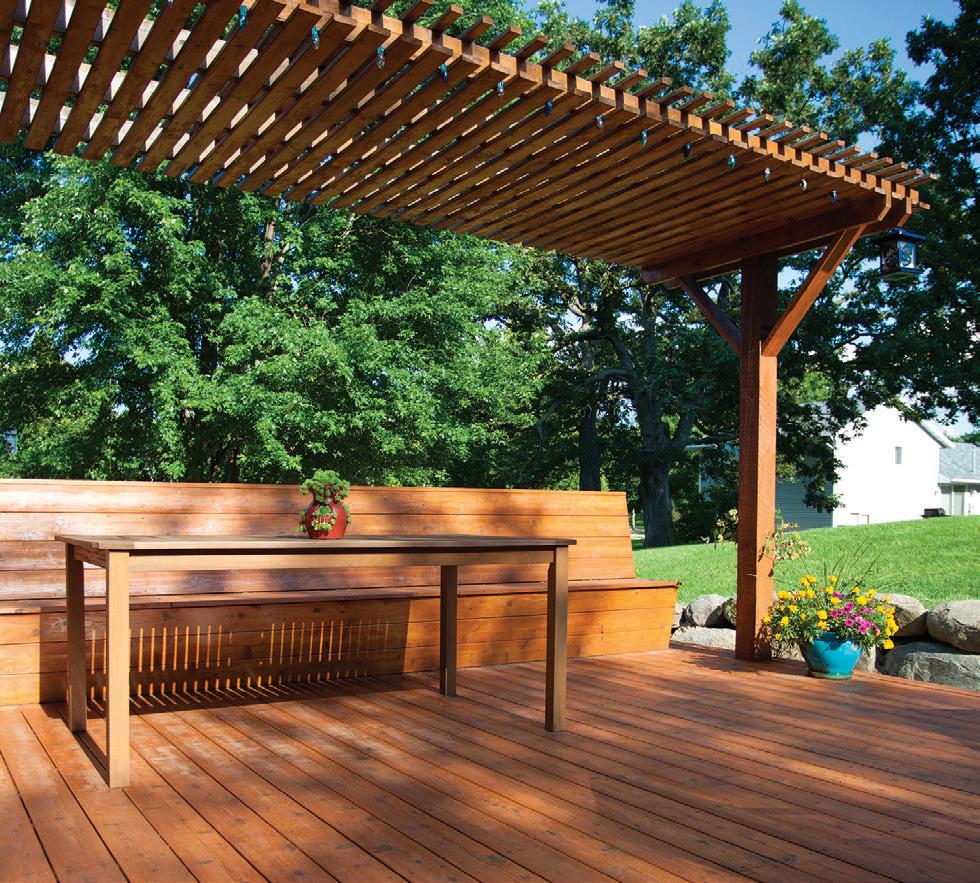
Outdoor living spaces are a good investment for homeowners seeking to enjoy their home exteriors to the fullest, and that investment continues to pay dividends when homes are put on the market. According to Remodeling magazine’s Cost vs. Value report, a number of outdoor living upgrades provide a sizable return on investment (ROI) when homeowners put their properties up for sale. According to the
report, a wood deck could recoup up to 82 percent of the original cost at resale, meaning a job that comes in around the national average price of $17,000 could net $14,000 at resale. An outdoor kitchen could prove an even better investment in terms of ROI, as Remodeling magazine indicates such a feature nets a return between 55 percent and 200 percent at resale depending on the location of the home and the materials used for the project.


By METRO CREATIVE
Homeowners know that the work involved to maintain a home is never done. The end of one project has a tendency to roll into the planning of another, and so it goes for years on end.
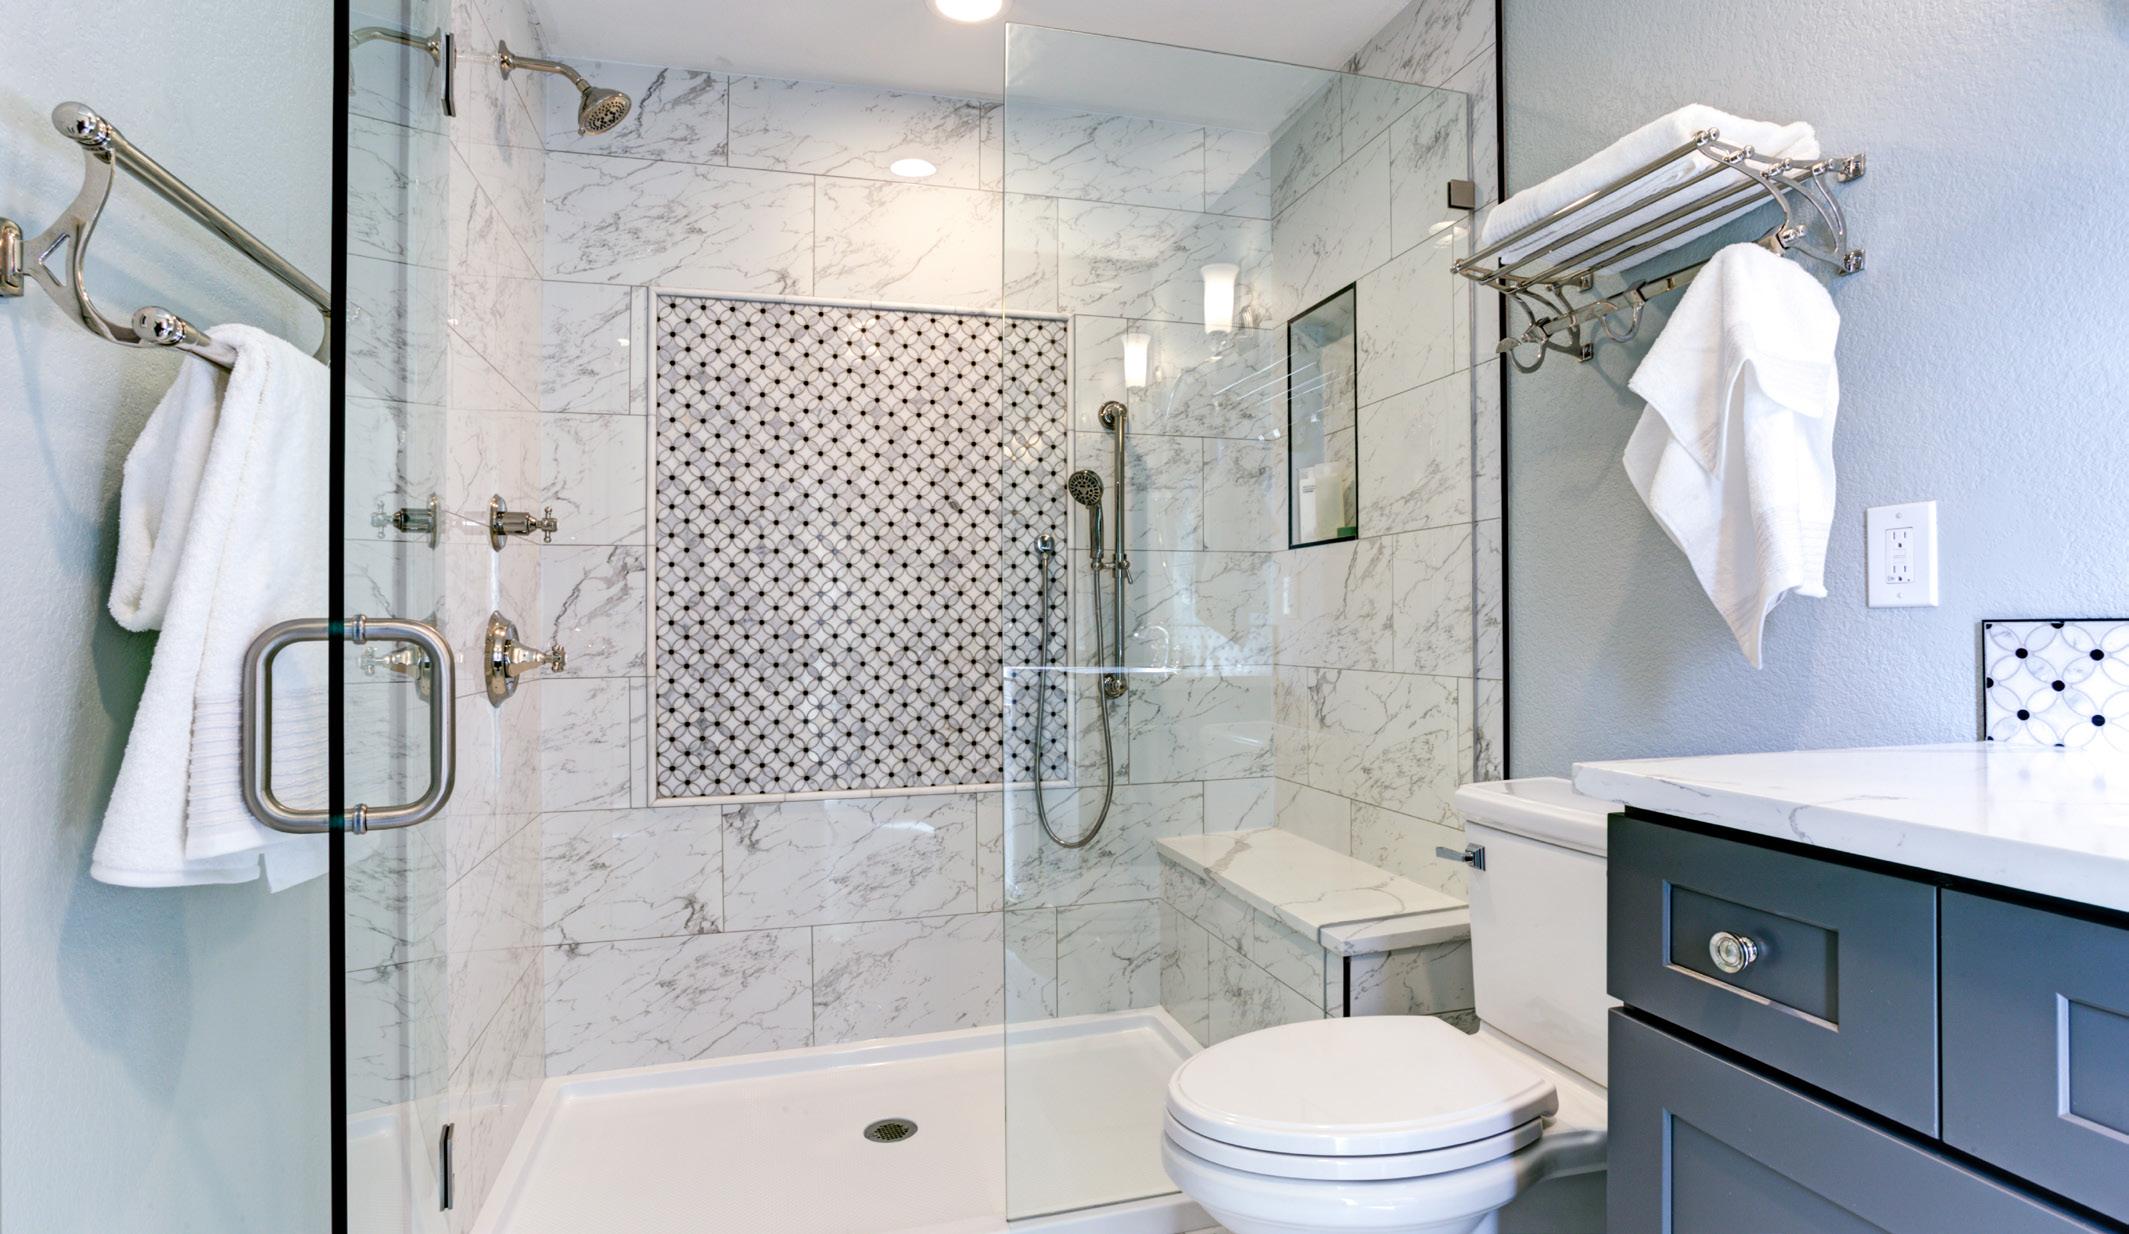
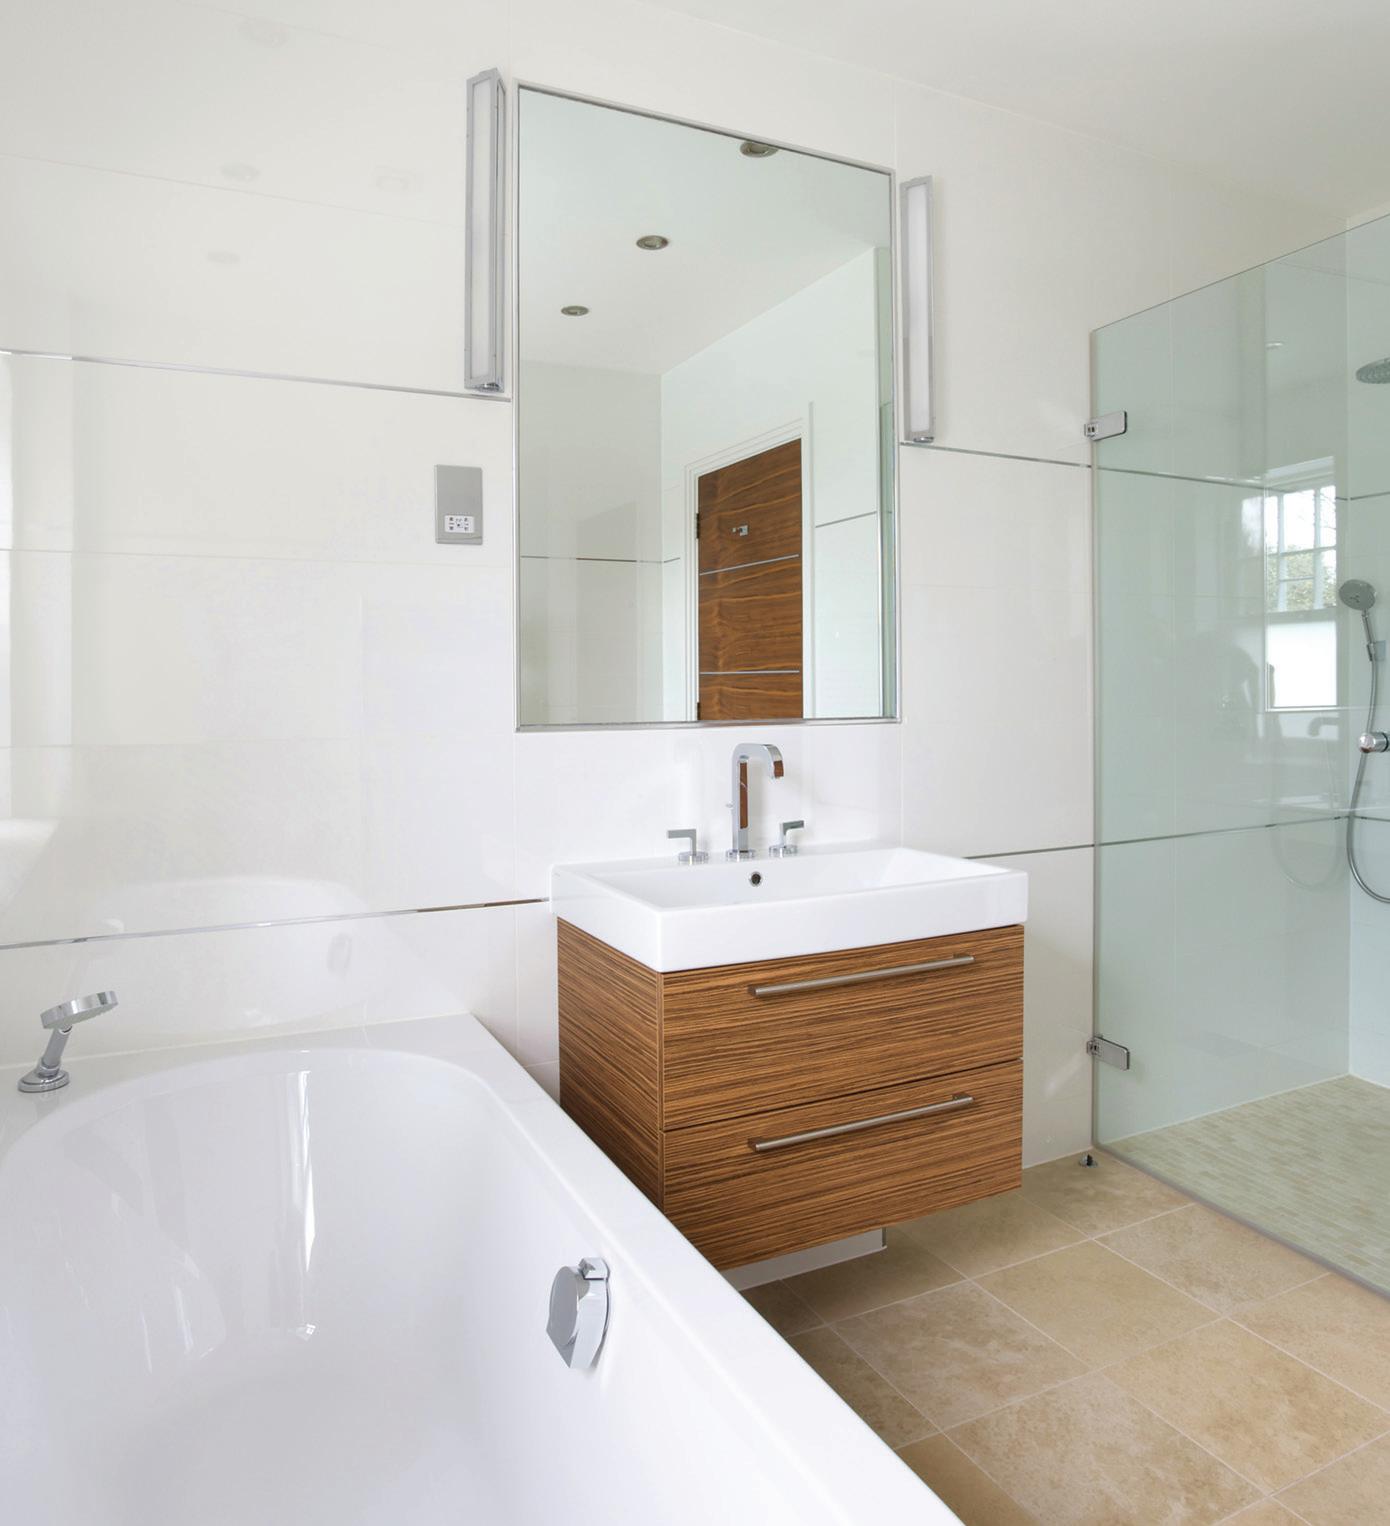
Fortunate are the homeowners who get to choose when to begin a renovation project, but it’s far more common that homeowners spot an issue and then realize it’s time to renovate. When it comes to bathrooms, which can be among the more expensive spaces to renovate in a home, homeowners can keep an eye out for various signs suggesting the room needs a remodel.
Mold and mildew is perhaps the most glaring sign a bathroom needs to be renovated or remodeled. Mold and mildew pose a notable threat to human health, as the United States Environmental Protection Agency reports that molds can cause allergic reactions. Individuals sensitive to mold may develop symptoms that mimic reactions to outdoor allergens like pollen, including sneezing, runny nose, red eyes, and dermatitis (skin rash). Mold also can trigger asthma attacks in people allergic to mold who have the condition. Mold can grow in poorly ventilated bathrooms, such as those without a fan or ones in which fans are not working properly. Mold and mildew will return if it’s merely scrubbed away, so the underlying cause of mold must be addressed to prevent its return.
Stains, peeling paint, cracked paint, and gaps in grout are small signs of fading that indicate a bathroom is in need of renovation if not a complete remodel. These issues also can serve as warning signs of larger issues, such as water issues and structural problems, so they should not be merely written off as minor problems or eyesores.
Some signs a bathroom could use a little TLC are not necessarily confined to the room itself. If water bills are rising significantly and do not align with price increases or an uptick in water consumption, homeowners may have leaking pipes. Such pipes might be beneath a bathroom sink or behind tiled
walls. Discoloration on the walls, peeling paint or wallpaper and/or a musty odor may indicate leaks inside a bathroom wall. If coupled with rising water bills, these signs could be indicative of a significant issue that requires immediate attention.
Cracked or damaged tiles in the shower and bathtub or even on the floor are unsightly and also pose a safety hazard. Cracked floor tiles can lead to slips and falls, which can be especially harmful to older residents. And cracked tiles within the shower and tub area can indicate water problems behind the walls or general disrepair. Such issues should be addressed before they escalate into something larger.
Of course, some issues affecting a bathroom are not necessarily health or safety hazards but more an affront to homeowners’ grasp of current styles and trends. If walking into a bathroom unintentionally feels like stepping backward into a bygone era, then it’s probably time to consider a renovation or remodeling job.
Various signs can indicate to homeowners it’s time to consider a bathroom renovation.


By METRO CREATIVE
Individuals want a home that is welcoming and comfortable. Unfortunately many conditions that people find appealing also appeal to pests. Pests may be more problematic at certain times of year , such as when weather is extreme and pests like rodents or even raccoons seek refuge in a home. During times of year when temperatures are mild, certain insects may begin to hatch or swarm, becoming problematic around the home. Some signs of pests taking up residence may be readily apparent, while others may be less obvious. The following are nine signs of pest infestation in or around a home.
1. Droppings: Small droppings may indicate that pests are nearby. Droppings will vary depending on the
insect or rodent. It’s good to familiarize yourself with the appearance of various droppings, from mice to termites to bed bugs.
2. Footprints: Footprints are another sign of pest infestation. Footprints left in dirt around a home, or in dusty areas in the attic or basement, may show that pests are tracking in and out of the house.
3. Sawdust piles or trails: Sawdust could be indicative of termites or ants. Insects like carpenter bees also may burrow into areas of wood and leave sawdust behind.
4. Shed wings, skins and casings: Many insects molt and, during this process, will shed certain parts of their anatomy to grow larger. Roaches, bed bugs and beetles are some pests that might be scattering sheds or egg casings in a home. Termite wings are discarded once the swarmers choose a new
location for the colony.
5. Foul odors: Musty or foul smells, particularly in hidden areas, may indicate pests are nesting nearby.
6. Unexplained noises: Scratching or scurrying in walls or floors often indicates pests are present.
7. Bites: Waking up in the morning with welts or red areas on the skin might indicate the presence of bed bugs or other biting insects.
8. Presence of nests: Those who can see nests in corners or undisturbed areas of the home likely have pests present. Rodents often use chewed cardboard, insulation, paper, and other scavenged items to create nests, according to exterminators.
9. Increased number of beneficial insects: An influx of spiders and other predatory insects may indicate there are plenty of food sources in the home for them to feast on.

Pests can be problematic, but homeowners who recognize signs of infestation can take prompt action.
By METRO CREATIVE
Fall is here, which means temperatures are cooling and some insects are gearing up for their version of hibernation, called overwintering. Now is the time to be thinking about how to keep bugs out before leaves and snow cover the ground.
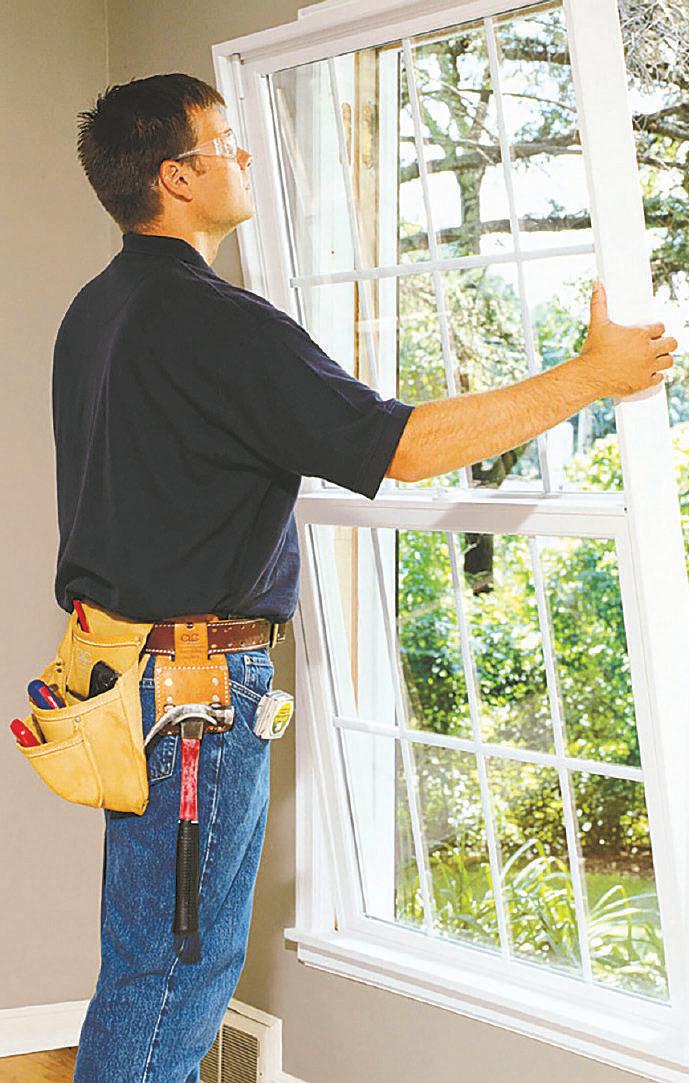
First and most importantly, start by inspecting your home with a watchful eye and sealing any possible entry points. By removing these tiny entrances, overwintering insects won’t be able to get into your structure.
Entry points for overwintering pests can include:
• Cracks or gaps around windows, doors, or foundations
• Holes in window, door or vent screens
• Holes/cracks around electrical outlets or switchboxes
• Gaps/cracks where utility lines or water spigots enter your structure
• Gaps/cracks where any materials meet (brick, siding, carpeting, flooring)
Types of Overwintering Pests
• Brown Marmorated Stink Bugs (BMSB)
• Boxelder Bugs

• Cluster Flies
• Asian and Domestic Lady Beetles
What you can do
• Remove clutter from both inside and outside your home, as pests often use these areas for shelter.
• Ensure that your home’s drainage systems are functioning properly to avoid creating moisture-rich environments that attract pests.
• Store firewood and other outdoor materials away from the house to discourage pests from seeking refuge nearby.
• Pay extra attention to the South and West sides of your structure, as those areas receive the largest amounts of sunlight. Before attempting to break in, overwintering pests will sometimes gather on these sides of buildings to soak up those last rays of sunlight.
What if they’re already inside?
If you come across an insect invader inside your structure, no need to panic! One of the best ways to take care of these pests is to vacuum them up! Don’t forget to remove the vacuum bag or clean out the filter after, though. They may be able to escape.

By METRO CREATIVE
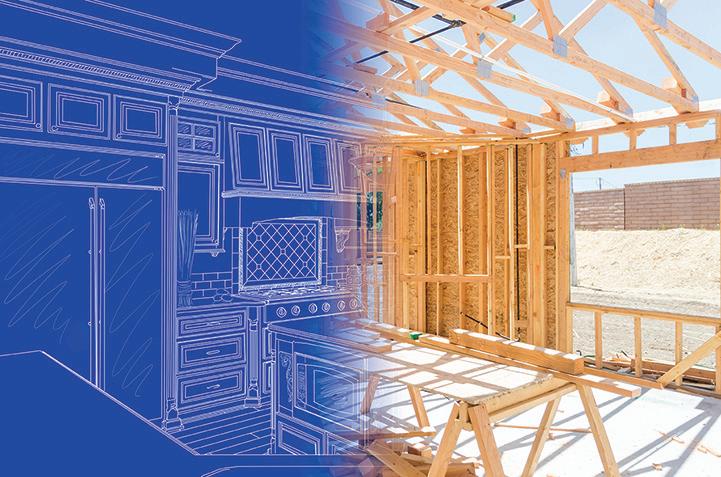
There are many reasons homeowners consider adding a room to their current homes. Some outgrow an existing space, while others take up new hobbies or have different needs that were not apparent when purchasing the home. Indeed, a room addition can remedy a host of issues affecting a home.
Those considering adding a room may wonder what is involved in this type of project. According to The Spruce, no home improvement project is more complicated or expensive than building an addition. The National Association of Realtors says building an addition can cost between $90,000 and $270,000, depending on the size and intended purpose of the room. An addition structurally changes a home, which requires the work of professionals whether homeowners plan to build upwards or outwards.
With so much to ponder when considering a home addition, here’s a look at what homeowners can expect of the process.
• Design and planning: Homeowners must determine the purpose behind the addition and how it will integrate with the existing home. A bedroom design likely will be different from a garage addition or family game room.
• Hire an engineer and contractor: An addition changes the footprint of a home. Homeowners will require professional contractors and structural engineers/architects to properly design the addition and ensure that it will not compromise the existing structure.
Detailed architectural plans will be drawn up considering the layout, size and integration with the existing structure. The home may require a new property survey as well.
• Comply with building codes: The project will have to meet with local zoning regulations, building codes and homeowners association rules.
• Timing involved: Adding a room is a major overhaul of a space. It may require months of a home being in upheaval. If the renovations are particularly extensive, homeowners may need to temporarily move out of the space.

• Demolition: Adding a room may involve taking down walls or modifying existing spaces, necessitating hiring a


dumpster to remove debris. This is an added consideration and expense. Putting an addition on a home is a complex process that will take time and money. Such a project requires careful planning and consultation with an array of experts.


By METRO CREATIVE
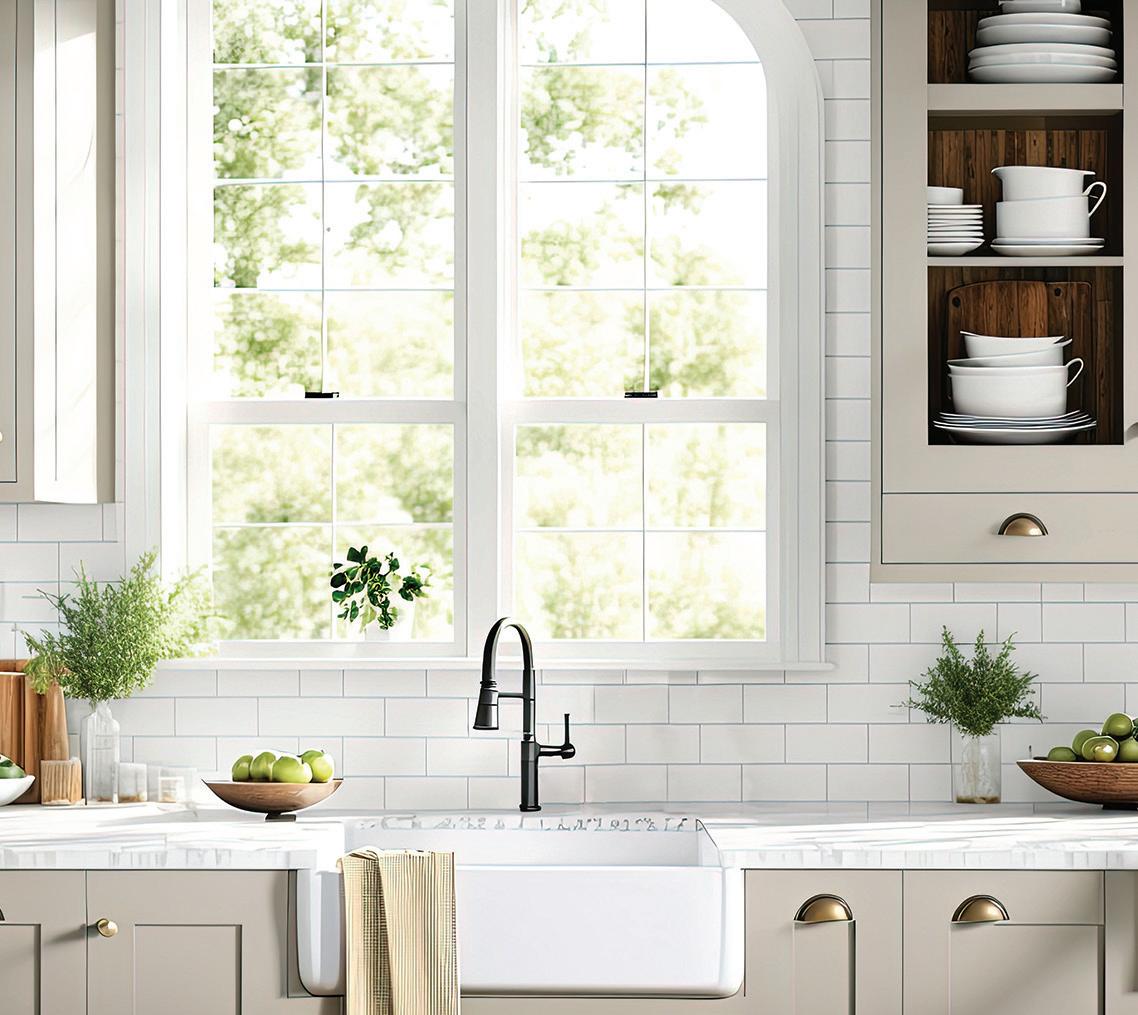
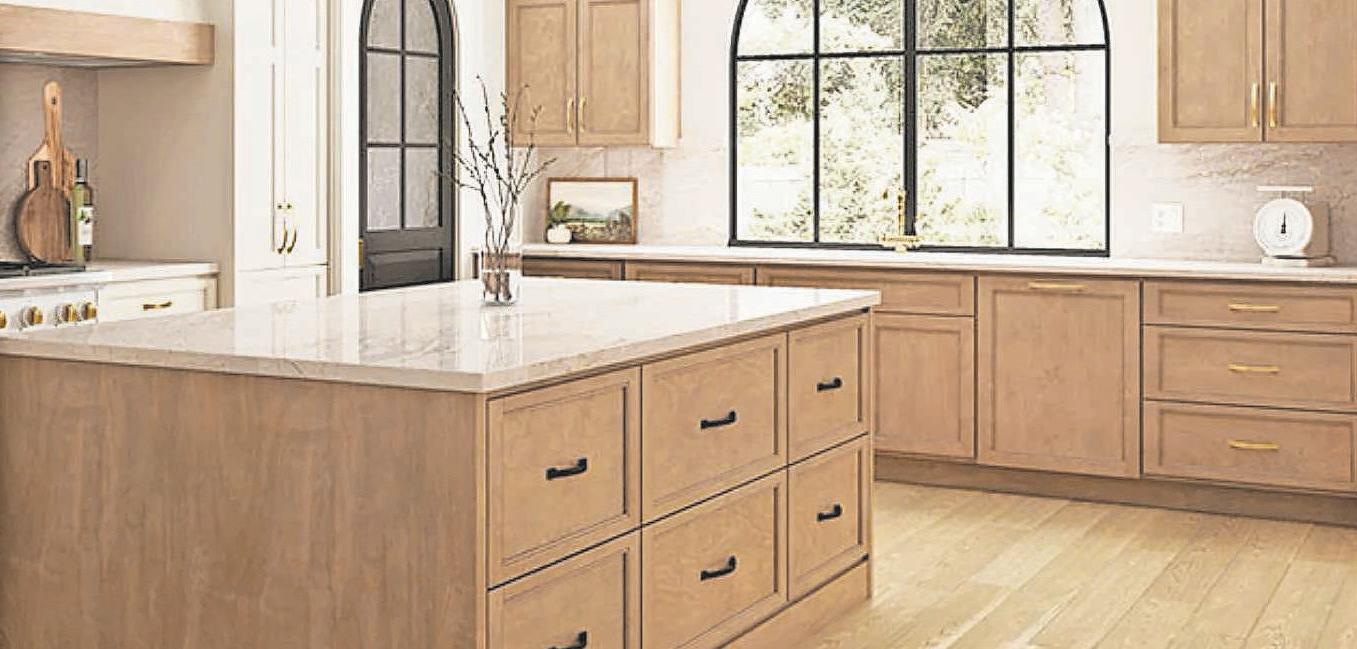
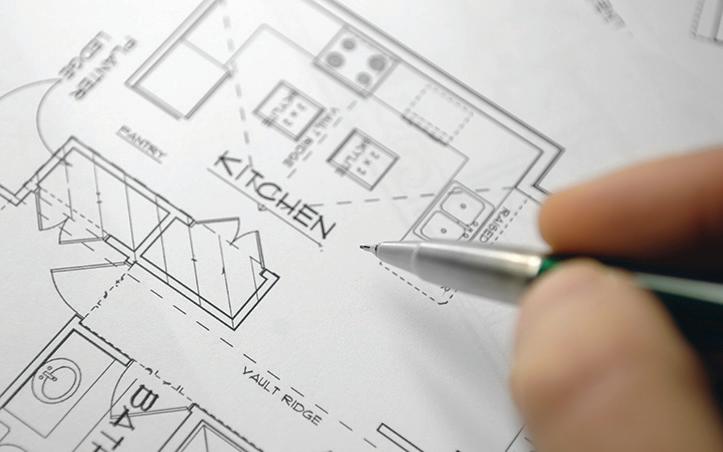
Individuals A successful kitchen renovation project requires careful planning and a detailed vision of what the space will look like upon completion. Whether a homeowner is thinking about giving the kitchen a major overhaul or just a minor refresh, bringing that vision to life doesn’t happen overnight. There is a process that must go into a kitchen renovation. Embarking on a kitchen remodel can be an exciting venture and homeowners may be eager to dive right in, but familiarizing oneself with what to expect prior to the start can help property owners navigate the process more smoothly.
• Inspiration and design: The first phase involves dreaming up kitchen plans and making practical decisions
regarding efficiency and functionality. Considerable time may be spent working with a designer and architect, which will involve choosing materials and a color scheme.
• Creating a budget: According to Angi, the average kitchen remodel costs $26,934, but price ultimately varies depending on the scope of the work. Costs may be less or more depending on the size of the kitchen and the materials chosen.
• Demolition: Before a homeowner can have a new kitchen, the old one must be removed. The real physical transformation begins with the demolition, which tends to be quick but messy. It is essential to set up an alternative “mini kitchen” elsewhere, or expect to be dining out throughout the remodel. The demo process may reveal any issues that will need to be remedied
before the real work can begin, such as structural damage, leaks, mold, or other hiccups.
• Contractor work begins: It can take one to three weeks for contractors to install plumbing, mechanical components, electrical wiring, ductwork, and more, followed by structural needs and drywall, according to sink and faucet manufacturer Blanco. Flooring and cabinets will follow, and can take another week or more. Fabricating custom countertops is a lengthy process and can represent the bulk of a kitchen renovation timeline. Expect a few weeks for countertops to be measured, made and then installed.
• Appliances and finishing touches: Appliances will be delivered and hooked up at the tail end of the renovation. Finally, the backsplash, fixtures and lighting are put into place. The last leg
of the remodel will include painting, trim work and installation of hardware on cabinets and drawers.
Once all the work is done, it is essential for homeowners to make sure everything is to their liking. According to HGTV and Kitchy Crouse of CK Interior Design, a regular kitchen renovation can take anywhere from six to 12 weeks. With so much time devoted to the space, homeowners should ensure it lives up to their expectations.
As the renovation begins, homeowners should remember that unexpected issues can arise, including delays due to material availability or unforeseen challenges. Maintaining an open communication with the contractor, asking questions and remaining flexible helps. Although a kitchen remodel is initially disruptive, it is an investment that ultimately enhances a home’s value.
By METRO CREATIVE
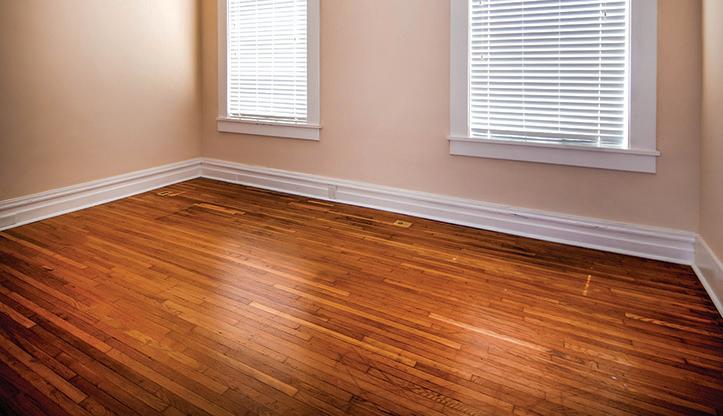
Hardwood floors are coveted features in many homes. The National Wood Flooring Association says wood floors are the most environmentally friendly flooring options available. In the United States, the hardwood forests that provide flooring products are growing twice as fast as they are being harvested.
Furthermore, wood floors can last for many generations and require fewer raw materials to produce than other flooring options. That means less waste may end up in landfills.
Hardwood floors can endure for decades in a home, but over time those same floors may need some tender loving care to keep them looking good and working as they should. Squeaky
floors are a common nuisance that homeowners may experience. Squeaking is often caused by movement and friction between floorboards. Treating the problem involves identifying the underlying issue.
Squeaky floors may be due to the loosening of the hardware holding the floor in place, says The Home Depot. When nails or screws no longer are secured tightly, the boards can rub together. The noise heard is the sound produced by rubbing. Tightening or replacing the hardware can help reduce the squeaking.
This Old House says this kit method is a great way to fix squeaks without damaging the floor. Once the source of the squeak is located, drill a 3/32inch pilot hole through the hardwood flooring. Then insert a screw through the kit’s depth-control fixture and into the pilot hole, and drive it until it automatically snaps off below the wood surface. Follow this up by filling the hole with wood putty that matches the floor color. Once the putty is dry, lightly sand the area to blend.
w
Sometimes the floor may squeak because of a gap between the joists and the subfloor. Filling the gap with a small piece of wood called a shim can help alleviate the gap or gaps.
If a squeak is just in one spot, The Home Depot says that you may be able to drive short screws from below into the subfloor.
For small gaps between boards, sprinkle talcum powder or powdered graphite between squeaky boards to reduce friction. Wood filler applied with a putty knife also may work. For larger gaps, use a liquid filler designed for wood floors.
Homeowners also can visit their local home improvement center for other hardware solutions designed for underfloor repairs to remedy squeaks. Many work from underneath the floor and involve mounting plates or brackets to sure up the floor.
Squeaky floors can be problematic, but noises can be banished with some repair work.