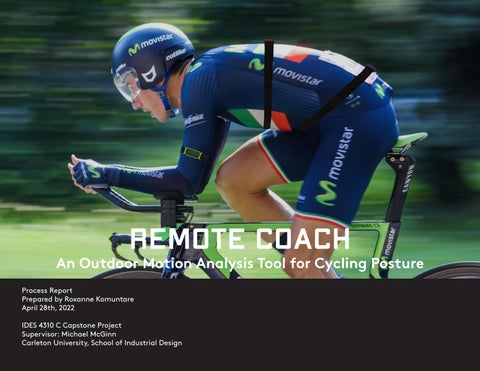
Report
 by Roxanne Komuntare
Coach An Outdoor Motion Analysis Tool for Cycling Posture
Remote
Process
Prepared
April 28th, 2022 IDES 4310 C Capstone Project Supervisor: Michael McGinn Carleton University, School of Industrial Design
Acknowledgments
I want to begin by taking a moment to thank all the wonderful people who have helped me during this year and my previous years at Carleton University in the School of Industrial Design.
A huge thank you to my friends and family as I do not know if I would have been able to make it this far without your support, input, or encouragement.
A big thank you to Kris, Cycling Canada’s High-Performance director for being my main contact with people such as Jonas Kraienhorst, and Marc Graveline who were also a huge help during the research phase of my project.
Thank you to the people who participated in interviews, surveys, and user testing sessions. Thank you, Mike, and Missy, for your insight and guidance throughout this year. Thank you to my previous professors, all my classmates and the wonderful people that I have had the pleasure to work with. Finally, thank you to the school Industrial Design for this chapter in my life.
3
4 Table of Contents Appendices 36 Conclusion 34 Final Design Form Development Refining the Design User Testing Current Problems Initial Ideation Definitive Direction Research Introduction 24 20 18 14 8 10 12 6 5
Introduction
About The Project
During a race every second is crucial. Athletes train for years to perfect their form so that they can optimize their speed, power output, and aerodynamics. For aerodynamics, even the slightest change in riding position could influence the final outcomes of a race. Therefore, it is important for athletes to get the proper training and feedback to perfect their riding position. However, how is an athlete supposed to train to perfection if they are located far from the necessary facilities and coaches?
As an athlete training away from the proper facilities without your coach can be difficult. In a country as wide as Canada, there are geographic and budgetary challenges when elements of an athletes training system are not all in the same part of the country. To deal with this issue athletes and trainers can use performance tracking tools and remote methods to communicate amongst one another to make sure high-quality training is accessible and remote feedback is more effective.
For these reasons, I decided to focus my project on road cyclists and how they can practice the correct cycling positioning to improve their performance.
5
Research The Importance of Aerodynamics in Cycling

In cycling, aerodynamics is key. On a bike a rider’s body can make up 80% of drag. Switching to a lower and narrower position can greatly reduce drag while saving the rider’s energy. However, a more aerodynamic position can be harder to maintain. Compared to other riding postures, switching to an aero position can offer a drag reduction of 5-30% which can conserve the rider’s energy throughout the race (Barry et al., 2015).
Training The Aero Position

Although an aero position is faster, it can put the rider’s joints and muscles at sub-optimal angles for producing power. According to a study, in the Scandinavian Journal of Medicine and Science, riding in a time trial position can lead to a 2-3% reduction in power output. The change in torso angle of the rider causes the gluteus maximus to contract later and for a shorter time during a pedal stroke; the largest muscle in the rider’s body is contributing less (Levitch, 2020). For this reason, athletes must train to become accustomed to this position so that they are able to sustain the position while producing enough power. The more time the rider spends in their aero position the more they adapt to it, and it becomes second nature (Levitch, 2020).
Aerodynamics is a
Trial and error to find the right aero position
6
a process
position for the rider.
Different Cycling Postures
Upright Posture
Upper body catches the wind, thus slows the rider down. Less aerodynamic, but easier to maintain and output power.


Aero Posture
Offers the least amount of drag, since the rider is in a lower, and narrower riding position. More aerodynamic, but difficult to maintain and output power.
7
Current Problems Design Opportunities
Through secondary research, conducting interviews, and survey results from cyclist to learn about the training methods used to practice their aero position; I found that currently there are few ways for riders to get real time feedback on their riding position while they train outside on their own. Unless the rider is with another person there is no way for them to know if they need to adjust their position. In this situation, riders can only rely on their sense of self to gauge whether they have held their aero position properly during the entirety of a training interval. However, quantifying the rider’s training results with these methods can be difficult. There is no clear way of understanding how the rider’s body is reacting throughout the training session while they sustain their riding position. As the rider fatigues they may begin to slip out of their aero position. Furthermore, there is no way of comparing how a change in riding position affects other factors of the rider’s performance such as their heart rate, fatigue, or power output.
Problems Opportunities
Distance
Athletes are not always near training their coach.
Remote Coaching
Review position training progress for remotely.
8
training facilities or for an athlete
Feedback
No real time feedback on the rider’s form while they train on their own. There are few ways for riders to get direct real time feedback on their form and technique while training outside
Indoor vs Outdoors
Indoor training and facilities lack real world racing conditions. Indoor training methods can’t match the benefits of training outdoors in real world conditions.
Real Time Feedback
Offer real time feedback and adjustment cues while the rider is training their aero position.
Motion Data Outdoors
Motion analysis in real world conditions and terrains.
9
Coaching
Initial Ideation
Early Design Concepts

Early on during the design process I thought that the use of motion sensors incorporated into cycling gear or clothing could be a method of tracking a cyclist’s change in posture while they were practicing outside. Early concepts that I was considering had the sensors interwoven in a skin suit to form a network that links to one power source. Another concept had the sensors on their own, so that they are easy to remove and replace when damaged or attached to different parts of the cyclist’s body. This would be done through adjustable bands or having a specific garment with pockets or clips to attach the sensors to. In addition, to the sensors worn by the cyclists, there would also be an app to connect to the sensors, so that the athlete and their support system (coach, bike fitter, physio therapist, etc.) could review the athlete’s performance and training progress.


10


11
Definitive Direction Chosen Concept Direction


Moving away from my earlier concepts, I decided to focus on further developing the concept where the sensors are removable and attached to the body using adjustable bands. The decision to shift towards this direction was made through the feedback I received during this phase as well as looking at the pros and cons between a smart suit or the removable nodes.
Overall, the separate band option allows room for more flexibility so that the rider isn’t stuck with one cycling outfit. This way the cyclist can wear whatever they want. With the sensors embedded into one suit the athlete is limited to wearing the one suit, instead of the clothing that they already have and likely prefer wearing. In addition, to having the option to remove the sensors from the band allow for easier maintenance, repair, and replacement of the hardware.
Adjustable
Pros And Cons of
12


13 of Each Concept
Adjustable Bands Removable Sensor
User Testing Test Development & Setup


Prior to conducting user testing, I made a lower fidelity prototype of the bands and sensors using cardboard and old belts to walk through the onboarding process. To create the interactive wireframe prototype for the app, I looked at existing apps, to understand how information is usually organized, made my own flow chart to look at the information architecture for the app, and drew thumbnail sketches of the different screens to include in the mobile application. For the official user testing sessions, I built an interactive prototype using Figma, and sewed adjustable bands for the different parts of the body where the sensors would be placed.
User testing sessions consisted of 3 parts that focused on the onboarding process, app use and navigation, and wearing the sensors. The first part had the test participant go through the onboarding process as though they were a first-time user. The second part looked at ease of app navigation, by asking the test participant to complete specific tasks in the app; for example checking the battery percentage of the sensors. During this process, the participant was asked to speak out loud and explain their thought process so I could find out where they got stuck, or what parts of the experience they enjoyed. The final part of the test had the participant use the instructions in the app to wear the sensors. After completing this task, they were asked to rate their overall experience, comfort level, and preferences between alternative designs.
14


15
User Testing Findings

From the 11 user testing sessions that I completed, I was able to find design elements that worked, and other areas that needed improvements. Overall, the pill shaped sensor was the most preferred form. When it came to setting up and using the product, most users found that the onboarding process and app navigation was straightforward and easy to follow. Many users did mention that it would be easier if each sensor came pre-assigned to a spot on the body, to speed up the setup process and future use. Although, most participants mentioned that the diagrams showing where to place the sensors were helpful; some struggled with the bands.
The main issues identified at this stage were with the adjustable bands. Some participants found the hook clasping mechanism confusing. Others couldn’t tell which bands were used for which part of the body. Some people would use a band for the torso on their arm instead and wrap it around a couple of times. In addition, the material wasn’t structured enough; for that reason making adjustments and keeping the bands secure proved to be difficult.

16
Confusion about the hook
Navigating the onboarding process
Average Order of Preference for Sensor Design 3


17 hook process
1 2
Finding alternative ways to attach the bands
Refining the Design
Improving the Design of the Sensors

Using the feedback and findings from the user testing, I was set on using the pill shape as the final form for the sensors. In addition, to changing the material of the adjustable bands from a stretchy nylon fabric to a more structured and standardized woven elastic bands. The updated band design also includes labels so that it is easier to match each sensor to its assigned spot on the body.
Although, the simple shape of the pill shaped sensor was preferred, the way that it attached to the band and rested on it led to it appearing a bit bulky; so at this stage I moved away from using snap buttons to fasten the sensors to the bands, to finding a way to create a more elegant form of connection between the band and the sensor.

18


19
Form Development Inspiration Moodboard
To develop ideas on how to improve the form and design of the product, I created a mood board to figure out the look, feel, and design language of the product.
Sporty Simple Light Fast

20

21
Form Development
Sketches + Mechanism

At this stage I used sketching, carving small foam models, and 3D print models to develop the form of the sensors, as well as to understand their size and attachment mechanism.


During this stage I took inspiration from the Nintendo Switch and Apple Watch and the way that both products have a sliding locking mechanism using springs and magnets to lock interchangeable parts together. As I developed the form of the sensor I also looked at the charging methods used for wireless charging.

22


23
Final Design
Product Description
Remote Coach is an outdoor motion analysis tool for aerodynamic cycling posture. The product is a two part system using motion trackers worn by the athlete to track their posture and an app to track and review progress of the athlete. This system can be integrated alongside existing third-party devices to track real time changes in outdoor conditions as the athlete is training.
24
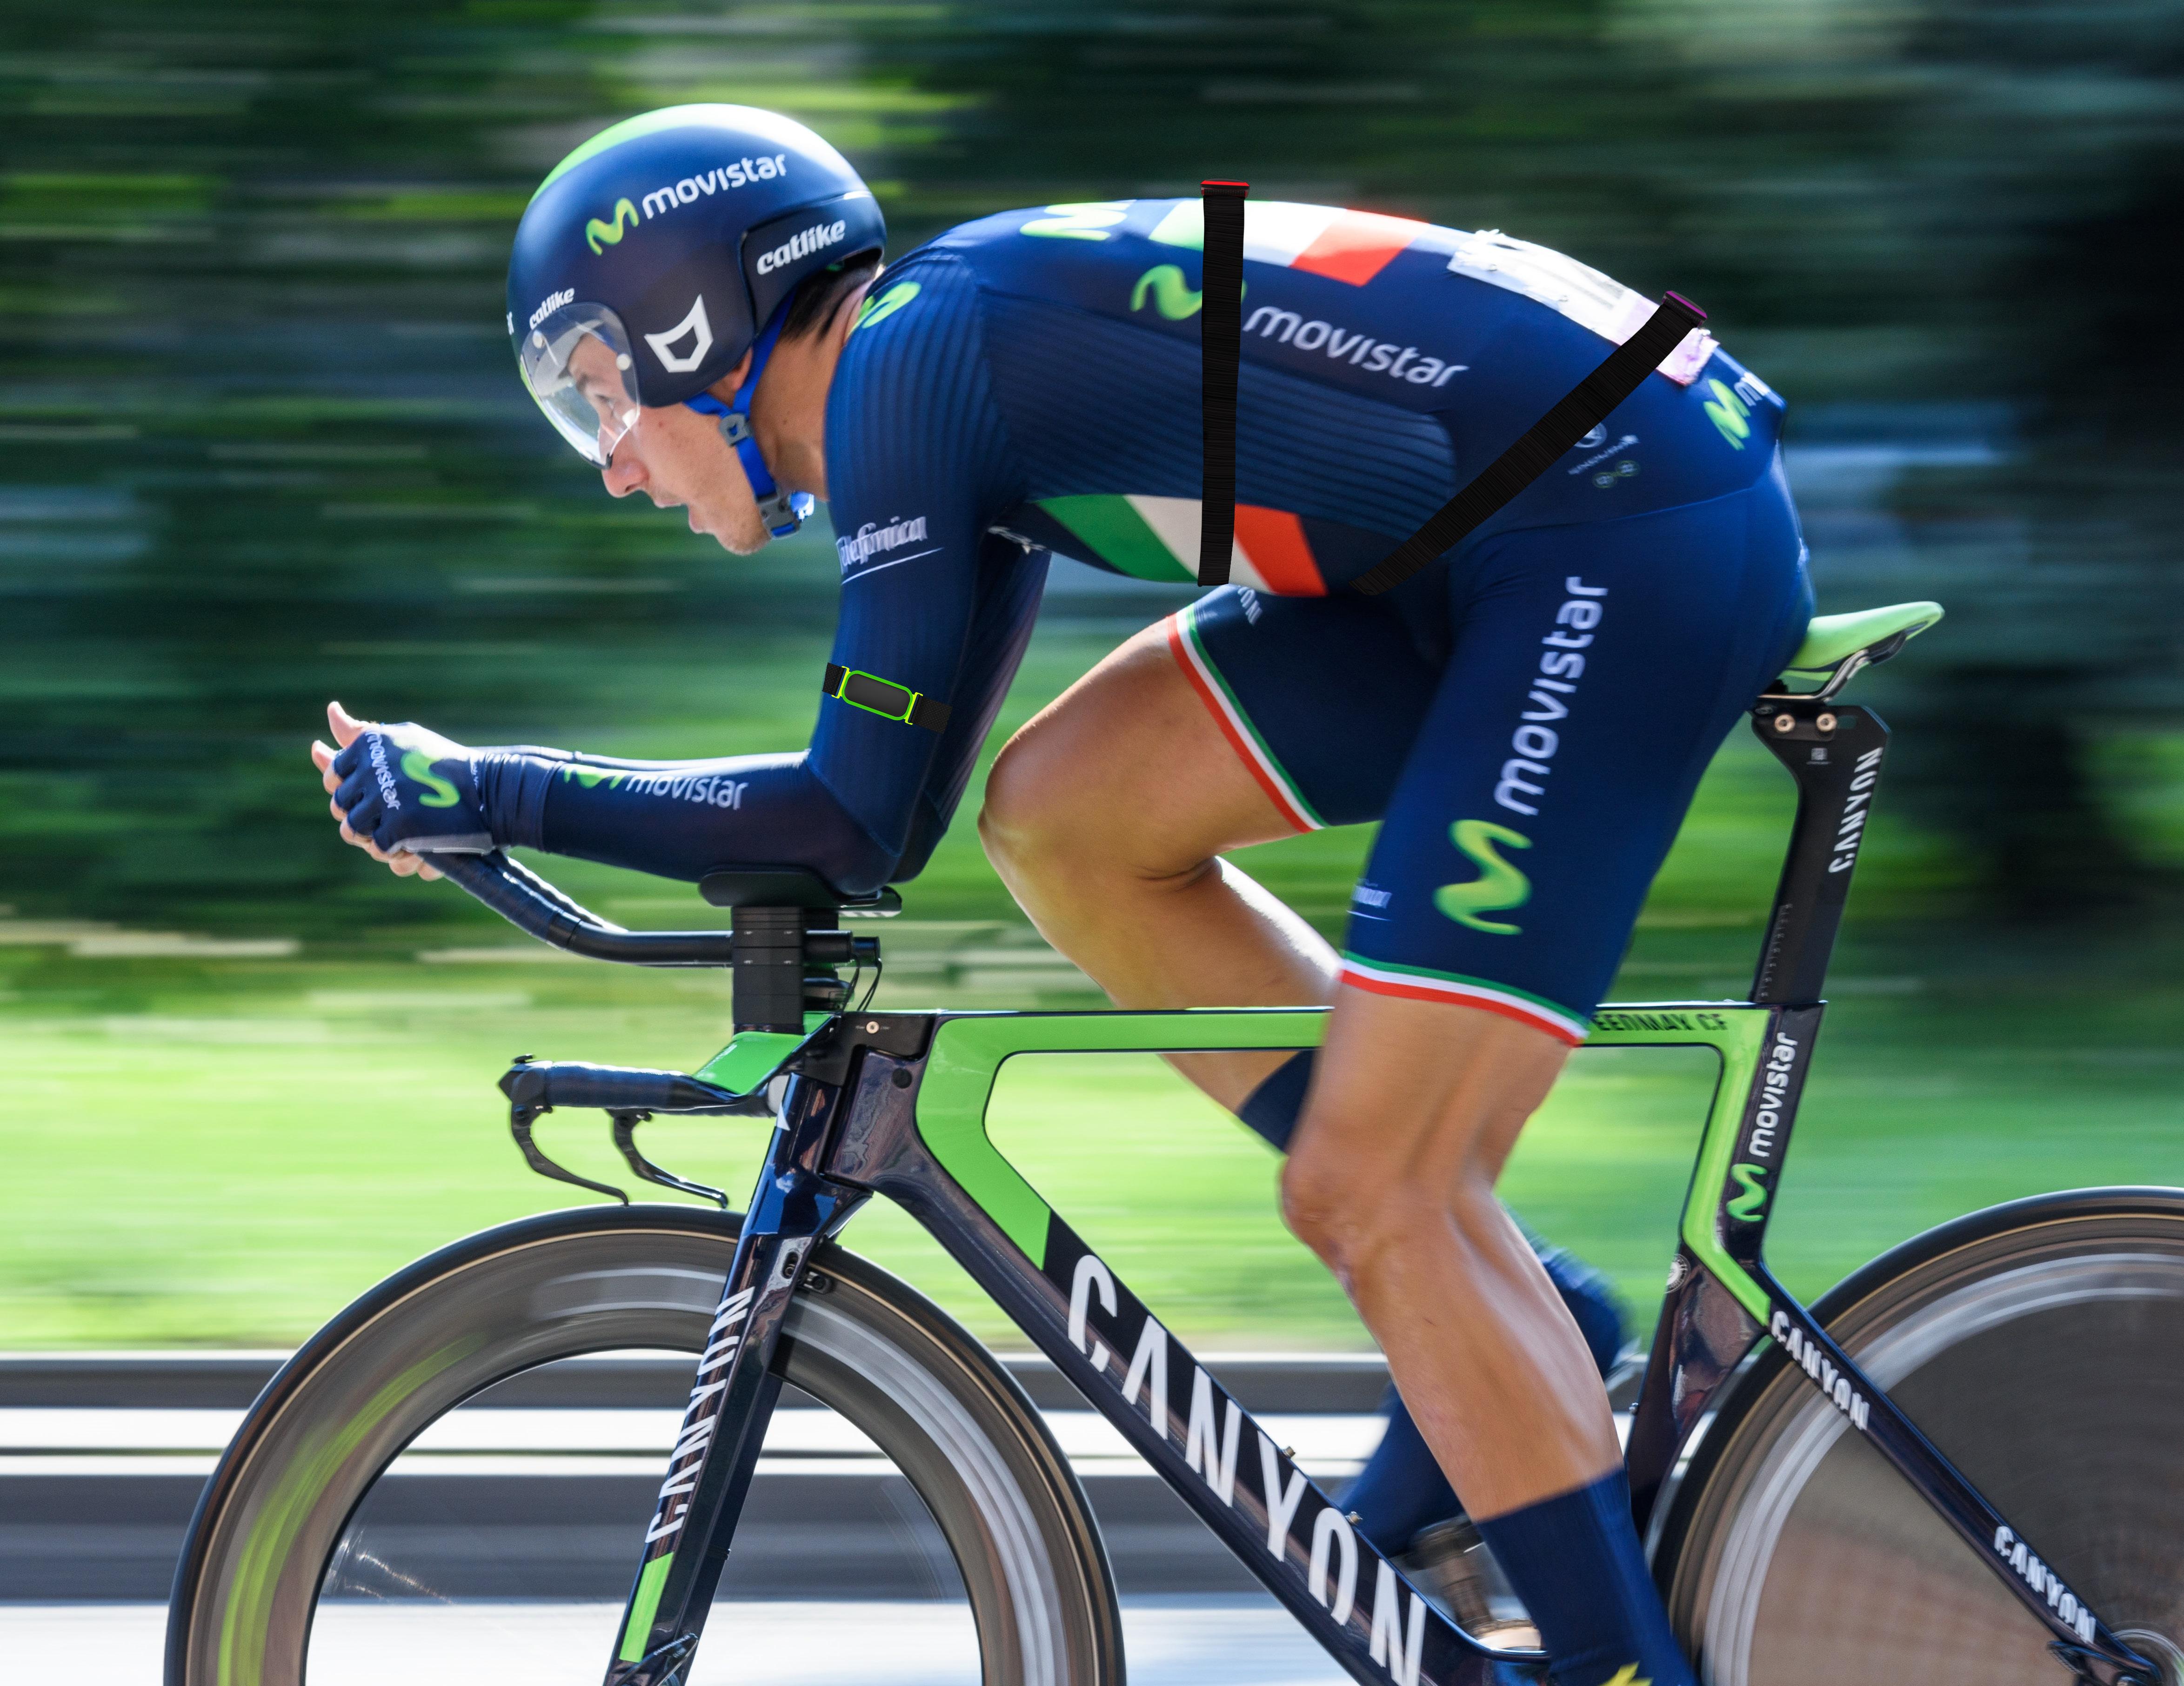
Sensor
Use Scenarios
Locations Distance the frontal
Arms Back
Distance between the arms to gauge frontal area of the cyclist’s body.
Spots on the upper and lower back are used to gauge the angle of the cyclist’s back.
1. Calibrate 2. Outdoor Use
Using the app, during first time setup, the coach can set up athlete specific goals and the posture they need to practice, calibrate, and save a reference position for the athlete.
While on a bike ride, completing a training interval the athlete receives cues to adjust their posture from small vibrations from the sensors.
25
Final Design
Wearing the Sensors
Each Sensor is pre-assigned and worn on a specific part of the body. Sensors can be worn under or on top of the athlete’s clothing.


26
1. Match
Match Node colour to the band and clip in place
2. Attach to the body, adjust to fit firmly
3. By using the app, the user can calibrate to check the sensors are on properly. To do this they need to stand still, the user will hear a confirmation sound and small vibration if there is a placement error.
27

28
Release Button
Final Design Design Features


29 Colour Coded Sensor Assignment Removable and Replaceable Bands Adjustable Woven Elastic Bands (Nylon and Spandex)
30 Final Design Internal Components 1. Injection Molded Polycarbonate 7. Anodized Aluminum 2. Compression Springs 8. Lithium Battery 3. Vibrating Motor 9. Wireless Charging Coil 4. IMU Sensor 10. Injection Molded ABS 5. Bluetooth Module 11. USB-C Receiver 6. Flexible PCB 12. PCB


31 1 2 3 4 5 6 7 8 9 10 11 12


32
App Interface
Calibrate
For the Athlete
training sessions coach Scheduling
Final Design
Check that the sensors are worn properly before a bike ride.
Mobile -
Scheduling
Scheduling Sensor Status


and management of sessions added by the coach or athlete.
Tablet - For The Coach
Check that sensors are connected and their battery percentage.
Athlete Progress
Team dashboard for tracking the progress of multiple athletes on a team.


33
REMOTE COACH
Conclusion
Final Thoughts
No project is easy, and this year was a great opportunity to grow and learn as a designer. I learned a lot this year and it’s only encouraged me to continue to learn and look for new opportunities to gain knowledge through all the exciting projects I look forward to encountering in the future.

34

35
Appendices
References
36
Barry, N., Burton, D., Sheridan, J., Thompson, M., & Brown, N. A. (2015). Aerodynamic performance and riding posture in road cycling and triathlon. Proceedings of the Institution of Mechanical Engineers, Part P: Journal of Sports Engineering and Technology, 229(1), 28–38. https://doi.org/10.1177/1754337114549876
Beer, J. (2017, February 24). Cycling aerodynamics: Why riding technique is more important than aero kit! Sports Performance Bulletin. https://www.sportsperformancebulletin.com/ endurance-training/techniques/aerodynamics-addressing-riding-technique-will-improvecycling-racing/
Levitch, C. (2020, December 11). Time trial position: Should you train it, and how? Cyclingnews.Com. https://www.cyclingnews.com/features/time-trial-position-and-howto-practice-it-indoors/
37
Appendices

Miro Boards

38


39
Appendices
Miro Boards

40

41
Appendices
Tech Package

42

43
Appendices
Tech Package

44

45
Remote Coach Process Report
Roxanne Komuntare