3 minute read
The Picture Flap Production Process


Sean Rossiter President
Each Picture Flap begins with the artwork. The twenty different flaps represent twenty unique canvases. Each canvas can contain anywhere from one to hundreds of different images. Our printers are capable of exceptionally high resolution and we’re not bound by pixels on print media. We work to develop assets to fill each canvas with a coordination of color, graphics, and imagery that work together. This can create not only twenty unique images, but sometimes hundreds of composite images that blend from one canvas to the next as different sets of flaps turn over to reveal a new collage. With the twenty artboards selected, we use our proprietary software to handle the symphony of dissecting each image into its constituent parts and pairing it with the next image in line to form each unique flap, printed front and back.
Advertisement
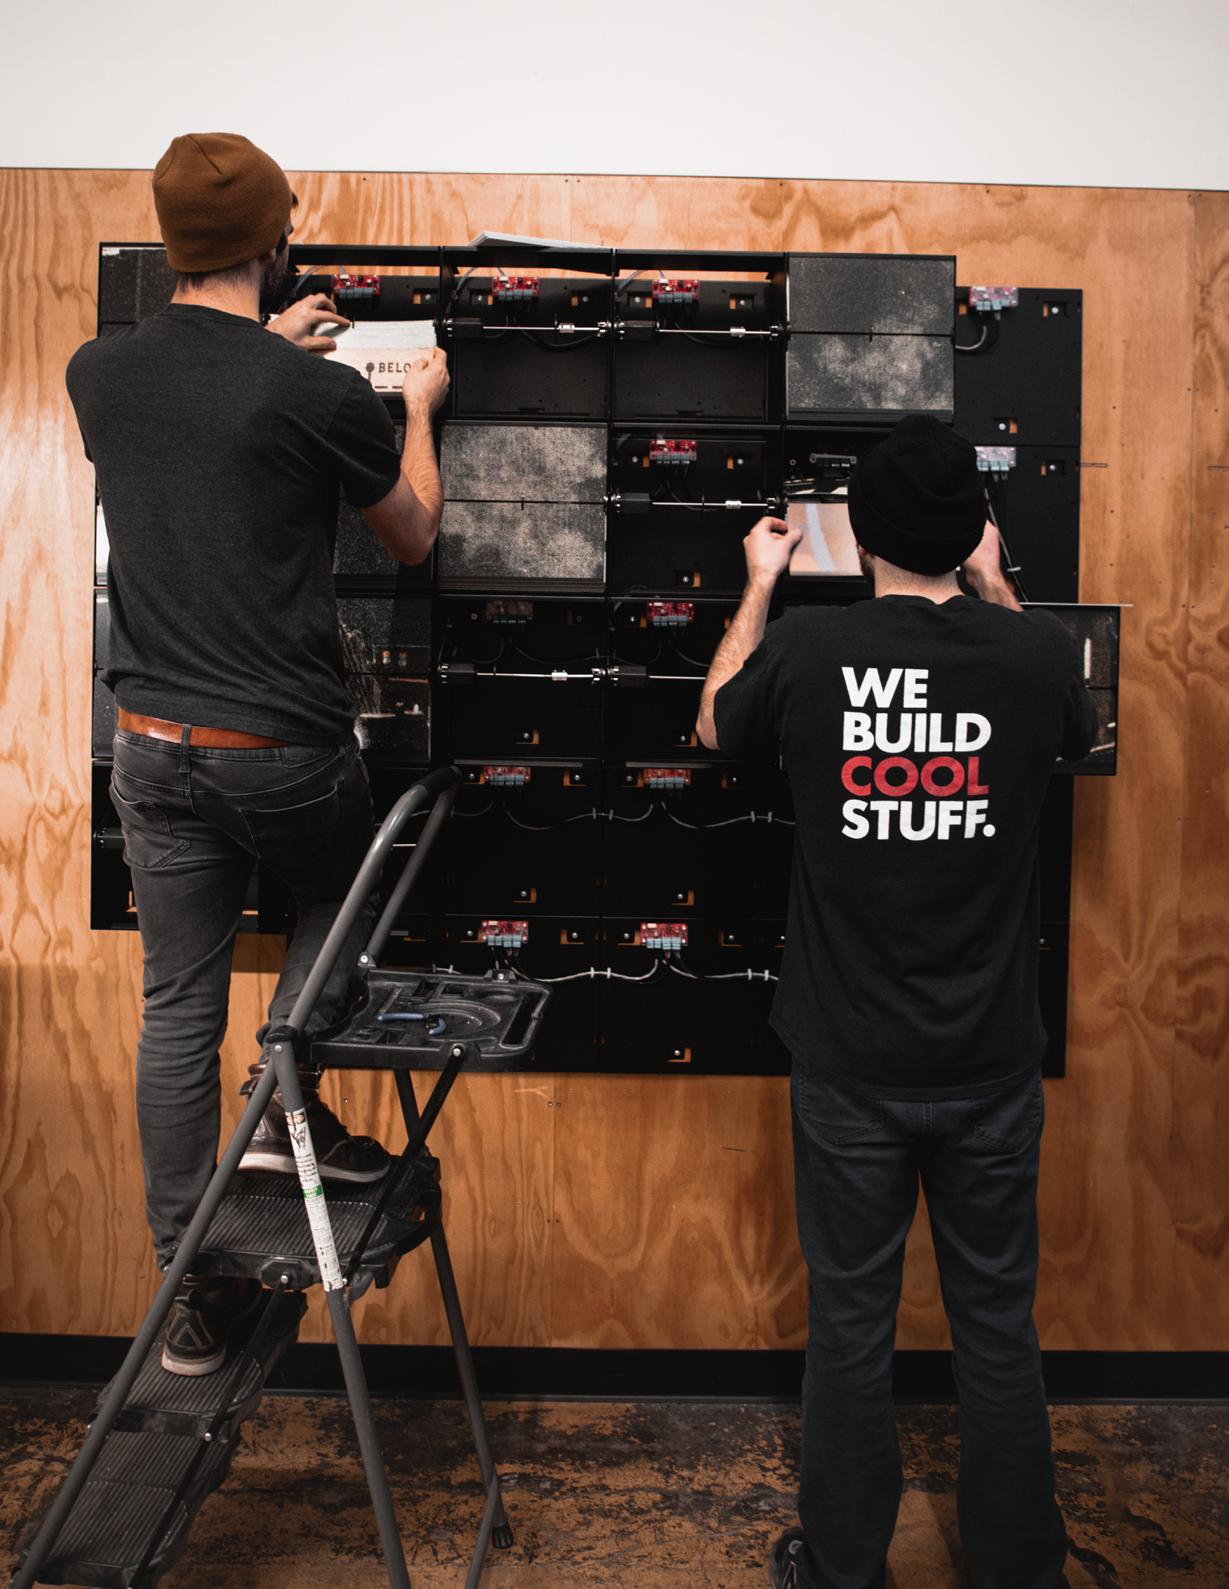
The physical build begins with the structure that will distribute power and data to each of the modules. Much like the cabinet of our Split Flap product line, the backplane(s) of our Picture Flap are made of powder coated sheet metal. These form the structure and substrate which allows the Picture Flap to attach to any vertical surface.
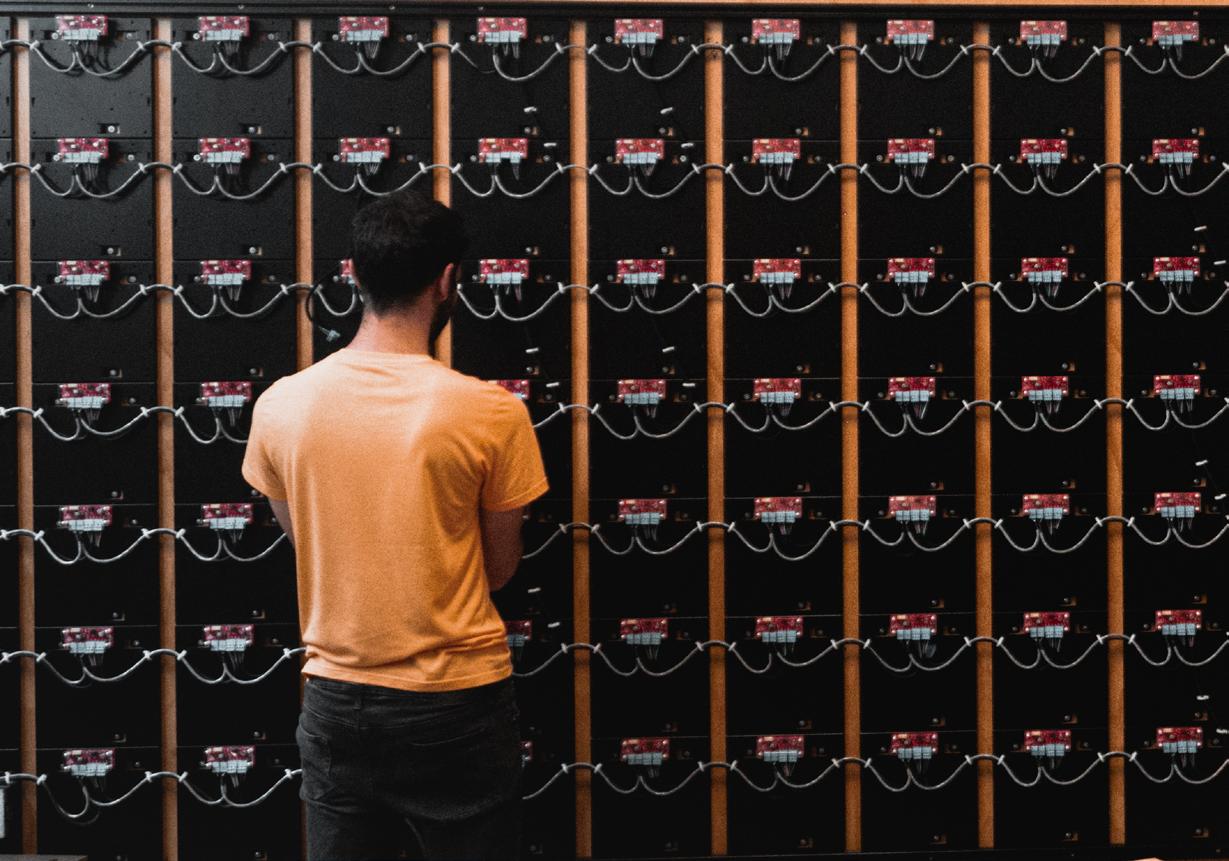
We assemble the backplanes to one another in smaller subsections before attaching each subsection to the wall itself. Once attached to the wall, we’re able to run set lengths of power and data between each backplane circuit board to prepare the unit for modules.
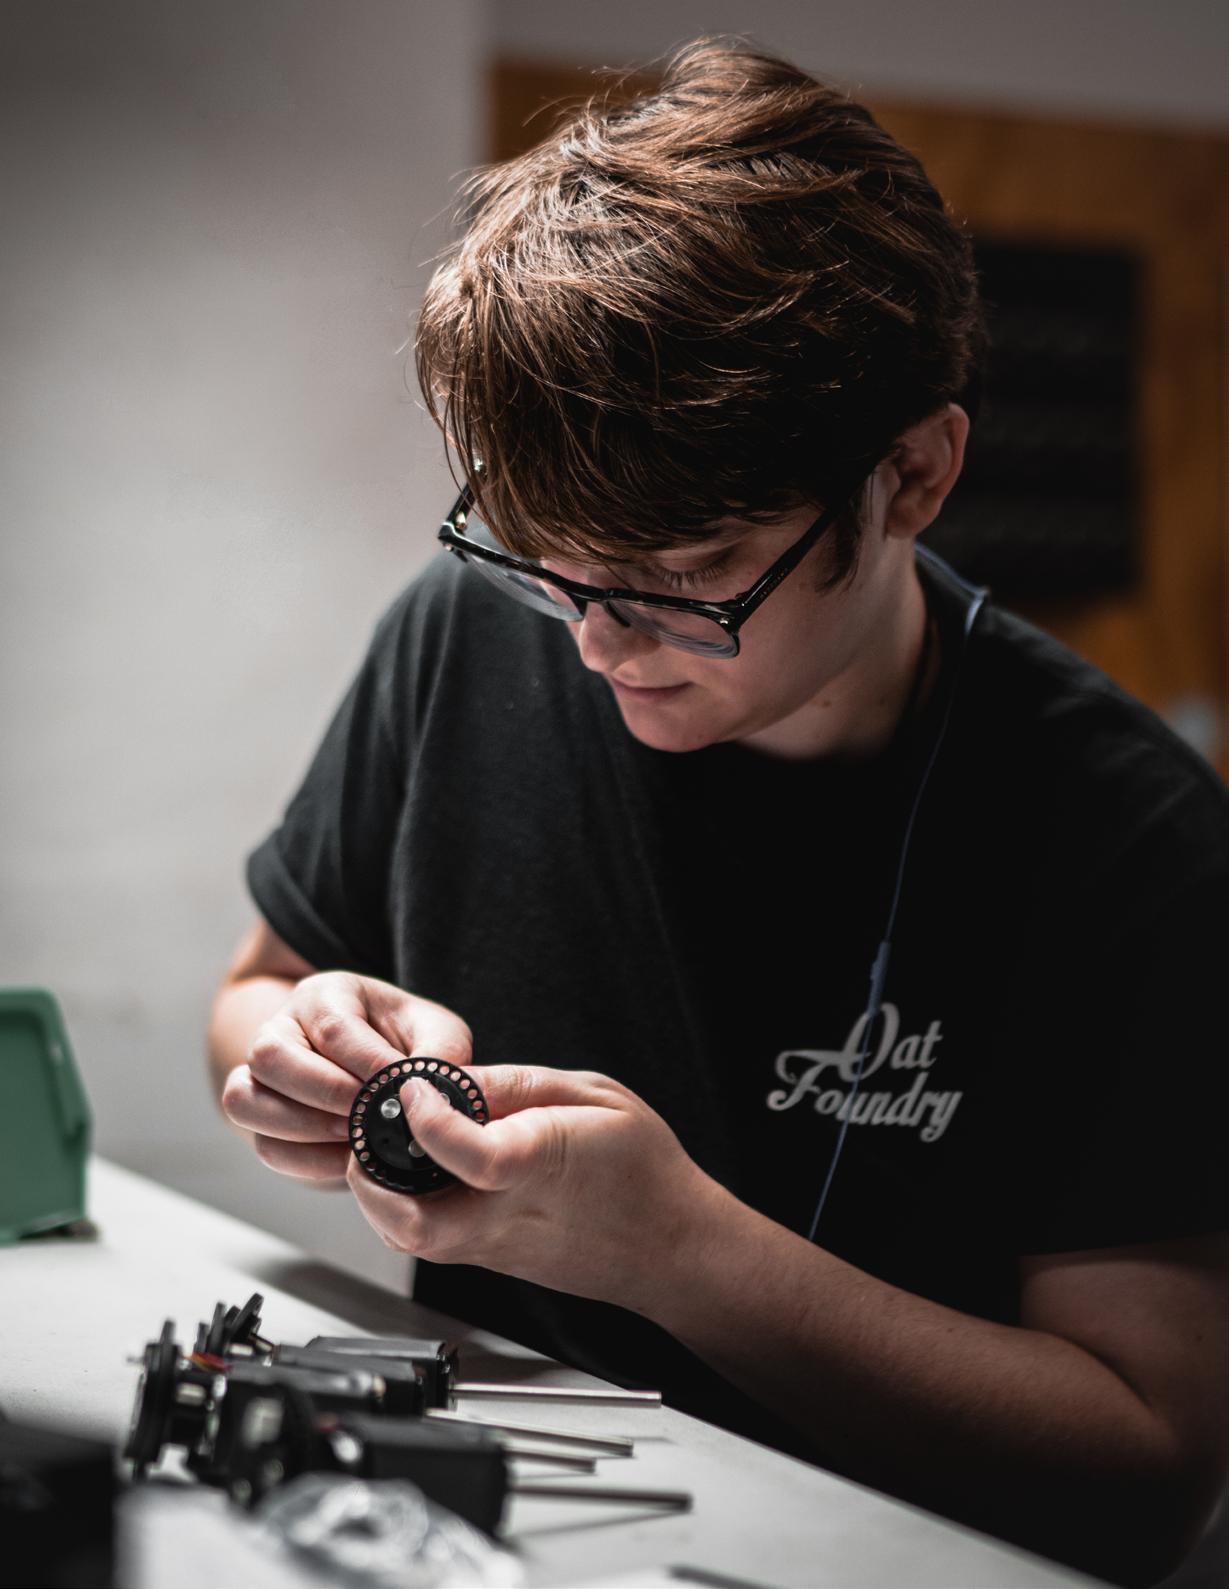
Flaps within a Picture Flap are over 20x the surface area of those in a Split Flap, so it takes a good bit of extra power to keep things running as smoothly. In order to do so, we designed the drivetrain of the Picture Flap from the ground up, using a similarly reliable stepper motor at the heart, but adding some extra muscle to increase the amount of available torque. With the individual subassemblies of the drivetrain complete, we’re ready to build it into a module.
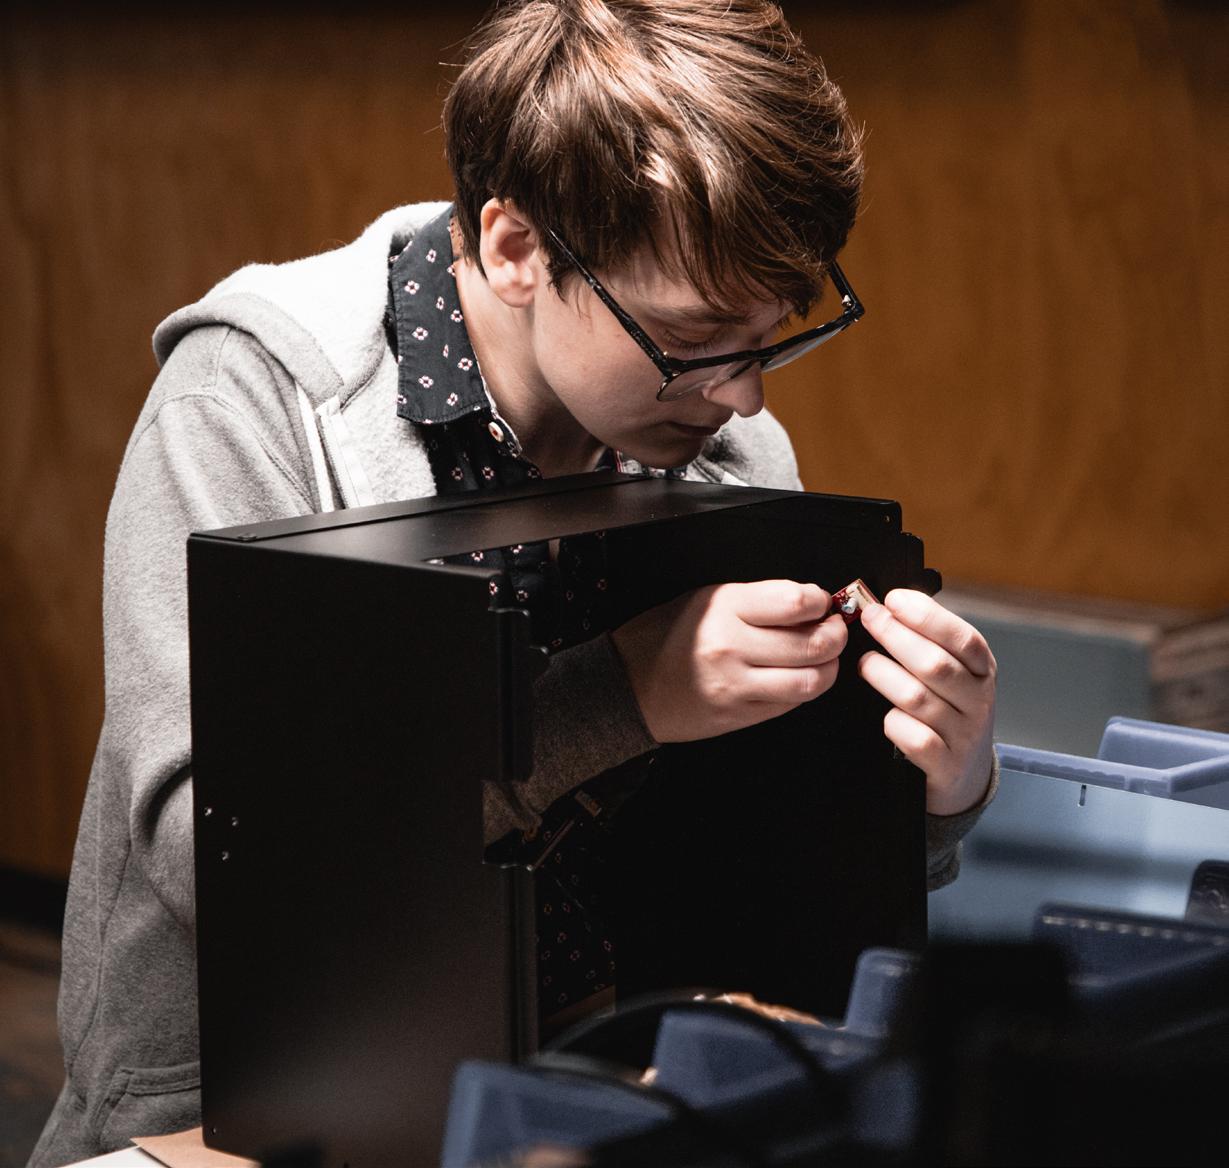
Module sheet metal serves as the basis for the full assembly. Supplied by General Metal – this part is made of multiple bent and welded parts that come together to form the housing. An Oat Foundry designed circuit board is fitted to the drivetrain before it’s mounted to the sheet metal. The three wheels driving each flap are set perfectly in sync as they turn.
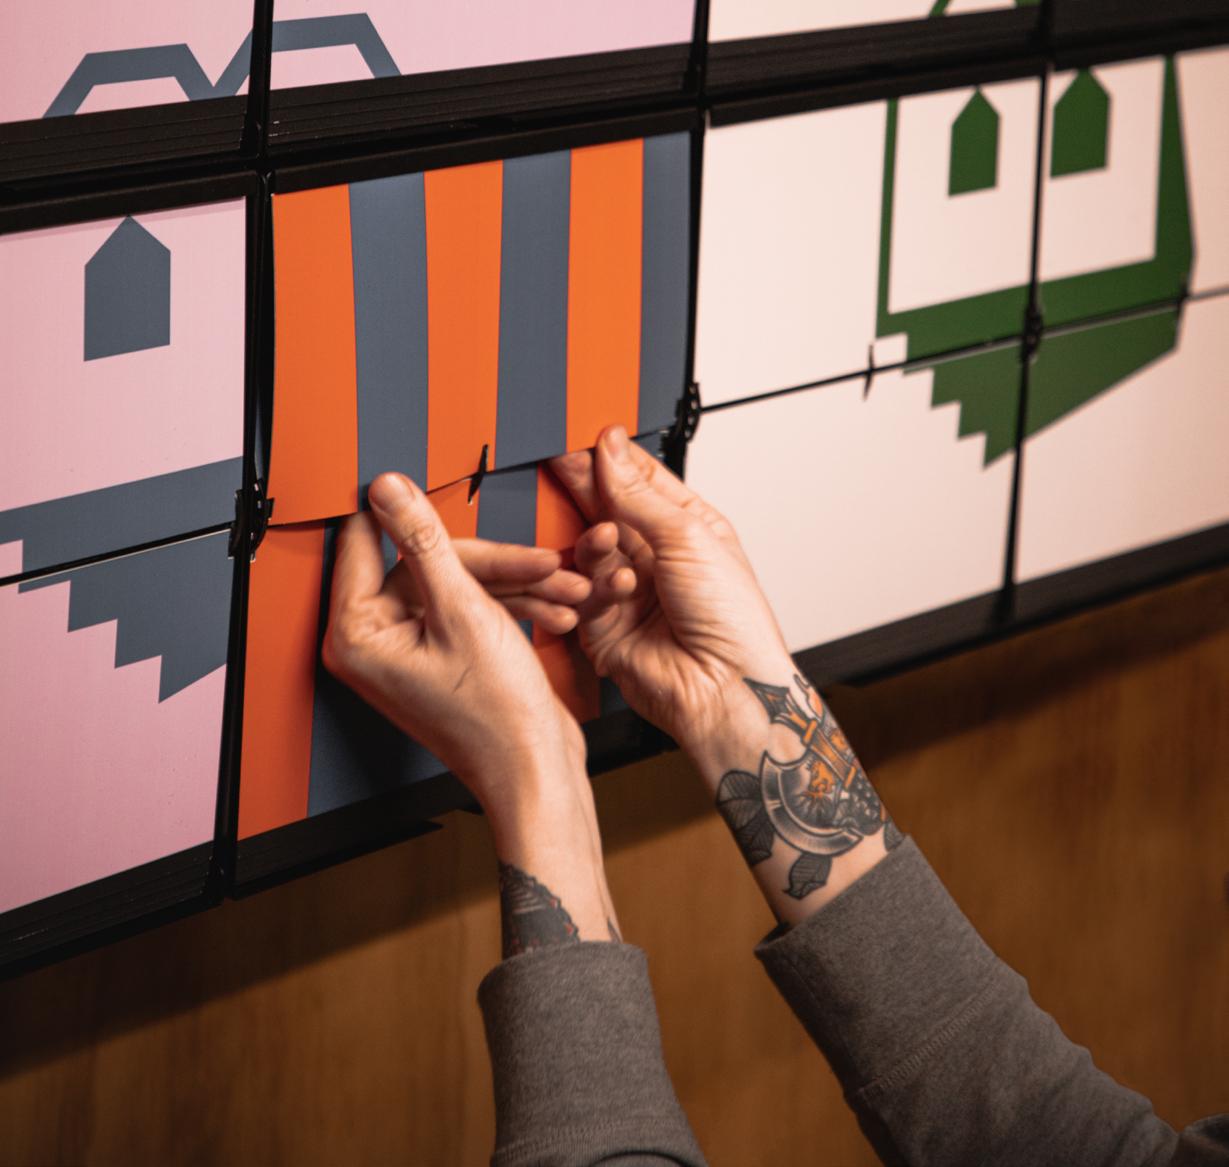
With a completed backplane array and a matching set of completed modules, all that’s left is to add the flaps. Flaps start as a sheet of plastic that’s printed on each side with the artwork output from our software. Then, flaps are precisely cut within the sheet keeping all of the artwork in the exact location it’s intended to be so everything aligns in the end. Each flap is numbered for its location within the module as well as within the array of the overall board. This numbering scheme allows us to sort each flap to ensure the order is exactly right and each canvas is completed as intended. We then insert the ordered flaps into each module.
With flaps installed, we perform a calibration similar to Split Flap. This ensures the timing is such that each of the modules’ flaps fall at the exact same time when told to by the onboard computer – critical for those eye-catching animations. From there, we can check for any alignment issues, misprints, or quality defects. With everything looking good, we then run simulated use testing on the board. Depending upon the application, this can simulate anywhere from weeks to months of use in the field.
Just like the custom nature of our Split Flap, each Picture Flap is built to order to fill a uniquely sized space with the living, flipping canvases. Custom foam lined wood crates are built to house the boxes of modules, packed separately from wrapped subsections of backplanes. From there, Picture Flaps take a similar journey as our Split Flaps, on planes, trains, and automobiles (maybe a ship or two!) around the world before they’re uncrated at their final destination.
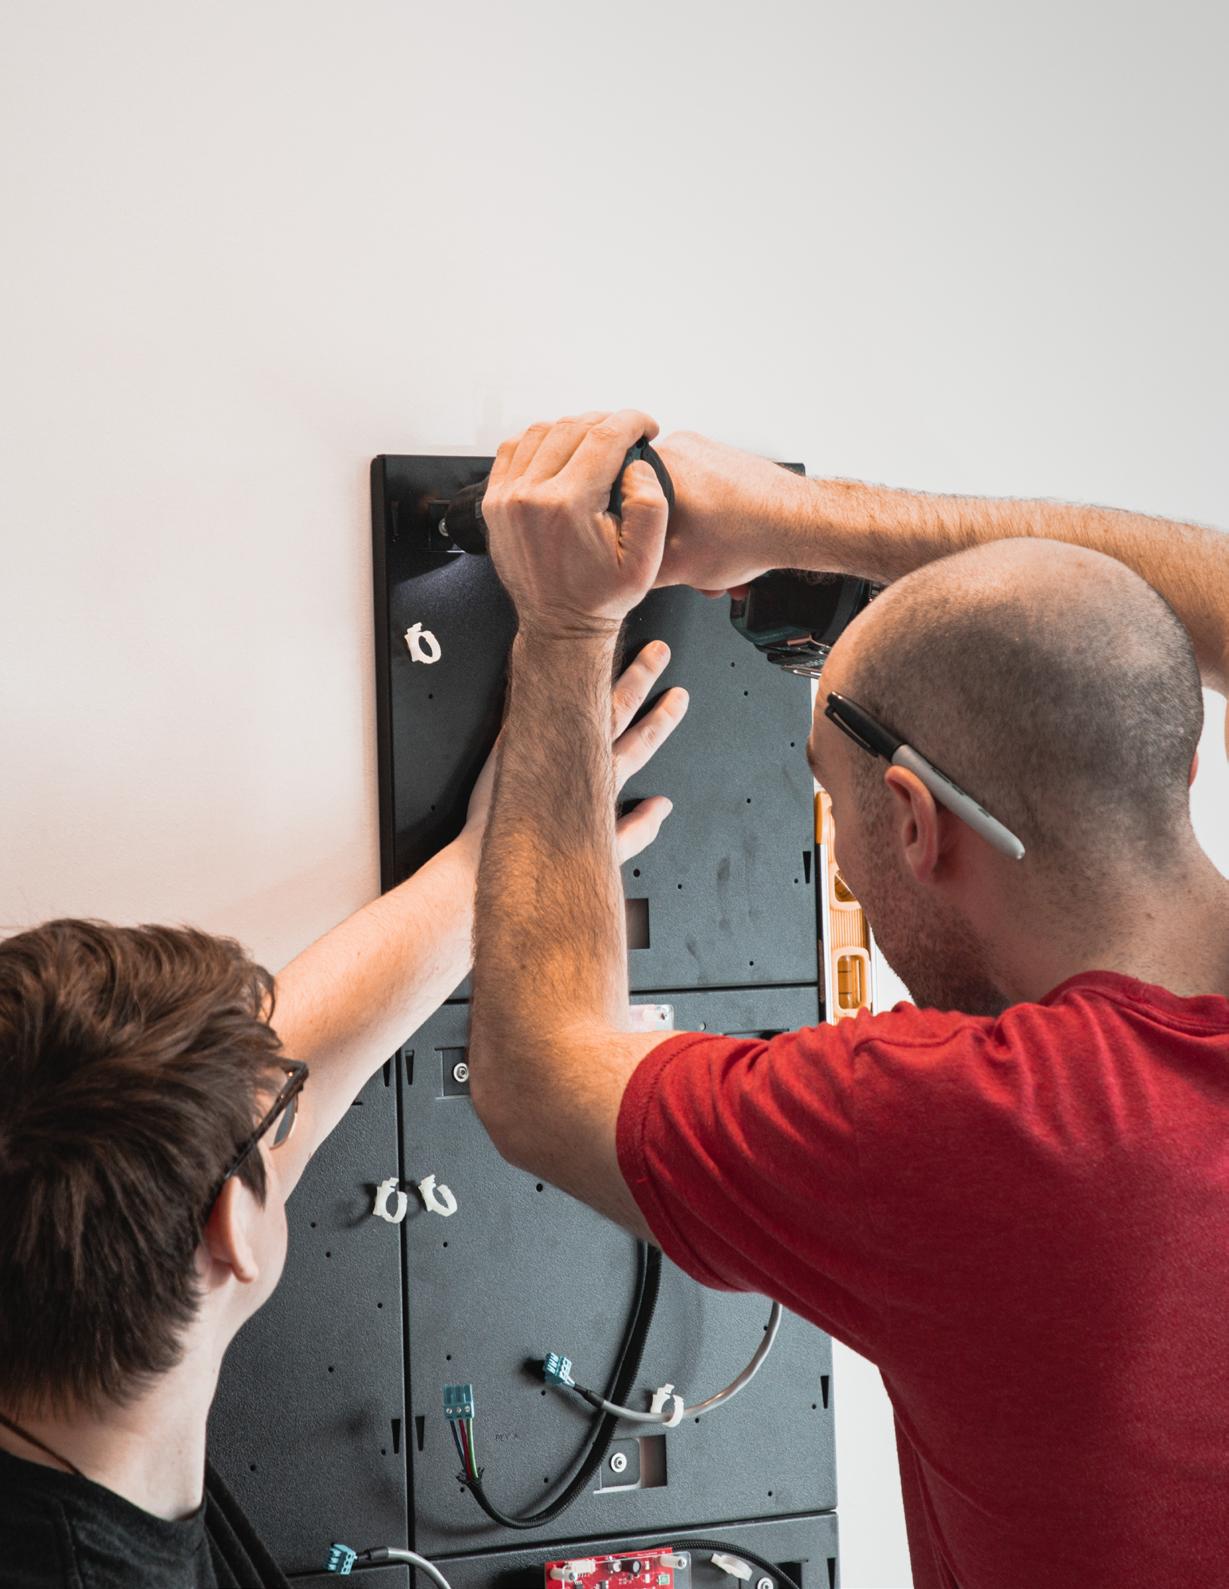
To install, the backplanes are mounted and subsections are connected with the data and power wire. Then labeled modules are matched with labeled backplanes, plugged in and hung before moving to the next one in line. Standard wall plugs and ethernet can be hidden within one of the modules within the footprint of the Picture Flap to make for a clean aesthetic. Once the power switch is flipped on, the board will start moving through each of the twenty flaps. The board is then on its way to making hundreds more unique images with infinitely variable styles of animations.