1 minute read
2.2.3 Gallery


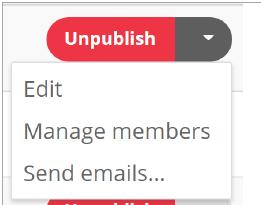
If you click publish, the item will publish straight away or be scheduled to publish depending on the date entered in the Date posted section.
After you have saved or published you will have the option to add any related opportunities or news or blog items to the post. Search for the desired news, blog or opportunity, click add and click save.
Advertisement
• Content
Enter a description of the gallery here. E.g. description of event and details of when it took place • Topics
Select at least one topic for the gallery.
When you have filled these sections in, click save. After you click save, the option to add your images to the gallery will appear.
If you would like to credit the photographer for the full album, enter their name in this box. Leave blank if not applicable.
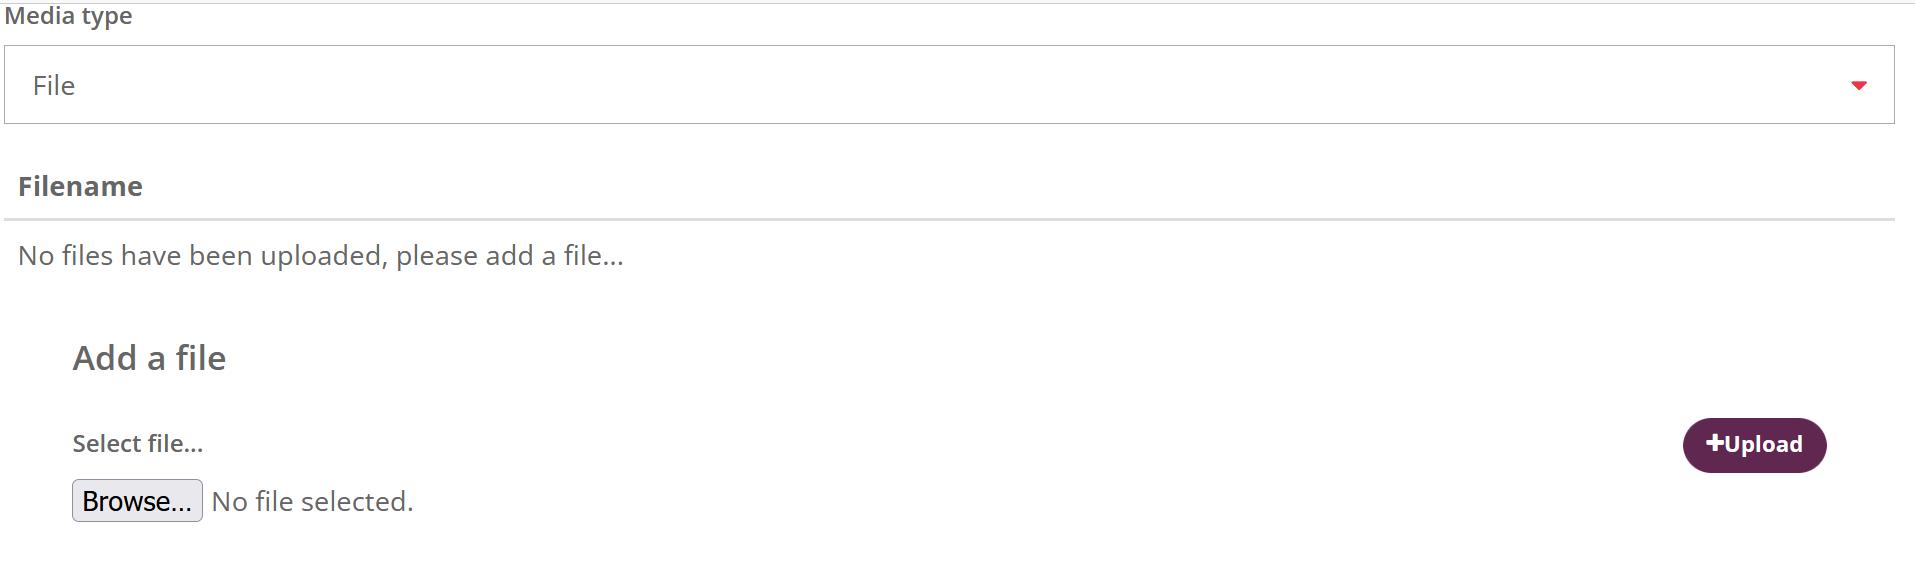
Then click on ‘Choose files’ to start uploading images to your gallery. (Note that images cannot be larger than 2MB and uploading is limited to 10 images at a time.) When you have selected your images, click the Upload button. Images will appear in a list above the upload section, with the option to delete individual images if you need to.
If you would like to apply different credits to different photos, enter the name into the Creditor box and select files this name applies to.

Upload images as previously described.
Please also note the main image you have already uploaded will not be part of the gallery. If you want the image to be part of the gallery as well, you will need to upload again.
If applicable, you can add related opportunities or news and blogs.
Once complete, click publish.