5 minute read
Figuring out the Bacherplatz clay

from Urban Clay
by mizajn
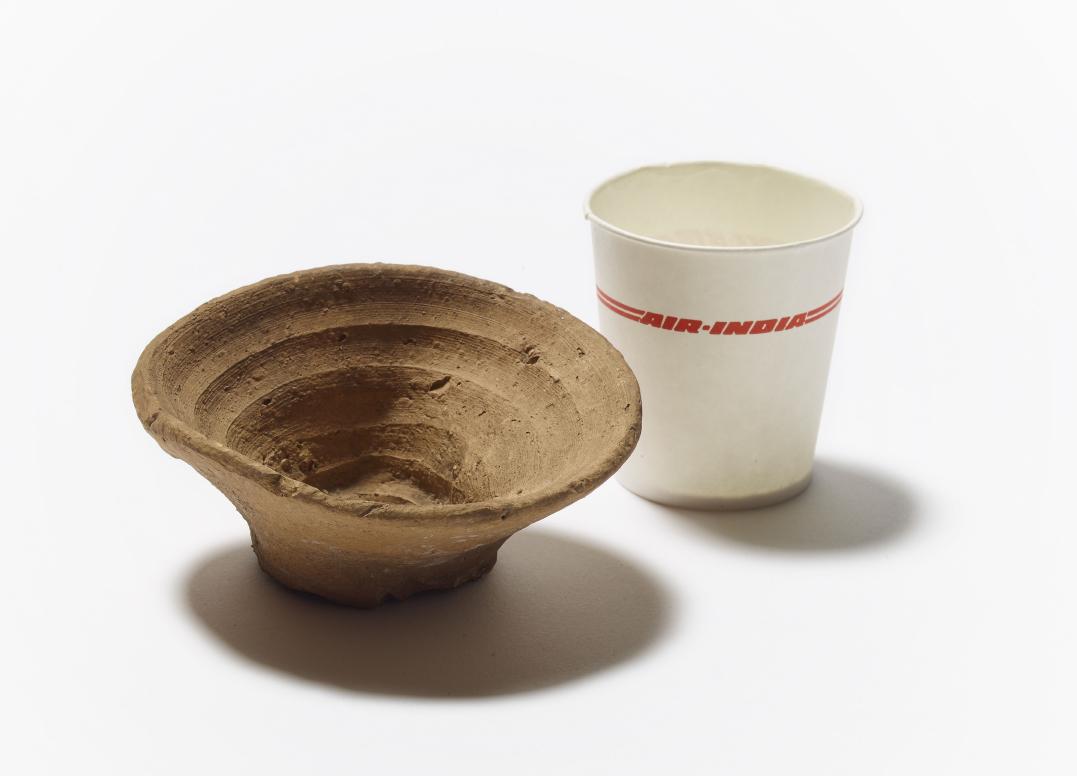
When throwing huge feasts, Minoans would serve wine in quickly made, messy ceramic cups that would be later thrown away to make cleaning up easier. Importantly, this practice was also considered a sign of wealth. Big piles of such cups found in close distance to palaces lead archeologists to this theory.13
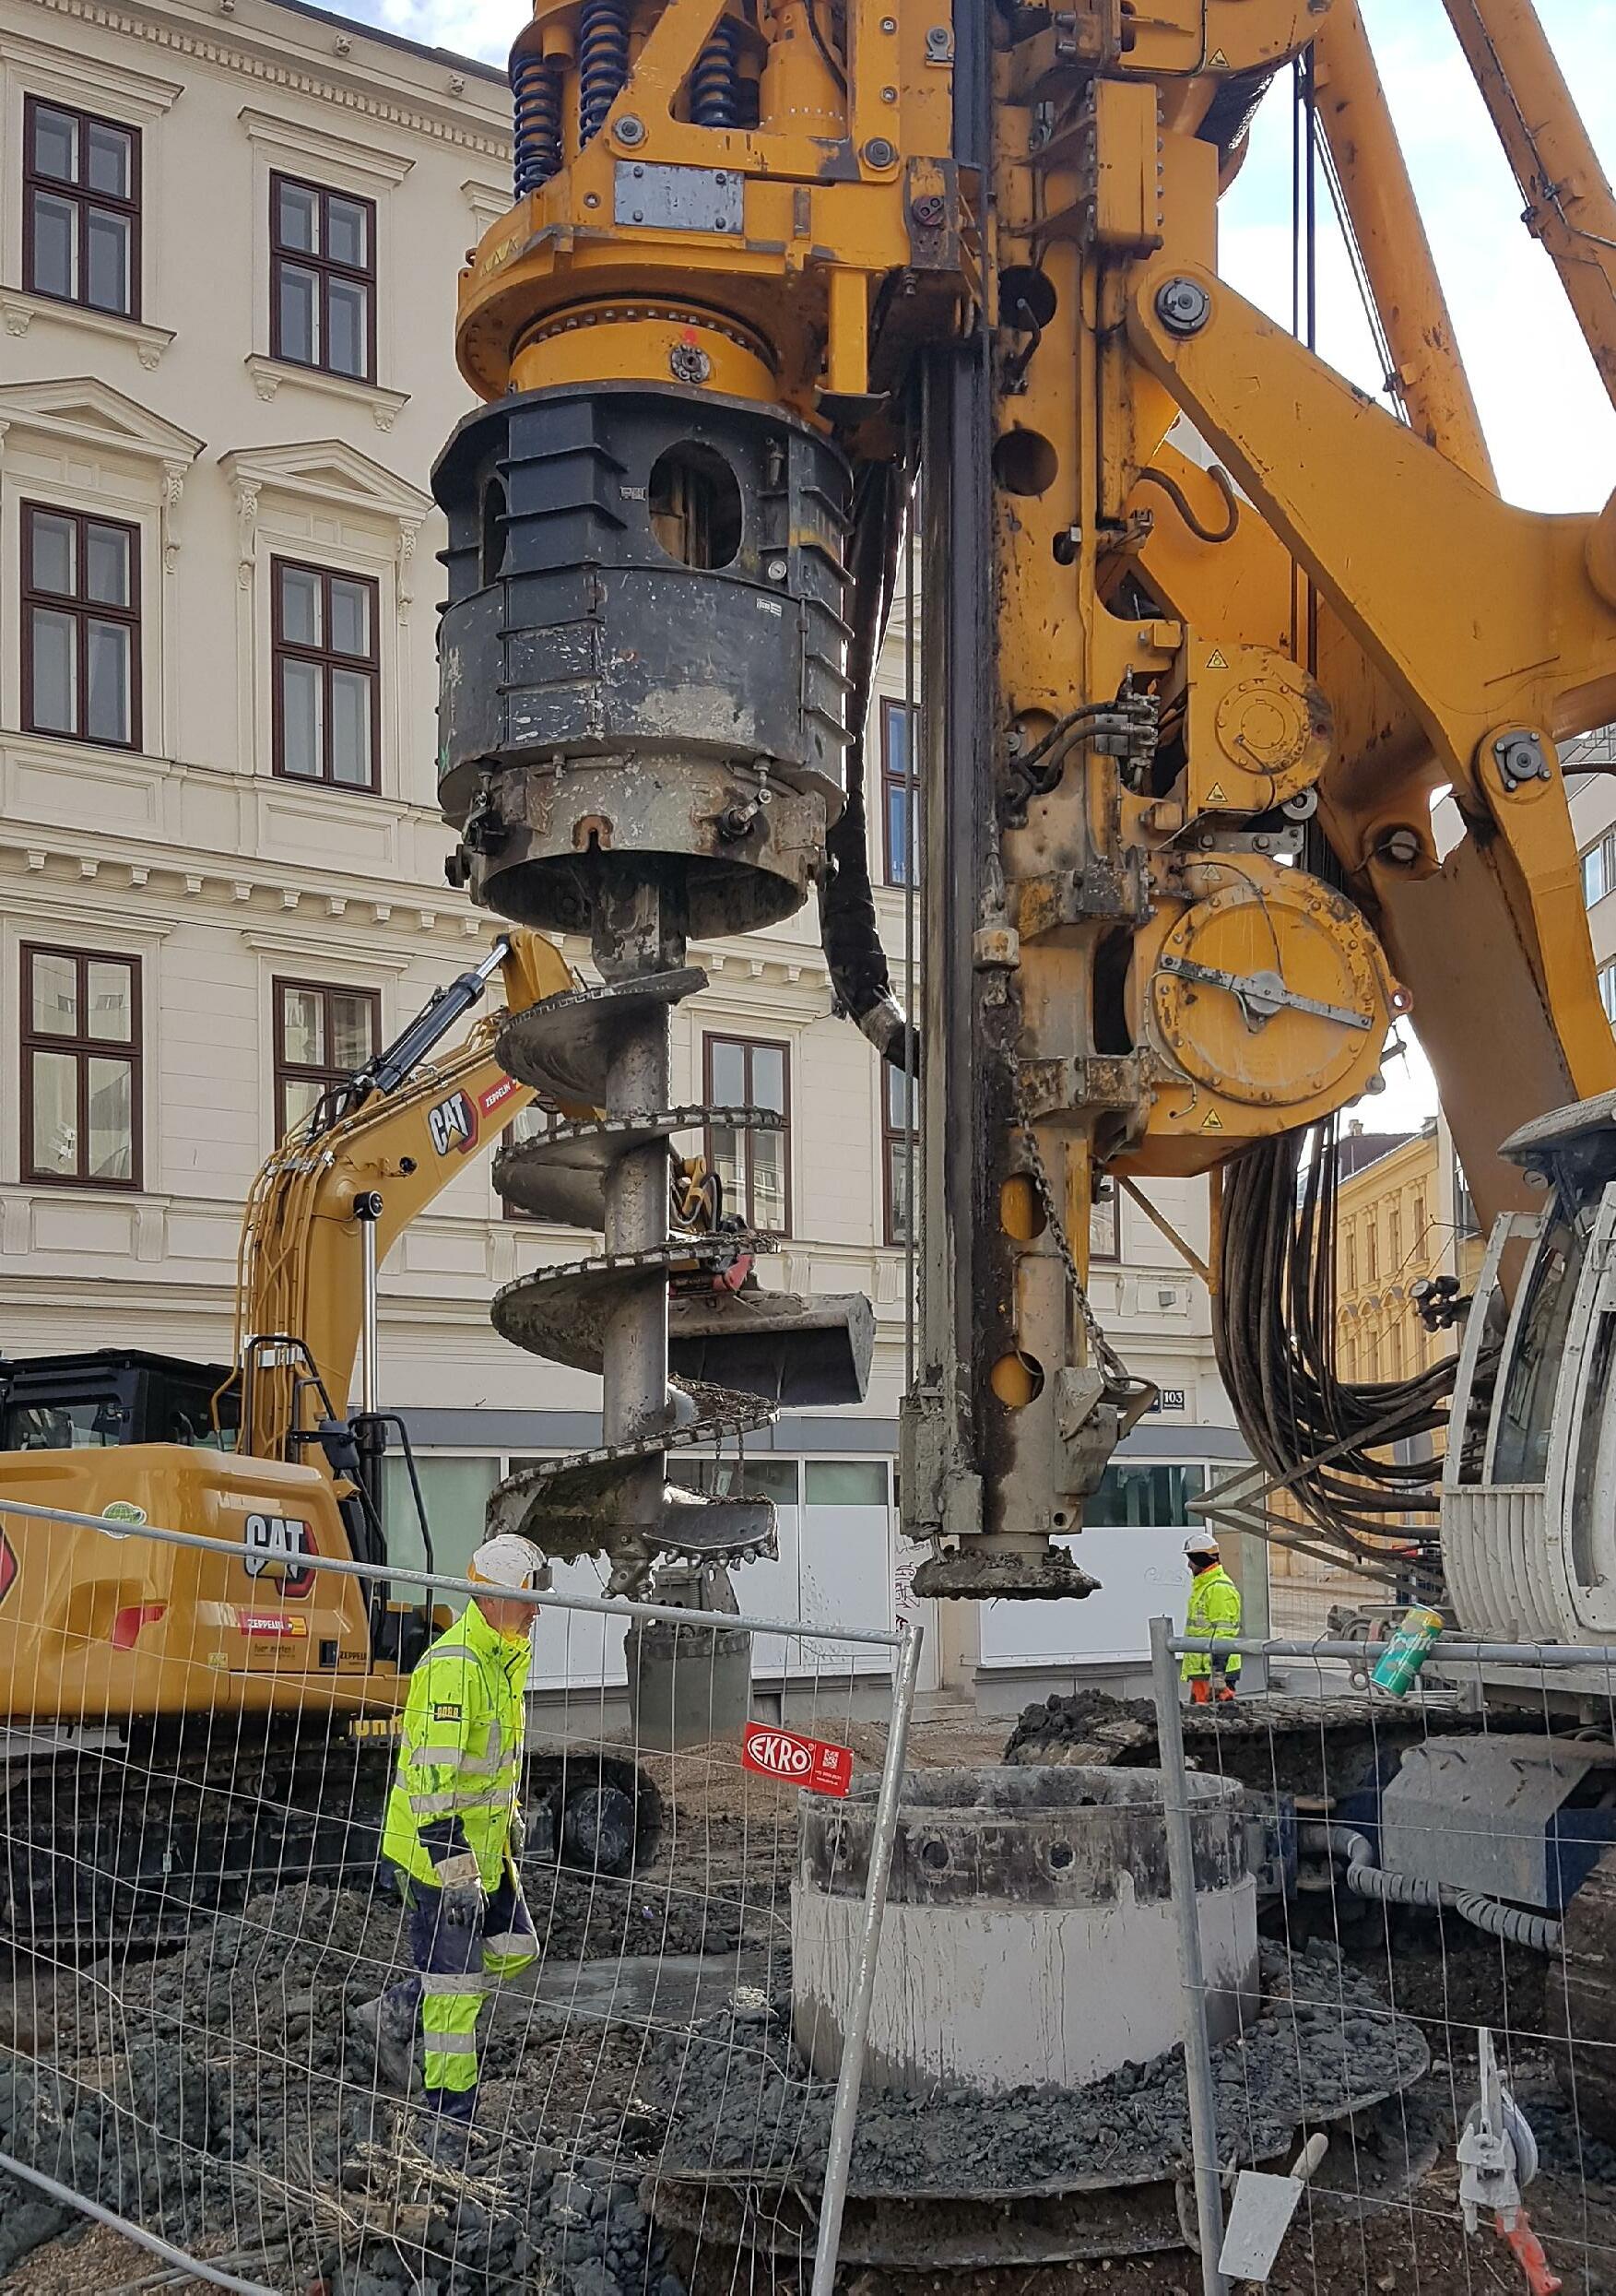
If modern manufacturers were to use local construction site clay, they could not afford the sloppiness of Minoan wares. To ensure repeatability and uniformity in custom production, a series of tests is needed to learn the properties of the found material. As mentioned above, the process of preparing clay dug straight from the ground is very labor and time consuming. As students at the University of Applied Arts in Vienna, we are fortunate to have access to a well-equipped ceramics studio. In its basement, clay obtained years ago from under the construction of the Wien Museum on Karlsplatz is stored. The staff recycles the clay used in the studio with the help of machines, and also prepares the clay from Karlsplatz for the students to use in their work. It is a typical terracotta, firing red, and works well for learning to throw pots on the wheel. Inspired by the example, we decided to test the properties of the Bacherplatz clay gifted to us by the workers.
Advertisement
The first thing you need to check when working with new clay is its optimal firing temperature. The ceramics studio at the university normally runs firings at three temperatures: 980°C for bisque, 1060°C for earthenware, and 1230°C for stoneware and porcelain.
Even before processing the clay, we put a small, raw chunk in each kiln at a different temperature. At the two lower ones, the pieces fired into a brick red color. Interestingly, at the highest temperature the clay melted completely, indicating its possible use as a glaze.
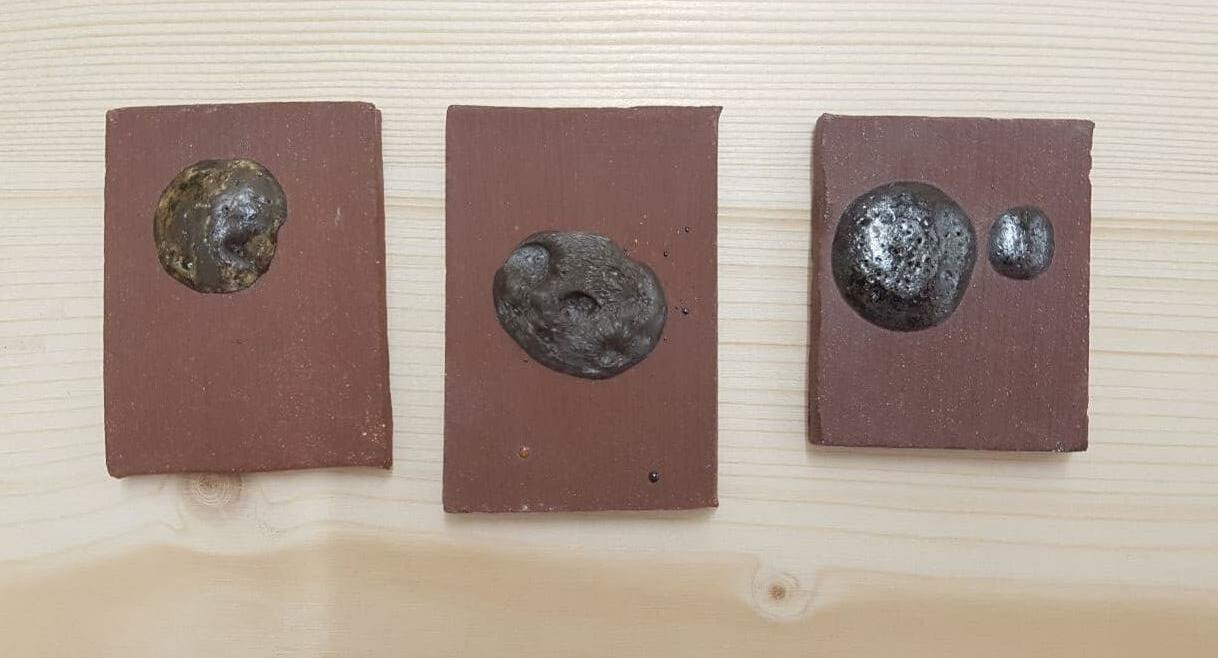
Figure 4. Three local clays fired at 1230 °C, from the left: Rothneusiedl, Karlsplatz, Bacherplatz. Samples melted due to high temperature.
Intrigued by the result, we proceeded to prepare the raw clay. Big pieces had to be dried thoroughly to make it easier to break them down. Once they dried, we took a hammer and a shovel and crushed them into pieces. The material turned out to be really dense and solid, so the breaking down process wasn’t that easy. Clay particles are tiny plates packed together. In a raw block, they are layered the way erosion left them underground. For use in ceramics, you need a homogenous material, so our clay had to be soaked in water and mixed. Surprisingly, it absorbed way more water than we expected. After a few hours under the propeller mixer, the consistency of the mass was already pleasantly smooth. The next step was to pour the concoction through a sieve to get rid of any sand,
gravel and miscellaneous trash. The first fragments we received were remarkably pure. Judging by the cylinder shape, they came from test drilling. The workers mentioned that they excavated this type of clay from a depth of 10m. What we were left with was slip, a suspension of clay particles in water. Clay with particles as fine as this is described to be “fat”. The consistency is like a very smooth pudding, and when some of the water dries, it is a very plastic material. We got rid of the excess water by pouring the mixture over the plaster bats. Again, this definitely took longer than with other clays we’ve dealt with.t
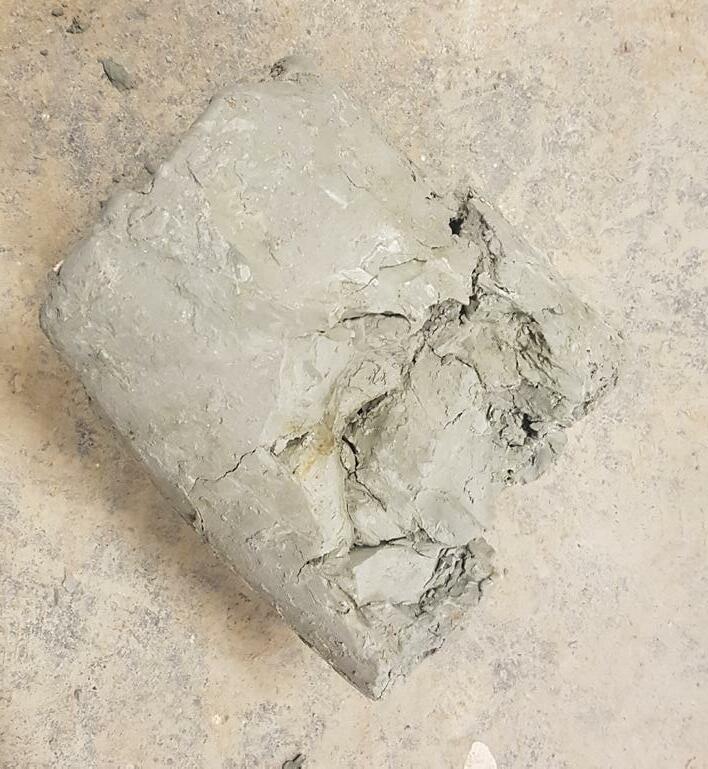
Figure 5. Dense block of dry clay.
Figure 6. Crushed and soaked clay.

Figure 7. Clay slip drying on a plaster bat

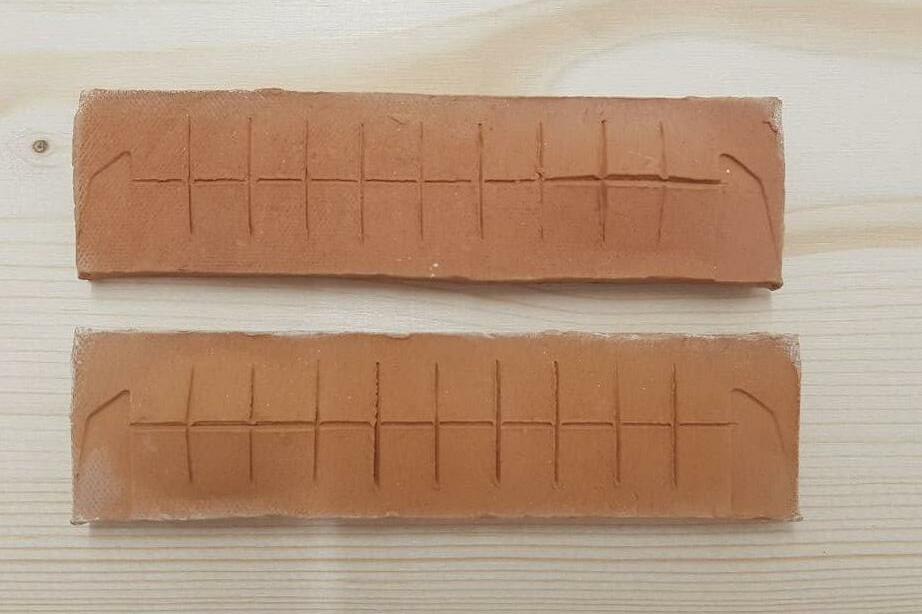
Figure 8. Shrinkage test bars, bottom one fired at 980°C, top one at 1060°C.
The first objects made from it were shrinkage test bars, which were then fired at 980°C and 1060°C. The shrinkage test results showed 11-12% in the higher temperatures, which is a lot. The leftover slip was brushed over porcelain and stoneware test tiles and fired at 1230°C. The tiles came out of the kiln glazed in a dark brown color with a satin finish. On the dark clays, there was even a slight metallic sheen. The Bacherplatz clay performed great on the pottery wheel. It was very easy to center, smooth to throw and very stable. The major problem we had with it was drying performance and a huge shrinkage rate, which caused cracks in the pieces and deformations if they weren’t dried slowly and carefully enough. In ceramic 3d printing, it has proved great due to its high stability in the wet stage. Unfortunately, the printing technique does not allow for adequate compression of the mass particles, so significant deformation and cracking occurred during the drying process. The fine grains encouraged us to try to make a casting slip with the addition of deflocculants.14 Unfortunately, it ended in failure. The deflocculants we used, seemed to have no effect on the slip. The consistency was still relatively thick, and only adding large amounts of water thinned it out. As a result, the mass was not suitable for casting, since the plaster test mold, which should have absorbed the moisture, got completely wet very quickly. It is possible that we used the wrong types of deflocculants, but this cannot be confirmed without a more detailed analysis of the material.
We found out the hard way that not every clay is suitable for everything. The properties of each deposit determined what type of industry developed in the region. Contemporary clays from manufacturers usually contain admixtures of other raw materials that improve their performance in a particular application.

Figure 9. Fired clay spiral, a leftover of trimming a cup, is a proof of great clay stability.
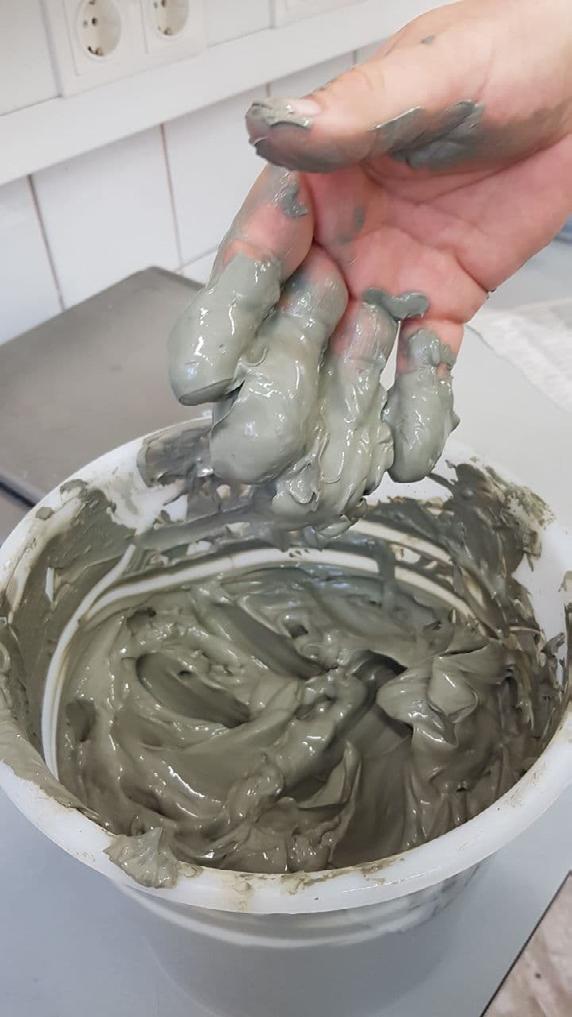
Figure 10. Thick clay consistency despite the use of deflocculants.
Figure 11. 3d printing test.