
Capturing Sports Photography
Tips and tricks for capturing the speed, emotion, and energy of the game in real time.
set up for success
Lay the groundwork for success: cultivate strong relationships, gain a deep understanding of the sport, and come equipped with the right gear. Be confident in your camera settings and strategic about your shooting locations.
Build Relationships
Contact the athletic director and coaches before the game. Ask about key players, moments, or events to watch for. Also, be sure you have permission to be on the sidelines.
Understand the Sport
Learn the rules and strategies of the sport so you can spot key moments. Know player positions to choose the best shooting angles. Get familiar with common plays so you’re ready to capture the action.
Be Prepared
Review the schedule, know the venue, and prepare for lighting conditions. Make sure you have the right equipment.
Where to Photograph
For the best sports shots, position yourself where the action flows - along the sidelines, near the goal, or at key angles that capture movement and emotion.
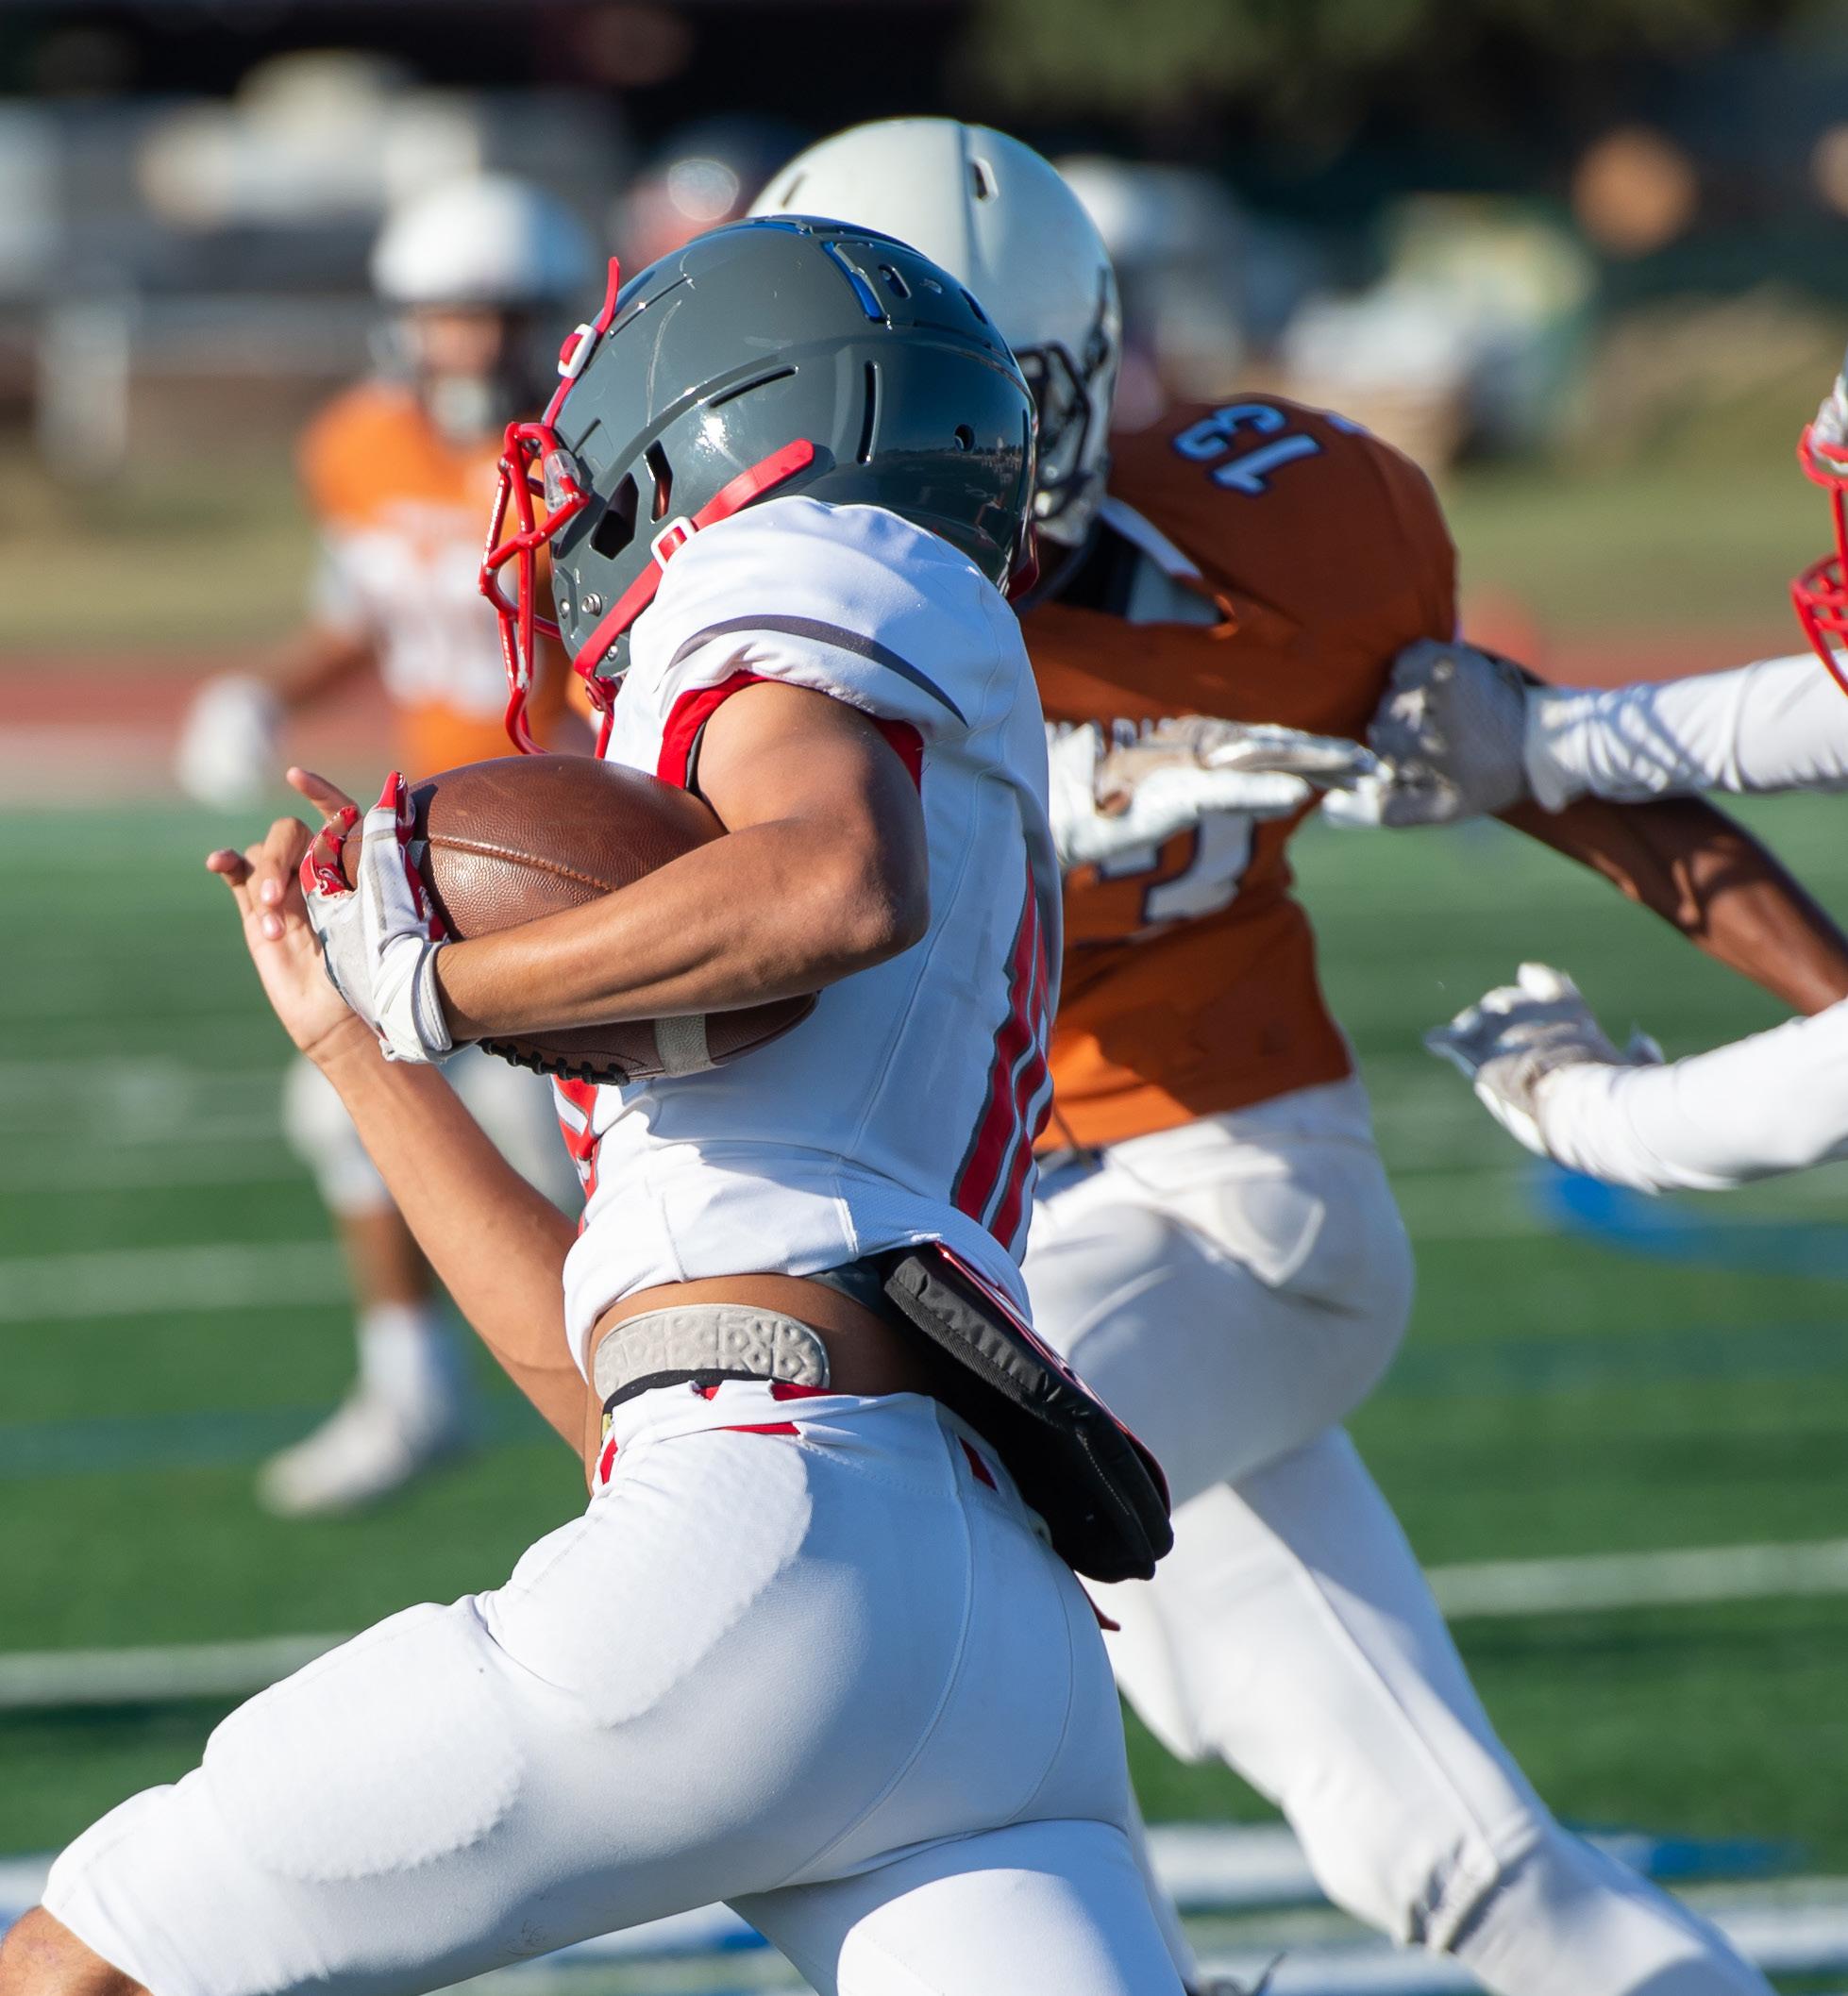
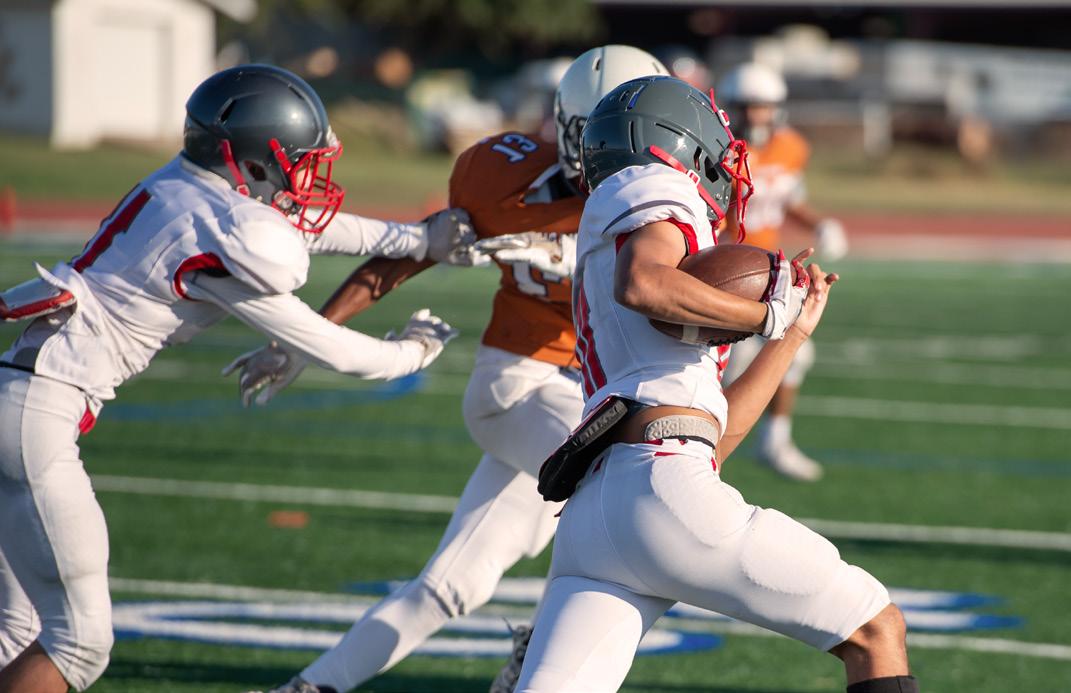
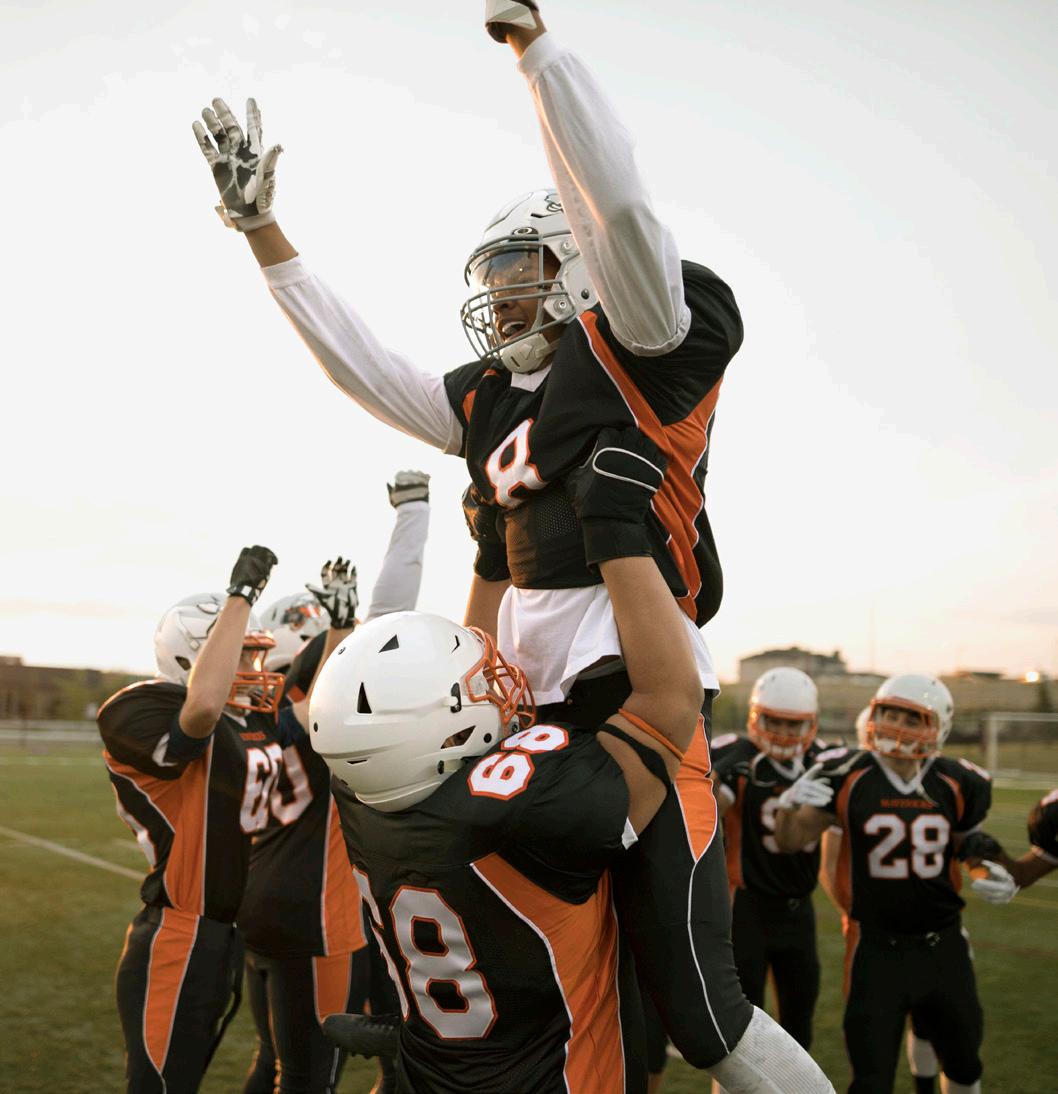
Football
Position yourself between the goal line and the 25-yard line.
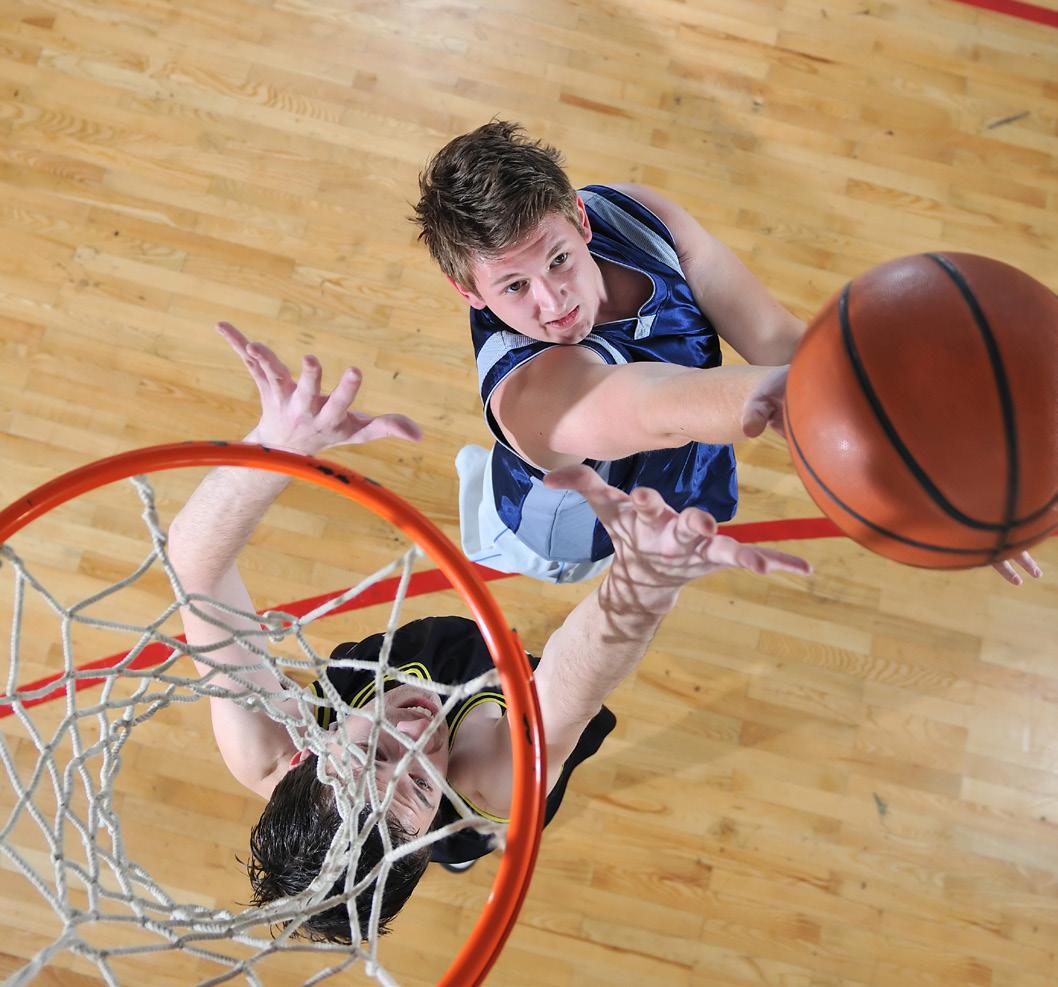
Basketball
Follow NCAA rules and sit to the right of the basket on the right corners.
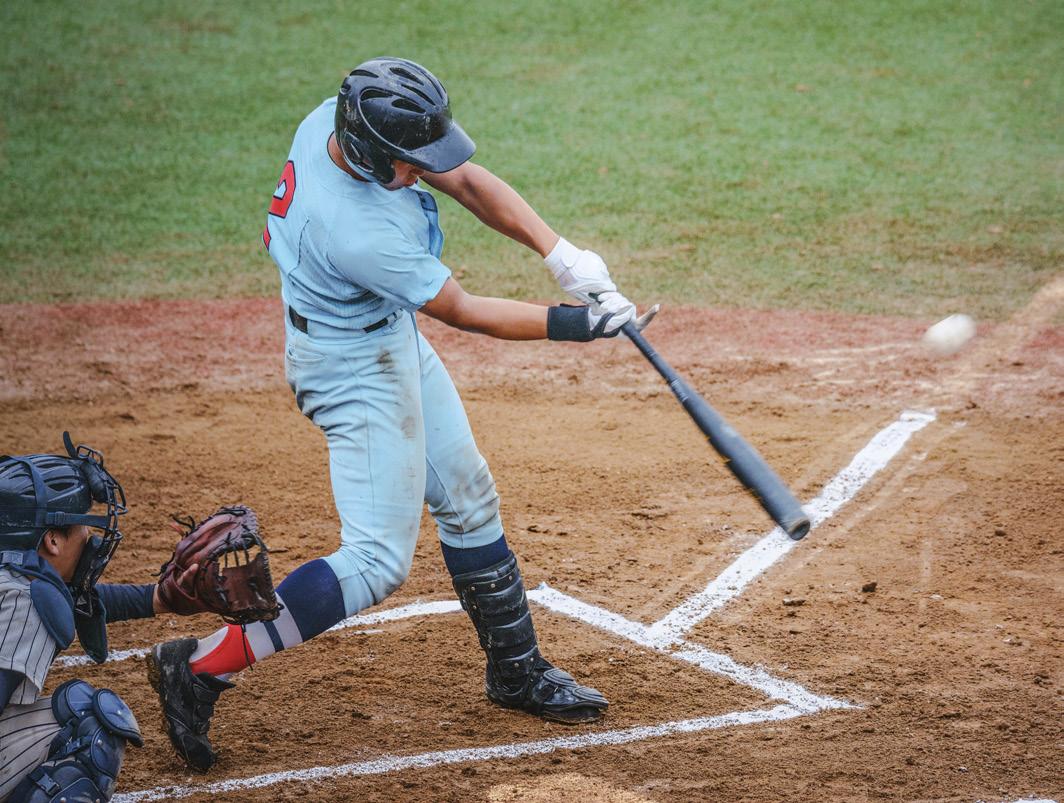
Baseball & Softball
Photograph from the baseline or behind the home plate.
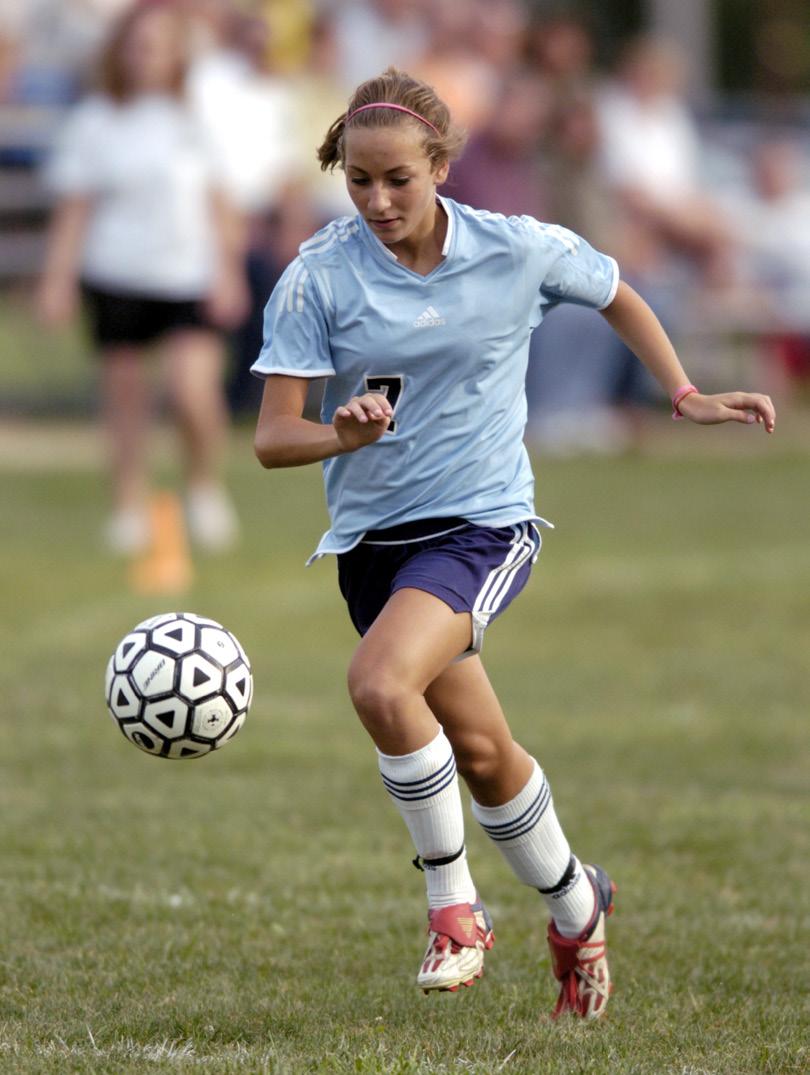
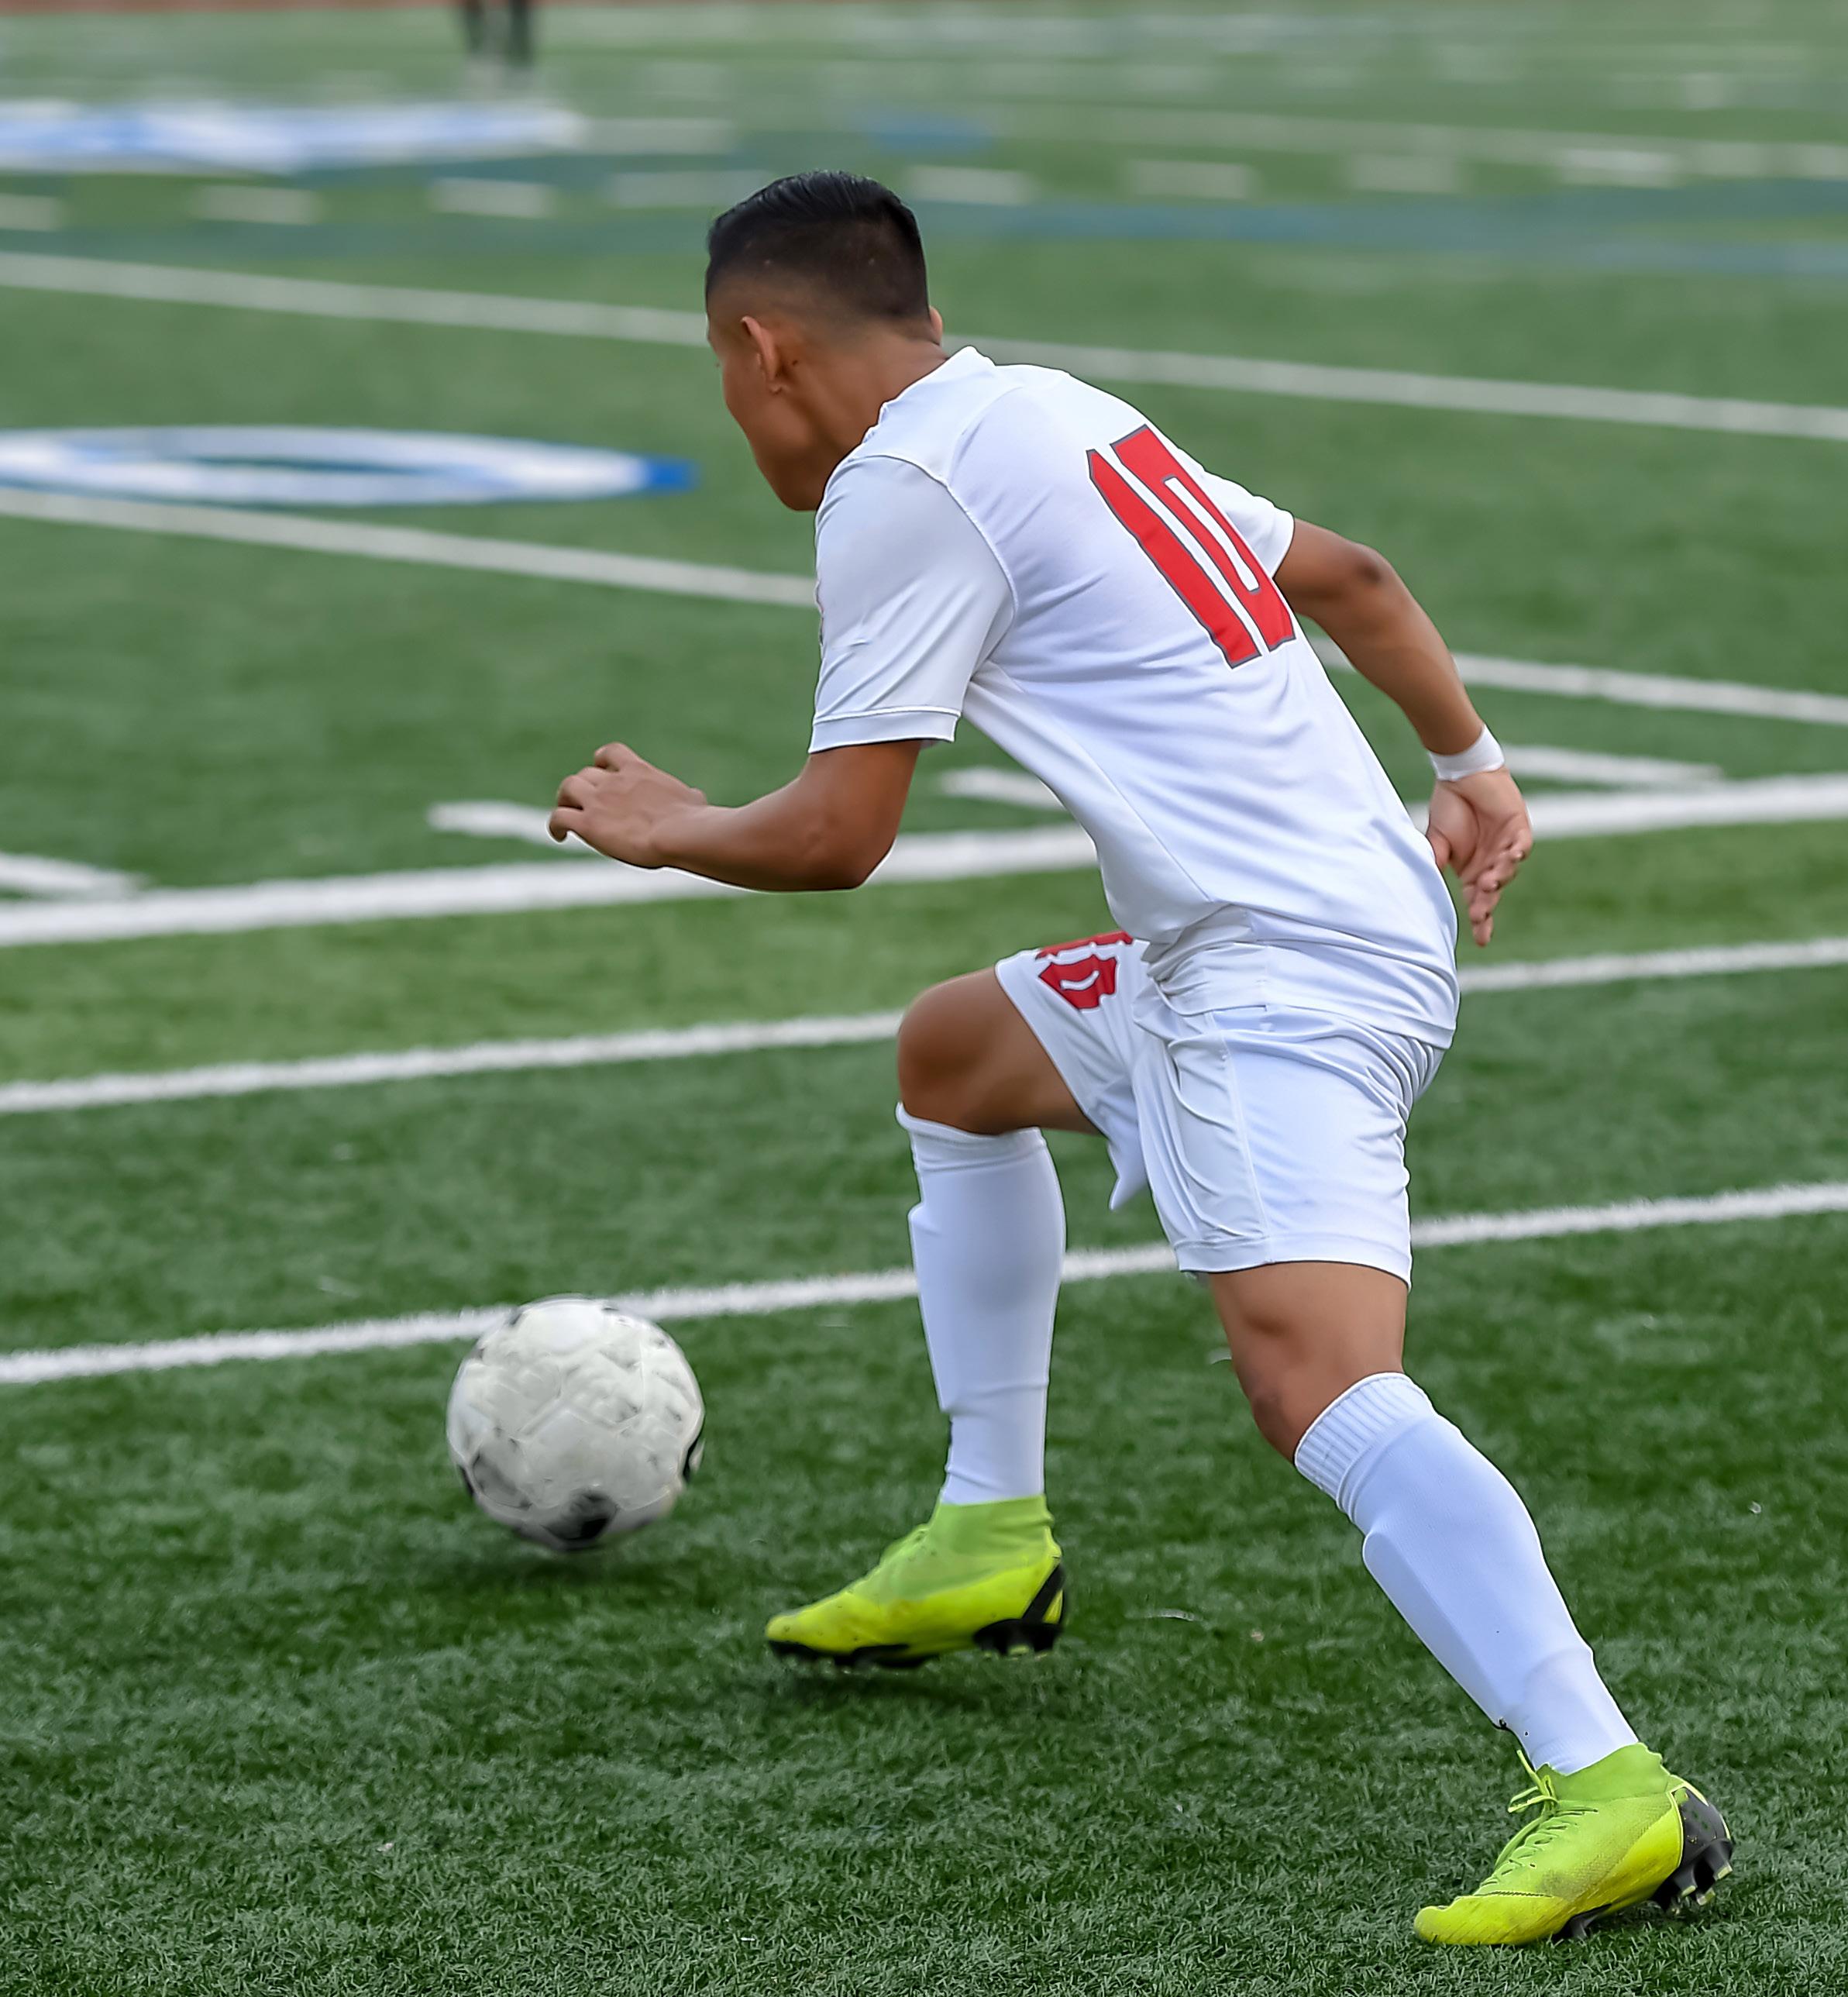
Soccer & Lacrosse
Stand along the goal line near the corners, or behind the net for penalty shots.
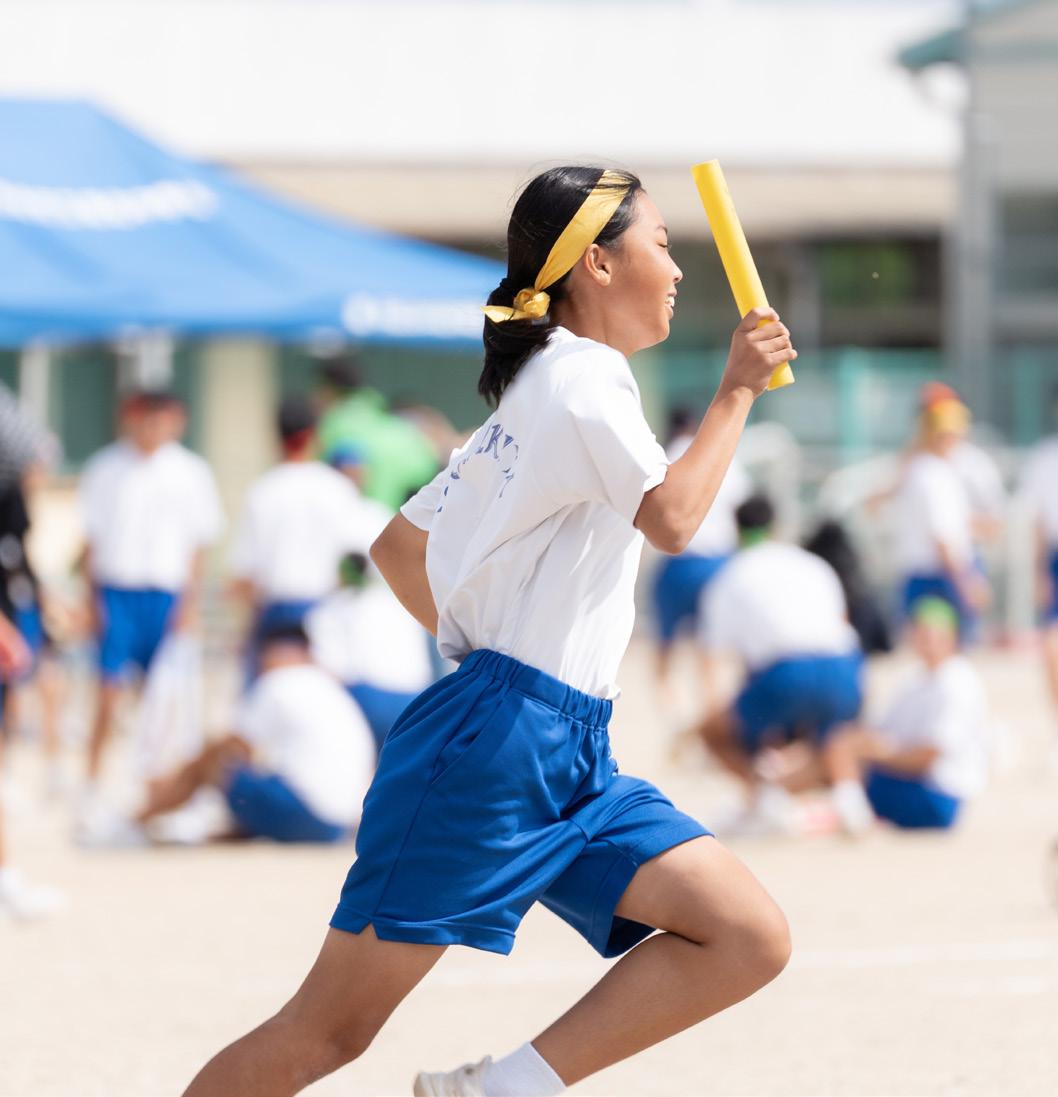
Track & Field
Position yourself at the beginning or end of the race/event.
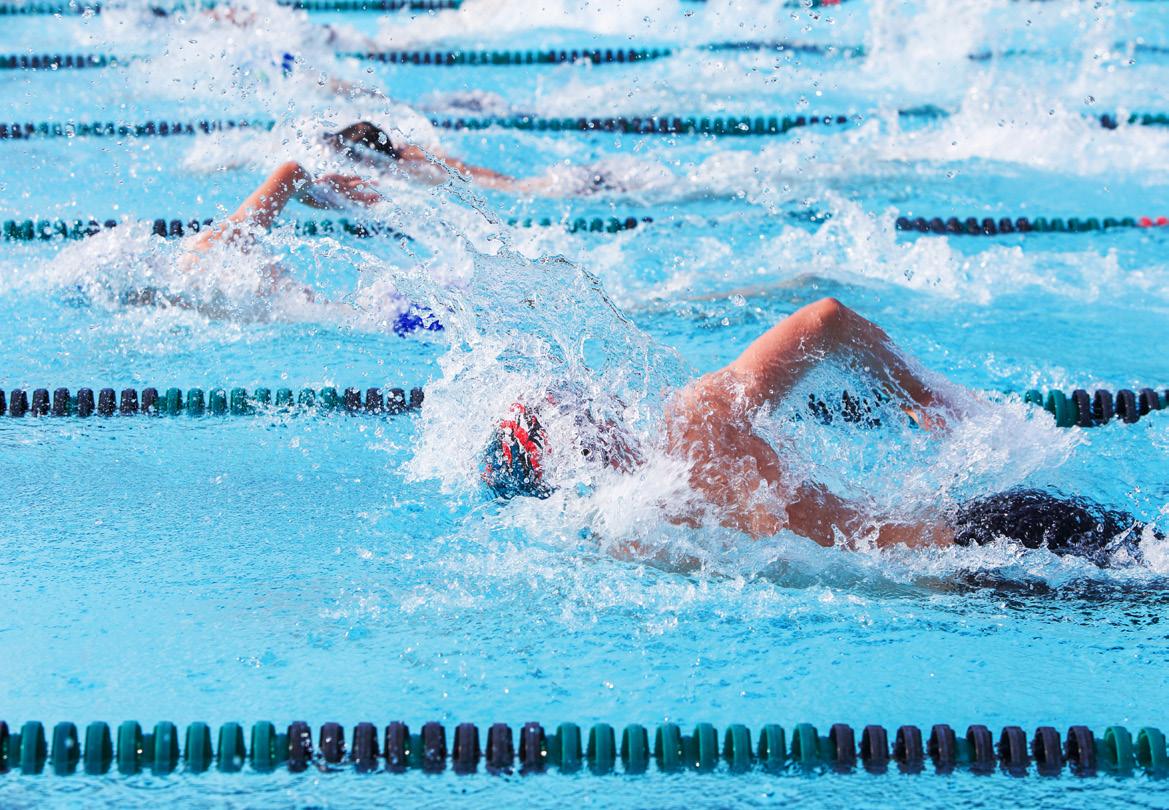
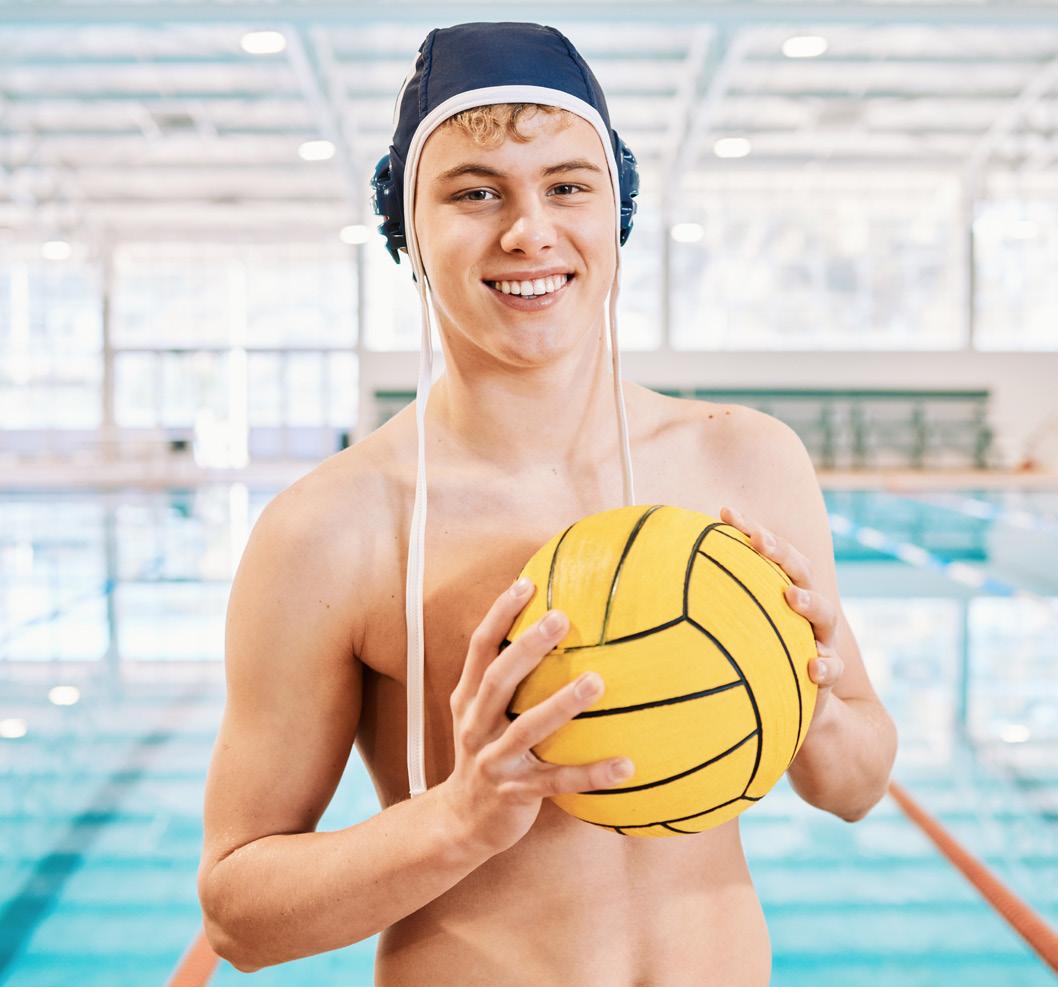
Swimming
Position yourself at the end of the pool where the swimmers are finishing.
Tennis
Photograph from the sides of the court or overhead positions.


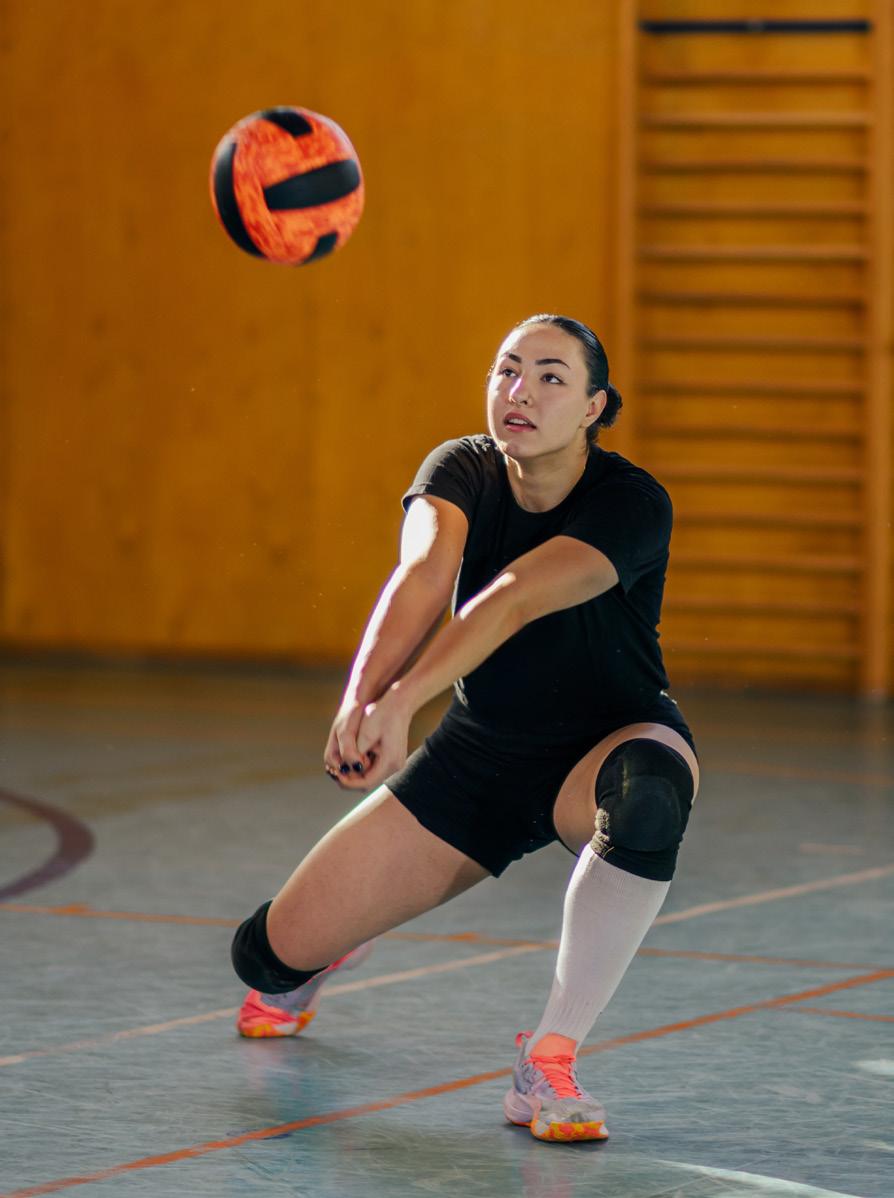
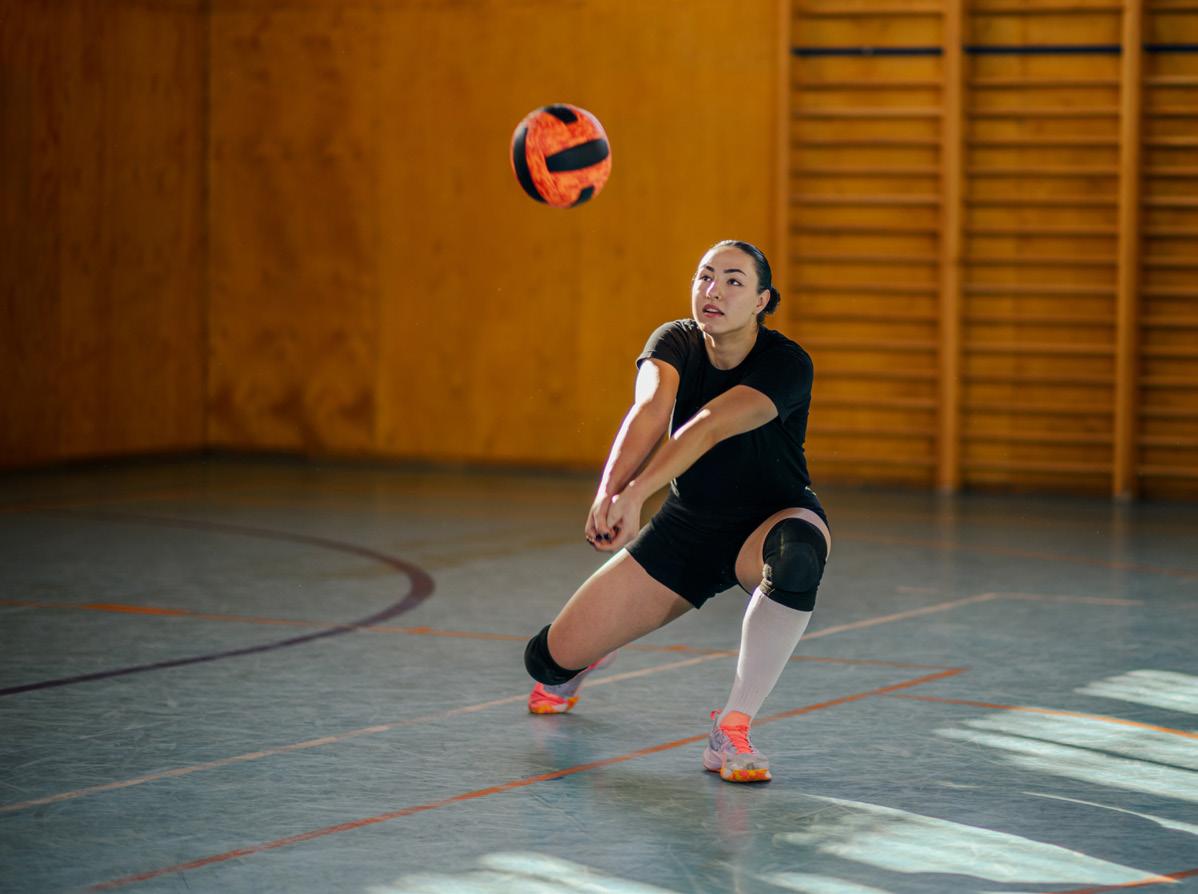
Volleyball
The best place to shoot is across from the team, in the middle.
Equipment & Settings
Action Shots: 70mm - 200mm lenses
Portraits: 50mm lenses
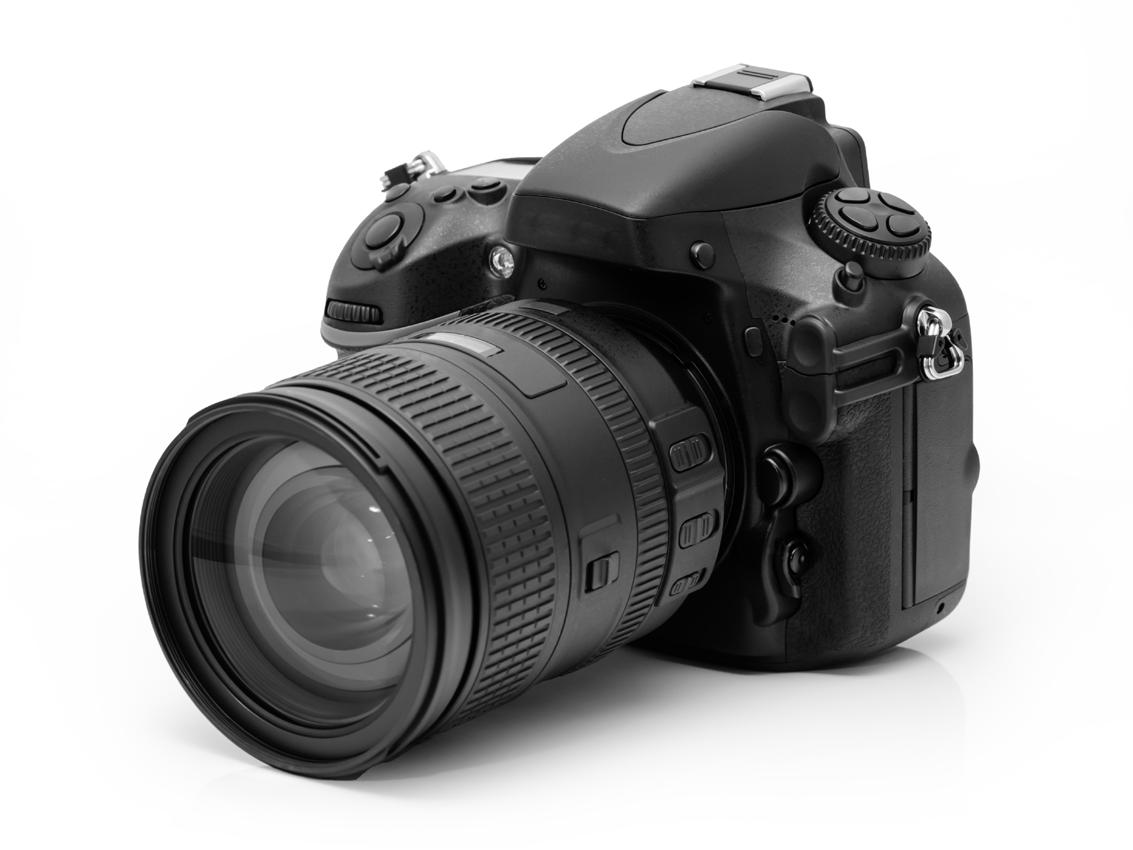
DSLR Camera
DSLR stands for Digital Single-Lens Reflex camera. It’s a type of digital camera that combines the mechanics of a traditional camera with a digital imaging sensor.
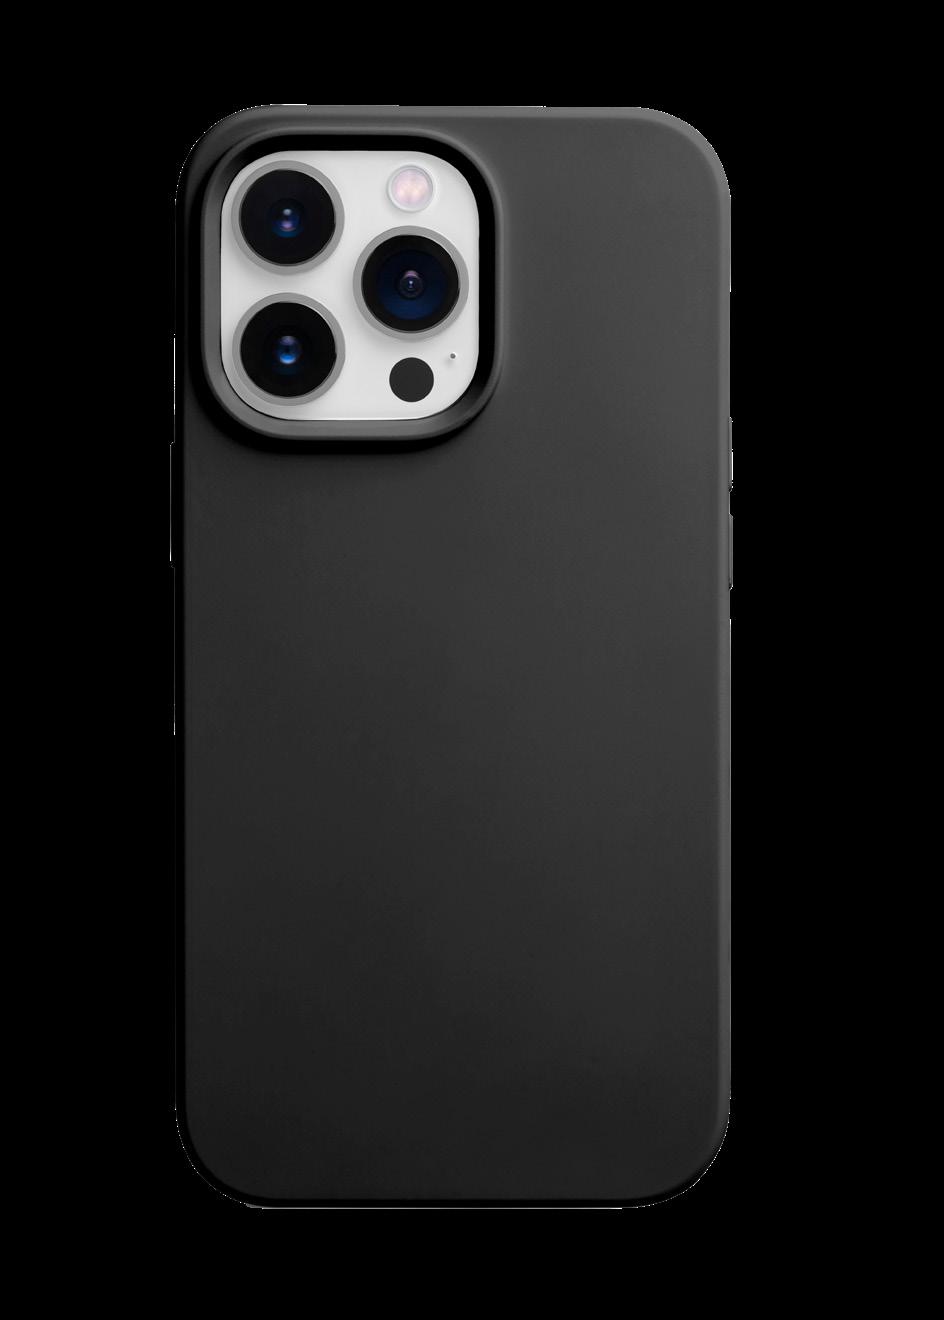
Cell Phone Camera
Photos can be taken with various cameras, such as DSLRs, mirrorless models, or smartphones. Don’t forget to pack the essentials. additional essentials:
PROS: Excellent image quality, interchangeable lenses, and fast performance for action shots.
CONS: Bulky and heavy, can be expensive, and a steeper learning curve for beginners.
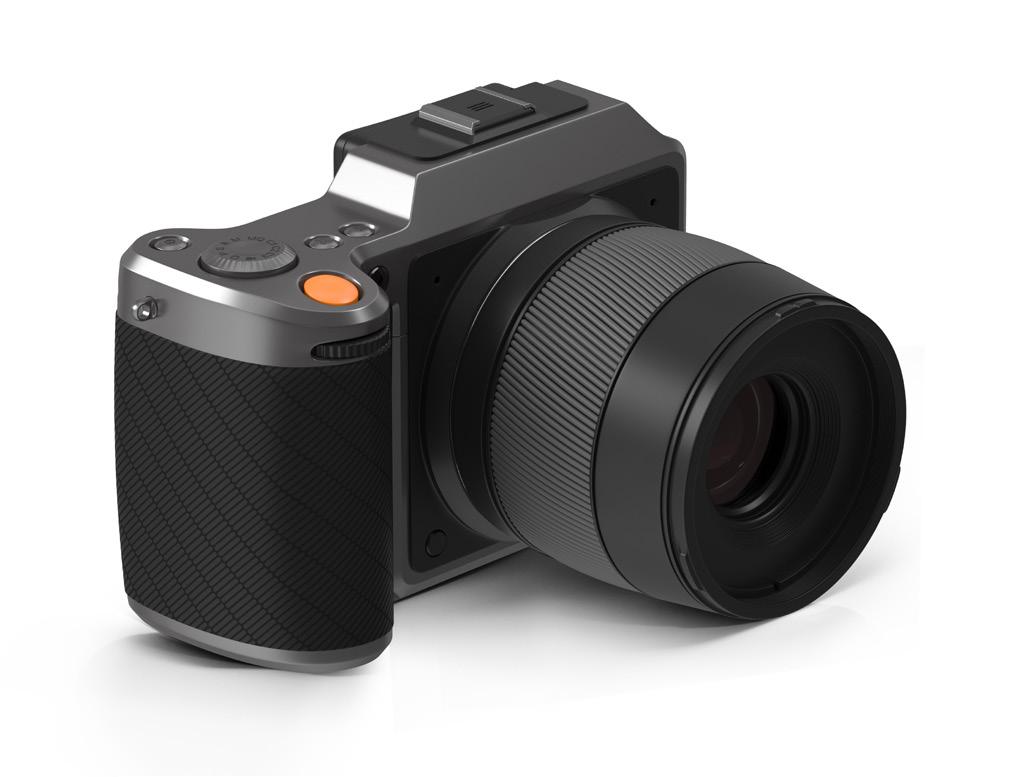
Mirrorless Camera
This is a type of digital camera that, unlike a DSLR, doesn’t use a mirror to reflect the image into an optical viewfinder. Instead, it uses a digital display to show you what the lens sees.
PROS: Lightweight and compact, fast and accurate autofocus, and the electronic viewfinder shows real-time exposure and effects.
CONS: Shorter battery life than DSLRs, fewer interchangeable lenses (though this is improving), and electronic viewfinder lag in some models.
A cell phone camera is a built-in digital camera found in smartphones. It allows users to take photos and videos directly from their device without needing separate equipment.
PROS: Always with you, super convenient, and easy to use with automatic settings.
CONS: Lower image quality in low light, less depth of field control, and not ideal for professional or high-detail work
• Extra Batteries • Speed Light/Flash
SD Cards
Tripod
Reflectors
Notebook
Lens Cleaning Supplies
ExpoDisk or Gray Card
Aperture
Aperture establishes depth of field in your photos. A wider aperture (lower f-number like f/2.8 or f/4) creates a shallow depth of field, which can help isolate the subject and make the background blur, enhancing the focus on the action.

SHALLOW DEEP
ISO
Depth of Field
ISO controls how sensitive your camera is to light. For sports, start around ISO 400 or 800 to keep your shutter speed fast—especially in low light.
100 200 400 800 1600 3200 6400
• Sunny Days
• Outdoors
• Everyday Use
Shutter Speed
• Dawn
• Twilight
•Night Photography
• Low Light
• Indoors
For capturing sharp, action-packed sports photos with a DSLR, prioritize a fast shutter speed (1/500th of a second or faster). Aim for 1/500th of a second or faster, but adjust based on lighting and the speed of the action. For fast-moving sports, you might need 1/1000th of a second or even faster. We reccomend starting with these speeds:
• Baseball: 1/1000
• Basketball: 5/500
• Golf: 1/2000
• Soccer: 1/500
• Football: 1/640
• Softball: 1/640
• Swimming: 1/1000
• Track and Field: 1/500
• Wrestling: 1/500

FASTER
Shorter exposure time freezes motion. Best for action shots.
SLOWER
Long exposure time blurs motion. Best for night shots.
TEAM:
OPPONENT:
PRE-GAME PHOTO PLANNING
STARTING LINEUP: NEEDED IMAGES:
DATE:
TIME:
NOTES: TO DO: EQUIPMENT:
during the game
Taking sports photos during a game means staying alert and ready to capture fast-paced action, emotion, and key moments as they unfold.
Perspective & Angles
Angles and perspective change how a photo looks and feels. A low angle can make something look big and powerful, while a high angle can make it look small. Using different perspectives adds depth, helps tell a story, and makes your subject stand out. It’s also a great way to get creative and make your photos more interesting.
Worm’s Eye
Get low - sit, squat, or lie down - to shoot upward. This worm’s-eye view makes athletes look bigger, stronger, and more intense. It’s great for sports like basketball, football, or volleyball where height and motion matter.
Bird’s Eye
If you can, find a high spot to shoot from. A bird’s-eye view is great for capturing big scenes—like full teams, fields, or performances. It shows how players move and work together.
Offence
Don’t be afraid to move to the opponent’s side—this lets you capture your team’s faces instead of their backs. Position yourself where the action is coming toward you to catch expressions and better moments.
Portrait Orientation
Portrait (vertical) orientation is great for focusing on one athlete or a key moment. It works well for close-ups, showing emotion, and capturing vertical action—like jumps or lifts in sports like basketball, gymnastics, or track. It helps highlight intensity and movement in a powerful way.
Landscape Orientation
Use landscape (horizontal) orientation to capture wide scenes—like full teams, fields, or crowds. It’s great for fast-moving sports like soccer or basketball because it fits more players and action in one shot. It also adds a sense of motion and gives your photos a cinematic feel.
Side Lighting
Use side lighting—natural or artificial—to add depth and drama to your shots. Outdoors, early morning or late afternoon light creates strong shadows that highlight muscles and movement. Indoors, try positioning near windows or lights from the side to shape the athlete and make the image more dynamic.
Front Lighting
Shoot with the light behind you to evenly light your subject. Outdoors, this helps avoid harsh shadows—especially in bright midday sun. Indoors, front lighting from overhead or in front of the subject keeps the action clear and details sharp. Both setups help highlight the game and the athletes in a clean, balanced way.
Composition
Composition matters in photography because it’s how you arrange the elements in your frame - and that’s what makes a photo visually strong, clear, and engaging.
Rule of Thirds
The rule of thirds in sports photography uses a 3x3 grid to place key elements along the lines or intersections. This helps create a balanced and dynamic shot that highlights the action.
Framing
Framing in sports photography uses things like goalposts or sidelines to surround the subject. This draws attention to the action, adds depth, and makes the photo more engaging.
Leading Lines
Leading lines in sports photography use things like track lines or fences to guide the viewer’s eye to the action. This adds depth, shows movement, and highlights key moments.
Repetition
Repetition in sports photography captures similar elements—like players or actions—to create rhythm and pattern. This adds energy and makes the photo more interesting.
Selective Focus
Selective focus in sports photography blurs the background to make the subject stand out. This highlights key moments, movement, or emotion while keeping distractions away.

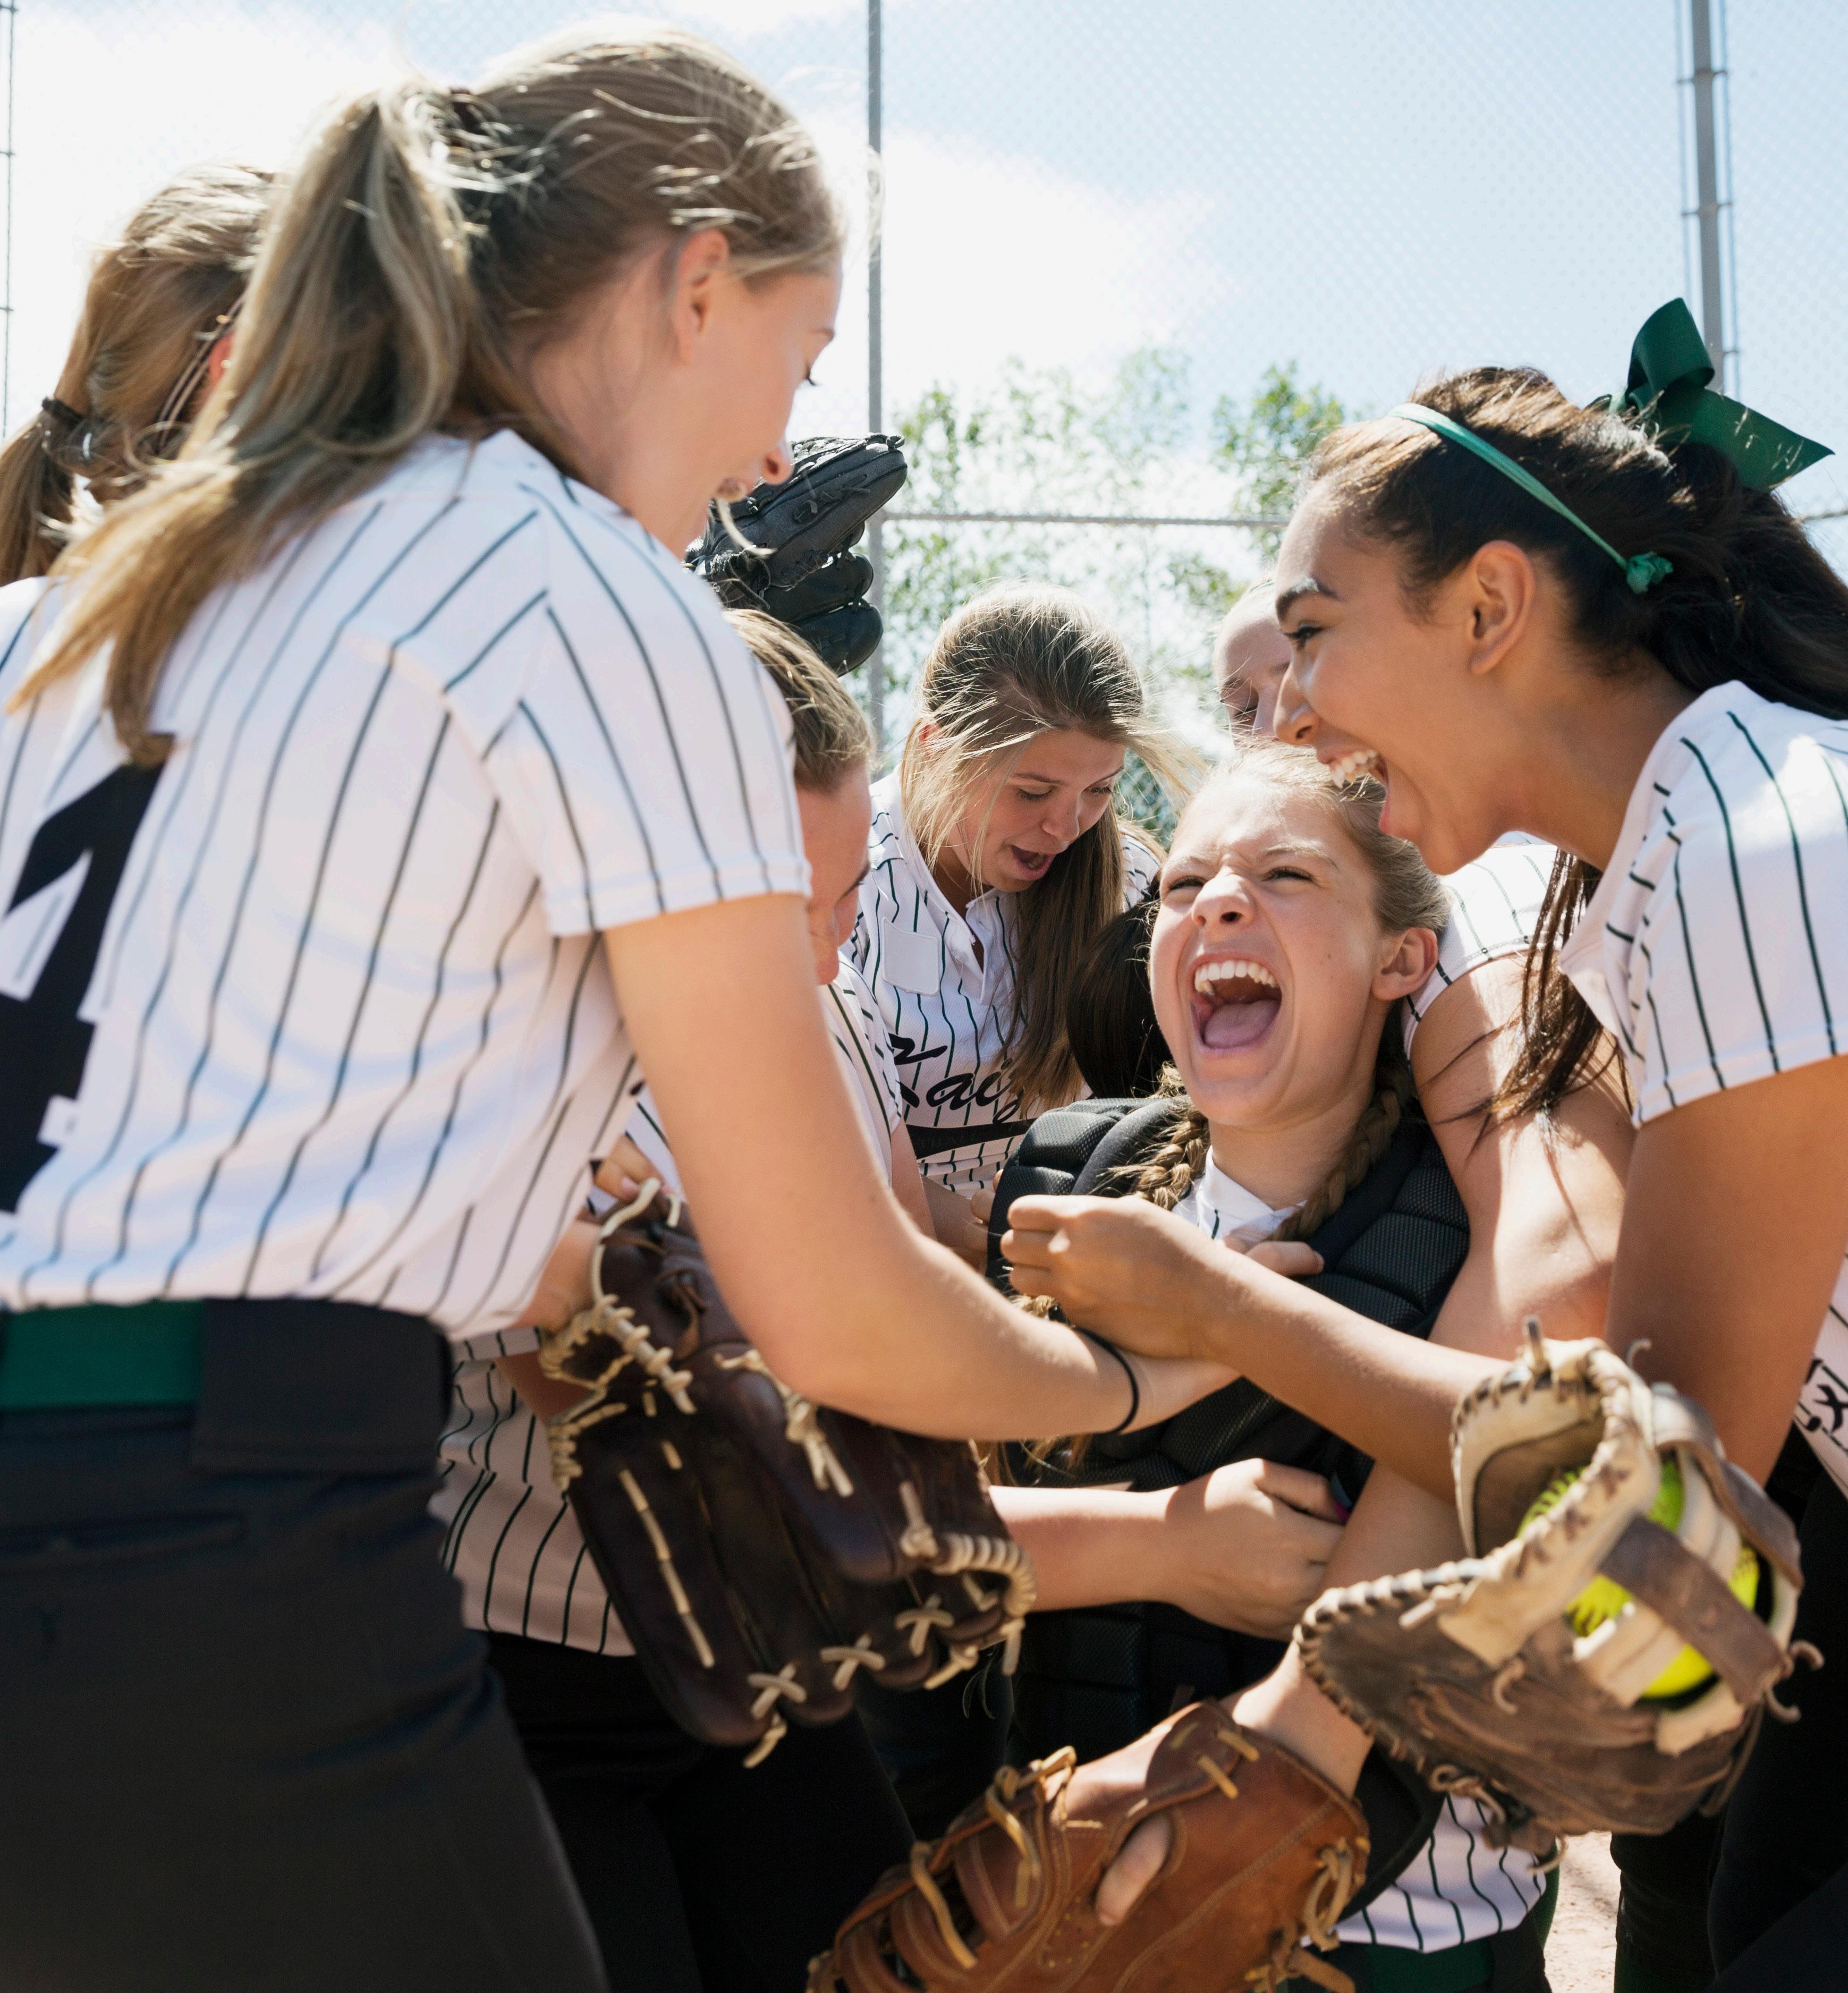
Get In Close
Filling the frame in sports photography means getting close to the subject. This removes distractions and highlights details like expressions or movement, making the photo more powerful and personal.
Negative Space
Negative space in sports photography uses empty areas around the subject to create balance and contrast. It helps highlight the action and can show focus, scale, or emotion.
post-game
For some, this is the most daunting part of Sports Photography – Editing your images and deciding with images help tell the story
Editing Techniques
Editing photography is important because it improves image quality, removes distractions, and highlights key details. It also helps create a consistent style and enhances the story the photo tells.
Crop and Align
Make sure your subjects are positioned well, and remove unnecessary distractions. Holding down the shift key when cropping so that the crop aspect ratio is locked.

Adjust Exposure
Brighten dark shots and reduce overexposed areas to bring out details.
Sharpen and Enhance Contrast
This adds detail and makes the image pop.


Color Correction
Adjust white balance to ensure the colors are accurate.

telling the story
A strong photo story mixes action, candid, and team shots to guide the viewer through a clear, engaging narrative. Use contrast and variety to keep it dynamic and visually interesting.
Yearbook Layout Tips for Sports Photos
Design Elements
Be sure to use design elements to create a visual flow with images: Highlighting key moment with larger photos, spaced evenly, with a variety of images, placed to guide readers toward the center of the spread.
• Dominance: Highlighting key moments with large photos
• Unity: Using spacing and alignment to help guide the reader
• Contrast: Using elements that are large vs. small, heavy vs. light or vertical vs. Horizontal. Also using a variety of candid, posed, and action shots.
• Repetition: Elements that echo colors or repeat in size and shape to create rhythm in the design
• Direction of Movement: Elements placed to guide readers toward headline or center of spread
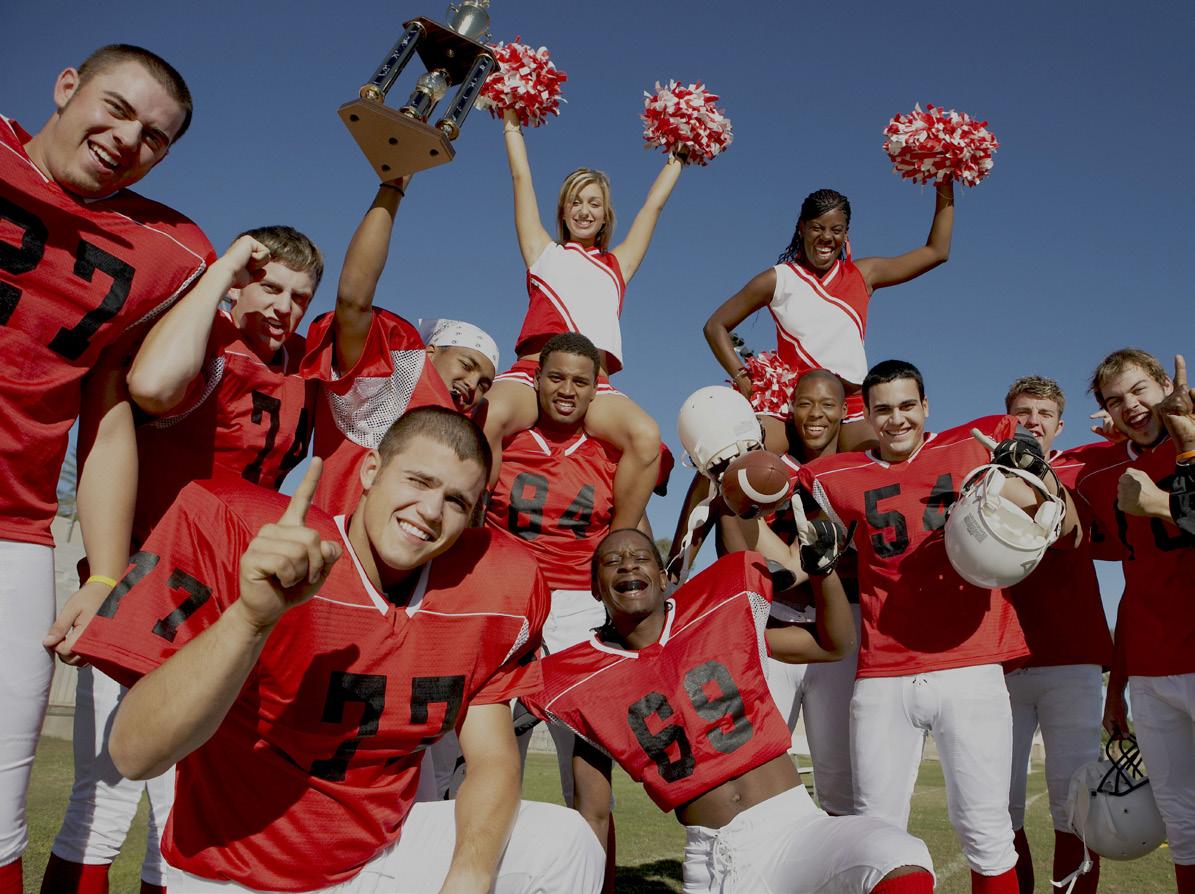
Captions
Write short, impactful captions that give context to the photos. Focus on key moments, player names, and events.
Example:
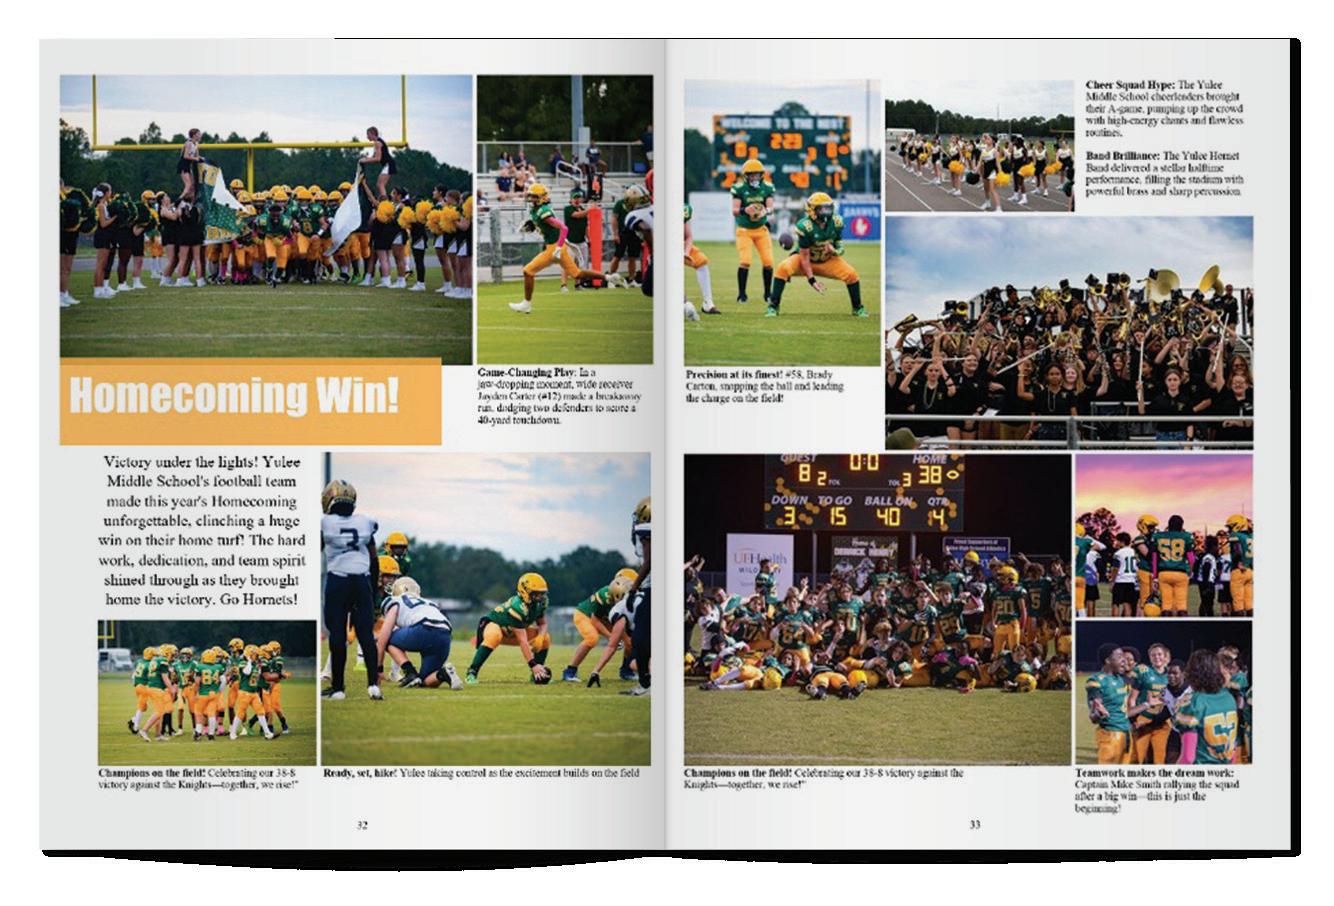
Victory under the lights! Yulee Middle School’s football team made this year’s Homecoming unforgettable, clinching a huge win on their home turf! The hard work, dedication, and team spirit shined through as they brought home the victory. Go Hornets!
Here is a yearbook spread highlighting a Homecoming Game with variety of images, design elements and captions:
Gutter (Space between pages, no faces or actions should fall in the gutter)
Dominant Photo
Primary Headline
Eyeline (Space that visually connect pages)
Secondary Headline
Caption Headlines & Captions
Direction of Movement
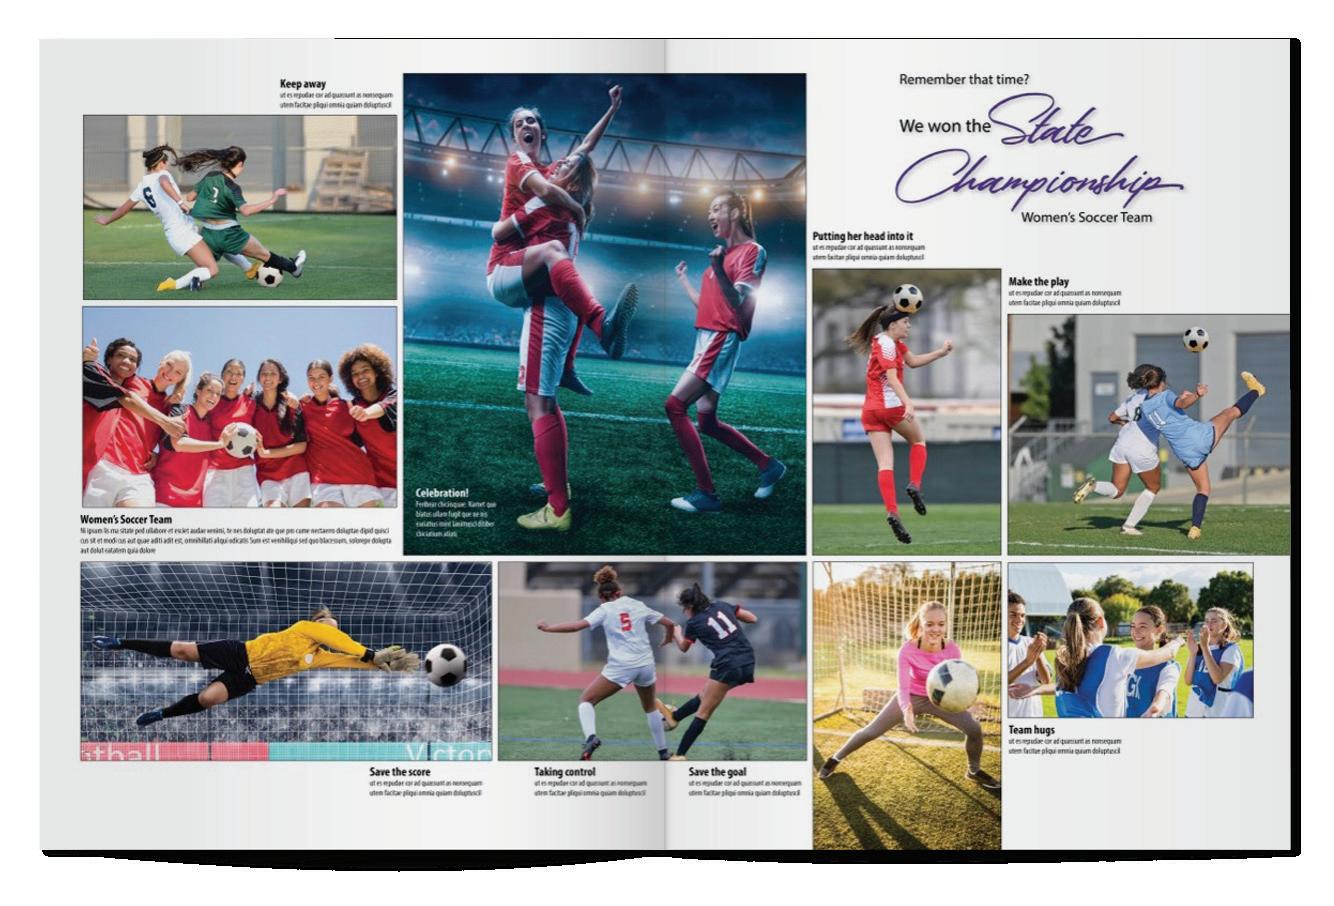
Yearbook Layout Examples
Gutter (Space between pages, no faces or actions should fall in the gutter)
Secondary Headline
Dominant Photo
Internal Margins
Caption Headlines & Captions
Dominant Photo
Primary Headline
Secondary Headline
Caption Headlines & Captions
Primary Headline
Gutter (Space between pages, no faces or actions should fall in the gutter)
Repetition
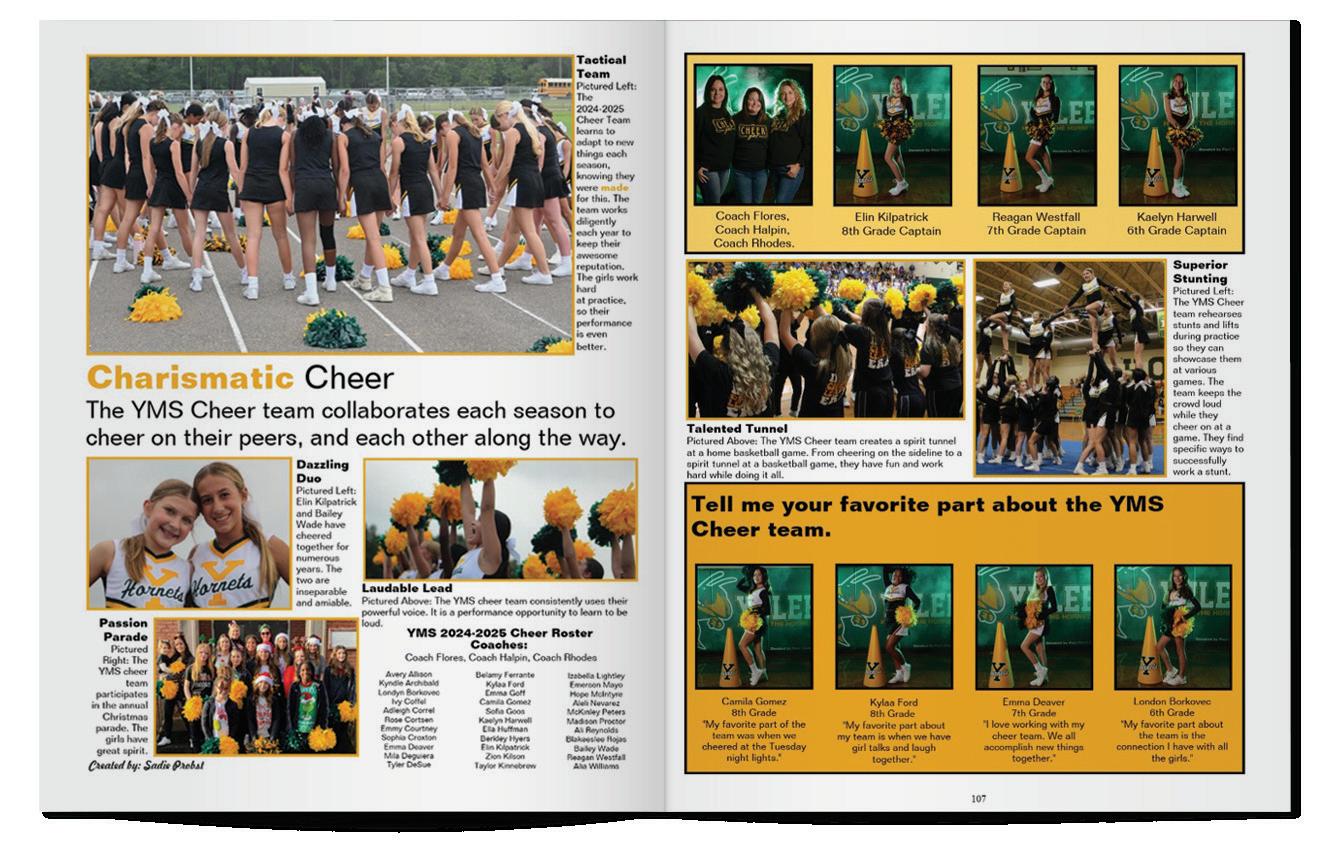
Eyeline