TheUltimate LifetouchYearbook CoverDesignGuide

Follow this guide to design, upload, and submit your one-of-a-kind yearbook cover!

Follow this guide to design, upload, and submit your one-of-a-kind yearbook cover!
A yearbook cover reflects the essence of your community, the era you live in, and the unique spirit of your school. This guide will walk you through every step of the process, from brainstorming ideas to finalizing your design. Get ready to unleash your creativity and create a yearbook cover that will be cherished for years to come!
1 2 3
Determine who will design your cover?
Looking for inspiration for your unique yearbook cover design? Get the school community involved:
- Host a school-wide contest and invite students and staff to submit their original artwork.
- Brainstorm with your yearbook staff to come up with creative cover designs.
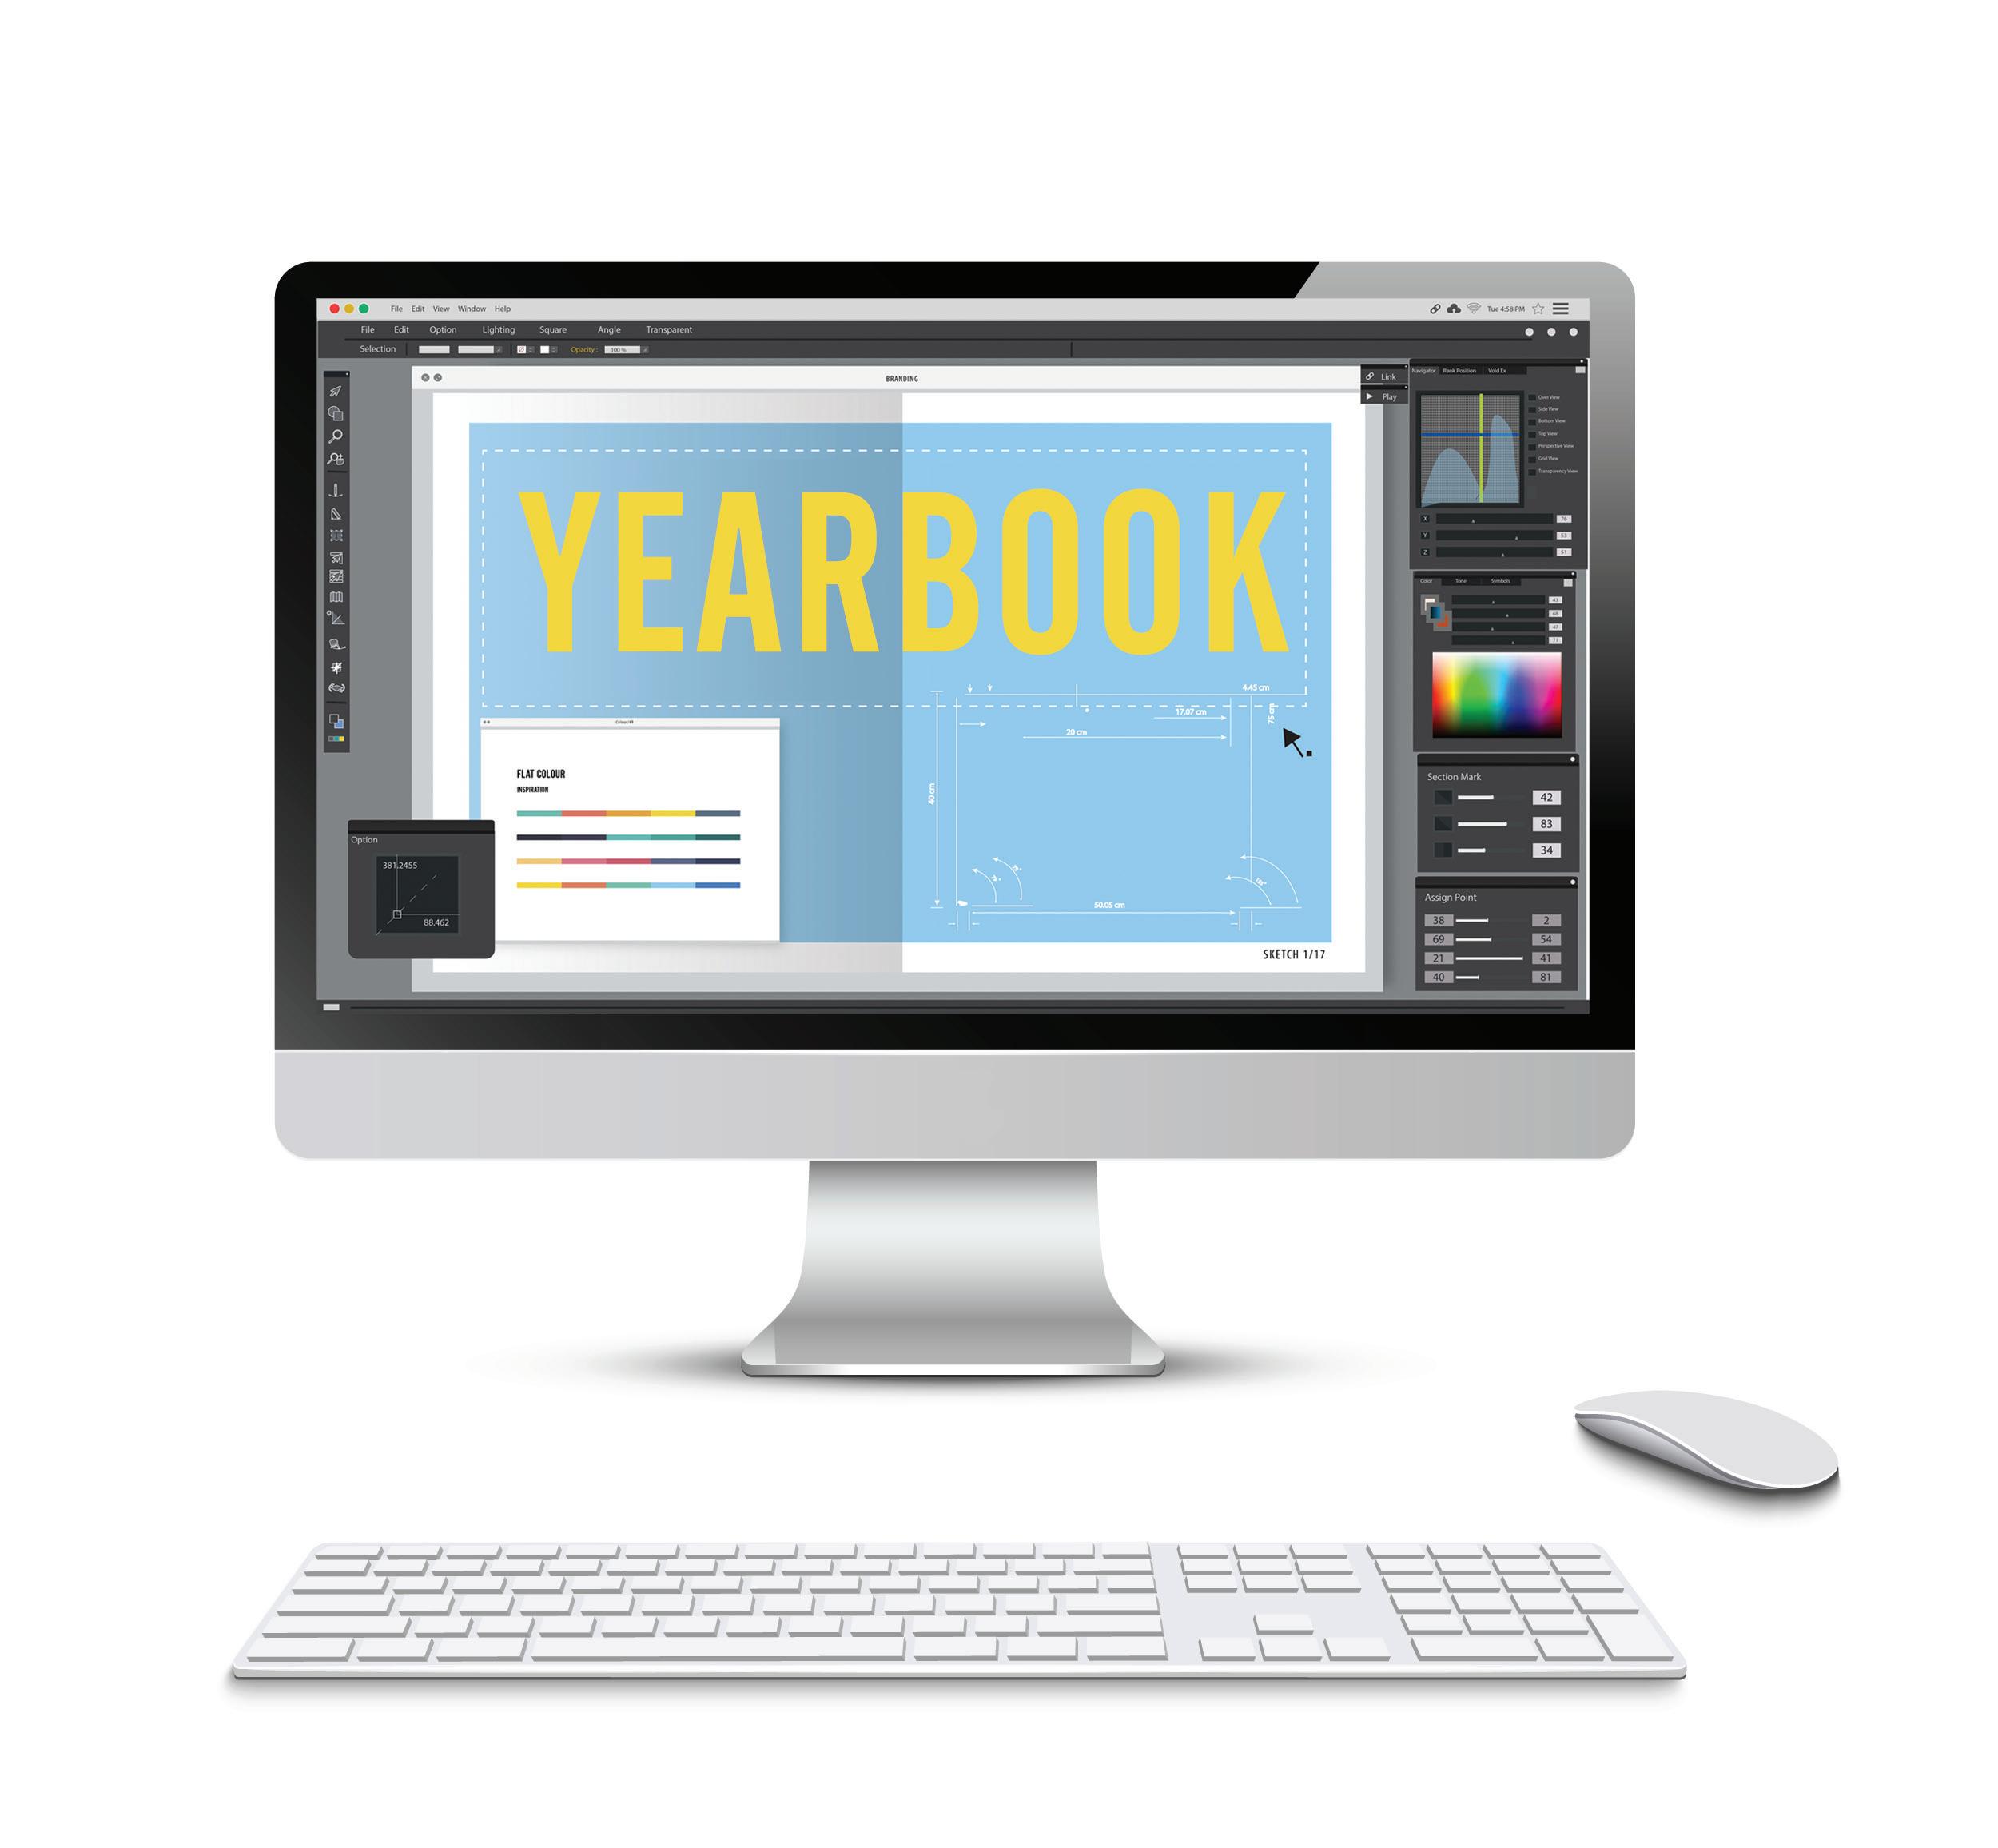
How will you design your cover?
How will you create your cover? Will you use software like Photoshop, or create art by hand?
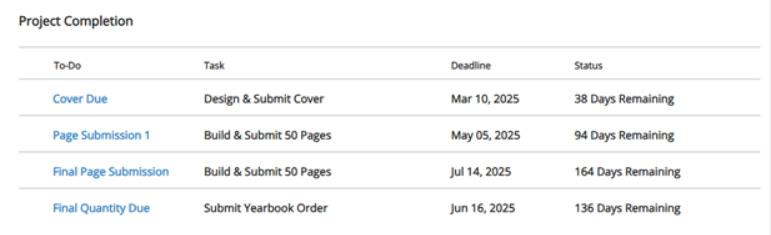
Don’t forget to know your deadlines:
Make sure to check the cover deadlines listed on the yearbook website. We suggest submitting your cover two weeks before the final deadline to give our production teams ample time for review.
To stay organized, we recommend printing this piece and completing the timeline below:
Due Date: Due Date: Due Date: Due Date:
o Hard Cover o Soft Cover o Student Name o Name & Icons o MYPC
Determine Cover Type: Determine Cover Personalization: Upload Cover Artwork to the Yearbook Website: Approve Cover Proof on the Yearbook Web: We recommend uploading your artwork 14 days before the cover deadline
You have 10 days to approve your cover proof before it’s automatically approved.
Now that you've determined your cover designer & documented timelines, let’s explore design best practices. Follow this checklist so our production teams can print your cover with confidence:
Create a horizontal design, including both the front and back cover.
The back cover must be placed on the left side and the front cover on the right side.
Recommended paper size: 11x17
Your design must be drawn in landscape format.
If you are hand designing your front and back cover and your design is complete, you will scan your cover files with the back-cover design on the left side, and the front cover design on the right side. Your scanned file should look like your yearbook is face down, cover sides up.
If you are hand-drawing the cover, any type of markers work best! Avoid using pencils and light-colored crayons. Choose bright and bold colors. Crayons are accepted if they are bright, but may not print with perfect quality.
Best Practice:
To make your cover design POP, create a thick outline using a sharpie or marker.
Warning: The use of a pencil may cause your design to blend.
Use plain white paper. For example, if you use lined notebook paper that will show on the design.
Grab your ruler and measure your cover design. All files should be created by following the measurements below.
TRIM LINE:
Trimed page size is 11" x 17" (this includes a .375" spine)
* This is the final size of your artwork.
BLEED:
Full canvas size is 11.5" x 17.5"
Extend bleeds .25" past the trim line.
* This portion of your artwork will be trimmed off during the printing process. The bleed area allows your artwork to flow edge to edge.
MARGINS:
Keep margins .25" inside the trim line
* Keep important elements that you do not want cut off of your final cover design inside the margins.
16.5"
Are you looking to create your cover in Photoshop or on a different desktop application? Be sure to review this information:
• Overall size should be 11 x 17.
• Cover art must be a minimum of 300 dpi before submission.
• If you use Photoshop to create your cover, don't flatten your file, please keep it layered.
Disclaimer: Lifetouch does not provide you with additional software, such as Photoshop, to create your original design cover.
On your cover did you remember to include the following?
• Your School Name
• School Year (We recommend YYYY-YYYY format)
Leave a .25 inch buffer space around the end of the cover. The buffer space will protect your design during the printing process so it doesn’t get cut-off.
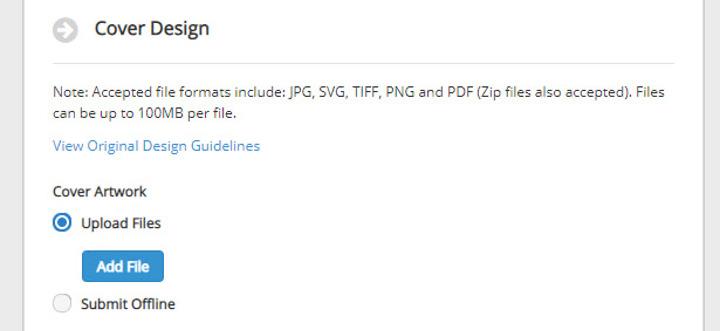
Congratulations! If you’ve reached this step, your cover design is nearly complete. We’re eager to see your creation! Follow these steps to submit your cover design on the Lifetouch Yearbooks website.
We recommend submitting your cover via the yearbook website. The Lifetouch yearbook website will only accept ONE file. Don’t fear, if you have more than one file, put them in a folder and zip them together!
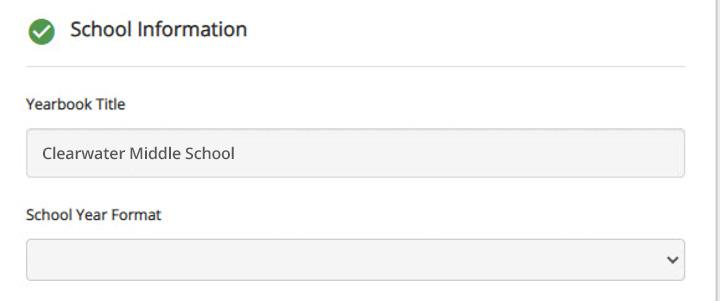
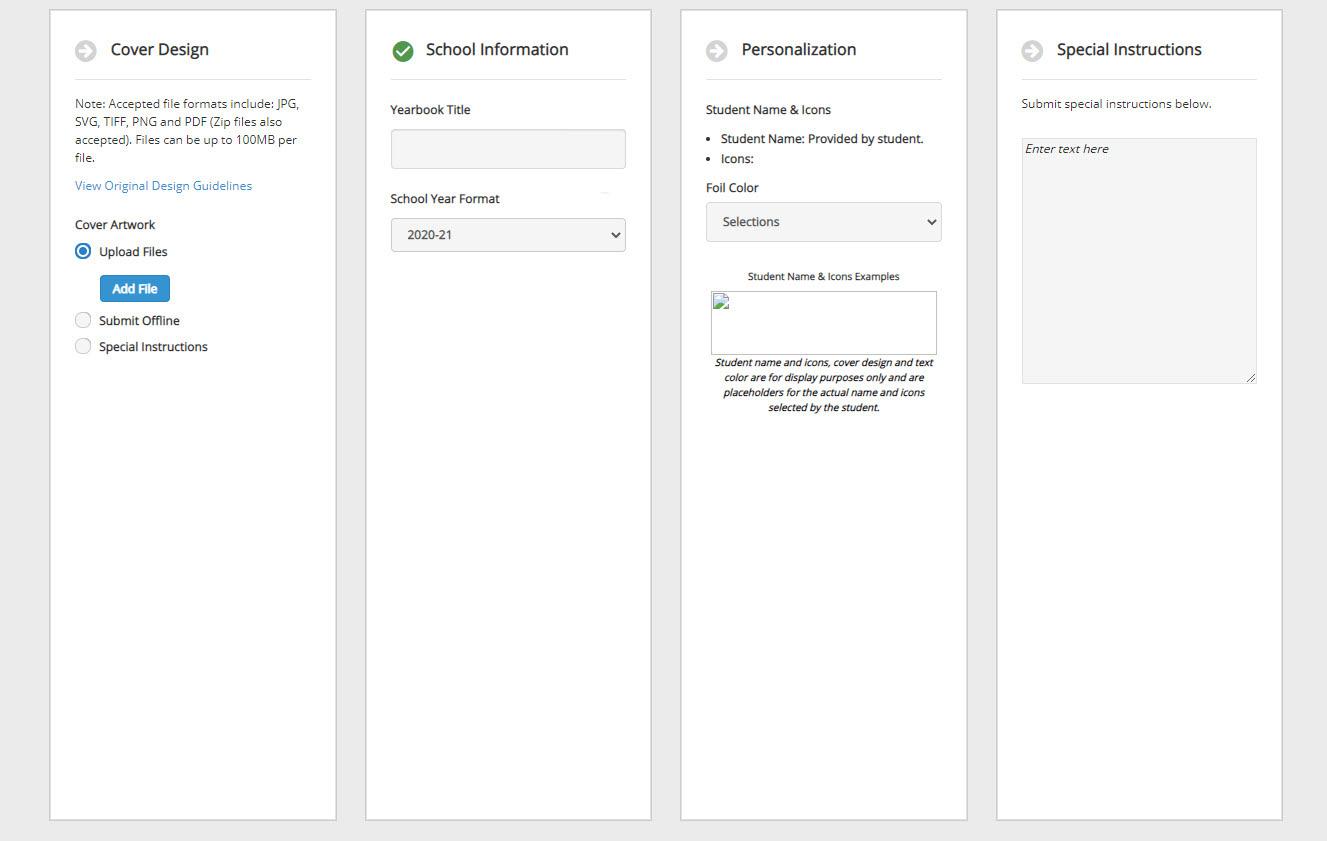
Please enter your school name or yearbook title. If you are contracted for school name and year, this is the content that will be placed on your cover. If you are not contracted for school name and year, this is intended to validate the information and will not be used on your cover.
Check off each step as you submit your schools personalized information into the website.
* Yearbook Title or School Name
* Character Limit = 50 characters (Proper Case & spaces = characters)
* Font Style = Avenir Next Medium
* Color Options:
If you have special instructions that need to be submitted to our production teams, please submit your instructions using as much detail as possible.
Examples:
"Please extend my cover design to the edge. Do not leave room for the border."
"The front cover should have the stars on it, and the back cover has a picture of the school."
Adding special instructions may require a follow-up from our team so please submit any special instructions at least 2 weeks before your cover deadline to avoid delays.
Special instructions are not intended to be a live chat or a place to ask questions. If you have questions regarding your cover, please reach out to our Adviser Support Teams:
U.S. (800-736-4761) | Canada (866) 443-9651
Continue to review the special instructions comment box to look for any feedback from Lifetouch. An example of feedback from Lifetouch might be if the cover art you submitted is low resolution, and we need you to review the cover proof.
You will receive an email letting you know your cover proof is available. At that time our teams may have feedback for you. Please go back and review the special instructions area to see if you need to make any changes and re-upload your proof.
After completing all the steps to design and finalize your Yearbook Cover, don't forget to press the Submit to Lifetouch button.

Once you submit your cover files to Lifetouch, our production teams will review your file and generate a cover proof for you to view. You will be notified via email when your cover proof is ready to view.
You have 10 calendar days to approve your cover proof.
If you have a Size 7 book, after 10 days Lifetouch will auto-approve your cover to keep your yearbook project on track.
It may take up to 28 days to receive the proof back for the cover.
If your cover requires significant editing or adjustments, additional charges may be applied.