1 minute read
Step 2: Tools and Materials

Step 2: Tools and Materials
Different techniques will require different tools.. I feel just as stupid writing that as most of you think I am for even mentioning it but sometimes things just have to be said.
Advertisement
For that reason, I'll try to break down a specific tool list at the start of each technique. The items below are a comprehensive list of what I used during this project. Many of the techniques can use tool substitution, a hand drill for a drill press or a miter box instead of a miter saw for instance. I'll also be going over the basic explanation, operation and set-up for the tools, so don't get too freaked out over thedetails just yet.
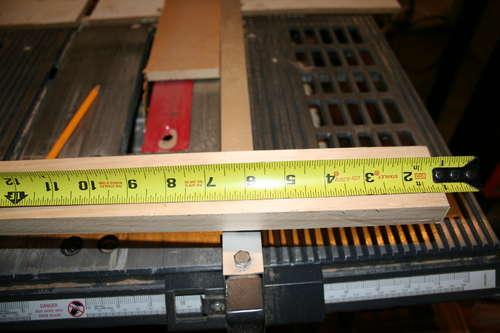
Essentials: Hand drill and assorted bits Hand sander --this can either be straight sand paper and a block of wood or a power sander speed square saw Clamps (few small and few large) Strap clamp (Or a piece of rope and a stick.. I'll explain later..) Tape Measure
Optional: Table saw Drill press chisel set screw driver Miter box and saw
Materials
"Good" Wood (heh!) --Most projects can be done with a single 4 foot 1x4. Project three needs a 4 foot 1x2. Scrap wood, or a piece or two you can sacrifice. a small 1/8th to 1/4 inch wood dowel Screws Wood Glue (Gorilla glue is better, if you have the option)