5 minute read
Step 3: Some definitions first

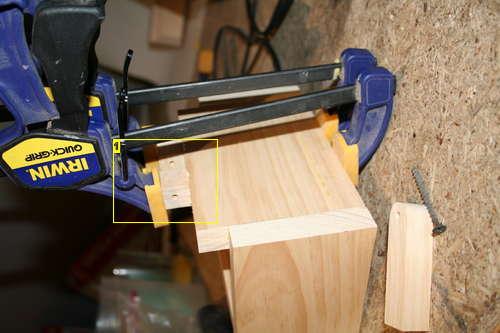
Image Notes
1. This is a pencil.
Advertisement
Step 3: Some definitions first...
This is a basic run down of some of the tools, just so we all know what we are talking about. When I first started building things it was fairly routine to use butter knives as screwdrivers and pipe wrenches as hammers. There is nothing wrong with this right up to the point your mother tells you that Christmas is ruined because all her silverware has scorch marks and twisted tips. Then your all angry and yelling about buying new silver wear for her and she's all like "the department store is closed, its CHRISTMAS" and then you cry. Sorry Mom.
The first thing I learned in health class is that you can't properly use a tool until you know what its for. Yes, that's a vaguely dirty joke. Sorry. I had to get one "tool" joke in here or I would never forgive myself.
If your already familiar with using the listed tools, you can skip this section. I will say that I actually picked up a tip or two when I was researching all this though.
There are a few essentials you should have, and I'll take this chance to explain what they are and how to use them. I'll also link to far more detailed instructions as I won't pretend I have the time to be a comprehensive resource.
What about cordless tools you say? Well let me divert for a little rant here.
If your going to be doing work outside or need to move around a lot, the cordless tools may be a good choice, but I have a thing about batteries running out on me. I hate it. I hate it with an unbridled passion the way cats hate water or the way my hamster hates cats. That's a whole lot. Its just a personal preference.
Speed Square This is just a simple metal triangle with some markings. Where it comes in supper duper handy is that it includes a 45 and 90 degree angle. If your trying to make accurate cuts across some wood stock, this is the fastest way to make a straight line.
One edge has a lip that fits along the edge of the board, then you can use the other edges to draw either a 90 or 45 degree angle. Speedy! Even if you have a miter box, you should still have one of these.
There are also techniques for marking almost any angle with this tool. I won't go over them here, but I will link to it. Detailed how-to
Tape Measure
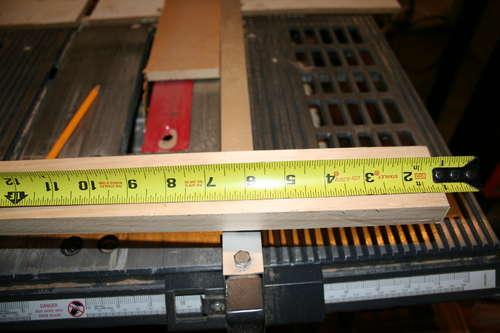
The venerable and time tested tape measure. The only thing more common than a tape measure is how often people use it wrong.
One thing people consistently do wrong is to measure from the end of the tape. I know this sounds like crazy talk, but using the end of tape is somewhat inaccurate if your attempting any kind of precision. Look close at that little metal tang on the end of the tape. It moves. it moves up to 1/16th of an inch on some of my tapes. There is actually a reason for this:
The tip of the tape is riveted in place and slides slightly; the length of the slide is the same as the thickness of the tip, to allow the user to make accurate measurements. With a sliding tip you get the same measurement hooking the end of the tape over a piece of lumber or butting the tip into a corner.
In day to day work, it's actually a pretty sloppy operation. If your framing a wall or anything on a larger scale, it won't matter. If your making a box 6' long with tight joints, it matters a lot.
I usually pull out some tape and start measuring from the 1" mark, then just subtract an inch from my final measurement. My projects have gotten a lot more precise since I started doing this. Detailed how-to
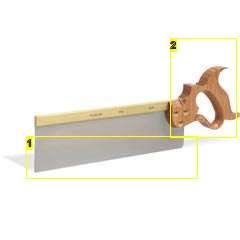
Saw
There are a boggling number an styles of saws. If your building a full shop you should have several types, but for the purpose of this article we just need what is commonly refered to as a Tenon saw or Back saw. These are the most commonly included versions when you purchase a miter box. The different types of saws require different techniques to use them properly. Popular Mechanics has a great article about some of the types and their use. For this project, just get the one that looks like the picture below. Often you can get these as a combo with a miter box.
hand or power drill
This is essential due to its sheer flexibility and usefulness. I highly recommend a decent quality corded drill. Choosing the right one is often a matter of personal preference. There is a great video Here . You should also get a set of bits. The more the better. I tend to chew them up like bubble gum. There are many types. I found Announcing: The World's Largest Collection Of 16,000 Wood Plans
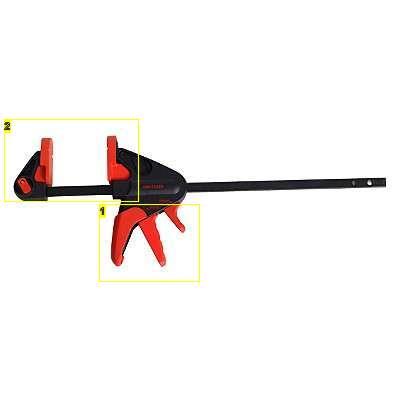
hand clamps Not much to say about these. There are many types, but the "quick clamp" style have proven to be the most useful as they can generally be worked one-handed. the traditional screw type bar clamps are fine, but you should make sure you have something between the work and the clamp to protect it against leaving marks.
Clamped glue joints are substantially stronger than un-clamped joints. Always clamp if you possibly can.
That should do it for now.. although we make make a jig or two later on..
Image Notes
1. Not as accurate as predicted.
Image Notes
1. Like the sausage.
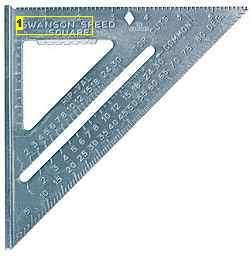
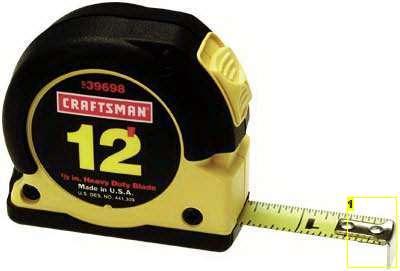
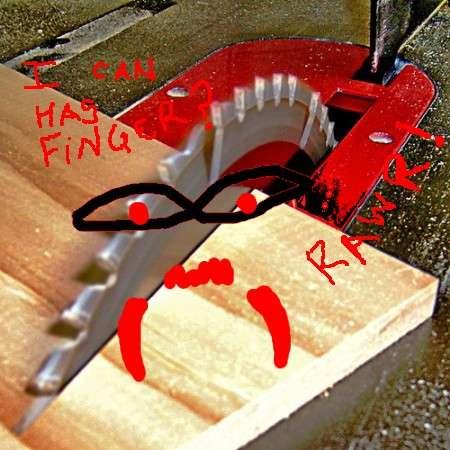
Image Notes
1. This is the sharp side. Do not rub on your arm. 2. Devil horns.. RAWWWWRRRRRR
Image Notes
1. Looks like its running.. and has a tail.. 2. While its tempting to put your bottom lip in here and see how hard it can grab, don't. Just don't.