Lesson 1
GEOLOGY SCAVENGER HUNT & CRYSTAL MAKING ACTIVITY
(CORRELATES WITH INVICTUS vOL. 2 MW: WEEKS 1-4)
The key to developing a closer connection with nature is deliberately enhancing your powers of observation and wonder. ~ John Muir Laws
DESCRIPTION
Students will partake in a simple crystal making activity before learning about what geology is, and why it is important. They will be introduced to James Hutton, the Founder of Modern Geology, and then go outside for a geology scavenger hunt. Once back inside, they will talk about, identify, and sketch some of their specimens and then check on their crystals to see if any can be observed.
MATERIALS
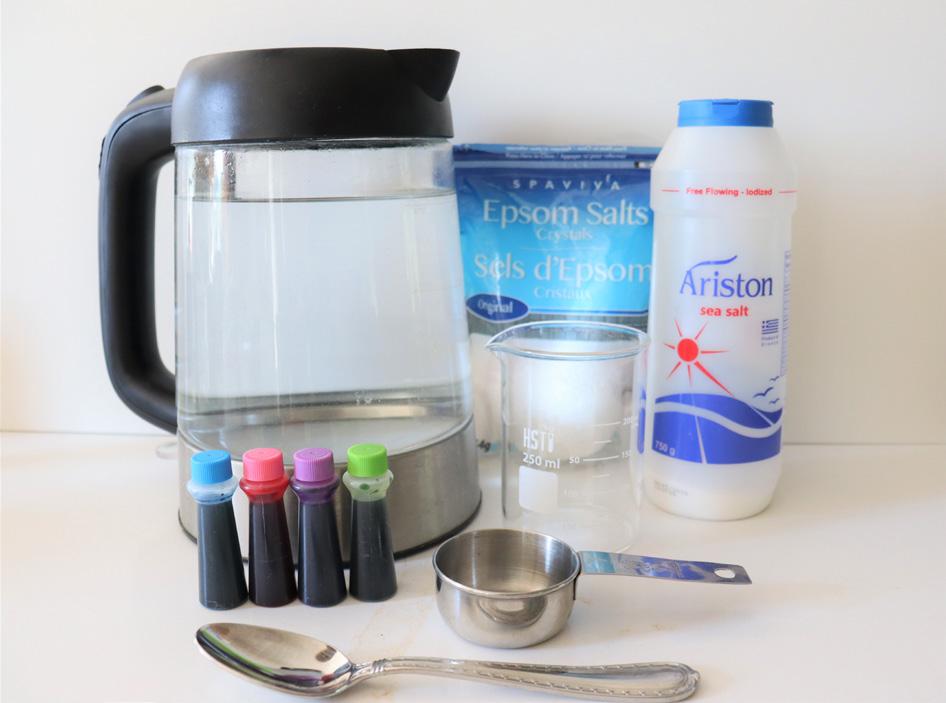
Part 1: Crystal Observation and Crystal Making Activity
• Epsom Salt (Magnesium sulfate)
• Table Salt (Sodium chloride)
• Food Coloring
• 250 ml beaker, or plain glass jar
• Measuring cup
• Magnifying glass
• Dark colored paper plates
• Hot water
• Stirring tool
Part 2: Geology Lesson
• Invictus Chart: Rock Composition (included)
• Granite rocks
Part 3: Scavenger Hunt
• Sharpie marker
• Bug box or ziploc bag
• Paper bag to collect specimens
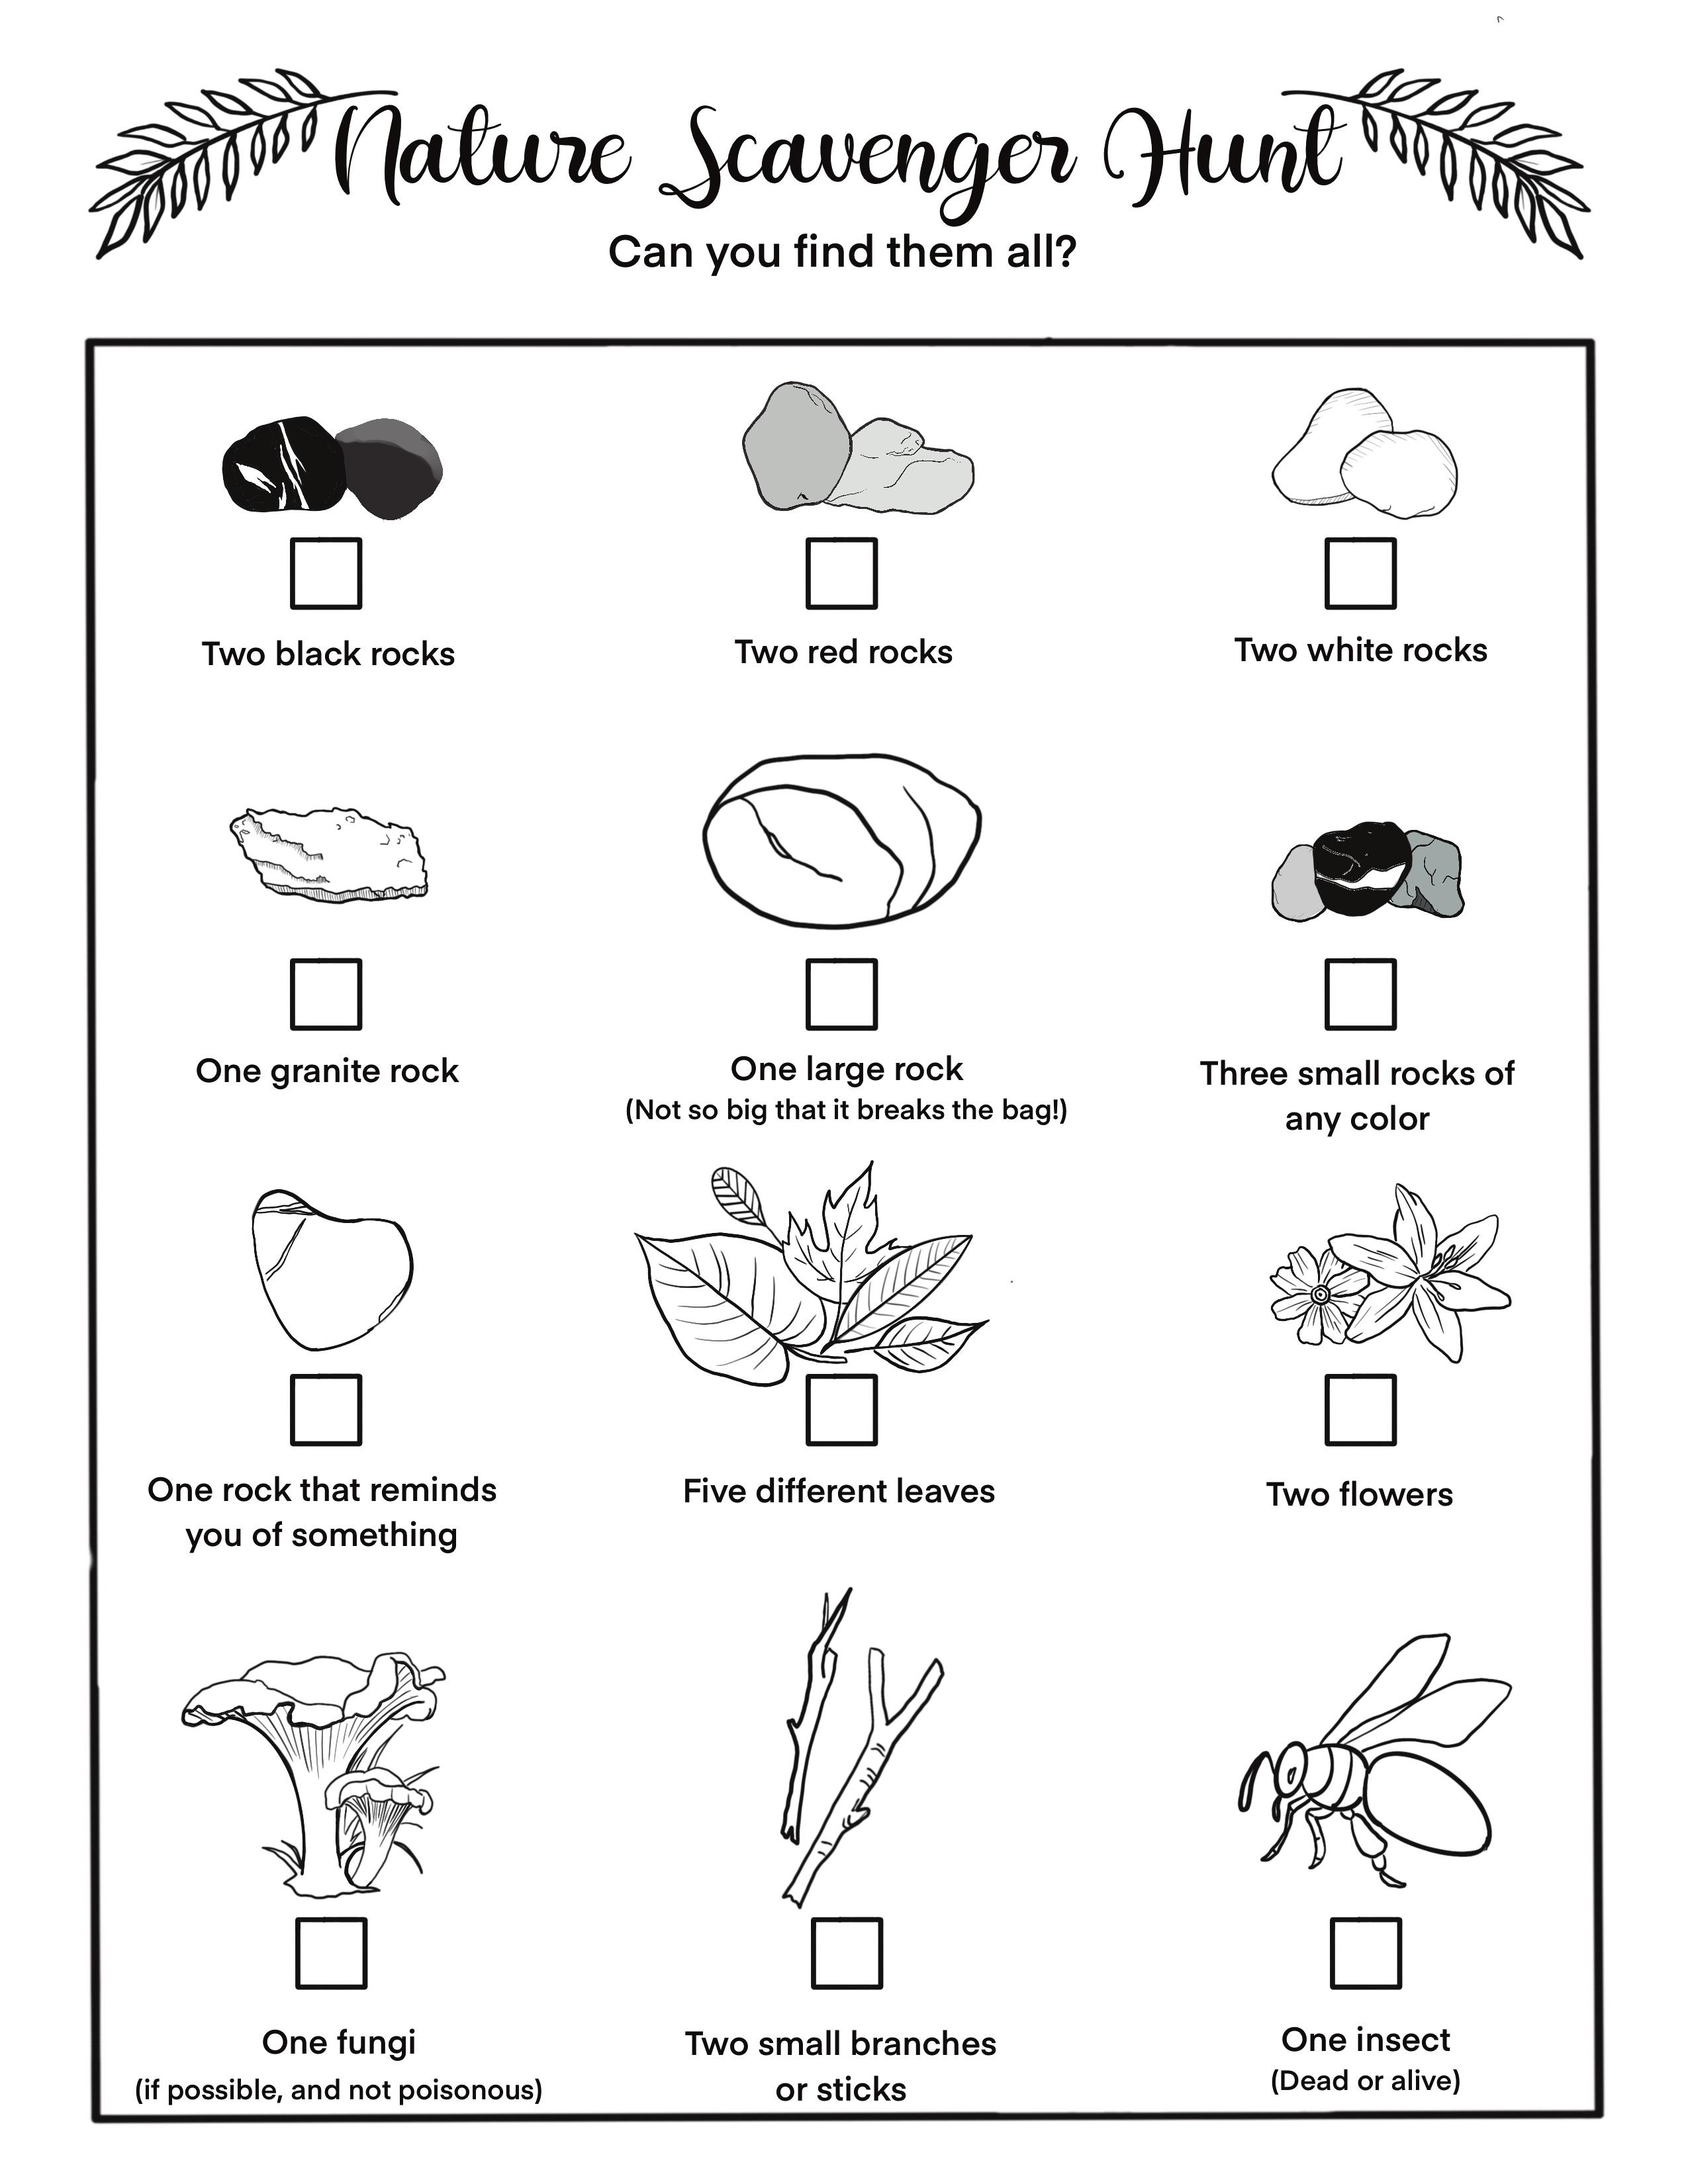
• Scavenger hunt list (included)
• Drawing pencils
• Nature Guides (Rocks, Flowers, Insects, Trees, Birds, etc.)
• Nature journal for each student or notebooking pages
* Every Invictus Science Guide comes complete with all charts and picture studies needed for the teacher to have a copy. Student packs are available as digital downloads or hardcopies shipped to you.
DIRECTIONS
PREPARE
1. Make your own crystals ahead of time to ensure familiarity with the procedure and to have a sample to show the students.
2. Gather enough sturdy paper bags (with handles) for each student in the class and label them with their names using the Sharpie.
3. Make a simple nature sketch of some items to show the students as an example to follow. Include the date, time, weather, and location, as well as any applicable scripture verse, quote, or poem to accompany it.
INSTRUCT
Tell the students that today they will be learning about the fascinating world of geology with a focus on crystals, as well as how to complete a nature sketch.
LET’S MAKE SOME CRYSTALS!
1. Ask the students if they know what a crystal is and if they have ever made their own crystals at home and listen to their responses. Explain that today’s lesson begins with a simple crystal making activity that is quick and easy to do, but that requires time before any results can be seen.
2. Take out the materials needed to complete the crystal growing activity and arrange them on the table. Ask the students to name each item as they are able, then name what’s left.
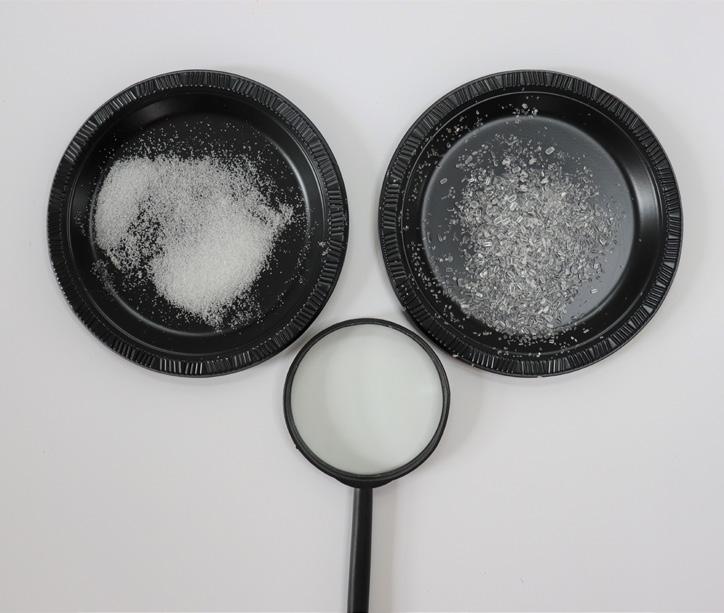
3. Give each student, or pair of students, a paper plate and a magnifying glass.
4. Draw a two-column chart on the white board and write Epsom Salt in the first column and Table Salt in the second.
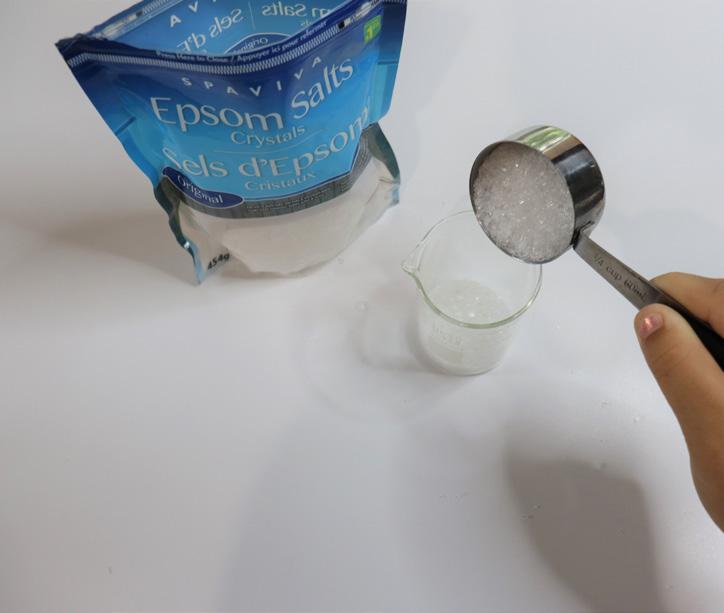
5. Pour a small amount of both salts onto the paper plate and have them observe each individually. You want them to use as many senses in the observation process as possible and then say: “Tell me what you see/hear/taste*/smell/feel about the Epsom salt.” Make sure they use the magnifying glass to look at both. Write down their responses on the chart then do the same for Table Salt. Ask them to tell you how they are the same and how they are different.
6. When observation time is over, explain that they will be using the Epsom salt to create crystals in a jar.
7. Measure Epsom salt first and then hot water (as hot as possible!) in a 1:1 ratio and pour it into the glass jar.
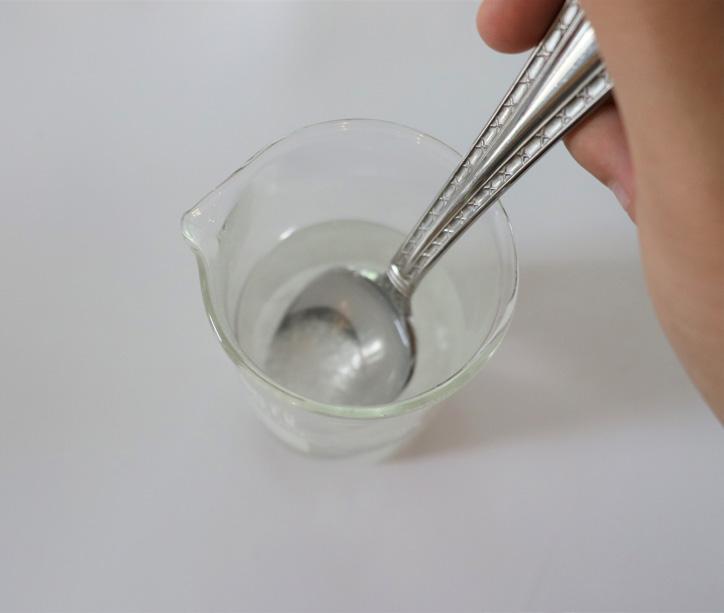
8. Stir the saturated solution for a minute, or until no more salt will dissolve.
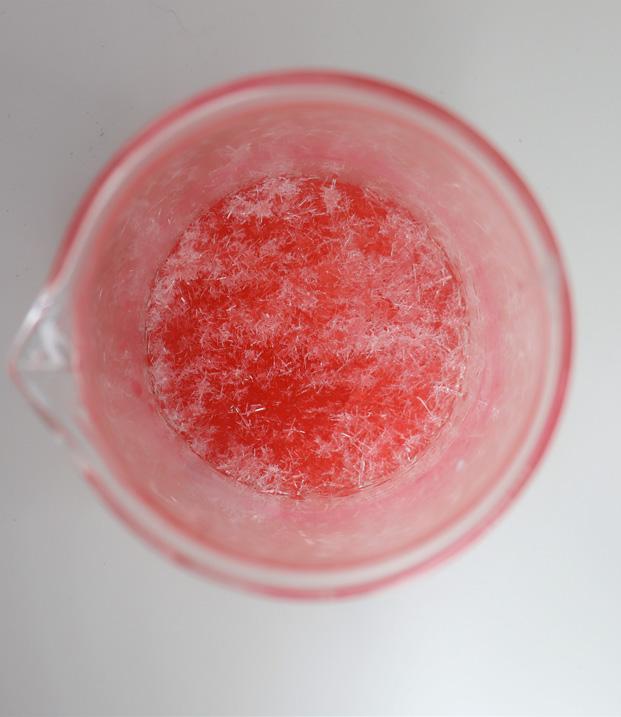
9. Add a few drops of food coloring (darker colors are better) into the solution and stir until evenly distributed.
10. Place the jar in the coldest part of the refrigerator and let it sit for a couple of hours while you learn about geology and go on a nature walk.
11. When ready, pour out the solution and observe the beautiful crystals!
12. If desired, have the students draw the materials used in their nature journal, or on a notebooking page.
“One of the greatest skills that we can help our science students develop is observing and describing similarities and differences between or among objects and organisms.”
~ Scott Mittwede
EXPLAIN
Fun Fact!
The word Epsom is always capitalized because it’s the name of the town in Surrey, England where the salt was originally mined.
Depending on time restraints and age of students, you may wish to explain what happened to the Epsom Salt in the jar. Epsom Salt is the common name for a naturally occurring mineral called magnesium sulfate, which is made up of the chemical elements magnesium, sulfur, and oxygen. When added to water it dissolves. The temperature of the water determines how much magnesium sulfate can be held in solution. The hotter the water, the greater the amount that can be dissolved. When the solution is rapidly cooled, crystal growth is encouraged because there is less room for the salt in the colder, denser solution. Minerals, which are naturally occurring, non-living, crystalline solids, are made of atoms that form crystal structures according to their chemical composition. As the solution cools, the magnesium sulfate atoms join together to form the crystals you see in the jar.
* Be careful when instructing the students to taste something! Only do this if you know for sure that there are no allergies in the class and that the substances are not harmful. Magnesium sulfate can be toxic to the body, but a small dab on the tongue from a damp finger tip will not harm anyone.
WHAT IS GEOLOGY?
Now that the crystals are quietly growing, it’s time to talk about geology!
1. Erase the white board and write GEOLOGY in large letters. Ask the students to read it aloud, or if you have non-readers, say it aloud to them as you point to the syllables and have them repeat it back.
2. Ask them if anyone knows what geology is and listen to their responses. Write them down on the board if desired, then explain that Geology comes from two Greek words gē (earth) + logia (study of). Write that underneath, or beside, the word GEOLOGY on the white board and explain that Geology is the study of planet Earth’s physical structure and substance, its history, and the processes that act upon it. If the students are using the Invictus Vol. 2 Memory Guide, this will be a review of the science fact from Week 1. Take a moment to sing or chant the fact together.
3. Ask the students if they know, or remember, what the four solid layers of the earth are. (Inner Core, Outer Core, Mantle, and Crust - Invictus Vol. 2, Week 2), then ask them what they think the crust is made up of. The answer is ROCKS! Ask them if they know/remember what a rock is and what the three kinds of rocks are (Invictus Vol. 2, Week 3).
4. Explain that the most abundant rocks in the crust are igneous rocks, which are formed when magma cools. The two most common igneous rocks are granite and basalt, both of which are composed of different minerals with their own crystalline shape, which are in turn composed of different chemical elements. Show the students the Rock Composition Chart as a visual and then pass around the granite rocks so the students can observe the different minerals in them. See if they can identify the quartz, mica, and feldspar and have them say the names a couple of times.
5. Review the above information by asking them to narrate what they have learned so far this lesson, then move on to a quick introduction to James Hutton, the Founder of Modern Geology. Choose the facts you will share about him from the following brief biography.
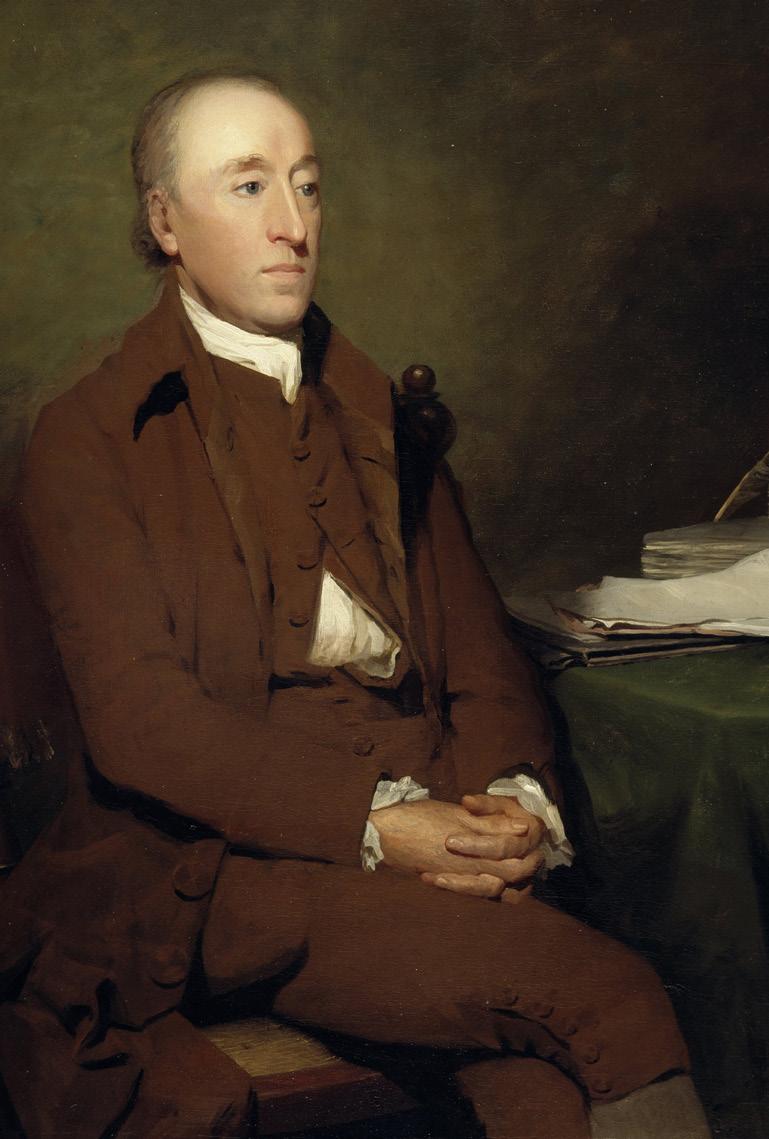
WHO WAS JAMES HUTTON?
James Hutton, who lived from 1726-1797, was a well educated Scottish chemist, geologist, meteorologist, and medical doctor. After a varied and interesting young adult life, he inherited and became the chief caretaker of two family farms, which he worked for numerous years. As a keen observer of the natural world around him, he became particularly interested in how the fertile farmland was able to bear up under the constant ravages of harsh weather and heavy winds. His questioning mind started him down the geological road and eventually led to his move to Edinburgh in 1768 where he began to study geology in earnest.
Fun Fact!
Mount Hutton, in California’s Sierra Nevada Mountain Range, is named in honor of James Hutton
After years of observation and data collection, Hutton developed the Theory of Uniformitarianism, which argues that the features of the earth’s crust are the result of continuous natural processes taking place over vast periods of time. His book, Theory of the Earth; or an Investigation of the Laws Observable in the Composition, Dissolution, and Restoration of Land upon the Globe was published in 1788. His ideas challenged the Theory of Catastrophism, which argues that the features of the earth’s crust are the result of sudden, rapid, and violent events both locally and globally, and put him in direct opposition to the established church doctrine of a young earth. He ended his book with the now famous (among geologists!) line: “The result, therefore, of our present enquiry (sic) is, that we find no vestige of a beginning, – no prospect of an end.” In other words, for Hutton, there was no moment of creation when God said “Let there be light.” and there will be no final ending that will usher in eternity.
James Hutton
“A rock or stone is not a subject that, of
when he comes to see the
itself,
may
interest a philosopher to study; but,
necessity of those hard bodies, in the constitution of this earth, or for the permanency of the land on which we dwell, and when he finds that there are means wisely provided for the renovation of this necessary decaying part, as well as that of every other, he then, with pleasure, contemplates this manifestation of design, and thus connects the mineral system of this earth with that by which the heavenly bodies are made to move perpetually in their orbits.”
JamesHutton(1795).
“
Theory of the Earth: With Proofs and Illustrations
”
Hutton’s theories became the foundation of modern geology and heavily influenced later scientists like Charles Darwin and Sir Charles Lyell, both of whom went on to publish scientific works that expounded upon uniformitarianism, natural selection, and evolution.
A SIDE NOTE
The Invictus team believes that it is important to teach both sides of the creation/evolution and young/ old earth debate to our children, and learn about the scientists who were/are proponents of each view. We know and love Christians on both sides of the issue and try, as a curriculum company, to acknowledge and represent each view fairly. We encourage you to dig as deeply as you desire into the subject with your children.
That being said, please know that we believe, without apology, that the universe was created by the Triune God of the Judeo-Christian Bible, who loves us and sent His Son, Jesus Christ, fully God and fully man, to Earth to save us from our sins by dying a sacrificial death on the cross. Through belief in His life, death, and resurrection, we are granted forgiveness of our sins, access to the throne of grace, and relationship with Him both in our earthly existence, and in the life to come.
Hutton’s theories became the foundation of modern geology and heavily influenced later scientists like Charles Darwin and Sir Charles Lyell, both of whom went on to publish scientific works that expounded upon uniformitarianism, natural selection, and evolution.
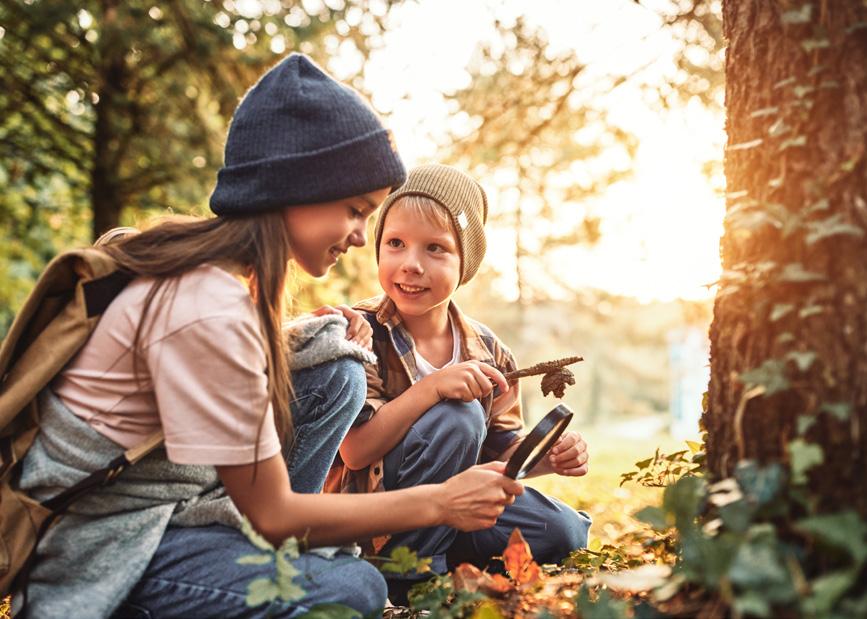
1. Once you are finished with the teaching time, go over the community rules for outside time with your class. You should familiarize yourself with the poisonous/venomous flora and fauna in your geographic area before taking the students out. In fact, it’s a good idea to show your students pictures of the things they should not touch including poison ivy/oak, berries, mushrooms, snakes, spiders, etc., so they can be on the lookout for them. If you do happen upon anything questionable, bring your students’ attention to it and continue on. The general rule of thumb is that if you don’t know if something is poisonous/venomous, leave it alone.
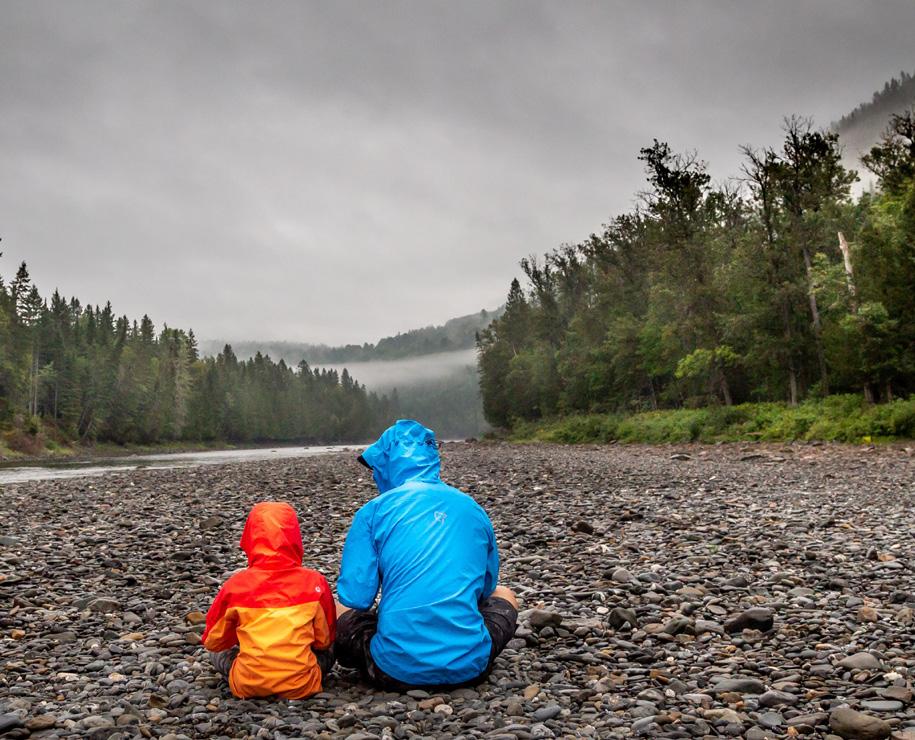
2. After the rules are clear, explain to them that they are going on a “Geology Scavenger Hunt,” to search for rocks of various sizes, shapes, and colors, as well as other interesting nature specimens that catch their eye. Non readers can be given verbal instructions concerning what to collect as the walk proceeds, but readers can be given the scavenger hunt checklist to guide them in their search. Hand out the paper bags to each student and head out.
3. When you are outside, but before you start the walk, ask the students to notice and describe the weather so they can note it in their nature journal. Bring their attention to the sky and the clouds. Have them close their eyes and listen quietly for one minute and then tell you what they heard. Have them look around without talking for one minute and then tell you what they see. Have them breathe deeply through their nose and tell you what they smell.
Renowned naturalist John Muir Laws states that “The key to developing a closer connection with nature is deliberately enhancing your powers of observation and wonder.” We need to teach our children how to notice, remember, and be actively curious, and this can begin with a moment of quiet and deliberate sense engagement before letting the students wander.
OBSERVE & SKETCH
1. When you are back in class, have the students carefully take out their specimens and organize them on the table in front of them. Instruct them to organize their specimens according to similarities and see what they come up with. Hopefully they (mostly!) group the rocks together, the leaves together, the sticks together, etc. If they were able to find some insects - alive or dead! - put them in a safe container where they can’t escape.
2. Take a minute to talk about what they found. Ask them to use their senses (probably not taste!) and then describe a few of their items. Ask them why they chose the specimen(s) they did and listen to their responses.
3. Now focus on the rocks they were able to find. If you have a rocks and minerals field guide with you, try to identify a few kinds.
“A nature journal is a lens that focuses our attention and crystalizes our observations, thoughts, and experiences.”
~ John Muir Laws
4. Take out your nature journal sample page and explain to the students that keeping a nature journal is an age-old method that humans use to connect with the world around them. John Muir Laws says that “A nature journal is a lens that focuses our attention and crystalizes our observations, thoughts, and experiences.”
5. Pass out drawing tools and have the students sketch at least one of their rocks, and if time permits, a few other specimens. Label them with their names in both English and Latin (if possible), record the date, the weather, the location, and any other pertinent information.
6. Nature journal entries can range from super simple to super complex, so do not stress about it. Let the students have fun, but remind them to draw as carefully and beautifully as their age and ability permits.
1Laws, John Muir. Nature Stewardship through Science, Education, and Art. 2021, johnmuirlaws.com. Accessed 29 Dec. 2021.
CHECK AND SKETCH
Hopefully enough time has gone by that the crystals have had time to form in the fridge. Bring the jar out, carefully pour the remaining solution down the drain, and observe the crystal shape of magnesium sulfate!
If desired, have the students draw the crystals they observe in their nature journal or on a notebooking page.
NARRATE
Narration throughout, and at the end of the lesson time, is an important way for the students to internalize what they have learned, and for you to assess what was most important to them, so try to remember to include it. An easy way to accomplish this is to simply ask them to tell you about what they learned and then listen attentively. Praise their efforts and move on.
EXTEND AND INTEGRATE
1. Older students may enjoy experimenting to find out how water temperature affects crystal growth. Use the same materials and procedure as in the activity, but increase the number of jars to four. Use ice cold water in the first jar (take the ice out before mixing), cool water in the second, warm in the third, and boiling in the fourth. Take the temperature of the water in each jar and record in a chart.
Check the jars every hour and observe and record crystal growth. Analyze the results when finished and make applications.
2. There are many crystal making activities that can be done at home. Try growing large crystal gems using alum, make some rock candy crystal you can eat, or make borax crystal ornaments to hang in your window or on your Christmas tree! There are also many crystal growing kits available online or at a department store near you.
3. Look up some biblical passages that speak to geological subjects and God’s hand in the creation of the world. Psalm 24 and Isaiah 40 are great passages to start with.
4. Head to the library and borrow some books on geology, rocks, and minerals and gems. There will be lots of opportunities to refer to them in the next five lessons.
5. If you are using the Invictus Vol. 2 Memory Guide, you will notice that the history prompt for Week 7 is about the Golden Age of China. The Chinese are famous for their use of jade, which is a mineral whose crystal form is used in jewelry and ornaments. You can expand on this history prompt, as well as others, by looking for and researching about the rocks, minerals, and crystals the people you are learning about valued.
6. Look up the Jade Sculpture of the Nine Elders of Huichang (front and back) online. Study it on your screen, or print out and post a copy of it at your child’s eye level, and have him tell you what he sees. See if he can find all nine elders!