


Treasure Chest with a Digital Lock
Challenge
You and your team have some goodies to hide from peeping eyes. You want to only allow your team members to get to them! To protect your secrets, you’ll build a a Treasure Chest that only you and they can open. This calls for a digital lock and a code that you will create to open the chest that only you and team members know. Also, you must be able to lock and unlock the Treasure Chest. When the lock is opened, have a surprise happen, like a sound playing, lights flashing, or both! . A shoe box or any box with a lid, can serve as your Treasure Chest.
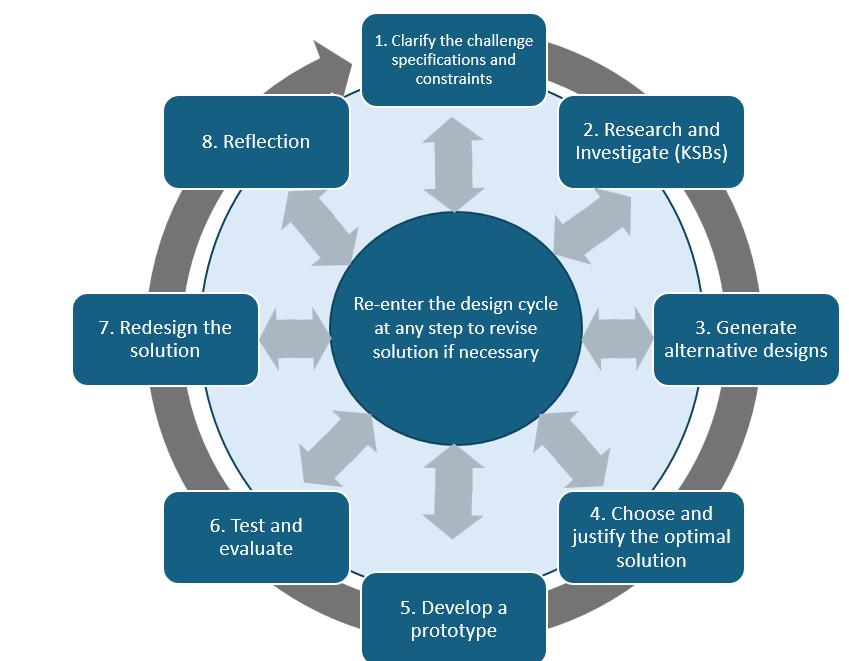
Treasure Chest, Page 1
Specifications (What the design has to do)
Constraints (things that limit your solution)
Materials
Shoebox
Glue Gun
Duct Tape
Hummingbird micro:bit
Hummingbird rotation servo
Scissors or box cutter
Hummingbird output devices for the surprise
Assessment
Treasure Chest, Page 2
Criteria 1 – Beginning 2 – Developing 3 – Proficient Alternative Designs
One design presented with little or no explanation.
Digital Lock Code
Code uses three or fewer button inputs, no added features.
Two designs shown. For example: Design A uses a pipe cleaner latch; Design B uses a string. A short sentence explains which one was chosen.
Code uses four or more inputs. Example: ABAB sequence unlocks the latch reliably.
Three or more designs are shown with clear reasoning. For example: ‘We chose Design C because it used fewer materials and worked more smoothly than A or B.’
Code uses four or more inputs and triggers a surprise (e.g., LED flash or sound). Example: Code ABAB plays a sound when unlocked.
Digital Lock Latch Latch only works with help (e.g., pushing it by hand).
Final Design
Test and Evaluation
Includes a picture of the final build and code only.
Latch opens automatically with the servo. Example: Pressing the code moves the dowel to release the lid.
Includes picture and one sentence.
Example: ‘The servo lifts the dowel so the lid can open.’
Latch both locks and unlocks automatically. Example: Pressing the code rotates the dowel to lock and another sequence unlocks it.
Includes picture, explanation, and one improvement made. Example: ‘We changed the angle of the servo arm to make the latch open more easily.’
Tested once with no explanation.
Tested a few times with summary.
Example: ‘It worked after three tries, but the servo sometimes stuck.’
Tested repeatedly and fully explained. Example: ‘We tested 10 times. It failed twice when the dowel got stuck, so we adjusted the angle.’
Reflection
Mentions little or no learning from the project.
Identifies two learning points. Example: ‘We learned how servo motors work and how to write simple button code.’
Detailed and thoughtful. Example: ‘We learned how to translate rotational to linear motion and how to debug our code using the test feature.’
Knowledge and Skill Builders
KSB 1 Constructing a Treasure Chest
There are many ways to construct a treasure chest. One choice is to use a shoe box as the chest and find a way to lock it. You won’t be using a padlock, but rather, you will enter a digital code that opens the treasure chest.
You will need a hinge for the top. One easy way to make a hinge is to use duct tape. In the picture below, part of the top has been cut so duct tape can be applied and then taped to the back of the box.
Treasure Chest, Page 4
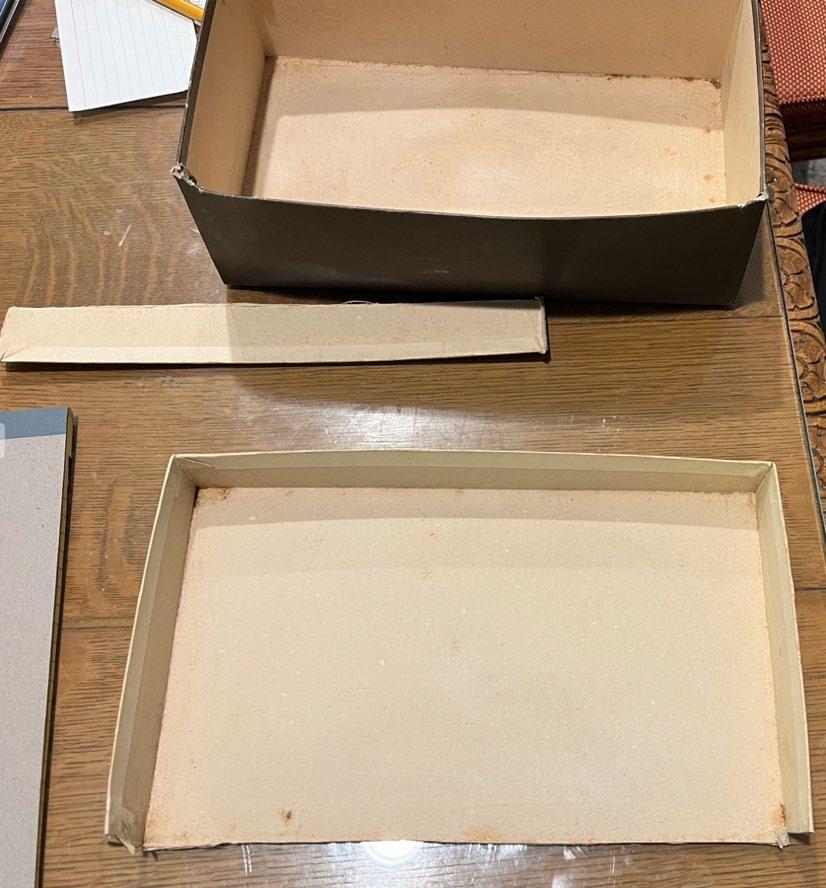
Treasure Chest, Page 5
The material from the top of the box can be used to make a hasp. A hasp is the part that swings over a latch to hold something shut like the flap you see on a treasure chest or toolbox that you could put a lock through.

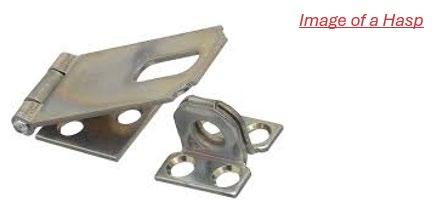
Next, you will need to create a latch; a pipe cleaner is one choice. You will need some flexibility in the hasp.

Treasure Chest, Page 6
KSB 2 Position Servo

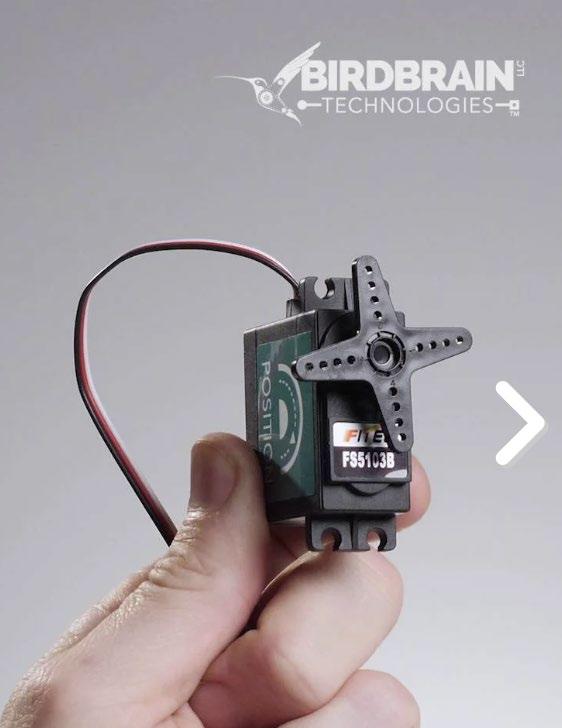
The position servo rotates an arm based on the code that you provide. It could rotate a dowel, which can be used as the locking device.
Here is information from BirdBrain Technologies on how the position servo functions.
https://learn.birdbraintechnologies.com/hummingbirdbit/snap/program/9-1
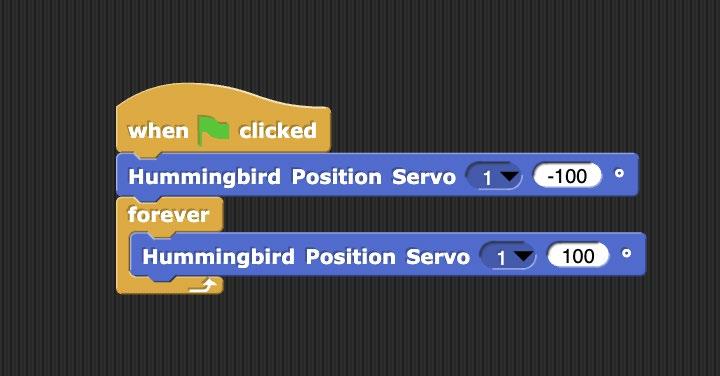
Take a photo of the code you wrote to rotate the servo arm from -100 degrees to +100 degrees in the counterclockwise direction, and paste it below. (Submit via Google form)
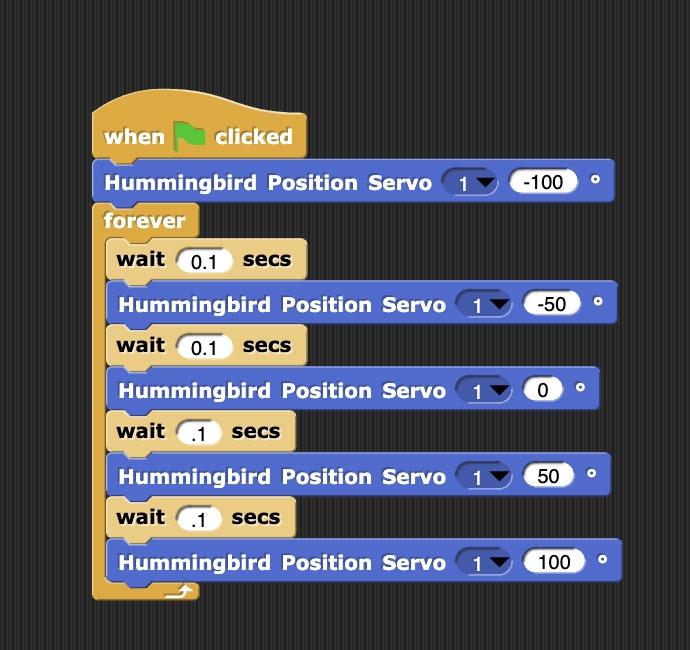

Refer to Figure 3 and imagine that a dowel is used in place of the straw. How could you move the dowel to unlatch the treasure chest? Can you design a way to connect the position servo to the dowel? Where would you locate the position servo?
Since the servo arm rotates in an arc, the connection between the arm and the latch it is connected to needs to be flexible to allow smooth movement. One possible solution is indicated in Figures 7 and 8.

Treasure Chest, Page 8

8
KSB 4 Micro:bit Buttons

The micro:bit has two buttons on it, A and B (see Figure 9). These can be used as inputs to the Hummingbird controller.
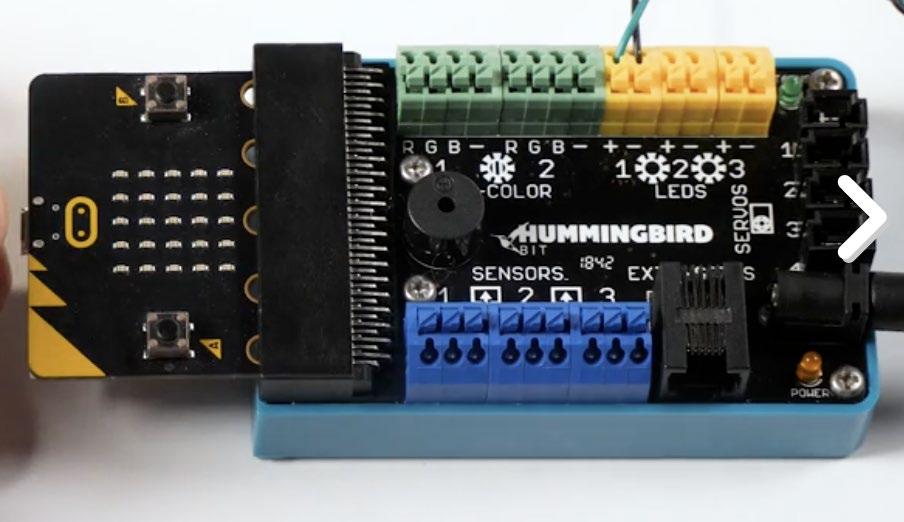
Figure 9 The A and B buttons are located on the micro:bit
Figure 10 illustrates an example of Snap! code that uses the Micro:bit Button A to turn on an LED.
Treasure Chest, Page 9
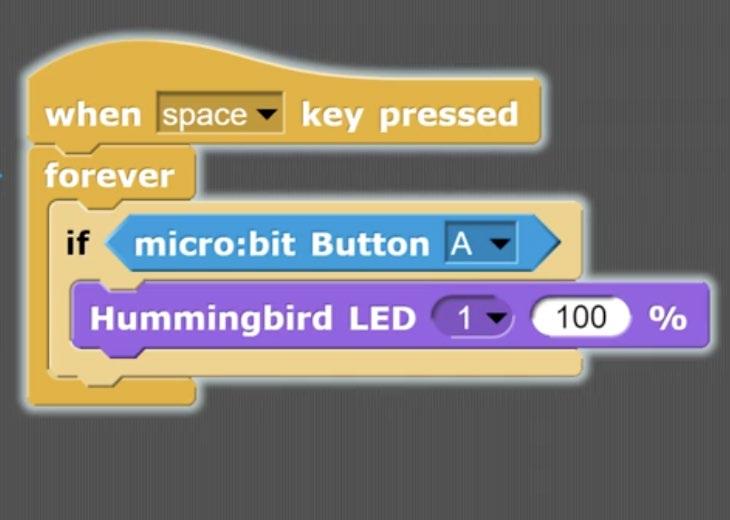
Figure 10 Code using micro:bit Button A to light an LED
KSB 5 Micro:bit Code for Digital Input
You can program the A and B buttons on the micro:bit to act as a code, for example, ABA. When the person wanting to open the Treasure Chest presses this sequence, the dowel will rotate and the box can be opened. Here are the programming elements you will need to use (see Figure 11).

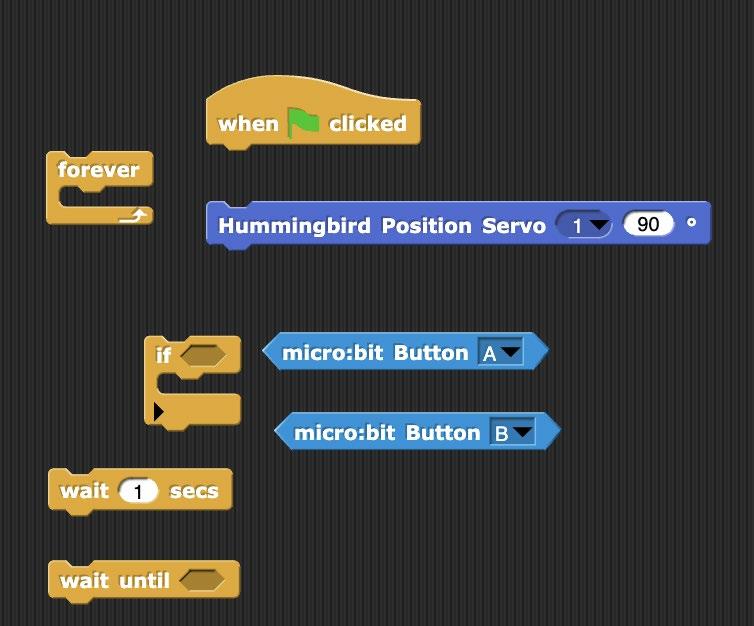
11. Programming Elements for Treasure Chest Code
Since you’ve experimented with the servo, you already know where you want the arm to be. When the green flag is clicked, the servo should move to the position where the dowel is in the hasp and the Treasure Chest is locked. When creating a code, the more complicated it is, the
Treasure Chest, Page 10
harder it is to hack. For instance, a simple two-button code like AB has only four possible combinations ( AB, BA, AA, BB). The number of possible combinations is 2 raised to the power of combination. With two buttons and two presses, there are 22 or four combinations. If you make the code ABA, the number of different possible combinations would 23 or eight possibilities.
Let’s say you want the code to be ABA. So micro:bit button A is pushed, then B is pushed, than A is pushed again, and the servo rotates opening the Treasure Chest. After the first two inputs AB, there needs to be a slight time delay for the next input to be registered.
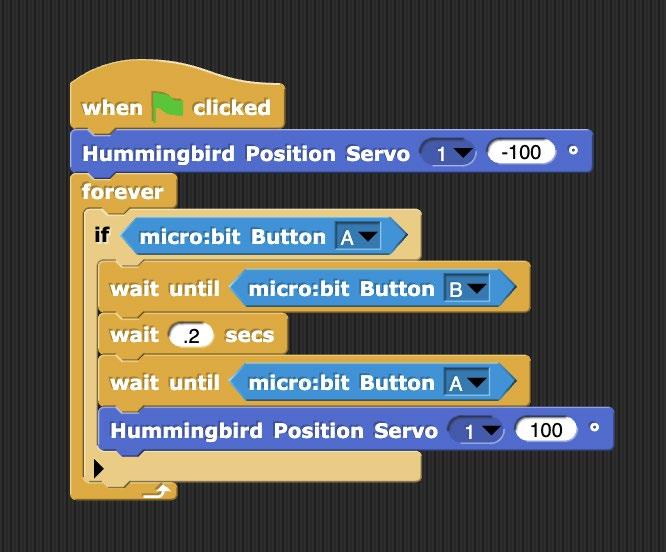
Alternative Treasure Chest Designs

Make a few sketches and include brief explanations of how several different designs would work. How do you want the latch to open? What do you want the surprise to be? How complex do you want the code to be?
Treasure Chest, Page 11
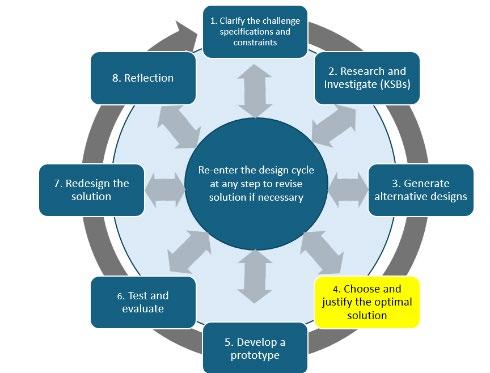
Optimum Treasure Chest—Part 1—The Structure
Which alternative design did you like best? This is the optimal design. Why do you think so? Please explain.
Optimum Treasure Chest—Part 2—The Code
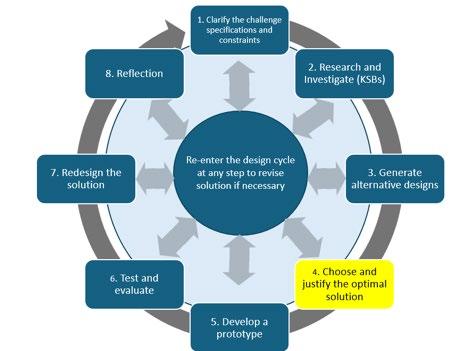
Now you need to put everything together and create a code, that when entered, will rotate the servo and open the Treasure Chest. Often, as you write and test code, you need to make changes. Take a photo of your initial code solution and paste here.
Now take a photo of your final code and paste it here.
Treasure Chest, Page 12
Develop Your Prototype
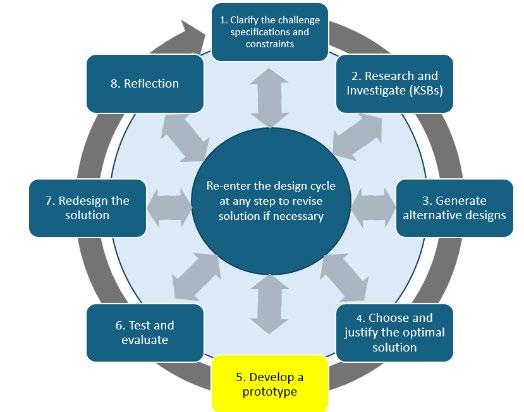
Now it is time to build your complete Treasure Chest, including the code, the servo, and the locking mechanism. Take a photo of your final design and paste it below.
Test and Evaluate
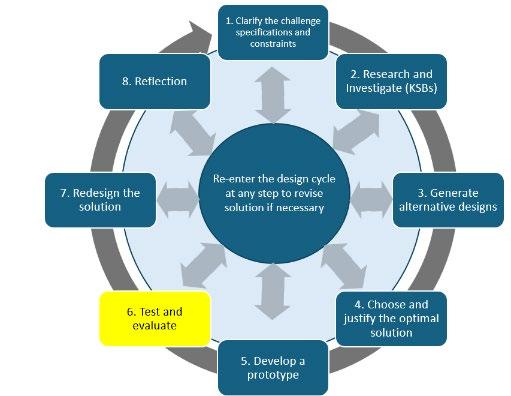
Did your solution work as intended and meet the design specifications? Briefly explain why it did or did not. Describe how you tested the design. Include a photo of your final code.
Treasure Chest, Page 13
Redesign Ideas
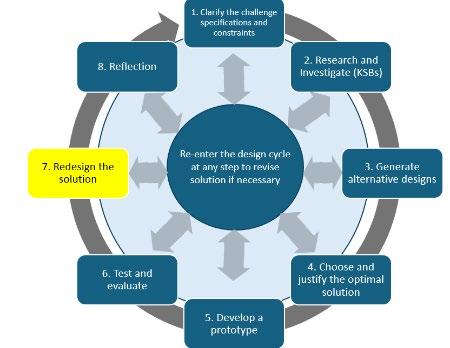
Engineers always seek to make devices more efficient, reliable, and effective. What are your ideas about how to improve your design?
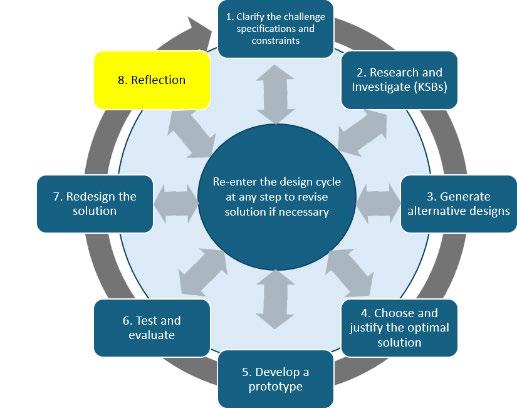
What did you learn? The servo arm moves in a rotary motion, yet the dowel needs to move horizontally, or nearly so, to open the latch. What surprise feature did you include when the Treasure Chest successfully opened?
Treasure Chest, Page 14
Self Assessment relative to design and engineering
Criteria 1 – Beginning 2 – Developing 3 – Proficient Alternative Designs
One design presented with little or no explanation.
Digital Lock Code Code uses three or fewer button inputs, no added features.
Two designs shown. For example: Design A uses a pipe cleaner latch; Design B uses a string. A short sentence explains which one was chosen.
Code uses four or more inputs.
Example: ABAB sequence unlocks the latch reliably.
Three or more designs are shown with clear reasoning. For example: ‘We chose Design C because it used fewer materials and worked more smoothly than A or B.’
Code uses four or more inputs and triggers a surprise (e.g., LED flash or sound). Example: Code ABAB plays a sound when unlocked.
Digital Lock Latch Latch only works with help (e.g., pushing it by hand).
Final Design
Test and Evaluation
Includes a picture of the final build and code only.
Latch opens automatically with the servo. Example: Pressing the code moves the dowel to release the lid.
Includes picture and one sentence.
Example: ‘The servo lifts the dowel so the lid can open.’
Latch both locks and unlocks automatically Example: Pressing the code rotates the dowel to lock and another sequence unlocks it.
Includes picture, explanation, and one improvement made. Example: ‘We changed the angle of the servo arm to make the latch open more easily.’
Tested once with no explanation.
Tested a few times with summary. Example: ‘It worked after three tries, but the servo sometimes stuck.’
Tested repeatedly and fully explained. Example: ‘We tested 10 times. It failed twice when the dowel got stuck, so we adjusted the angle.’
Treasure Chest, Page 16
Reflection Mentions little or no learning from the project.
Identifies two learning points. Example: ‘We learned how servo motors work and how to write simple button code.’
Detailed and thoughtful. Example: ‘We learned how to translate rotational to linear motion and how to debug our code using the test feature.’
Treasure Chest, Page 17
Additional Teacher Info
Here is a possible design solution that ‘Eli’ used.

5. Eli’s Treasure Chest with dowel lock.
There needs to be flexibility between the servo arm and the dowel to ensure smooth movement. Experiment with the servo arm’s rotation. Have the arm move slowly and examine the path the tip of the arm follows.
What did you find out?
___________________-
Eli used a short piece of string, hot gluing one end to the servo arm and the other end to the dowel. When the correct code is entered, the servo rotates, pulling the string and moving the dowel to unlock the Treasure Chest.
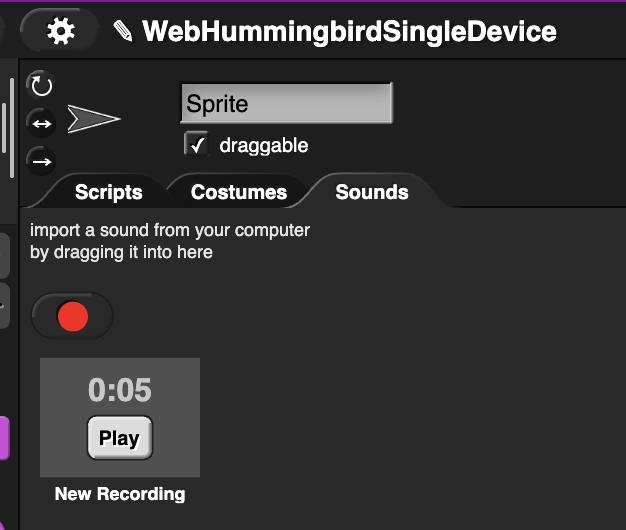
Here is an example of code that includes a surprise. In this case a sound recording (oh, no you opened the treasure chest) was done an app on the computer and was imported into the Sound tab on Snap!
Treasure Chest, Page 18

Treasure Chest, Page 19
