
1 minute read
Cooling system Cooling system Cooling system Cooling system Cooling

Adding Coolant to the System Adding Coolant to the System Adding Coolant to the System Adding Coolant to the System
Always ensure that the cooling system is free from any leakage. The coolant level shall be checked at the recovery bottle (C) if there is no coolant leakage in the cooling system. Top-up coolant in the recovery bottle as per level indicator marks on the recovery bottle.
Advertisement
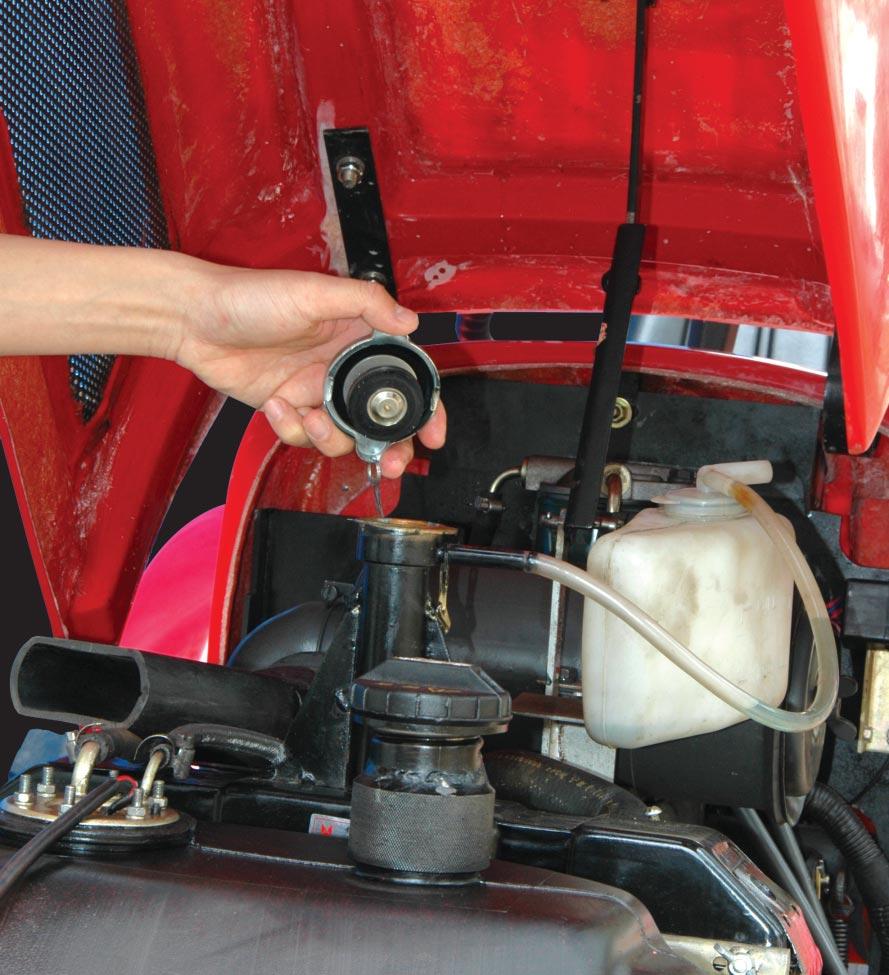
It is however essential to check the coolant level in Radiator if coolant leakage is observed from any point in the cooling system. To check coolant level in radiator, proceed as follows :
1. Allow the engine to cool and open the hood.
2. Remove the radiator cap (A).
3. Top-up coolant in the radiator from fill neck (B) with clean coolant.
4. Start the engine and let it idle for some time to remove the engine air from the system. Coolant level in radiator will reduce.
5. Slowly pour coolant into the radiator till the coolant level in the radiator does not go down further.
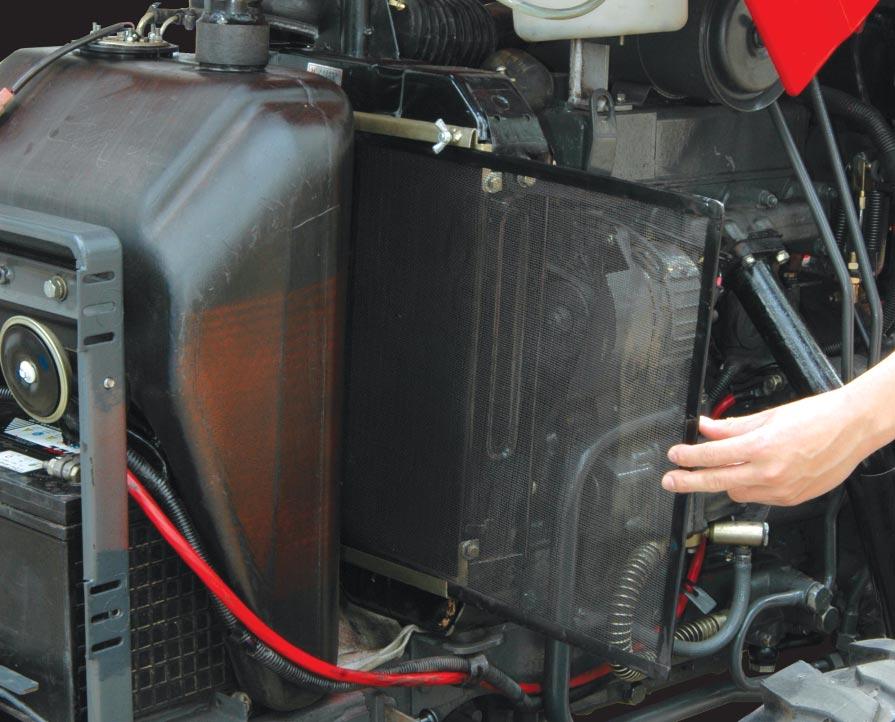
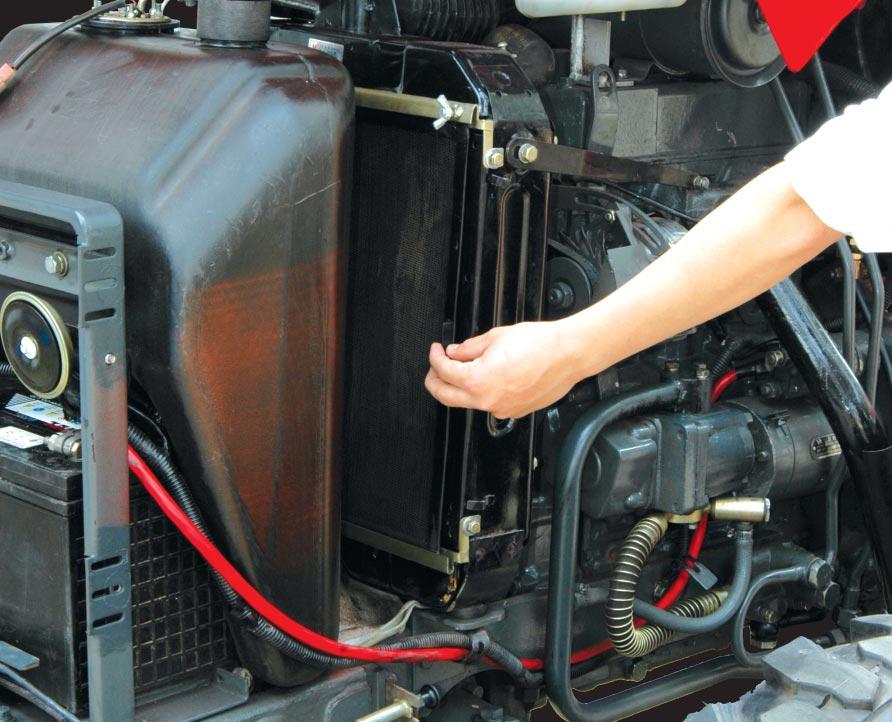
Trash Guard Trash Trash Guard Trash
The trash guard is made up of wiremesh and protects the radiator fins from coarse trash. Clean the trash guard periodically to prolong interval between two radiator cleanings. To remove the thrash guard, simply loosen the locking nuts (A) and pull out the trash guard (B) from its guide strips.
Adjusting The Valve Clearance The Valve Clearance The Valve
After the first 1000 hrs. the cylinder head bolts should be retightened to a torque as recommended. The bolt in the center should be tightened first and then work outwards. Check the valve clearance as given in specifications. Following this a further check should be made after every 1000 hrs.
1. Remove the valve housing cover.
2. Turn the engine until the No. 1 cylinder is at the top dead center of the compression stroke.
3. Loosen the locknut and adjust the screw in each valve lever so that the feeler gauge slips snugly between the ends of the valve lever and the valve stem.


4. Tighten the locknut and re-check the clearance.
5. Turn the crankshaft of engine in order to bring the TDC position of subsequent cylinder number as per firing order (1-2-3). Now adjust the valve clearance as explained earlier. Repeat the process until clearance for each set of valves is adjusted.
Refit the valve housing cover and ensure that the valve housing gasket makes an oil tight seal with the cylinder head. Use a new gasket, if necessary.
