1 minute read
REPAIR AND ADJUSTMENT PROCEDURES


Terminal Replacement
To replace a terminal, use the following procedure:
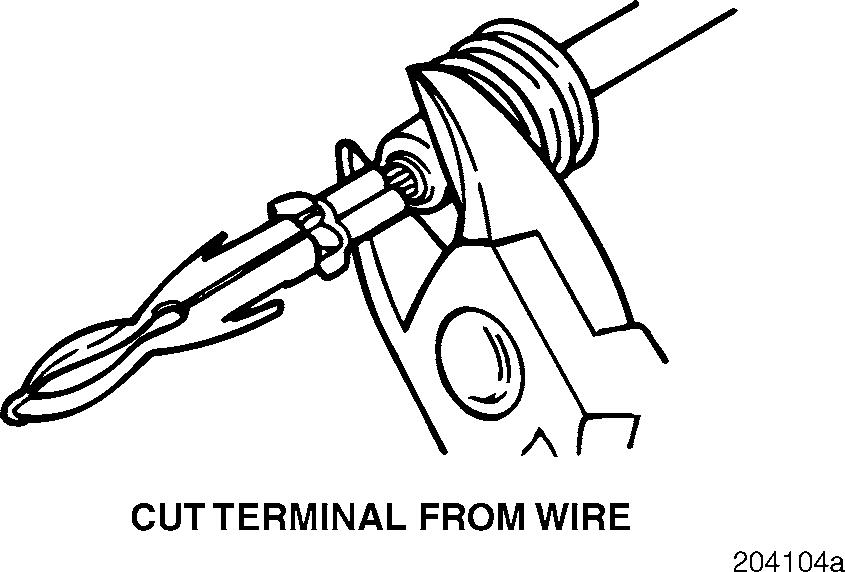
1.Remove the damaged terminal from the wire, cutting as close as possible to the terminal end of the wire. If the wire has a rubber seal, remove it.

Using
1.Squeeze the handles together until the ratchet automatically opens.
2.Hold the tool so the gauge numbers are facing you.
3.Strip
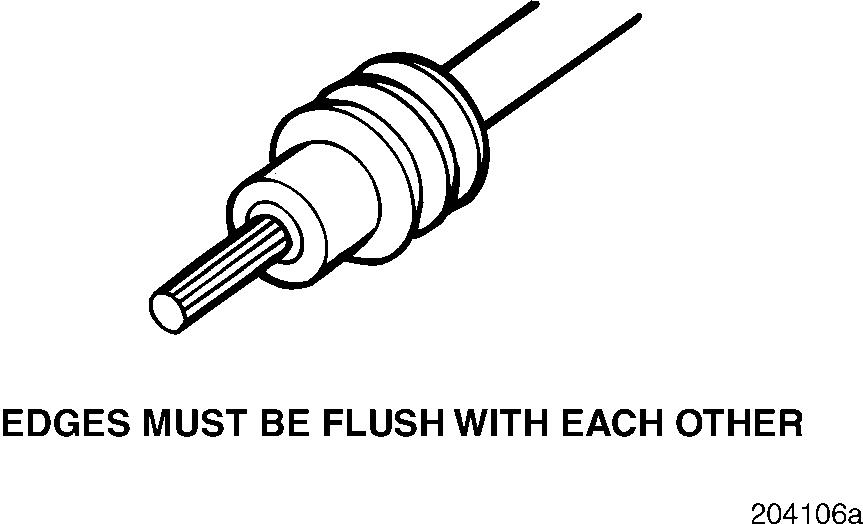
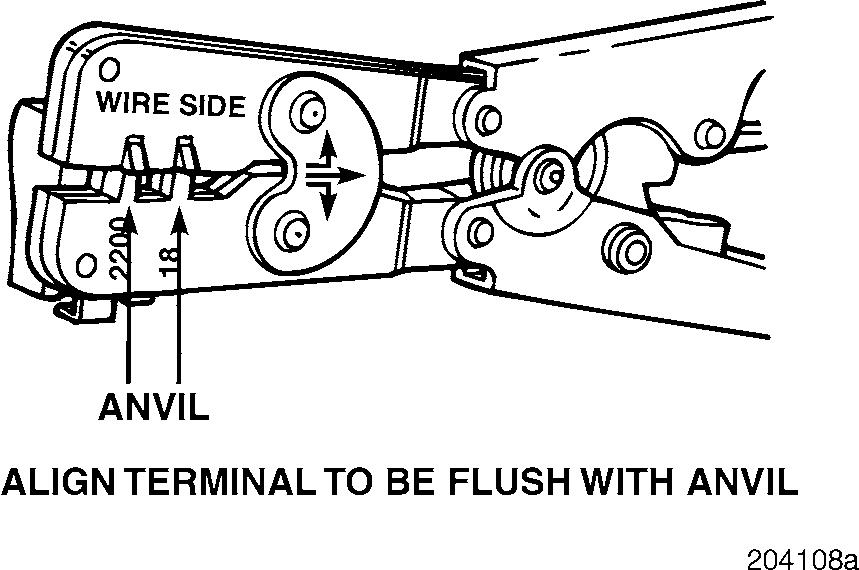
3.Insert the terminal into the terminal holder until the insulation wings are flush with the anvil on the crimp tool. Be sure that the terminal core wings and insulation wings are pointing toward the smooth concave side, opposite the anvil of the crimping jaws.
Page 225

Repair And Adjustment Procedures
5.Cradle one handle of the crimper on a workbench so that the tool can be operated with just one hand. The anvil should be on the bottom when crimping.
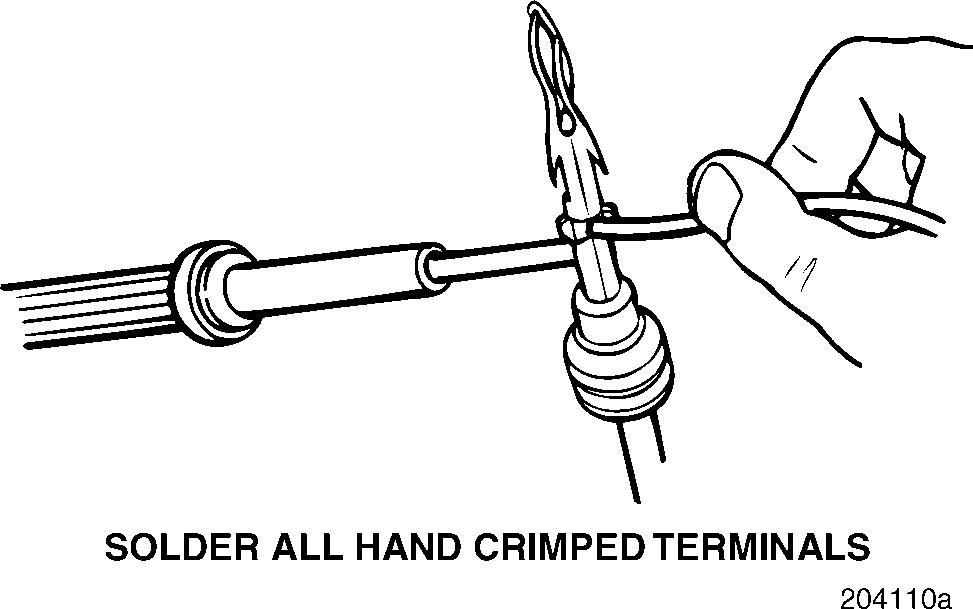
Soldering Terminals
All hand-crimped terminals, except those on Deutsch connectors, must be soldered.
6.Squeeze the handles until ratchet automatically releases and the crimp is complete. Be careful to not crimp the first rib of the seal.
7.Visually inspect for a good crimp.
1.Place the tip of the soldering iron on the back of the terminal core wings.
2.Apply solder to the end of the terminal at the top of the core crimp.
3.Move the terminal core up and down on the soldering iron for a good solder flow.
Excess solder may interfere with the lock tab or mating functions.
Apply heat only until the solder flows freely. Over heating the terminal may damage the terminal or insulation.