4 minute read
ADJUSTMENT AFTER INSTALLATI 0 N


Trim Tab Adjustment Single Motor
After the engine break-in, run the boat at full speed and check to see if the boat pulls to the left or right. Adjust the trim tab as required to ensure good and straight running characteristics.
If the boat pulls to the left: Loosen the trim tab lock bolt, and move the trim tab trailing edge to the left.
Dual Motors
1. Remove the trim tab lock bolt and trim tab from the standard rotation outboard motor.
TRIM TAB (Single motor use only)
Pulling to the right
TRIM TAB LOCK BOLT (10 x 32 mm HEX BOLT)
2.
Replace the trim tab to the gear case cover and tighten it with a trim tab lock bolt (10 x 32 mm hex bolt) as specified torque.
TORQUE : 34 N.m (3.5 kgf-m, 25 IbfW
If the boat pulls to the right: Loosen the trim tab lock bolt, and move the trim tab trailing edge to the right.
BREAK-IN PROCEDURE
Break-in period: 10 hours
Break-in operation allows the moving parts to wear-in evenly and thus ensures proper performance and longer outboard motor service life.
First 15 minutes:
Run the outboard motor at trolling speed. Use the minimum amount of throttle opening necessary to operate the boat at a safe trolling speed.
Next 45 minutes:
Run the outboard motor up to a maximum of 2,000 to 3,000 rpm or 10 %to 30 %throttle opening.
Next 60 minutes:
Run the outboard motor up to a maximum of 4,000 to 5,000 rpm or 50 % to 80 % throttle opening. Short bursts of full throttle are acceptable but do not operate the motor continuously at full throttle.
Next 8 hours:
Avoid continuous full throttle operation (100 % throttle opening). Do not run the outboard motor at full throttle for more than 5 minutes at a time.
For boats that plane easily, bring the boat up on plane then reduce the throttle opening to the specified break-in settings called out above.
WHEN RADIO STATION/GPS MOUNTED ON THE BOAT
The ECM and its wires are designed so that they are not affected by the external jamming, but the ECM can function erroneously when it receives the extremely strong electric wave. Check the ECM for erroneous operation whenever a radio station or a navigation system is mounted on the bort. Observe the following instructions to prevent erroneous operation.
Set the antenna and the radio station at least 50 cm (1.6 ft) or more away from the ECM, switch panel wire harness, indicator wire harness, switch panel or remote control box and the indicator panel.
Avoid routing the antenna wire lead too long compared to the remote control wire leads.
Do not install the radio station that does not conform with the laws and regulations concerned (IOWor below).
(Installation example)
RADIO
ANTENNA -D
Set the GPS antenna and navigation unit at least 3 m (4.8
Ground the GPS antenna ground securely. ft) or more away from the ECM.
CAUTION:
After installing a radio station or GPS, the ECM must be inspected for erroneous operation.
REMOTE CONTROL BOX
Keep away at .-'ast 50cm (1.6ft). 1
SWITCH PANEL AND/OR INDICATOR PANEL
RADIO STATION
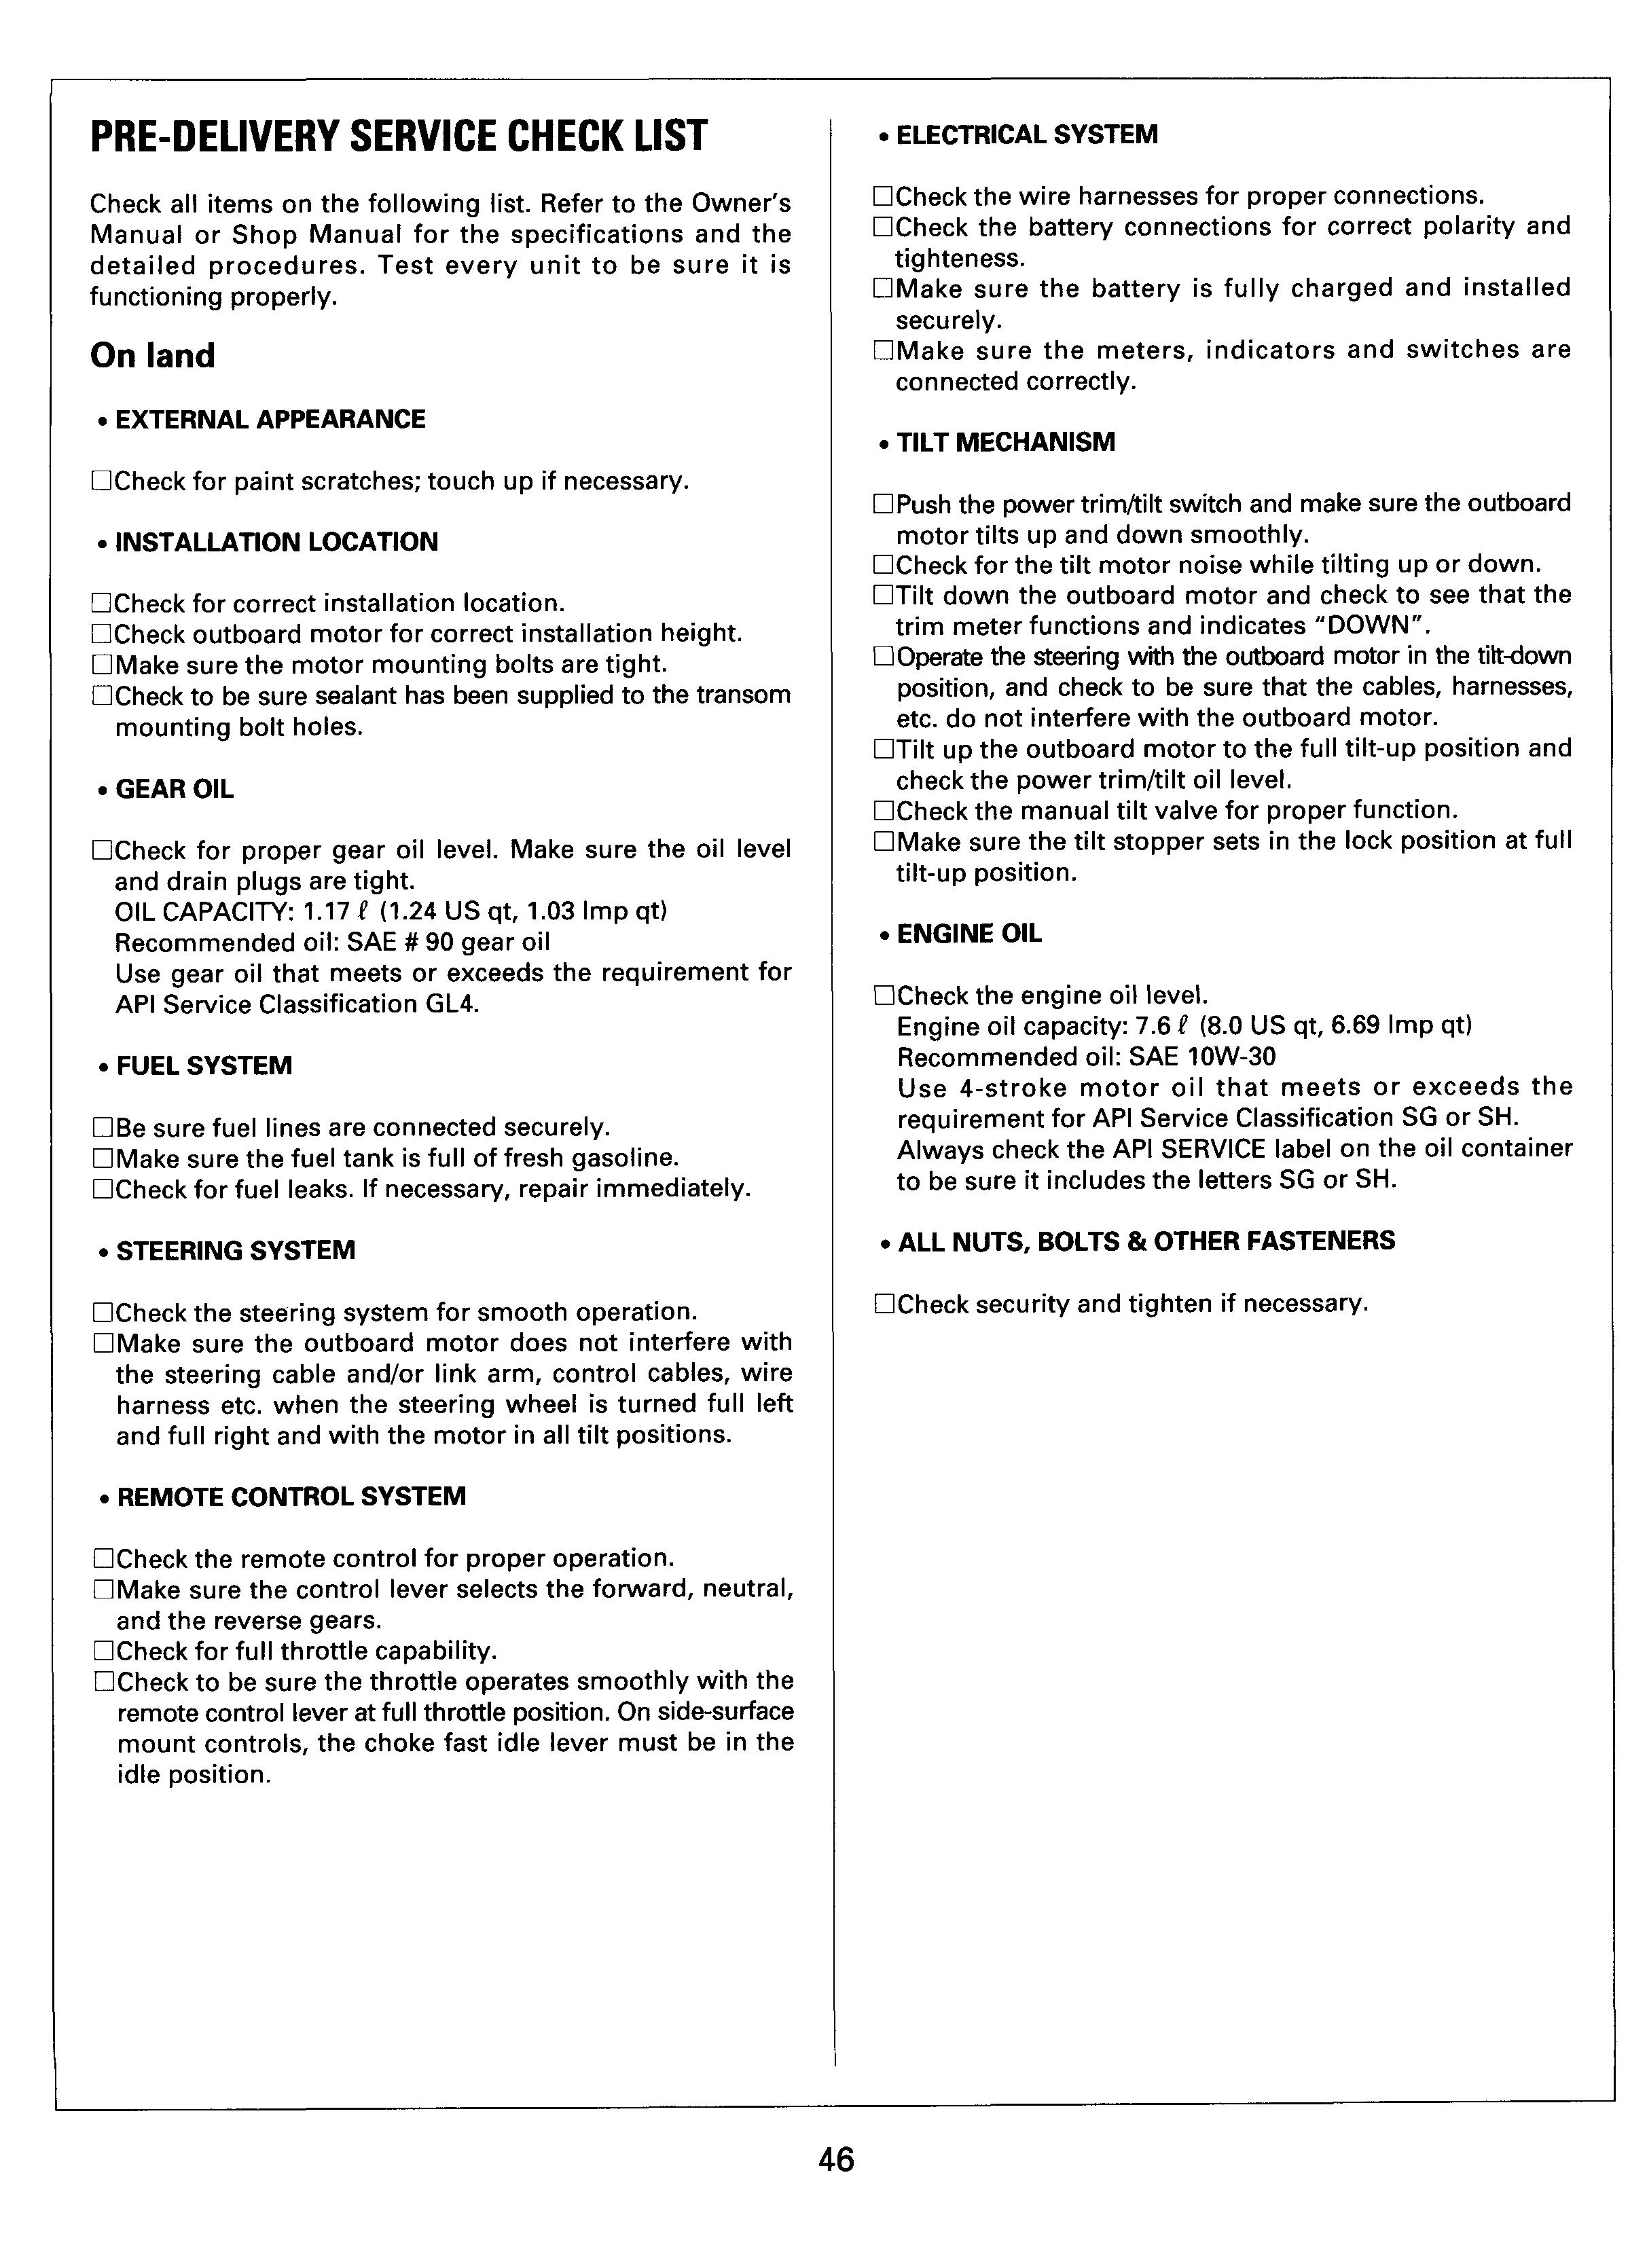
PRE-DELIVERY SERVICE CHECK LIST
Check all items on the following list. Refer to the Owner's Manual or Shop Manual for the specifications and the detailed procedures. Test every unit to be sure it is functioning properly.
On land
External Appearance
OCheck for paint scratches; touch up if necessary.
Installation Location
OCheck for correct installation location.
DCheck outboard motor for correct installation height.
OMake sure the motor mounting bolts are tight.
UCheck to be sure sealant has been supplied to the transom mounting bolt holes.
GEAR OIL
OCheck for proper gear oil level. Make sure the oil level and drain plugs are tight.
OIL CAPACITY: 1.17 P (1.24 US qt, 1.03 Imp qt)
Recommended oil: SAE # 90 gear oil
Use gear oil that meets or exceeds the requirement for API Service Classification GL4.
Fuel System
OBe sure fuel lines are connected securely.
OMake sure the fuel tank is full of fresh gasoline.
OCheck for fuel leaks. If necessary, repair immediately.
Steering System
OCheck the steering system for smooth operation.
OMake sure the outboard motor does not interfere with the steering cable and/or link arm, control cables, wire harness etc. when the steering wheel is turned full left and full right and with the motor in all tilt positions.
Remote Control System
UCheck the remote control for proper operation.
UMake sure the control lever selects the forward, neutral, and the reverse gears.
OCheck for full throttle capability.
UCheck to be sure the throttle operates smoothly with the remote control lever at full throttle position. On side-surface mount controls, the choke fast idle lever must be in the idle position.
Electrical System
OCheck the wire harnesses for proper connections.
OCheck the battery connections for correct polarity and
OMake sure the battery is fully charged and installed
OMake sure the meters, indicators and switches are tig hteness. securely. connected correctly.
Tilt Mechanism
OPush the power trimhilt switch and make sure the outboard
OCheck for the tilt motor noise while tilting up or down. OTilt down the outboard motor and check to see that the trim meter functions and indicates "DOWN".
OOperate the steering with the outboard motor in the tiltdown position, and check to be sure that the cables, harnesses, etc. do not interfere with the outboard motor.
OTilt up the outboard motor to the full tilt-up position and check the power trimhilt oil level.
OCheck the manual tilt valve for proper function.
OMake sure the tilt stopper sets in the lock position at full motor tilts up and down smoothly. tilt-up position.
Engine Oil
OCheck the engine oil level.
Engine oil capacity: 7.6P (8.0 US qt, 6.69 Imp qt)
Recommended oil: SAE IOW-30
Use 4-stroke motor oil that meets or exceeds the requirement for API Service Classification SG or SH. Always check the API SERVICE label on the oil container to be sure it includes the letters SG or SH.
ALL NUTS, BOLTS & OTHER FASTENERS
OCheck security and tighten if necessary.


