2 minute read
Engine Service

from Gehl V270 GEN2 V270 GEN2 (EU) V270 GEN2 X-Series V330 GEN2 V330 GEN2(EU) V330 GEN2 Operator's Manual

1.Muffler
2.Air Cleaner
3.Coolant Bottle
4.Engine Radiator
5.Hydraulic Cooler
6.Hydraulic Filter
7.Remote Engine Oil Filter
8.Water Separator
9.Fuel Filter
10.Remote Engine Oil Drain
11.Engine Oil Fill Cap
12.Engine Oil Dipstick
13.Starter
14.Alternator
Refer to the Maintenance Interval chart (page115) for change intervals. Refer to the Replacement Parts chart (page74) for filter part numbers. Refer to the Engine Operator’s Manual for detailed engine information.
Checking Engine Mounting Hardware
All bolts that secure the engine mounting brackets to the engine and the loader frame should be checked and re-torqued as necessary. Refer to the Torque Specifications Chart (page129) for torque information.
Warning
Allow hot engine and hydraulic system components to cool before servicing.
Checking Engine Oil Level
Open engine cover (page76), pull out the dipstick and check the oil level. Markings on the dipstick represent FULL and LOW (add oil) levels.
Changing Engine Oil and Filter
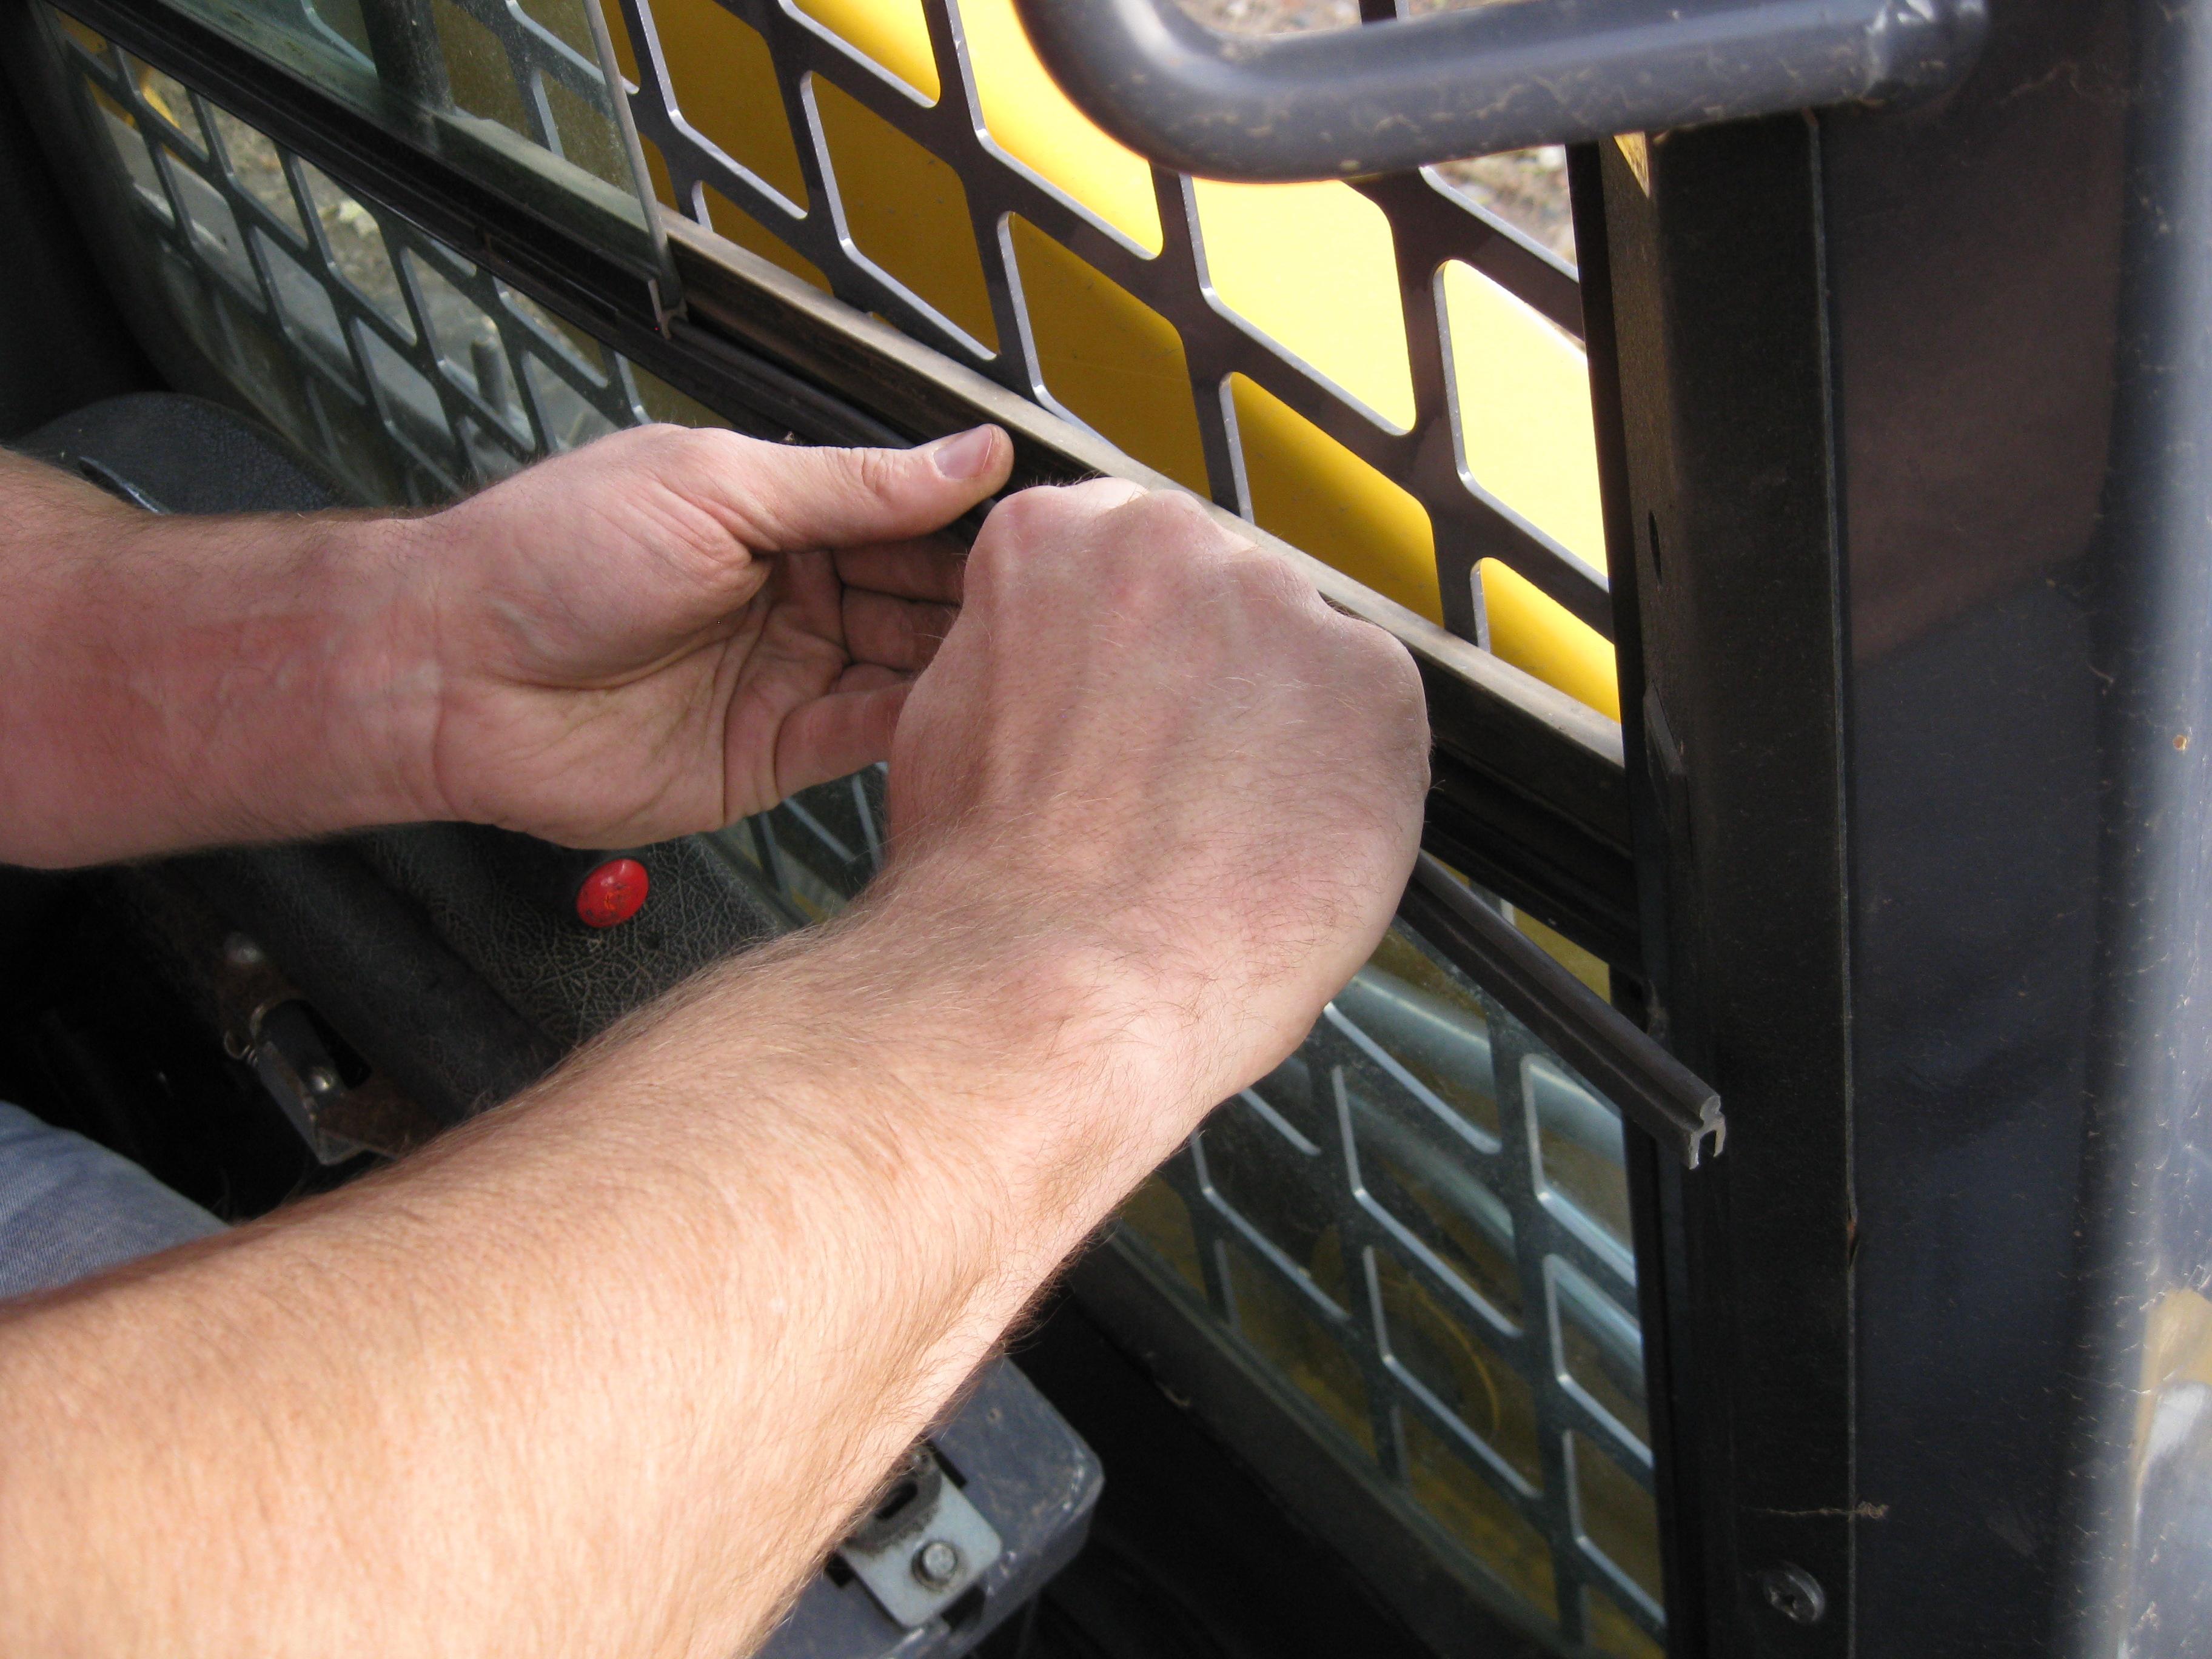
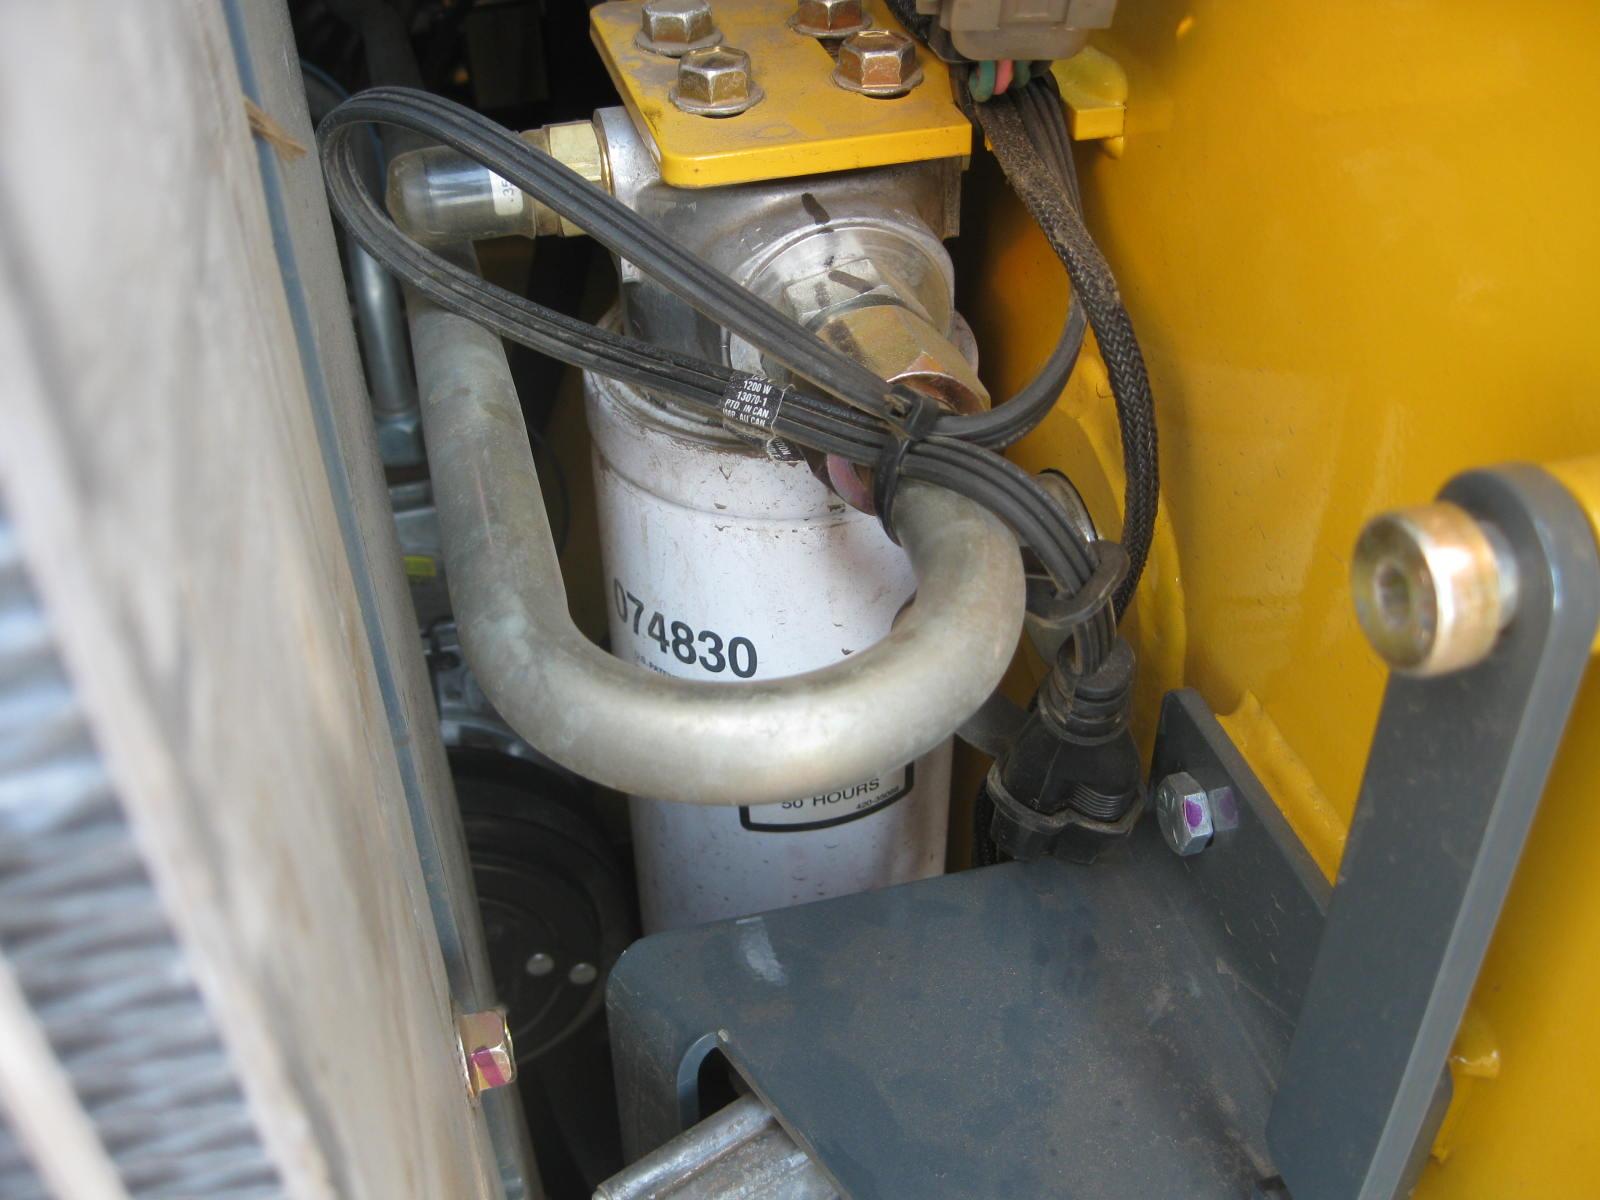
Important: Always dispose of waste lubricating oil according to local regulations or take to a recycling center for disposal; do not pour onto the ground or down the drain. The remote engine oil filter is located behind the engine, above the battery. Raise the engine cover and lock open the rear grille to access the oil filter (Figure13).
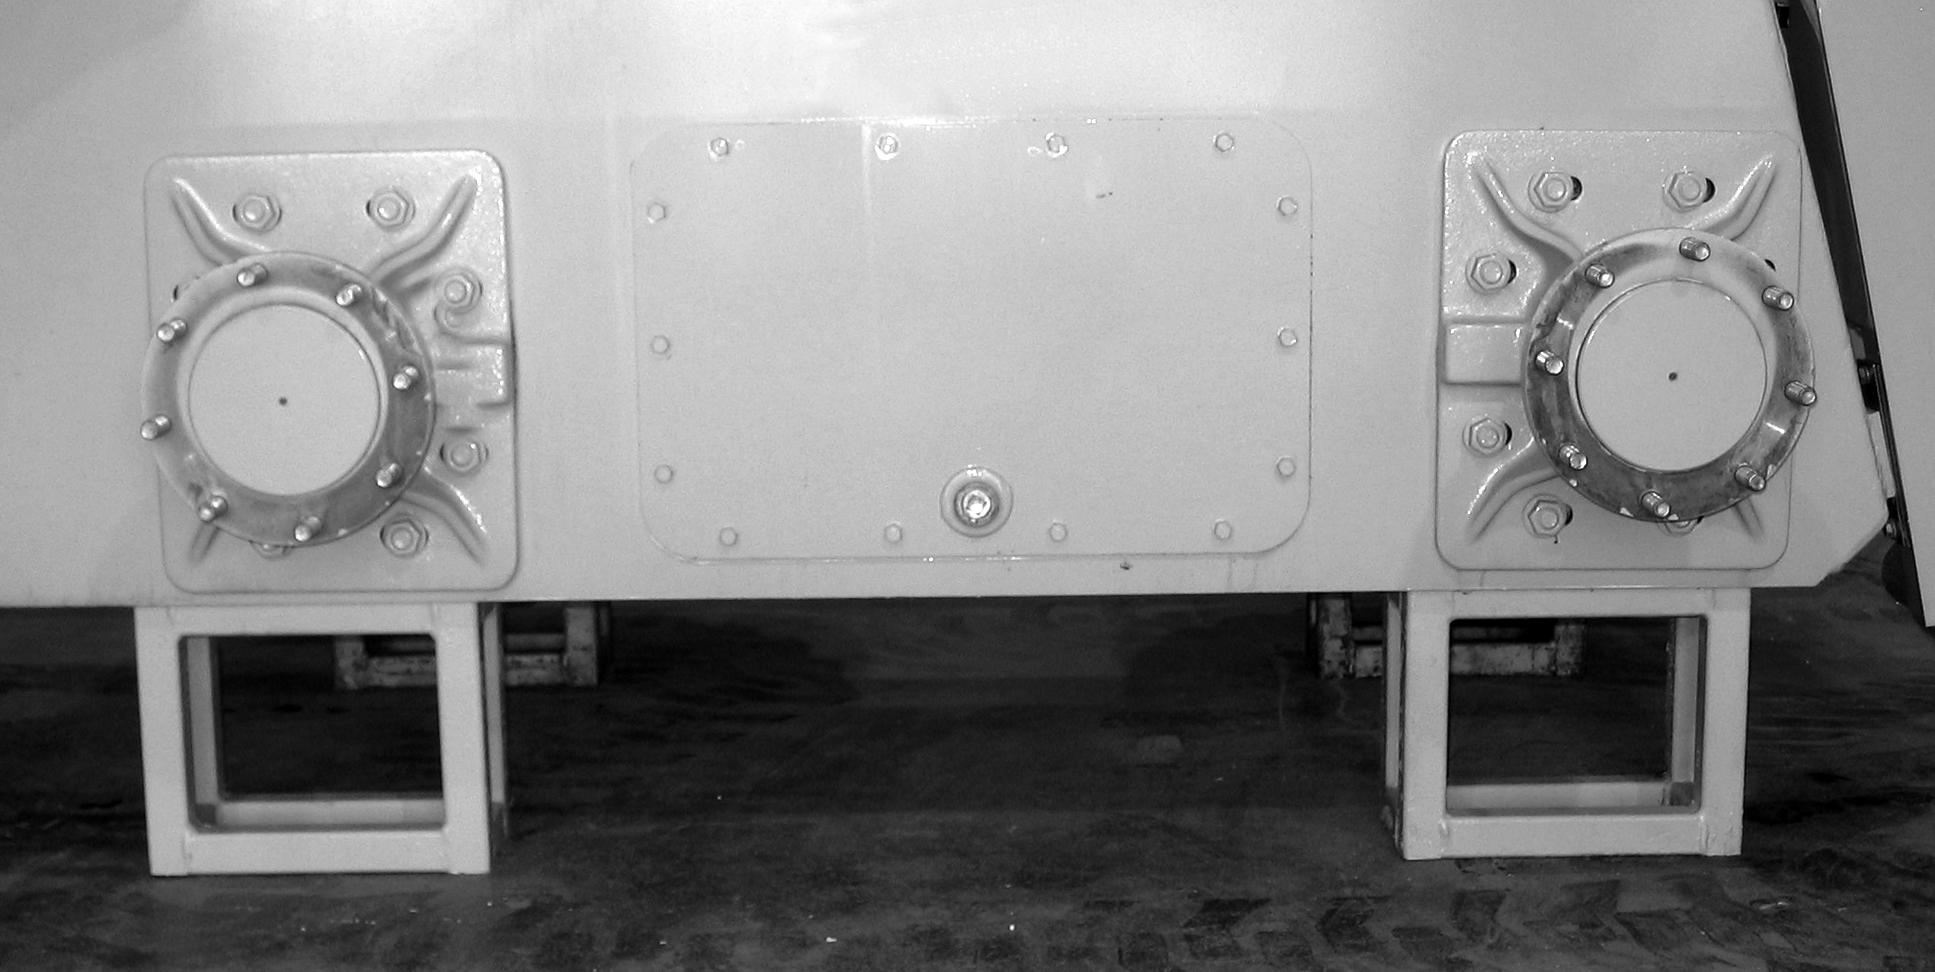
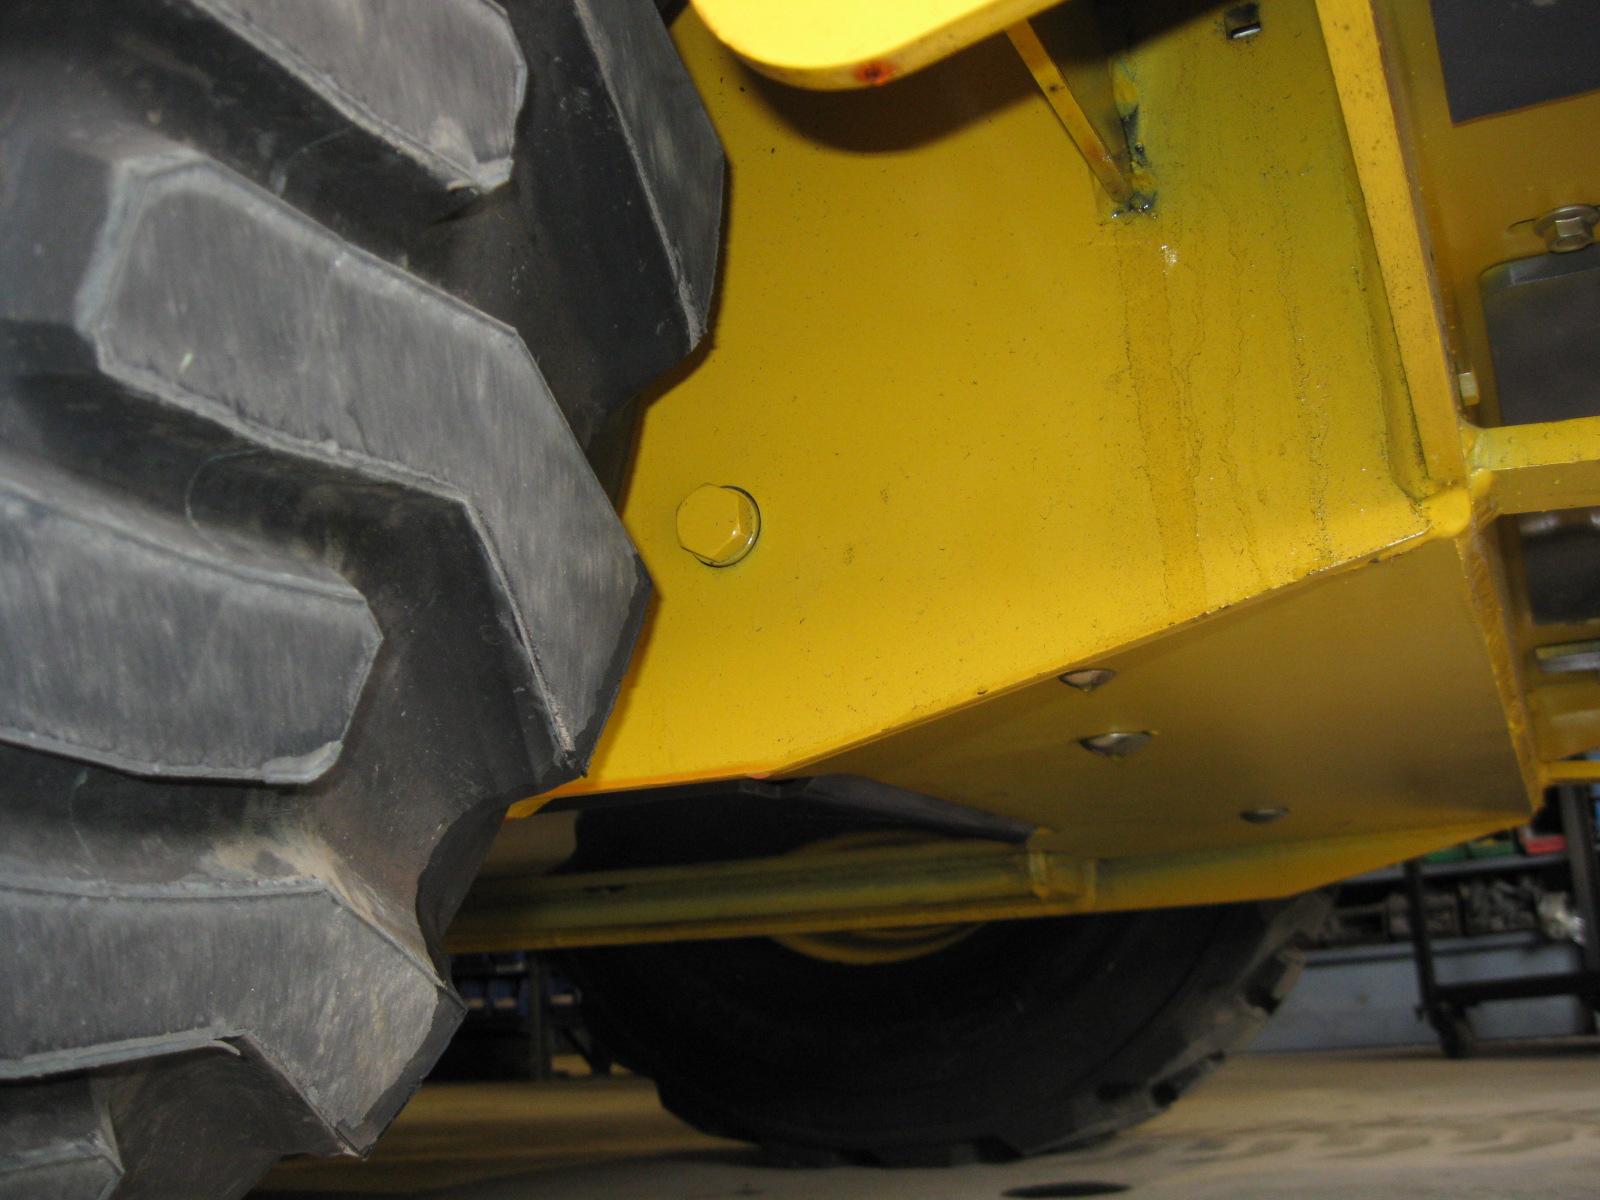
Access for draining the engine oil is located behind the left rear tire (Figure14).
To add new oil, open the engine access cover. Remove the oil fill cap and add the recommended type and quantity of oil. Refer to the Lubrication chart, page79. Visually inspect the remote oil drain hose for damage or leaks.
Important: It is recommended that the engine oil change occur after every five engine DPF (diesel particulate filter) regenerations, if five stationary regenerations occur during the duration of the 500 hour oil change interval (except NonDPF machines, they require a 250 hour oil change interval). See page61 for more information on the engine regeneration process.
Changing Fuel Filter
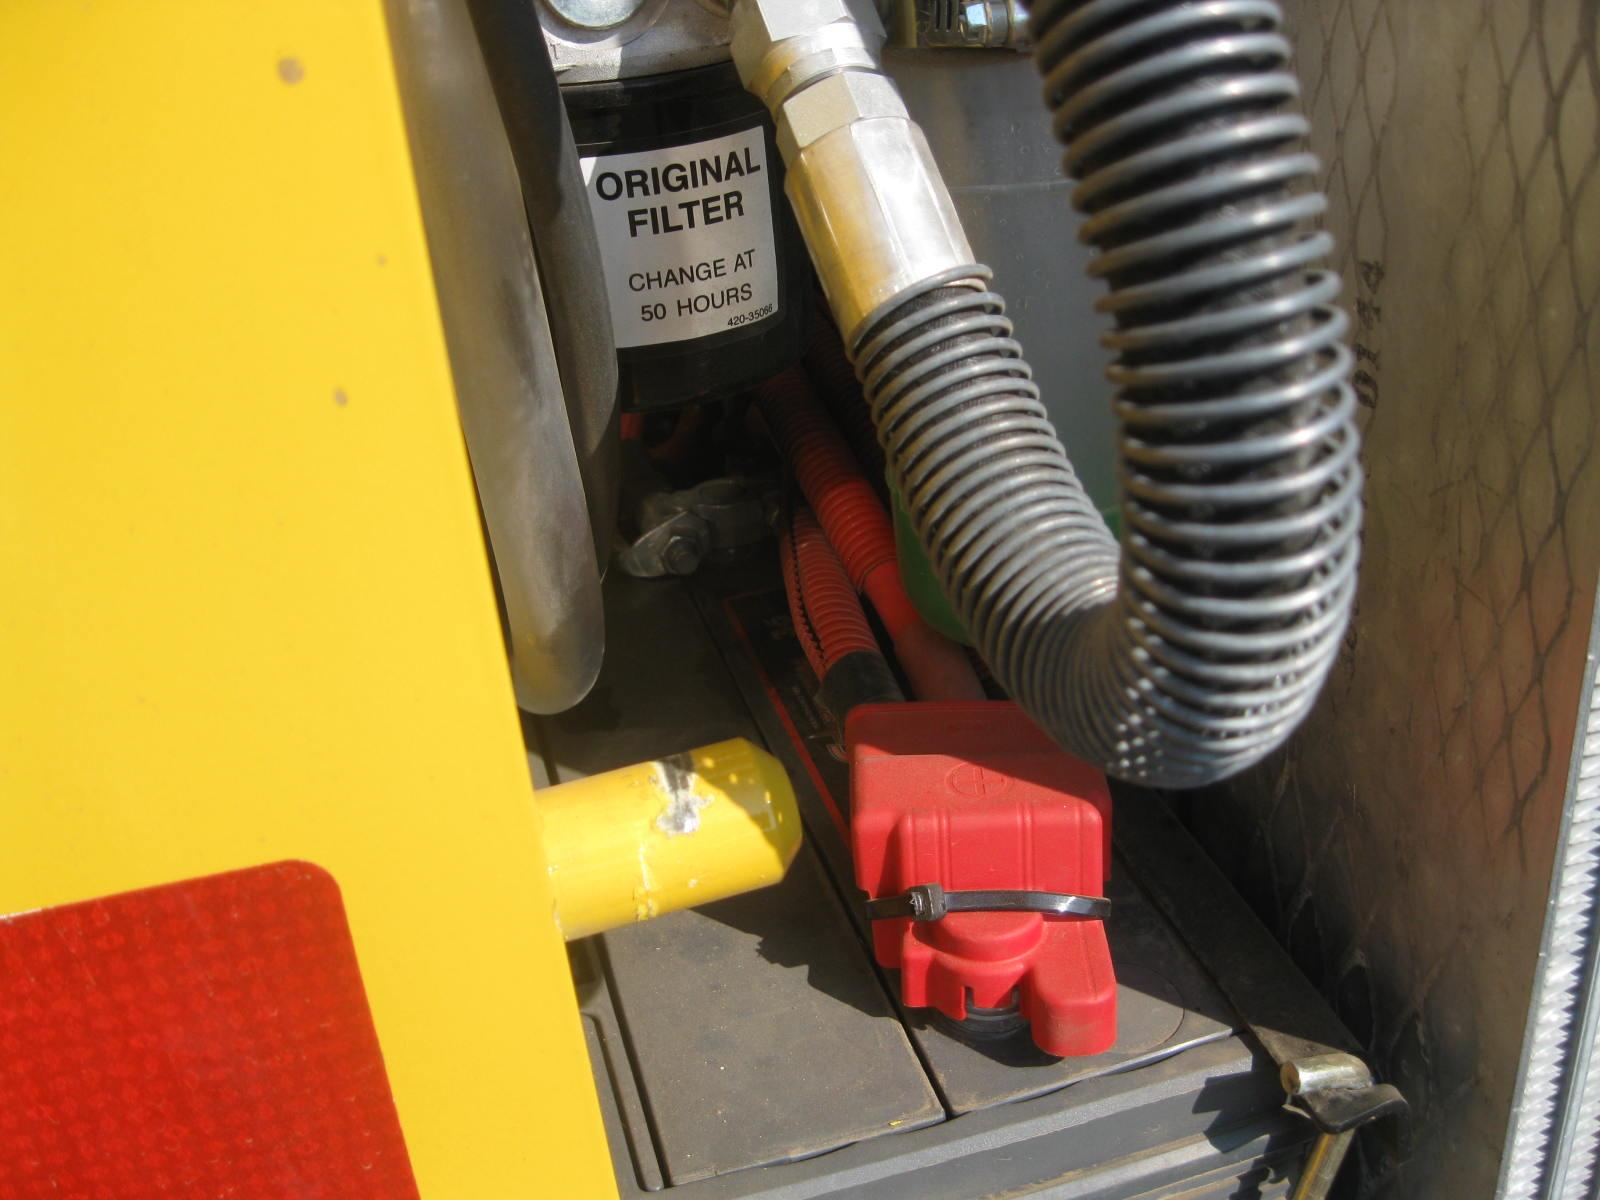
The fuel filter is located on the left side of the engine. To begin, turn the plastic petcock located on top of the water separator (Figure15) a 1/4 turn to stop fuel flow. Clean dirt from around the filter head. Remove the spin-on filter cartridge. Replace with a new filter cartridge. Lubricate the seal on the new filter element with fuel before installing. Return the fuel line petcock on the water separator to the open position. Start the engine and check for leaks. See page86 for location on the engine.
Checking the Water Separator
The water separator is located between the fuel tank and the main fuel filter and is used to remove finely dispersed water in diesel fuel. Check on a daily basis and drain if necessary. Water can be drained from the separator by opening the valve located at the bottom of the separator bowl.

Important: Water in the fuel system can cause severe engine damage. Drain water from the water separator anytime water is present.
To change the water separator filter, turn the plastic petcock located on top of the water separator a 1/4 turn to stop fuel flow. Unscrew the separator bowl from the housing and pull down on the existing filter to release it from the housing. Replace with a new filter and reinstall the bowl. Return the petcock on the water separator to the open position. Start the engine and check for leaks.
Engine Diagnostic Chart
When detecting faults, the information center electronic display (page 31) uses a diagnostic trouble code (DTC) screen to alert the operator to the occurrence of the fault conditions.
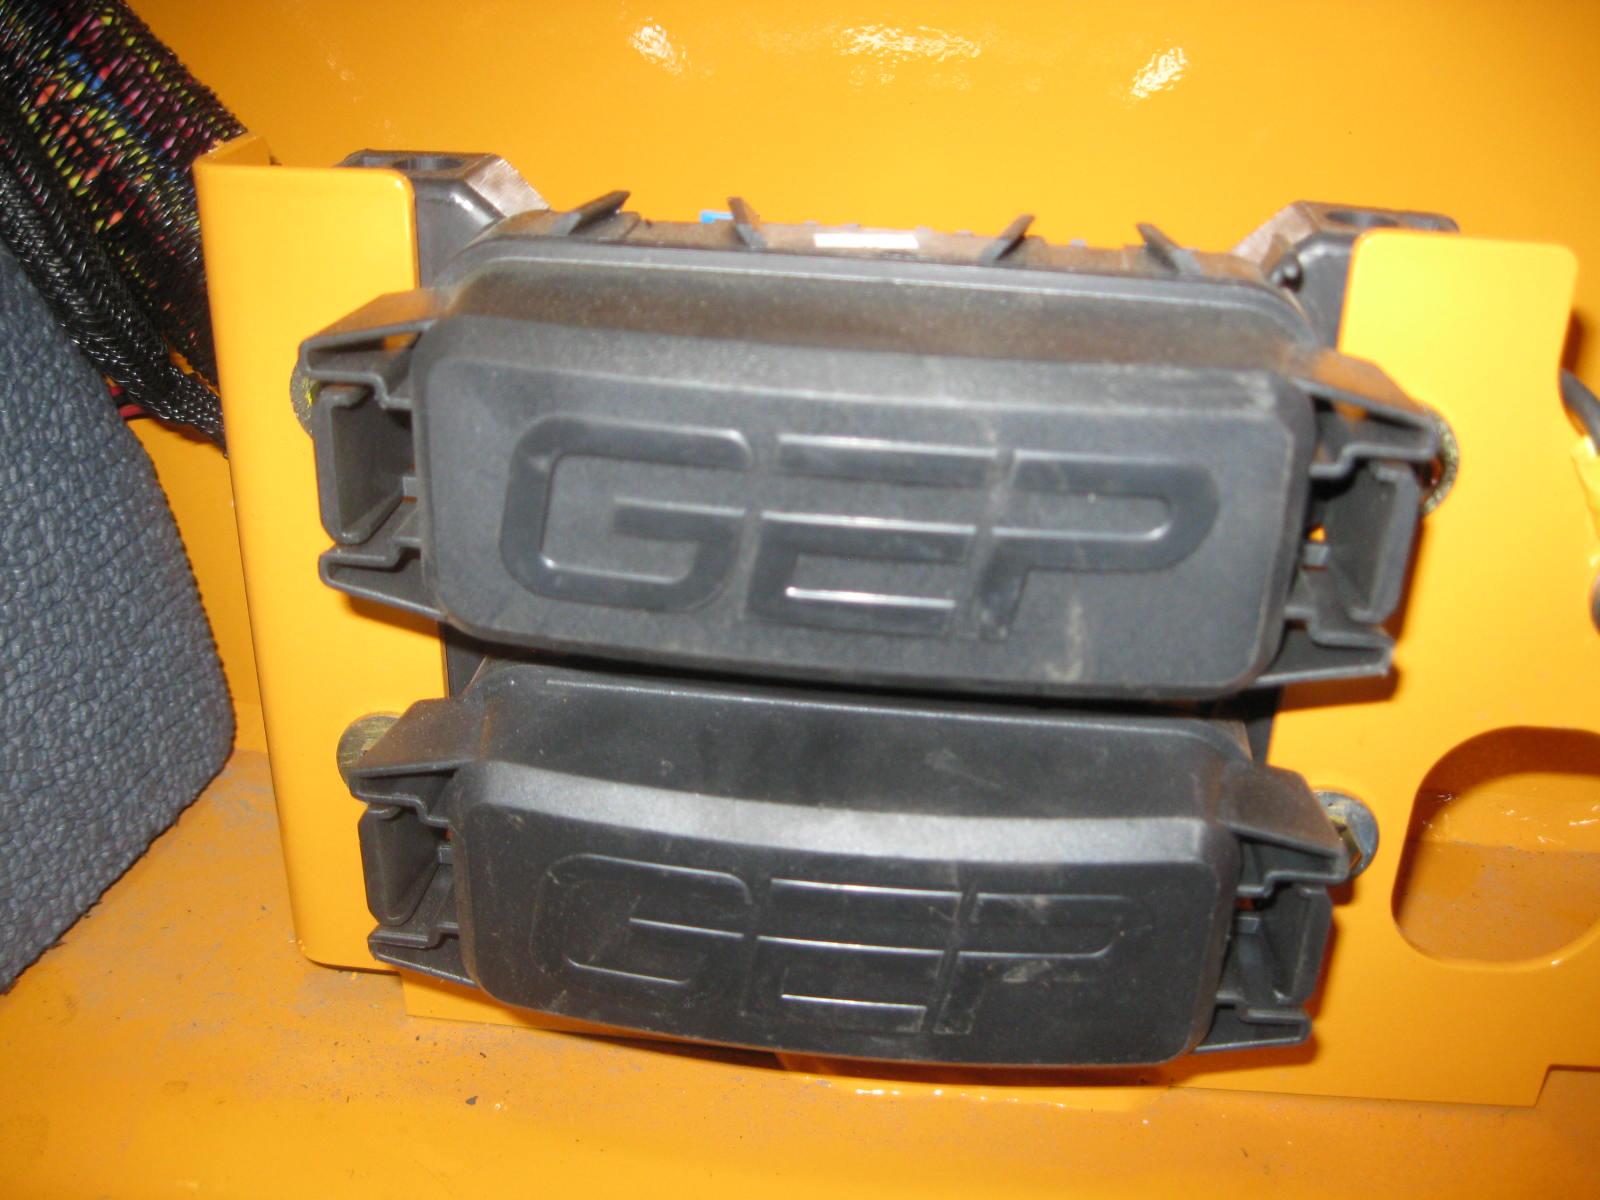
The data port for accessing the diagnostic trouble codes can be found behind a swell latch panel at the operator’s left foot.
The following pages list descriptions, diagnostic trouble codes and fault codes for the engine. 50950150/