1 minute read
Assembly

from Frontier Hinge Wheel Off Set Disk Harrow DH4317 DH4320 Assembly & Operating Instruction Manual(5RPMA

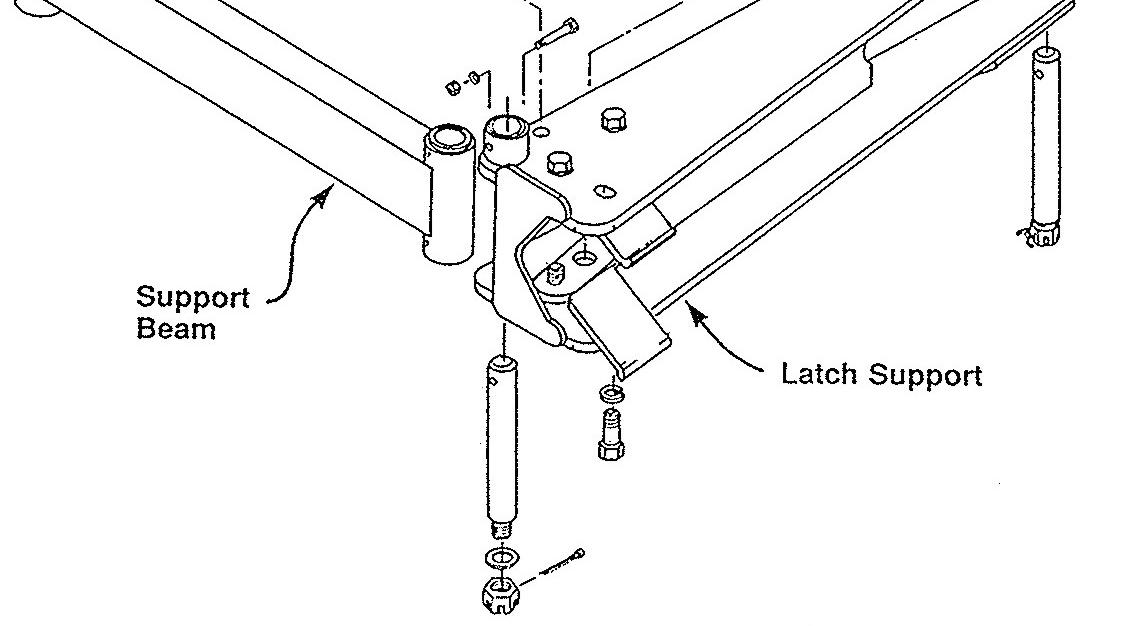
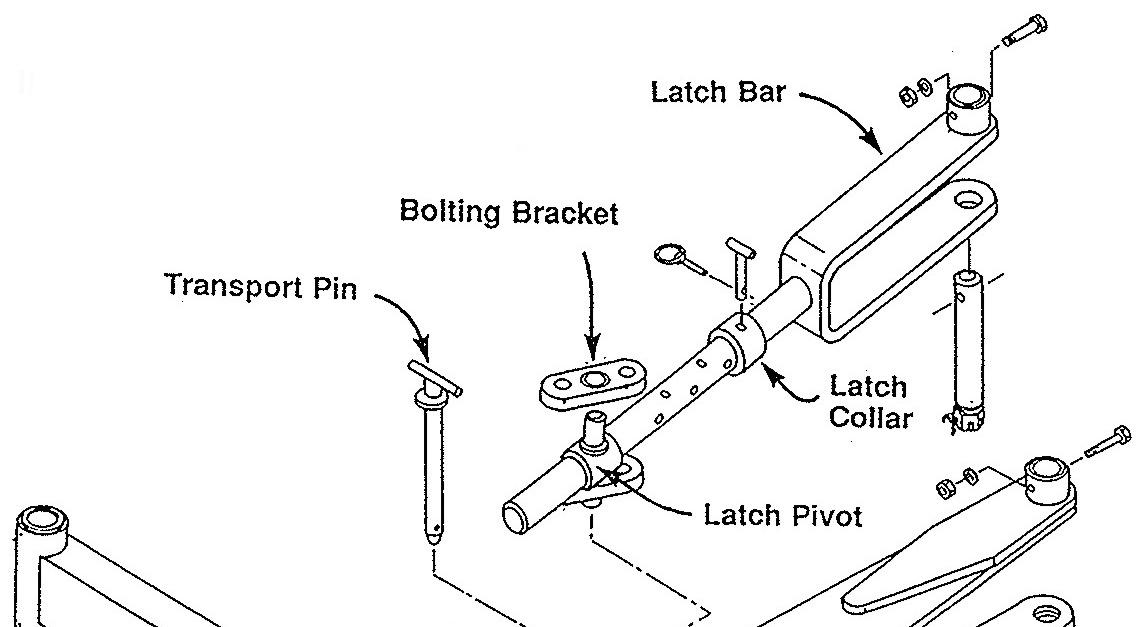
Latch Support Illustrations
Assembly STEP 5. ATTACHING OFFSET BAR
Bolt offset bar to hitch plates on front gang carrier with bolts and bushings provided in offset bar. See Illustration. The hitch plates are provided with three holes. For normal operation in average soil conditions, bolt the offset bar to the center holes; for hard soils and deepest penetration, use upper holes. For light soil and lesser penetration, bolt to the lower holes.
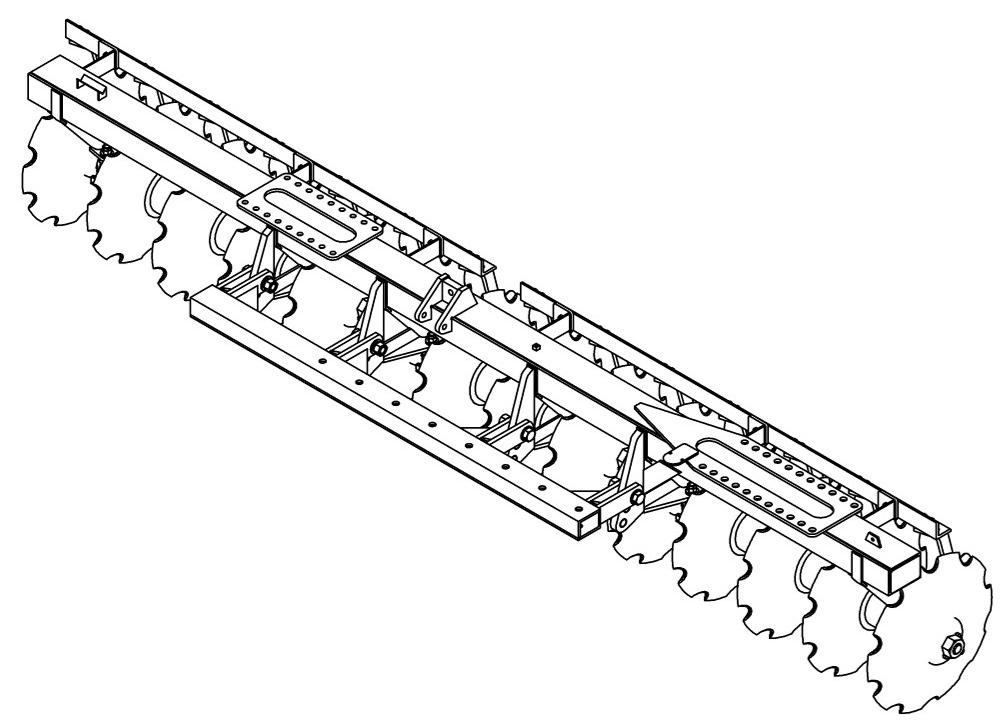
The drawbar is attached to the offset bar with three bolts, nuts and lock washers. The harrow may be moved laterally behind the tractor by moving the drawbar on the offset bar.
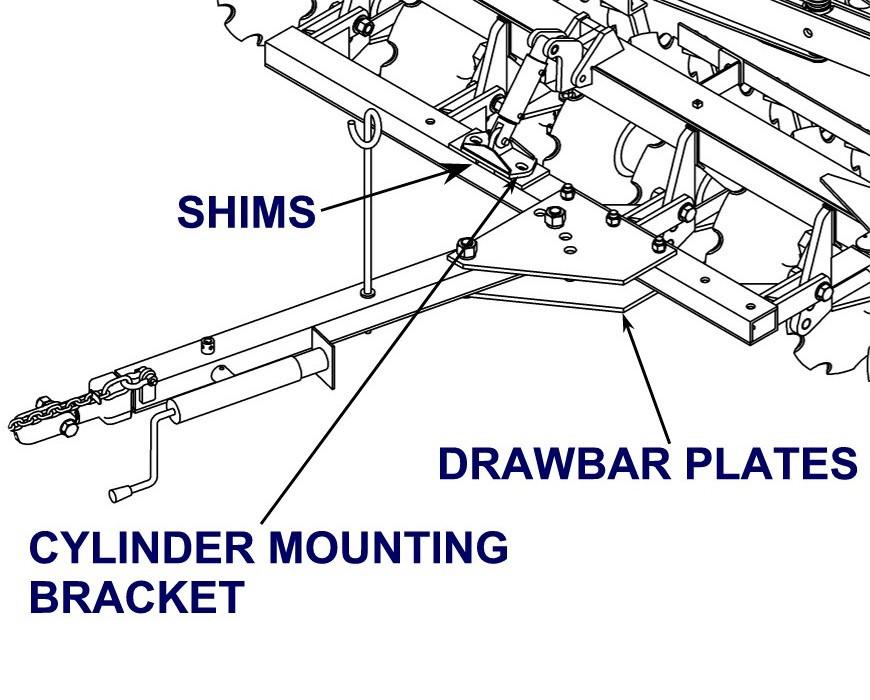
For initial setup the drawbar plates should positioned to the left of center on the offset bar.
To make major changes or large offsets, the drawbar plates should be moved on the offset bar. To make minor or small offsets, remove the drawbar-positioning bolt, loosen the drawbar pivot bolt and move the drawbar between the plates to the desired position and secure. When properly adjusted, there will be no side draft and the drawbar should be in the approximate line of travel.
The final adjustment should be made after the harrow has been put into operation, observing the proper angle and trailing of the harrow.
The drawbar plates are adjustable so they can be mount directly under the leveling -cylinder mounting bracket. The only time the shims are used is when the drawbar plates are not mounted underneath the cylindermounting bracket.
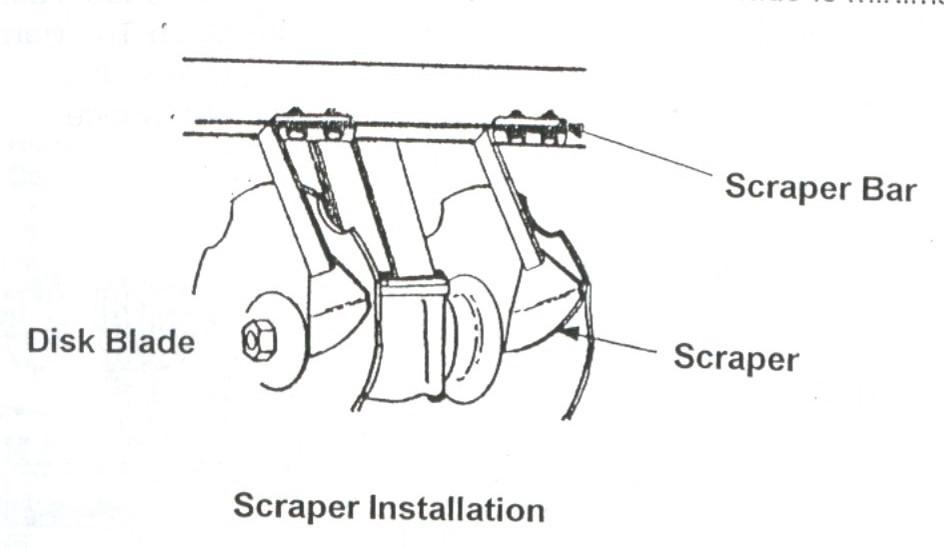
STEP 7. INSTALL SCRAPERS
Assembly
Install the scrapers as shown in illustration. The scraper should be adjusted so that it does not come in contact with the disk blade as it turns. It should be slightly closer at the point so that the trash build-up between the scraper and the disk blade is minimal.