3 minute read
Operation / Maintenance


Rotating mower blades. Stand clear until all motion has stopped. To avoid an accidental fall from tractor and possible injury by mower, it is recommended that tractor be equipped with rollover protective system (ROPS) and a seatbelt be used by the operator for all mowing operations.
Note: Tractor forward speed should be controlled by gear selection, not engine speed. For maximum cutting efficiency, forward speed should allow mower to maintain a constant, maximum blade speed. If mower stalls or tractor engine bogs,disengage PTO. Before re-engaging PTO, position mower in a cut area and reduce tractor throttle to idle. If disc mower continuously stalls, select lower gear and/or increase cutting height.
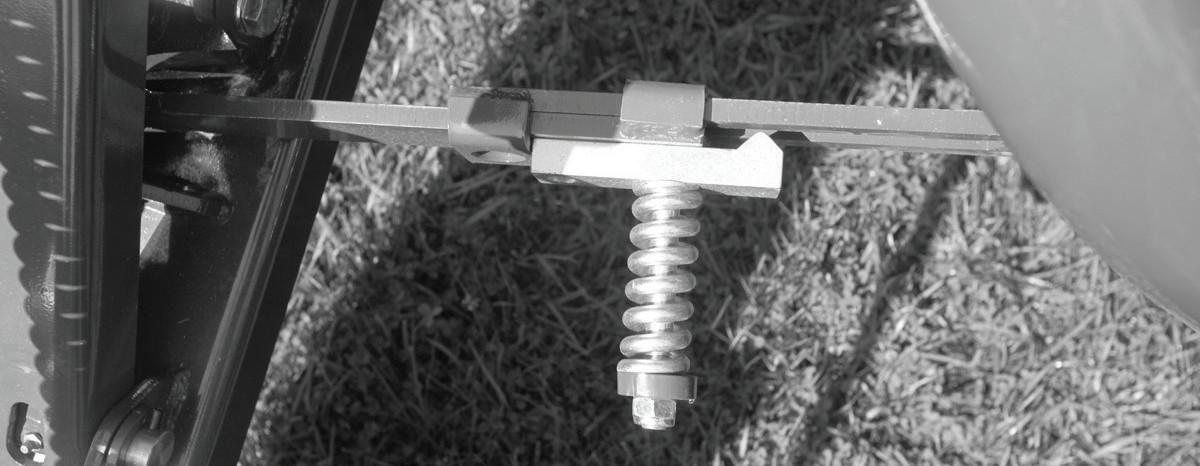
Trip And Trip Reset
Your mower is equipped with an automatic trip mechanism in the event that the mower bar strikes something solid like a large rock or tree stump. This allows operator to stop before further damage is incurred. (1” of exposed thread is factory preset this may be adjusted for different conditions)
Lubricating And Maintaining Machine Safely
Danger
Help prevent bodily injury or death caused by entanglement in rotating driveline or blades. Entanglement in rotating driveline or being struck by blades can cause serious injury or death.
Components will be hot after operation. Let all components cool before servicing.
Replace all shields after lubricating or servicing.
Maintenance Check List
Perform scheduled maintenance as outlined below. Lower machine to ground, turn off tractor and set parking brake before doing maintenance inspections or work. All bolts should be torqued as recommended in the Torque Specifications unless otherwise indicated.
Maintenance Before Each Use
Do not clean, lubricate, or adjust machine while it is in motion.
Caution
1. Check tractor tire air pressure. Refer to tractor operator’s manual.
2. Check blades and spindles to be sure that no foreign objects such as wire or steel strapping bands are wrapped around them.
3. Check blade bolts for tightness.
1. If mechanism is tripped, stop quickly to prevent any further damage.
2. Disengage PTO
3. Lower lift arms all the way down.
4. Slowly back up until trip mechanism is reset.
5. Reset lift arm to proper position.
6. Re-engage PTO.
7. Continue mowing.
NOTE: Over time, if trip mechanism becomes loose or worn it may trip prematurely. If so, tighten spring on trip.
IMPORTANT: Operating with loose blade hardware will damage the blade holder and blades.
4. Inspect blades for wear. Always replace all blades and bolts on blade holder at the same time.
5. Make certain driveline shields are in place and in good repair.
6. Before each use, check oil level and perform lubrication. See gearbox filling and lubrication procedures on page 24.
7. During operation, listen for abnormal sounds which might indicate loose part, damaged bearings, or other damage.
Maintenance
DO NOT attempt to modify blade, such as hard surfacing, heat or cold treating and/or by any other method.
DO NOT try to straighten a blade that is bent. Never weld a broken or cracked blade. ALWAYS replace with a new blade to assure safety.
Only use DM50 series replacement knives. Aftermarket brands could result in injury or damage to the cutter.
IMPORTANT: Operating with blades that are not alike will cause vibration. Always replace worn or broken blades in pairs. Never replace a single blade. Check blades regularly for wear or breakage.
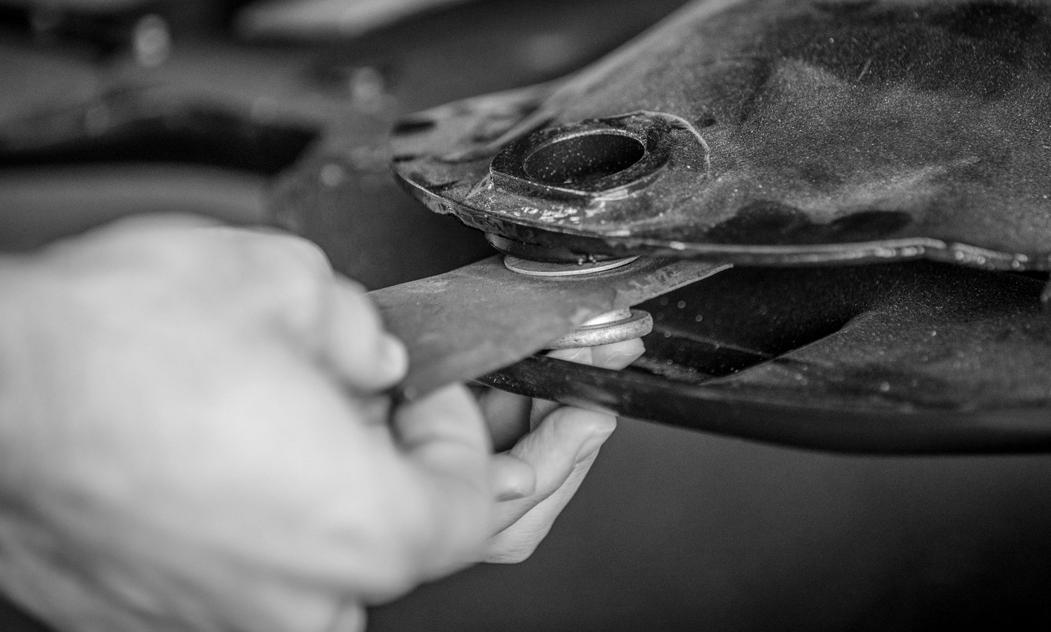
Replacing Blades On Discs
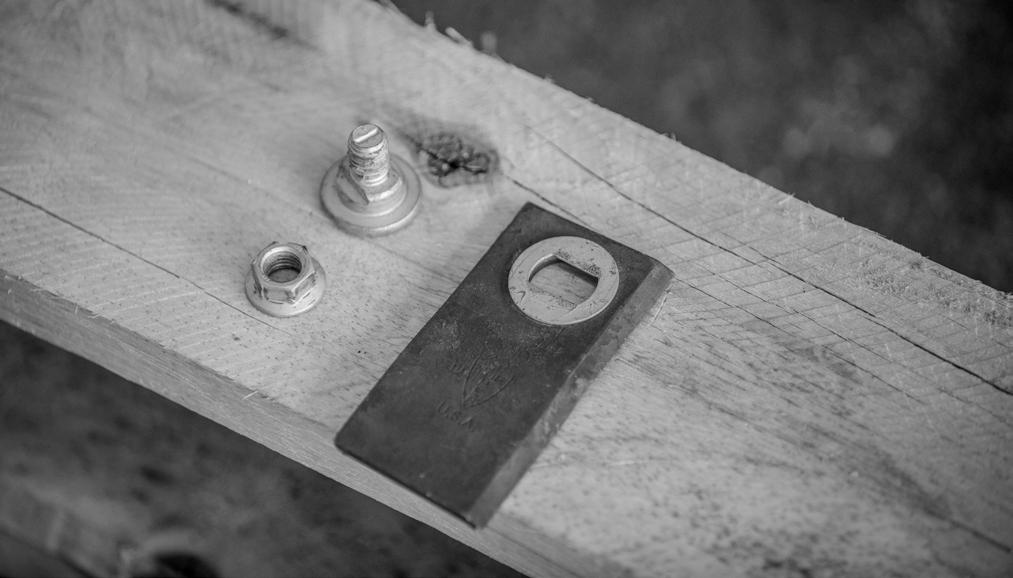
1. Align disc with access hole in the skid shoe. Using a 17mm socket, loosen nut on blade.
3. When attaching new knife make sure to match the lift angle of the new knife with that of the one replaced. Units are marked with L or R. Place the washer between the knife and the disc and reassemble the unit.
NOTE: Make sure that blades are properly oriented. Discs turn in different directions so cutting blades are right and left handed see page 34 for details.
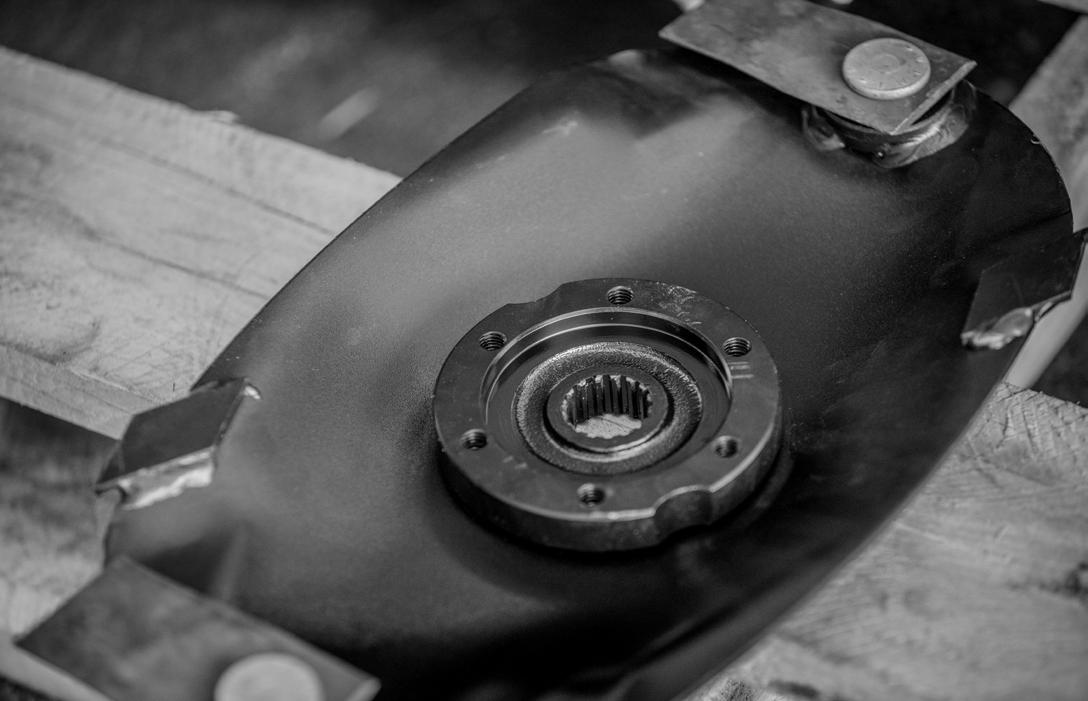
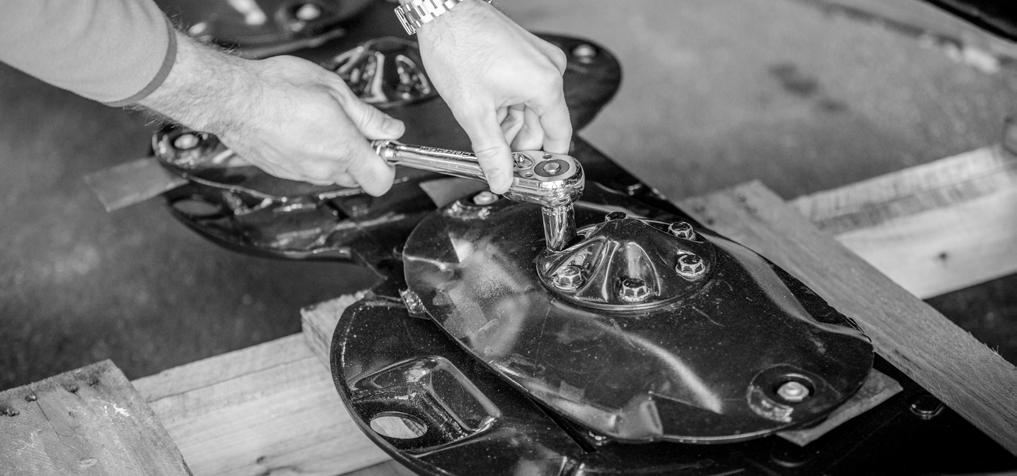
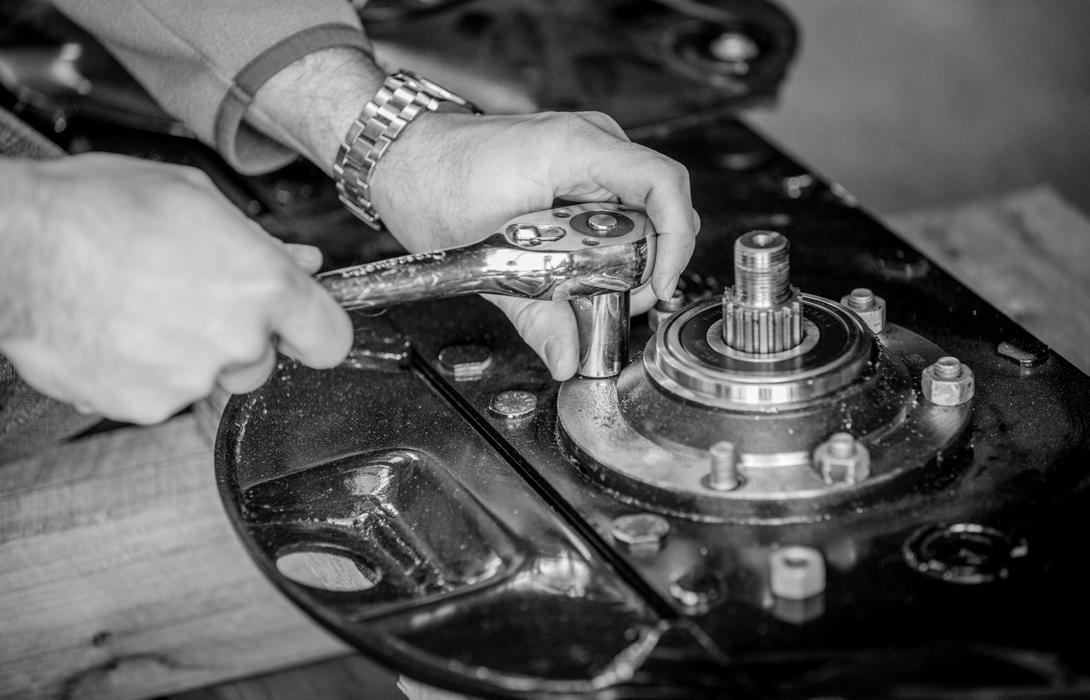
Replacing Knife Discs
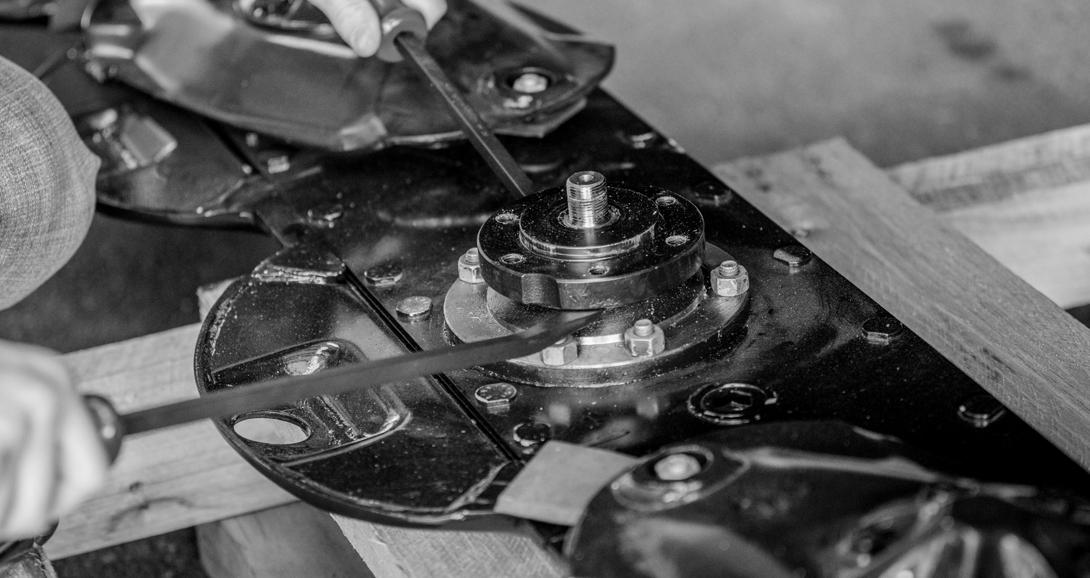
1. Utilize a wooden block or board to prevent the disc from turning.
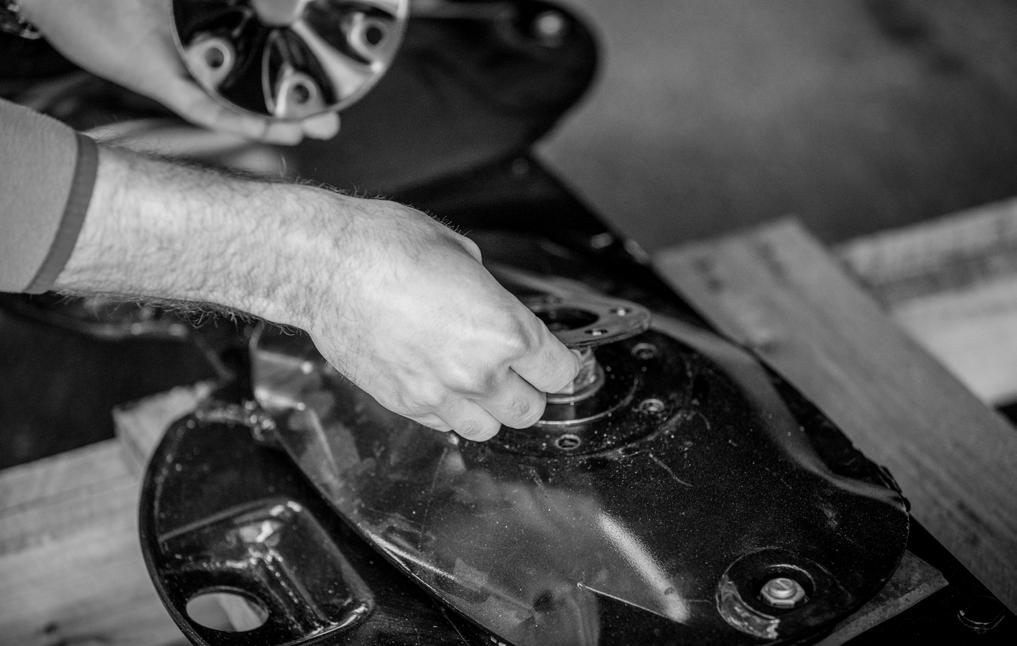
3. Remove top cover and spacer.
Maintenance
4. Remove the disc from the spindle.
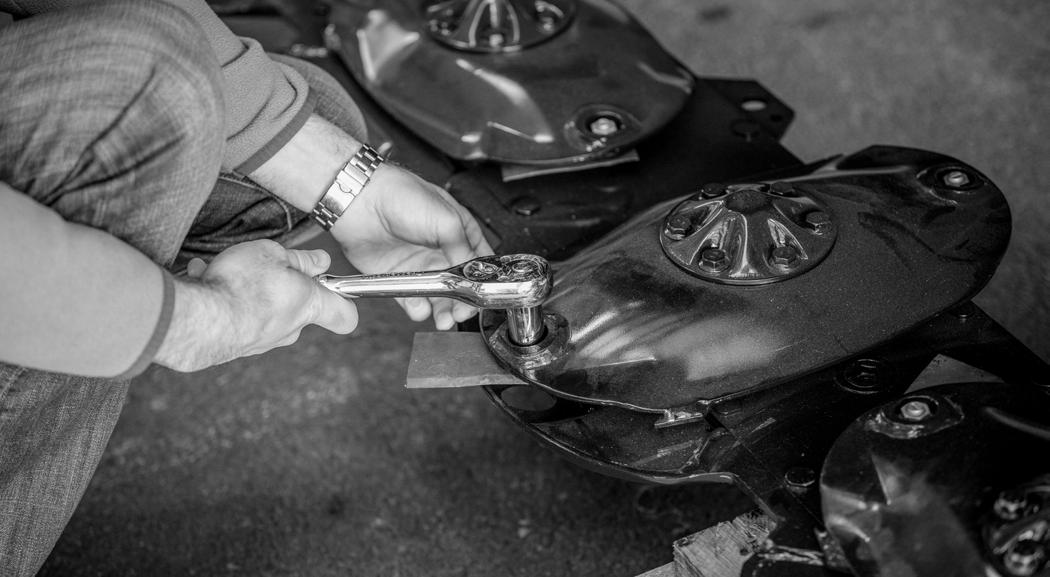
NOTE: For tall end discs use hammer and screwdriver to pry off top cap. Use long extension on ratchet to remove 6 bolts.
5. Replace old disc with a new one and reassemble.
Repair
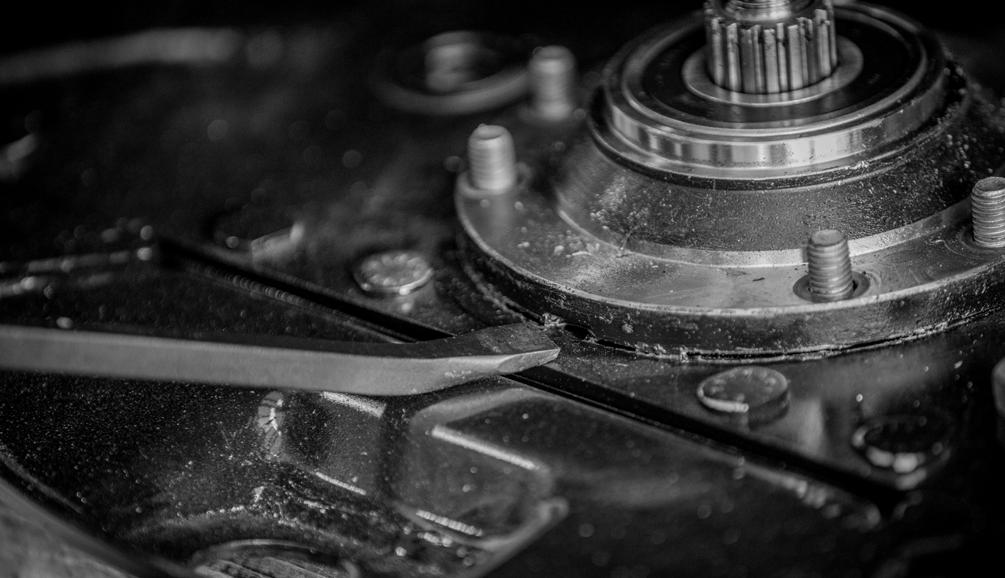
To prevent serious damage if the cutter bar has impacted an obstacle or debris while cutting, the spindle assemblies are designed to shear. If spindle unit has sheared, the unit will stop cutting and the knife mounting disc turned by the damaged spindle will turn freely. If a spindle unit has sheared please follow the steps below for repair.
Removal
1. Follow steps 1-5 of disc removal on page 30-31 to reveal the damaged spindle.
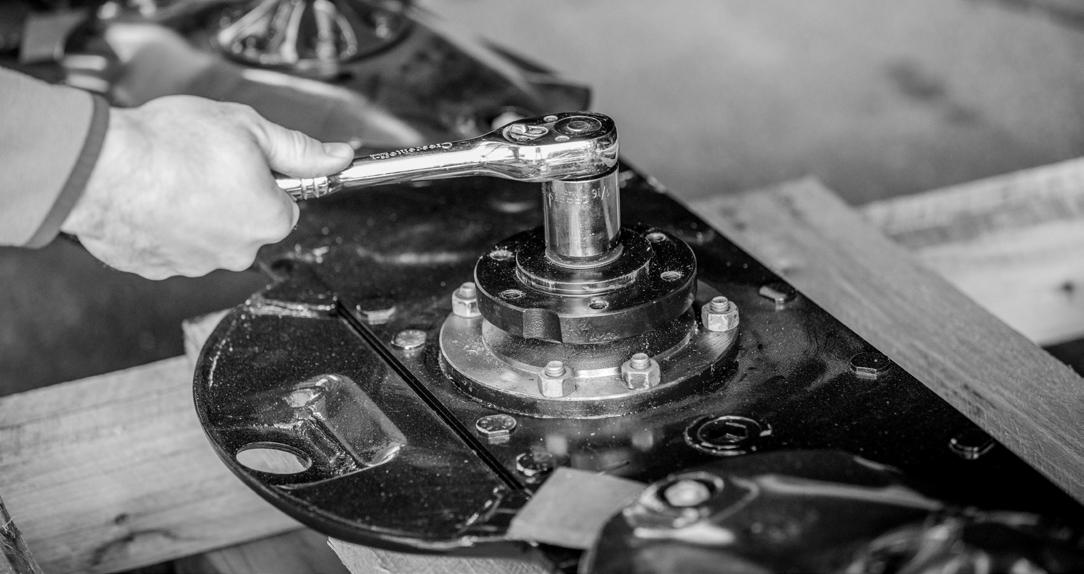
Maintenance
5. Use a pry bar to remove the spindle from the cutter bar. There is a small relief in the front of the spindle casting where you should place the pry bar for leverage.
2. Remove the shipping spacer from the new spindle prior to installation.
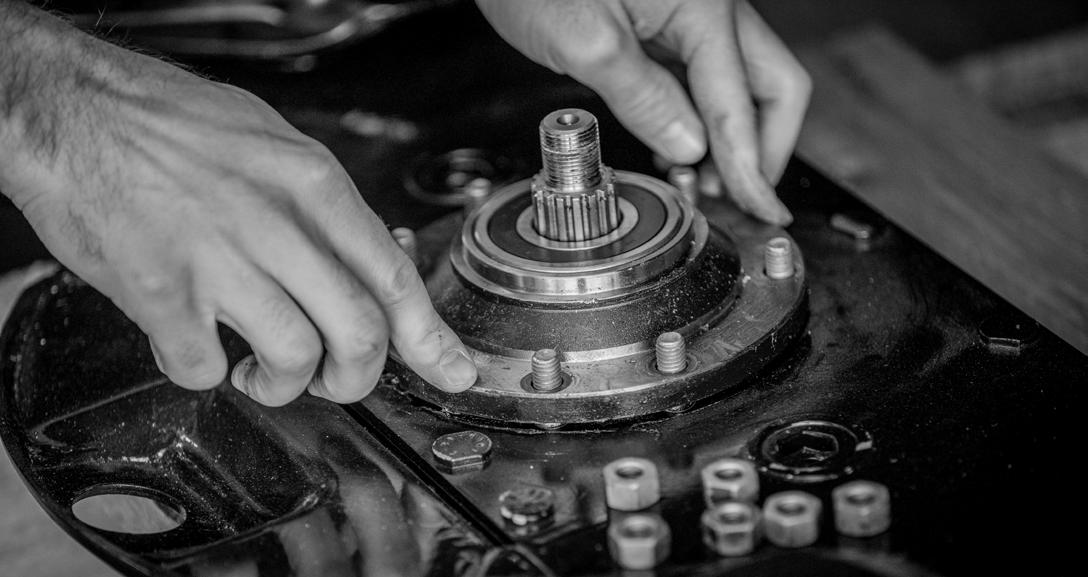
6. With the damaged spindle removed, check for debris inside the bar and clean the surface of the bar in preparation for the new spindle.
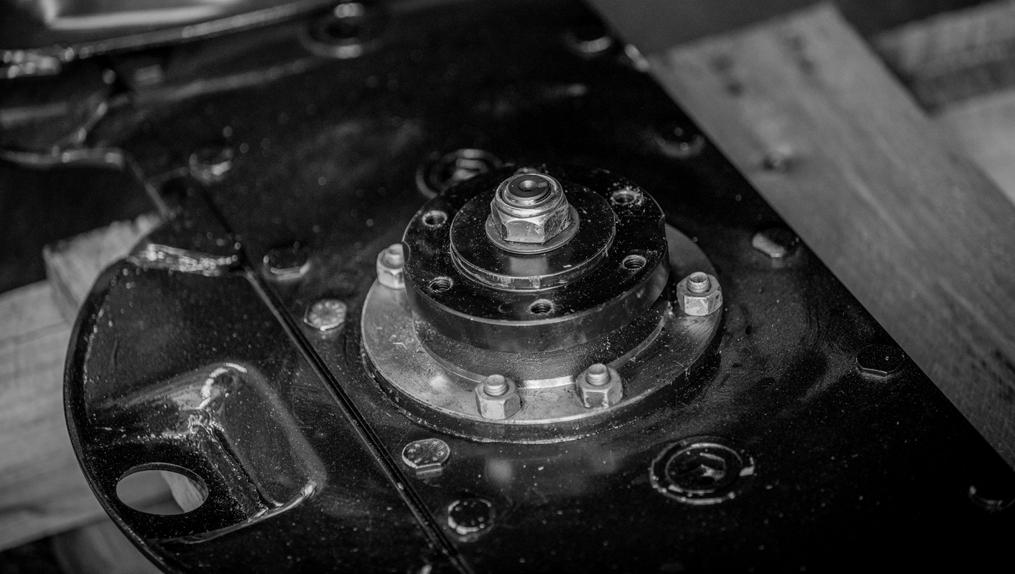
3. Drop the new spindle assembly into the bar and re-tighten the 6 nuts holding it in place.
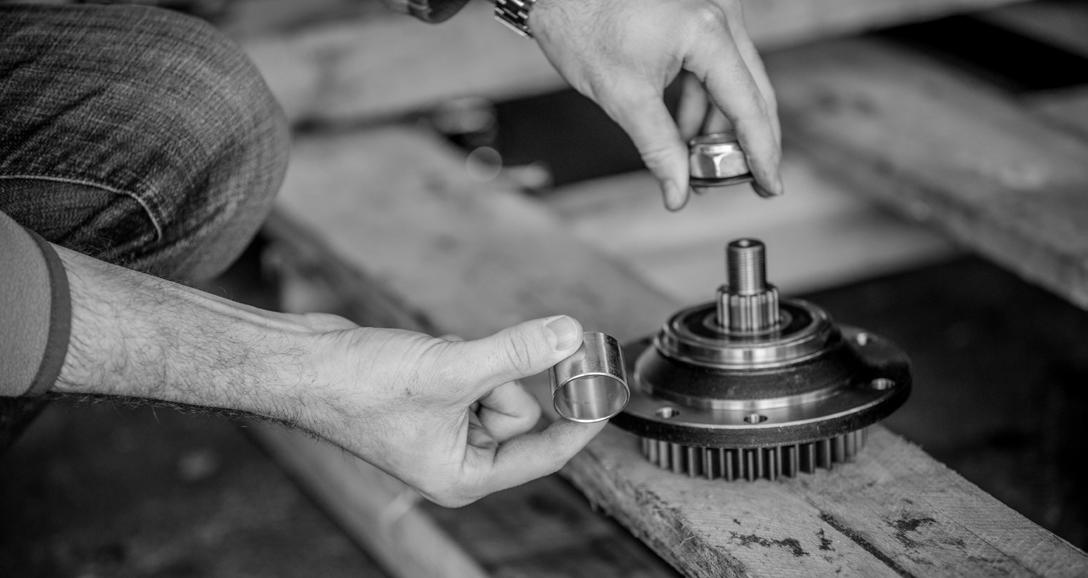
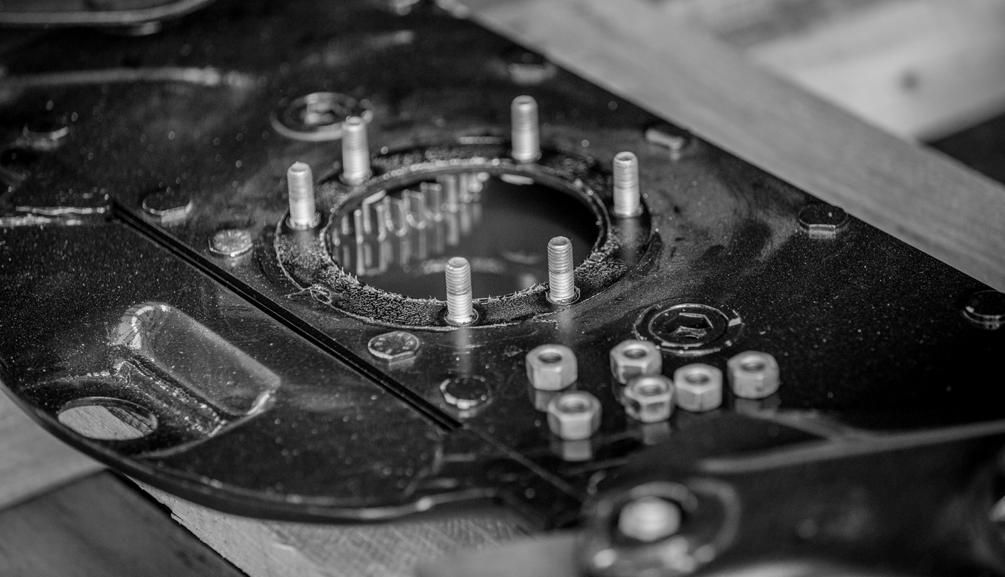
Assembly
After removing the damaged spindle unit, replace it with a new unit available from your dealer. Part number (5TIDM411354)
1. Insure the O-ring on the bottom of the new spindle is properly aligned with the groove in the casting.
4. Place the splined mounting disc in the underside of the knife disc and align the bolt holes, orientation does not matter at this point