3 minute read
Preparation


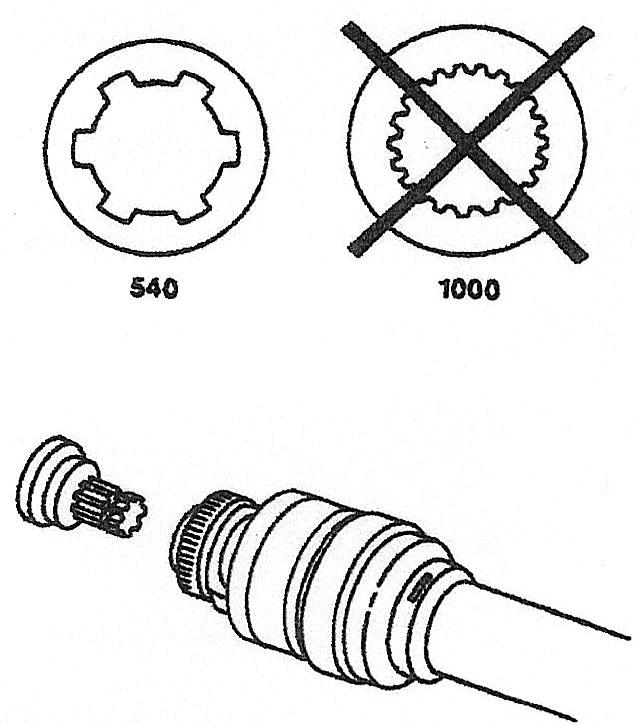
Selecting Tractor Pto Speed
IMPORTANT: Never operate a mower equipped for 540 rpm PTO drive with a tractor equipped to 1000 rpm PTO.
Always run tractor at rated PTO speed. Overspeed will cause damage to drive system.
Refer to your tractor Operator’s Manual to change PTO stub shaft, if necessary.
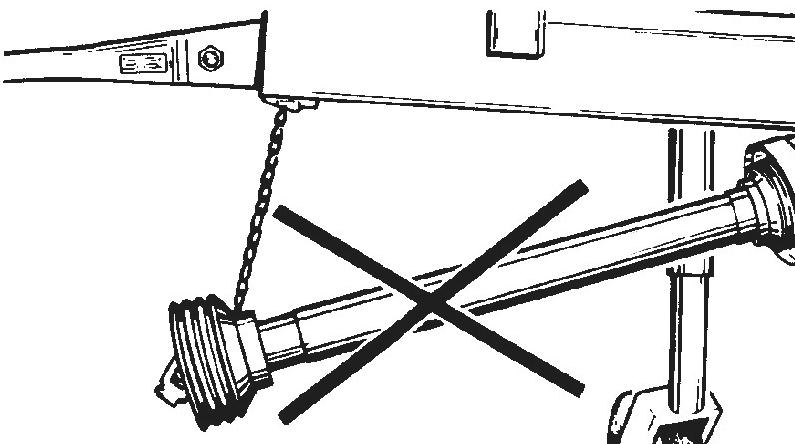
Positioning Drawbar
IMPORTANT: To prevent damage to the driveline, remove, shorten, or place drawbar to one side. If equipped with clevis, remove it.
Preparing The Mower
Perform the following procedures before operating the mower:
Gearbox q Check oil levels. (See Lubrication and Maintenance section.) q Check hardware torque. (See Specification section.) q Remove any material wound on gearbox shafts. q Check oil seals for leakage.
Blades and Blade Holder q Inspect blades for wear or damage. (See Maintenance section.) q Check blade hardware torque. (See Specification section.) q Check blade holder hardware torque. (See Specification section.)
Hitch Pins q Insure all bolts on mower are fastened securely. q Hardware on the lower clevises need to be snug, but do not over tighten because the clevises need to pivot as the mower hitch floats.
Lubricating the Mower q Lubricate mower and driveline. (See Lubrication and Maintenance section.)
Initial Setup q Adjusting desired float. (See Operation section.) q Adjusting for desired cut height and angle. (See Troubleshooting section.) q Setup to tractor. (See Operation section.)
Checking Driveline Shields
Danger
Entanglement in rotating driveline can cause serious injury or death. Disengage PTO, engage parking brake or place transmission in “PARK”, shut off tractor, and remove key before working near driveline.
Check driveline shields by making sure they rotate freely. Lubricate or repair if necessary.
Preparation
Final Inspection and Adjustments
IMPORTANT: PTO driveline may be too long for some tractor models, causing tractor transaxle damage. Modify driveline if necessary.
Attach disc mower to tractor and check mower-to-tractor driveline telescoping length clearance.
(See CHECKING DRIVELINE/MOWER CLEARANCE in Attaching section.)
IMPORTANT: Blade hardware MUST be checked after the first hour and every eight (8) hours thereafter.
Check blade hardware torque. Re-tighten hardware after one hour of operation and every eight (8) hours thereafter.
Check belt tension prior to using to insure approximately 0.68 in deflection with 12 lbs of force (this may have to be adjusted periodically and optimum tension may vary slightly between cutters)
(See MAINTENANCE BEFORE EACH USE in Lubrication and Maintenance section.)
MODIFY PTO DRIVELINE (IF NECESSARY)
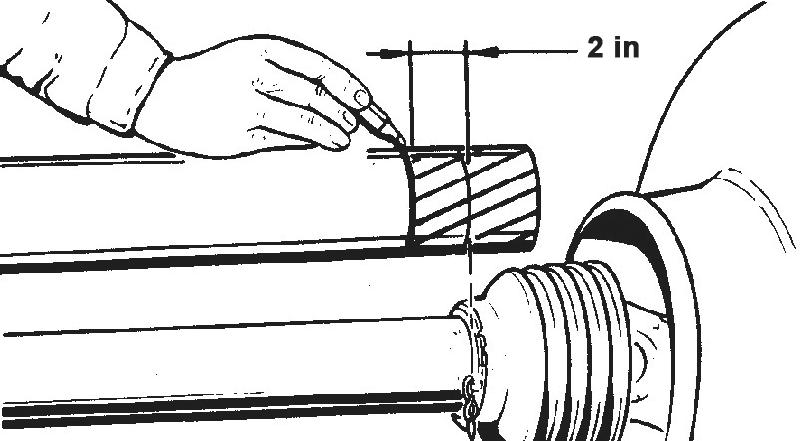
1. To adjust the length, hold the half-shafts next to each other in the shortest working position and mark them.
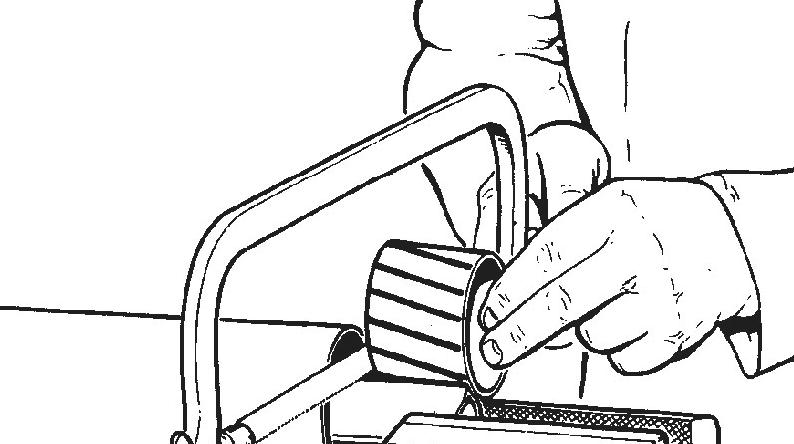
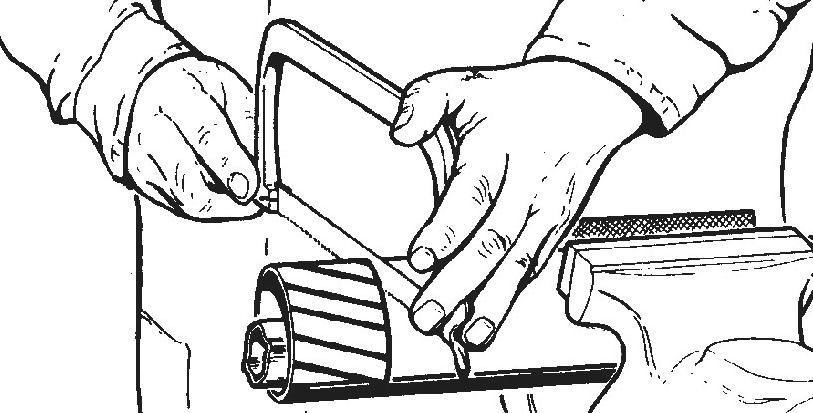
4. Round off all sharp edges and remove burrs. Grease sliding profiles. No other changes may be made to PTO drive shaft and guard.
5. Chains must be fitted so as to allow sufficient articulation of the shaft in all working positions.
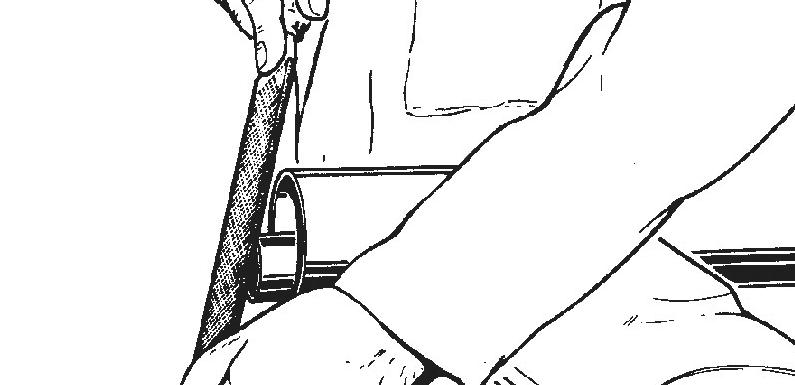
6. The PTO drive shaft must not be suspended from the chains!

Attaching Disc Mower To Tractor
Attaching
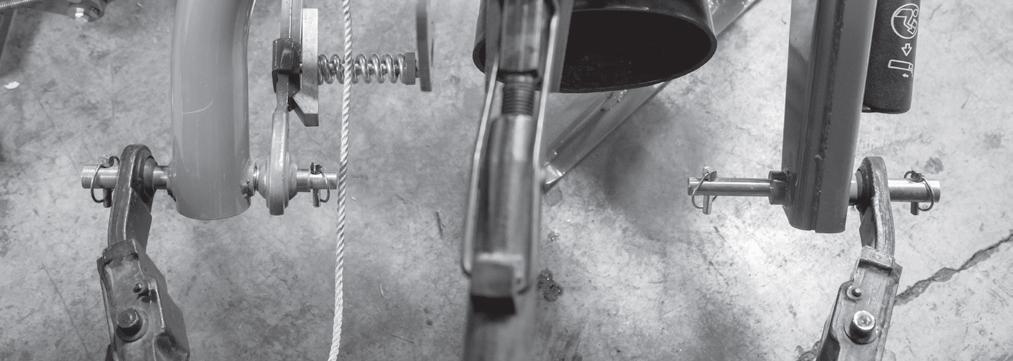
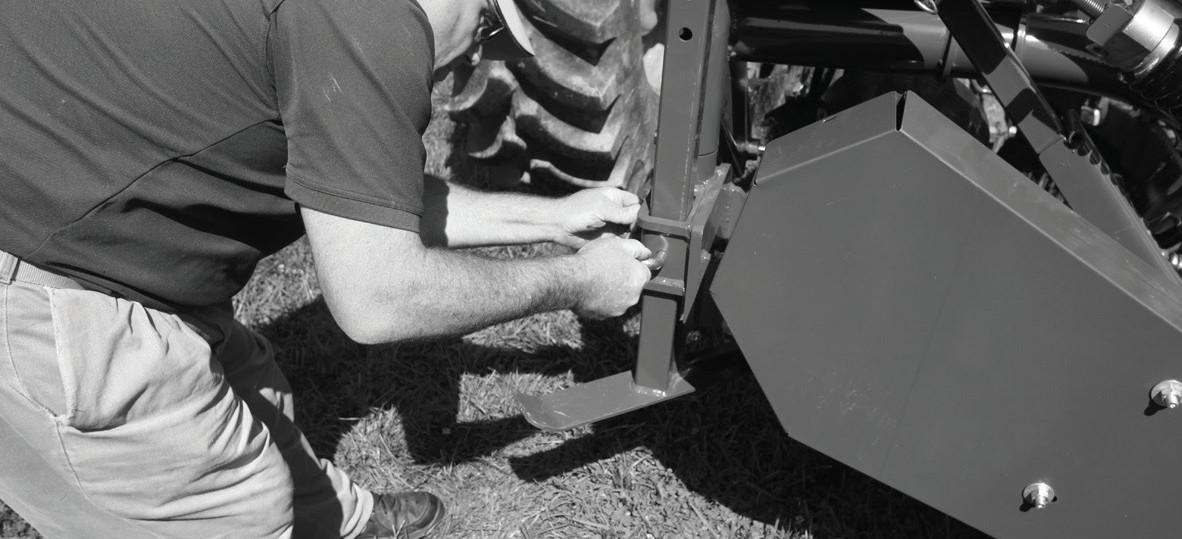
2b. For Category II hookup - Slide lift arms on tractor over Category II hitch pins on mower.
WARNING
BE CERTAIN that disc mower is completely lubricated, that gear box is filled with 90 weight oil and that all grease fittings have been lubricated before putting mower into service.
CAUTION
To avoid bodily injury or machine damage whenever an implement is attached, put transmission in PARK position and check the full range of hitch for interference, binding, or PTO separation. Do not stand between tractor and implement.
1. Slowly back tractor up to mower, being careful to line up lift arm holes on tractor with pins on mower.
DANGER
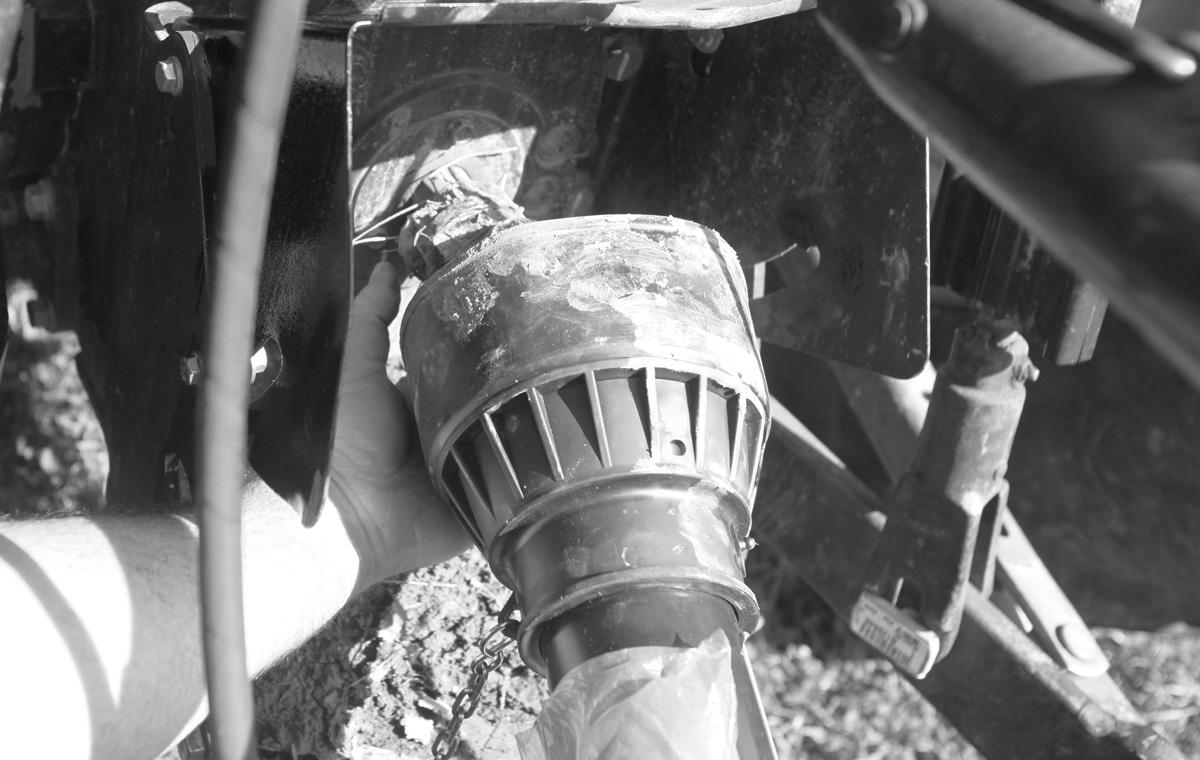
Shut off tractor engine before attaching PTO driveline. Entanglement in rotating driveline can cause serious injury or death.
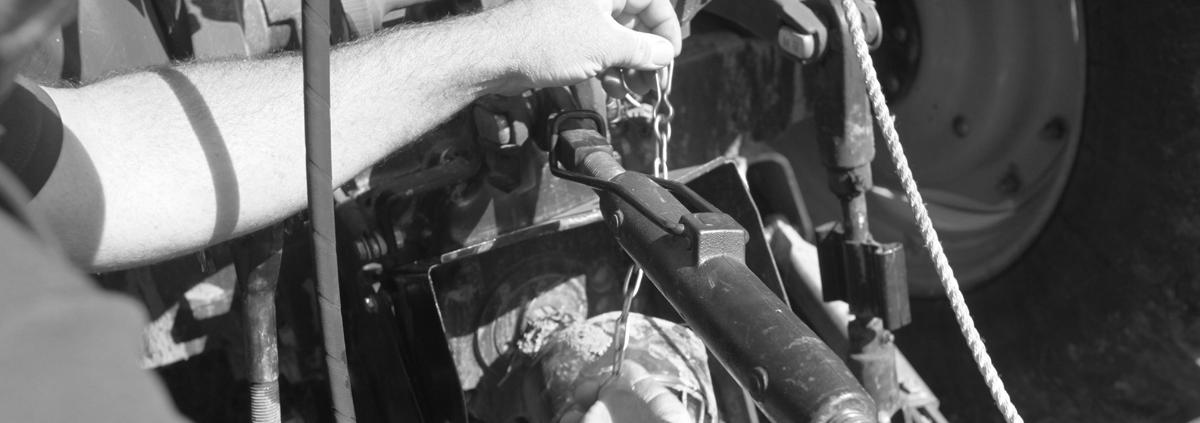
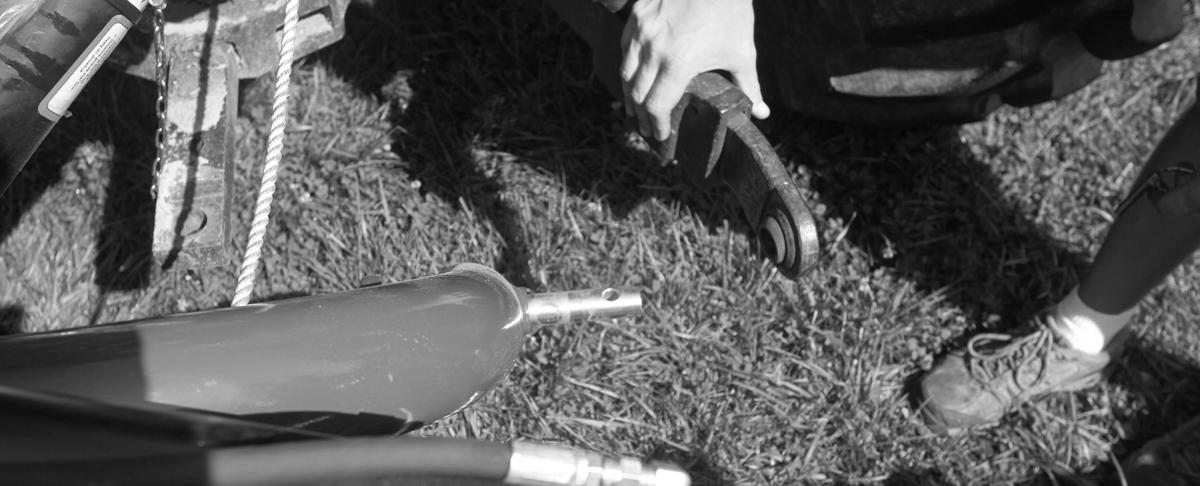
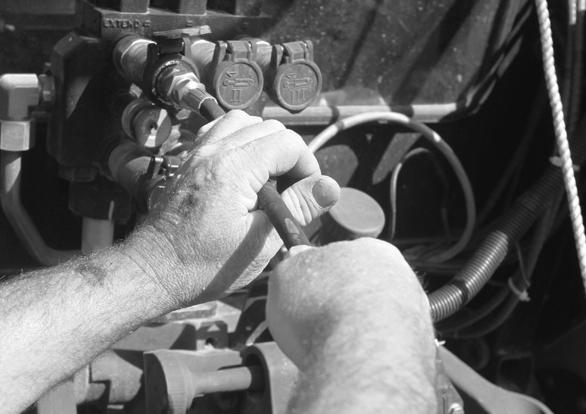
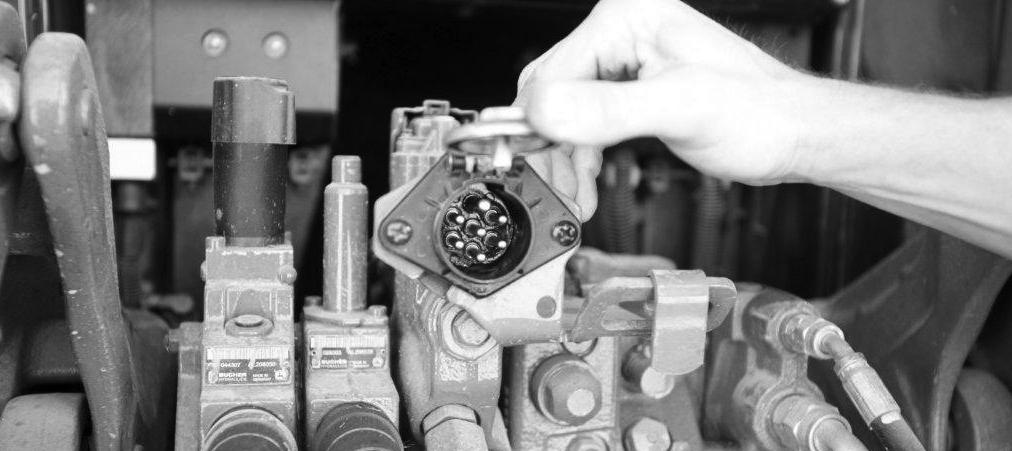
3. Attach PTO shaft to tractor.
CAUTION
If PTO shaft is too long or binds do not force it. To avoid machine damage see pg. 21 to modify PTO shaft length.
WARNING
WARNING: DO NOT stand between mower and tractor when tractor is hooking up to mower.
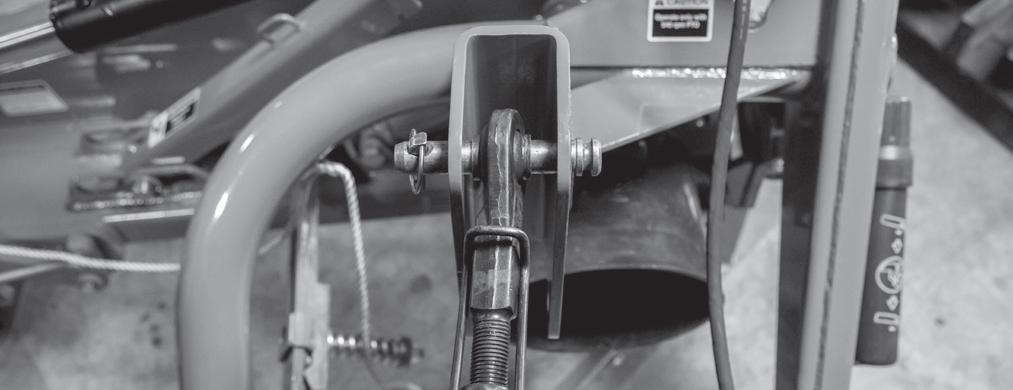
2a. For Category I hookup - Slide lift arms on tractor over Category I hitch pins on mower.
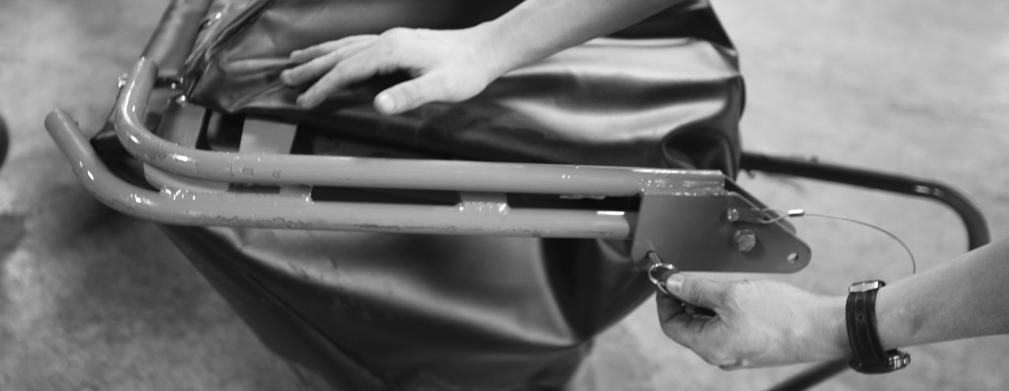
4. Attach top link from tractor to mower.
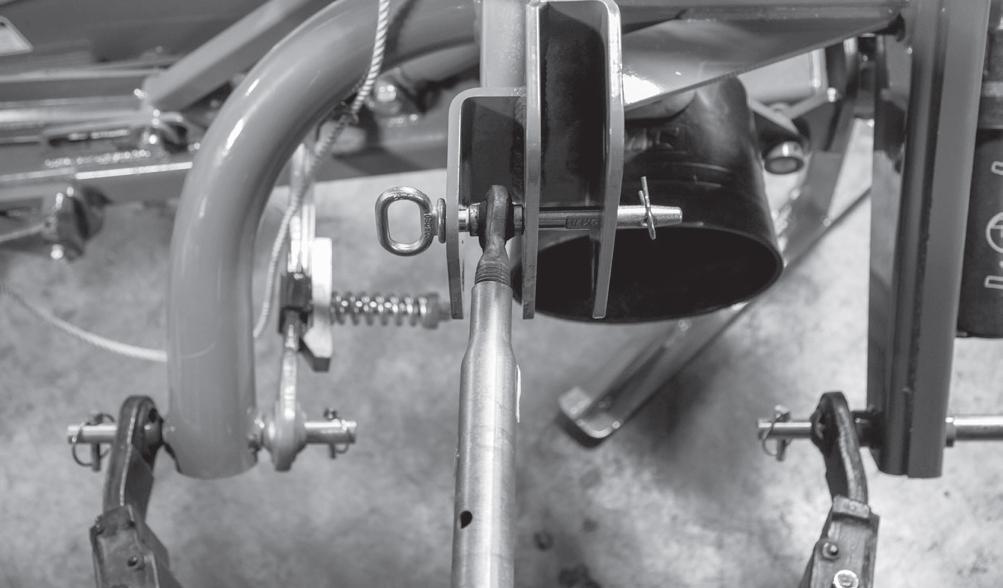
NOTE: Right hand pin (right-hand side) is interchangeable from Category I to Category II by flipping. (Shown on left hand side of this picture - Figure A)
Attaching / Preparing for Transport
12. Raise blade up with hydraulics.
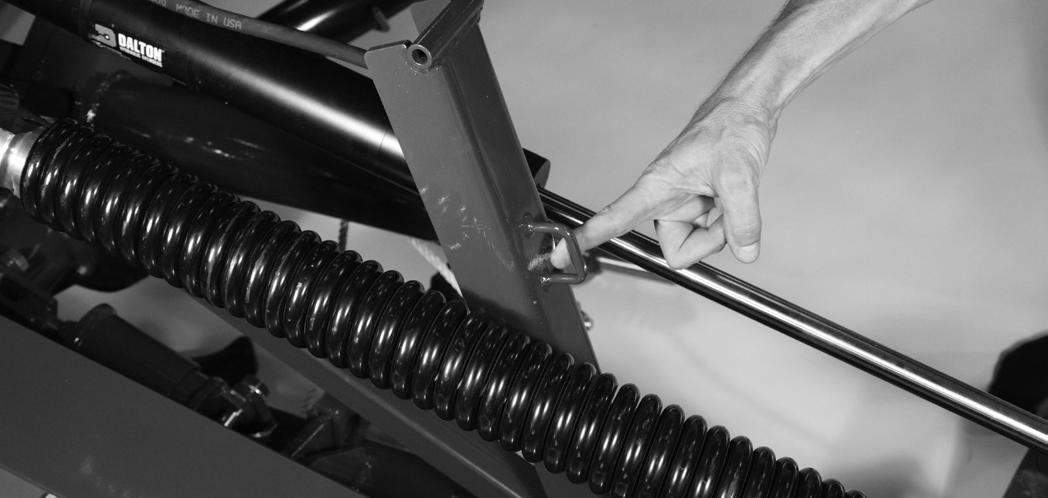
NOTE: Stop-chain (provided with mower) is used only if tractor is NOT equipped with a depth stop to hold position of rockshaft/hitch control lever.

13. Tractor WITH depth stop for rockshaft/hitch control lever
To keep mower at a set working depth; Move stop (C) against rockshaft/hitch control lever (A) by turning stop wheel (B). Hitch will lower to same working depth each time.
Tractor WITHOUT depth stop for rockshaft/hitch control lever
To keep mower main frame at a set working depth; Attach stop-chain (provided with mower) to an open hole location in the tractor’s center link attachment clevis. Make sure stopchain is tight and clearance between ground and lower hitch pins is not less than specifications. Raise mower and adjust stop-chain length as necessary.
(John Deere 7000 Series Tractor Shown)
*See Troubleshooting Section
Preparing To Transport
1. Disengage the PTO on mower.
2. Wait for PTO to come to complete stop.
3. Raise mower cover to ensure that it locks into open position.
6.


