1 minute read
Replacing the Upper Cover


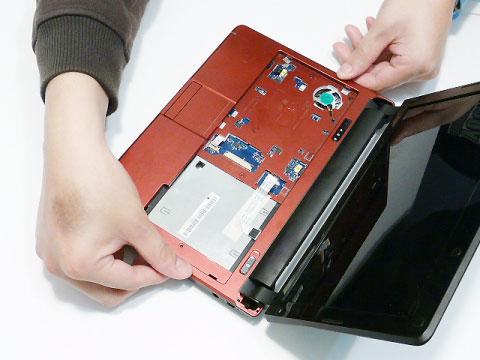
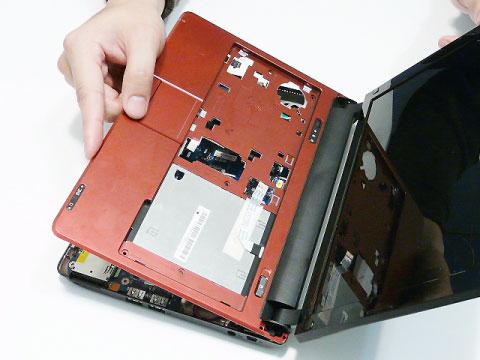
1. Place the Upper Cover on the Lower Cover rear edge first as shown. 2. Press down the Upper Cover at either side to snap it in to place.
3. Continue pressing down both sides of the Upper Cover and along the bottom edge to snap the covers together.
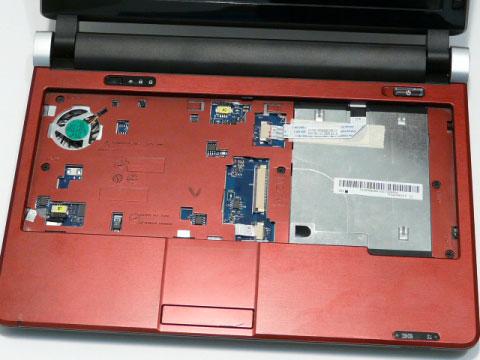
NOTE: Ensure there are no gaps between the Upper and Lower Covers.
4. Replace the Hinge Covers as shown.
CAUTION: Make sure the cables are tucked inside the Hinge Covers to avoid damage to the cabling.
NOTE: The Hinge Covers are not identical; the right side cover has a longer locating pin.


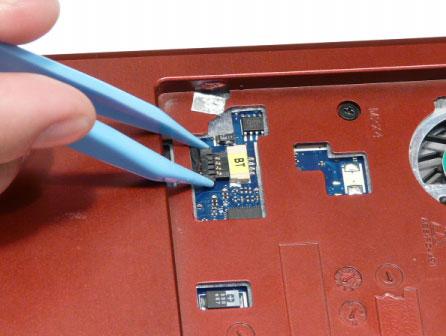
6. Reconnect the following cables to the Mainboard.
C B A
Connect A to the Mainboard. Secure the locking latch on A as shown.


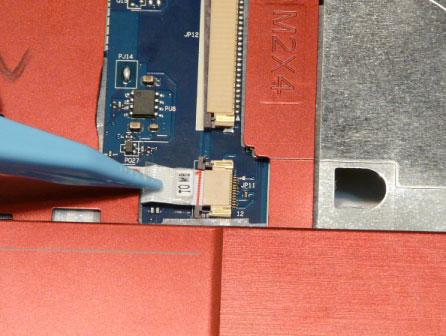

Connect C as shown.
7. Turn the computer over and replace the eleven securing screws as shown. NOTE: Ensure the correct screw type is used for each hole: M2*3 (red callout), M2*4 (green callout), and M2*12 (blue callout).